2. Computer Aided design
This week I worked on defining my final project idea and started to getting used to the documentation process.
For now I want to explore Corel Draw, InkScape, Fusion 360, FreeCad
Research
Inkscape is an open-source vector graphics editor which is used by illustrators, graphic designers, and artists. It offers a wide set of drawing tools and supports a variety of file formats. Krita is an open-source software designed for digital painting, 2D animation, and illustration. It also offers a wide range of tools and brushes․ Krita supports common raster formats like PNG, JPEG, and more.
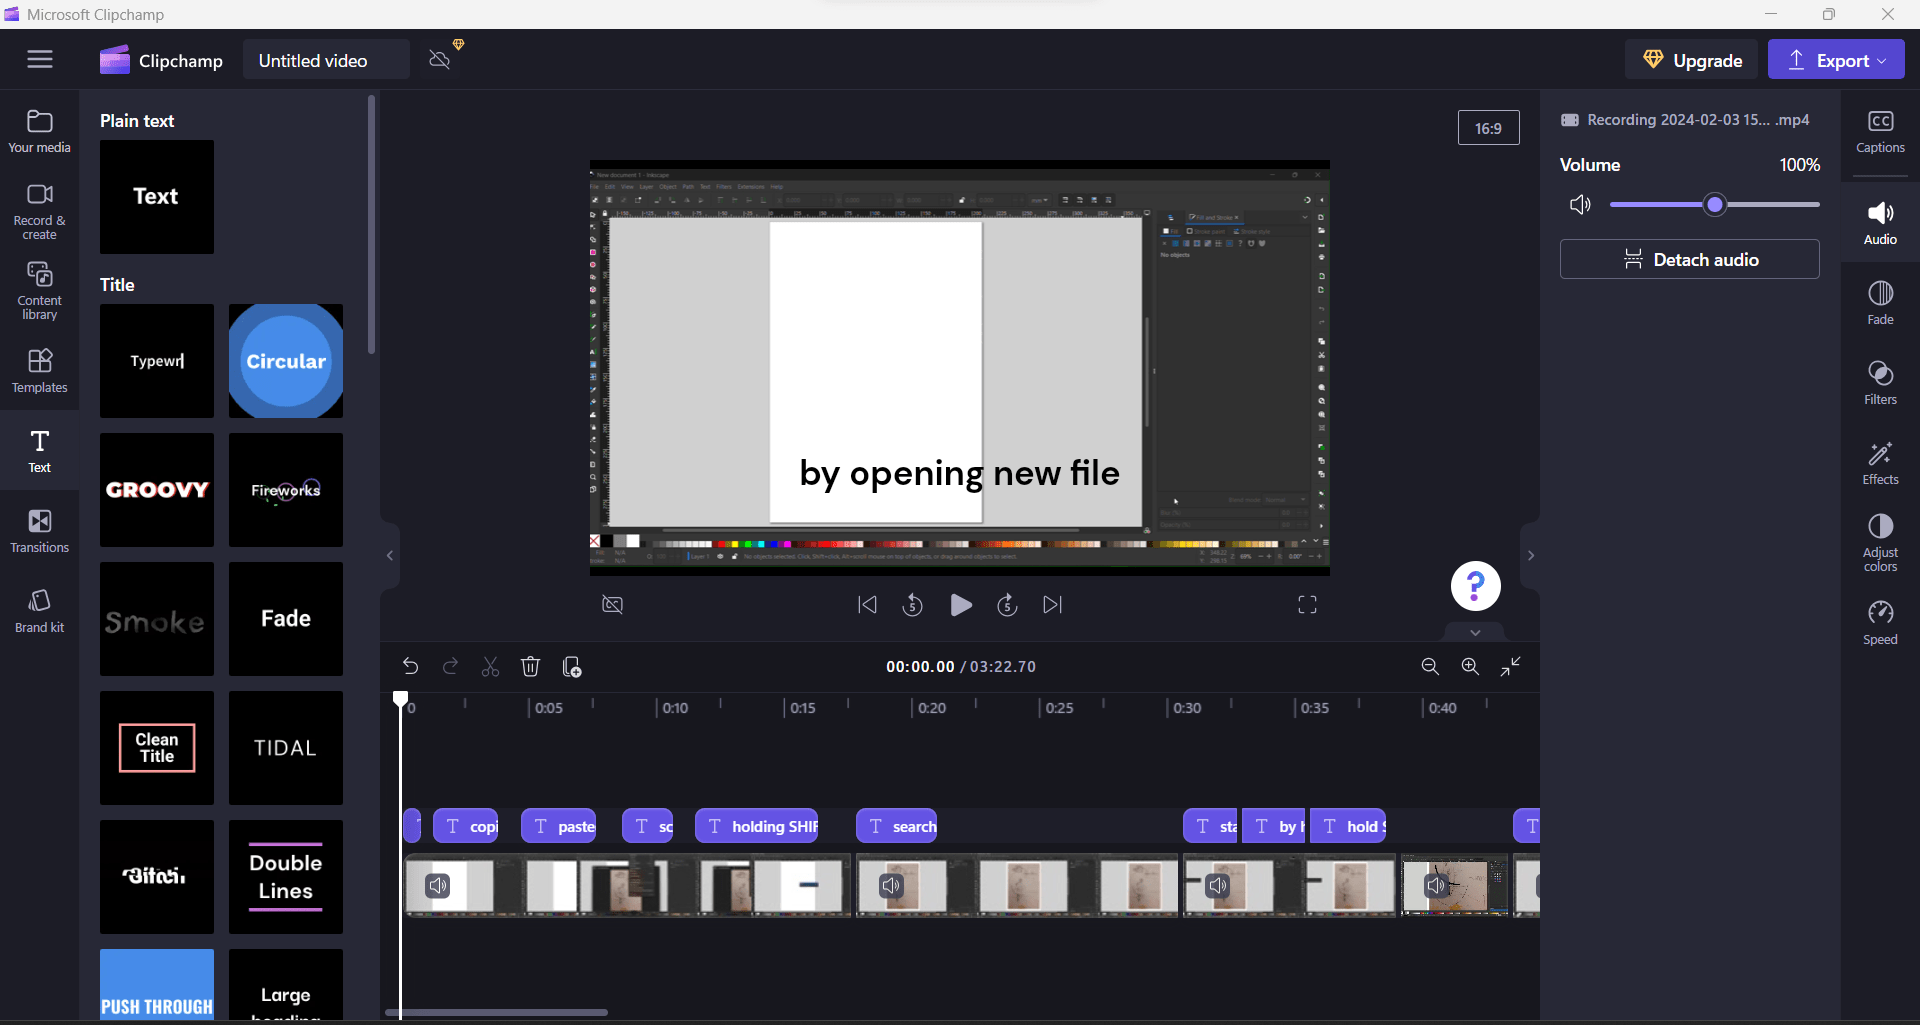
I edited all my screen recordings/tutorials by Microsoft Clipchamp.
Useful links
Raster Graphics Software
Here are some key features of Krita:
-
Brush Engine: Krita’s brush engine is powerful and customizable․
-
Layers
-
Resource Manager: Access a vast collection of brushes, textures, and other resources directly from within the software.
-
Vector Tools: While Krita primarily focuses on raster graphics, it also has some basic vector tools.
-
Multiplatform: Krita is available for Windows, macOS, and Linux.
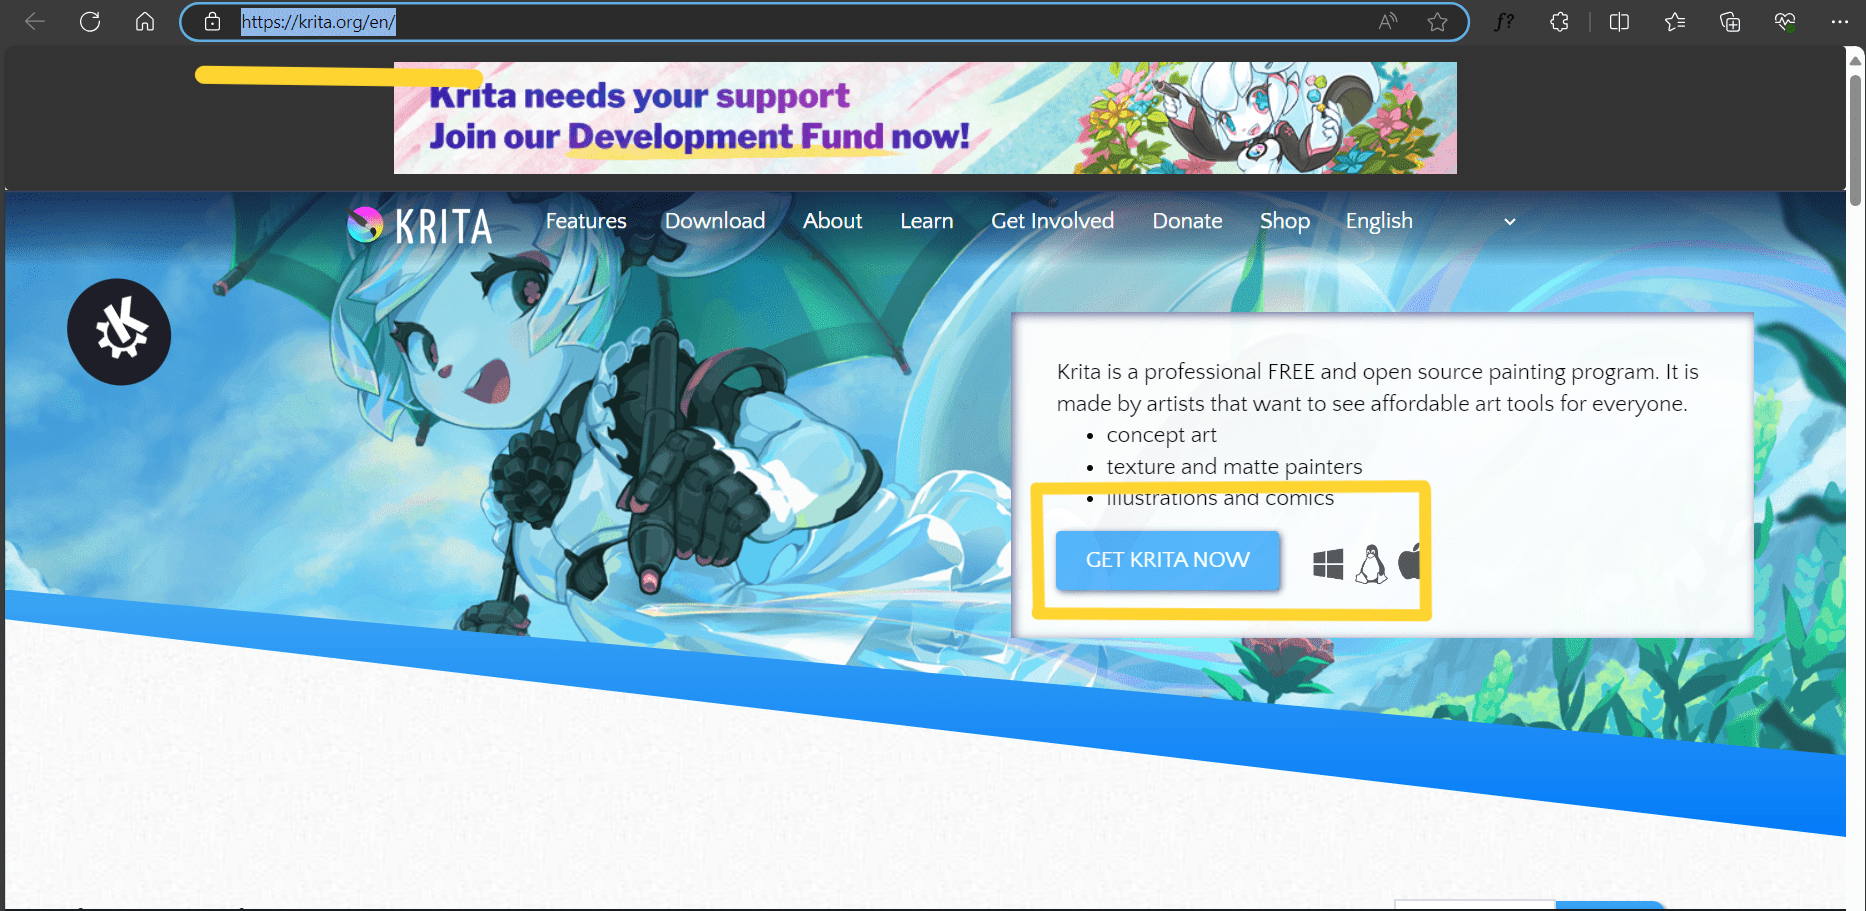
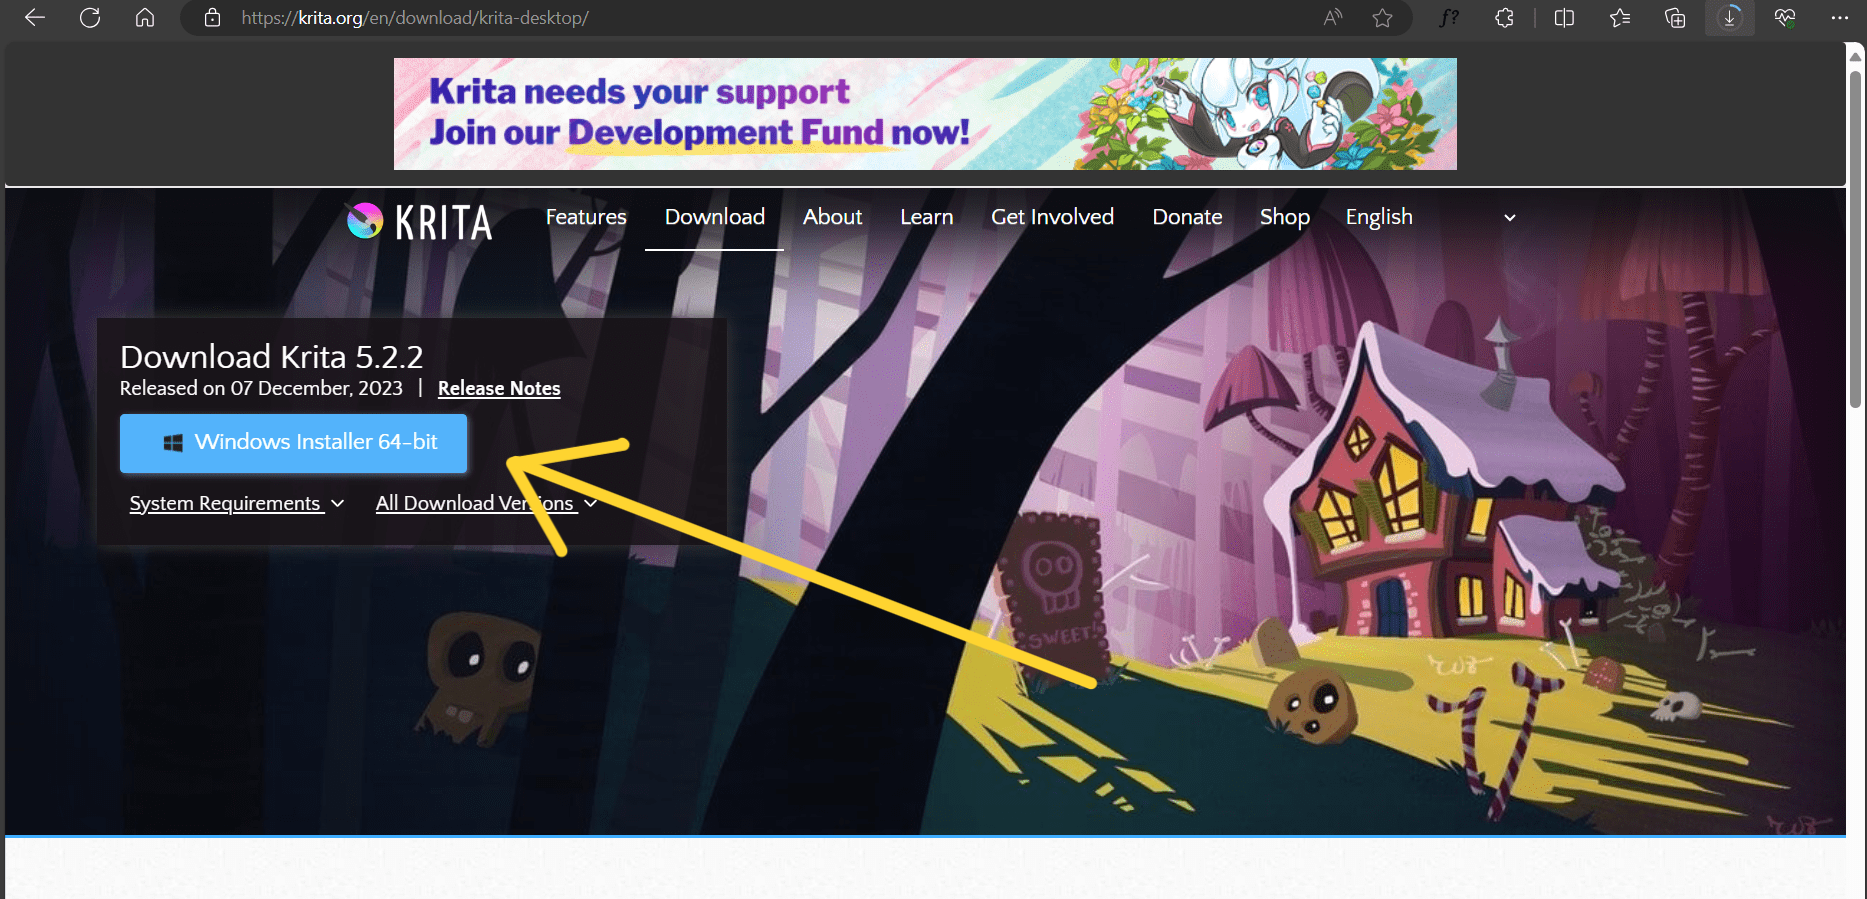
Heres where you can download Krita.

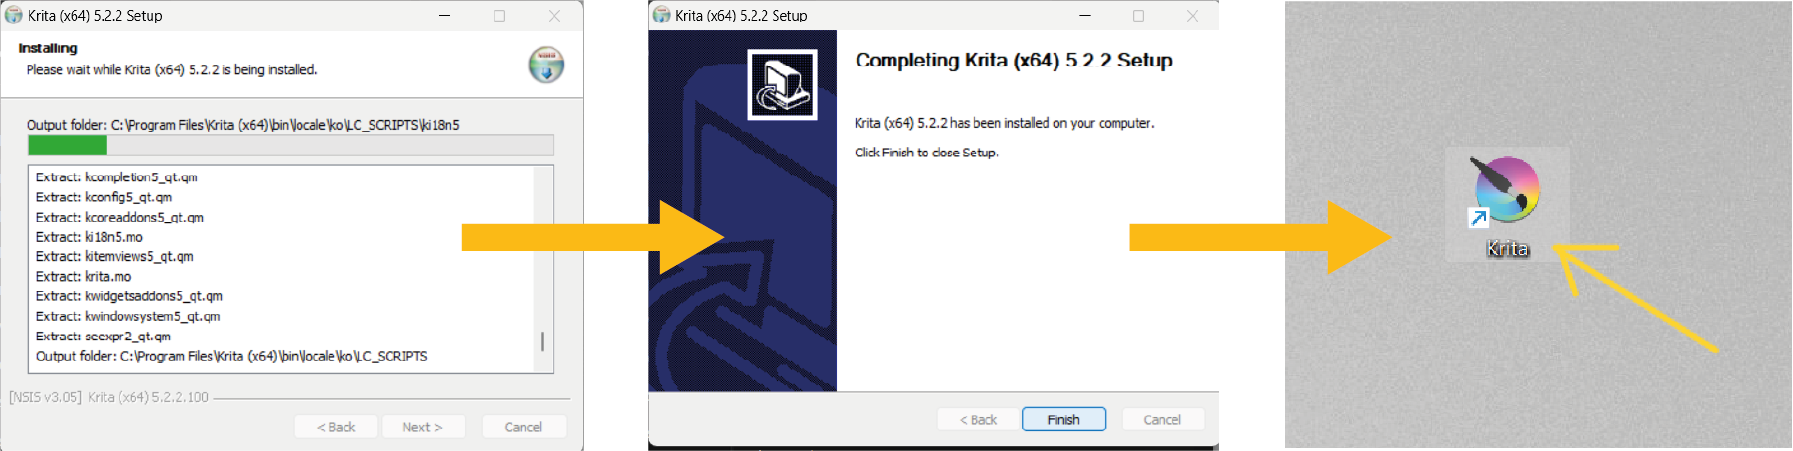 Now you have your software on your desktop and can start exploring it!
So for the assignment I wanted to make something that I will use after. I needed an image of my sketches for one of my projects. For that I needed my sketches from my notebook on my computer. I needed them with transparent background.
So I started editing one of them.
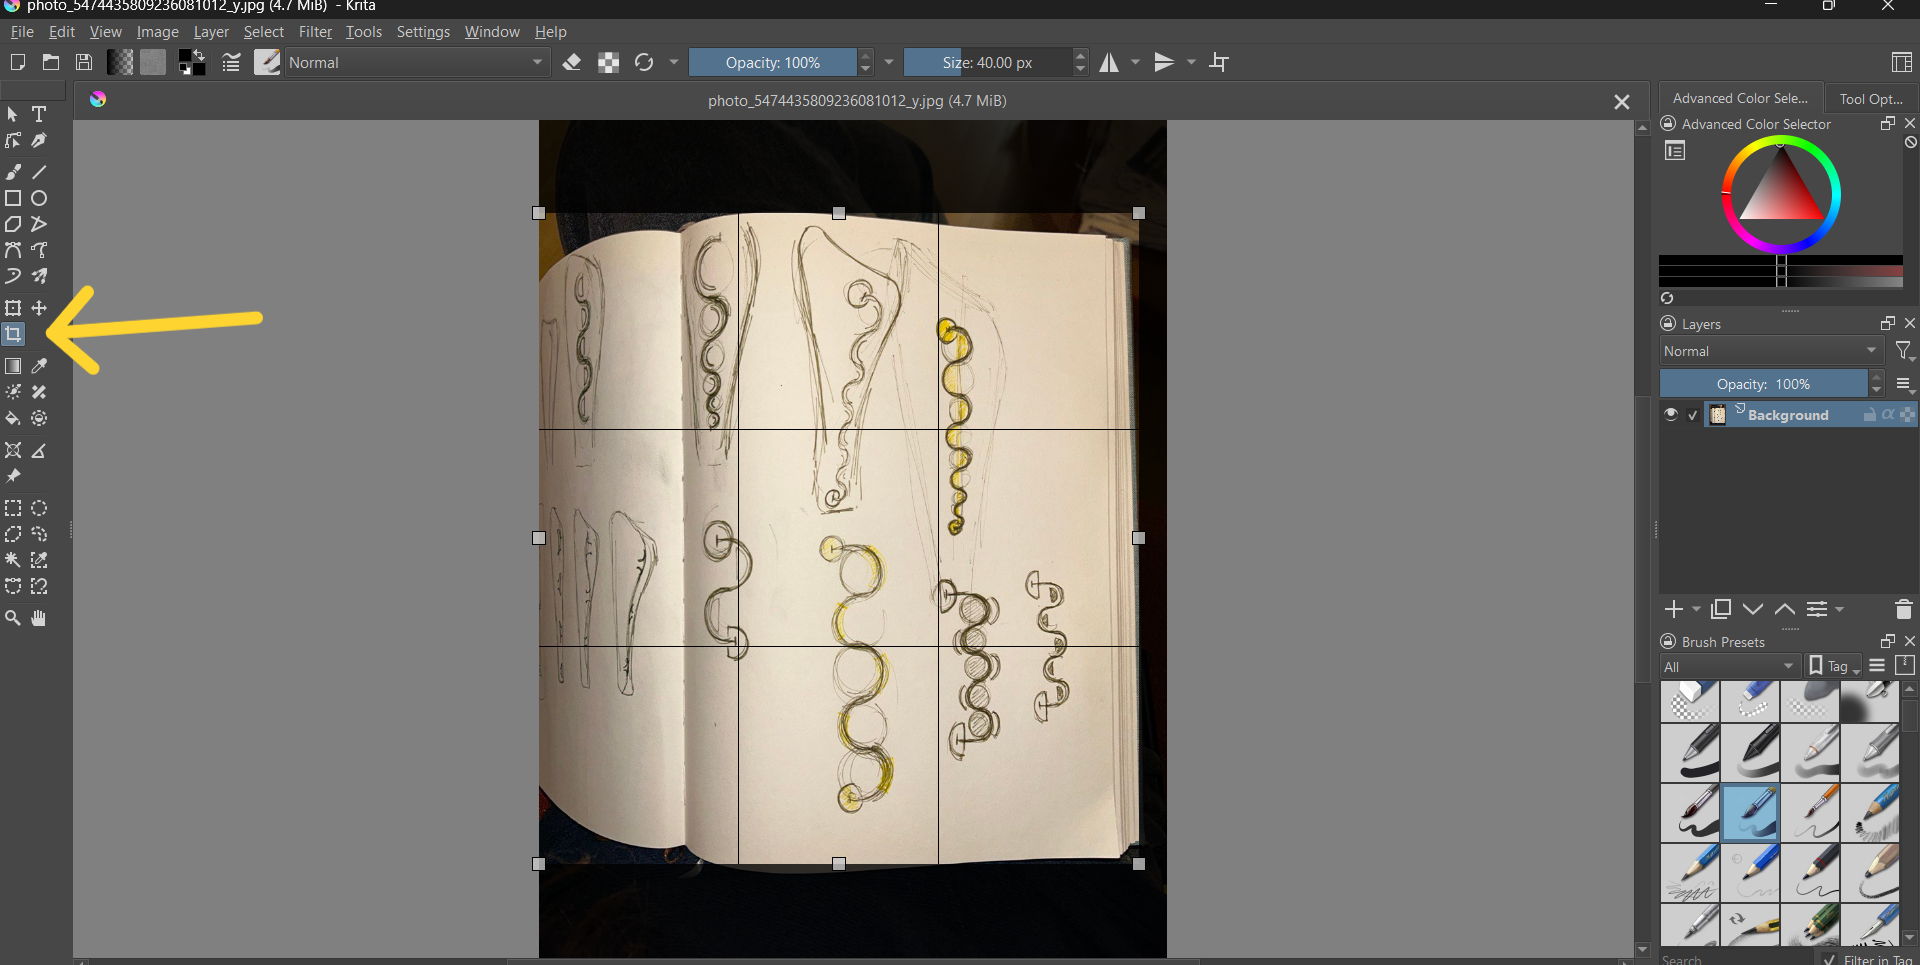
I cropped the image by cropping tool.
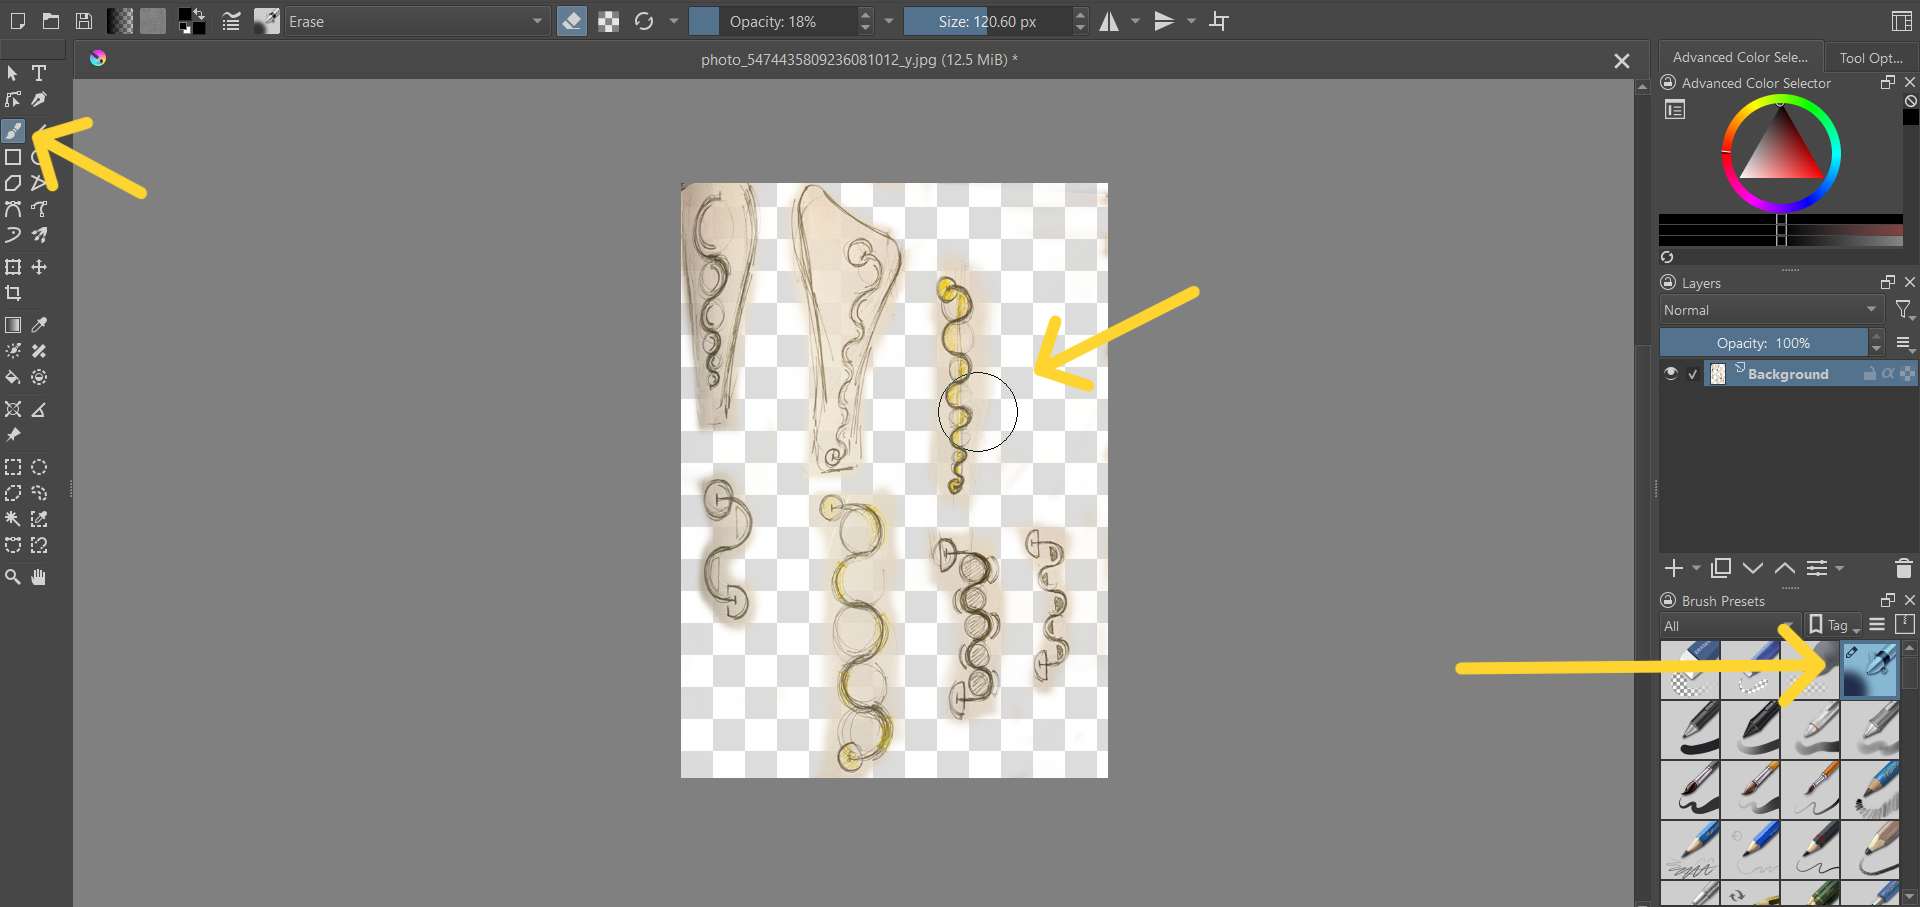
 I took a brush tool and by choosing eraser in top side started to erase background and parts that I don’t need.
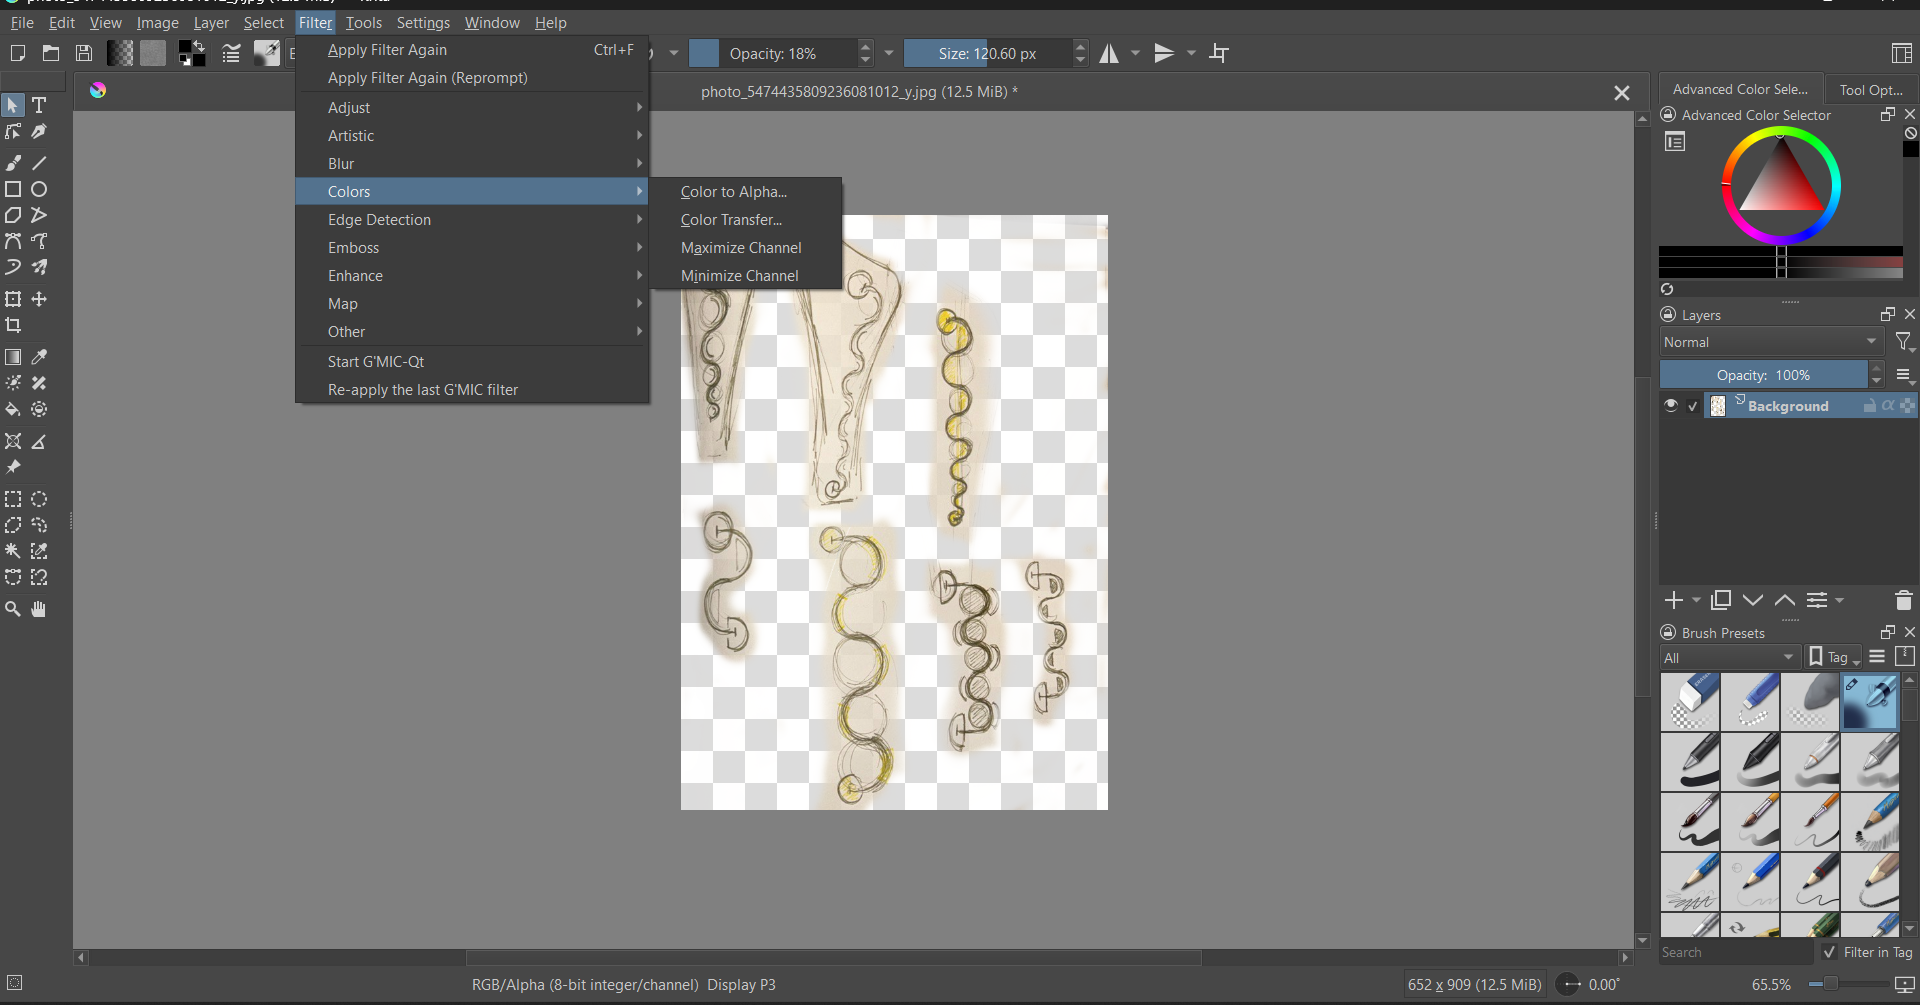
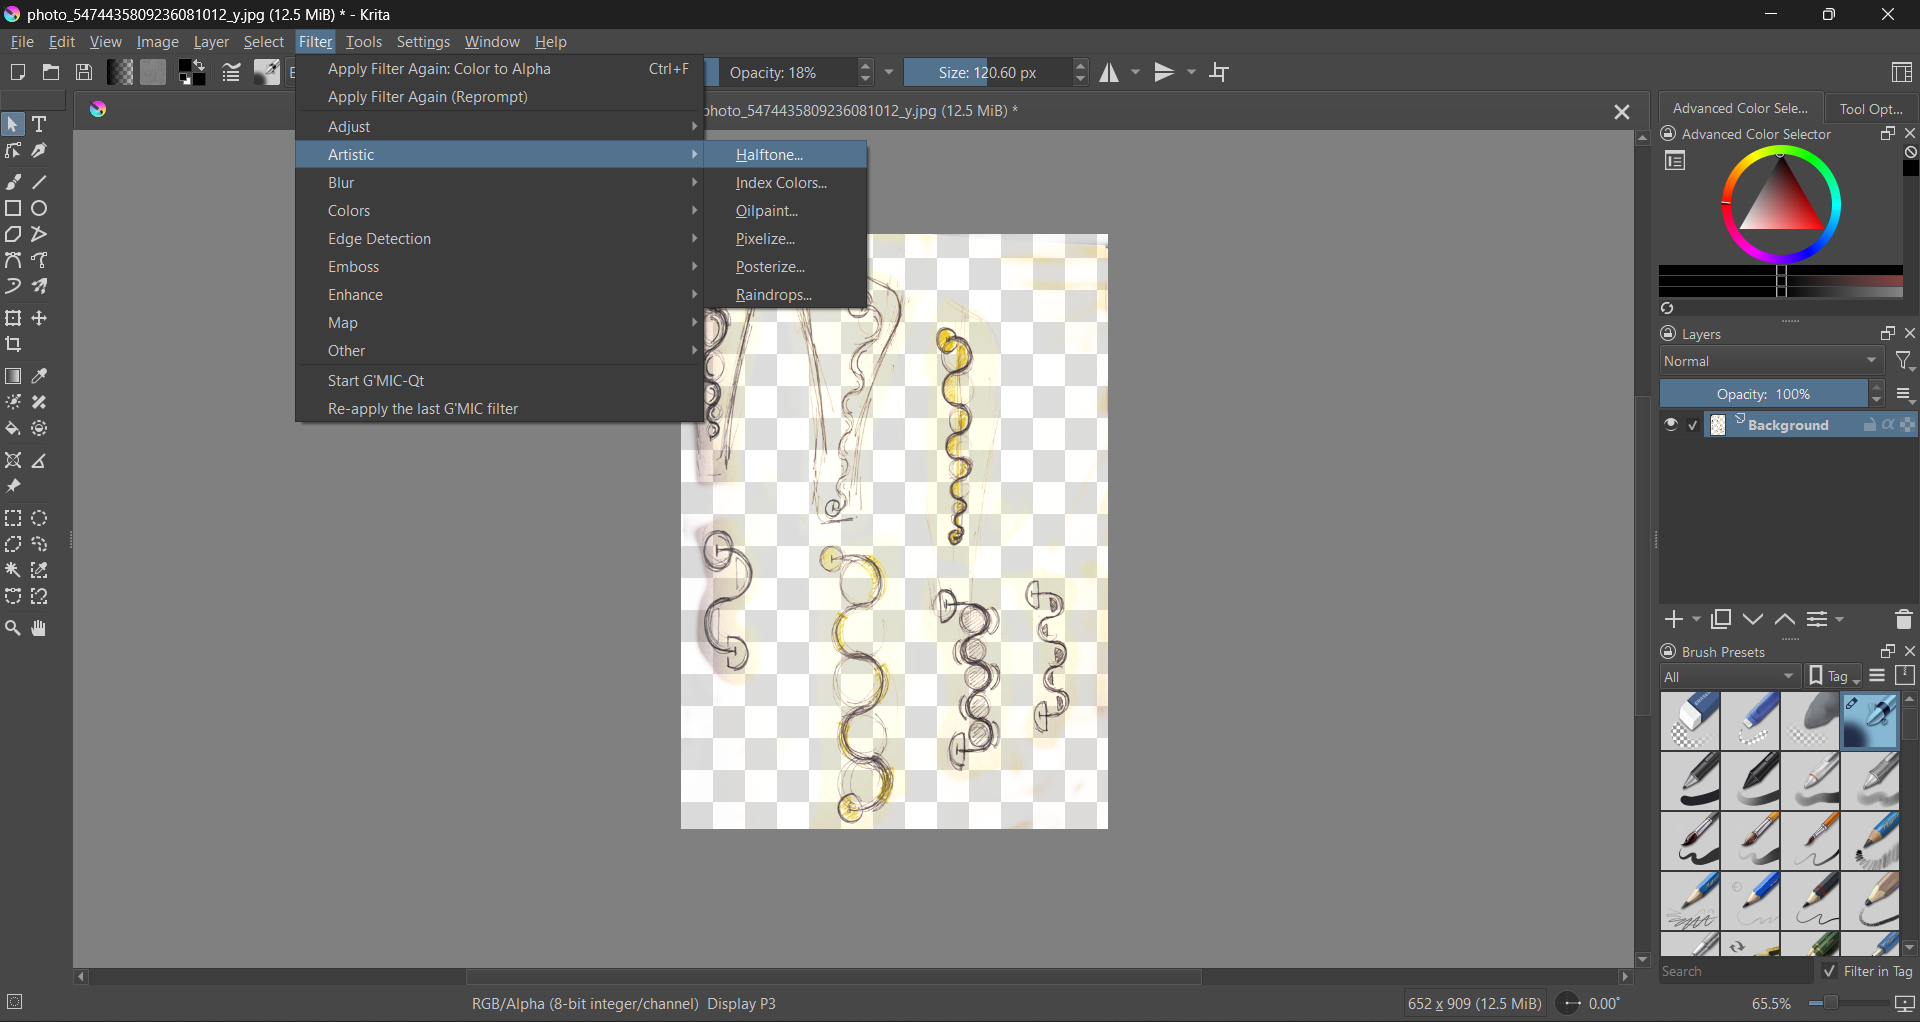
 Also I found in filter section some tools to edit the image.
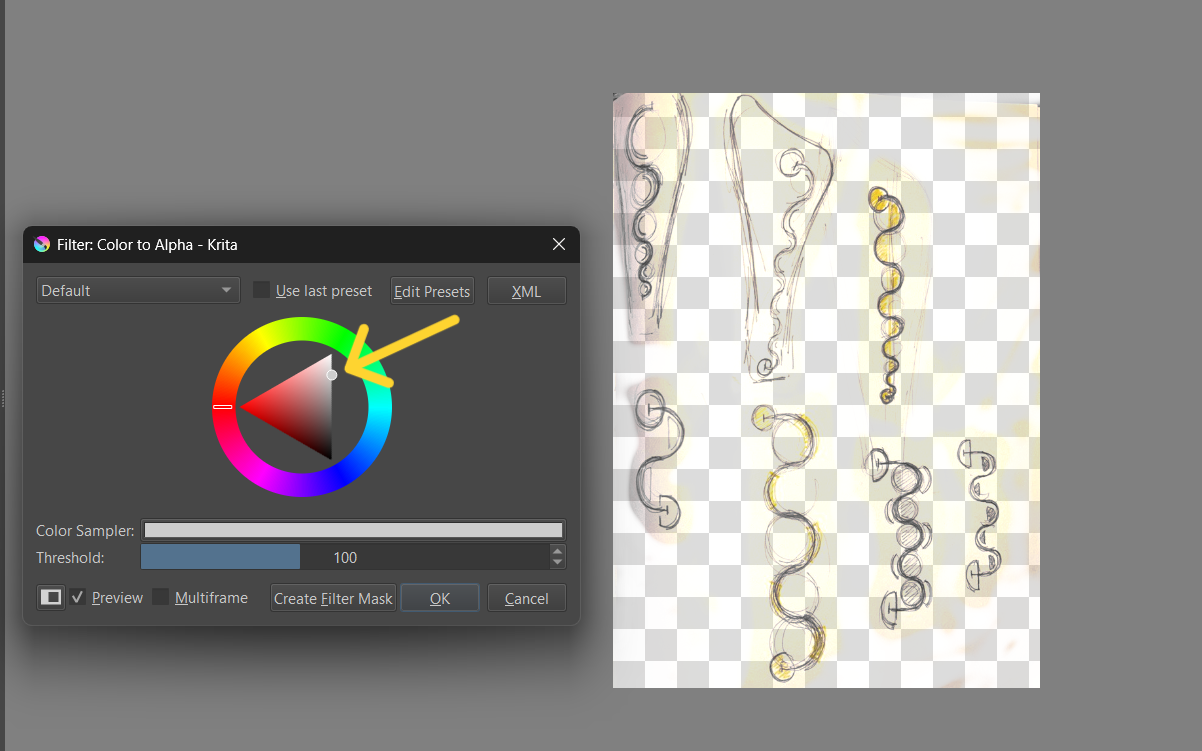
 I played with this tools.
 And explored other tools too.
 So I’ve got this.
 I learned other tools too. Made some changes.
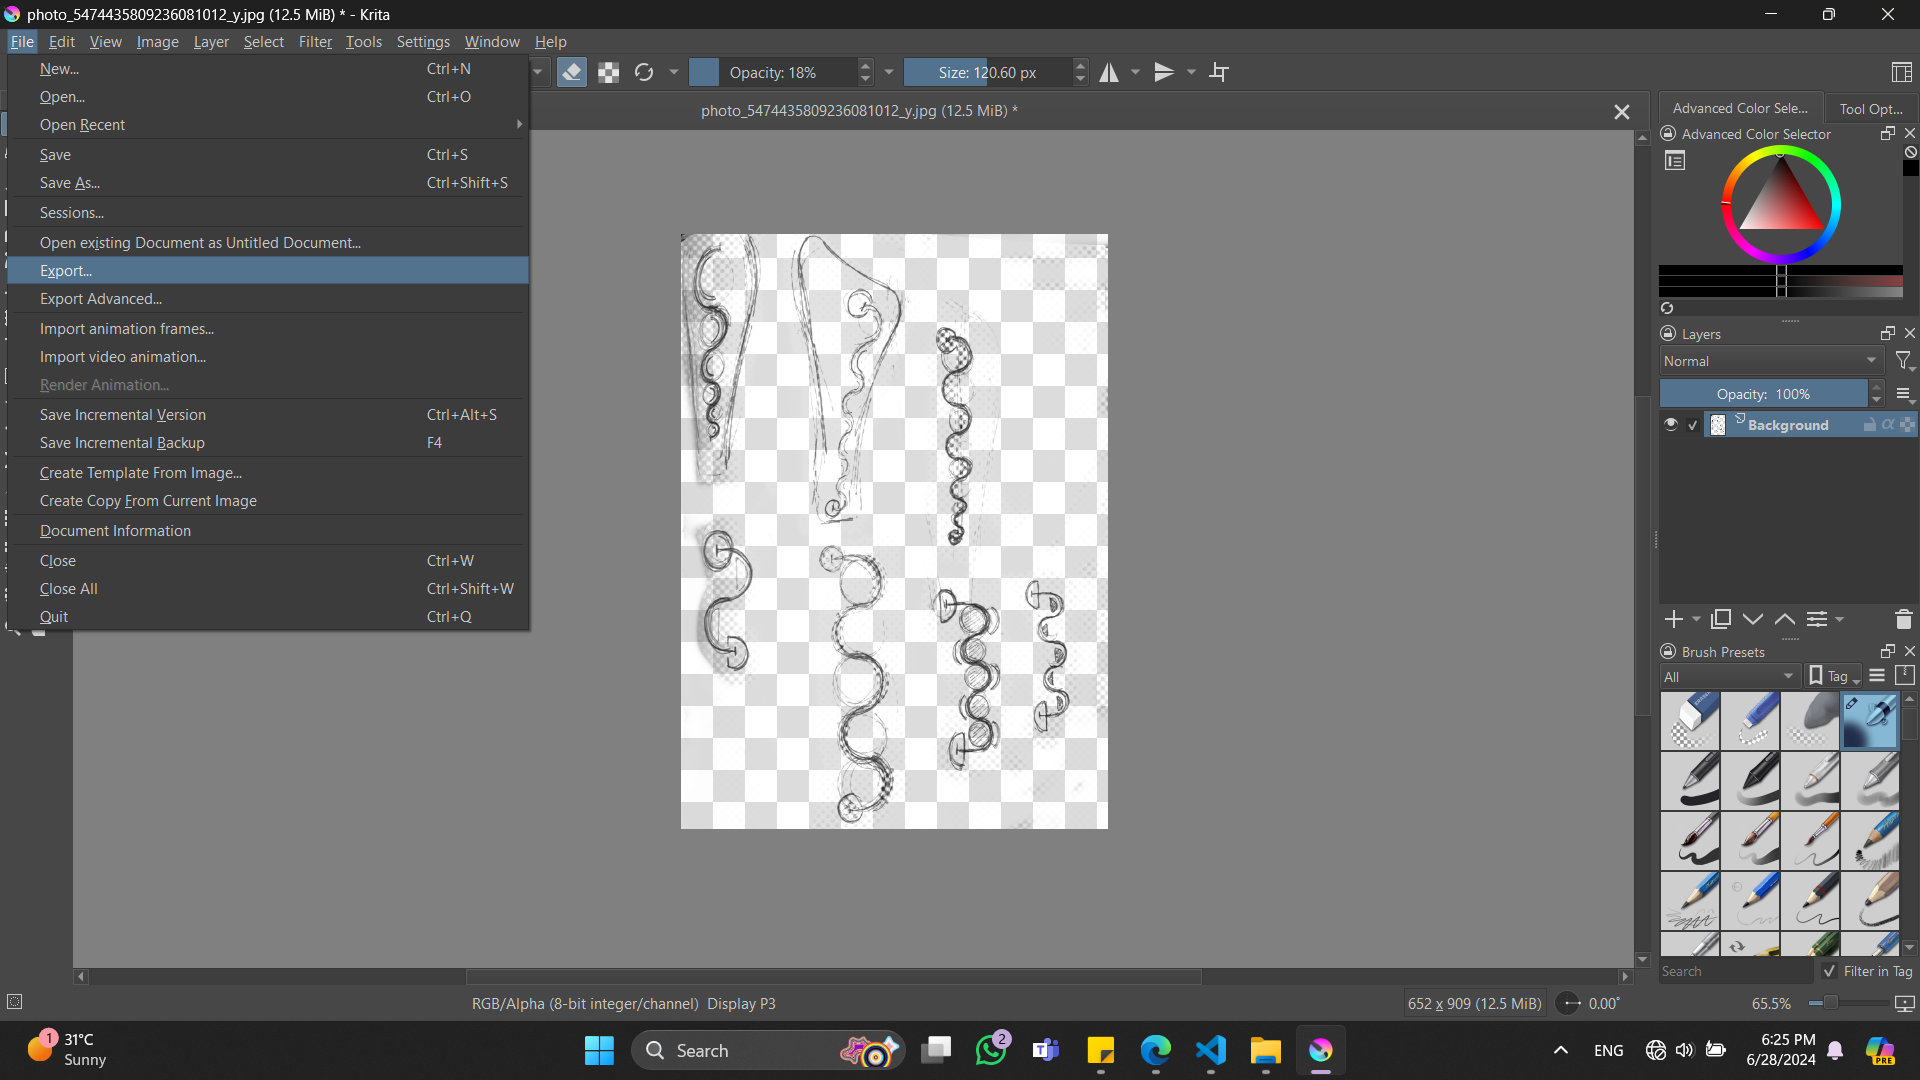
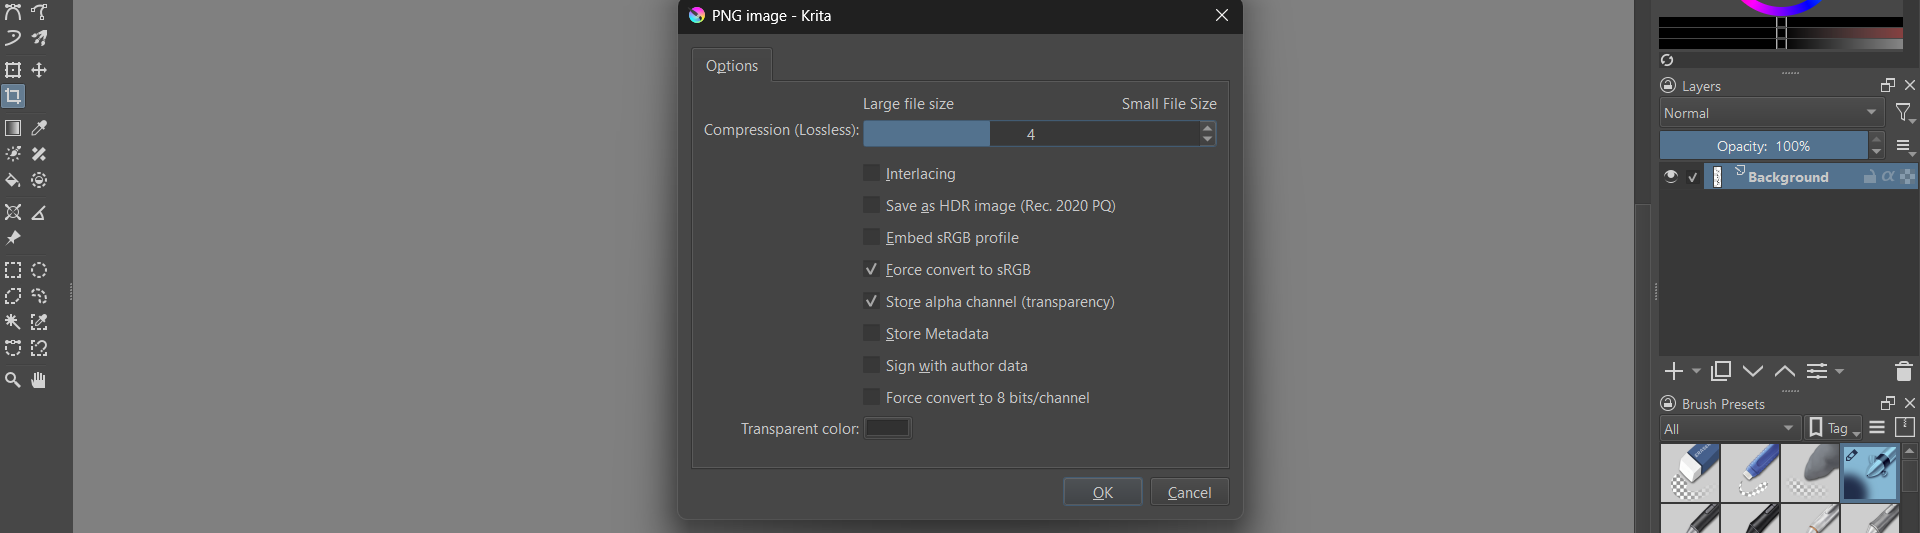
 I exported the file, so I can save the krita file and image as PNG.
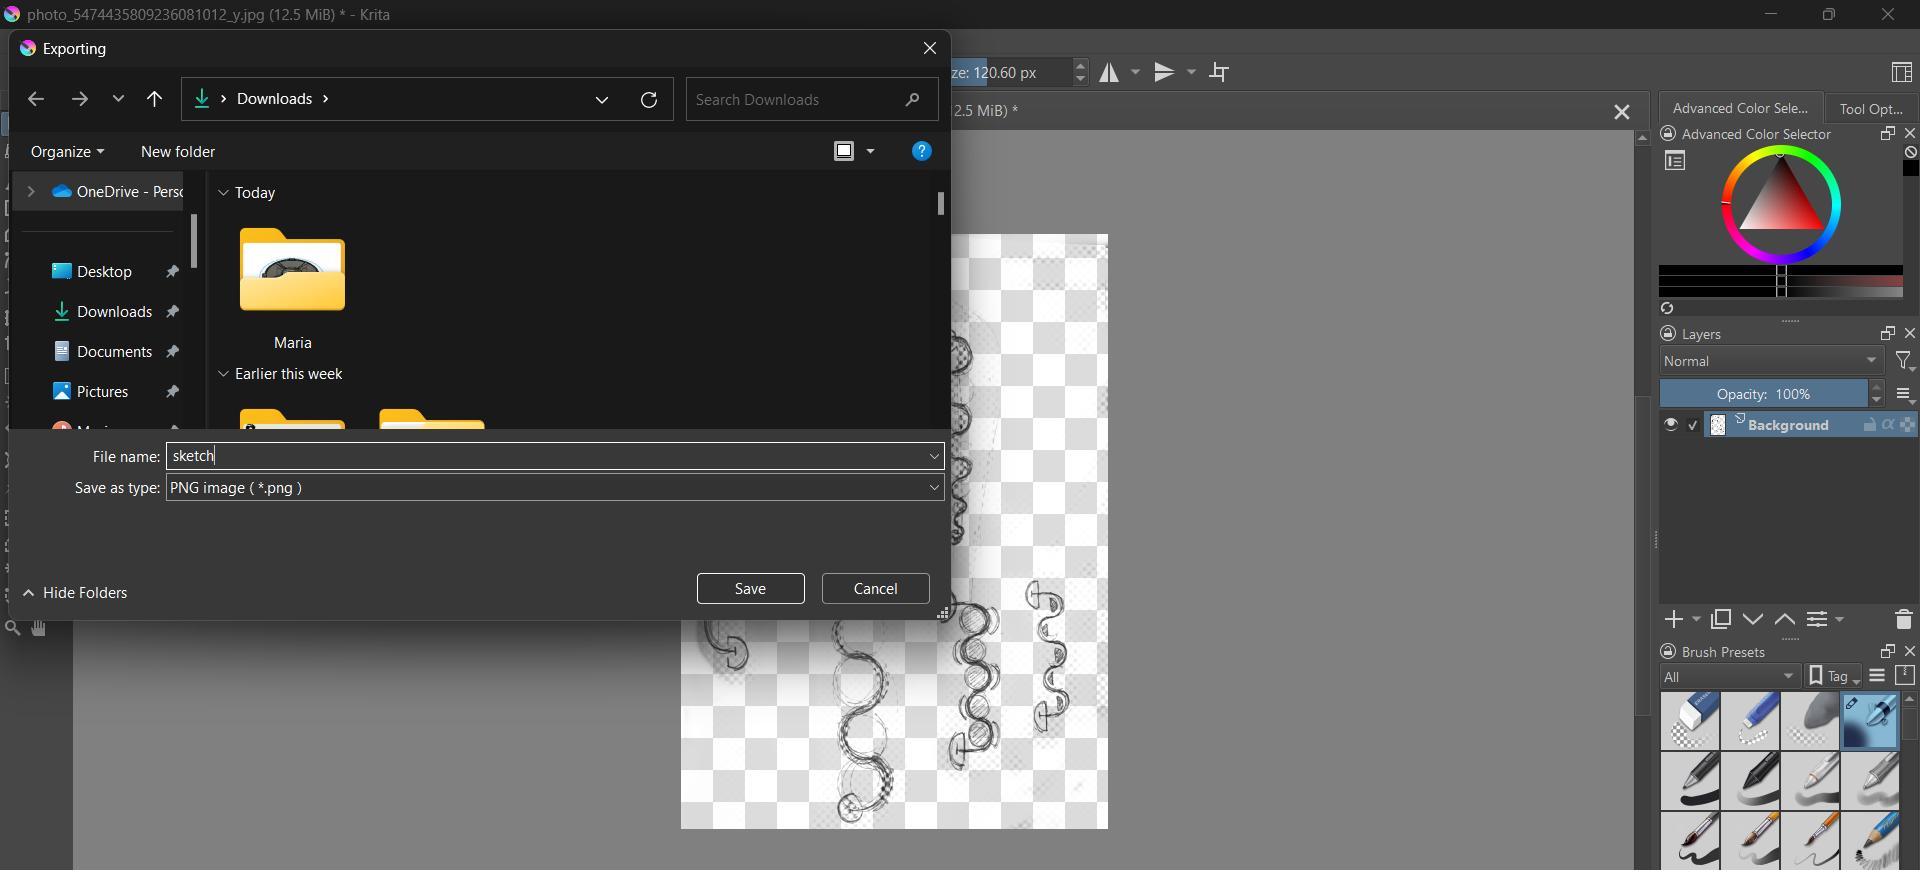
 I saved the image as PNG.
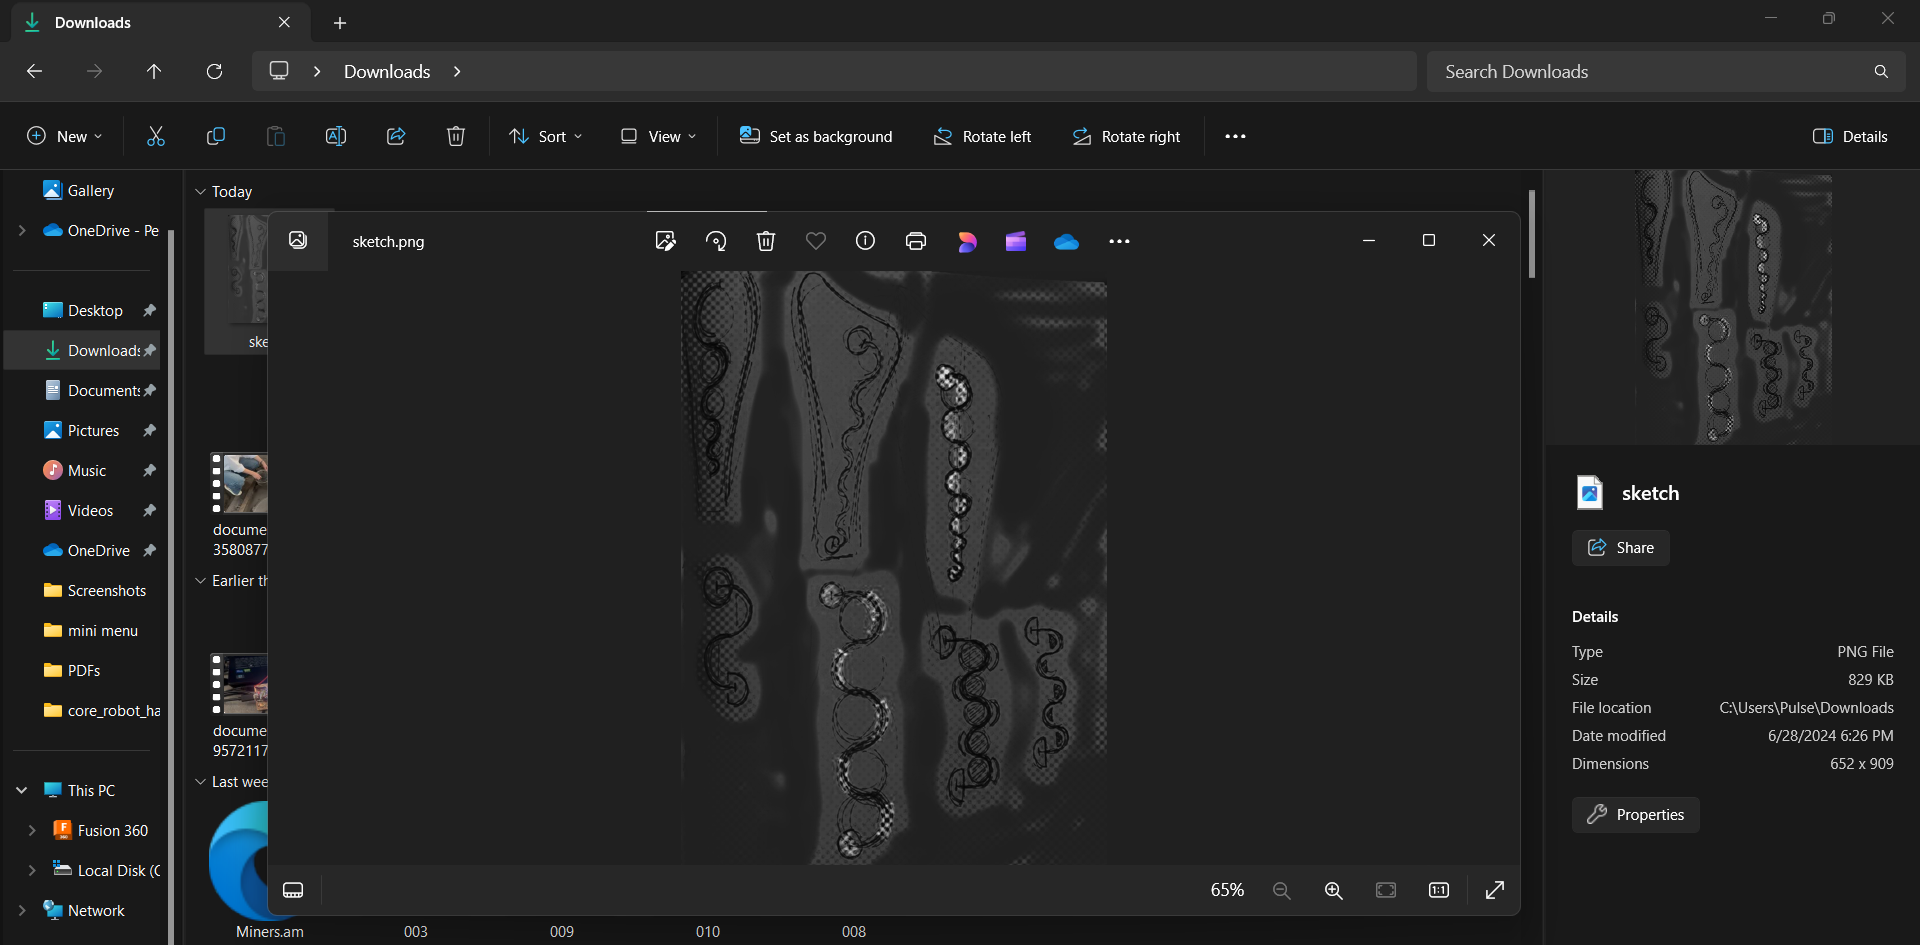
 Here you can see what i’ve got.
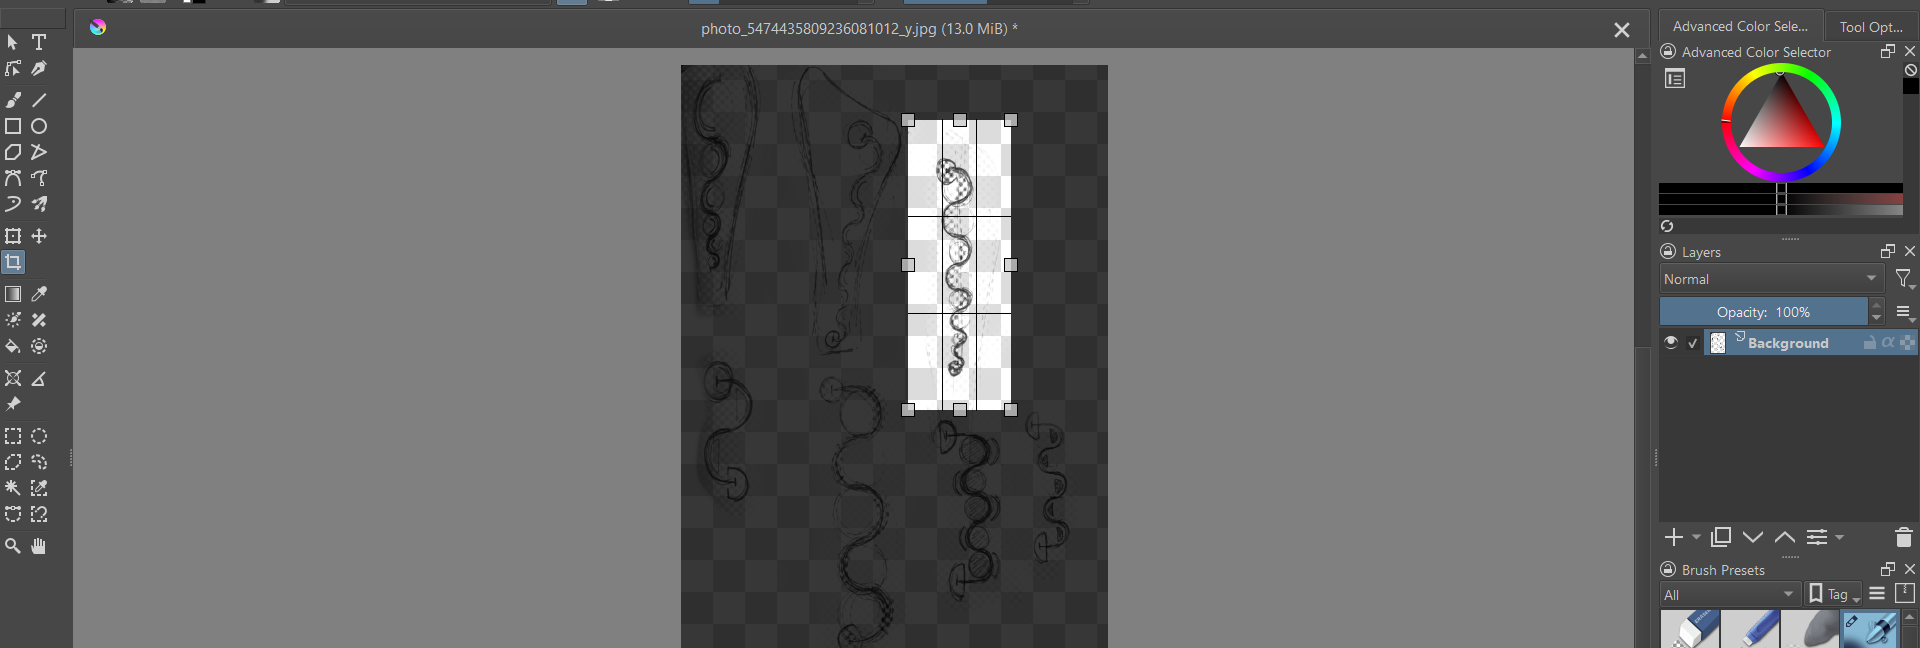
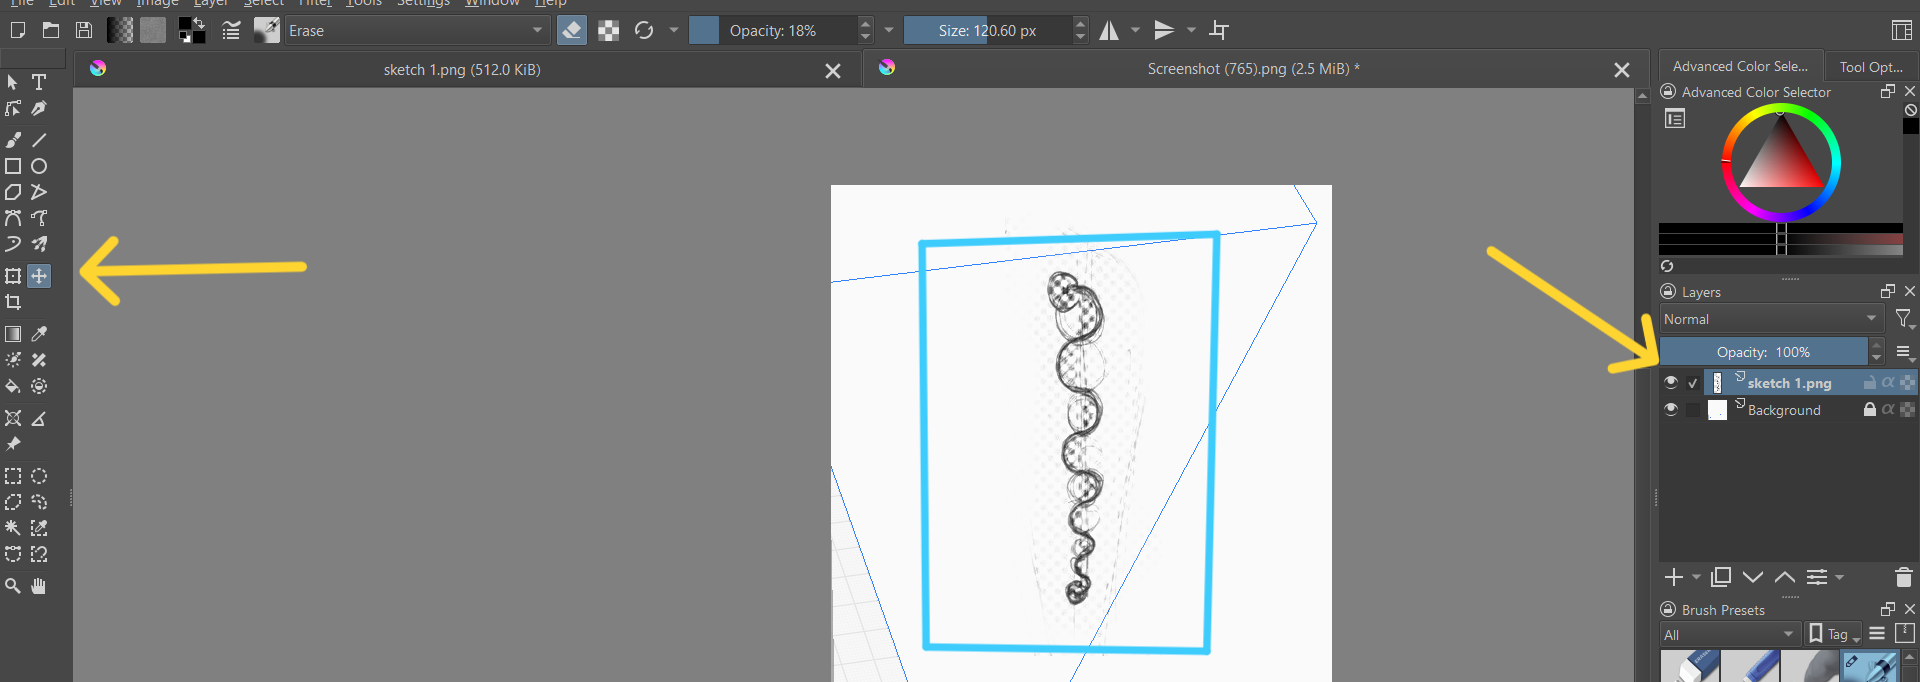
 By move tool I moved my second image to the middle side. But at first I locked the first image in the right side, in layers section.
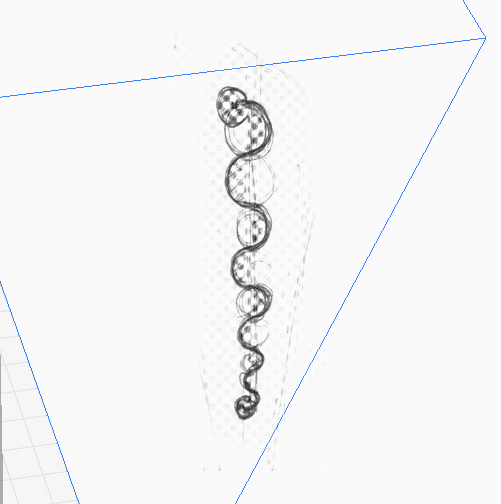
 What I got at the end is below.
2D vector graphics/vector-based illustrations
InkScape
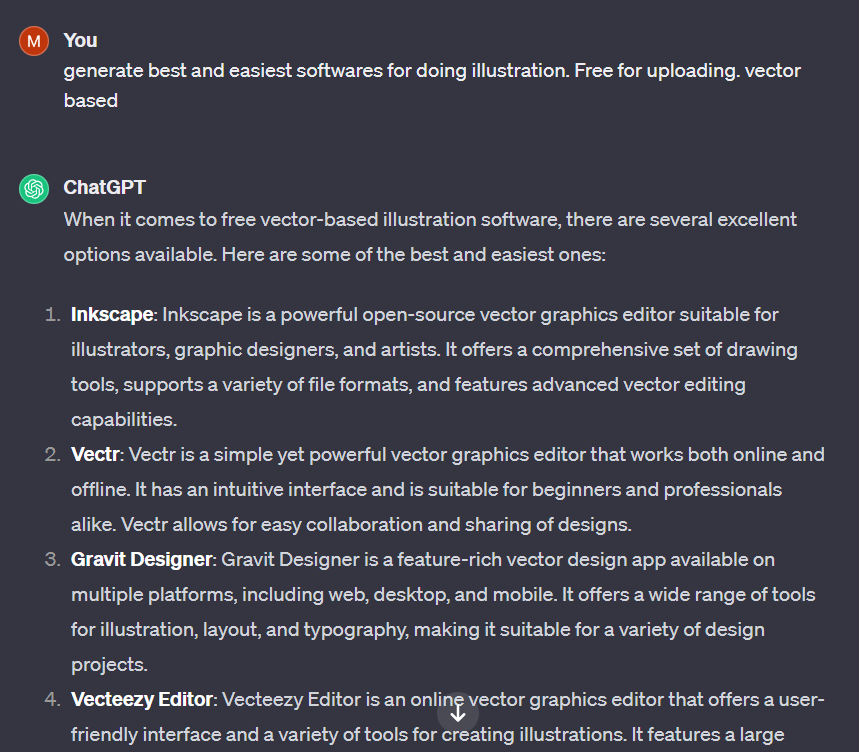
I did some research in 2D vector programs. Deciding to make an icons using a vector based program, I asked ChatGPT to make a comparison between programs. Here you can also read about other softwares, which you can use.
 And after reading about several softwares I searched for InkScape and downloaded it!
Below you can see the installation and setup process.
And after reading about several softwares I searched for InkScape and downloaded it!
Below you can see the installation and setup process.
So after setting up the software I chose one of my sketches, to make it as an icon for my final project description. So here is the first icon that I made, which is showing the process of digging - primary function of my robot.
3D Modeling
As an industrial designer I already had some background in 3D modeling. Usually I work in SolidWorks but also I have some base in 3Ds Max, Maya. So the software that I was interested in and had never opened was Fusion360.
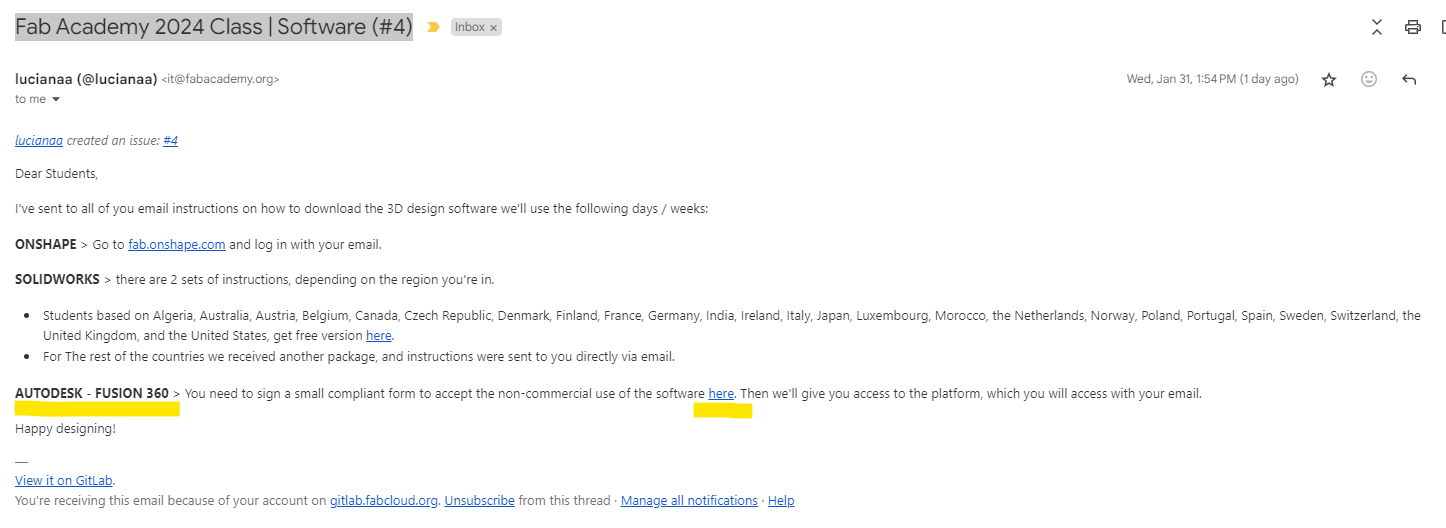
As soon as I received an Email from Fab Academy about installing softwares, I registered and applied for Fusion 360. (It’s important to apply for any software on time.) By yellow you can see mentioned software.
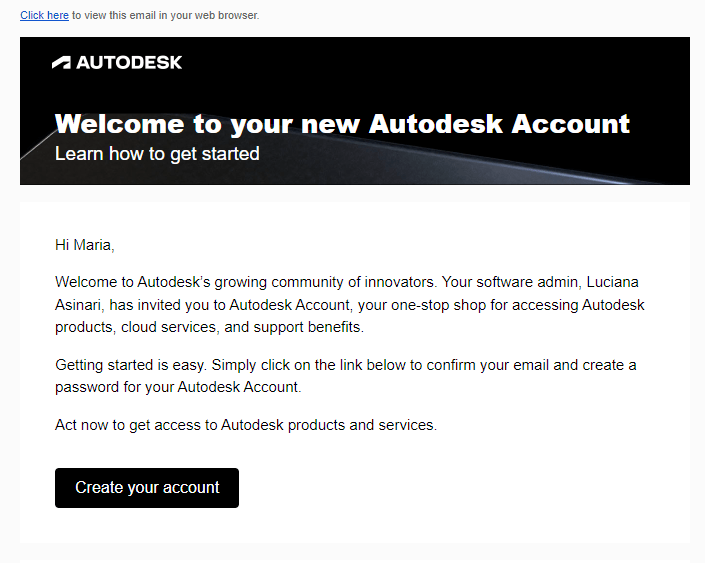
 After that I recieved an invitation from Autodesk.
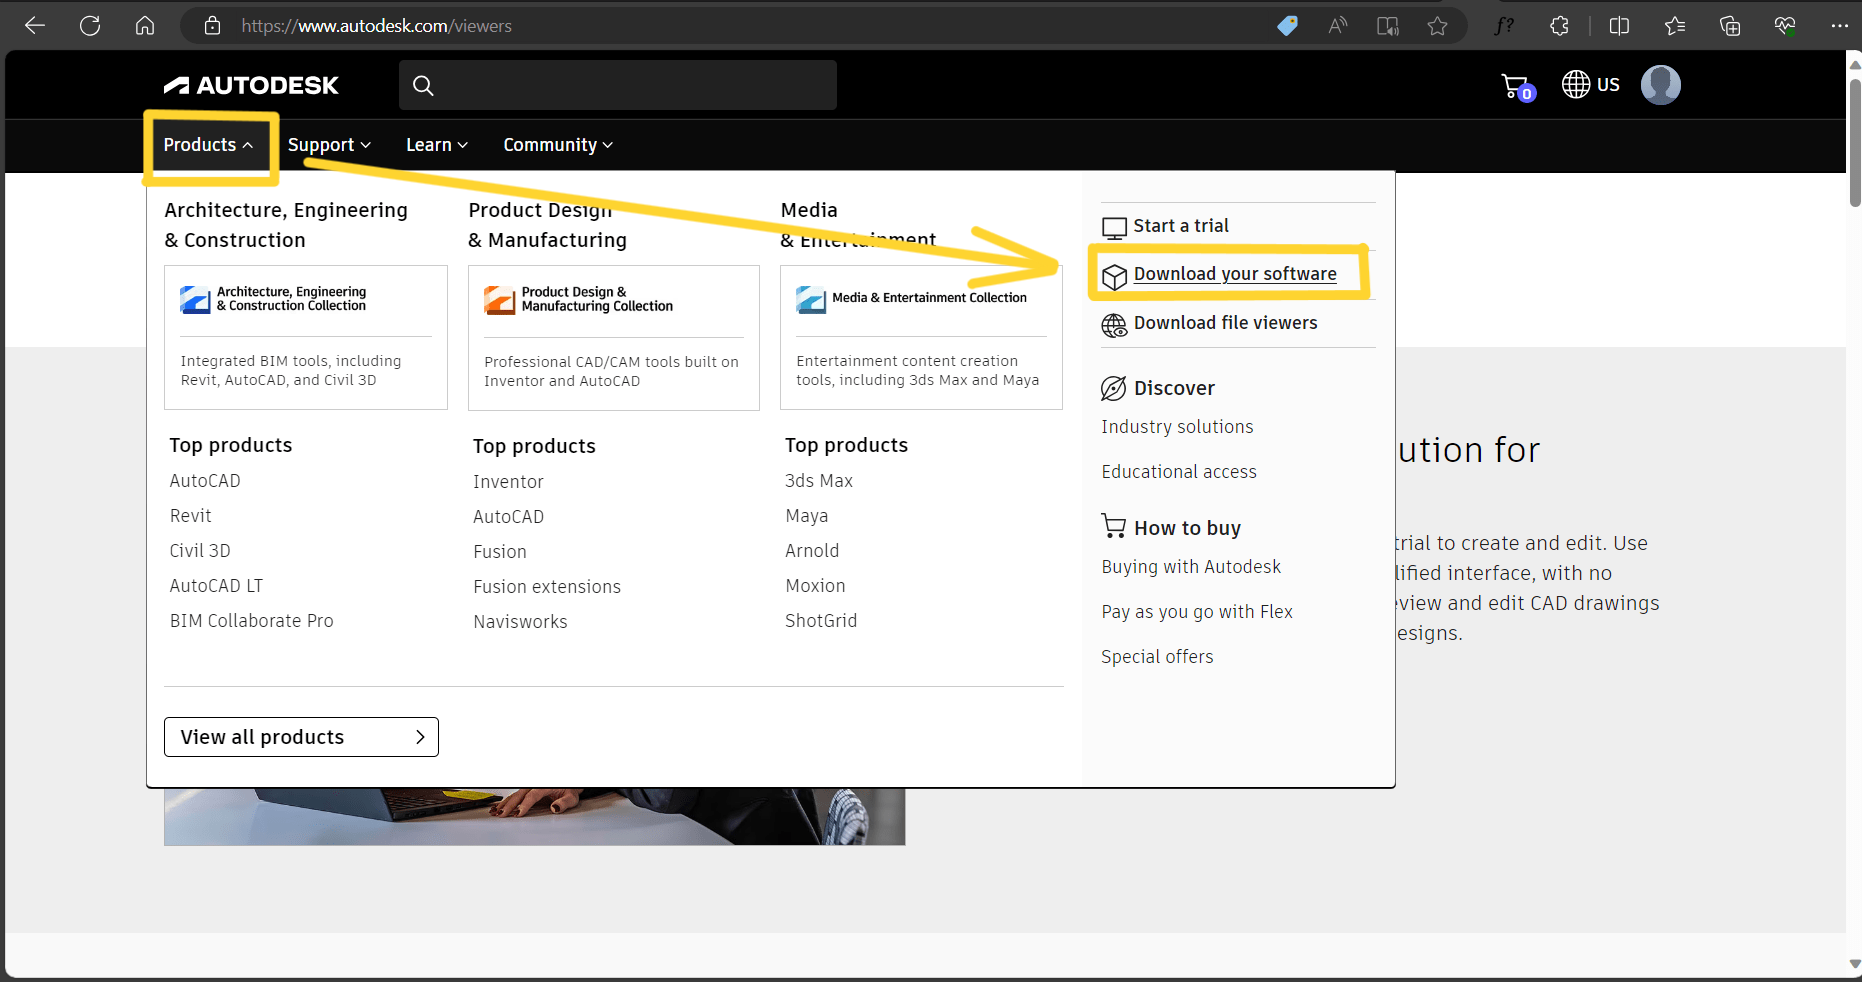
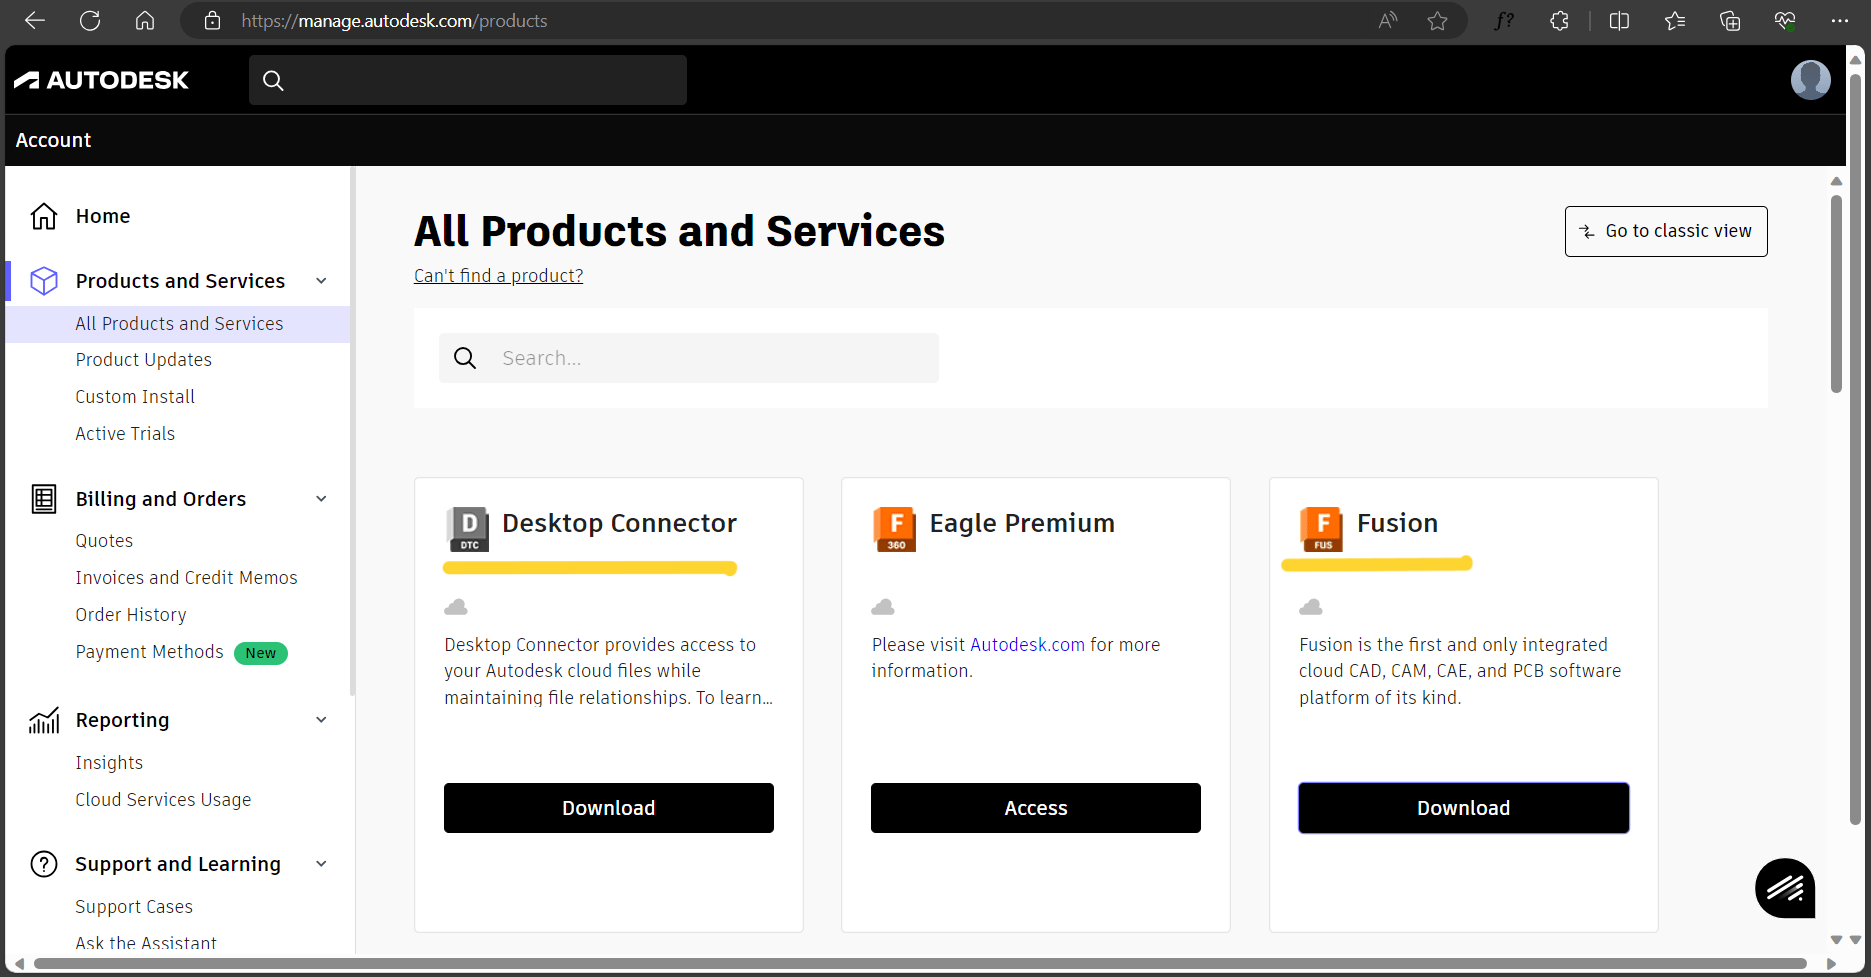
 Creating your account you are signing in to Autodesk, where you can find many softwares, but not for free, like ours-educational version. For finding the access to Fusion you have to go to Products (in the left top side) >> Click on the “Download your software” section.
 I downloaded this two files. The right one is Fusion software.
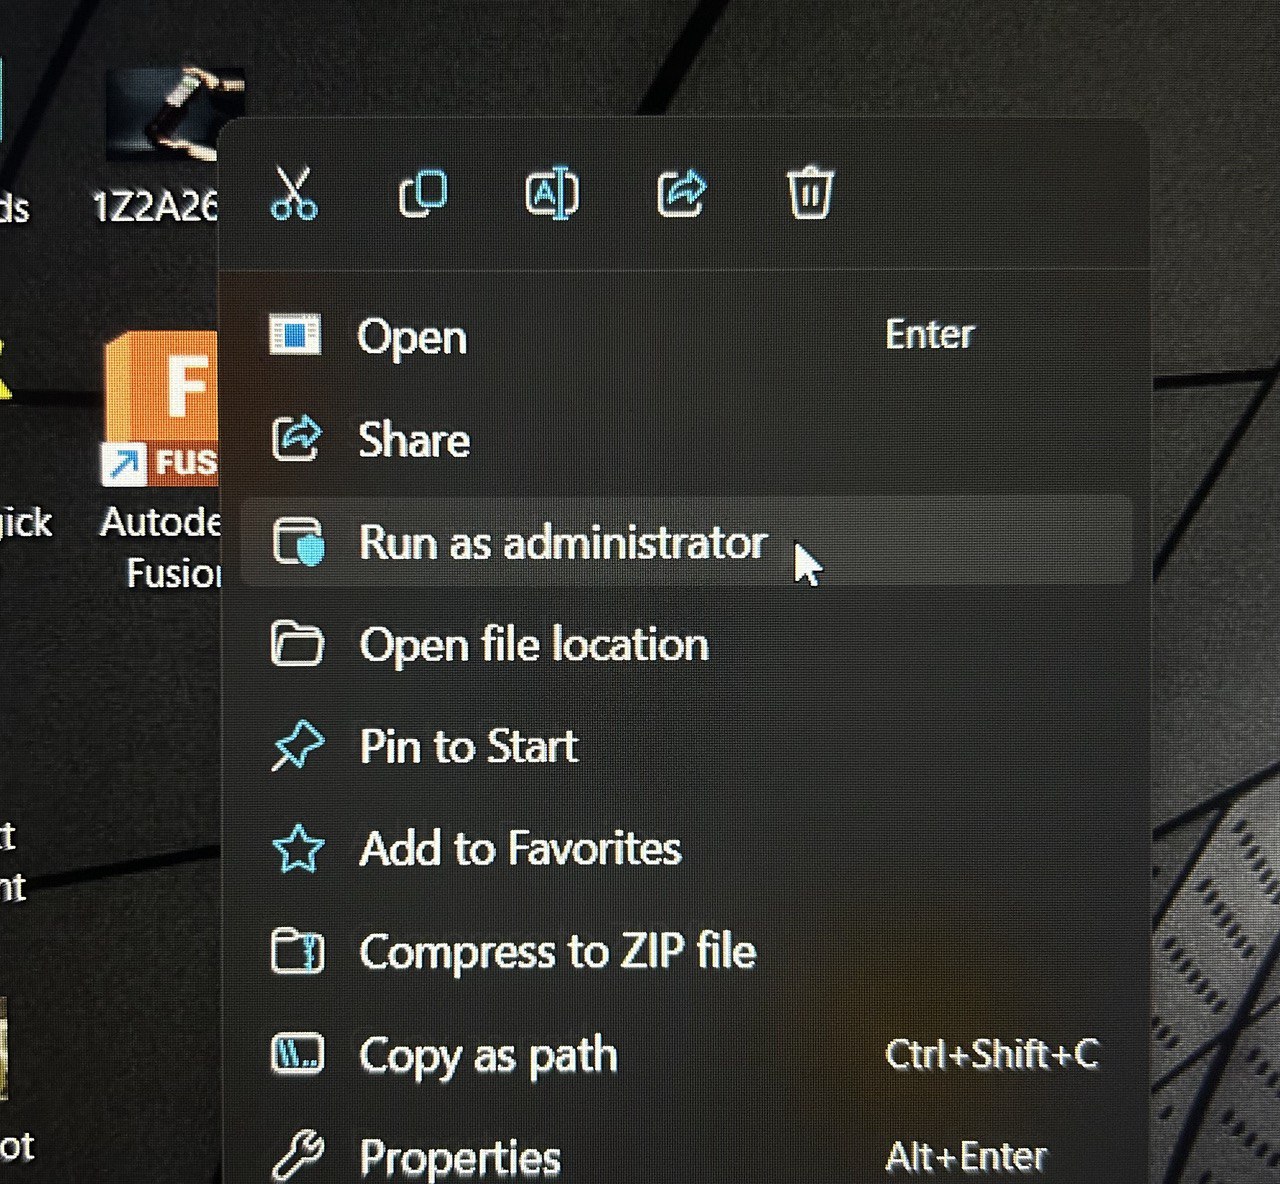
 After the Fusion appeared in my Destop, I take a right click on it and “runed as adiministrator”.
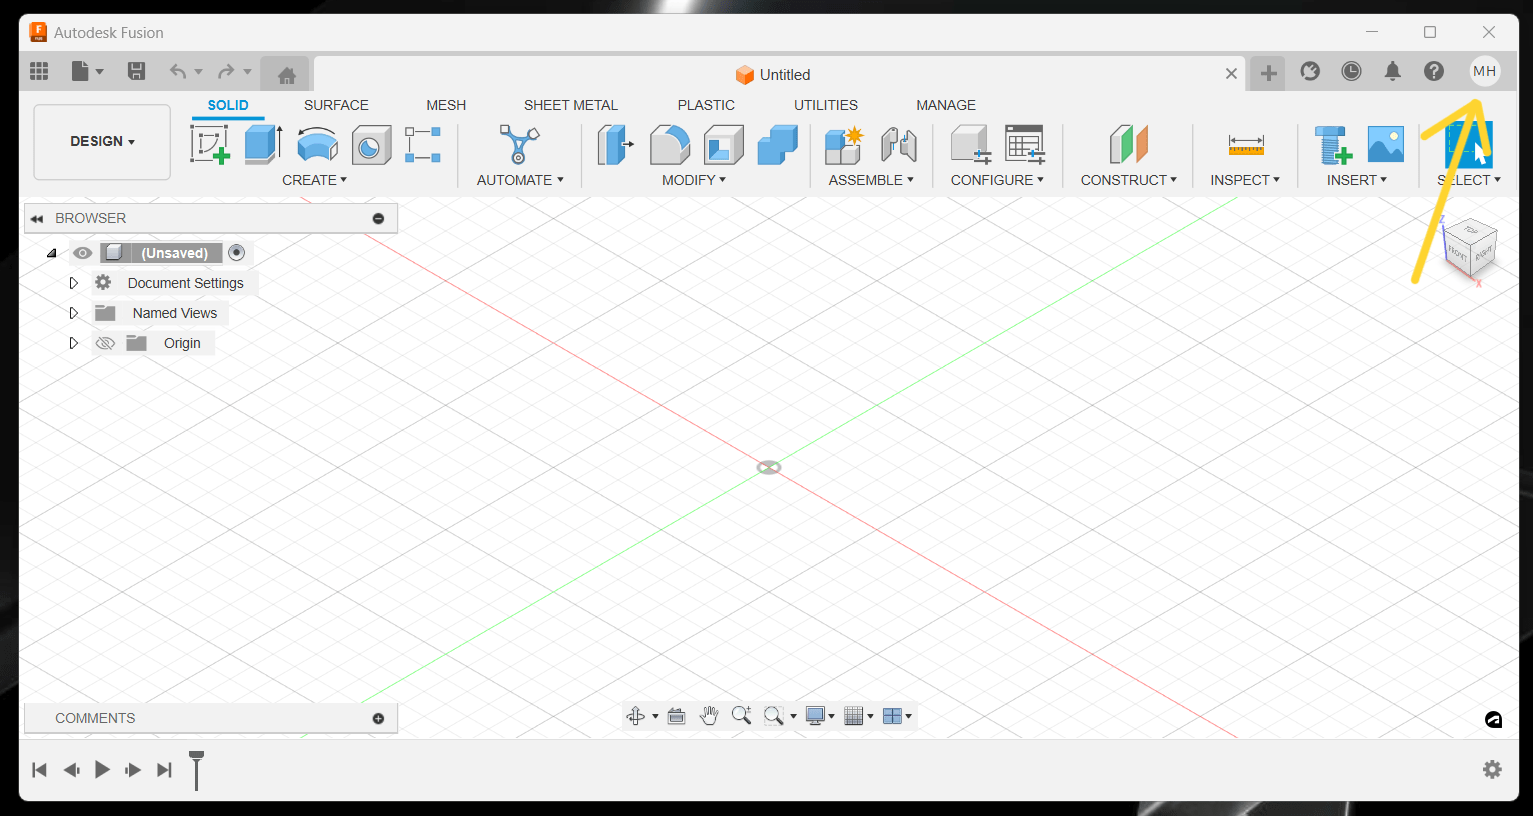
 After running the program you have set it up. And after-the program will open a window with the Fusion interface. You can see it below.
In the top left side you can see yur account, thats when you know you are verified and your cloud is connected with you computer.
Small tutorial for using Fusion 360
 After all this installation processes I tried to get acquainted with tools. The first thing Itried to do was making a sketch-going to the sketch bar you can find different type of tools-rectangle, circle, line and etc. And after I tried dimension tool.
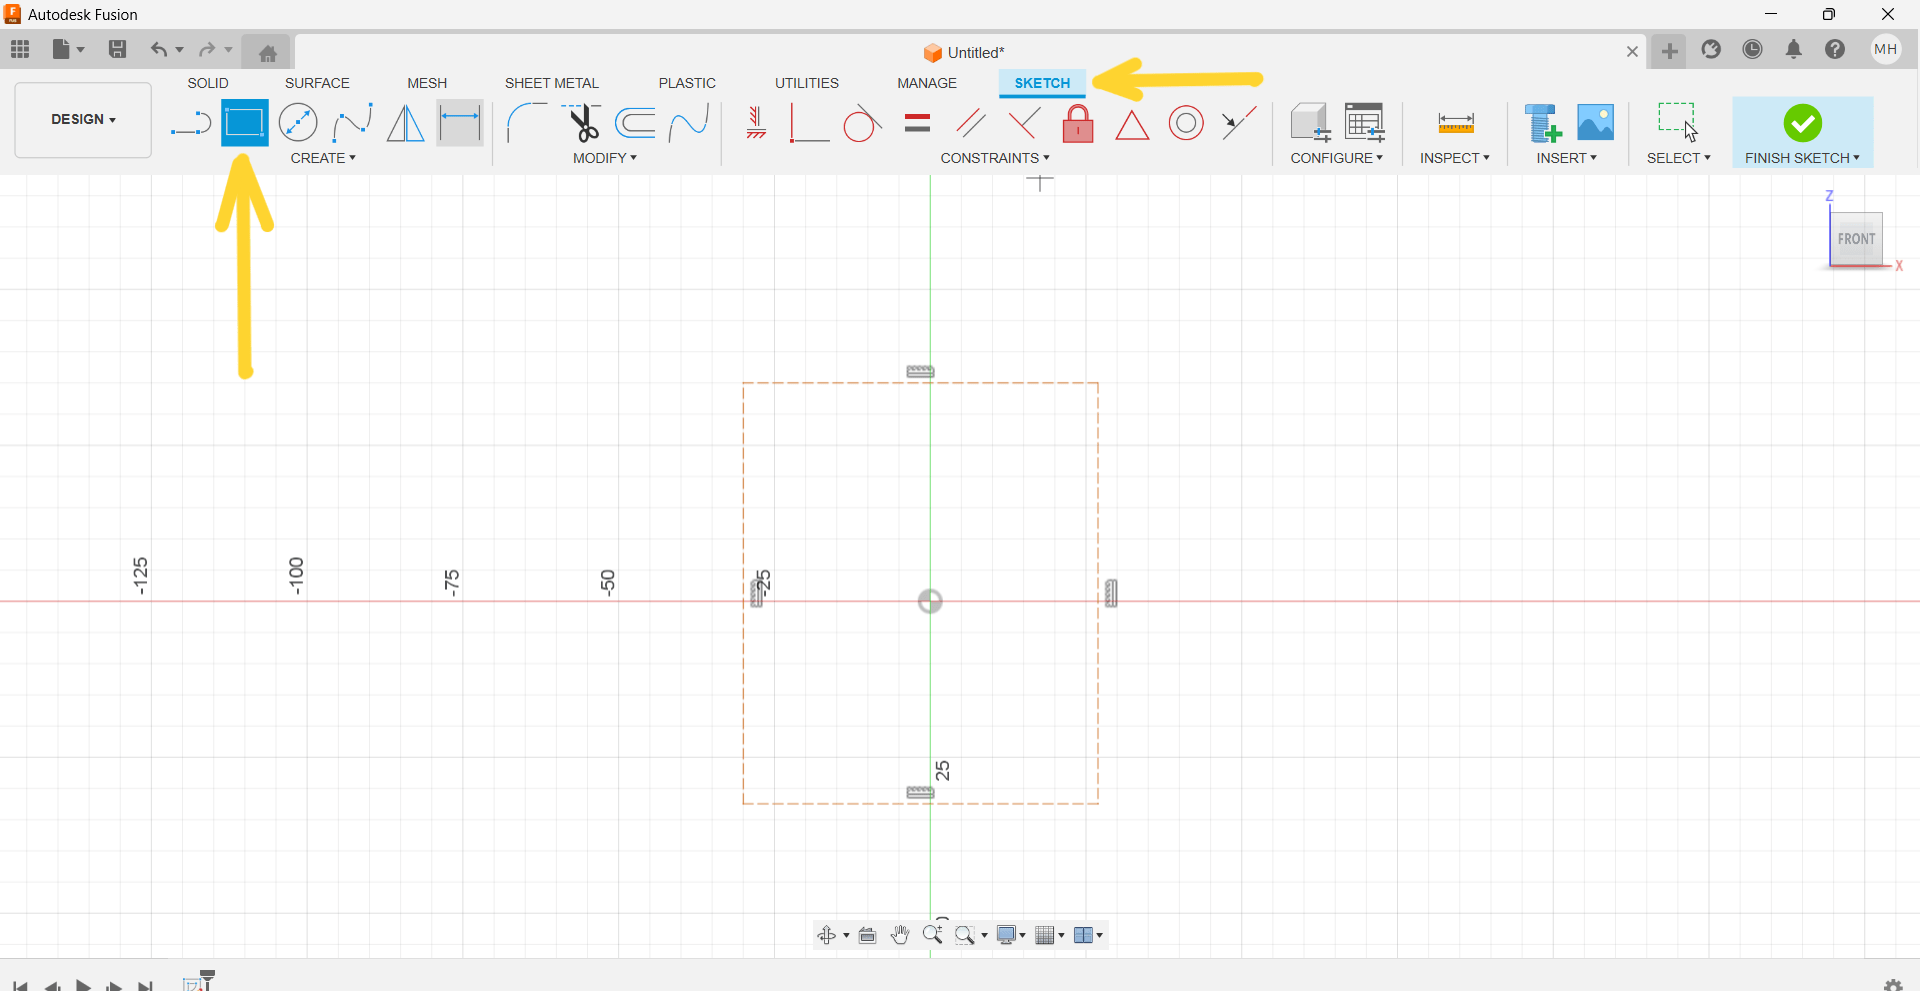
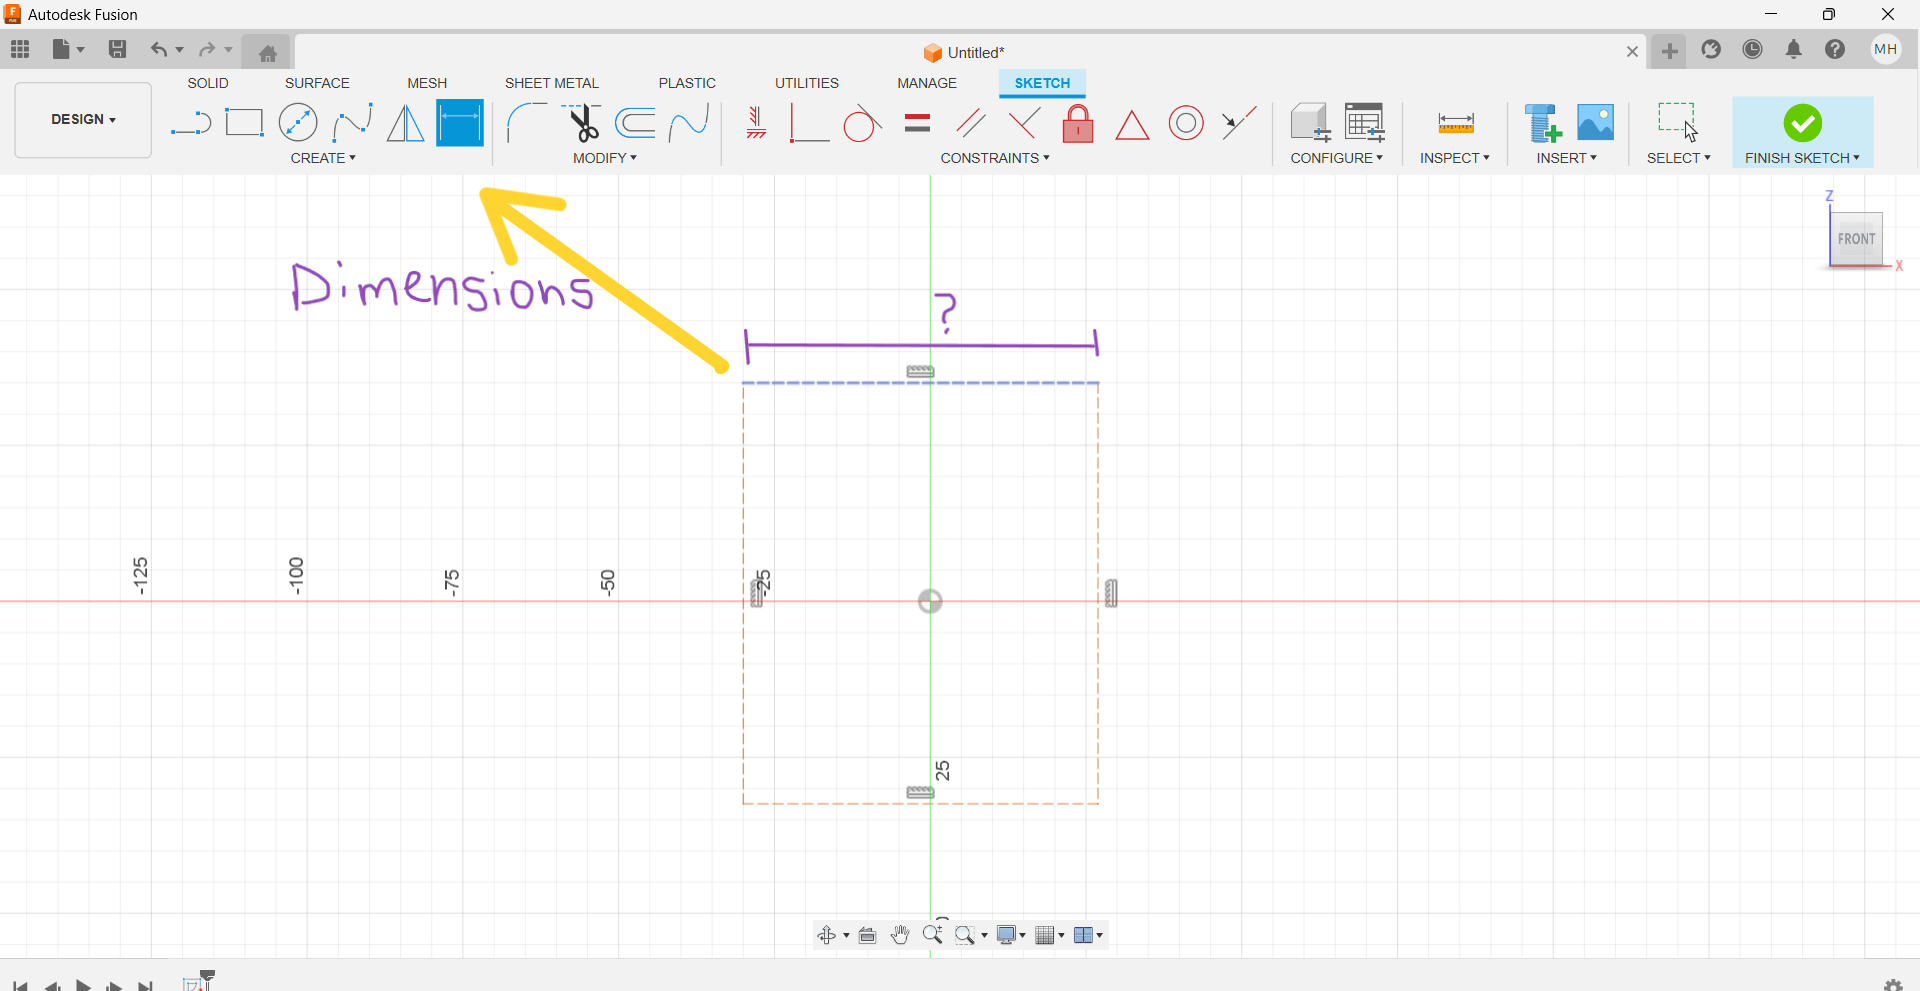
After you put your dimesions on both sides, you see that your red lines are turning black - that means that your sketch now is fully defined.
Other Softwares
I used many softwares for 3D and 2D for 3 years. There is plenty of them.
3D. Rhinnoceros, Autodesk 3Ds Max, SolidWorks, Autodesk Maya
2D. Adobe Illustrator, Adobe Photoshop, InDesign
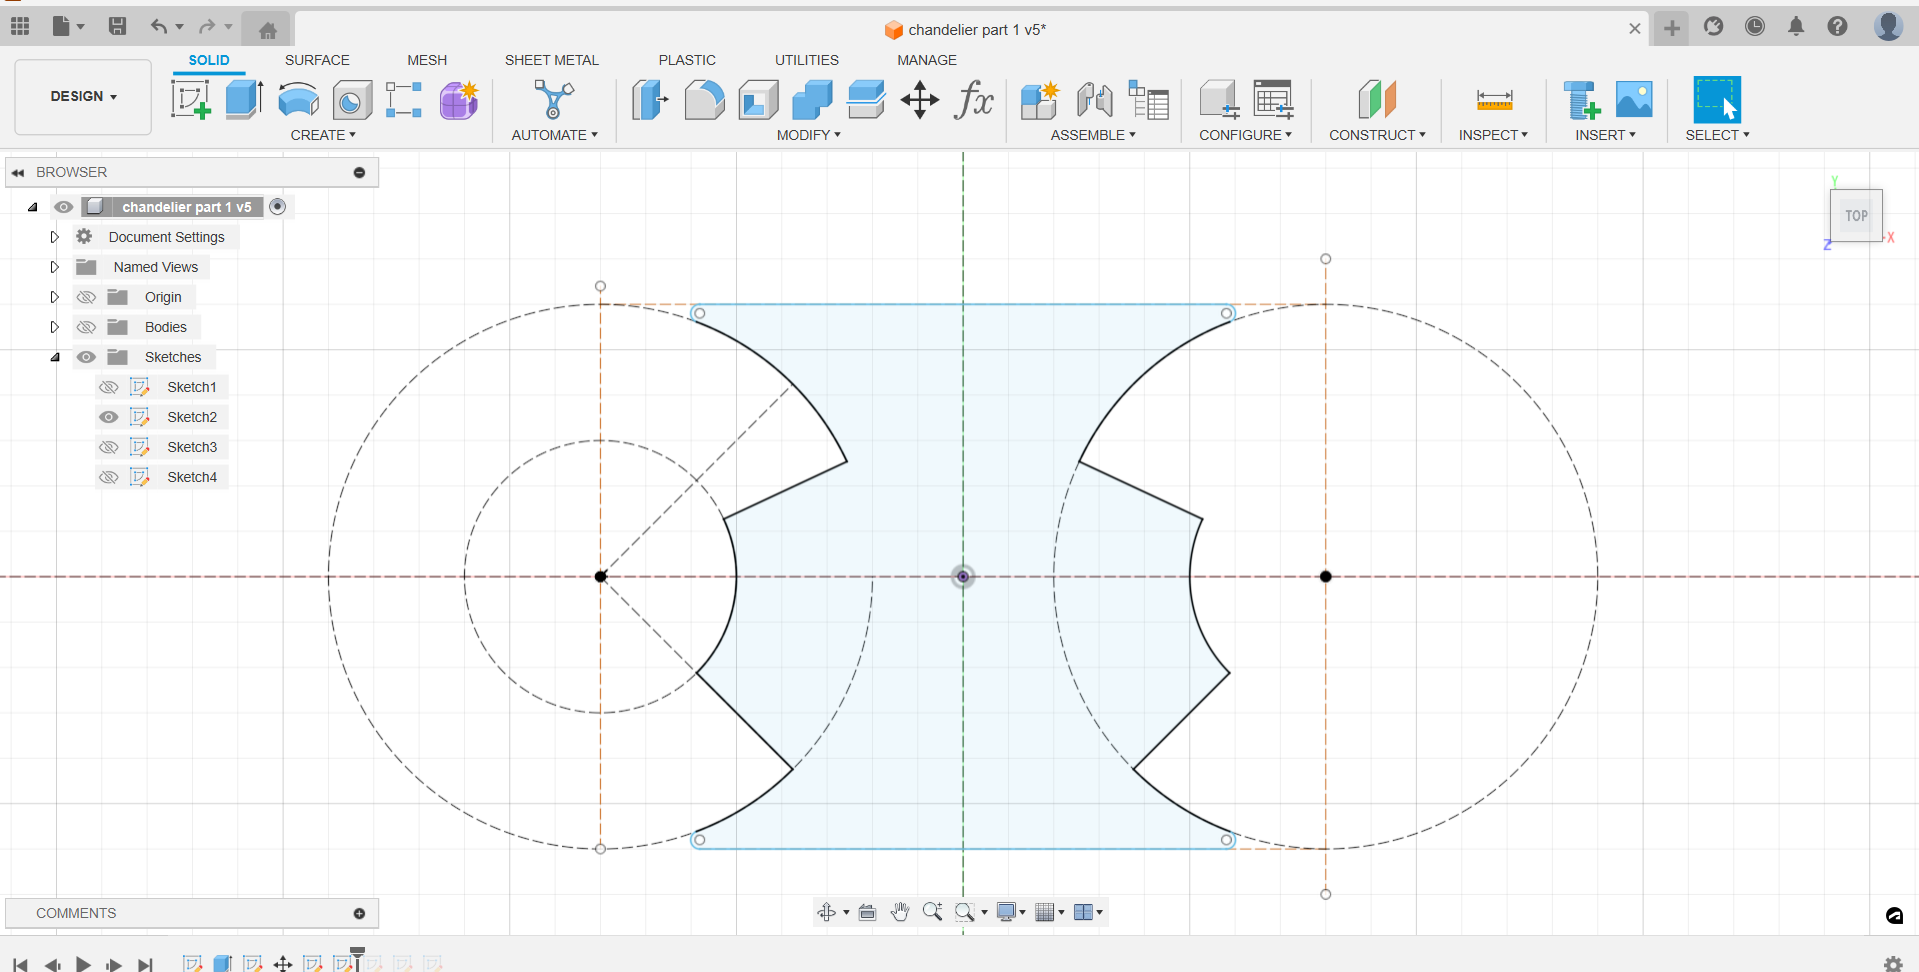
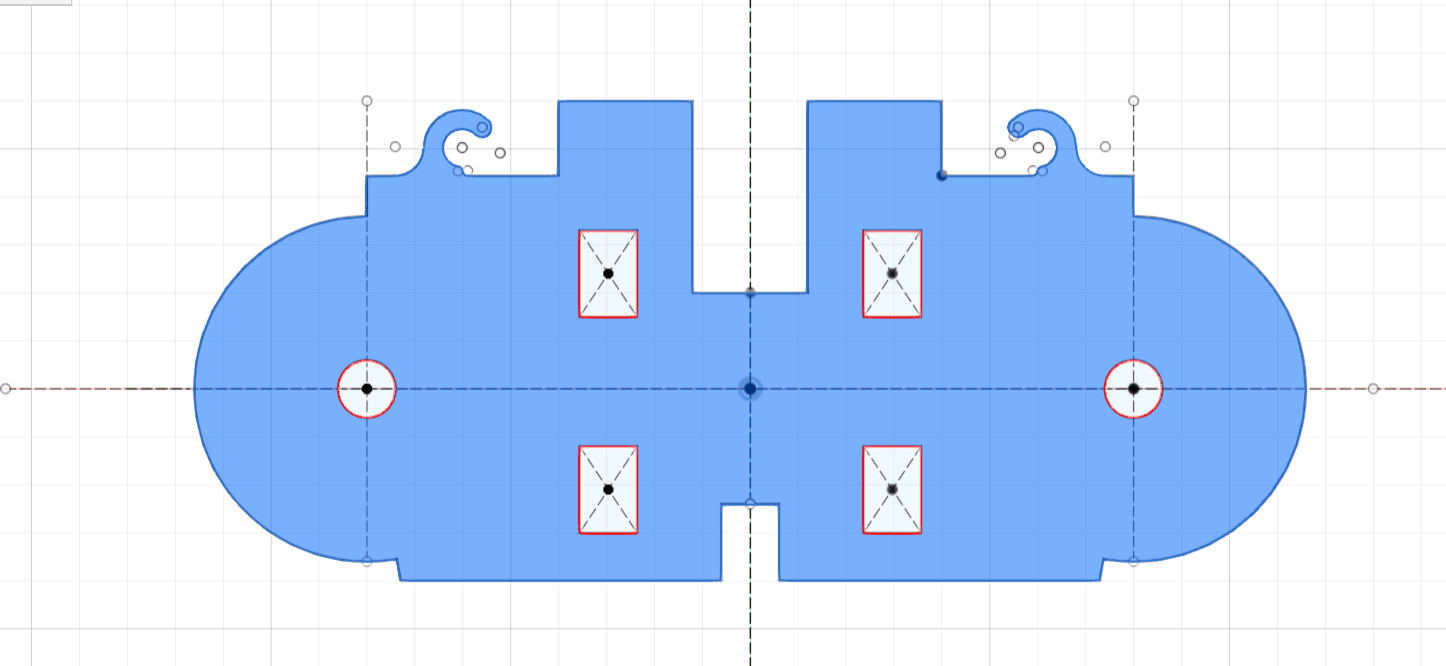
For this week’s assignment I designed kinetic chandelier’s parts, which is my final project.

Made drawing in one side and mirrored after.
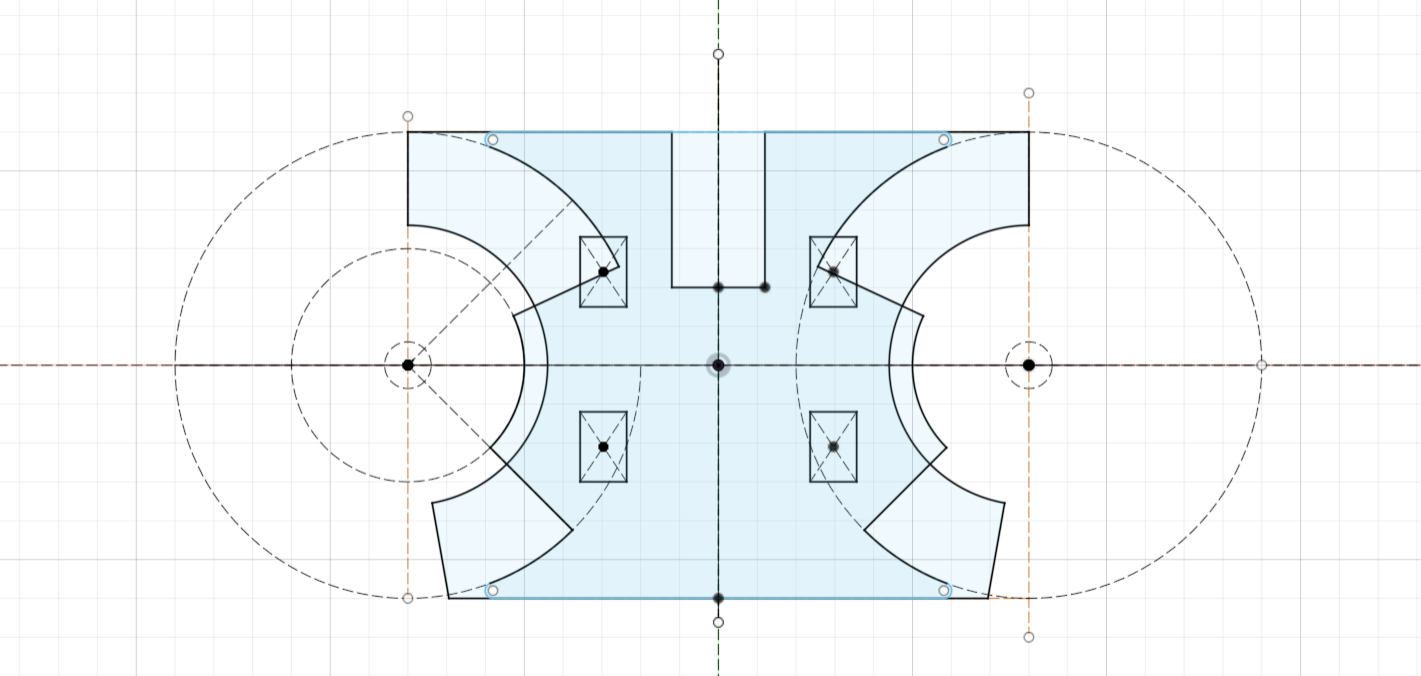
Here are some parts of them.
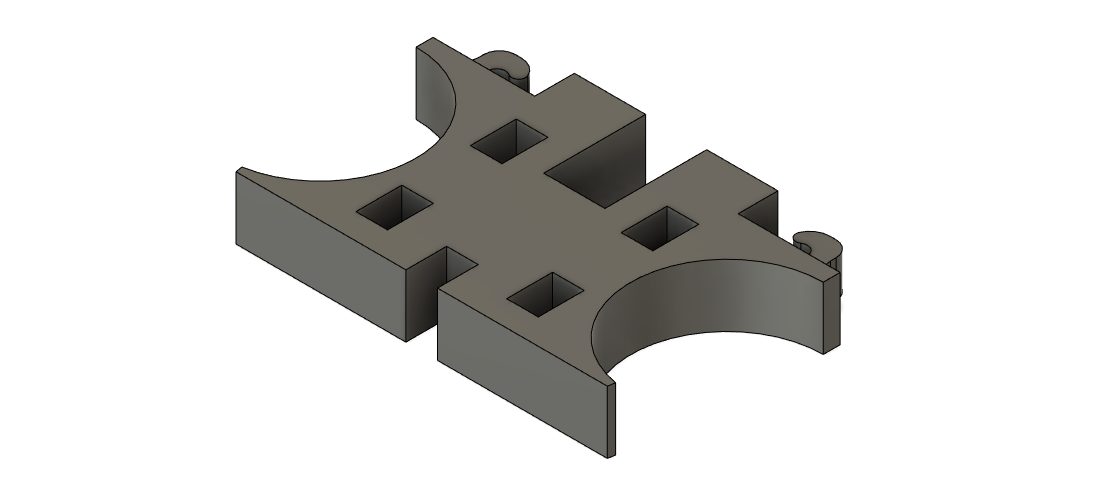
After I changed some of my designs.
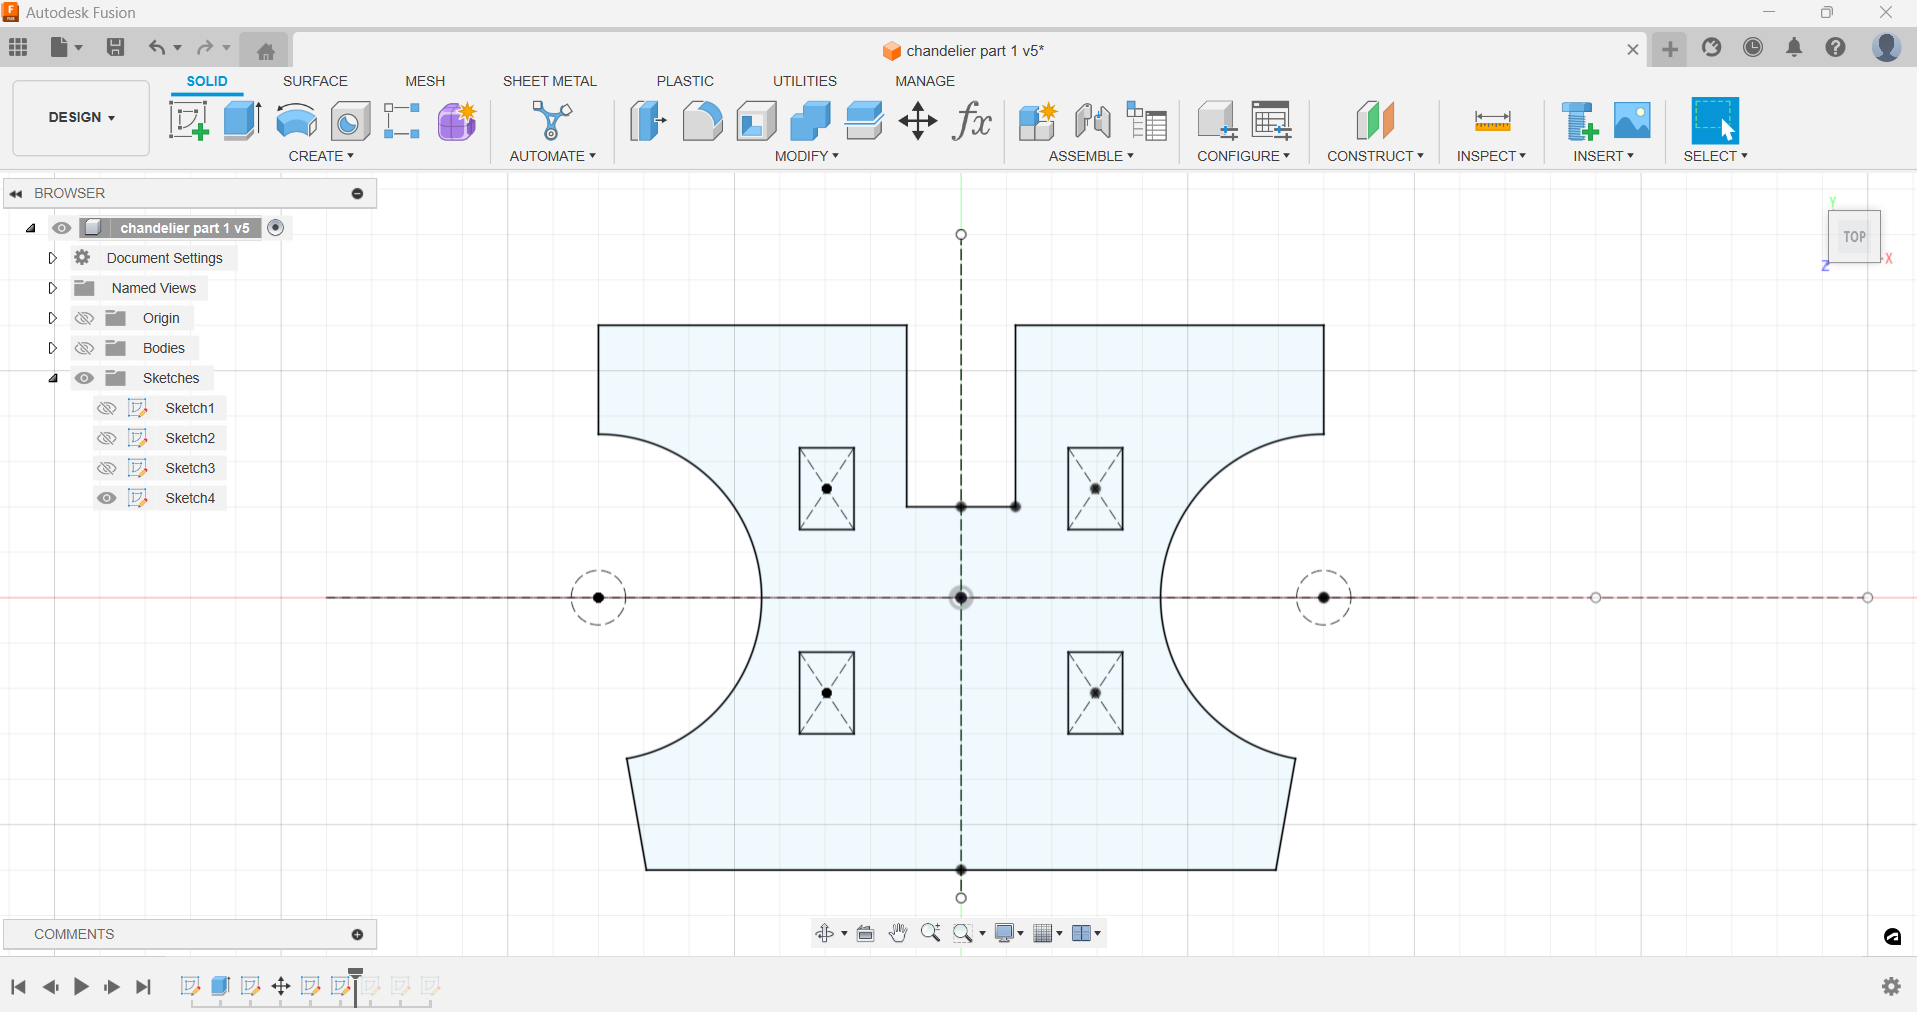
Made it more functional.
And after extruded the drawings.
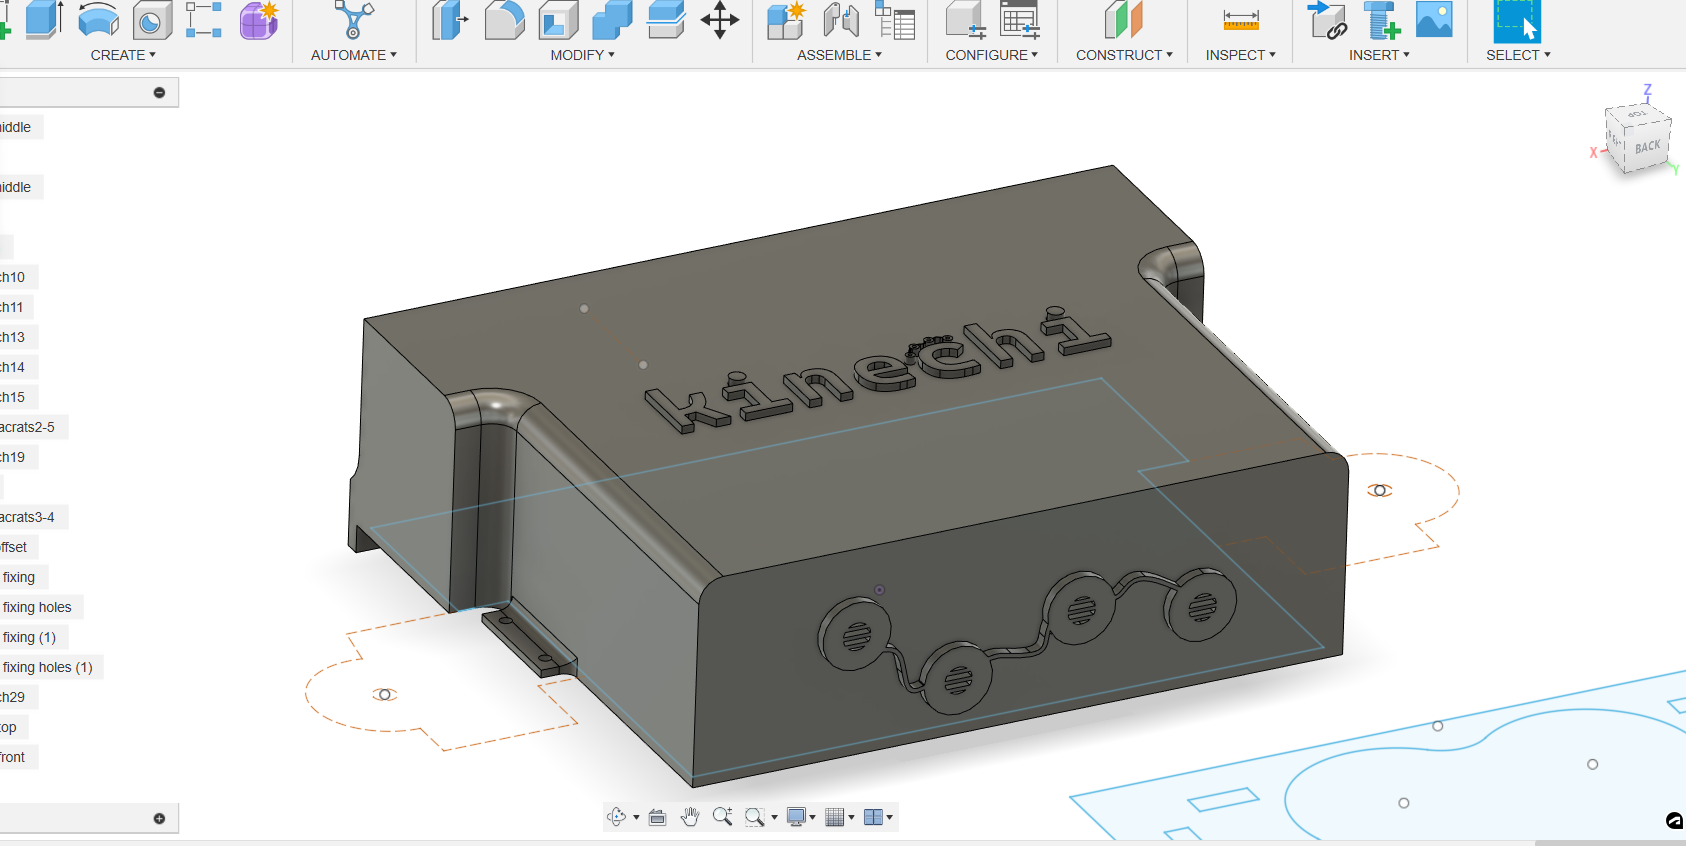
I also made a box, which will cover my wires on chandelier.
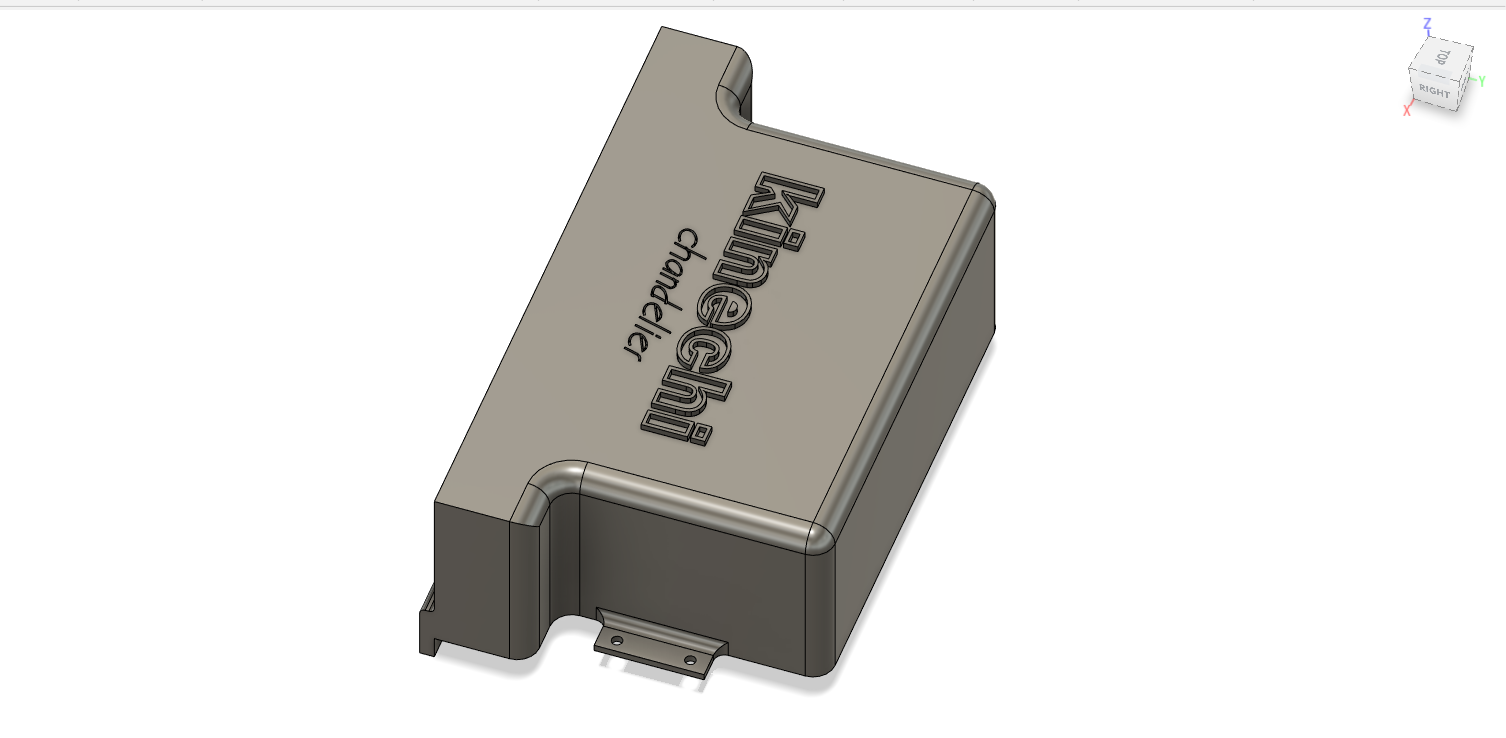
I added holes to regulate the ventilation.
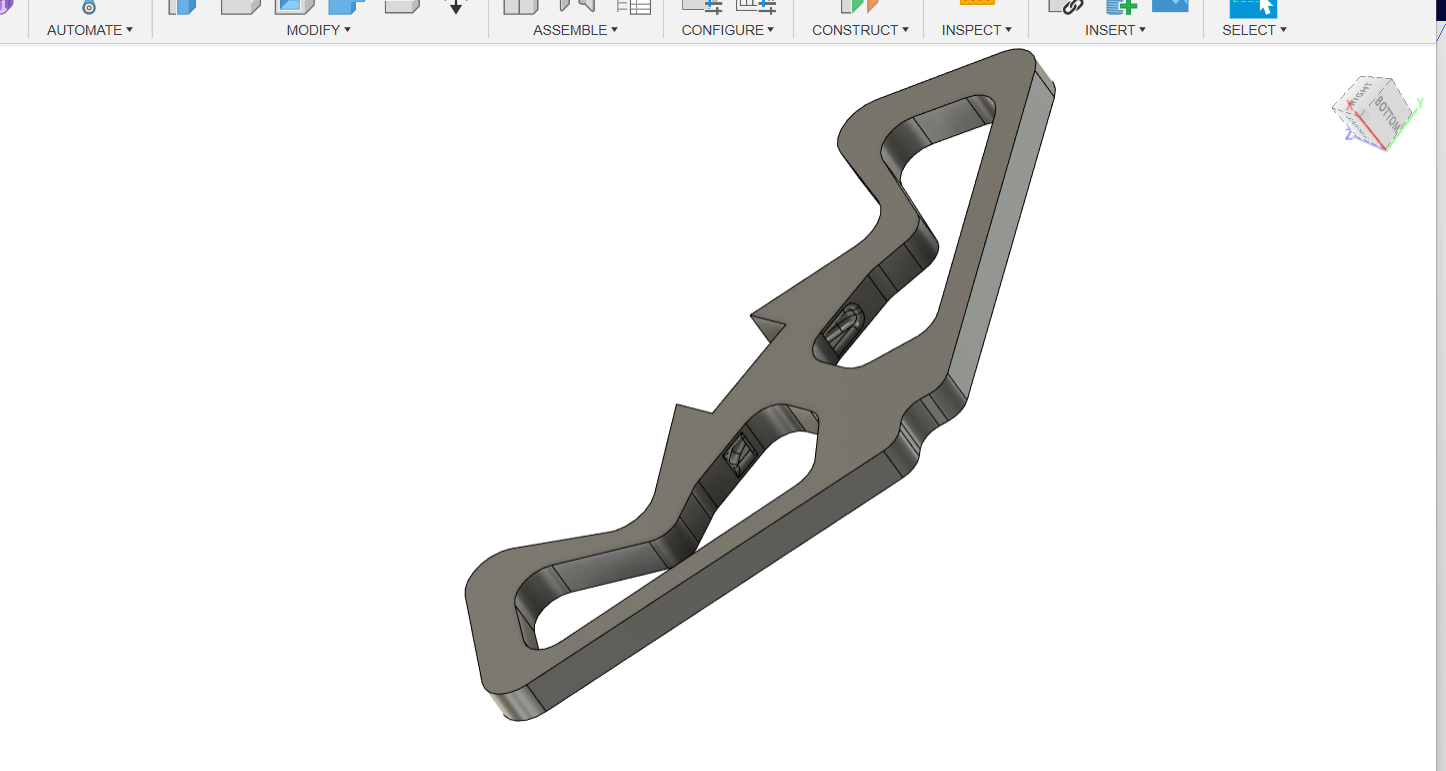
And also modeled wings that will be joined on the module. LEDs are also attached to these.
I had a new idea about switching on the lights.
As you can see on the modeled part, I made holes in the wings. I made it lighter. Therefore, less time will be spent to print each wing.
Along with that, the main idea was that I would place LEDs right in the wings.
But in addition, I also added a small vertical hole where the connecting LED light wires will go up to the top of the chandelier and not be seen.
That is what I made for these week. I learned a lot about Fusion 360 and now can freely work with it.
Conclusion
This week went much easier. As an industrial designer, I was already familiar with interfaces, 2D and 3D modeling and drawing programs. Thus, I have chosen softwares that I will need in the future.