5. 3D Printing and Scanning
Group Project
The link to our group project this week can be found here
Additive Design
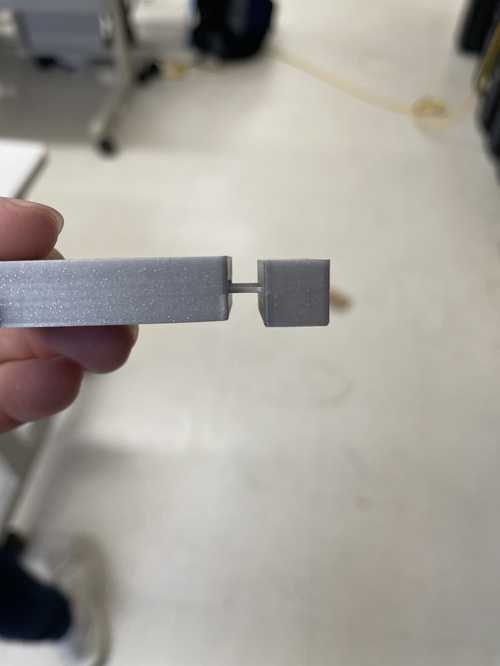
We were tasked to create a design that couldn’t be created using subtractive methods. A subtractive method is something that removes material to created a wanted object. For my design I created a rectangle with a slot and an indention inside the slot so that the second piece I made can fit inside the slot and into the indention so that it cannot be moved unless pulled up and out at the same time. This design is almost impossible to be created subtractively because the drill bit had to be less than 1mm long and the machine has to be able to rotate the drill bit so that they can create the indention inside the 1mm tall hole.
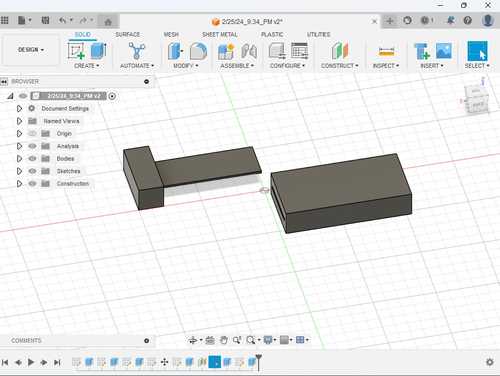
This is the cross-section

I then went into PrusaSlicer and made sure to add supports to the build plate so that the extended part of the piece can be pronted. I then generated the gcode for my design and put the file into a thumbdrive.

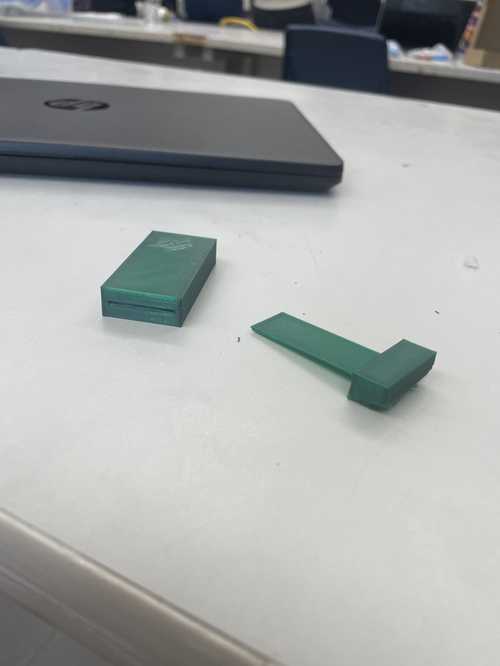
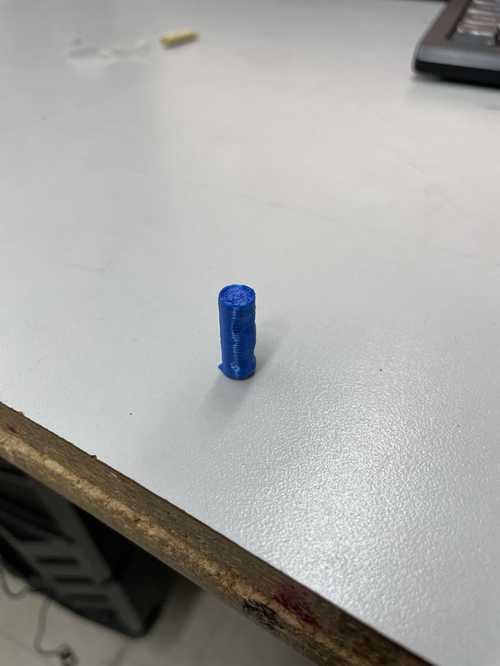
Now that I had my design, I went over to my Pursa Mini to 3D print my design. I took my thumbdrive that had my print and plugged it into my 3D printer. I then clicked print on the menu and it started to print my design. This is the result of my design.
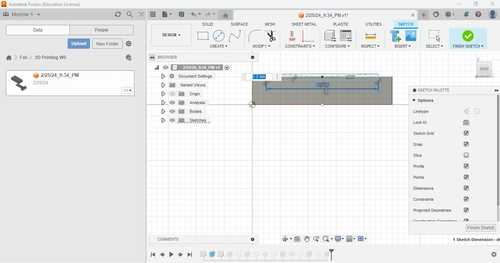
When designing the file initally, I added an extra .05 mm to the slot height just in case of printer error. But the slot was still to small for my other piece to fit into. So I went into Fusion360 and changed the file so that it had an extra .2 mm
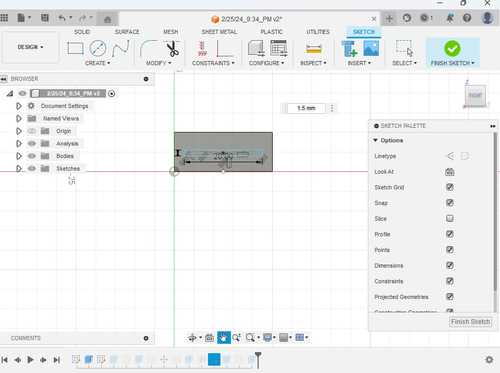
When printed, the clearence still was not enough for the piece to go through so I decided to make it an extra .5mm. This is the result after slicing and printing.
The print worked, when I put the pieces together, they stayed together. When I pulled the piece up a little bit, they would seperate.
3D Scanning
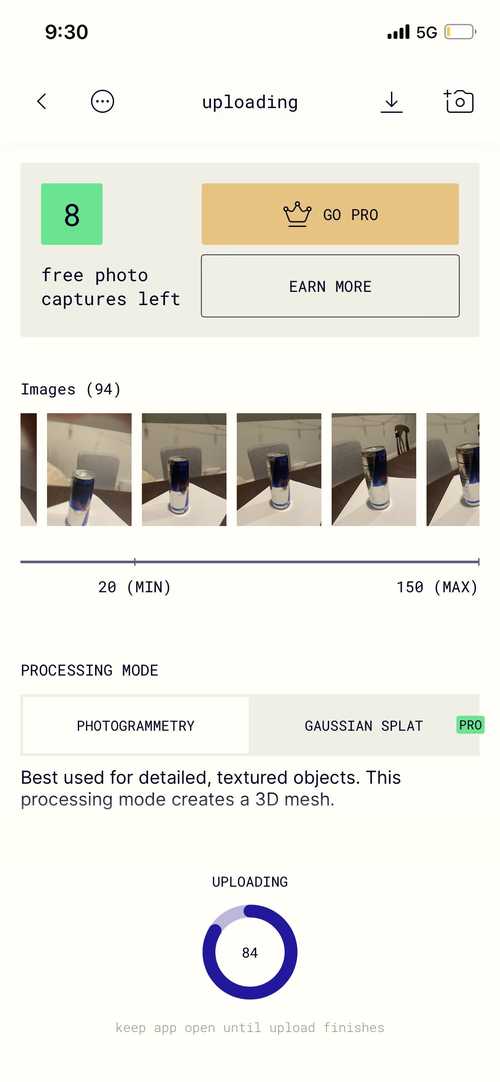
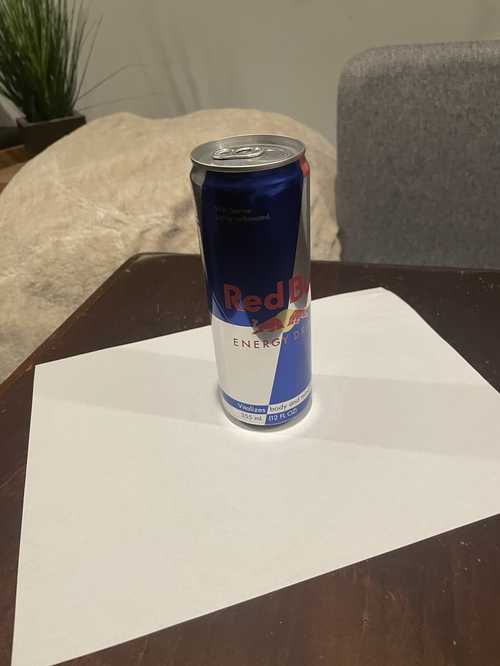
To 3D scan a file I can 3D print, I used Polycam, a mobile app that allows you to scan objects and turn them into meshes. To scan, I could take a maximum of 150 photos of multiple shots around the object I wanted to scan. I chose a Redbull can for my object. I went around the can until I took 94 images of the can and had the app process the object. I decided to do medium detail option.
This was the scan that I got after cropping to remove unwanted excess manually along with a photo of the original object for comparision.

I really liked this app for 3D scanning because it was quick and efficent. The fact I was able to do it on my phone was very convient too. I didn’t like how it only allowed me to export as a gltf file unless I paid for ‘pro.’ But I was able to work around that. The scanning was not perfect though, there were rough edges in the scan that weren’t there along with other minor grievences such as seeing the paper that the Redbull was sat on being part of the object.
Printing the File
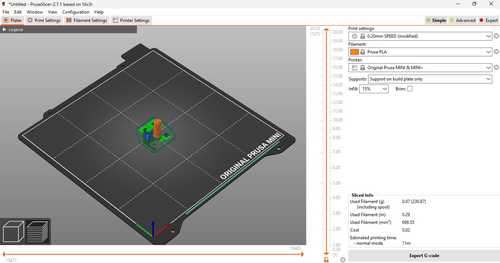
Because I could only export the file as a gltf, I used this converter to convert the gltf file into an stl file. I then was able to put this file into PrusaSlicer to be turned into gcode for my Prusa Mini to print.
In PrusaSlicer, I rotated the file 90 degrees along the x-axis so that it was flat and upright on the bed and increased the size 500% because the inital size was very small. This is the file in PrusaSlicer.
I put the file into my thumbdrive and plugged it into my Prusa Mini and clicked print. This is the result.
Downloads
All my files for this week can be downloaded here.
Reflection
Becasue I already understood the basics of 3D Printing, I knew most of the things we needed to know this week. Although, utilizing the Bambu X1 Carbon 3D printer was interesting and now that I understand how to use it, I can create multicolored and more accurate 3D prints which can be utilized in future projects. Scanning a 3D object was also something new I learned this week, but if I were to use it in the future, I will need a much better setup so that my scan is more accurate such as better lighting and background.