Group Assisnment Week 3
Write something at the front
During this week, our lab was not fully ready so we waited quite a bit.
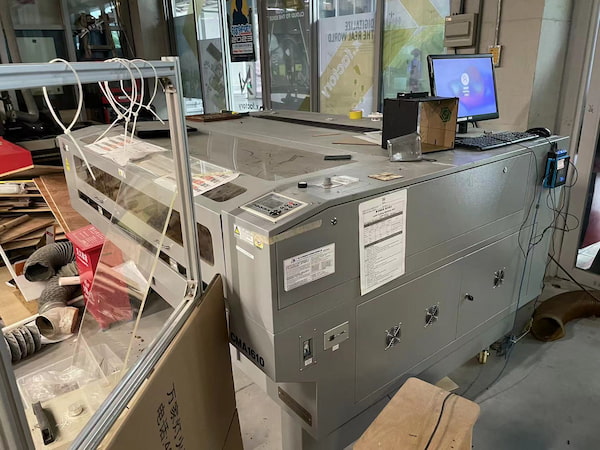
This is the machine where we are going to do the cutting:
What are we the group going to do this week
The assignment is including tasks below:
- Characterize your laser cutter’s focus, power, speed, rate
- Determine the kerf & joint clearance
Since we need to record all our work in the group website, we will have one specific page managing it: Chaihuo Makerspace.
Test the machine and get the curf
We are going to use the acrylic board to do the cutting, for the first we need to know the thickness of it:
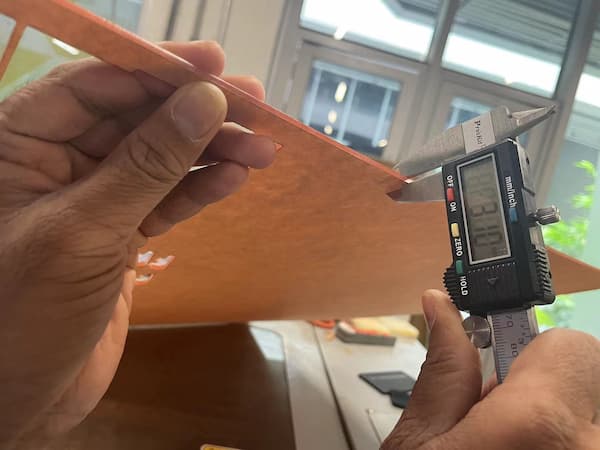
It is about 3mm, so on the Onshape I need to design a test board for testing the curf of it. Then I can make sure this board will be complete fit:
I design a board from 2.5mm to 3.1mm:
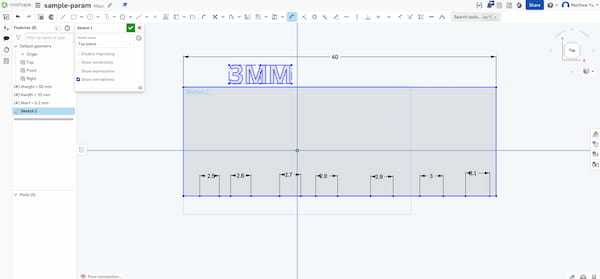
but it is a little no in the order, so I add some Variable Parameters:
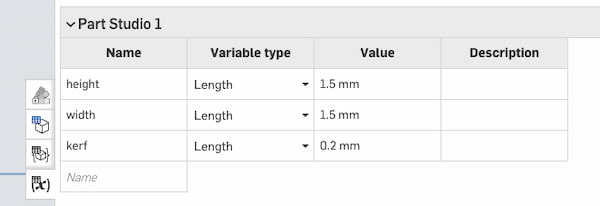
for the width I think 1.5mm is fine.
Then I add the different cutting intervals as 1.5mm.
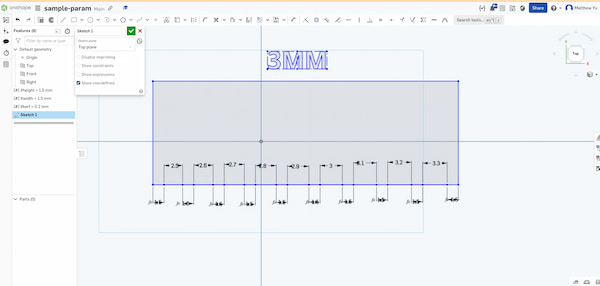
for the heigh I think 8mm is fine.
Then I add the different cutting intervals as 8mm.

Since the software for machine seems not supporting editing different contents, I have to make two layers for it cutting.
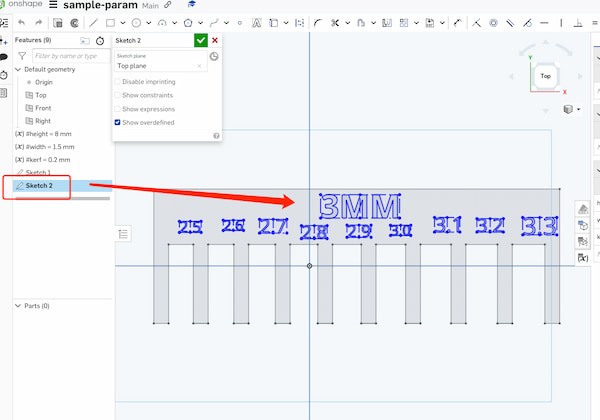
Then I output two DXF files:

And send them to the machine
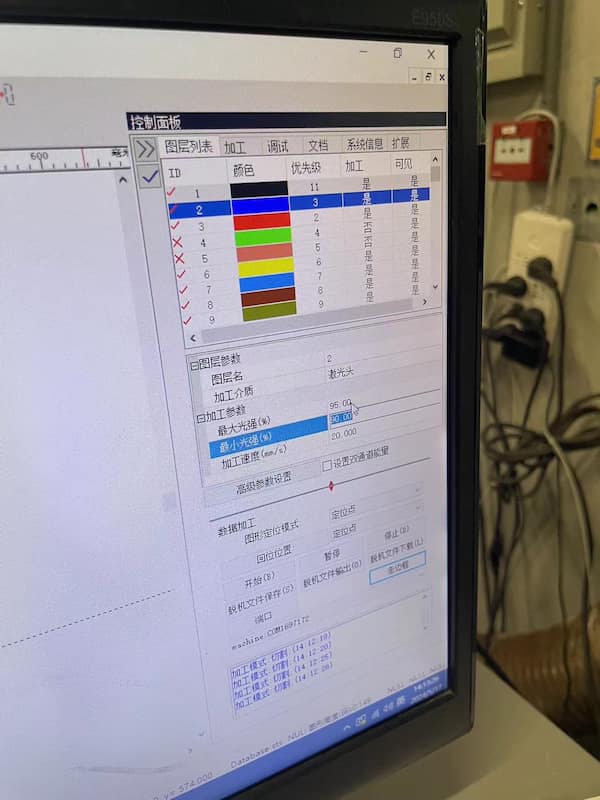
The parameter is 95 Maximum light intensity, 90 minimum light intensity, 20 mm/s working speed.
And the power is 91.
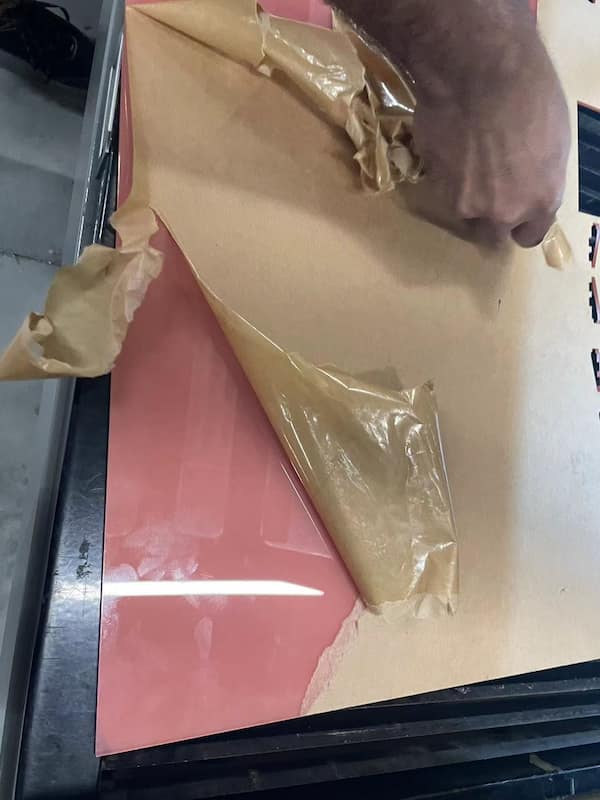
Then I should have torn the paper off the acrylic sheet so it wouldn't catch fire:
Setting the zero ppoint:
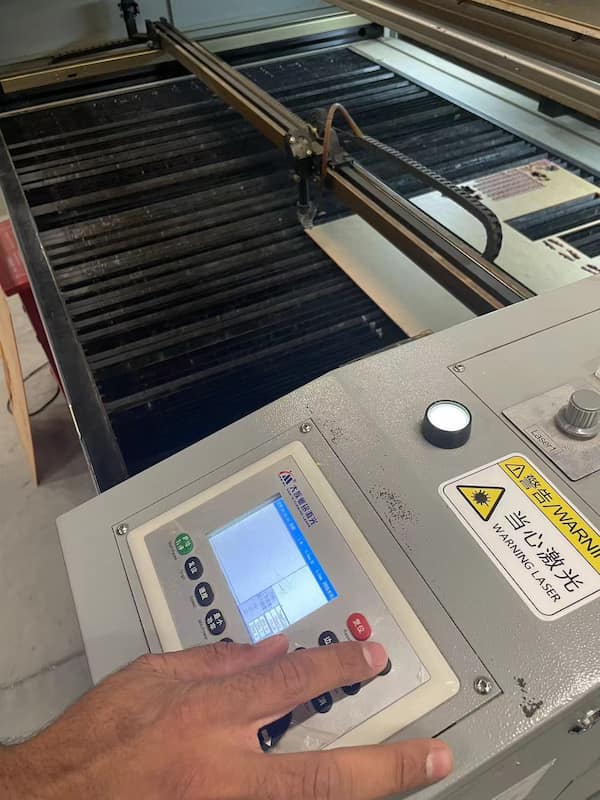
Finally, setting the power of laser as 90%, and the speed as 20mm/S, as recommended before.
The I can send the file from the software to the machine and begin the cutting:
The first is brkoen and the second one is great:
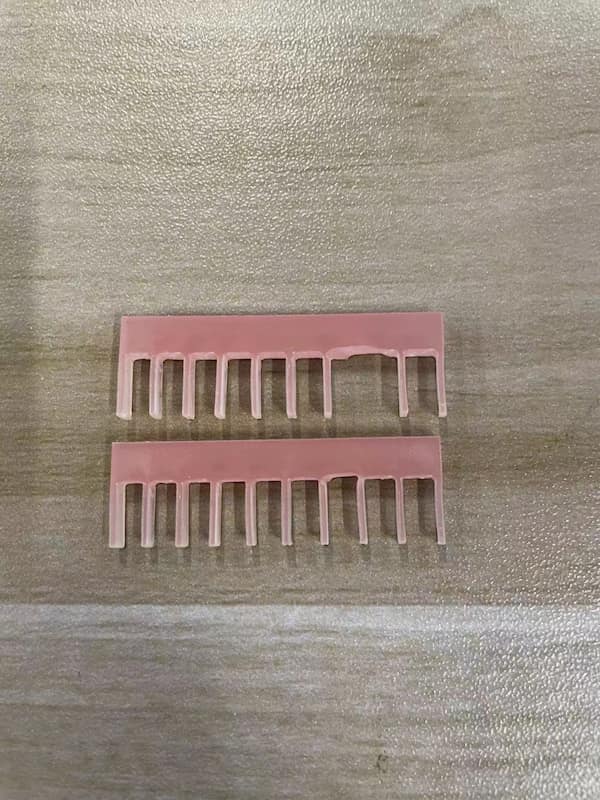
But it also gave me a chance to see which one would fit right in:
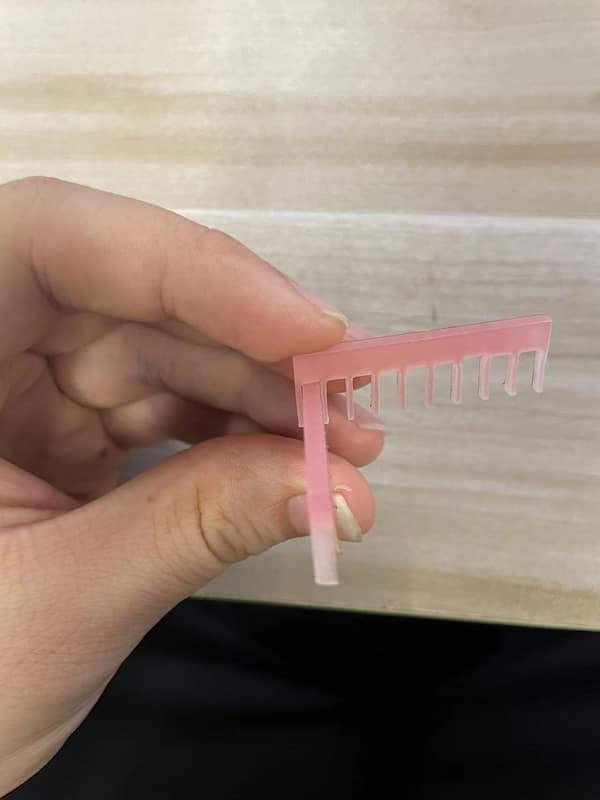
I forgot to cut the text first. But after checking with the files I design, the curf should be 0.6mm.