Final Project, CNC
To start milling on the cnc, I have first to prepare CAM for the disk and chair.
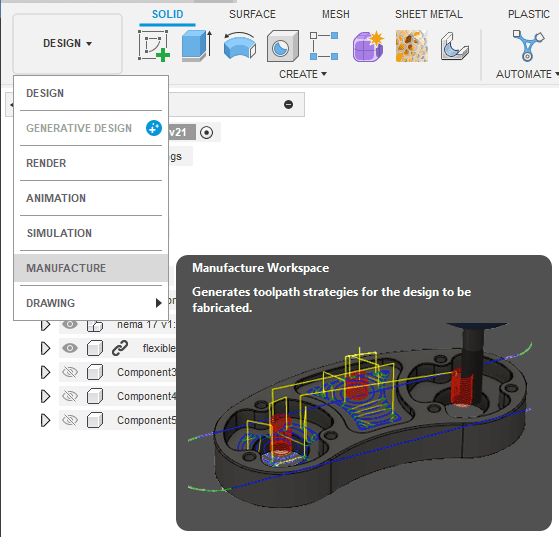
I will prepare CAM files on fusion 360, to do this, from design I opened manufacturing window :
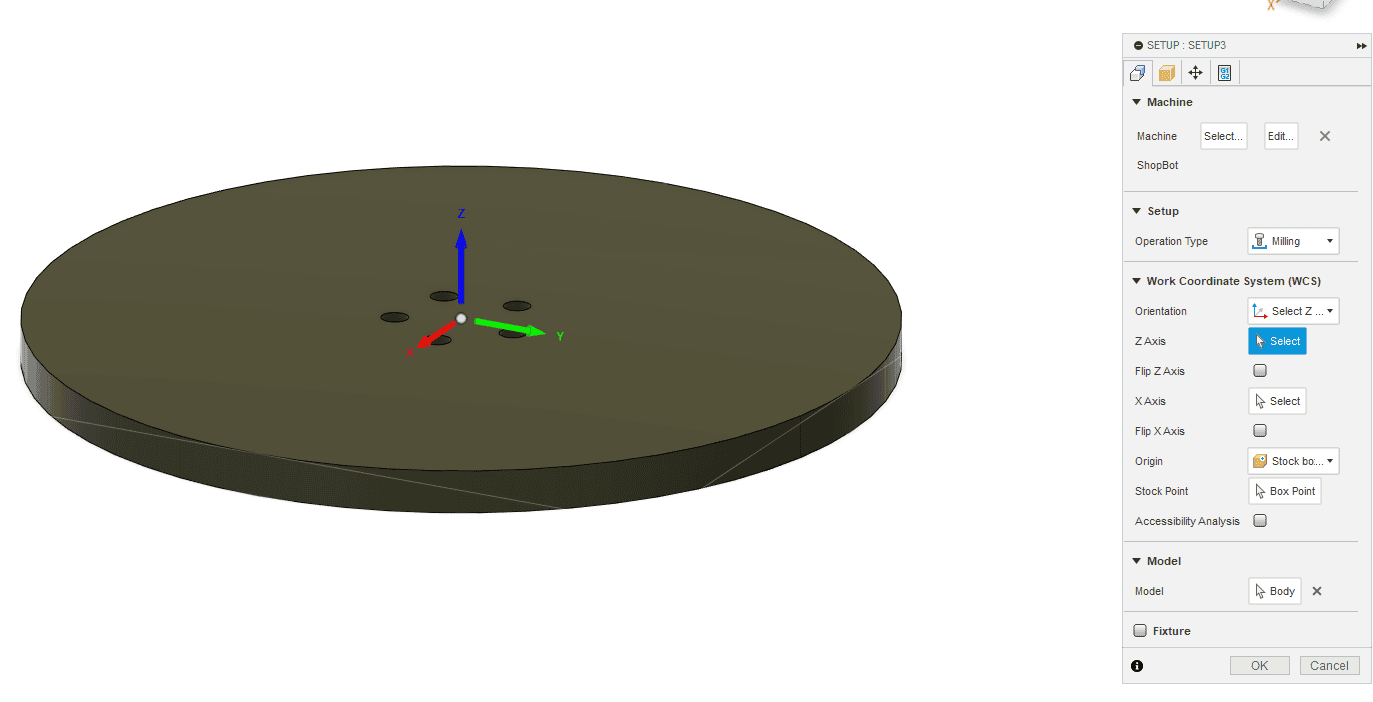
Starting with the desk, from "Setup", New setup then from setup window:
First I chose the shopbot machine, Within the "Setup" tab, the "Machine" section. I clicked on the dropdown menu labeled "Library" to access the machine library. By scrolling through the machine library to locate the category for ShopBot machines. Fusion 360 offers several predefined configurations for different ShopBot models. I Looked for the ShopBot machine model that matches or closely matches the shopbot we have with specific machine. I think it also could work If anyone did not find his machine, because I it is possible to choose a similar machine with similar capabilities and dimensions.
The operation Type: Milling, Work Coordinate System (WCS), Orientation: Select Z axis/plan & Y axis, Z Axis: "Selected" Origin: Stock box point is stock box point
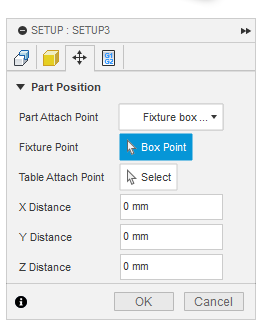
For next window the stock setting I used the following:

Last window I set the following:
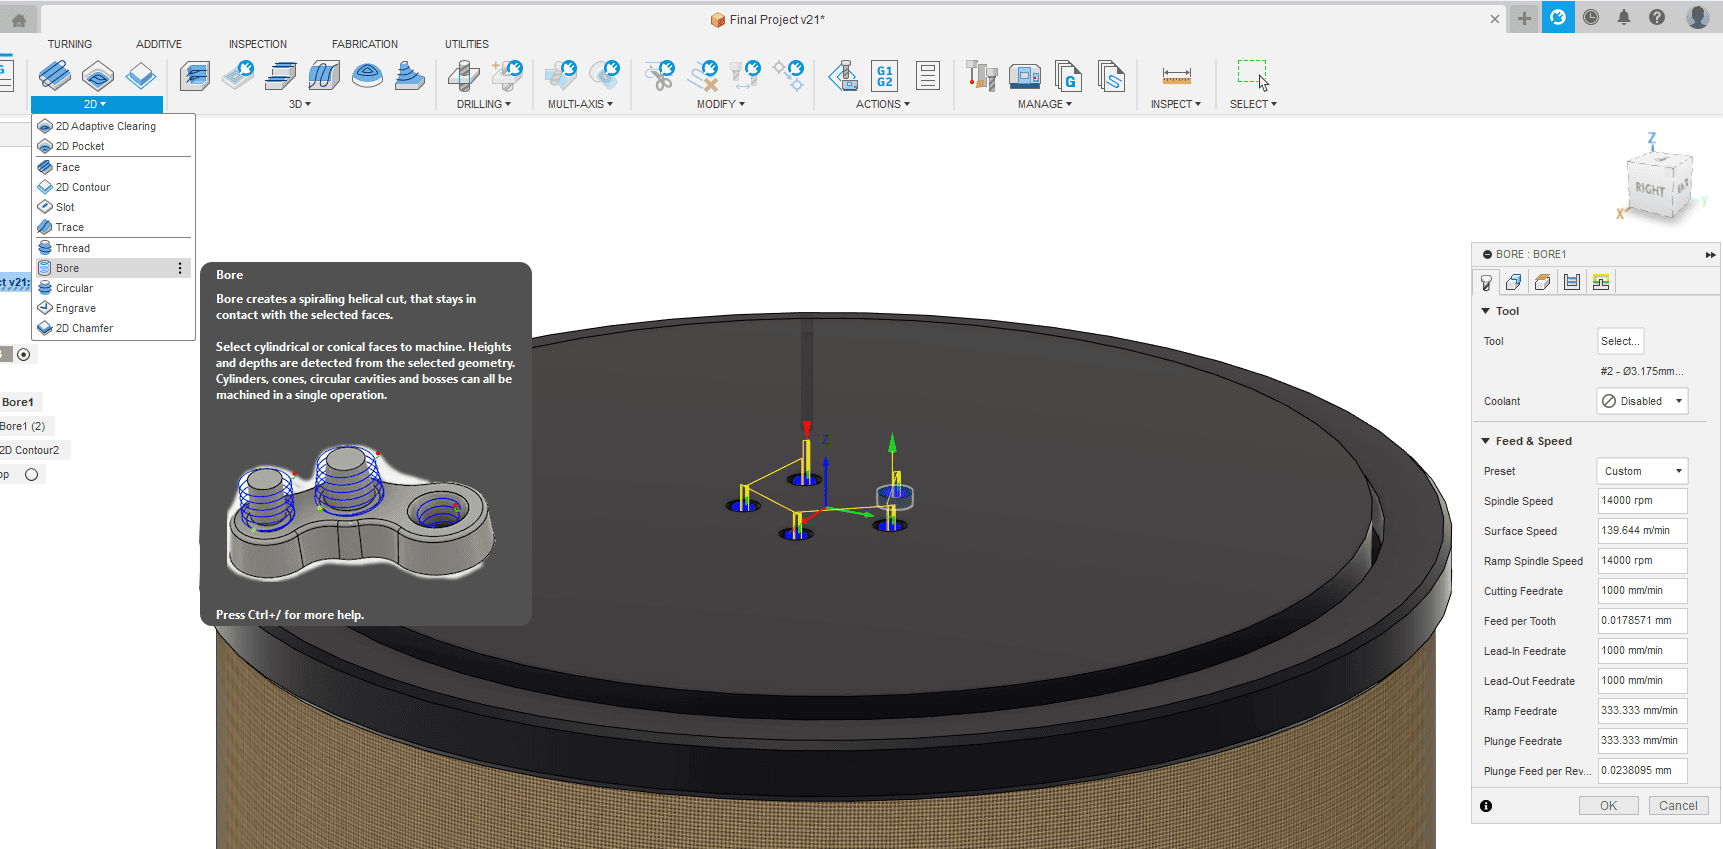
After preparing the setup, first toolpath was boring(making shoulder for the screw head) for the screws with the following settings:
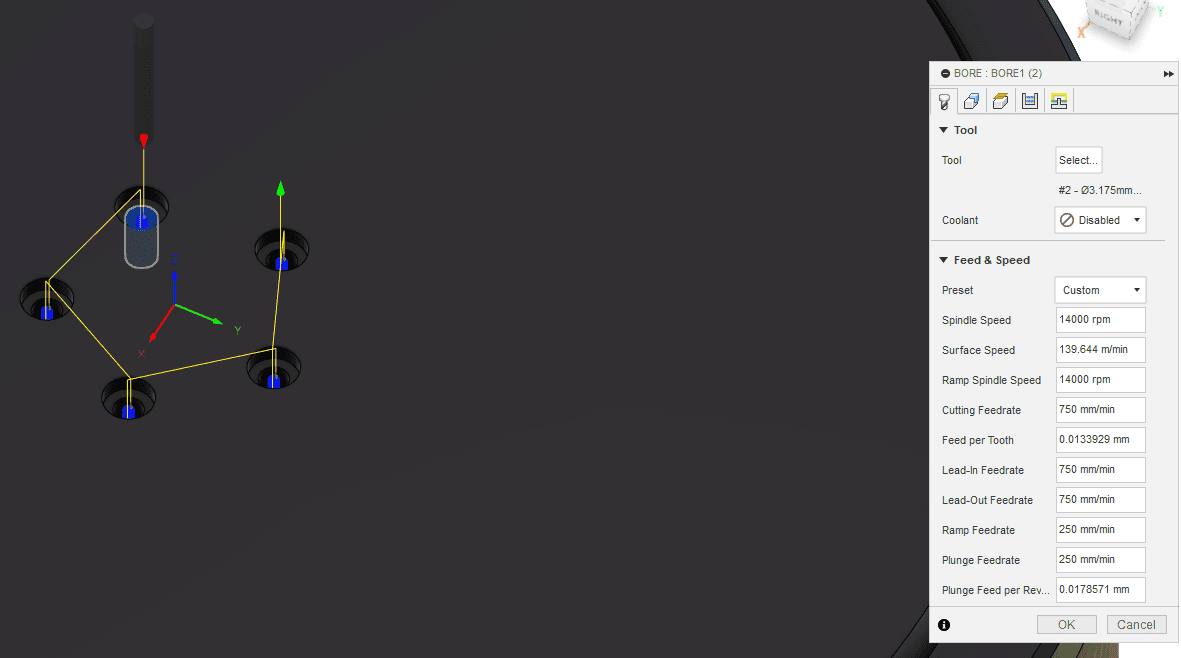
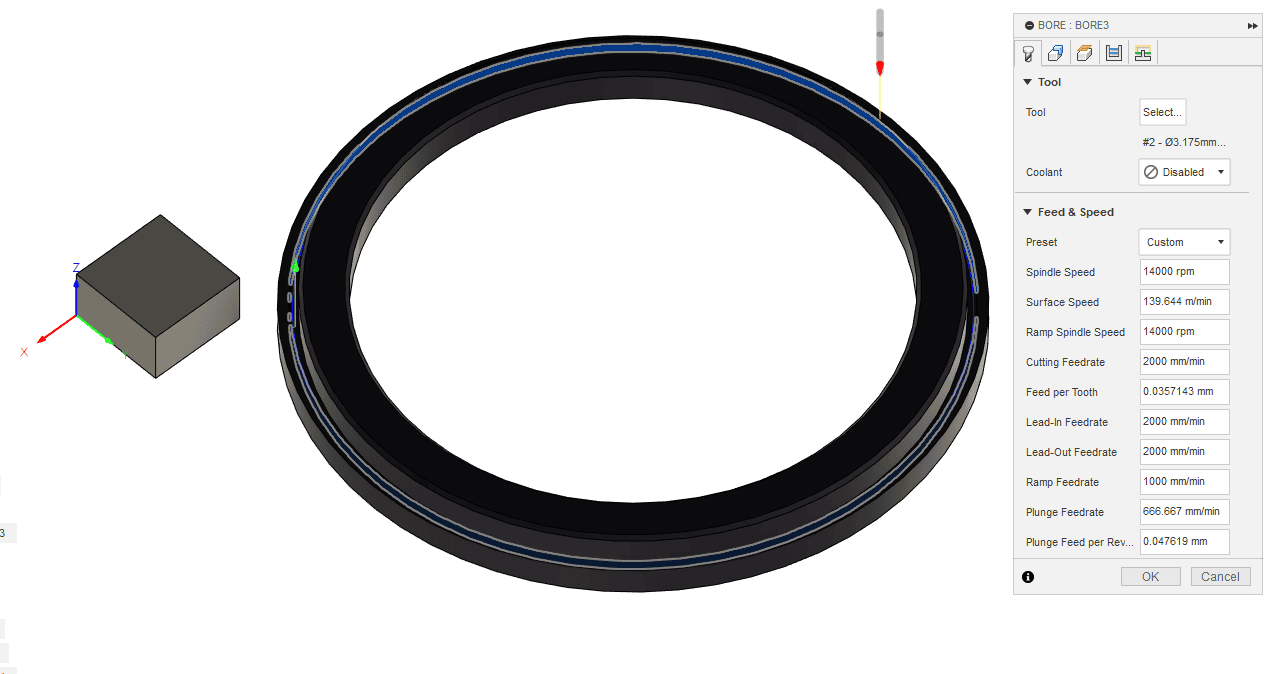
Next tool path for the desk is also boring but for the small holes:
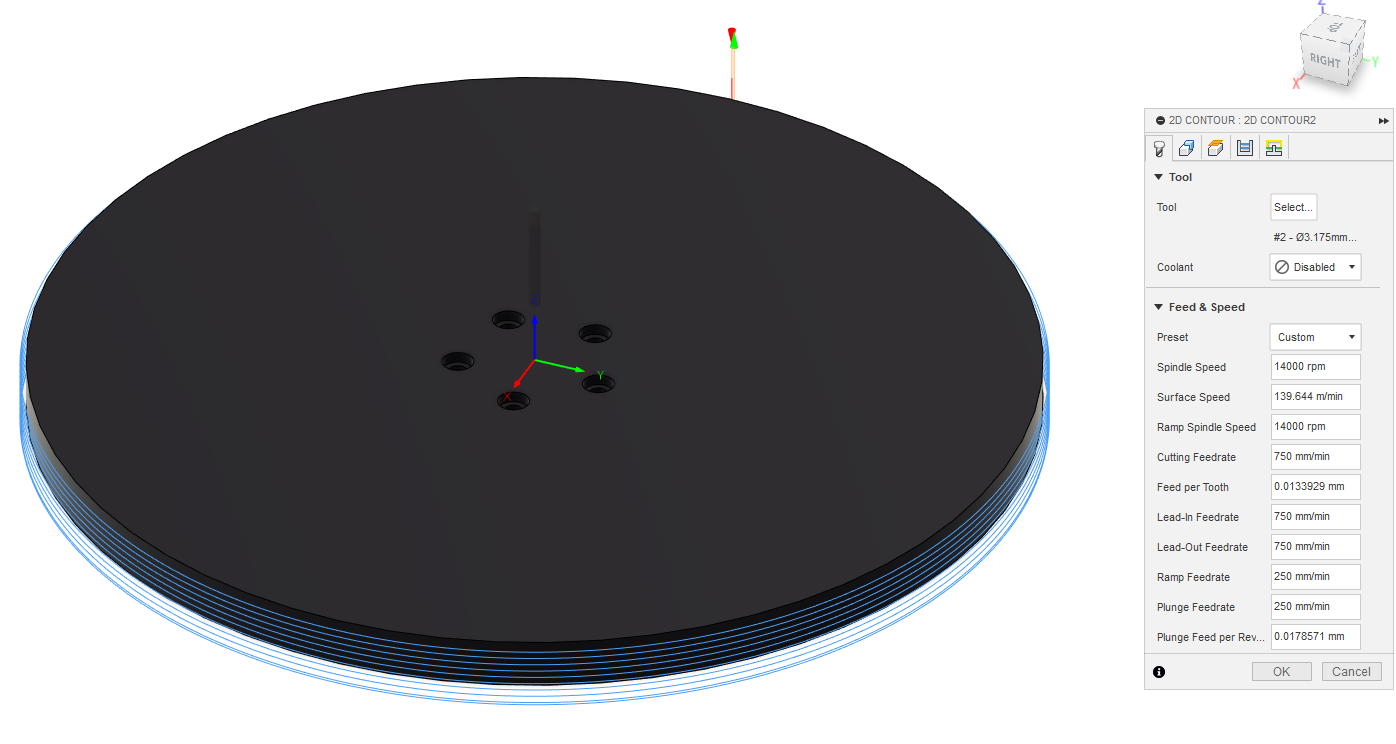
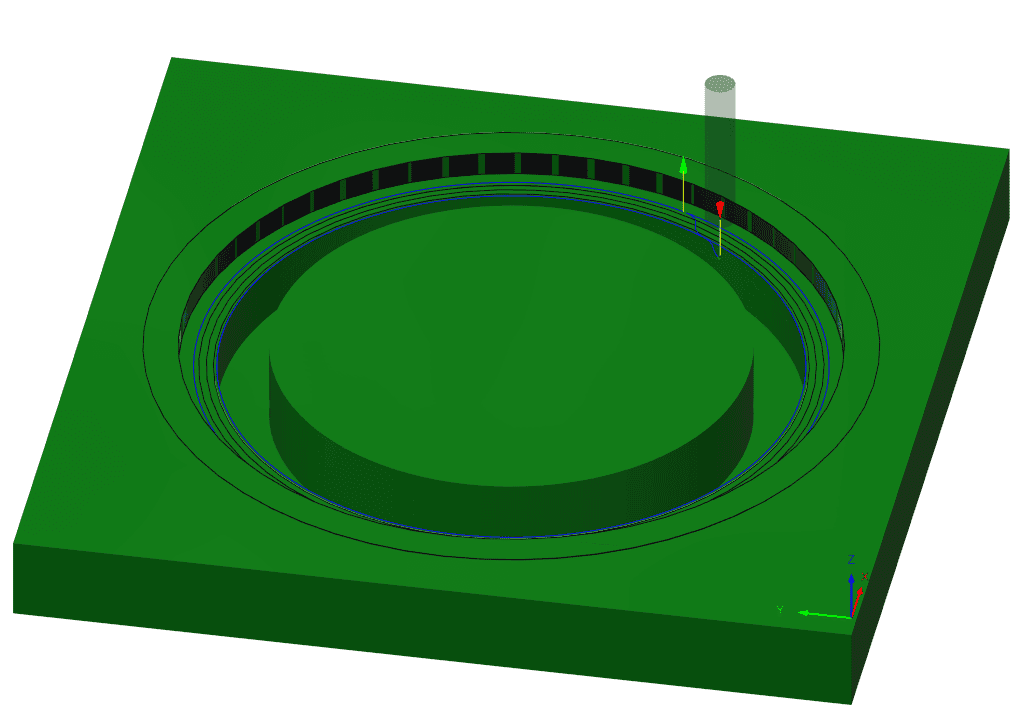
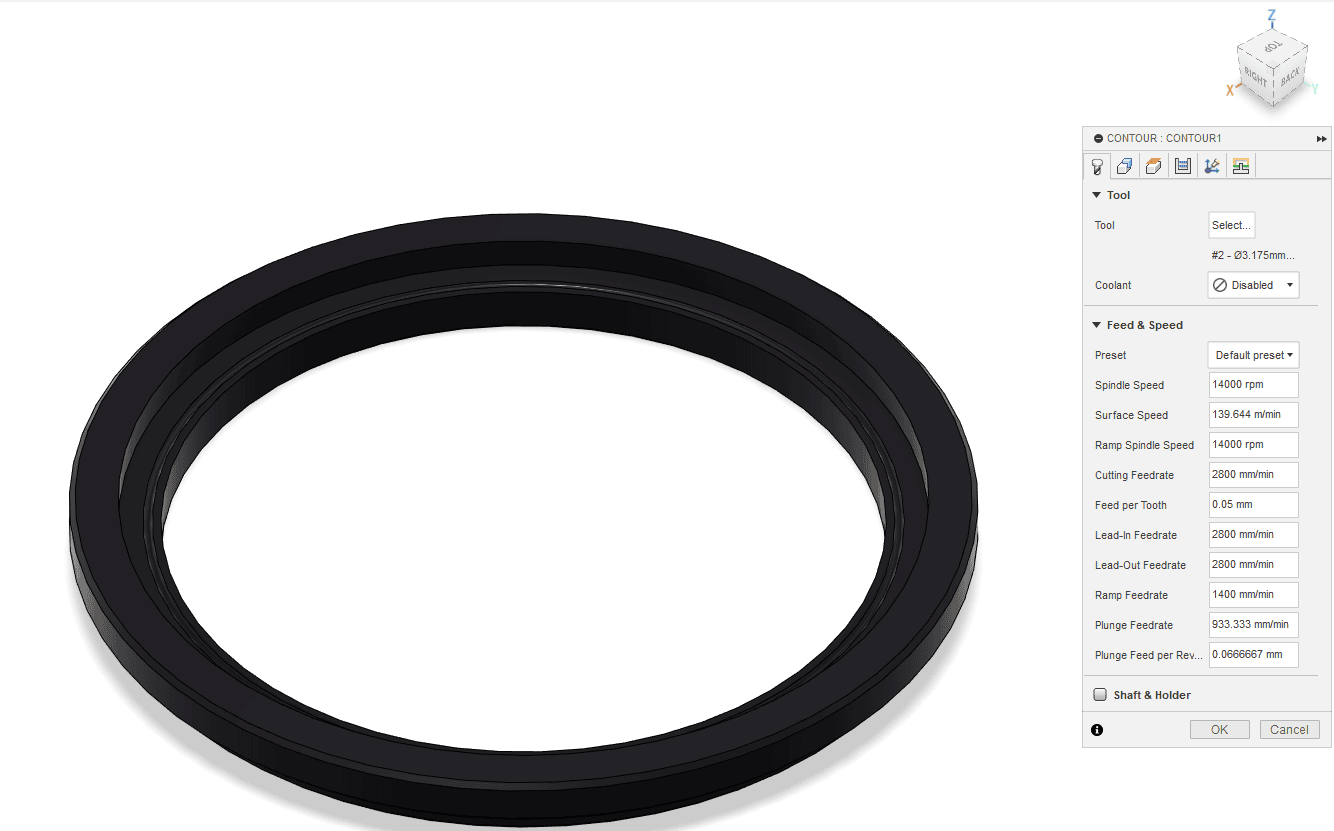
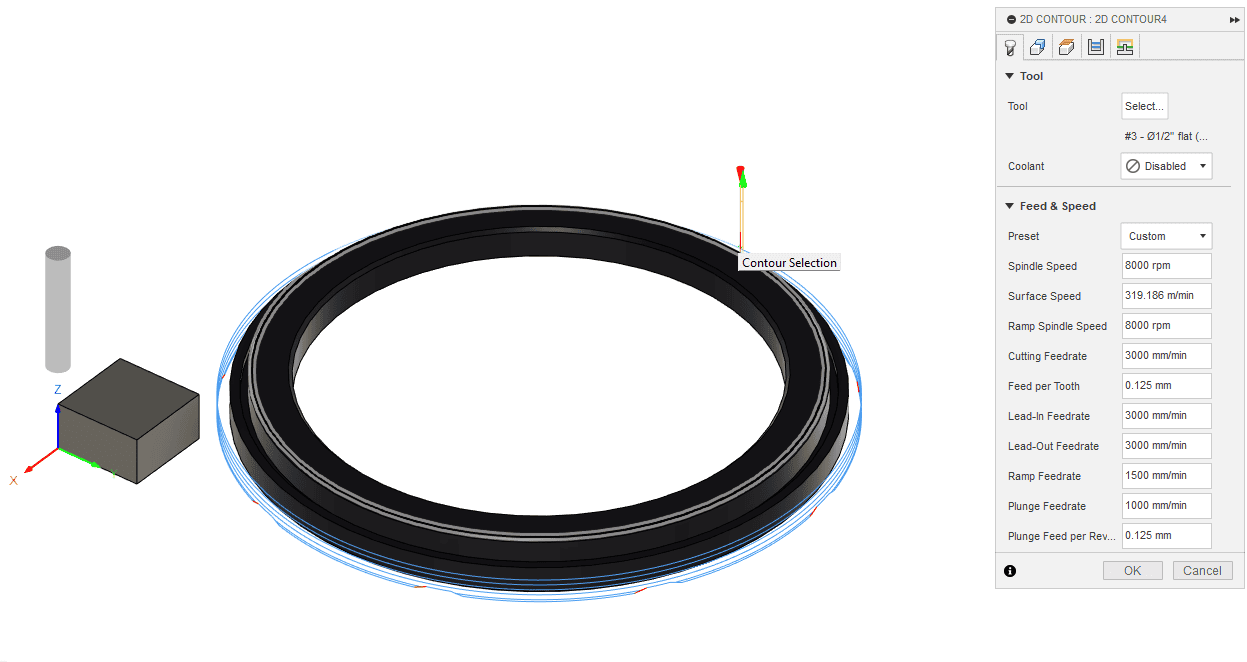
Last toolpath for the disk is the contour to cut the outline of the disk with the following settings:
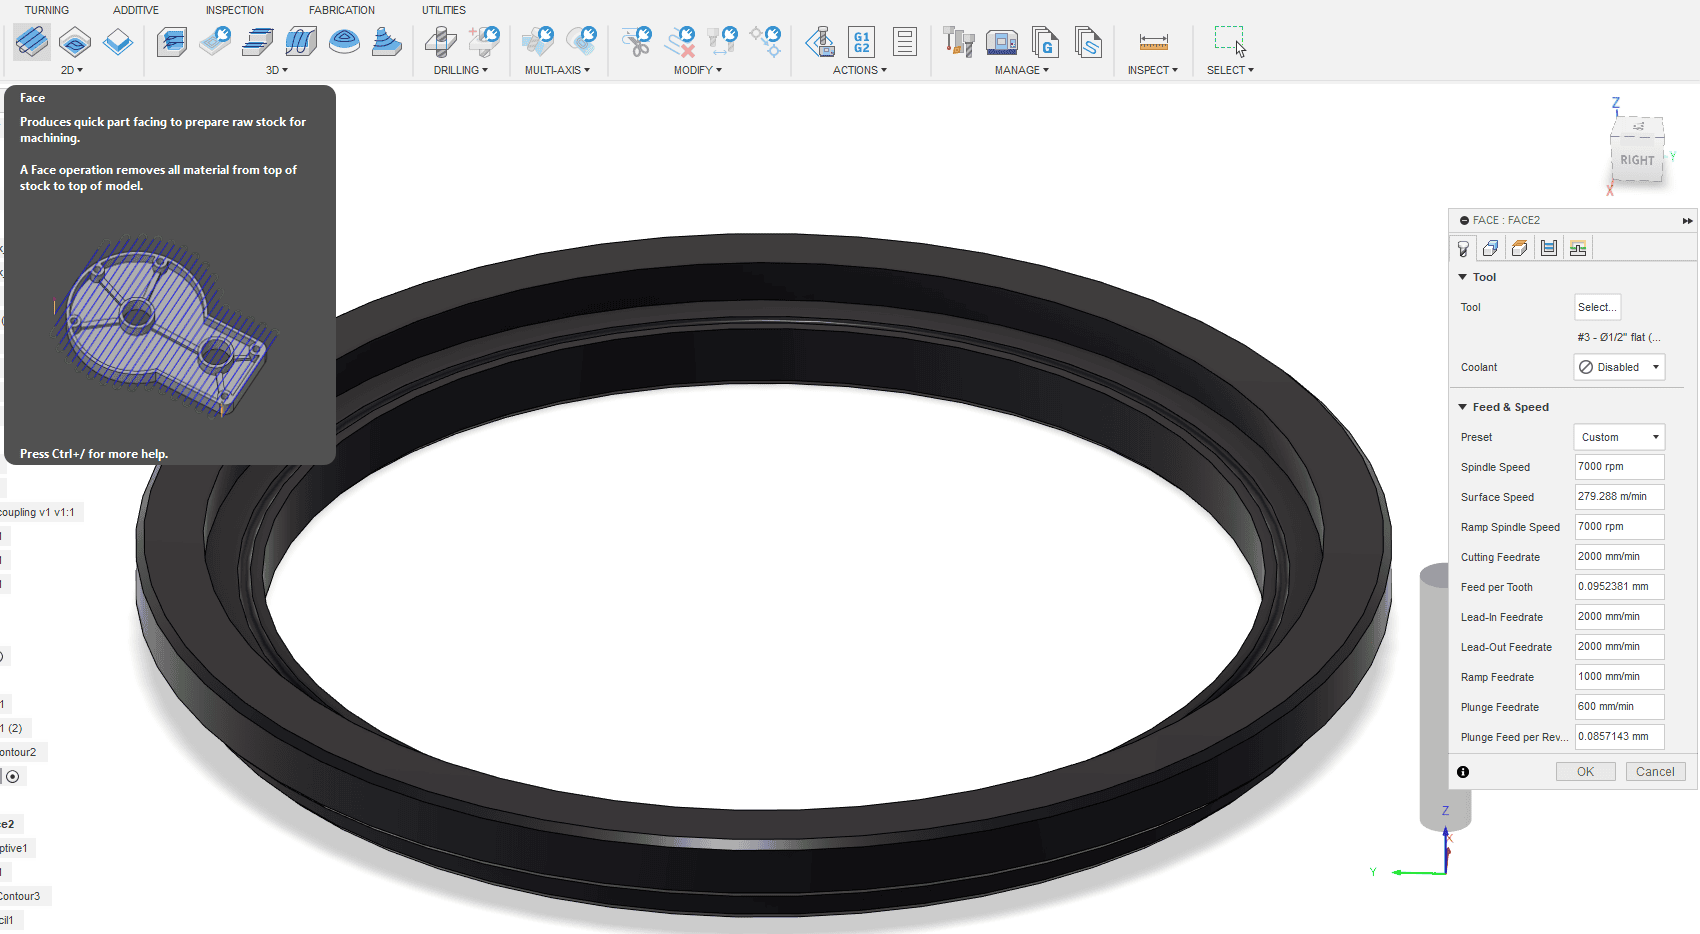
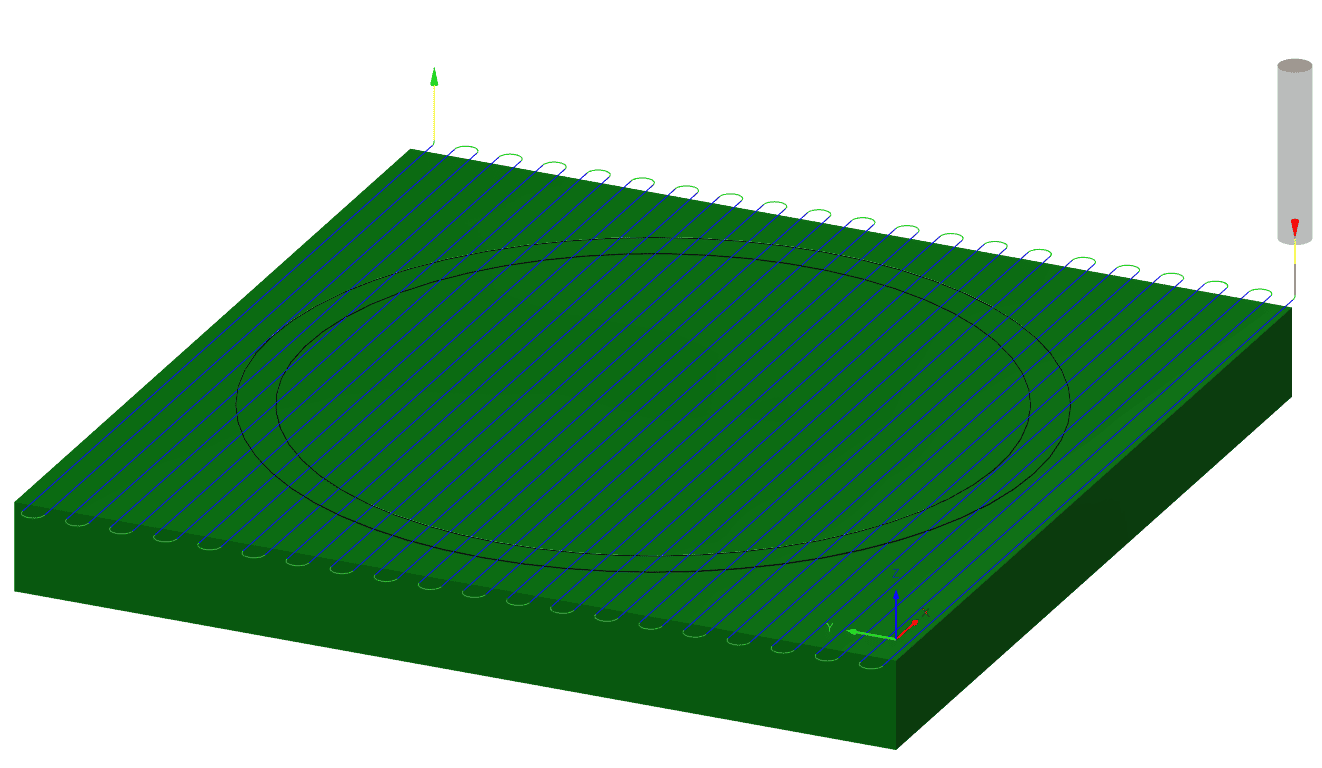
Going to the chair, the first toolpath was facing, since the face of the piece of acrylic is not flat enough, the toolpath os as follows:
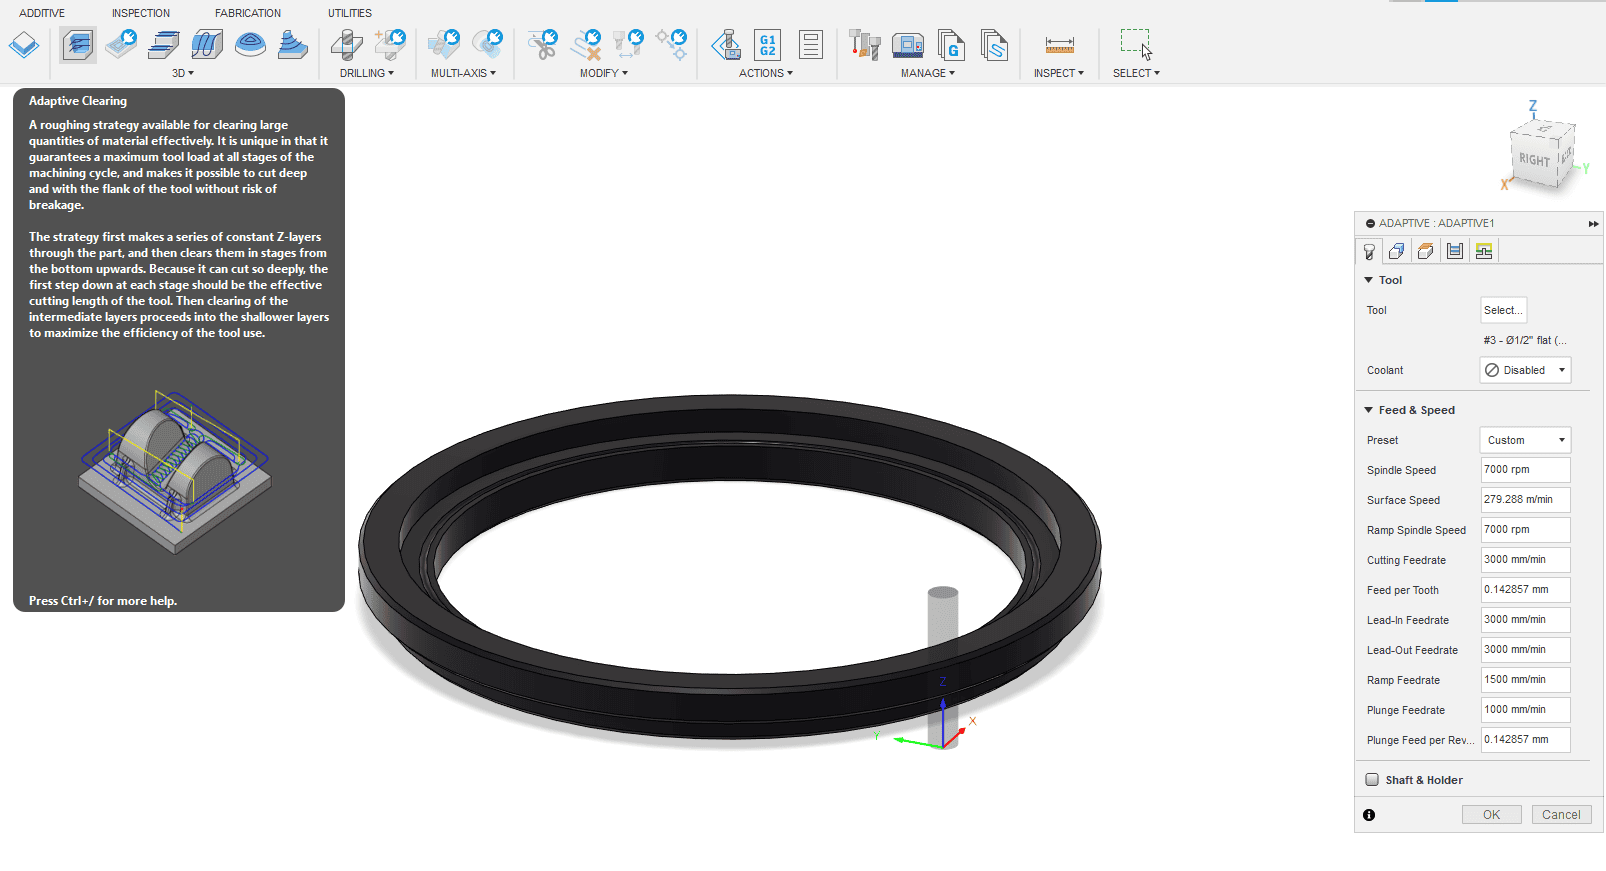
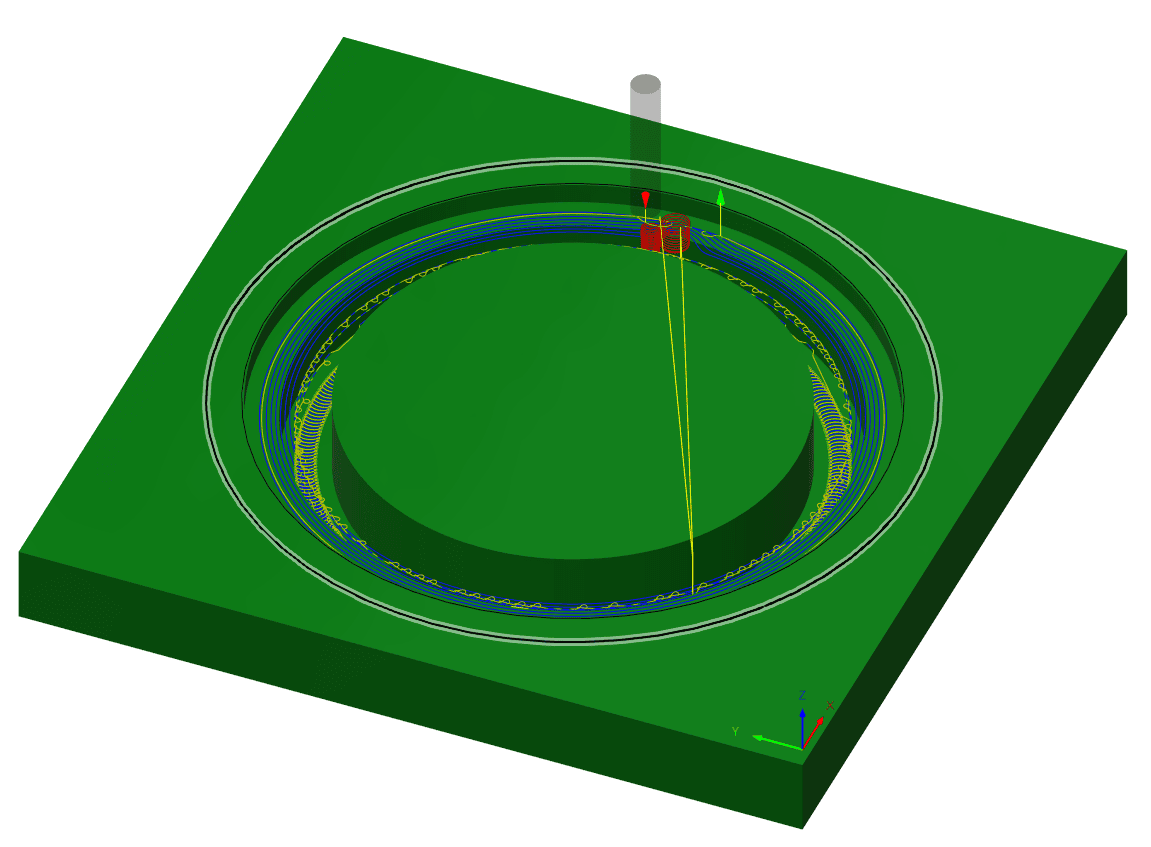
Next tool path for the chair is adaptive clearing(roughing) to remove as much as possible of th material with shortest time as follows:
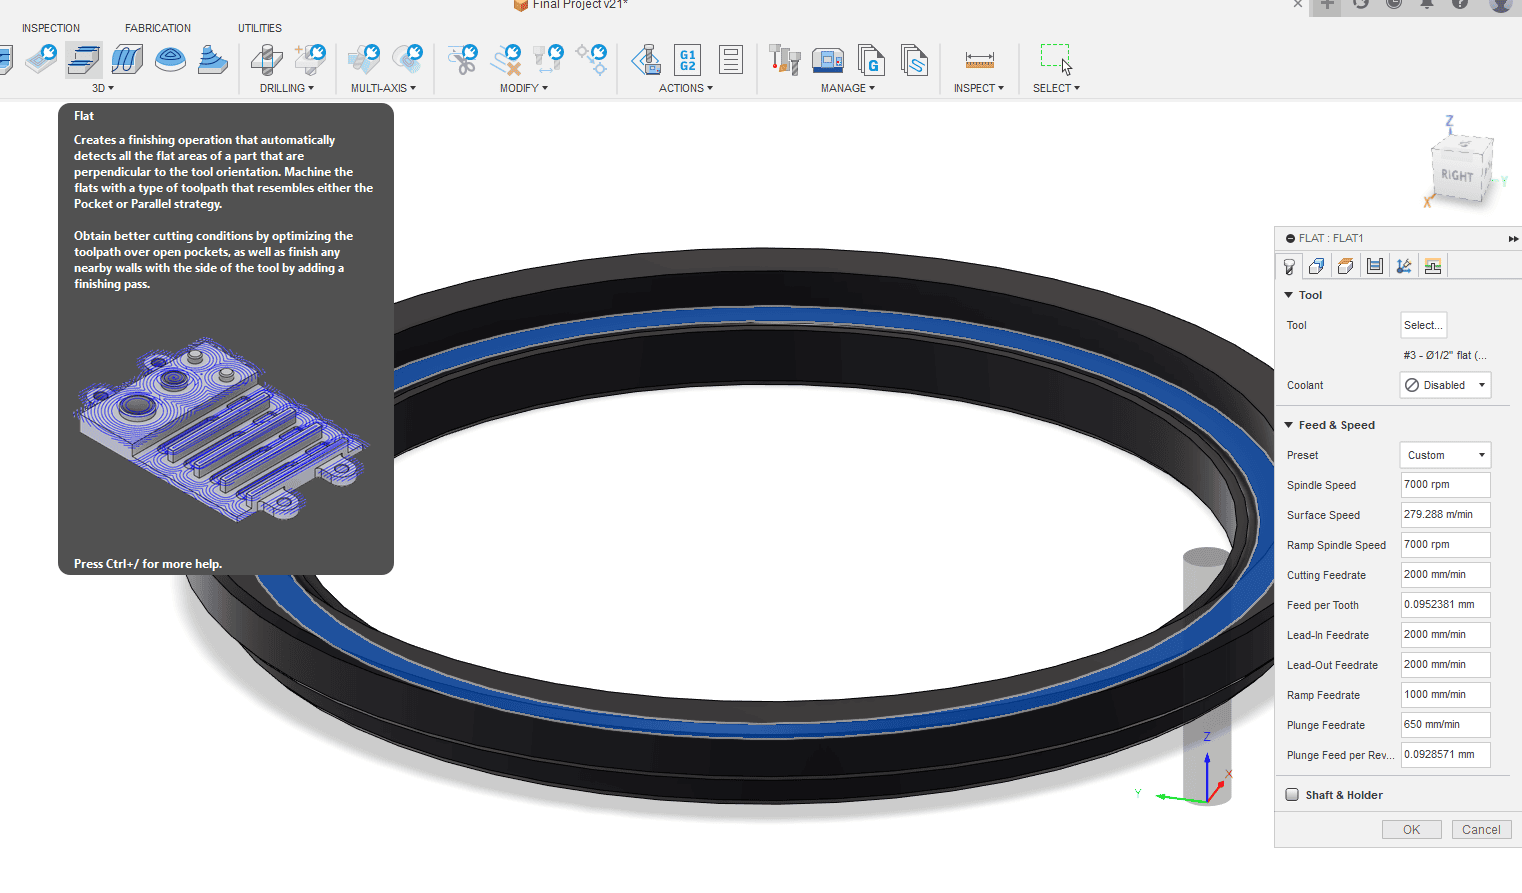
To make the finish toolpath I used flat operation as follows:
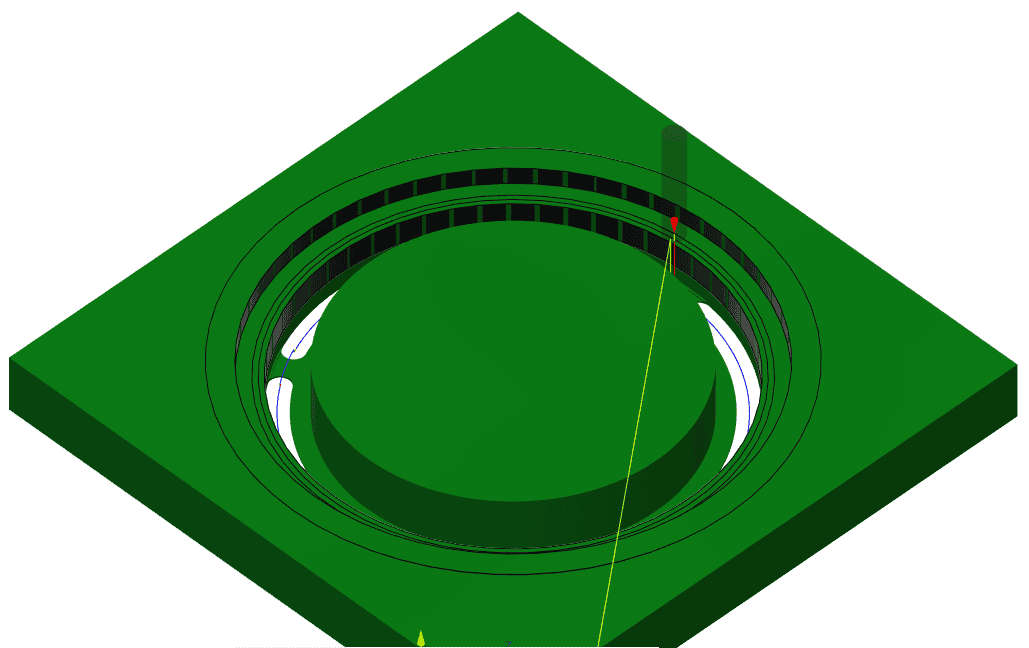
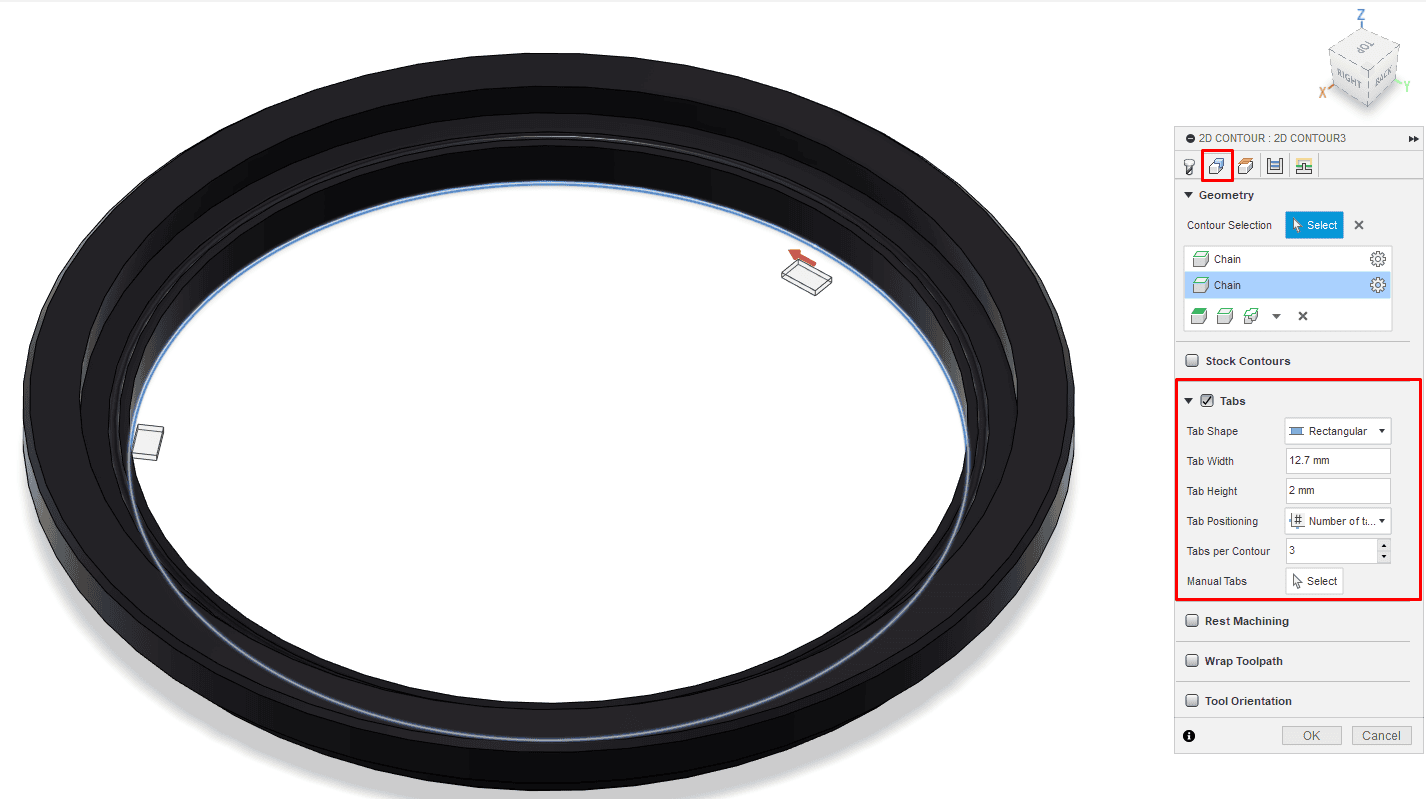
Next toolpath was contour to cut the inside circle as follows:
It is good to mention that I added the tabs from the second window in the tool path tab(geometry):
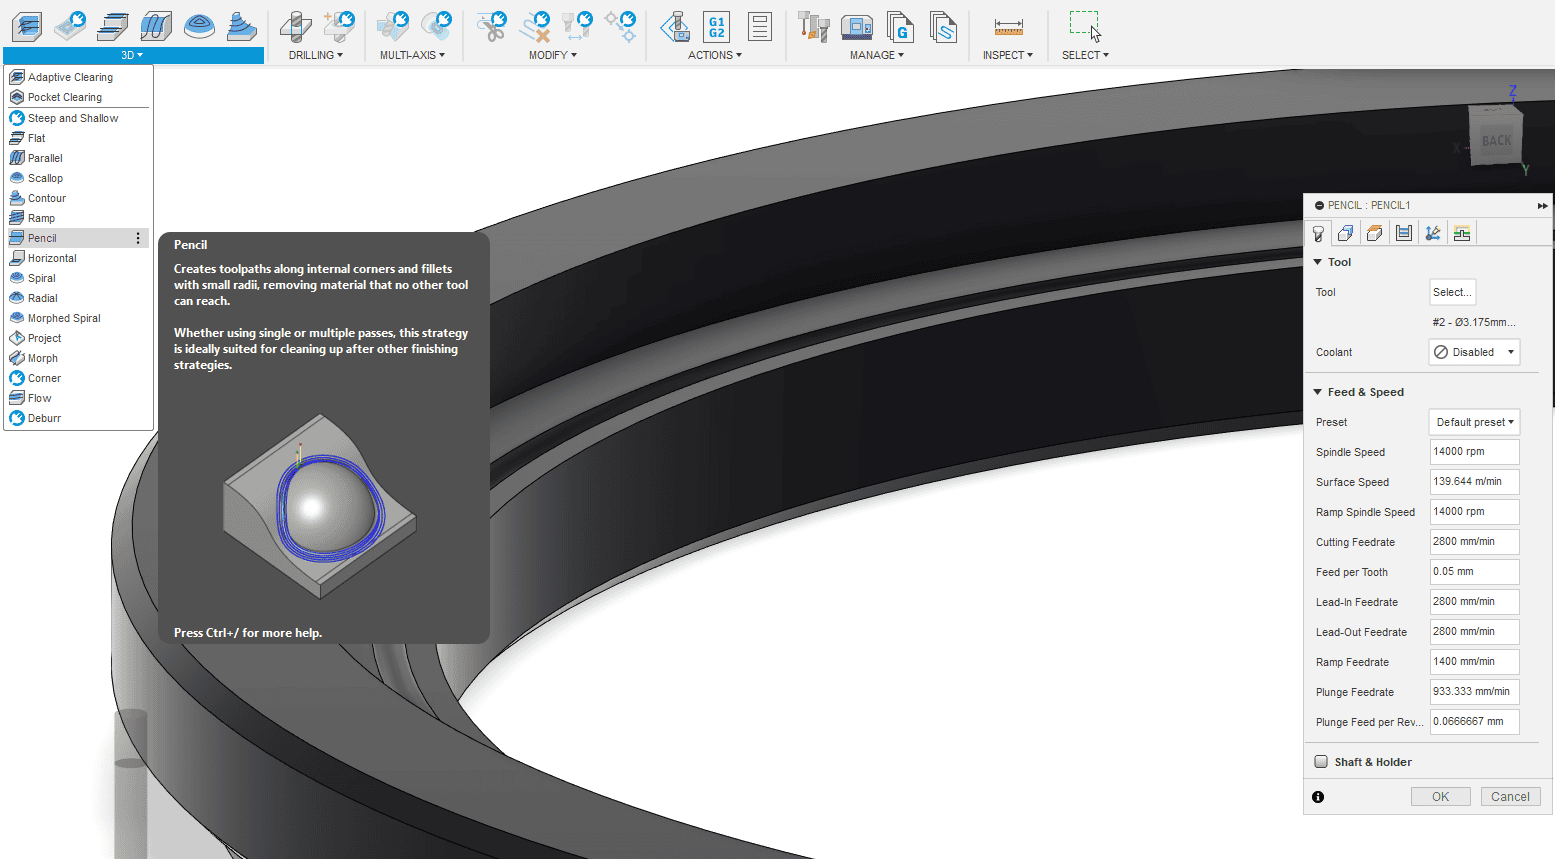
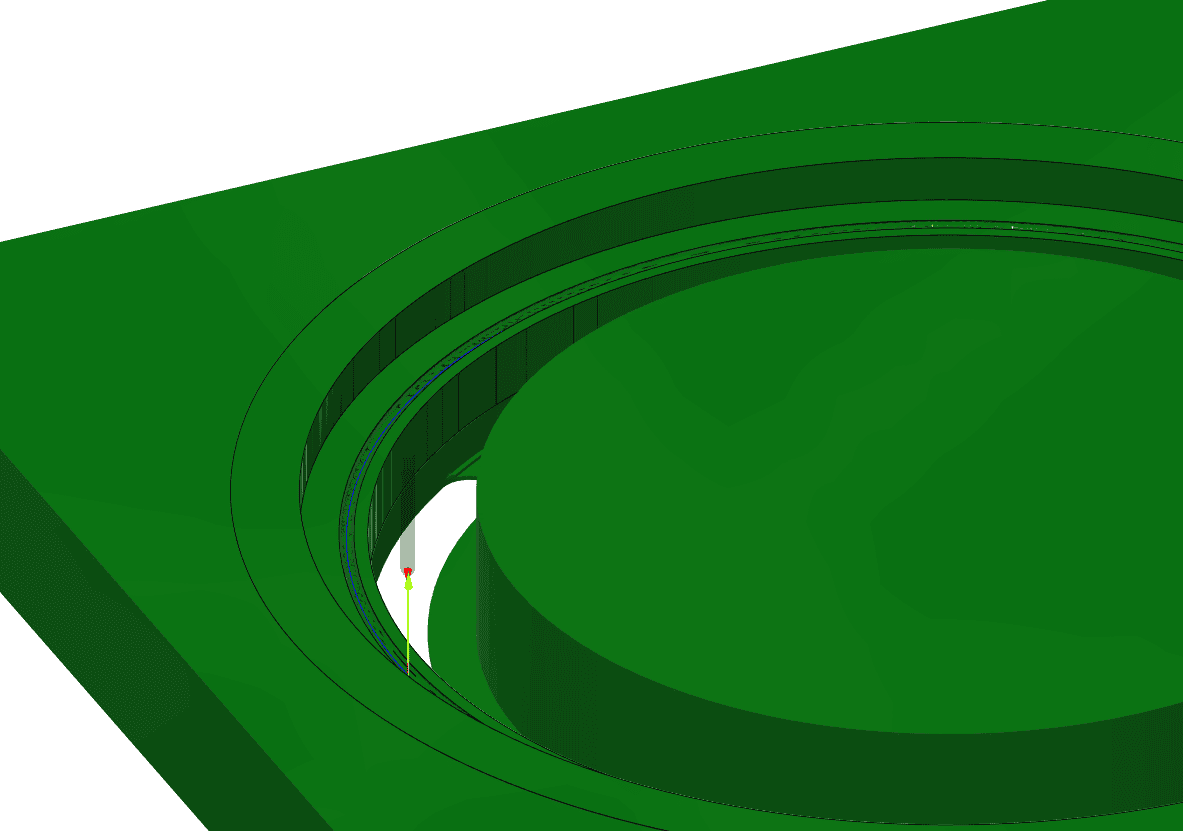
Last tool path is the pencil toolpath which I used to make the groove for the bearing balls as follows:
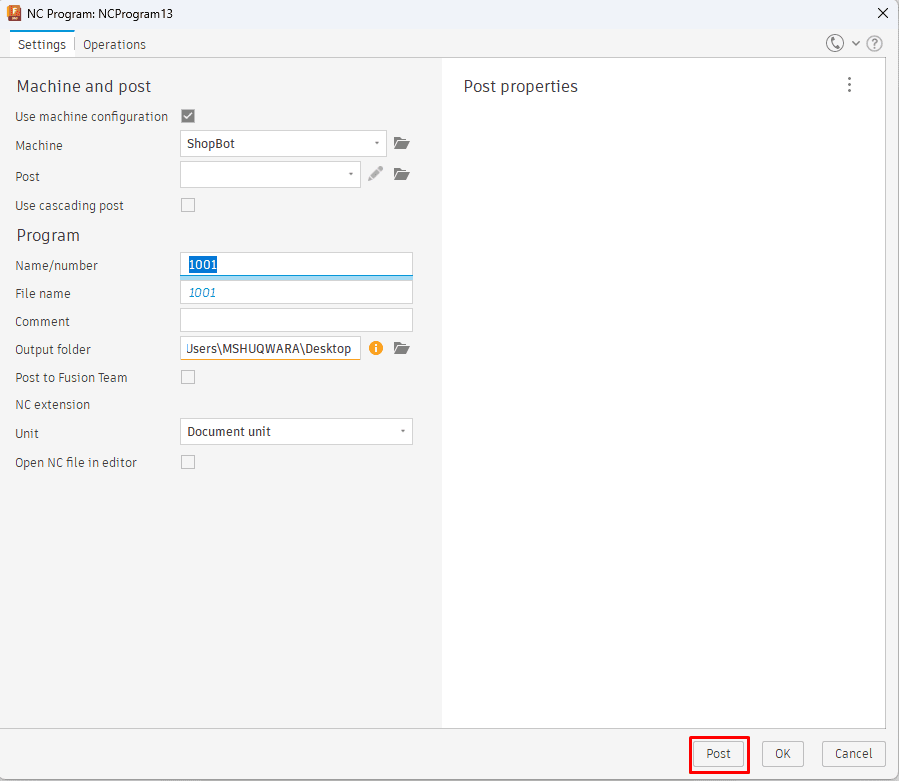
After preparing the toolpaths, I have saved them by right click on the toolpath >> create NC program >> Name and location >> Post:
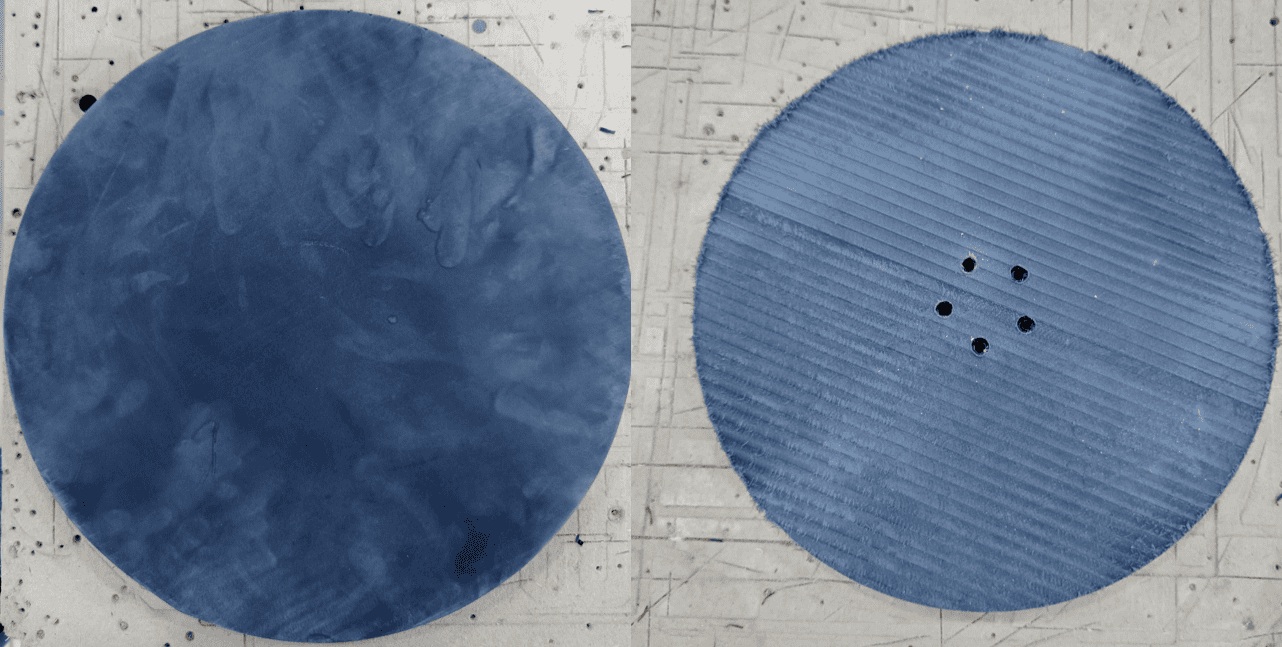
I started with the disk, the facing tool path was with 1/8 inch 4 flutes endmill l, then I used the the same tool to make the holes of the screws(settings are in the images above) and for extra information I listed the design file at the end of the page, the result was very cool, I made some finishing using sand paper.
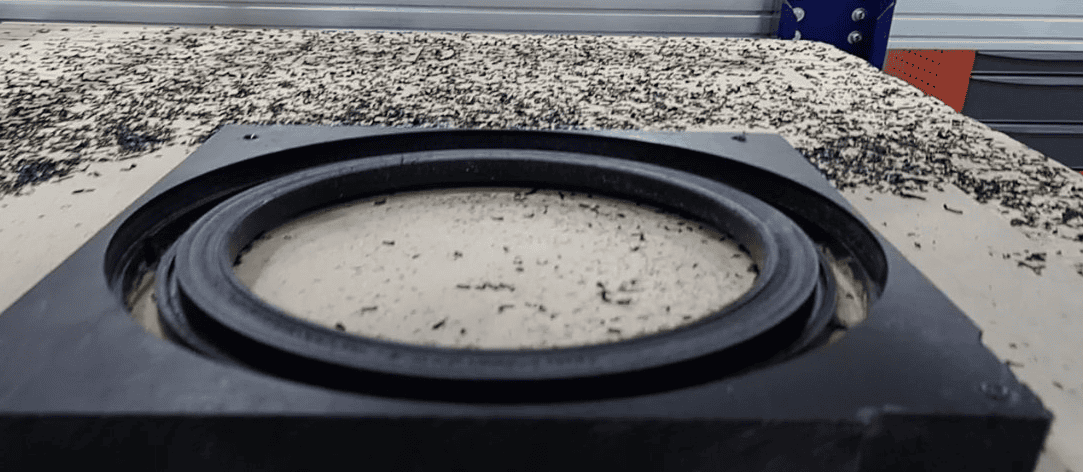
Milling the disk:
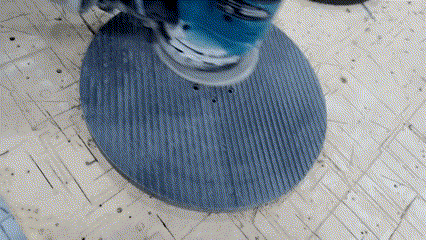
Sanding:
Final Result:
For the chair, I used the 1/2 inch, 3 flutes endmill, to make all tool paths except pencil where I used the 1/8 inch 4 flutes ballnose.
After I finished the toolpaths for the cahir, I have tested if the bearing ball rotates smoothly or not, it was super cool moment when I saw it works!
Before flipping the part I machined a corner of the part, this will help to re center the piece after flipping:
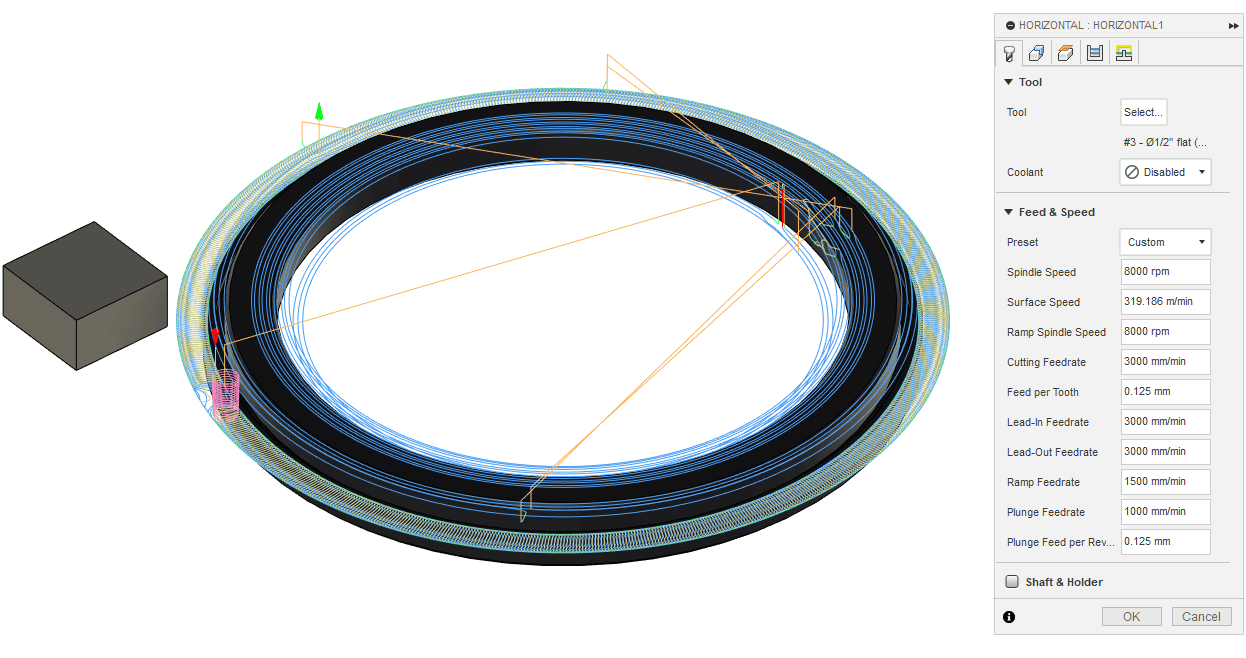
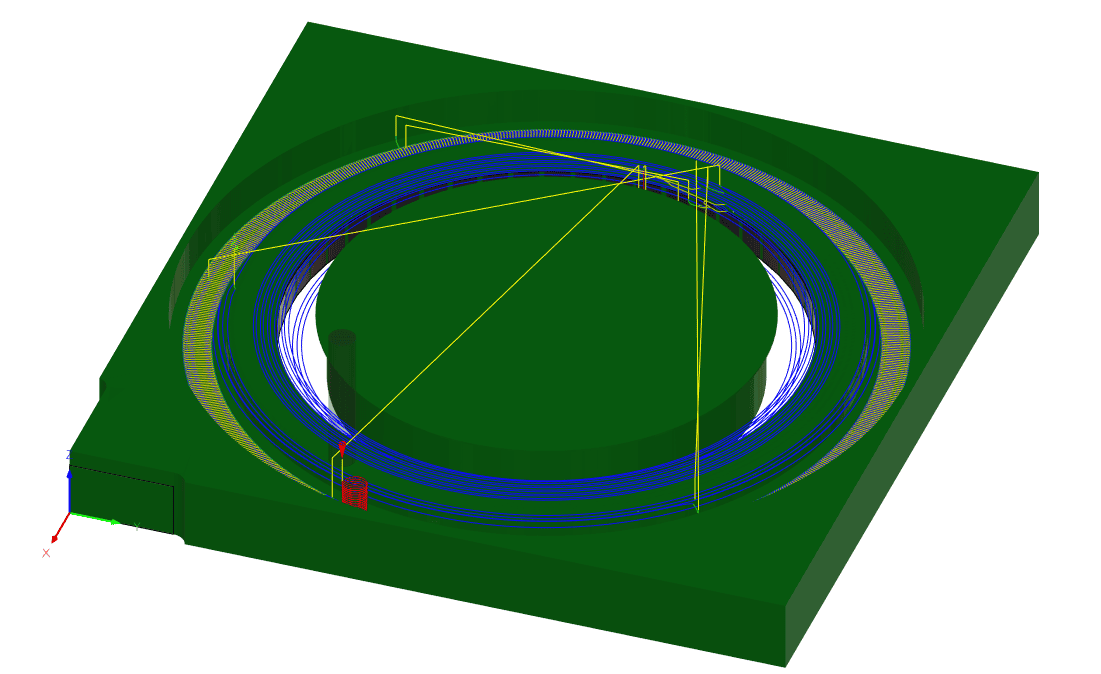
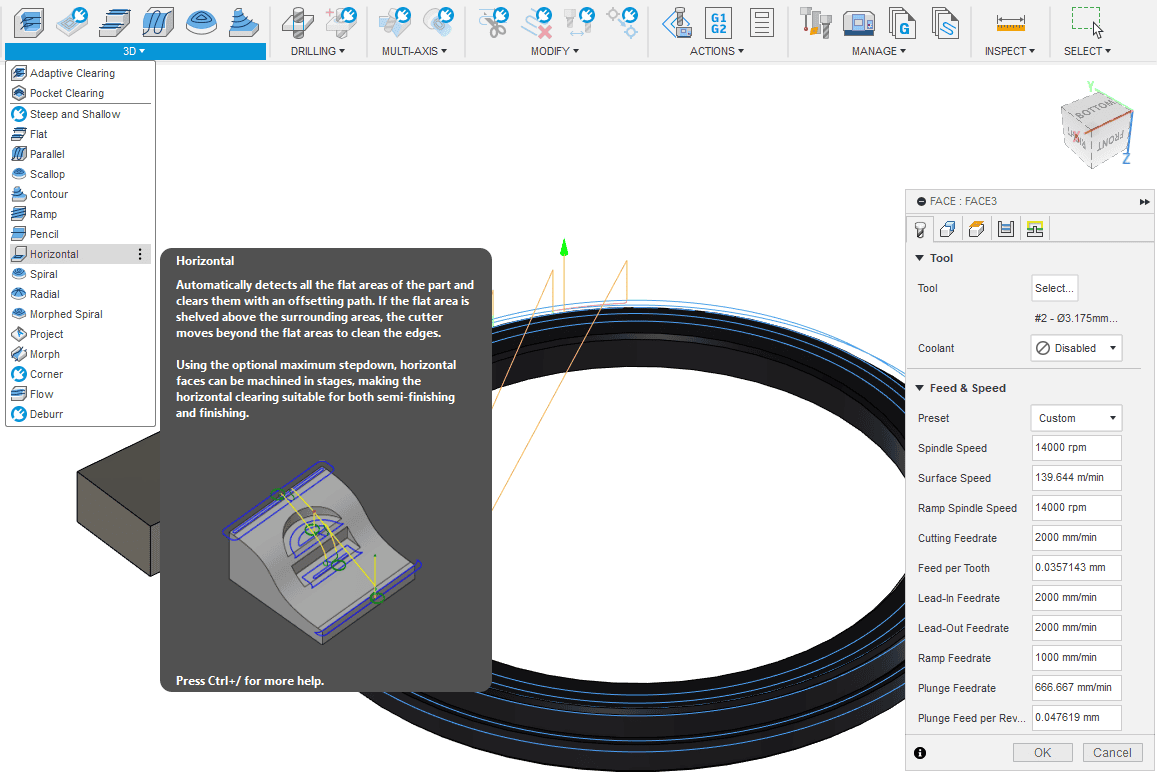
Next toolpath for the chair was horizontal toolpath with following settings:
To make the groove I used bore toolpath as shown below:
Final tool path was the contour with the following settings:
Final Result of the chair: