8. Electronics production
Objectives
This week, we have to make and test the development board that we have designed on week_6,and to interact and communicate with an embedded microcontroller extra credit: make it with another process
Characterize the design rules for your in-house PCB production process extra credit: send a PCB out to a board house. (Group Assignment link.)
Milling
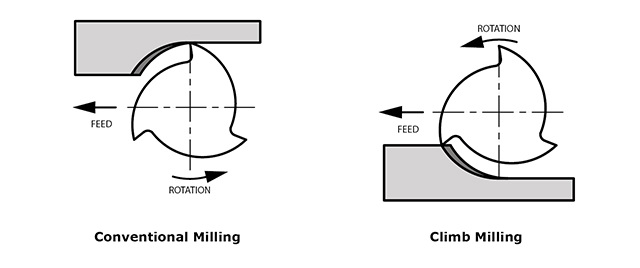
(concentional milling and climp milling.)
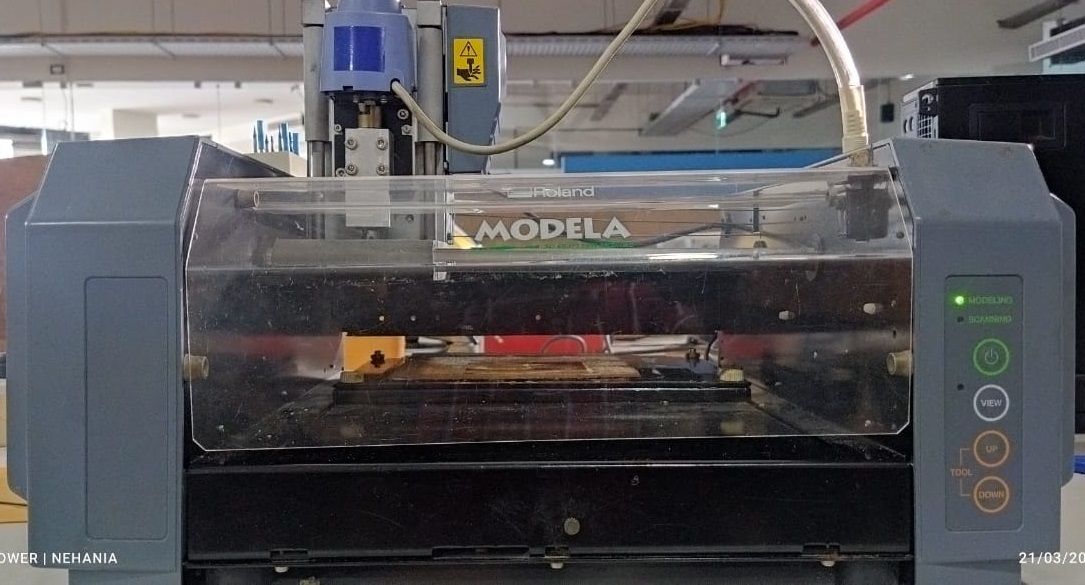
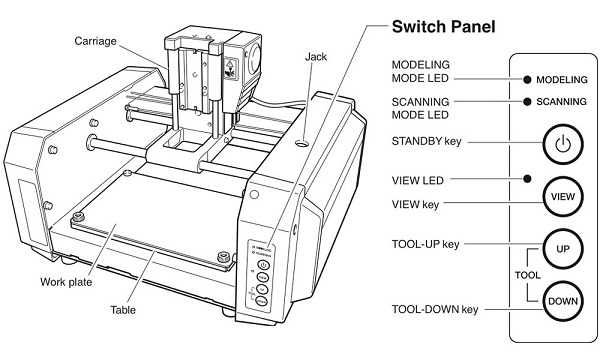
Milling Machine -
The Roland Modela MDX-20 is a small milling machine which is mostly used for milling circuit boards
Click here to see the Roland MDX 20 FAb tutorials.
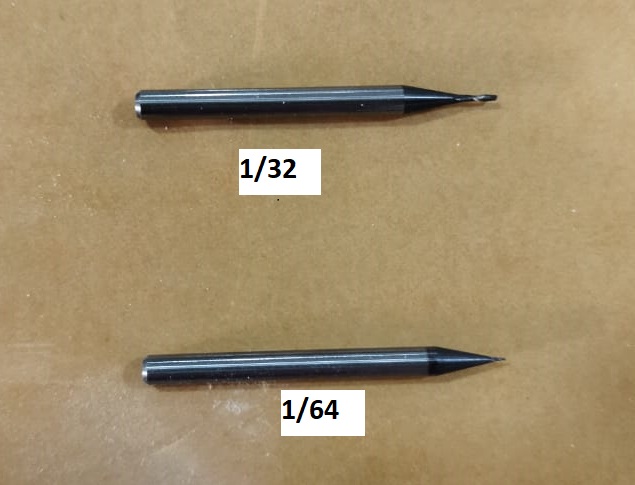
PCB milling bits
We manly uses 2 type of drill bits one is 0.4 mm(1/64”) trace cutting bit other is 0.8 mm (1/32”) pcb cutting bit.
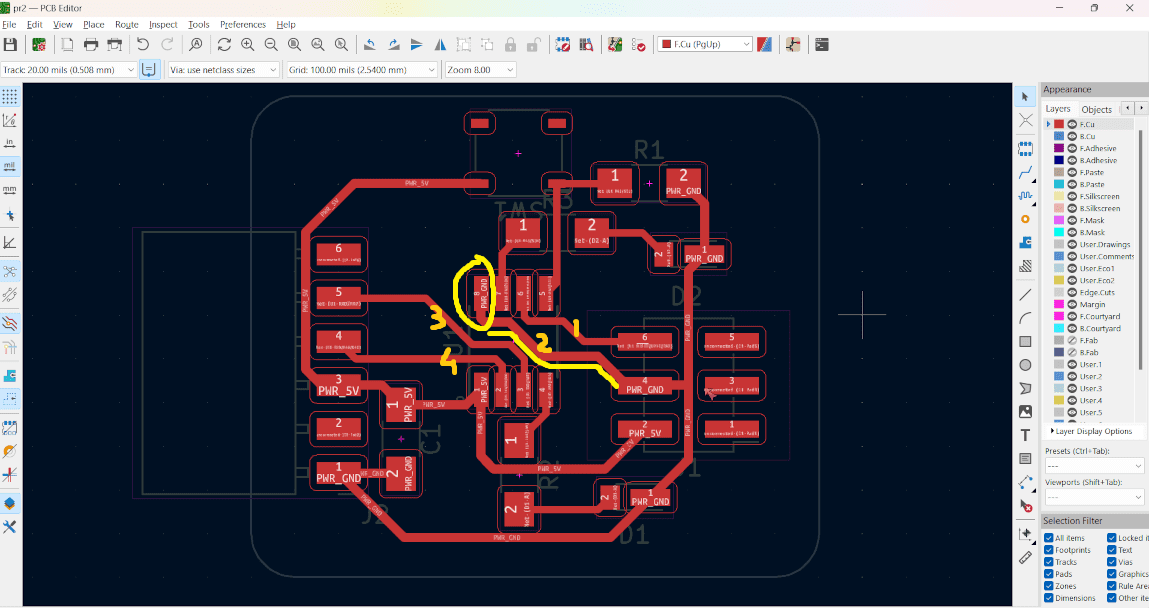
PCB Design
As part of my week 6 project, I designed a PCB. URL for Week 6.
As shown below , in my earlier design, min track width was given as 16mils. Here I changed to 24 mils.Due to this I have to re-arrange one track out of 4 going between the microcontroller legs.
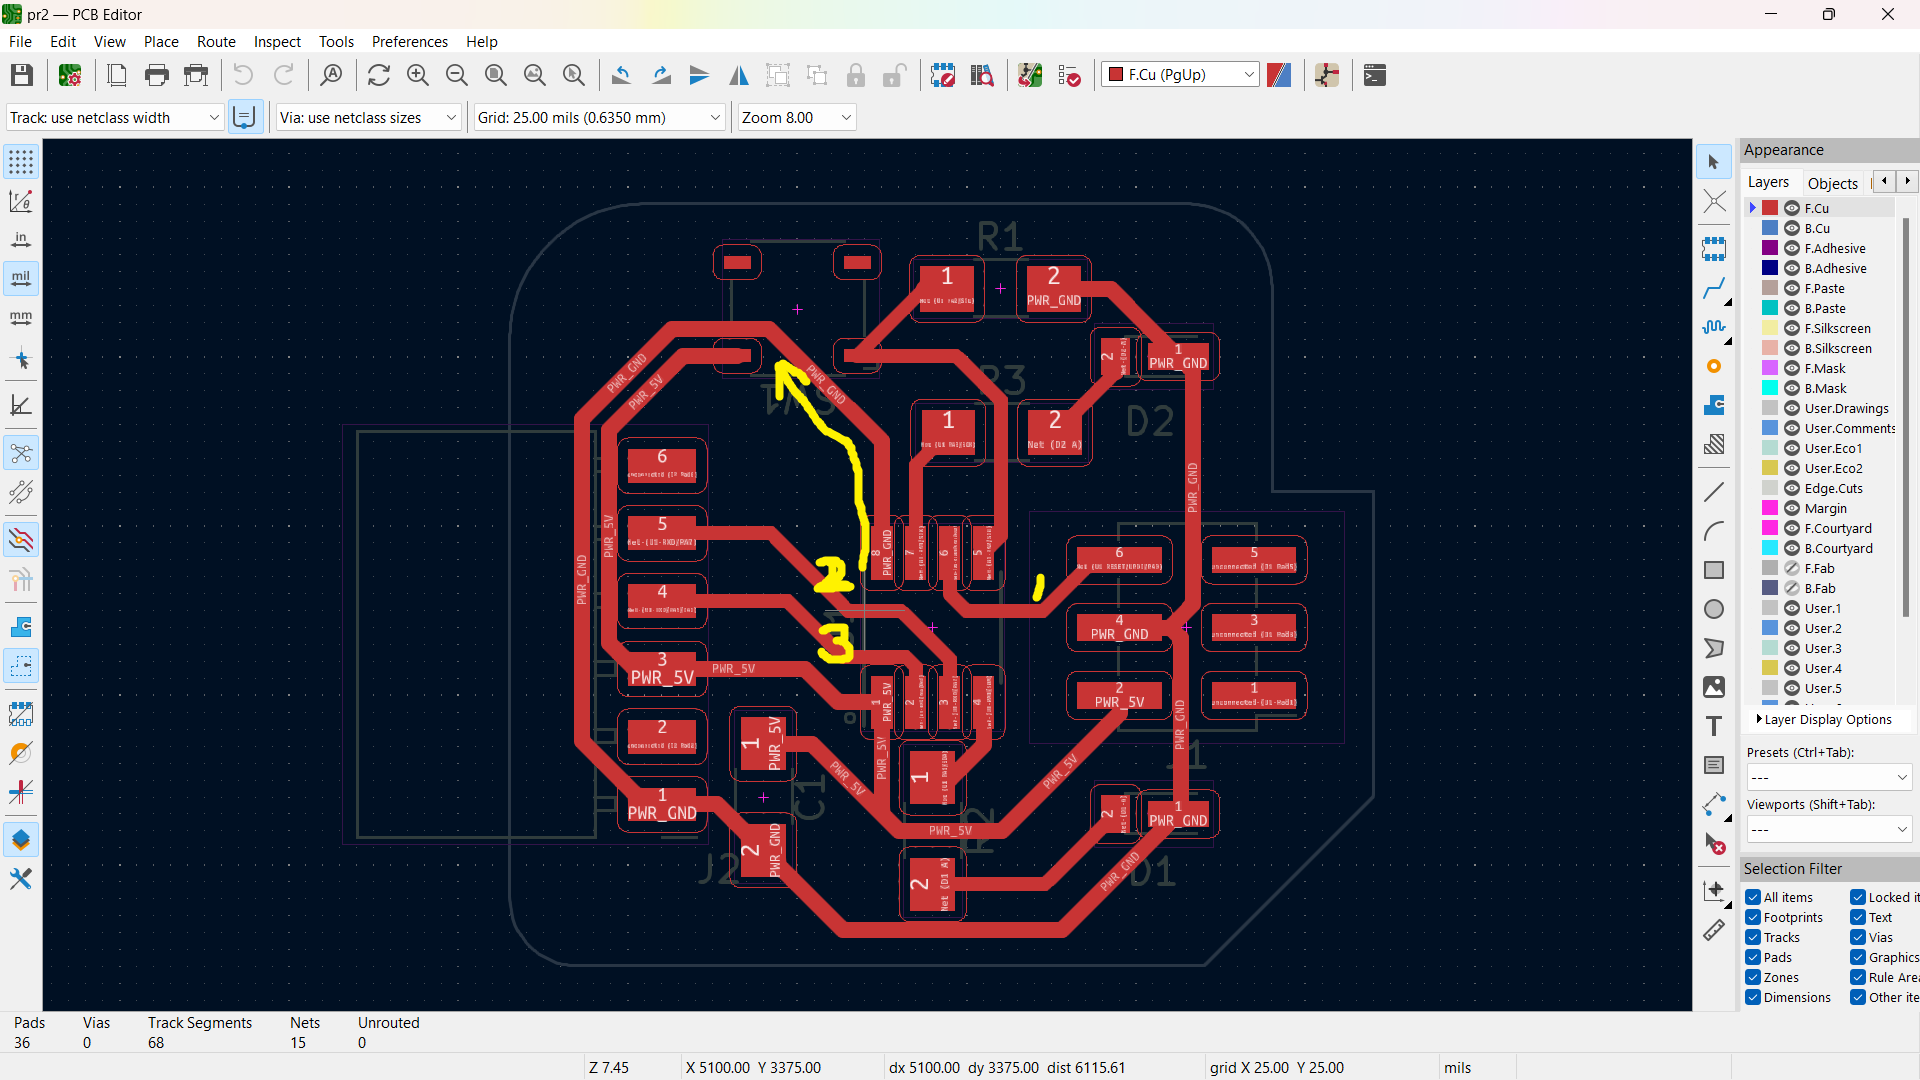 PCB SVG file generated in KiCad.

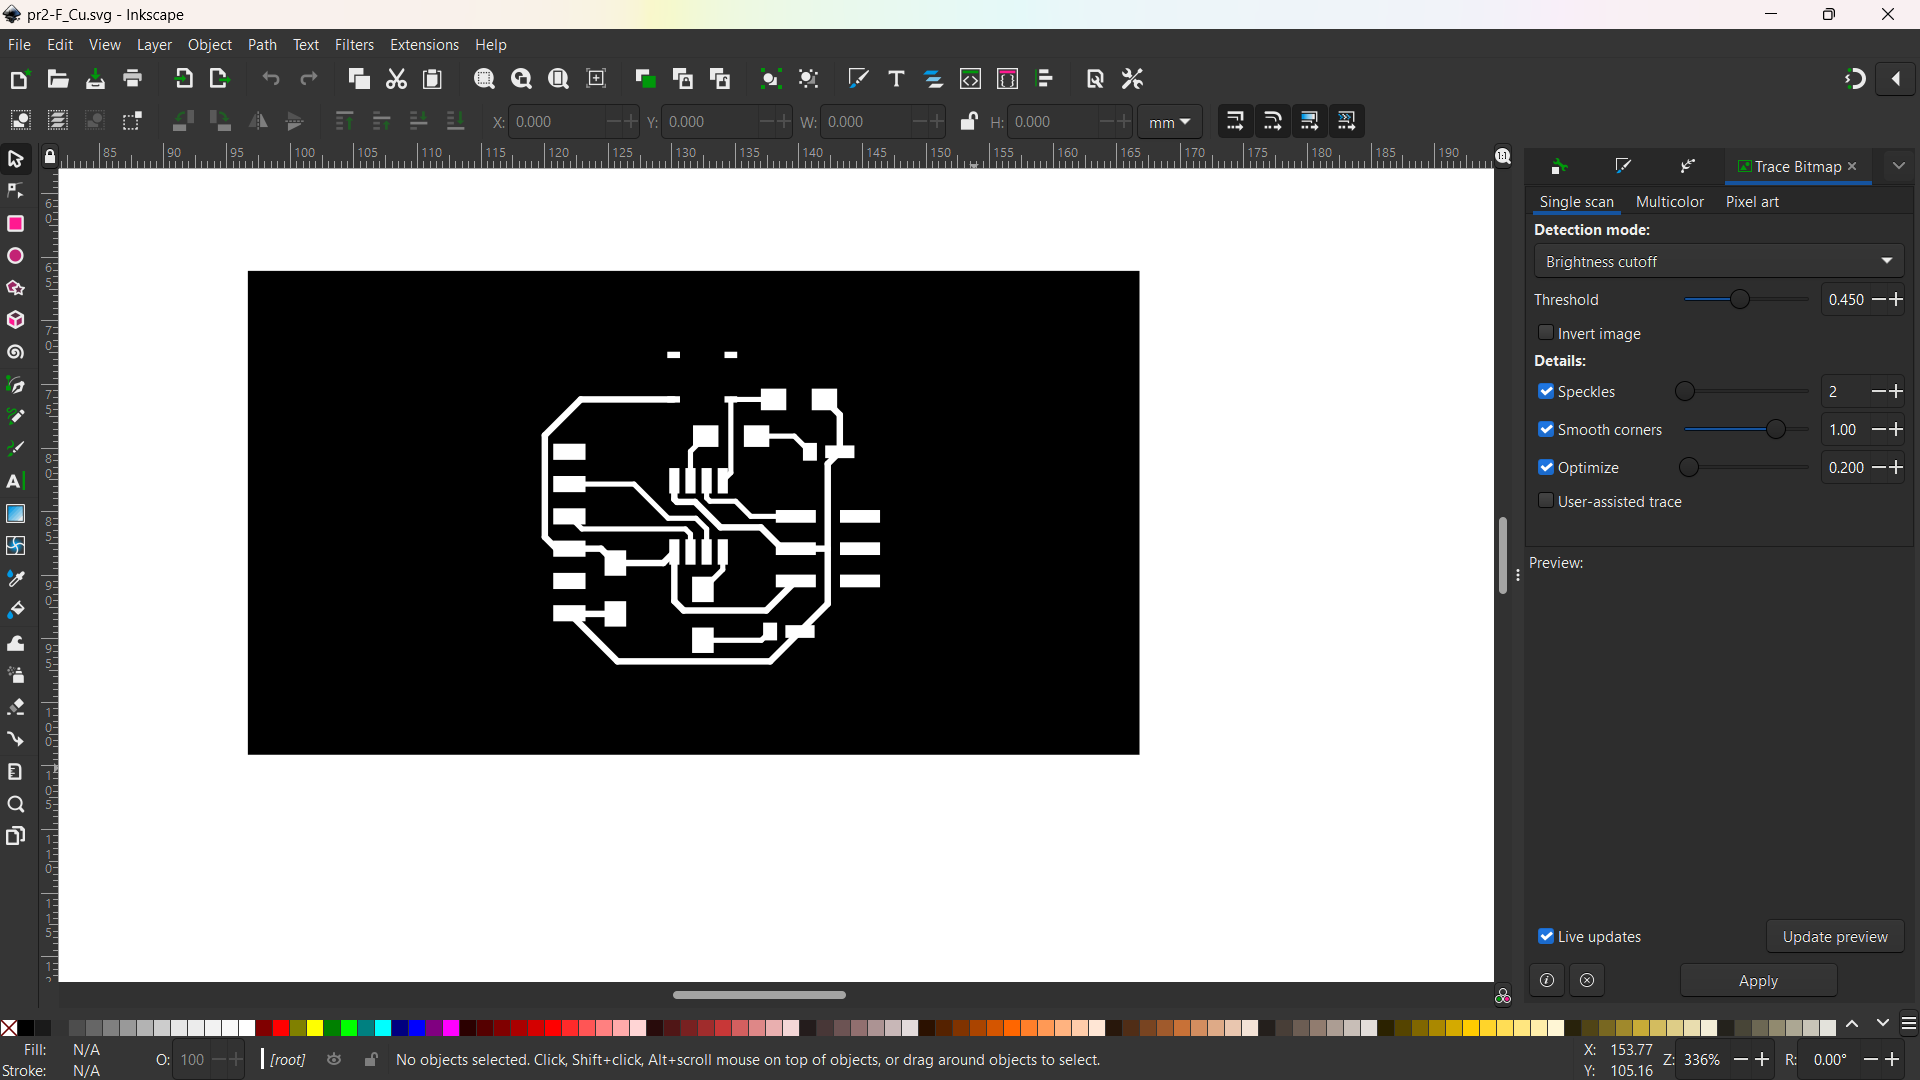
SVG file is converted to png file in Inkscape.
Setting up machine
First we fix 1/64 bit in its tool head. Make sure the shank is kept as deep into the head as you can by using an allen key. On the board’s back, apply a double-sided adhesive sticker, and then adhere it over the sacrifice layer.
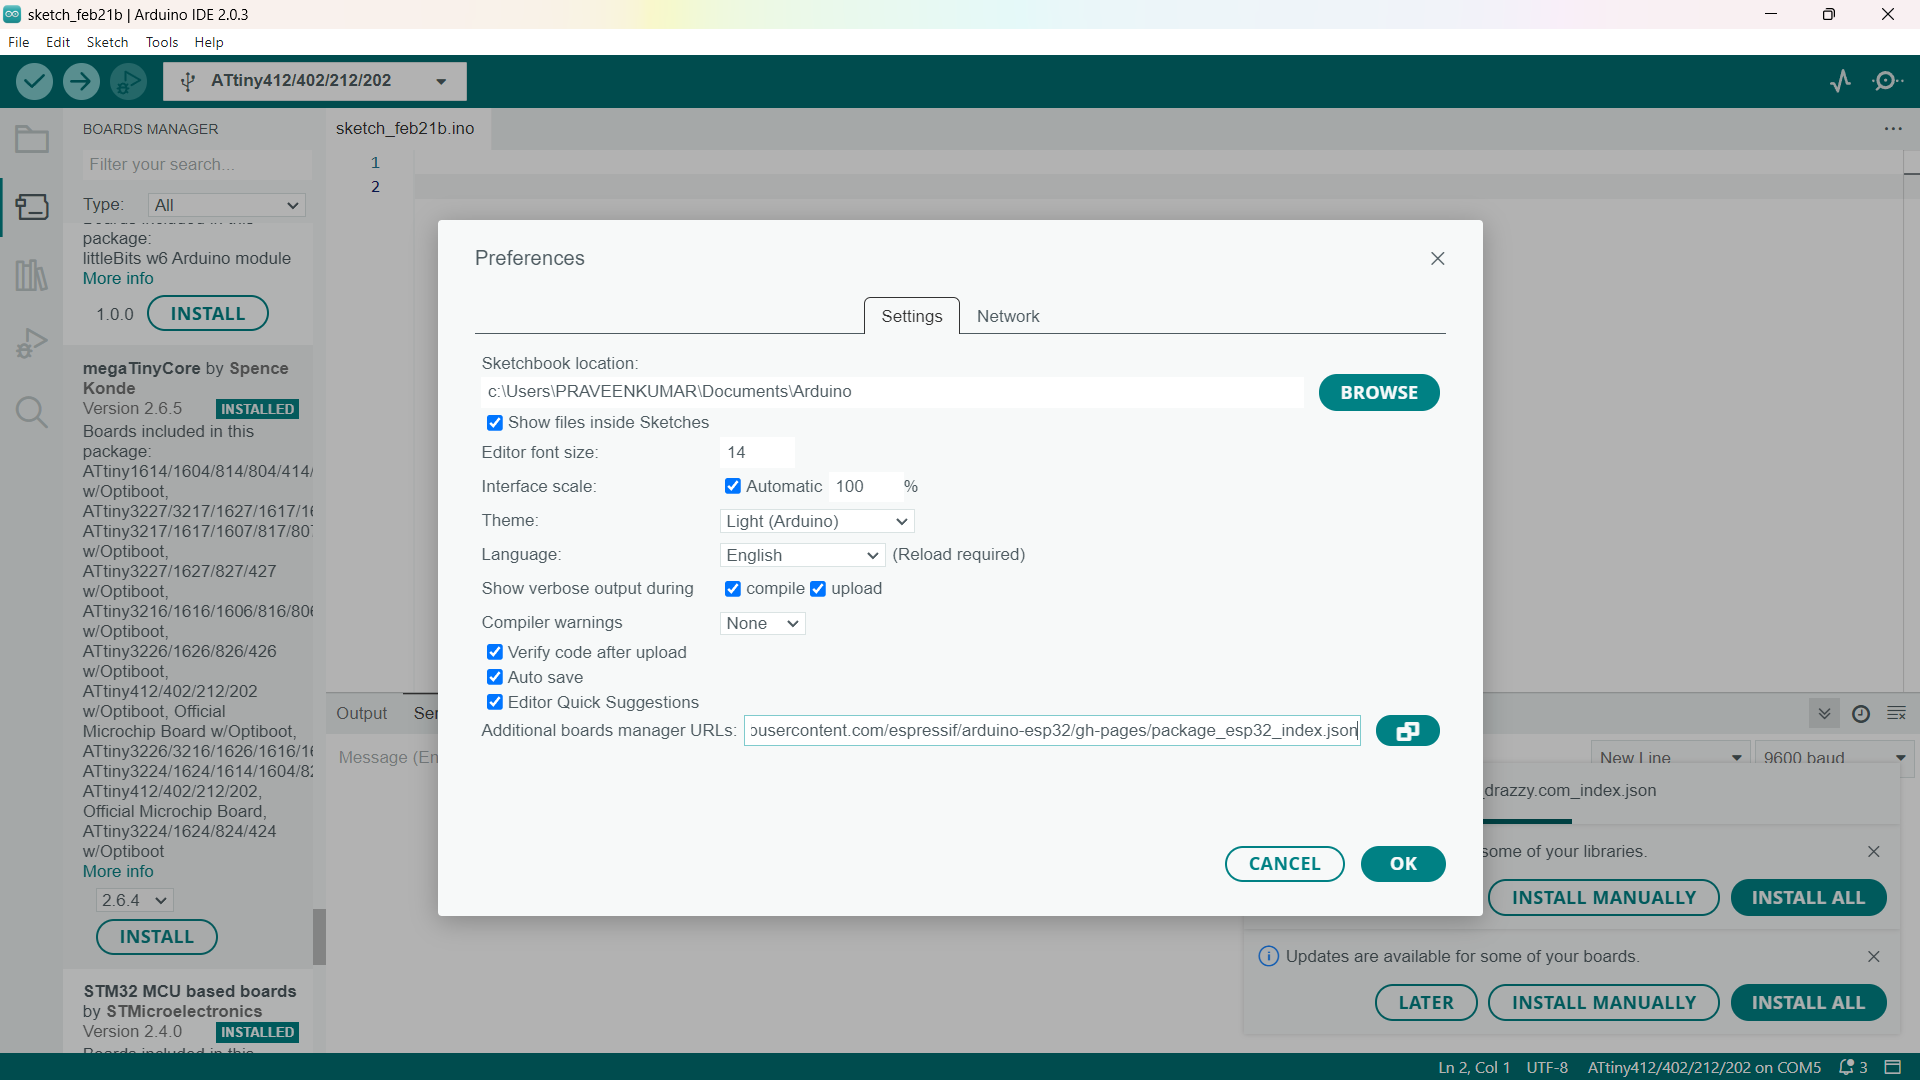
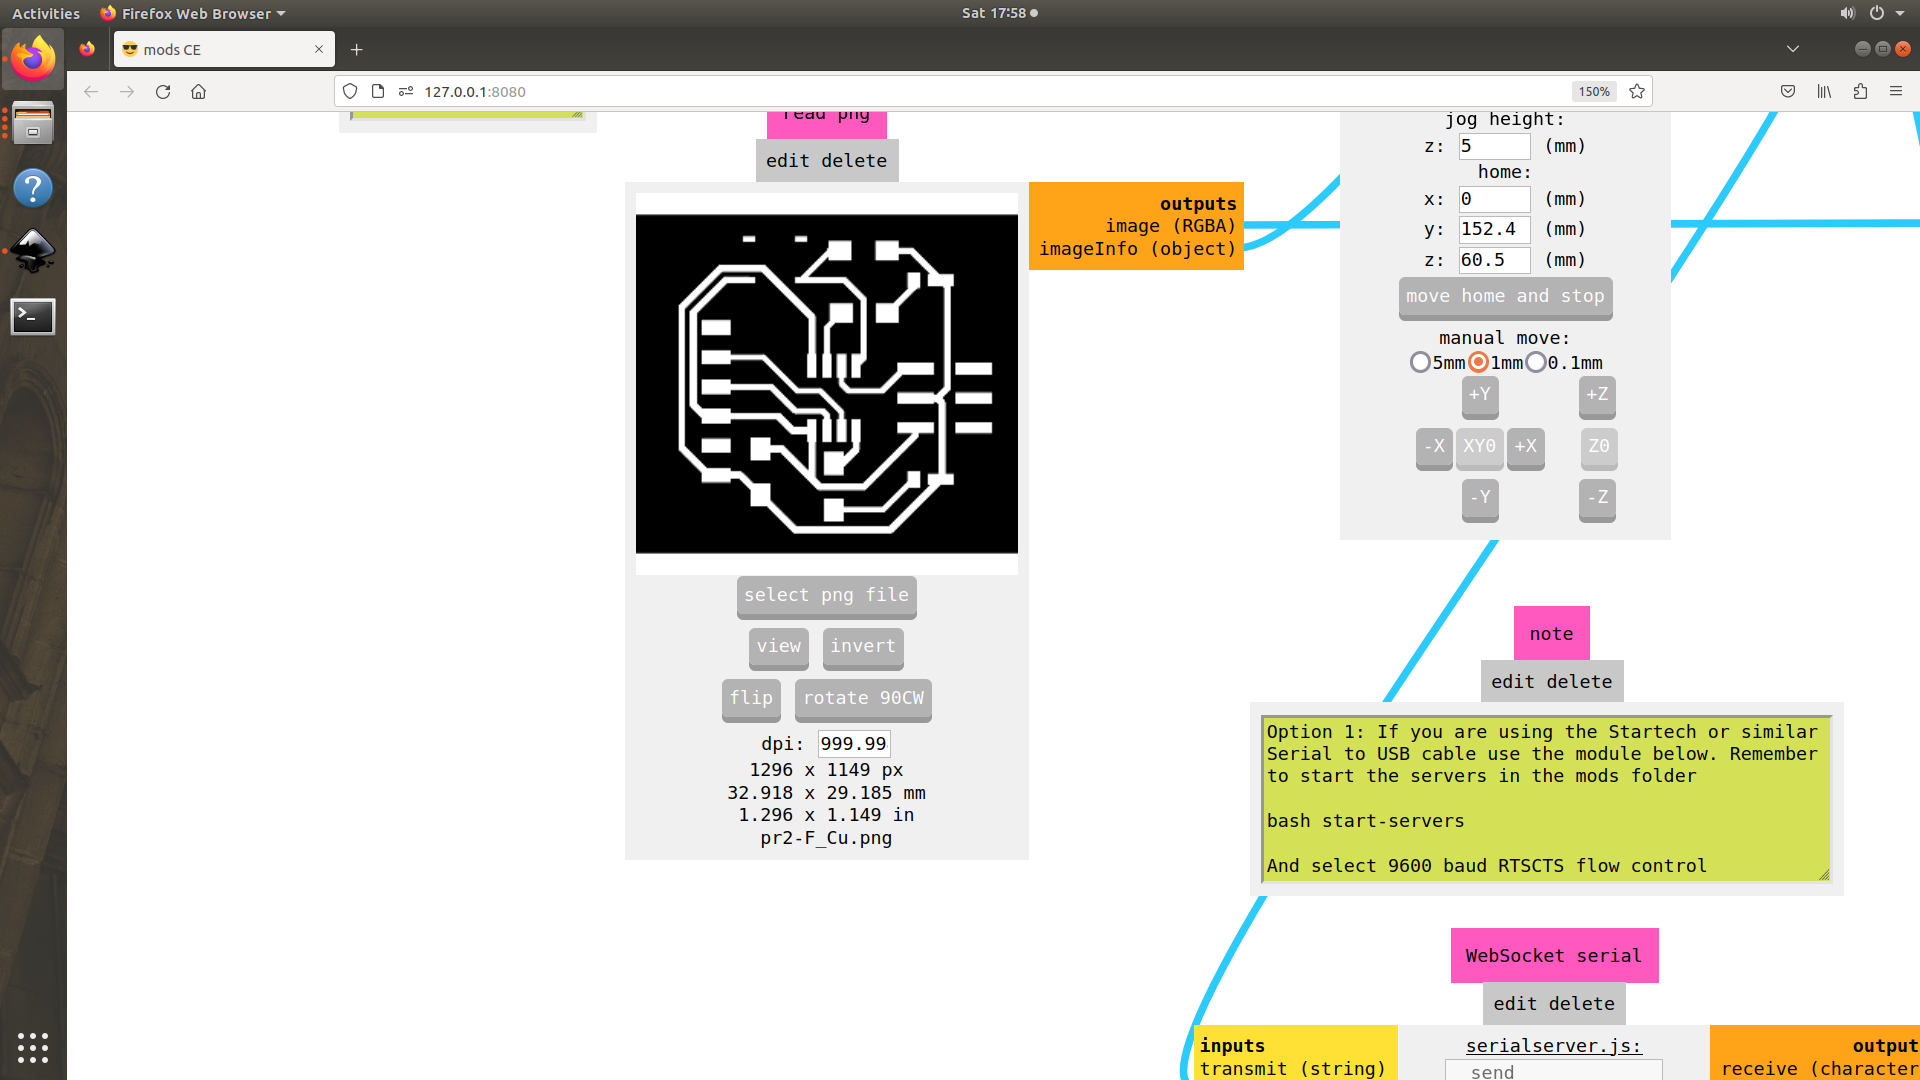
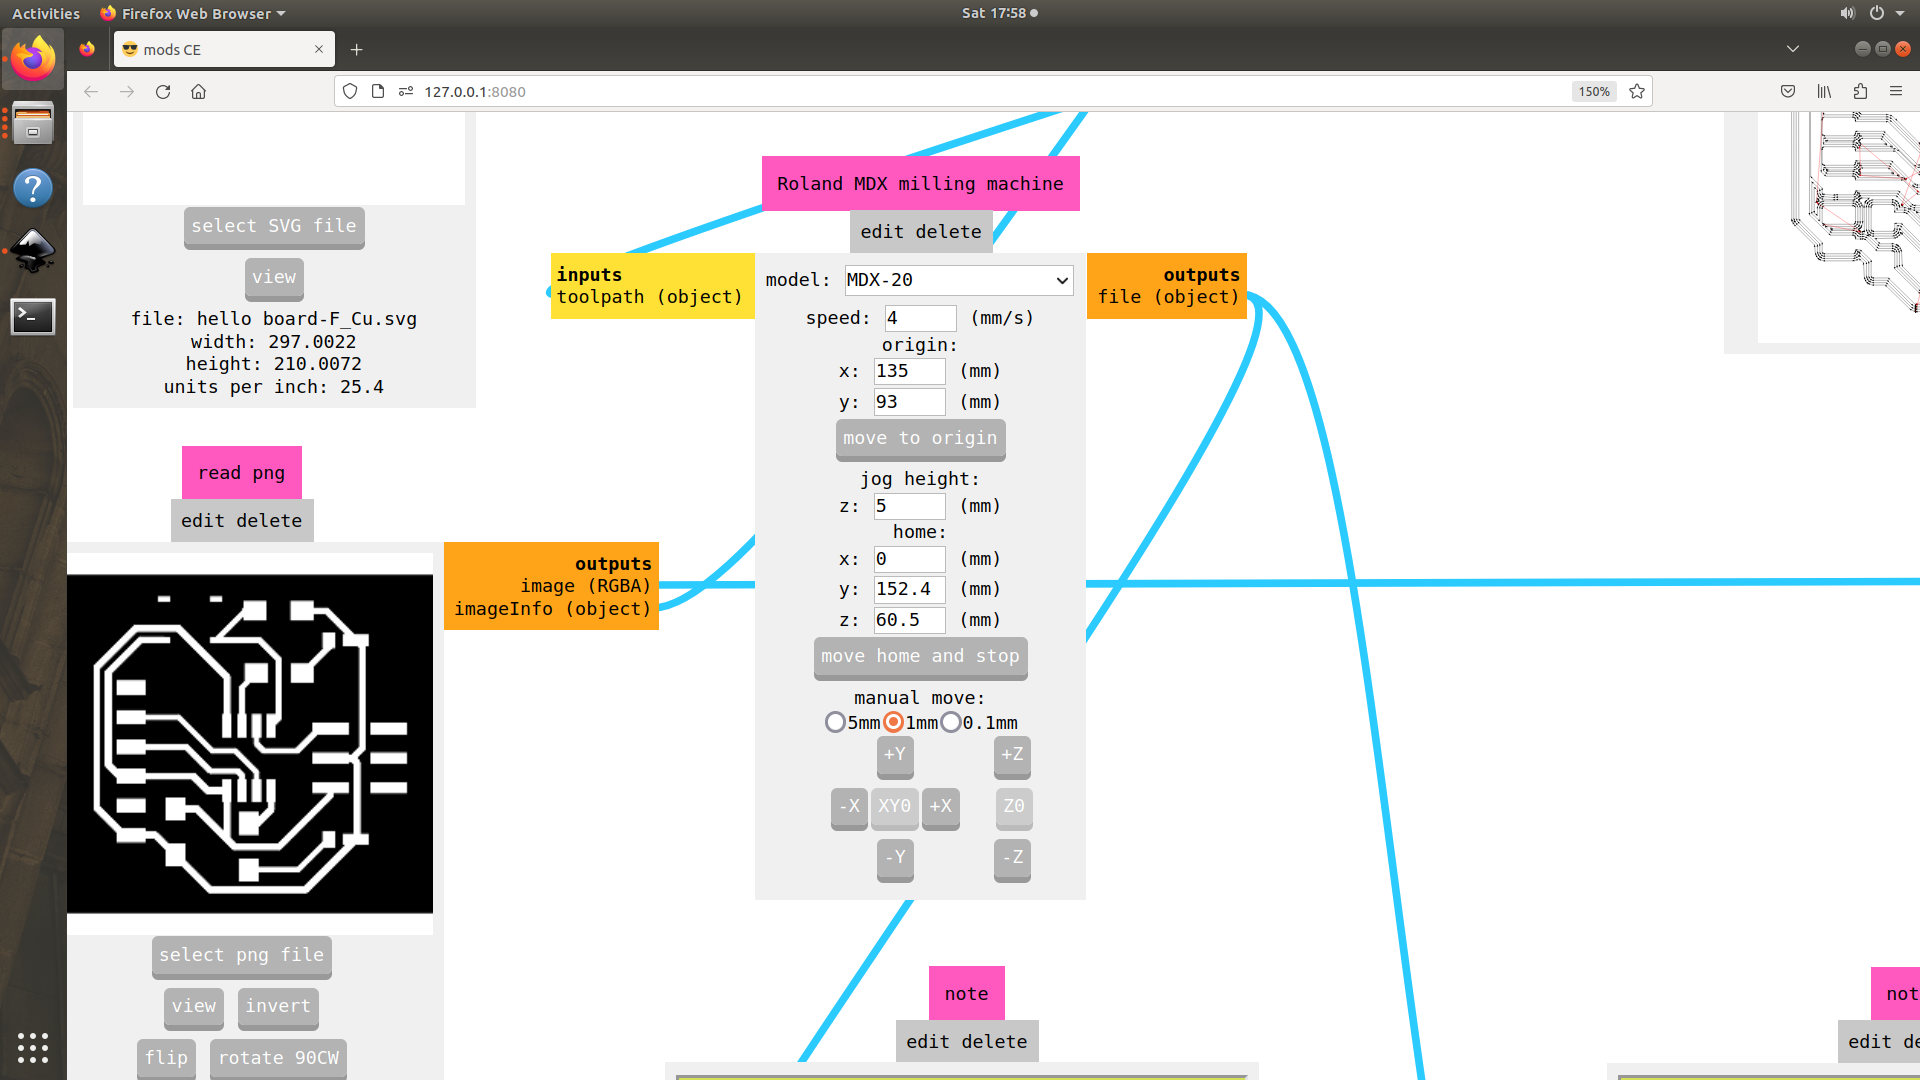
Next modes appication are opend to run the machine.
Open the modes and upload the png file.

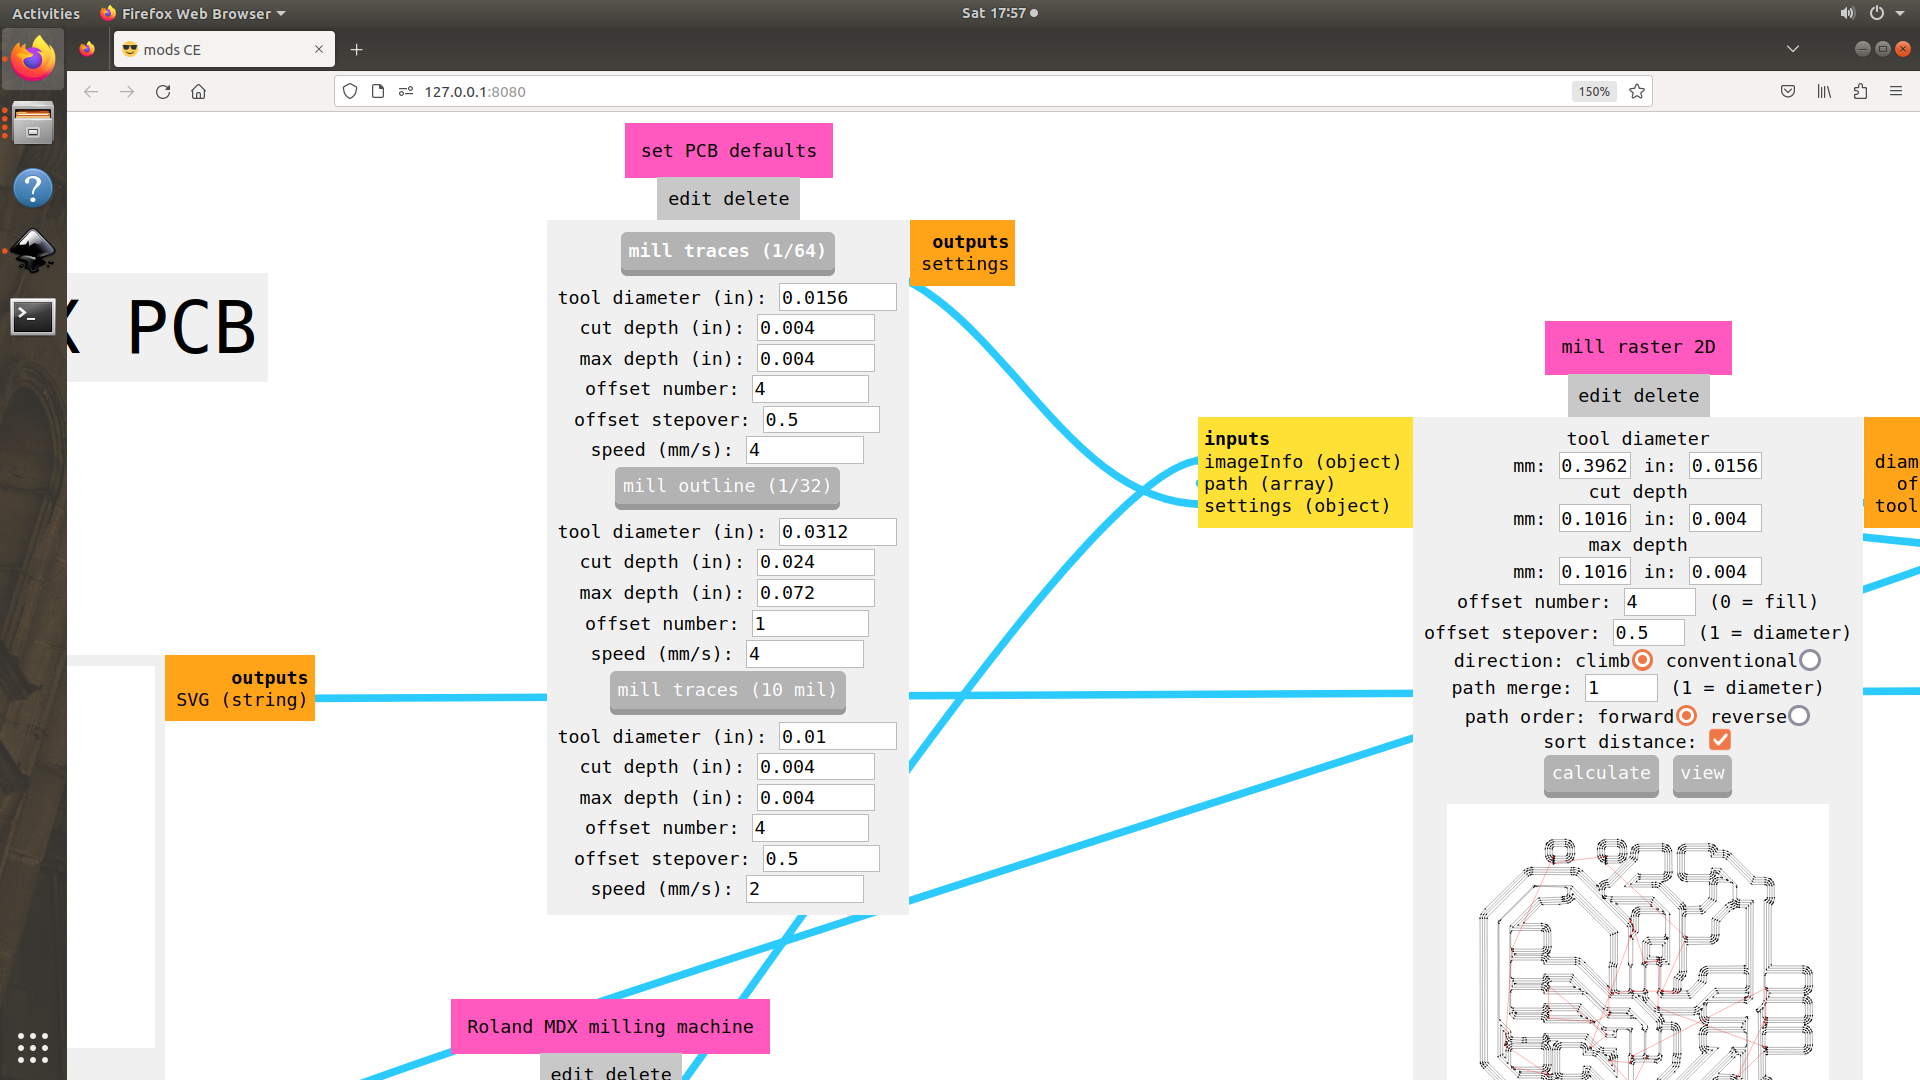
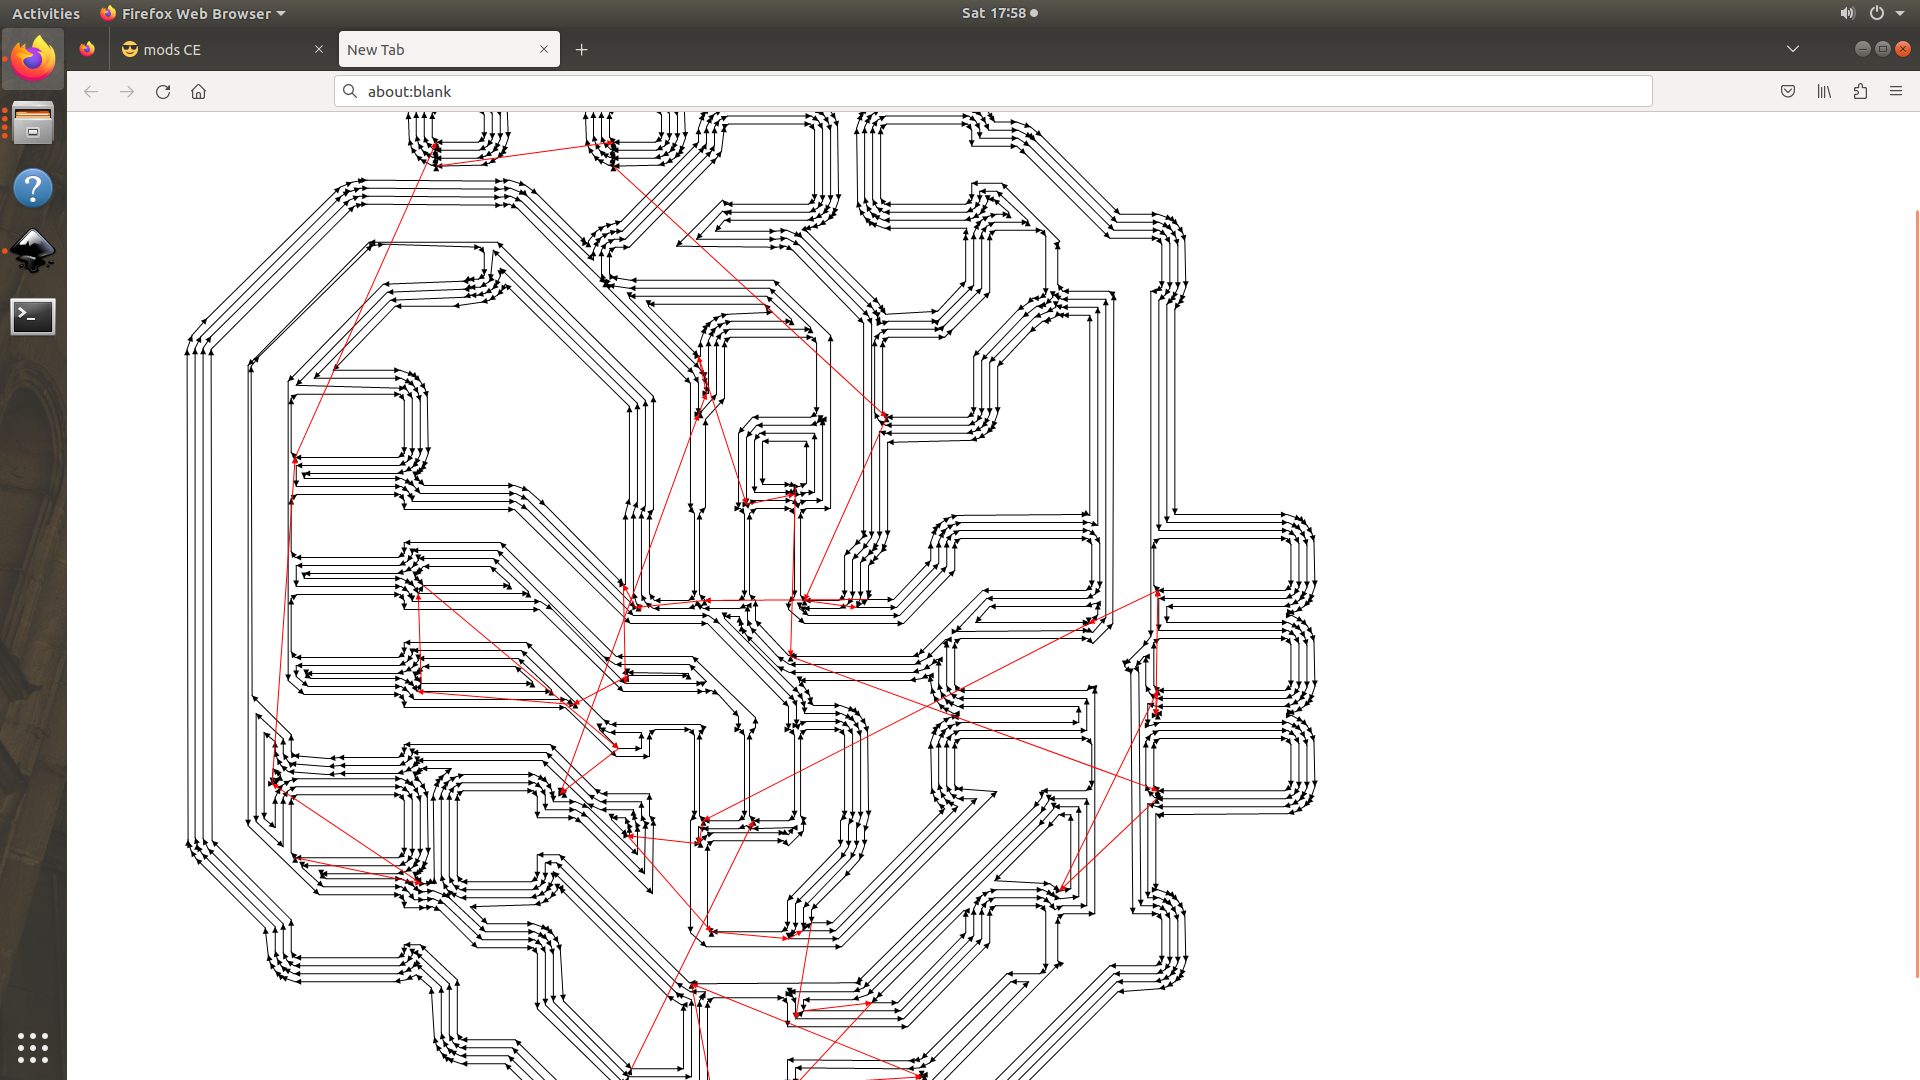
 Select the tool for tracing . Here it is 1/64 and press calculate to get 2D tracing
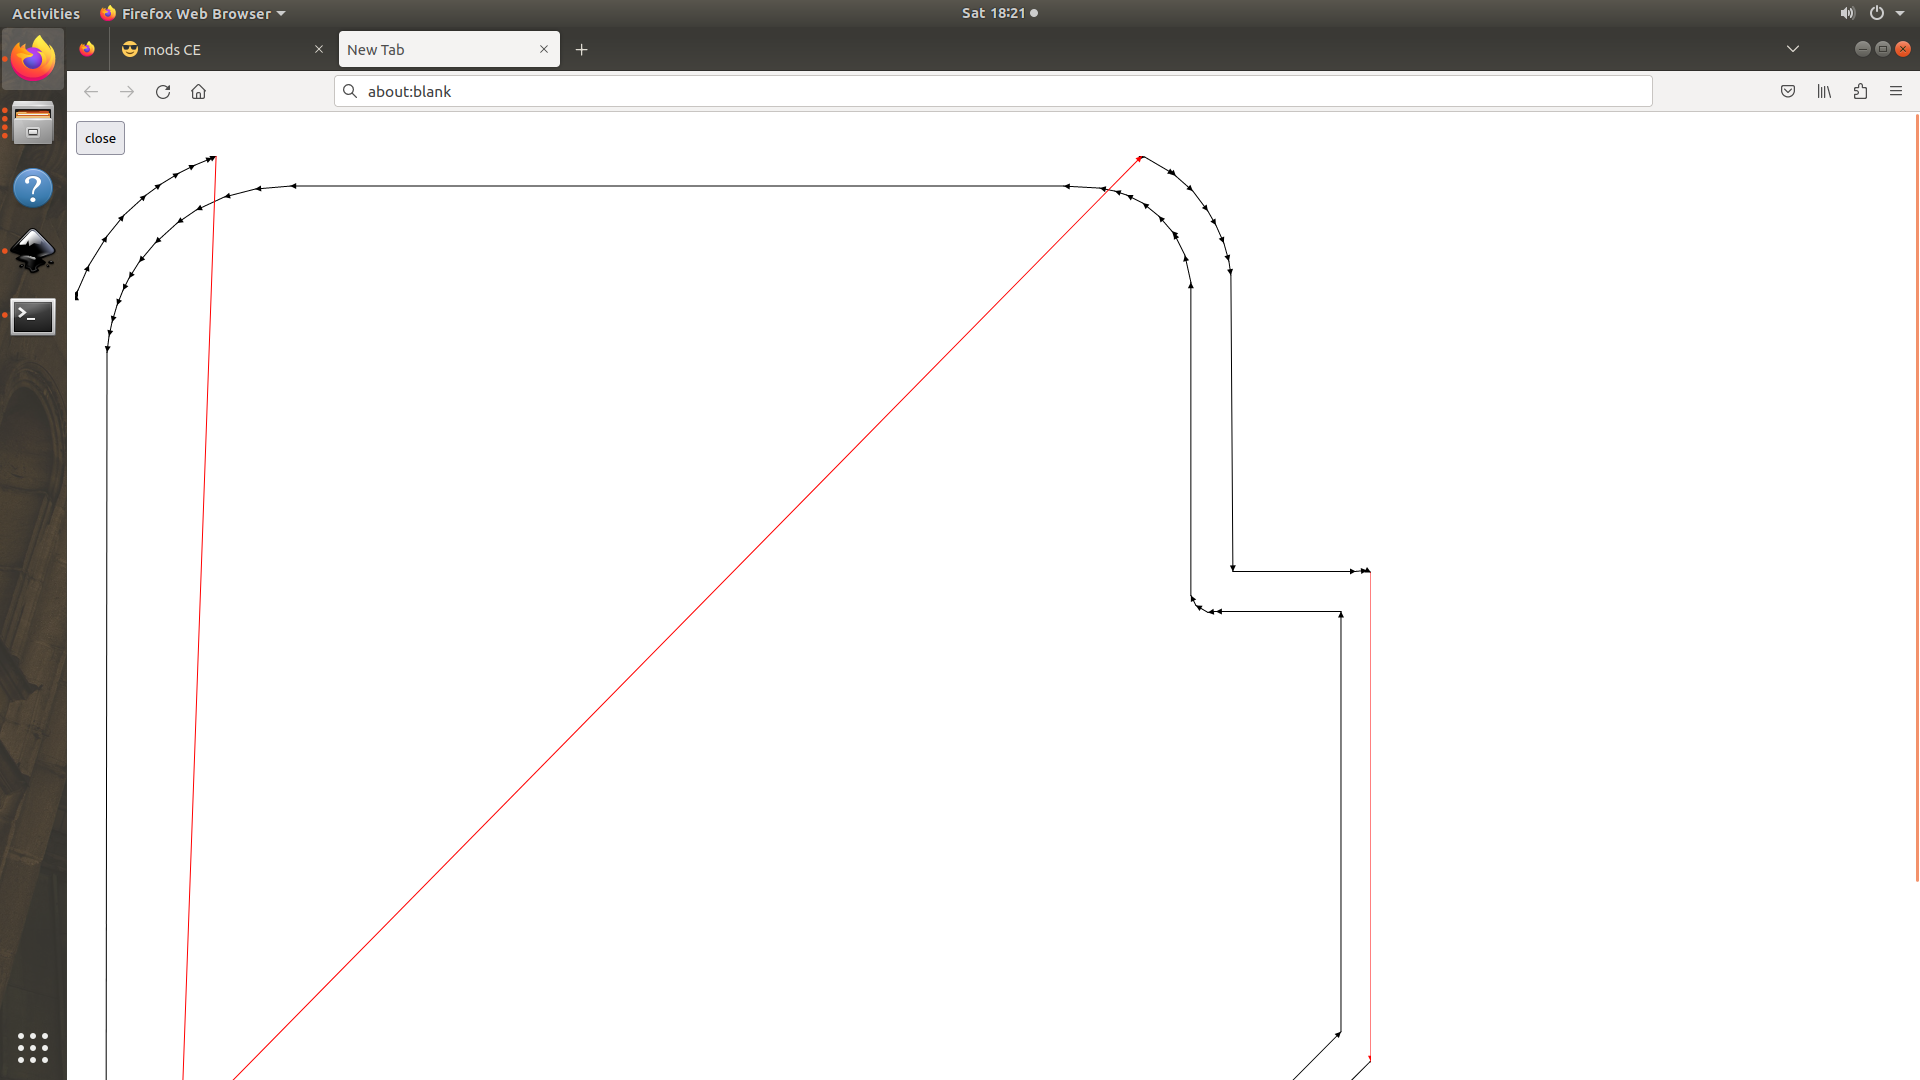
Now its time to cut the outline. Here also the same process is repeated, but with the bit 1/32.

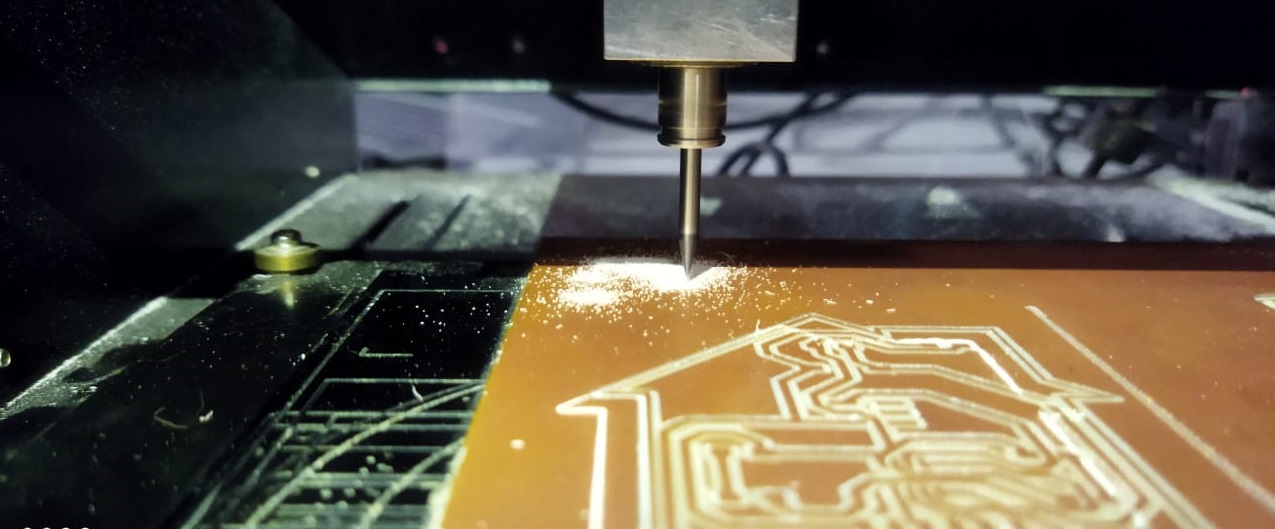
The result was line this as shown below.
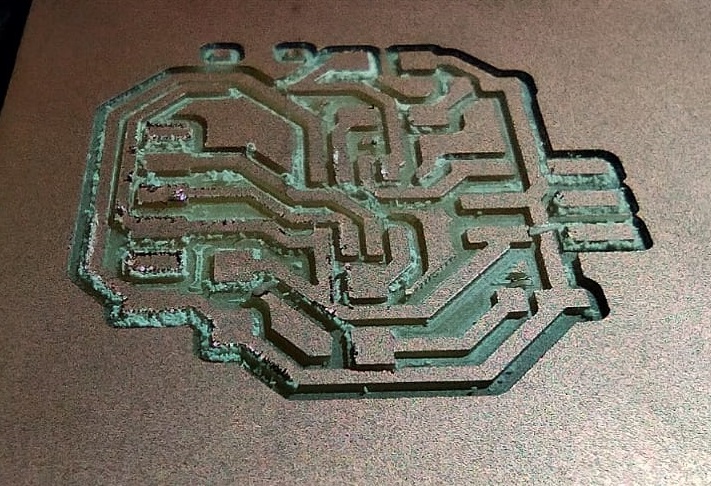
Now its time for soldering the components.
Components Used
-
ATtiny412 SOIC----1 nos
-
Capacitor 1206 (100nf)—1 nos
-
LED_Luminus_1206---------2 nos
-
PinHeader_P2.54mm(1x6)—1 nos
-
PinSocket_P2.54mm(2x3)—1 nos
-
Resistor_1206(10K)----1nos
-
Resistor_1206(499K)----2nos
-
Button_ESwitch_4.5x4.5mm—1nos
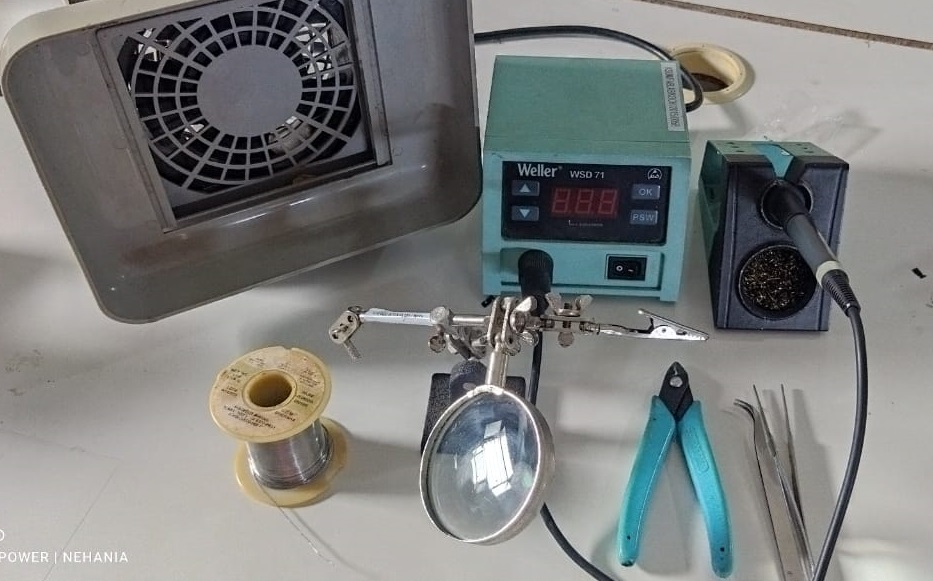
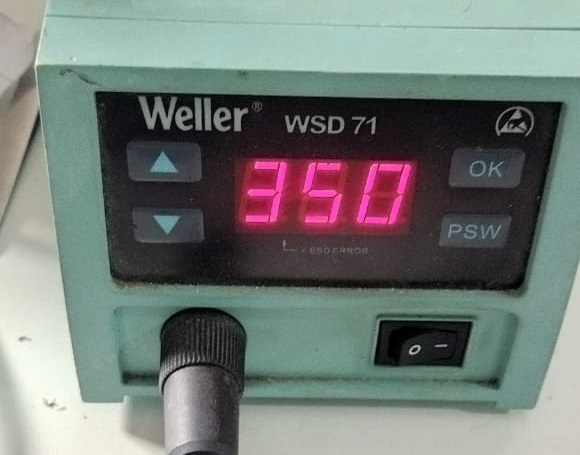
Soldering kit
Set the temprature upto 350C
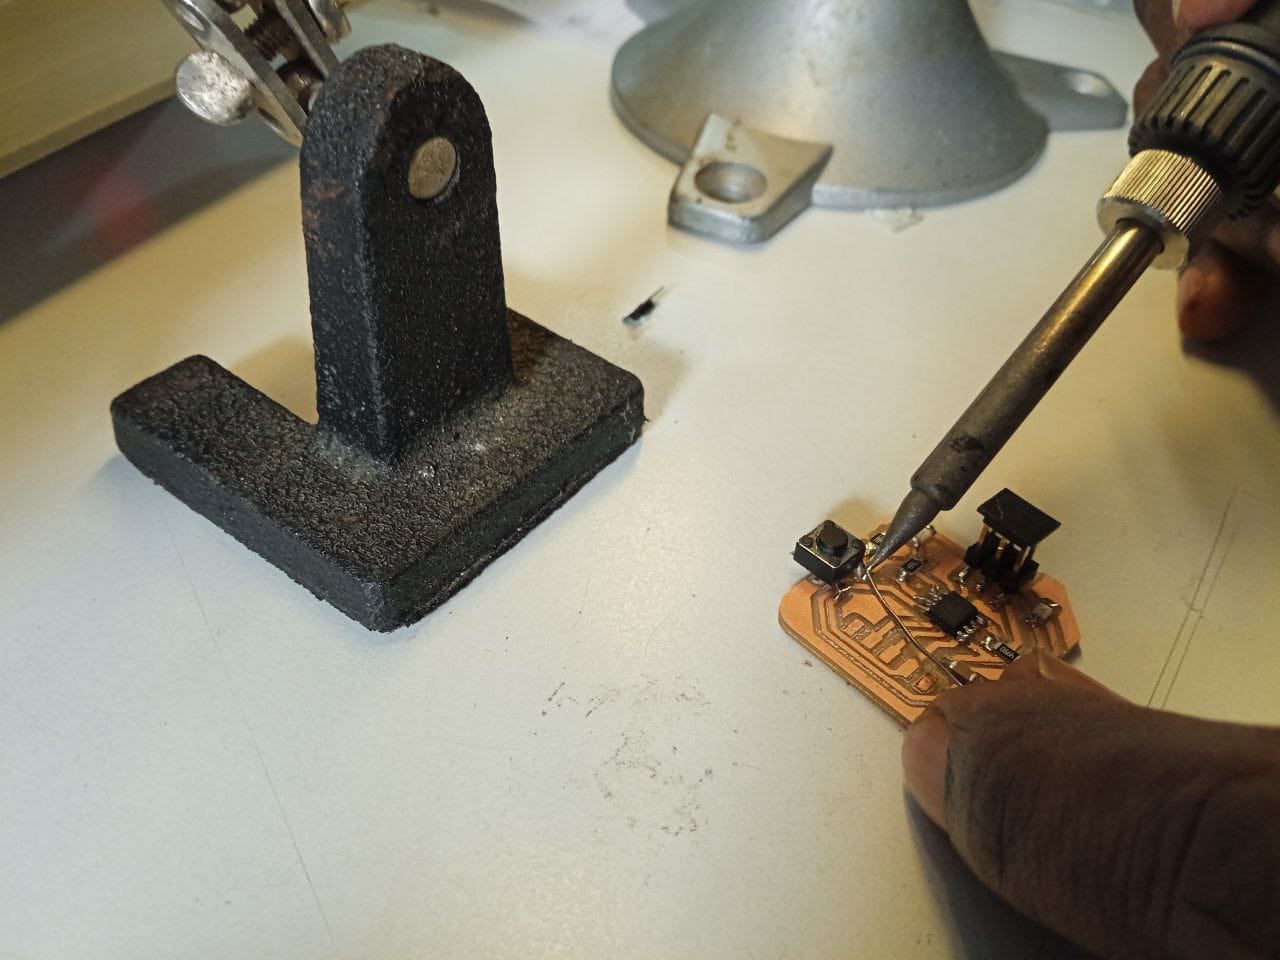
Soldeing completed
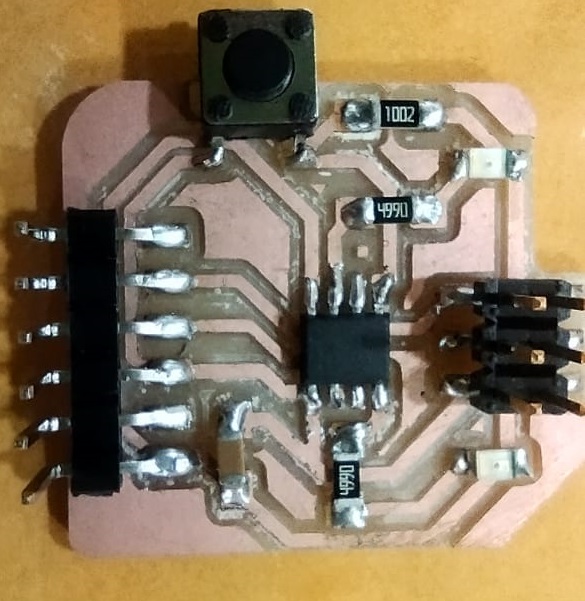 It was a nice experience to solder. This was the first time I am doing this. My instructor give me some adive which help me to do it almost good. He advice me to apply some lead on the board where the componets to be soldered before placing the componenets. After placing the componenets menlt the lead so that the componenets just hold in the board. Further we can apply more lead to fix the bot end of the componenets.
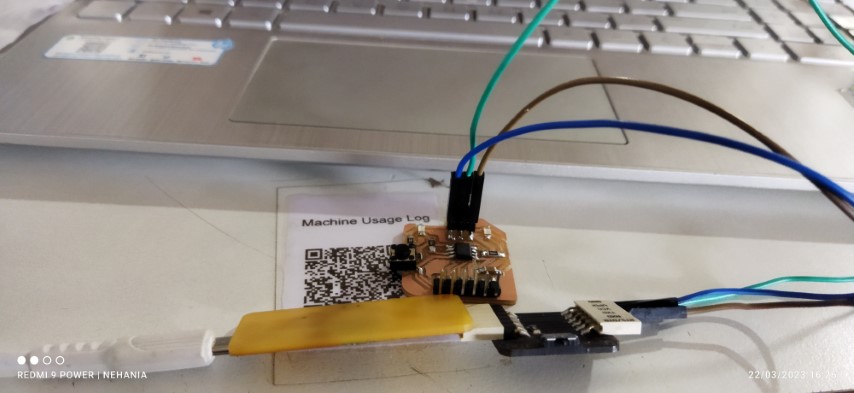
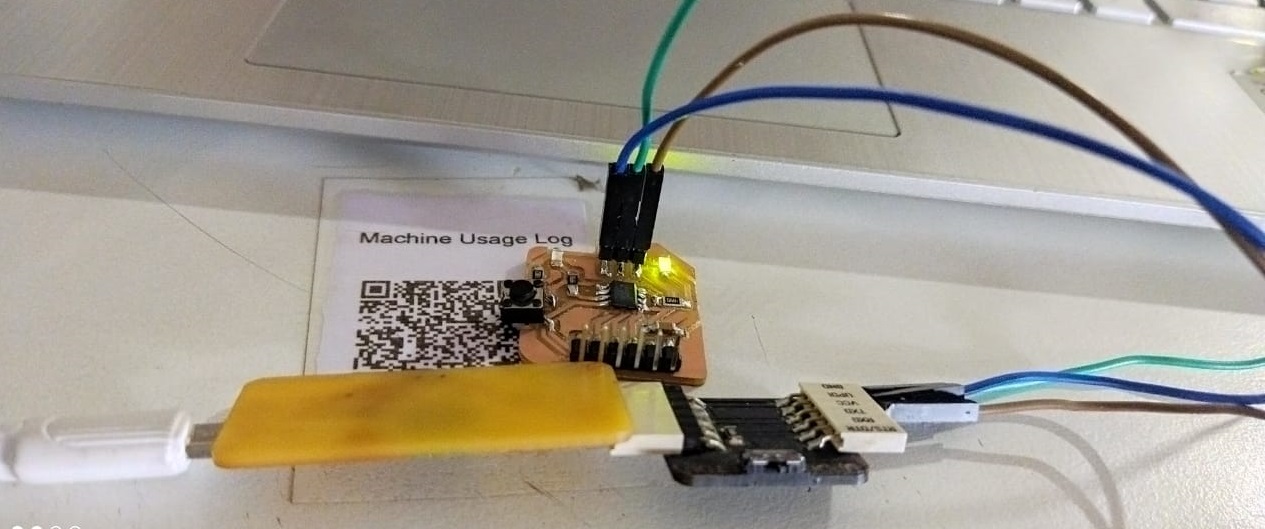
Testing & Programing