Week 4 Group / Embedded programming
This is group assignment page of Embedded programming (Kitakagaya students) :
Group assignment
- Compare the performance and development workflows for other architectures
The microcontoroller we used
- Seeed Studio XIAO RP2040
- M5STACK ATOM Matrix
- micro:bit
The IDE we used
- Arduino IDE
- PlatformIO
- MakeCode editor for micro:bit
Result comment
The setup and workflow could be a lot easier if adopt to VScode and Platform IO. micro:bit is very easy to use and could be recomended to beginers.
Preparation for development environment
-
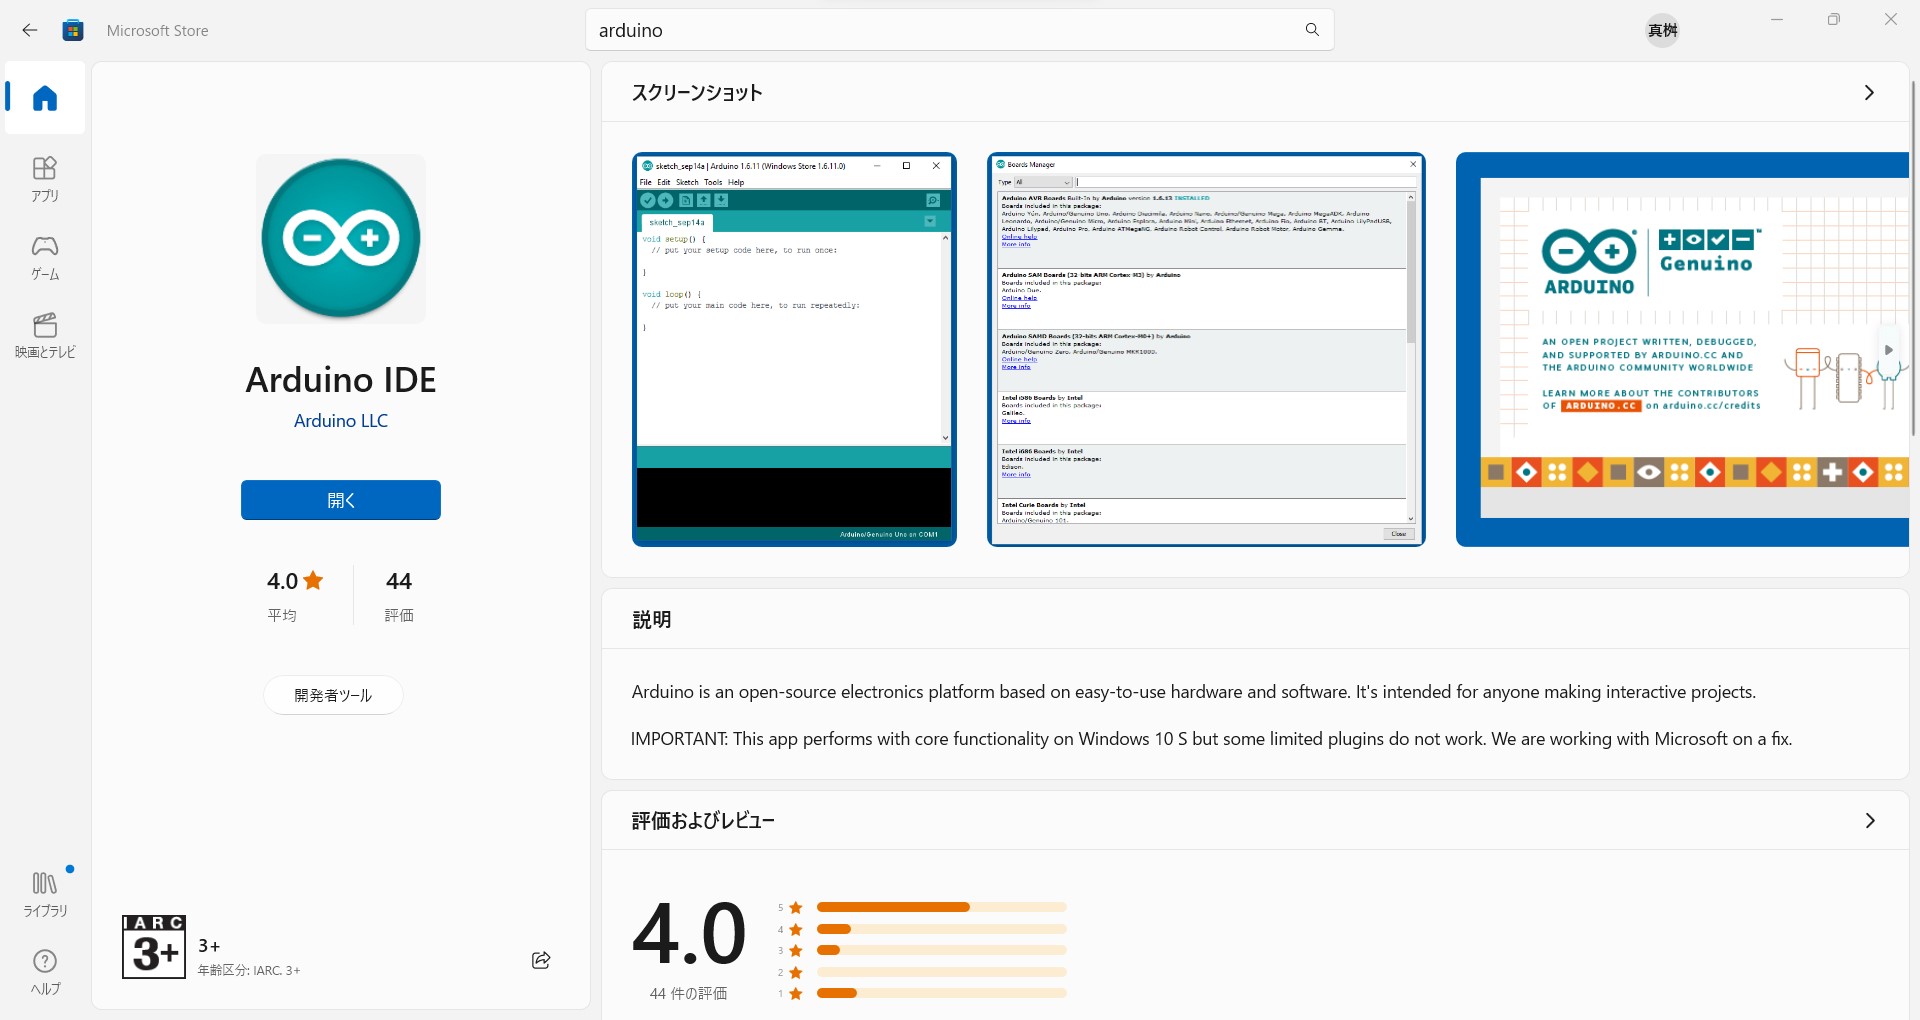
Arduino IDE - Installed Arduino IDE 1.8.57 from Windows store
 - Then download appropriate “library” and “board setting”. It depends on the board and the program contents.
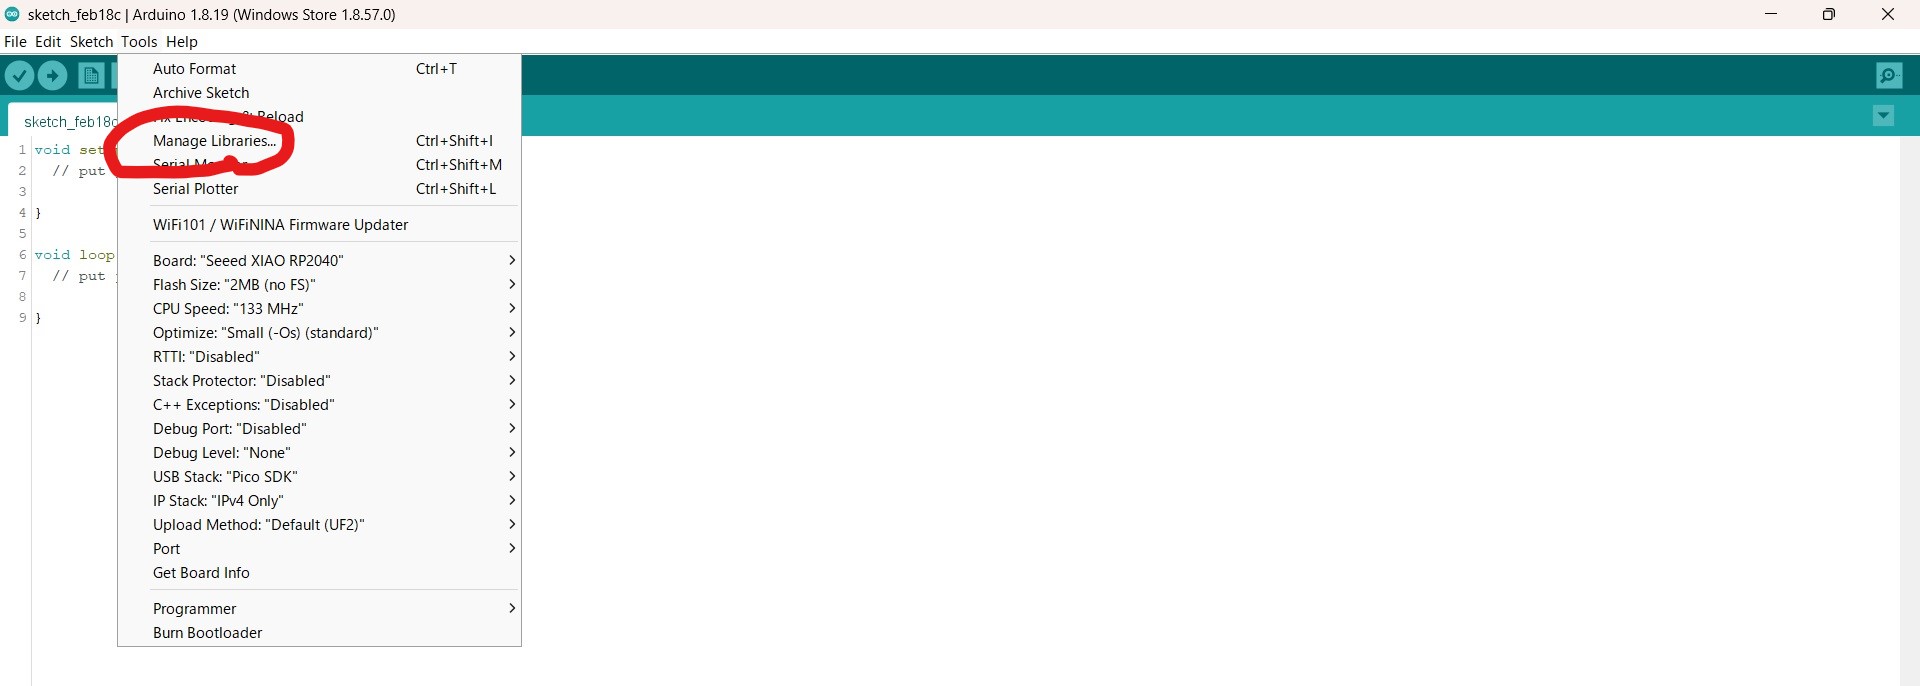
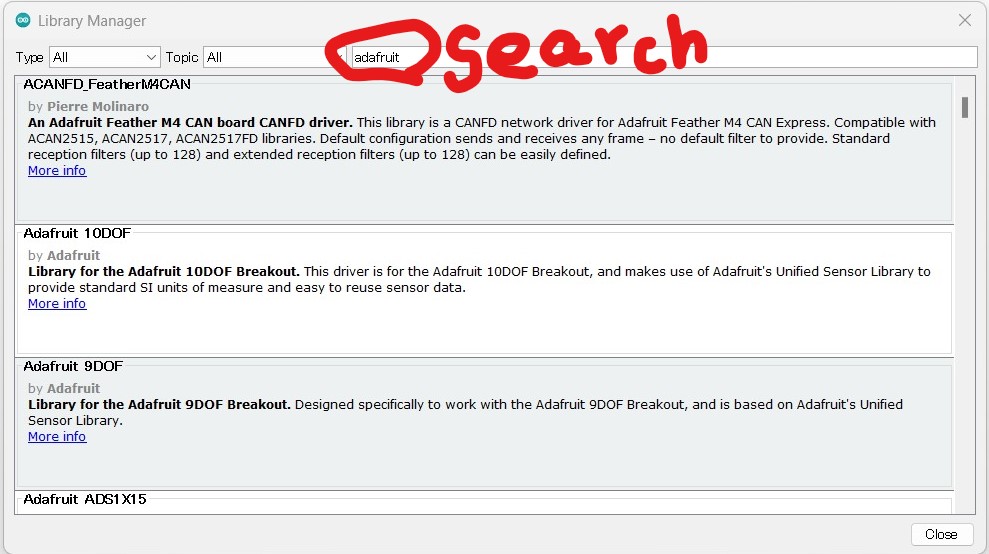
- Library: Tools -> Manage Libraries -> dialogue box allows search target library -> install
- Then download appropriate “library” and “board setting”. It depends on the board and the program contents.
- Library: Tools -> Manage Libraries -> dialogue box allows search target library -> install
- Board settings: Tools -> Board -> Boards Manager
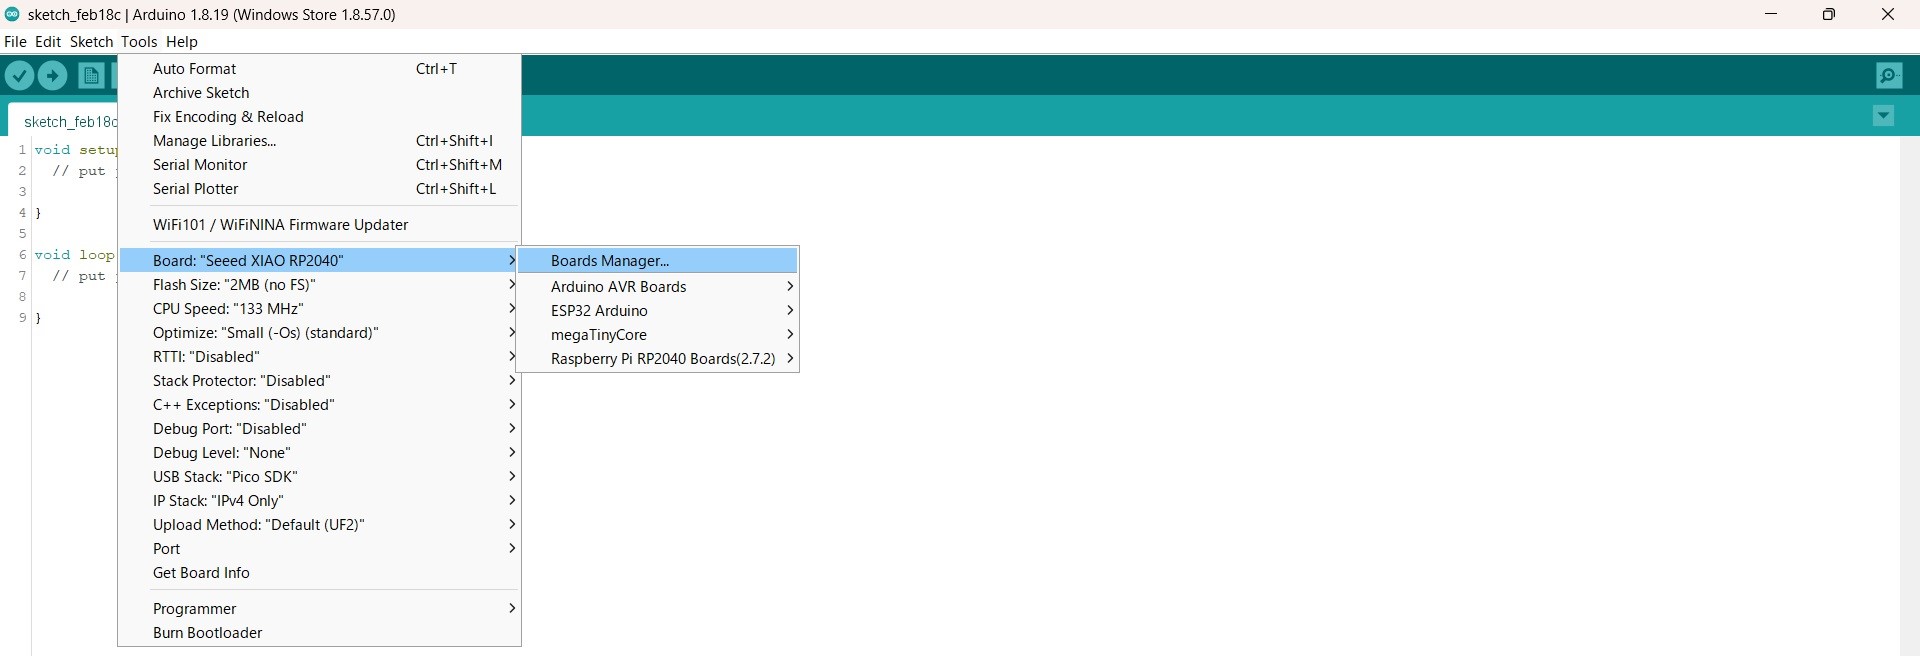
Choose and install appropriate board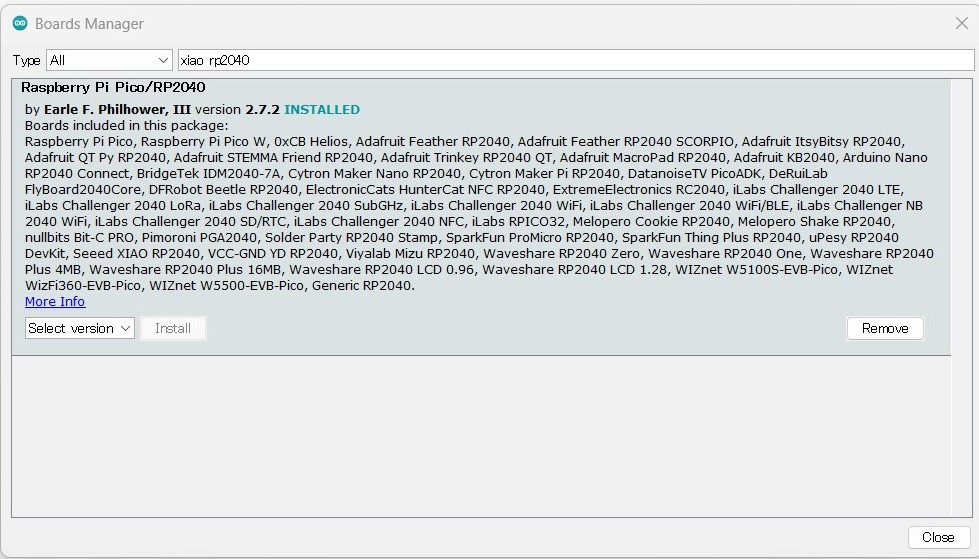
-
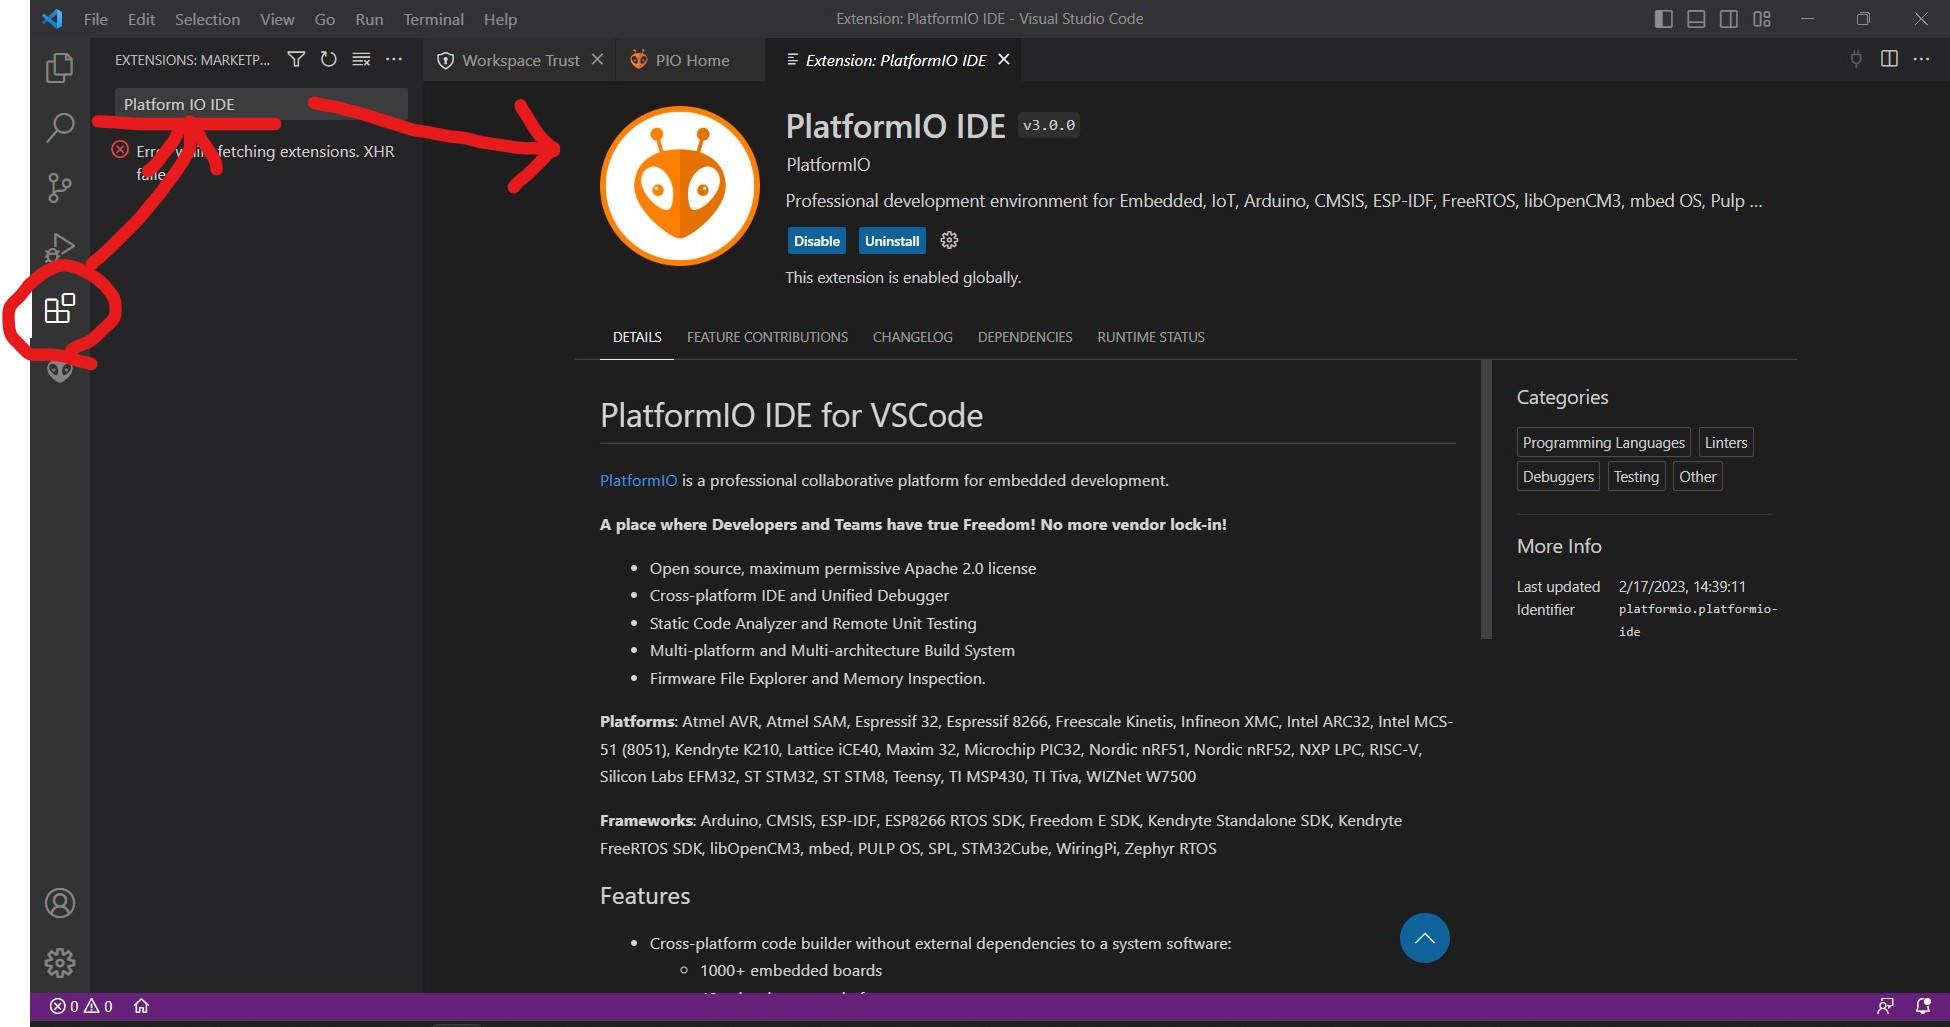
Platform IO IDE on VS code - Platform IO IDE(POI) is available as a add-on of VS code, it is in extention panel on VS code.
 - On POI library and board setting is chosen for each project.
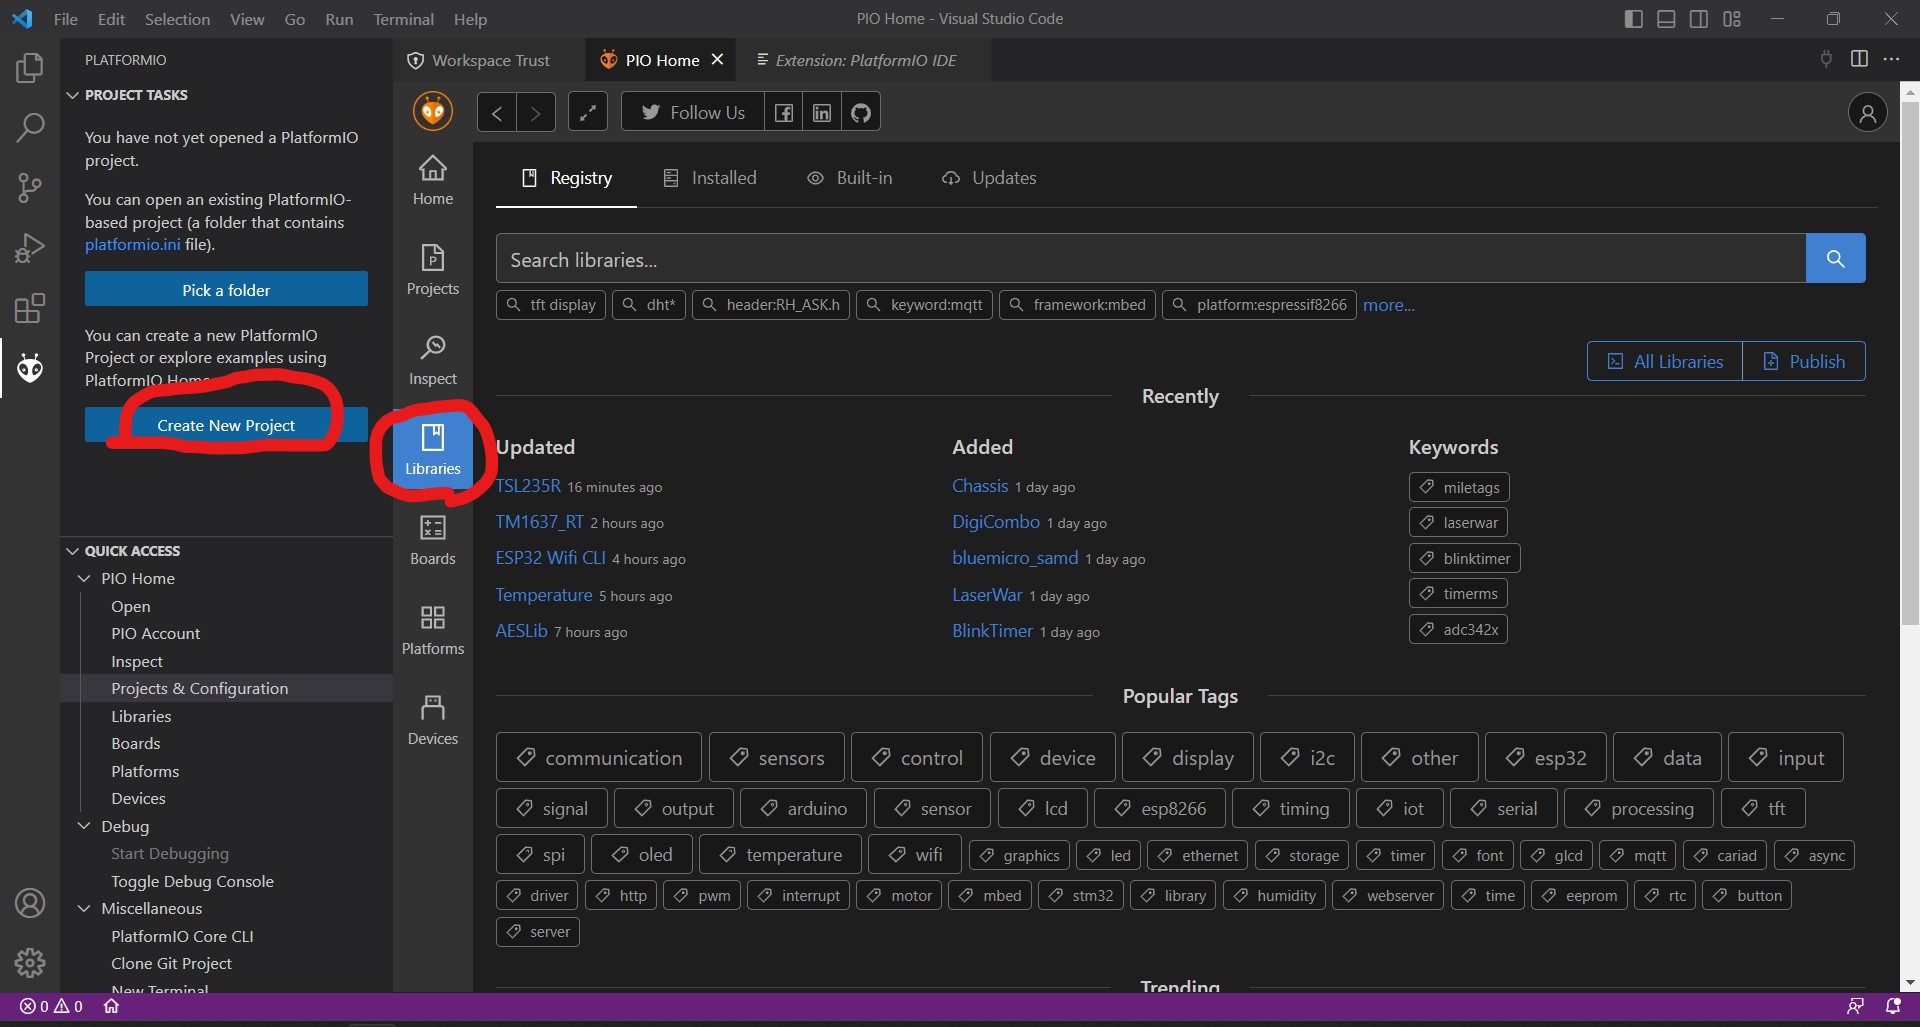
- Library: Create New Project -> Libraries
- On POI library and board setting is chosen for each project.
- Library: Create New Project -> Libraries
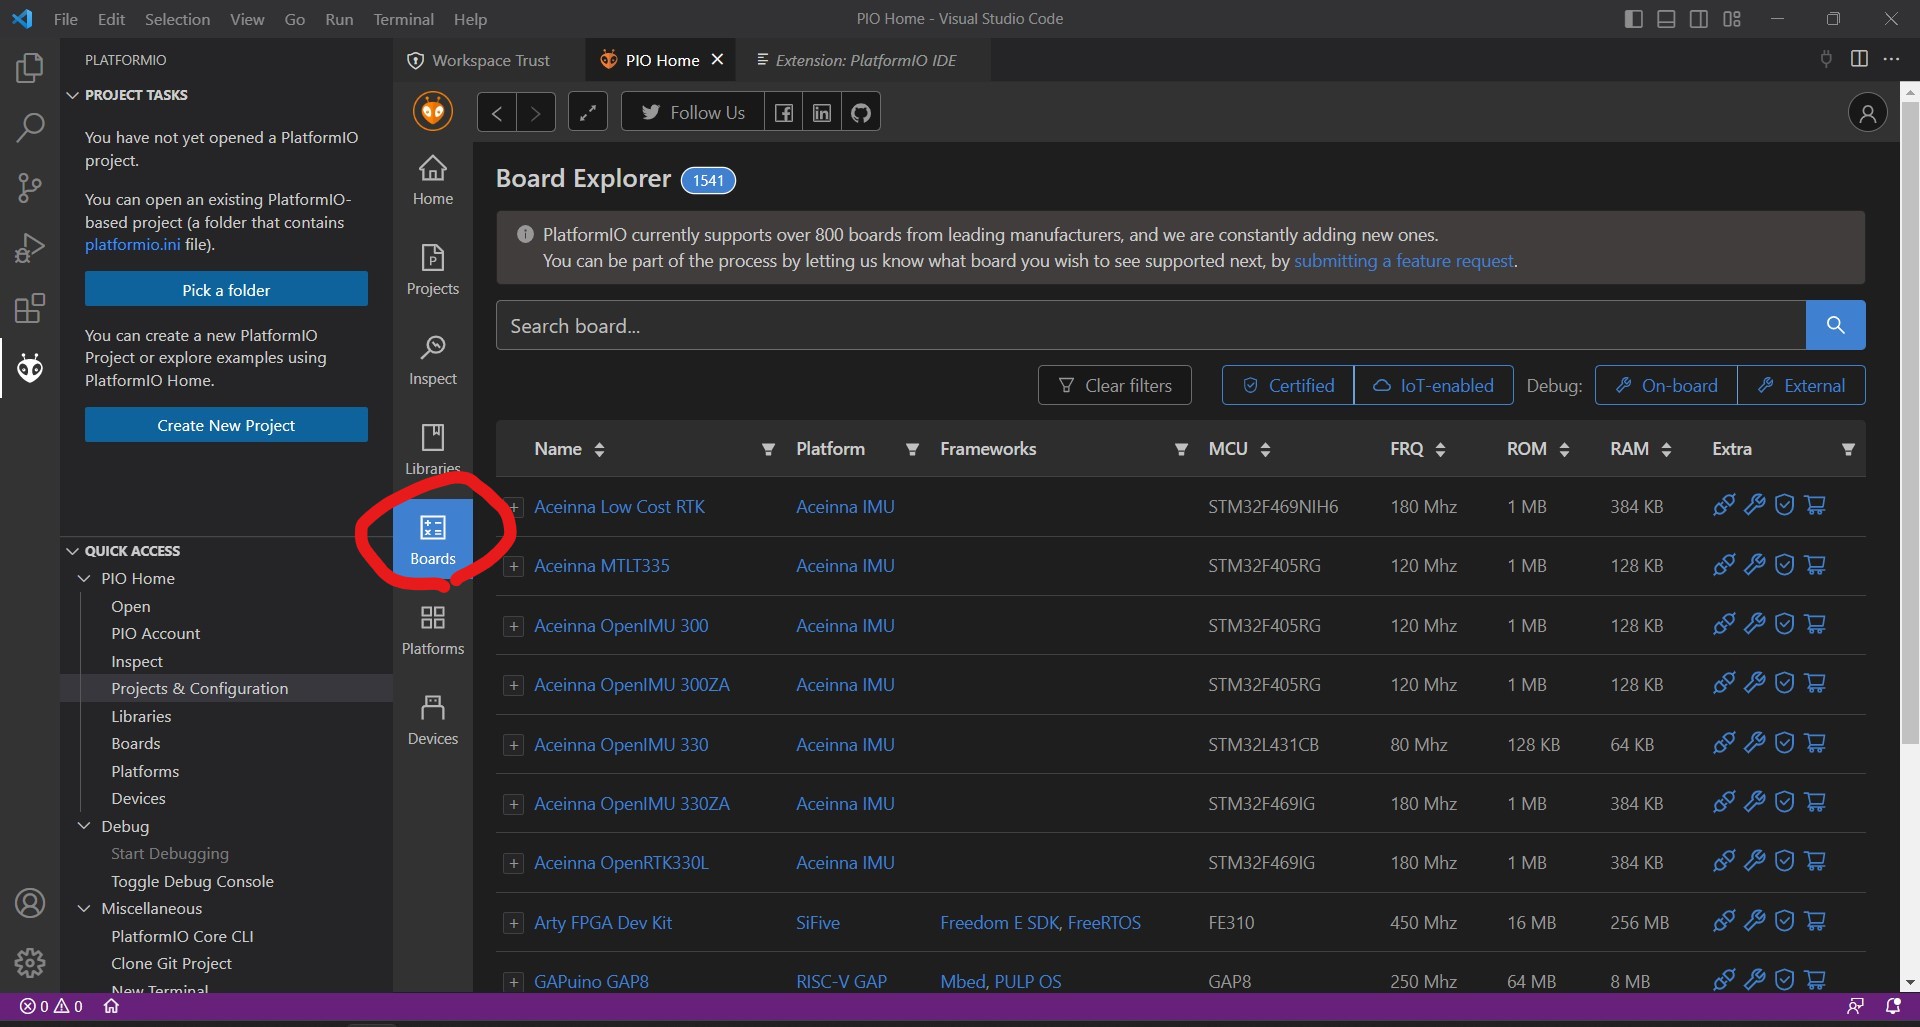
- Board settings: Create New Project -> Boards
Development workflow
-
XIAO RP2040 with Arduino IDE
- Based on advice from the class, picked up a sample program from this site and modified.
- This site shows a sample sketch to blink 2 LEDs of the board. Now reduced number of LED and color. Then only one LED blinks in 1 color.
- For compiling this sketch, installed “Adafruit NeoPixel” library.
-
Sketch is as follows;
#include <Adafruit_NeoPixel.h> #define NUMPIXELS 1 #define NEO_PWR 11 //GPIO11 #define NEOPIX 12 //GPIO12 Adafruit_NeoPixel pixels(NUMPIXELS, NEOPIX, NEO_GRB + NEO_KHZ800); void setup() { //core 0 pixels.begin(); pinMode(NEO_PWR,OUTPUT); digitalWrite(NEO_PWR, HIGH); delay(200); } void loop() { //core 0 pixels.setPixelColor(0, pixels.Color(255, 0, 0)); pixels.show(); delay (200); //R pixels.clear(); pixels.show(); delay(200); } -
It took about 11 sec for compiling.
- When uploading the sketch to the board, need to check the “board” and “port” are selected correctly on Arduino IDE.
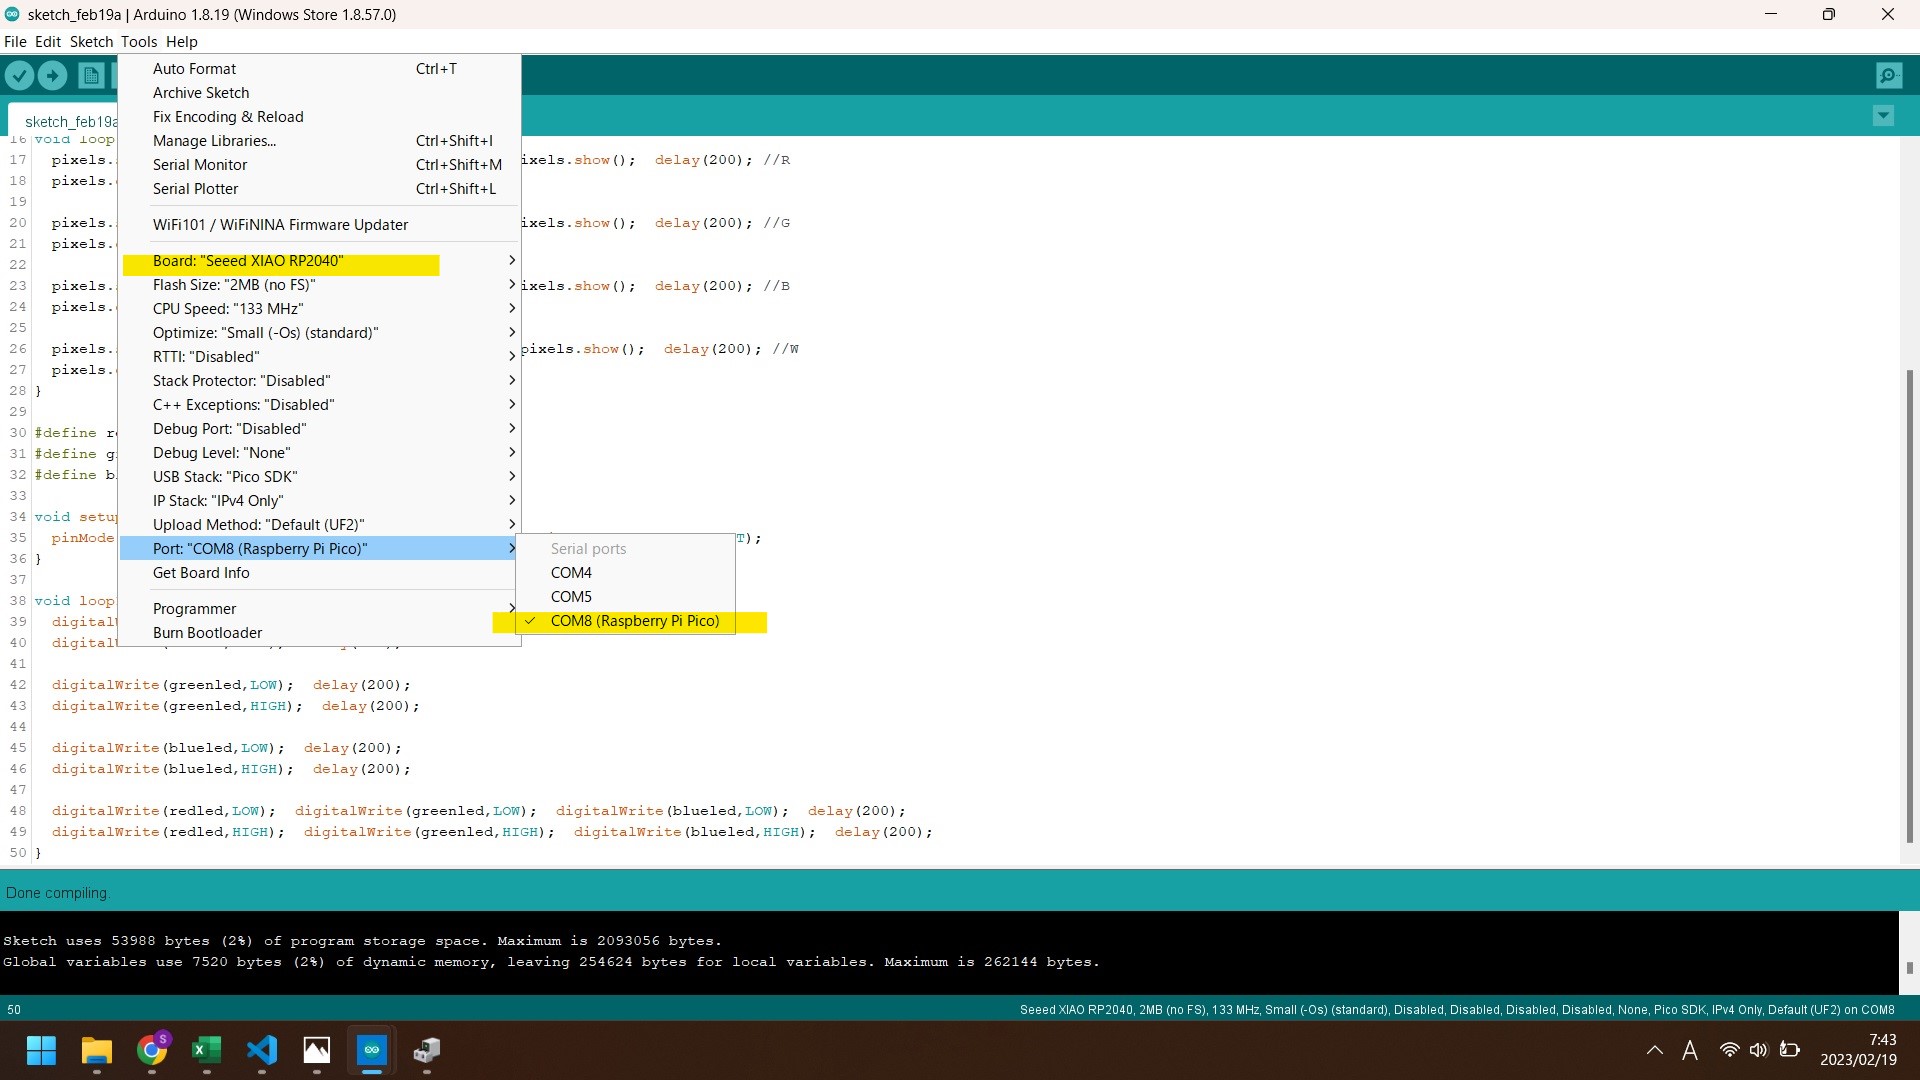
- Successfully programmed and LED blinked.
-
XIAO RP 2040 with PlatformIO IDE
- Used the same sketch above. It took only 1.59 sec for compiling.
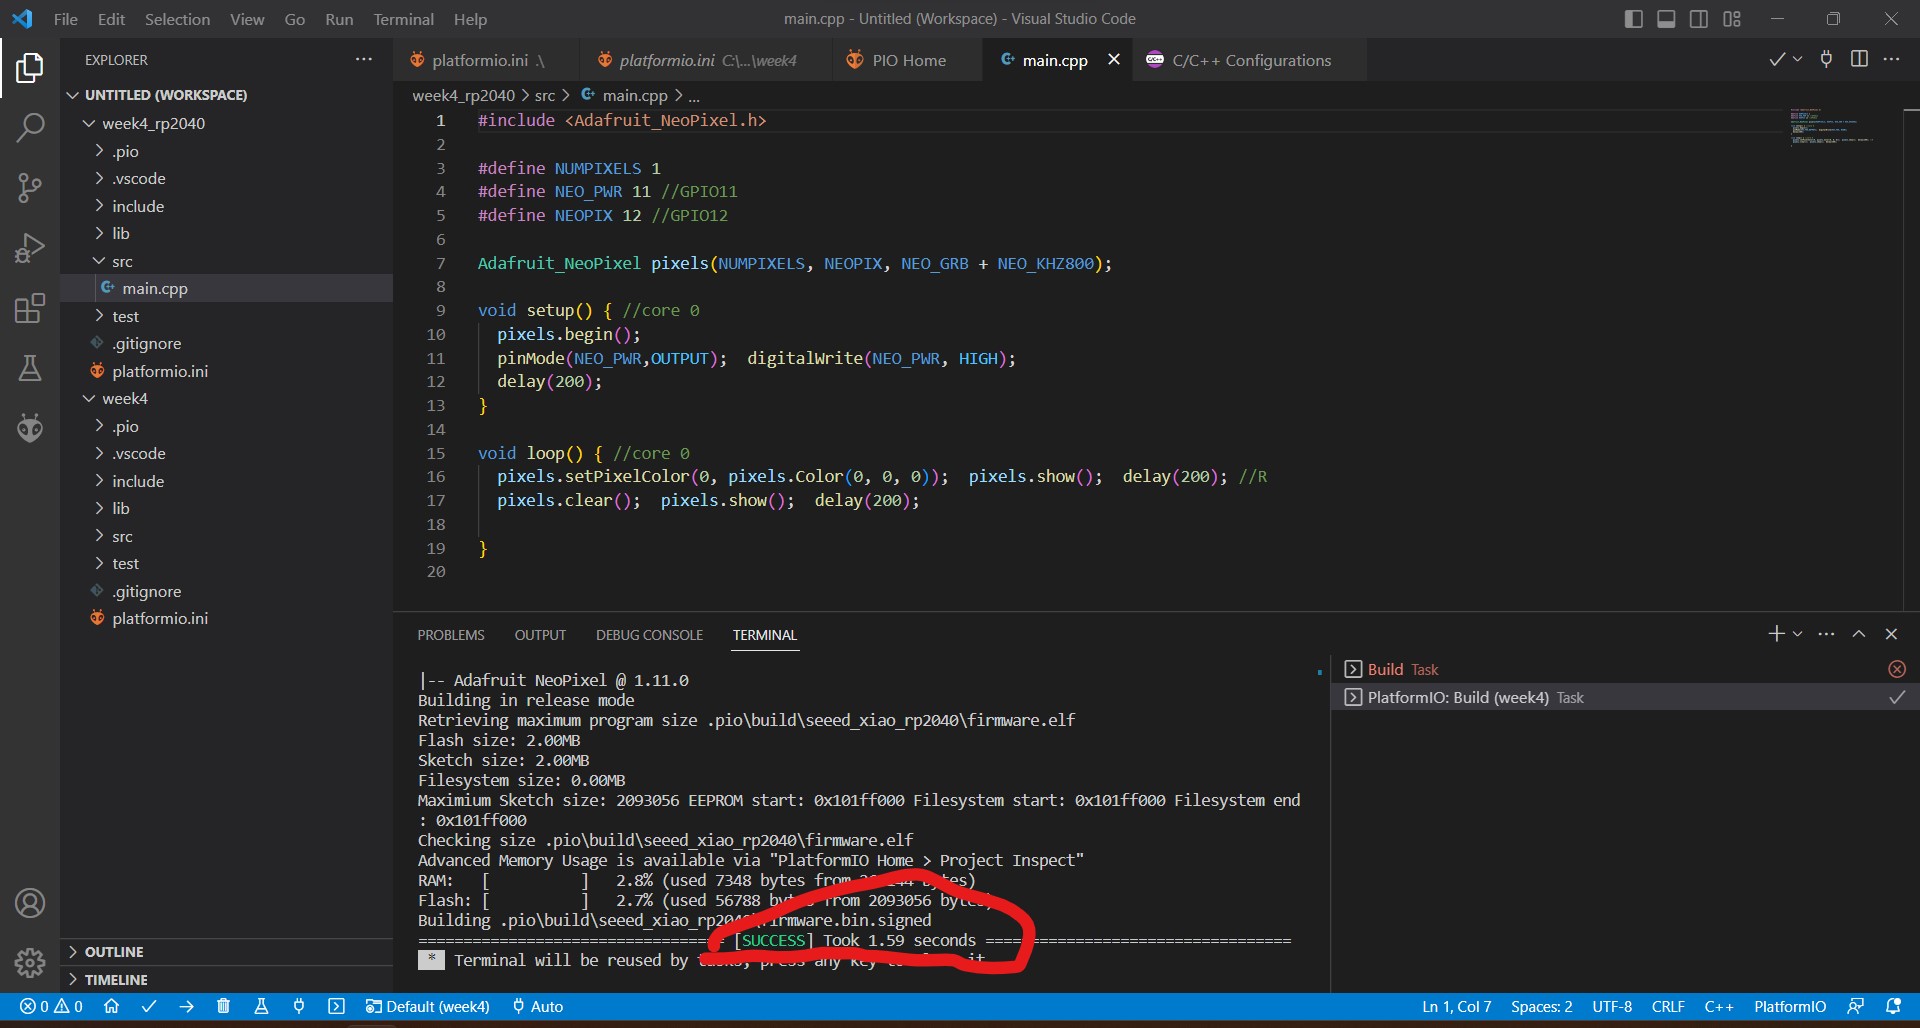
- Used the same sketch above. It took only 1.59 sec for compiling.
-
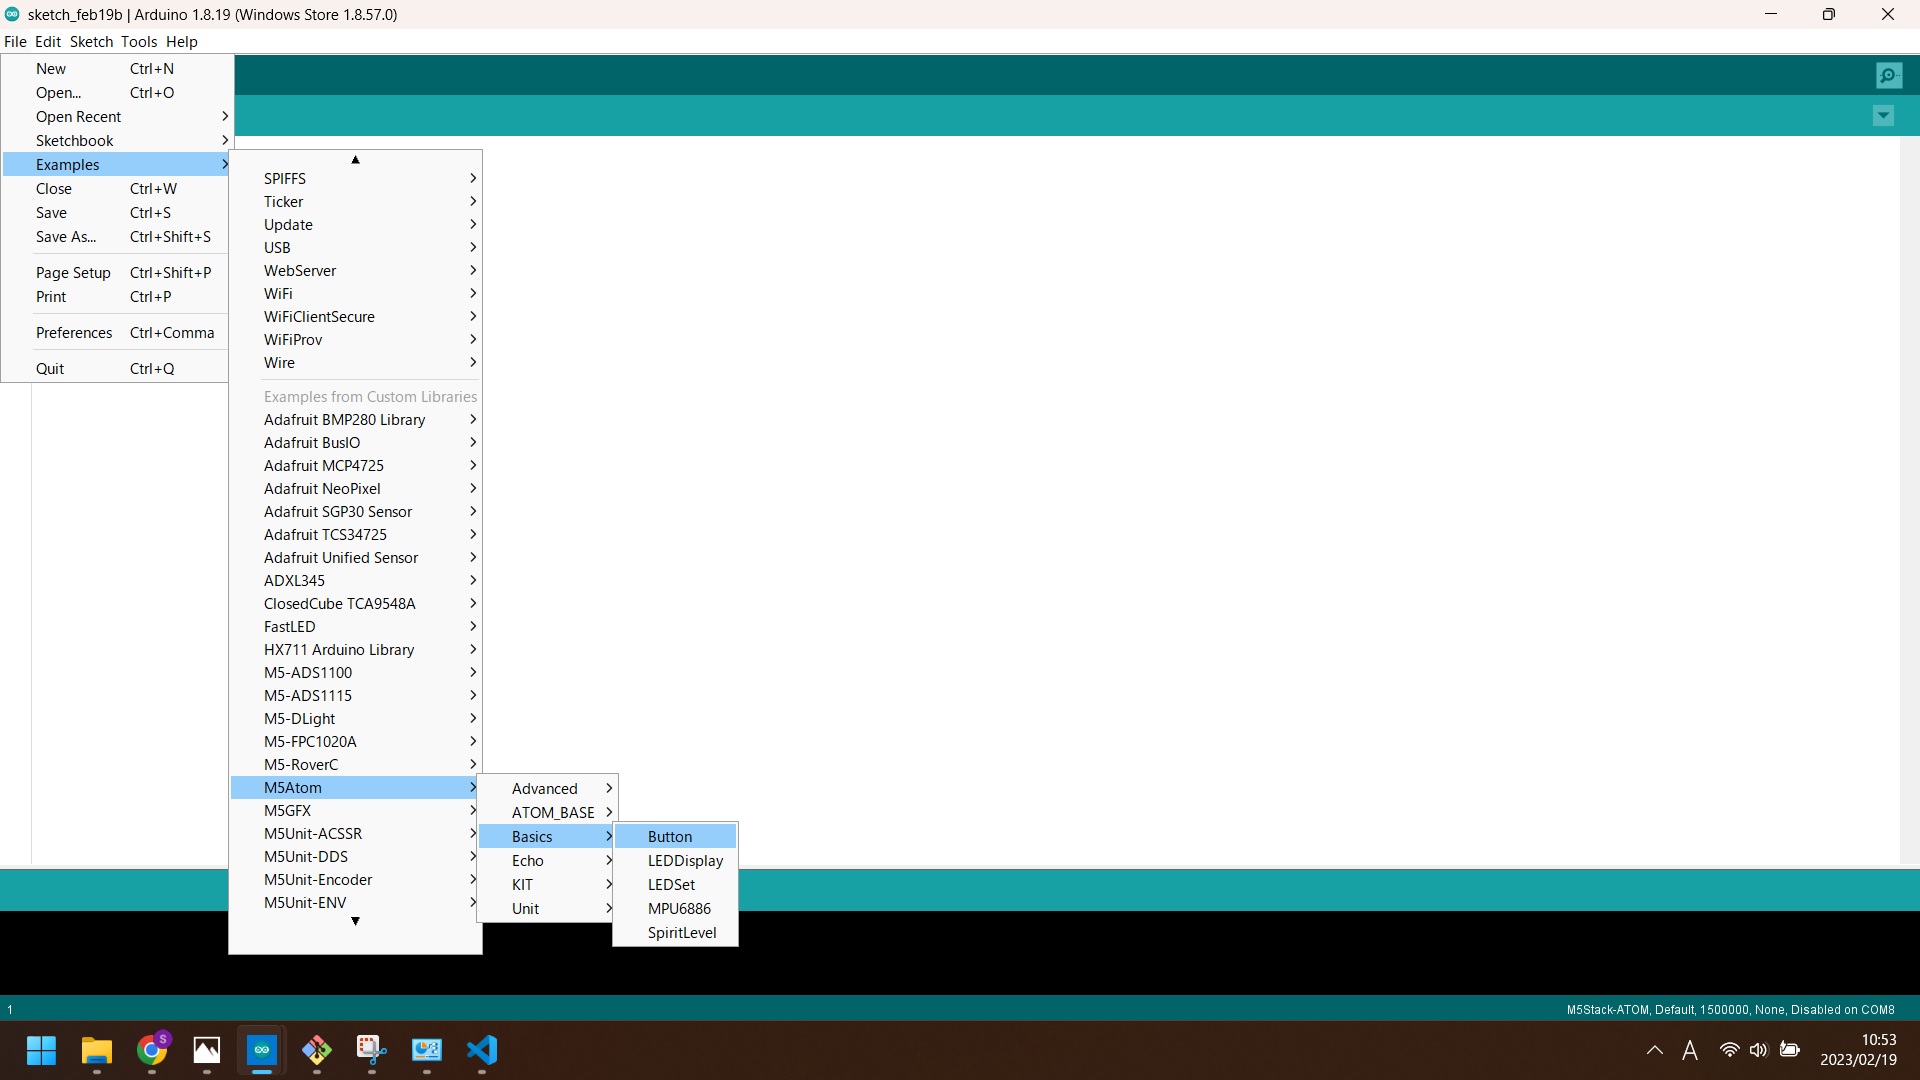
M5ATOM with Arduino IDE
- After installing library for M5ATOM, sample sketchs are available from Arduino IDE: File->Examples->M5ATOM->Basic->Buttun
- Sketch is as follows;
#include "M5Atom.h" uint8_t DisBuff[2 + 5 * 5 * 3]; void setBuff(uint8_t Rdata, uint8_t Gdata, uint8_t Bdata) { DisBuff[0] = 0x05; DisBuff[1] = 0x05; for (int i = 0; i < 25; i++) { DisBuff[2 + i * 3 + 0] = Rdata; DisBuff[2 + i * 3 + 1] = Gdata; DisBuff[2 + i * 3 + 2] = Bdata; } } void setup() { M5.begin(true, false, true); delay(10); setBuff(0xff, 0x00, 0x00); M5.dis.displaybuff( DisBuff); } uint8_t FSM = 0; void loop() { if (M5.Btn .wasPressed()) { switch (FSM) { case 0: setBuff(0x40, 0x00, 0x00); break; case 1: setBuff(0x00, 0x40, 0x00); break; case 2: setBuff(0x00, 0x00, 0x40); break; case 3: setBuff(0x20, 0x20, 0x20); break; default: break; } M5.dis.displaybuff(DisBuff); FSM++; if (FSM >= 4) { FSM = 0; } } delay(50); M5.update(); } - Successfully programmed and LED changes its color with pushing the buttun.
- After installing library for M5ATOM, sample sketchs are available from Arduino IDE: File->Examples->M5ATOM->Basic->Buttun
-
M5ATOM with Arduino IDE for serial comunication
- I prepared following sketch to show serial monitor “Fab lab Kitakagaya” when the button on M5ATOM pressed.
#include <M5Atom.h> void setup() { M5.begin(); } void loop() { M5.update(); if(M5.Btn.isPressed()){ Serial.println("Fab lab Kitakagaya!"); } delay(200); } - Successfully uploaded and show “Hello Kitakagaya!” on serial monitor with pressing the button on M5ATOM.
- I prepared following sketch to show serial monitor “Fab lab Kitakagaya” when the button on M5ATOM pressed.
micro:bit / Programming
Before Start programming, I refer to Let’s code
Process
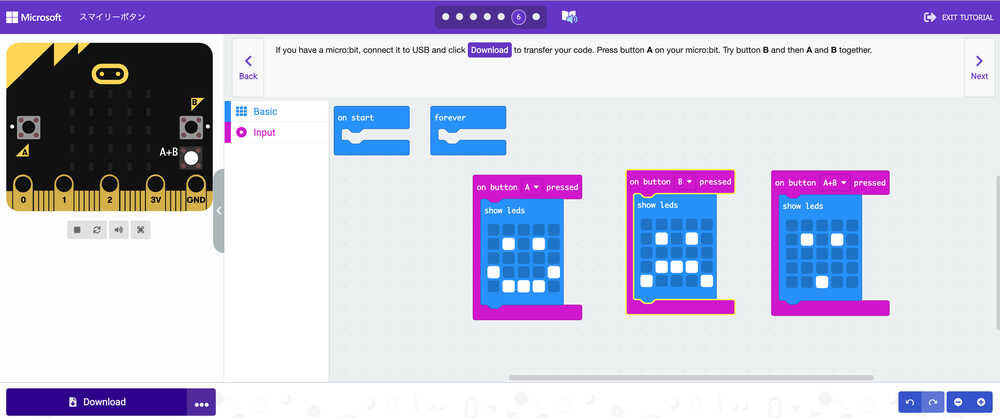
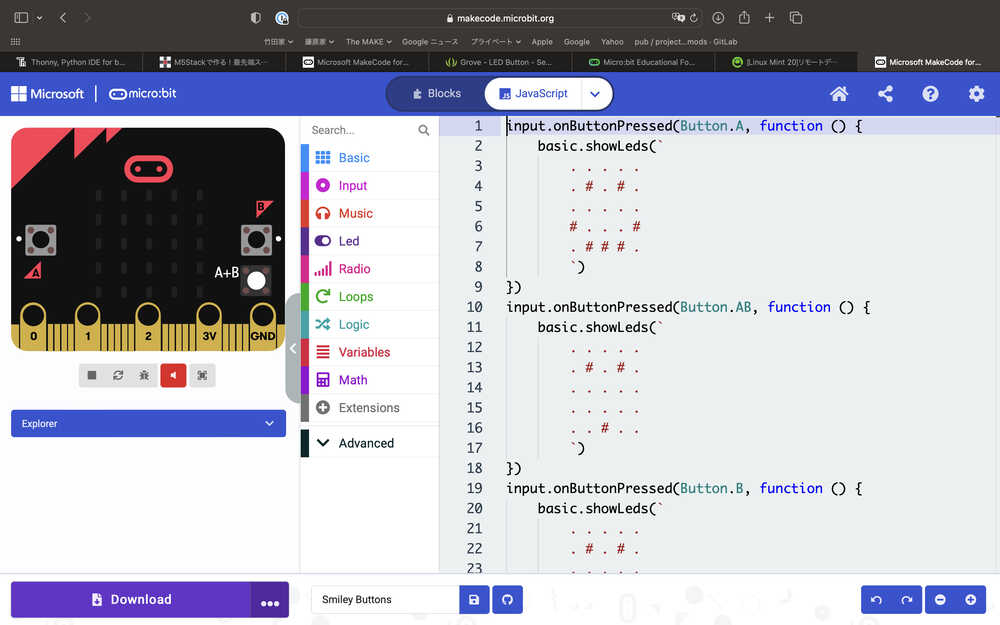
- In Web browser, Open Microsoft MakeCode.
- Go to Microsoft Makecode, and Click New Project with block.
 In Microsoft Makecode, can swith to JavaScript and Python code.
 - JavaScript code
- Python code

- JavaScript code
- Download your code.
- Connect your micro:bit to your PC through USB code.
- (Automatically, the micro:bit folder appears in your PC.)
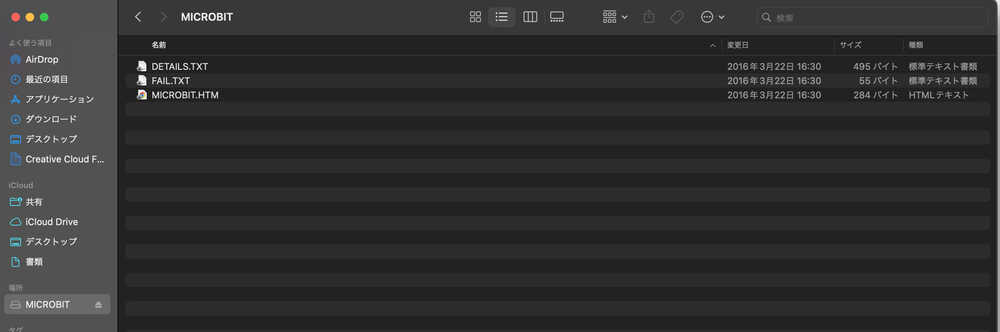
- (Automatically, the micro:bit folder appears in your PC.)
- Move the Download file to micro:bit folder.
- Check the result
- Success! In this short video, you can see the operation.
Comparing Workflows
Set up
Set up for Arduino IDE and Platform IO is mostly the same; install required libraries and install apropriate board manager. The difference is, in Platform IO, you have to create a project before you select the board. On the other hand, in Arduino IDE, the project directory is built when you save the file.
For micro:bit, we made codes in Microsoft MakeCode. Therefore, the set up we did was to access the website.
Workflow
Workflow in Arduino IDE and Platform IO were mostly the same; Coding, compiling and uploading.
Coding was much easier in VScode owing to the high quality auto fill. Compiling is much faster in Platform IDE. However, I felt uploading was more comfortable in Arduino, since there is a GUI button which is easy to use.
If you install the Arduino extention in VScode, you will be able to access all the libraries and documents in Arduino IDE via VScode. This makes VScode and Platform IO easy to use as Arduino IDE.