Week5 Group / 3D Scanning and 3D Printing
This is group assignment page of 3D Scanning and 3D Printing (Kitakagaya students) :
- Sosuke Kanegae
- Shin Masuoka
- Hiroe Takeda
Test the design rules for your 3D printers
BLV MGN Cube
- outline of the printer
- Open source FDM 3D printer, and user need to build up the kit.
- It means the user must have somewhat capability in fabrication, and calibration of the machine.
- Result
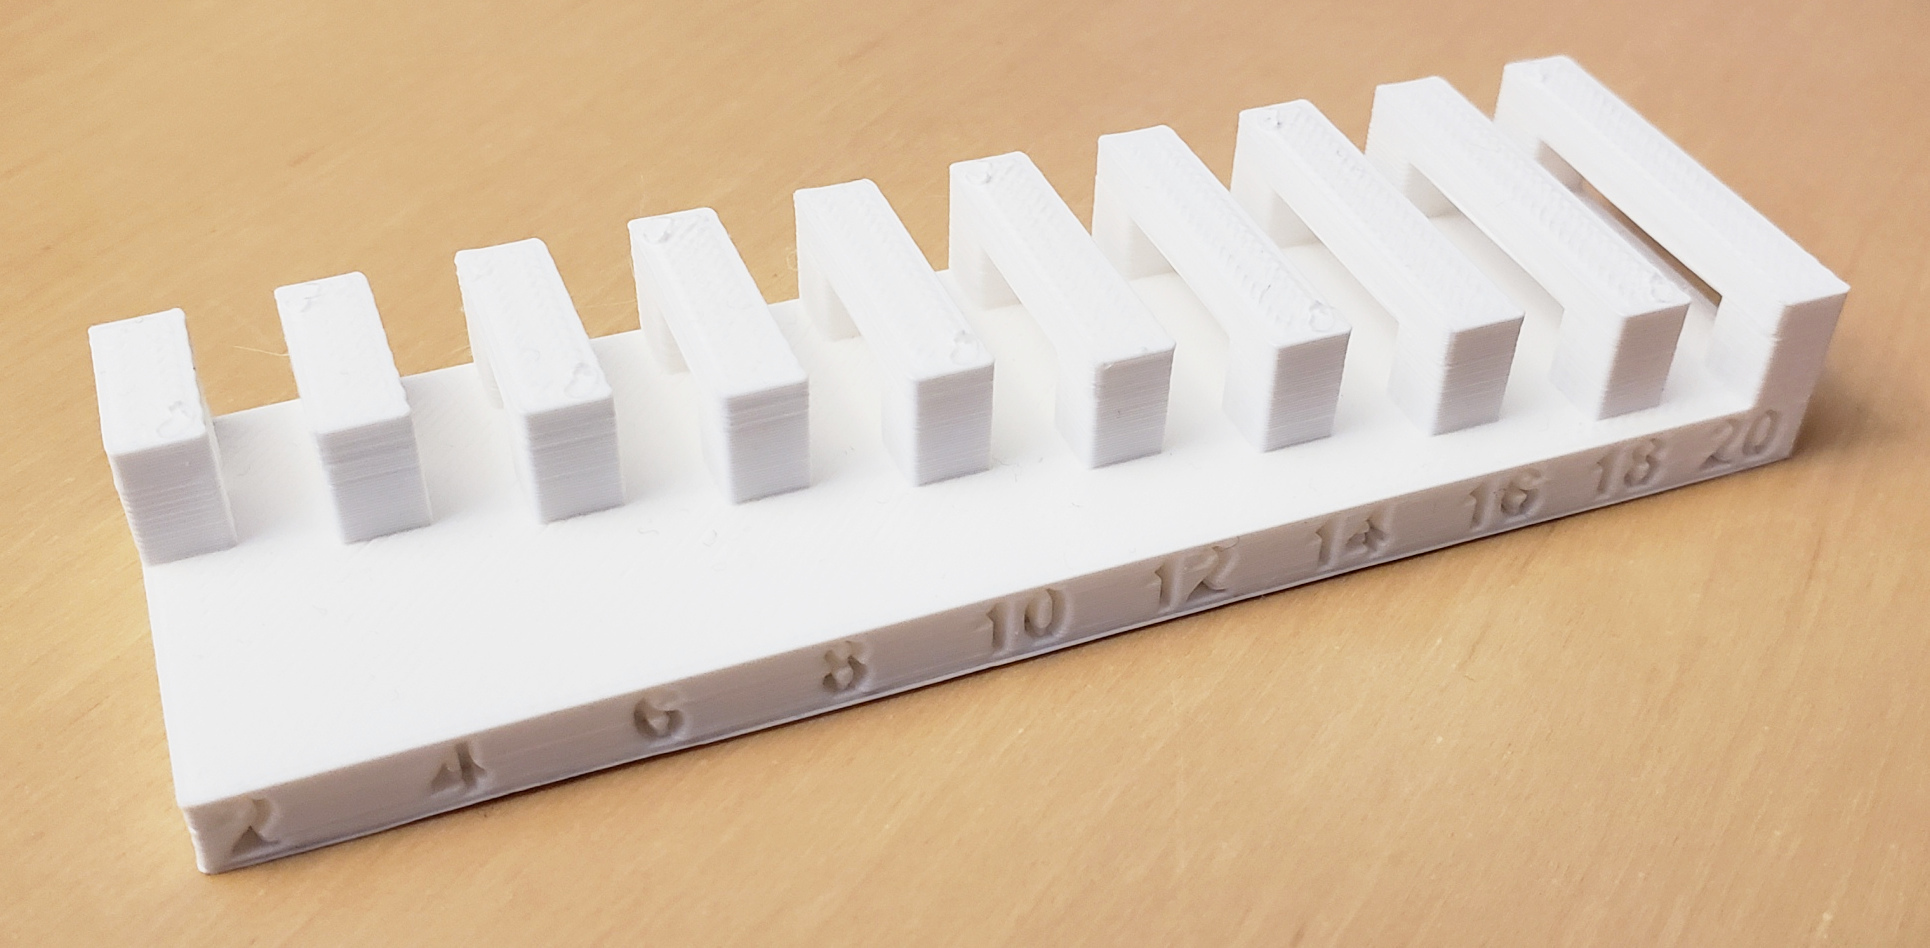
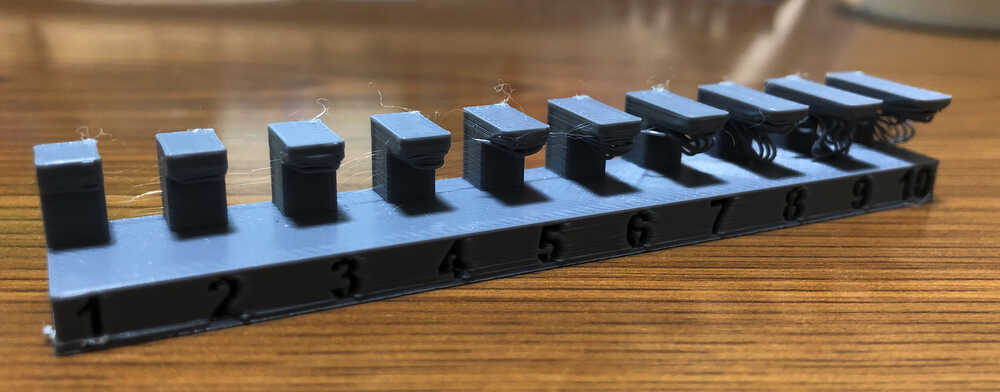
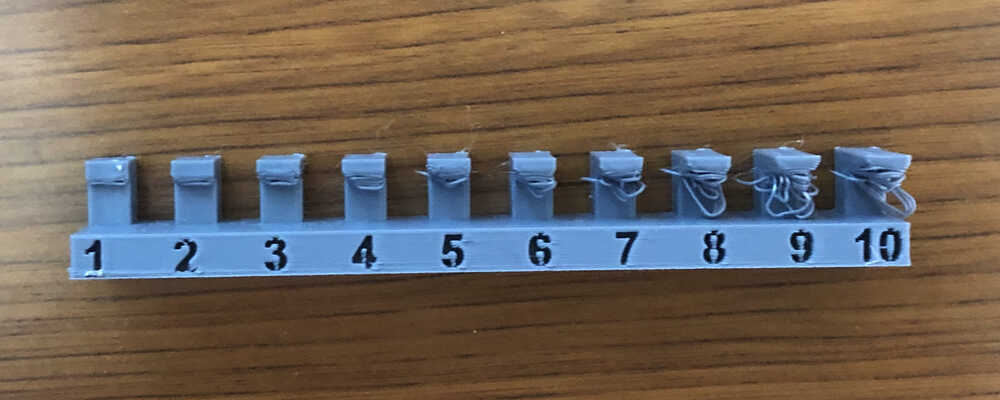
- Tested overhang and bridgingdata given in week5 site of FabAcademy. Both are unsupported.
-
Printed result is below;
-
Overhang
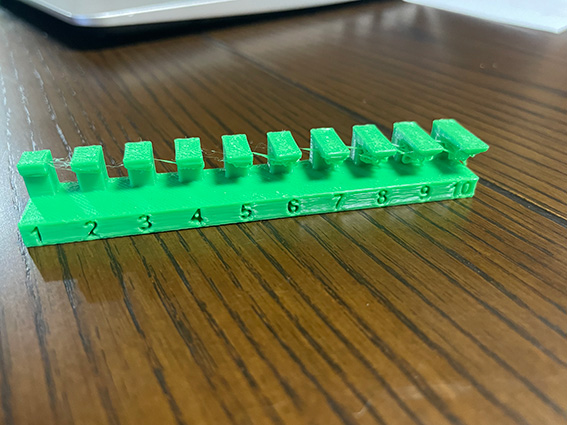
- Top sides are fine even 10 mm overhang.
- Bottom side was not good from 2 mm.
-
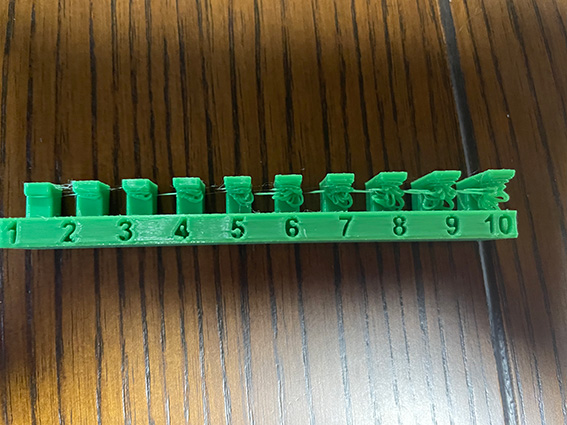
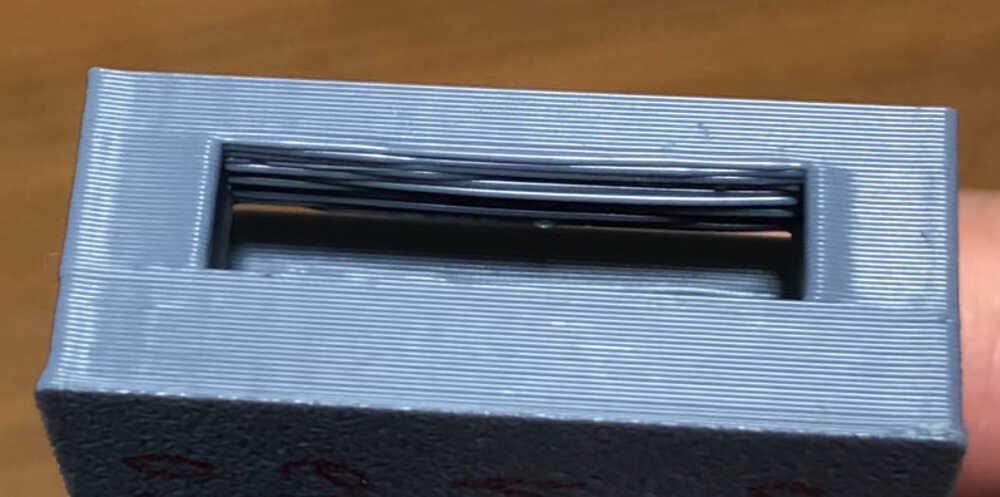
Bridging
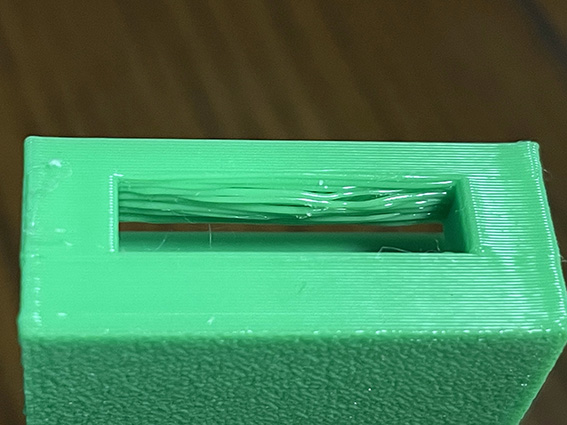
- Top sides are fine even 20 mm bridge.
- Bottom side are not good 20 mm, but structure wise seems no problem.
- With above result, we can apply rules for this printer with PLA filament;
- We can make it over hanged design within x mm.
- We cam make bridging 20 mm but the bottom is not clean.
-
- Process to the result
- Set up software
- We use “Super slicer” for creating G-code.
- Download the files from SuperSlicer page in GitHub.
- Download site is hidden as the link from “git release page“
- Then scroll down to “Arachne edition” as more stable one then the latest. You click “Assets” then choose windows or mac or Linux.

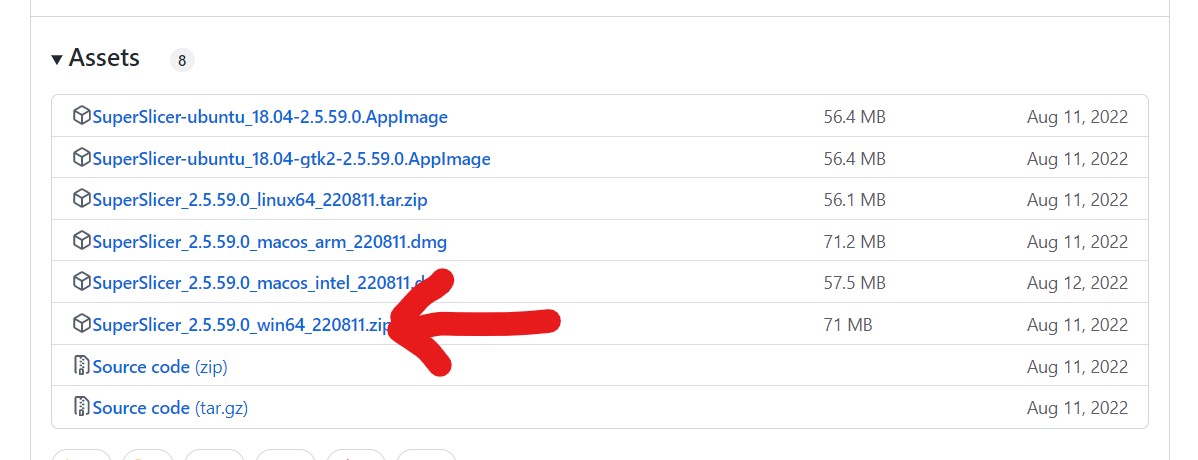
- Download site is hidden as the link from “git release page“
- Next check the interface on browser in your PC. This printer is accessible and controllable via browser interface utilizing Mainsail.
- Preparation of the printer
- Leveling is done automatically.
- Heat the nozzle appropriate temperature by material (This case 200 degree for PLA)
- Once the nozzle heated, put the filament into the nozzle.
- Test push out 50 mm via Mainsail then the melted filament comes out from the nozzle.
- Preparation of the data
- Prepare 3D data in stl file.
- Then drag it and drop to SuperSlicer.
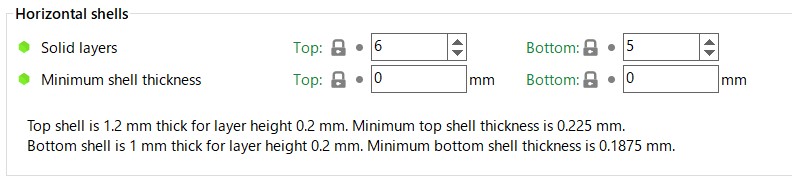
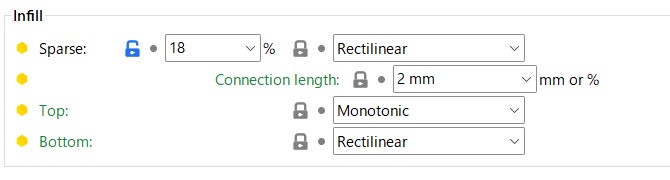
- Set parameters as follows.
- Nozzle diameter

- Temperature

- Layer height
- Speed
- Vertical shells
- Horizontal shells
- infill
- Nozzle diameter
- Printing
- Once confirm the setting on SuperSlicer, export G-code file.
- Import the G-code file through Mainsail, then you can order start printing.
- The gap between the stage and the nozzle might be incorrect, so you need to watch the first layer started. If necessary you can adjust the z axial clearance through Mainsail.
- After completing the print, wait until the stage temperature went down around 40 degree.
VORON 2.4 R2
-outline of the printer
- VORON is open-source FDM 3D printer, and user need to build up.
- It means the user must have somewhat capability in fabrication, and calibration of the machine.
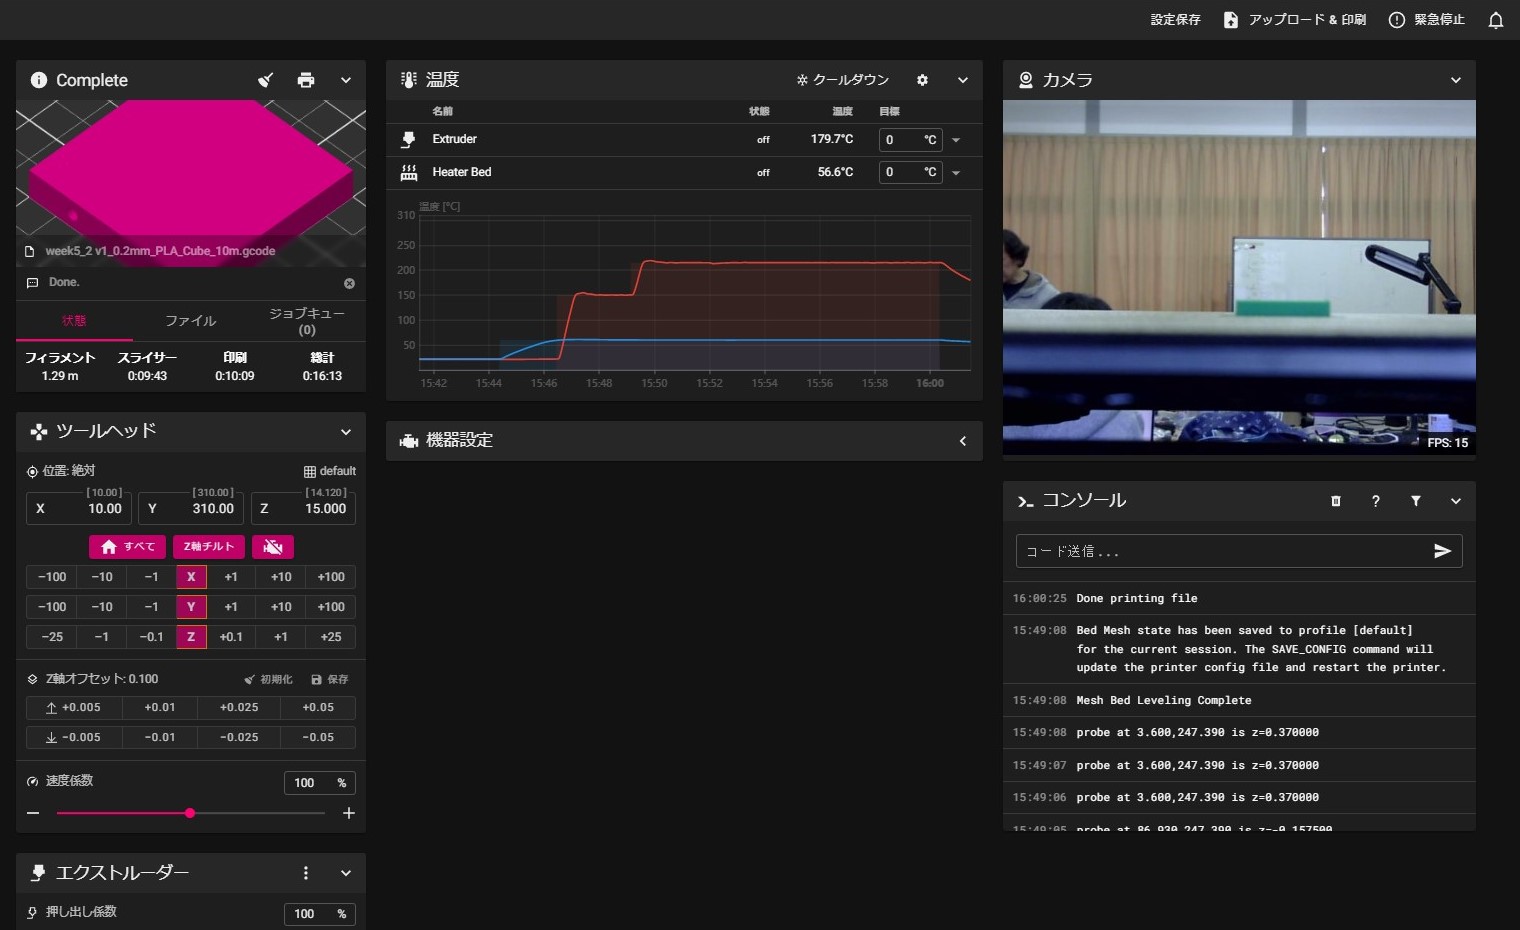
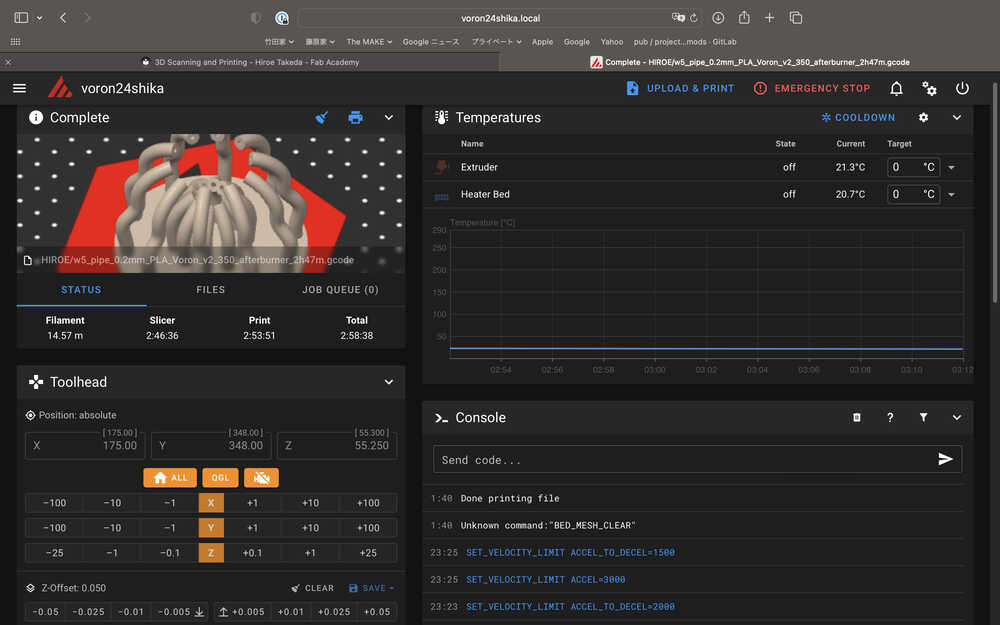
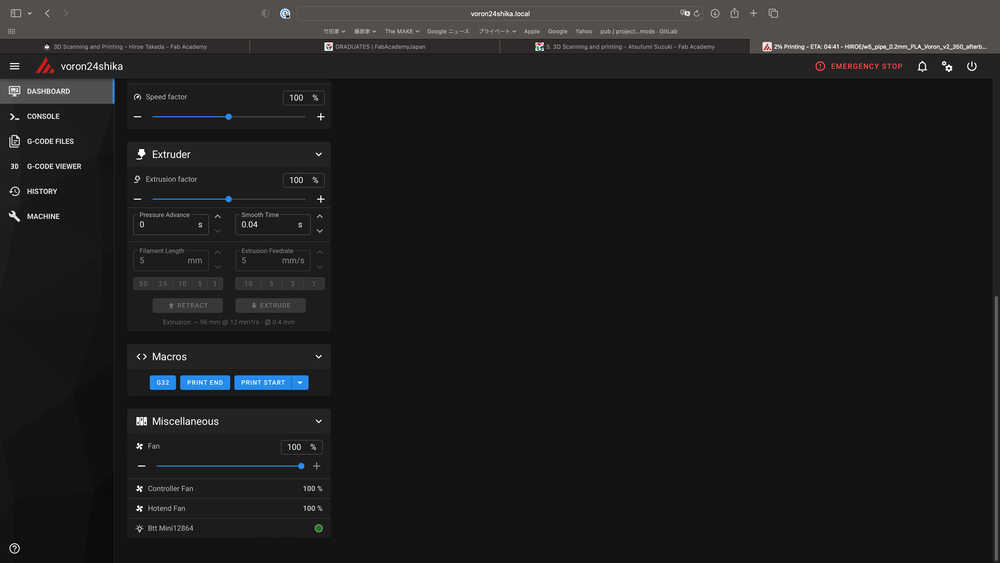
- The VORON2.4 R2 in our Lab is build by the founder of Fab Lab West Harima, and operate it by responsive web user interface of Mainsail.
The view of Mainsail for our Voron
-Result
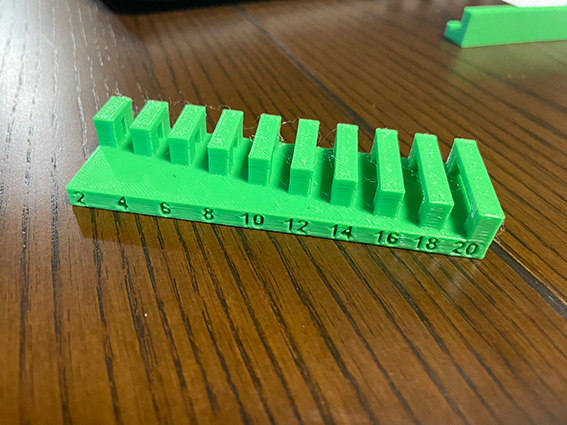
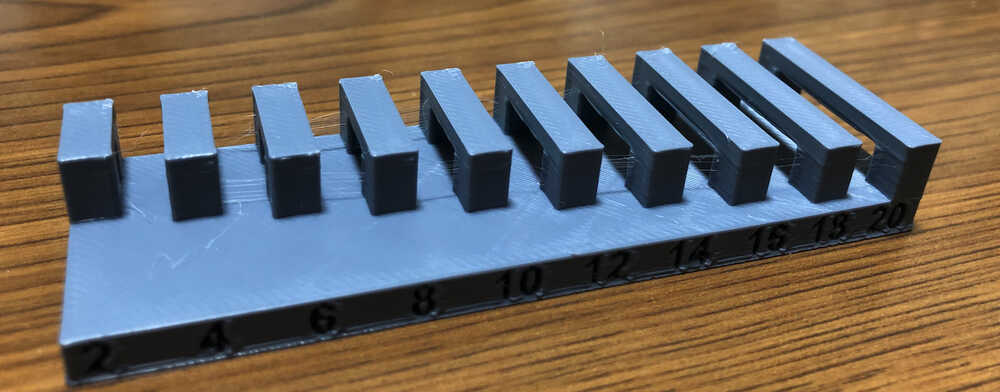
- Tested overhang and bridging data given in week5 site of FabAcademy. Both are unsupported.
- Printed result is below;
-
Overhang
- Top sides are fine even 10 mm overhang.
- Bottom side was not good from 4 mm.
-
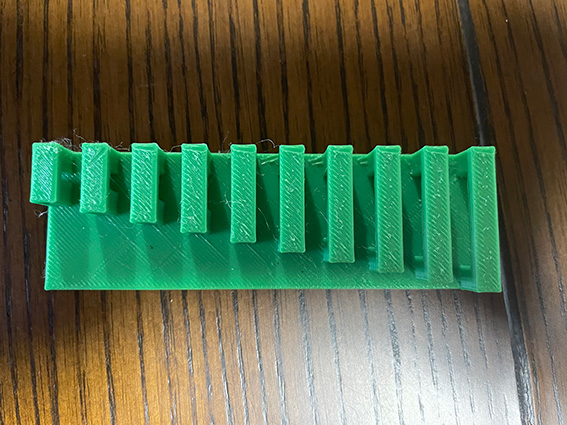
Bridging
- Top sides are fine even 20 mm bridge.
- Bottom side are not good 20 mm, but structure wise seems no problem.
-
With above result, we can apply rules for this printer with PLA filament;
- We can make it over hanged design within 3 mm.
- We cam make bridging 20 mm but the bottom is not clean.
-Process to the result
-Filament change
NOTE: Manual When nozzle temperature is low
- In interface, Move the Toolhead to a positon where it is easy to replace it.
- click “ALL” of Toolhead
- click “Z +25”“” several time o move to the middle of the body
- click “Y-100” several times to move it to the front.
- In interface, Nozzle temperature input suitable temperature with each materials.
- Once the specified temperature is reached, raise the lever (to unlock the filament).
- Push the filament in slightly and then pull it out.
- Push filament you use.
- Down the lever (to lock the filament)
- In interface, press Cool Down.
Preparation of the slicing data Conversion to data format for output to 3D printer, using slicer software. The Slicer setting is very impotant to reflect the output a lot.
- Open SuperSlicer.
-
Then drag it and drop to SuperSlicer for creating G-code.
-
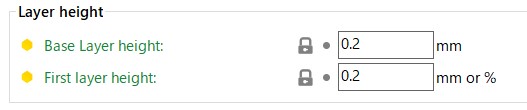
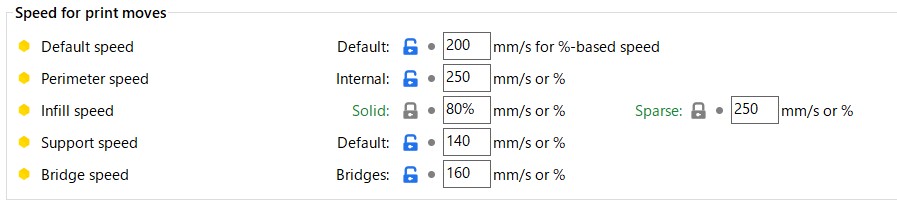
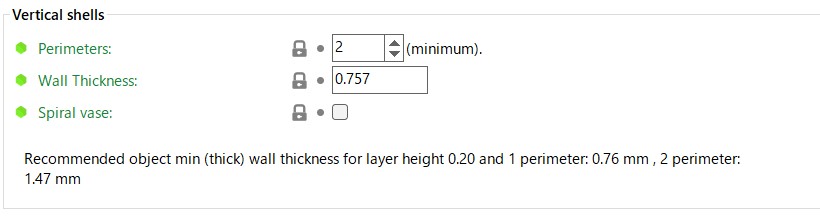
Do Slicer Setting is suitable for Material (In this time, use PLA). Set parameters with Advanded level as follows.
Filament Settings
| setting | |
|---|---|
| Temperature Extruder | 215 °C |
| Temperature Bed | 60°C |
Print Settings
| setting | |
|---|---|
| Perimeters | 2 |
| Solid layers | Top :4, Bottom:3 |
| Infill | 15%, Gyroid |
| Default speed | 100 mm/s |
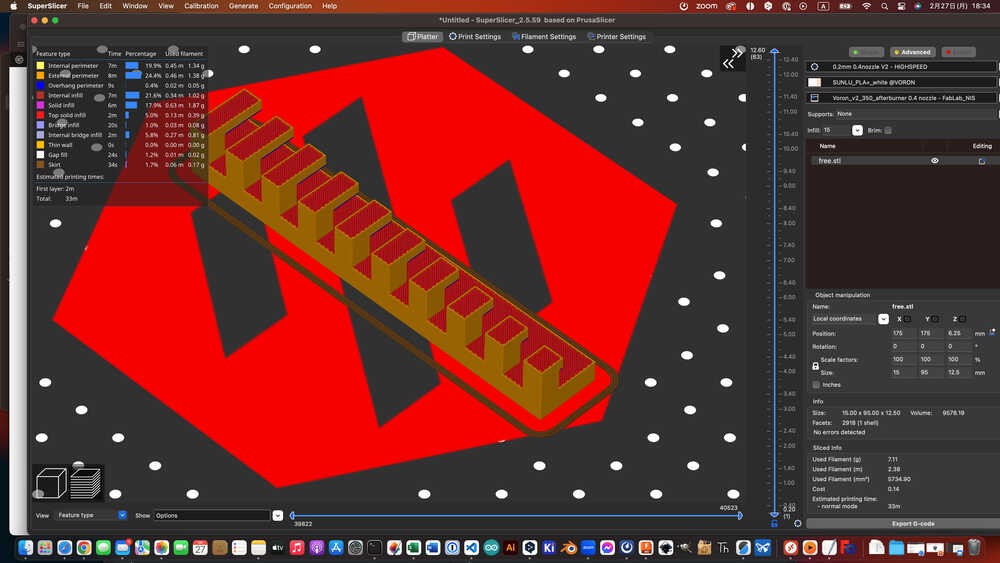
- Press “Slice now”
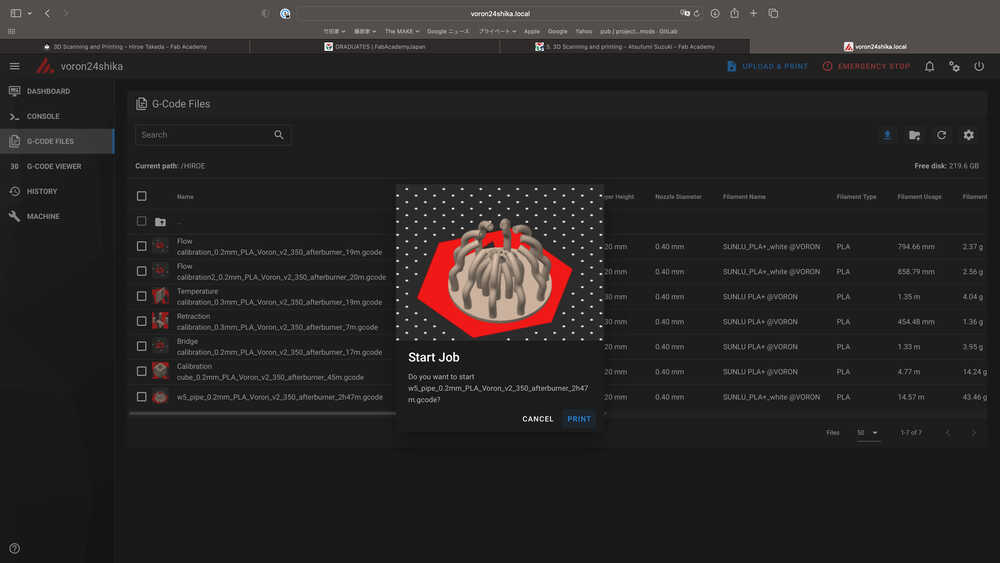
- Once confirm the slicer data on SuperSlicer, export G-code file.
-3D Printing
- Machine Calibration and Filament Calibration are already done at FabLab Nishi-Harima.
- NOTE: This Process is “When nozzle temperature is low”.
-
Leveling is done automatically.
-
In the interface, Preheat “Heater Bed’ with suitable temperature for each materials. (As the base is thick, need pre-heat. After the proper temperature is reached, wait about 15 minutes. As official site say “wait about 1 hour”.)
- Import G-code files through Mainsail and order start printing.
- The first layer check is important. If the gap between the stage and the nozzle might be incorrect, you can adjust the z axial clearance through Mainsail. (If the status is not good, move the Z height “+0.05” or “-0.05”, and check again.)
- After completing the print, wait until the stage temperature went down around 30 degree, and take out the objects.