WEEK03 - Computer Controlled Cutting
This week was all about Computer Controlled Cutting. This week I worked more hands-on in the Lab.
WEEK THREE ASSIGNMENT
GROUP ASSIGNMENT:
- characterize your laser cutter’s focus, power, speed, rate, kerf, and joint clearance.
- Document your work to the group work page and reflect on your individual page what you learned.
FIND GROUP PAGE here
INDIVIDUAL ASSIGNMENT:
- cut something on the vinylcutter
- design, lasercut, and document a parametric construction kit,
- accounting for the lasercutter kerf,
- which can be assembled in multiple ways,
- and for extra credit include elements that aren't flat
COMPLETED
- characterised the lasercutter
- Designed, lasercut, and documented a parametric press-fit construction kit.
- cut a vinyl BioClub Logo Sticker for Georg’s Laptop on the vinyl cutter
HERO-SHOTS
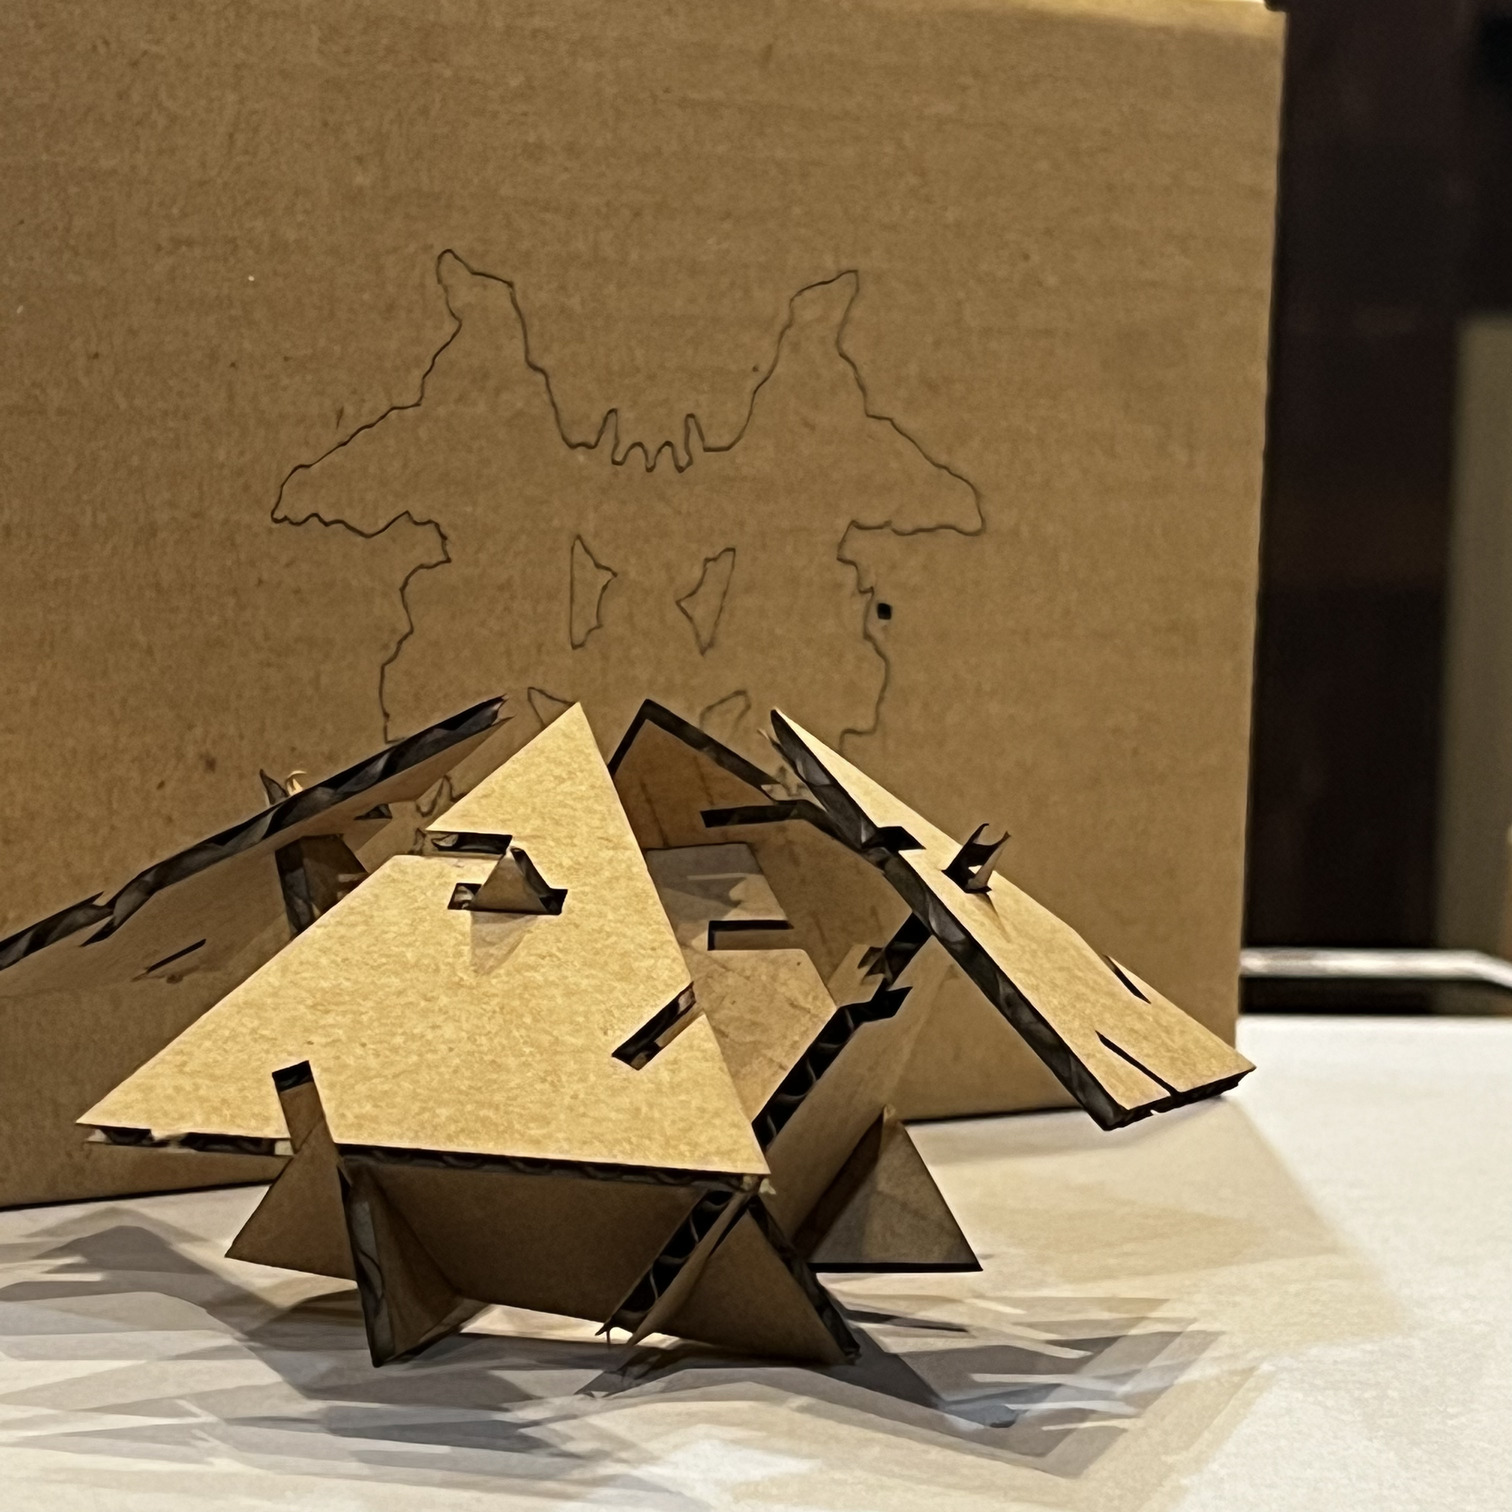
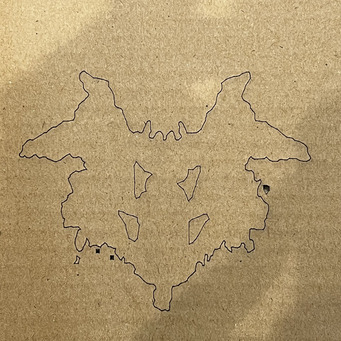
Want to have some Freudian- Fun with your friends? Do you enjoy pseudo-science and banter? - Then this game is for you and your friends! Psychoanalysis each other with no prior degree or knowledge with this The Rorschach Inkblot- Test inspired parametric pressfit construction kit. Order now for free-99, and figure out why your friends are how they are today!
How to use?
The kit comes with 5 different shapes, some curved and bend-y flexible, some not. Watch as your friends try to shape the pieces together into workable shapes → present them to each other and then make assumptions regarding each other subconscious.
This test is also particularly useful for assessing the patience meter of your friends, which is actually useful information ;)
GROUP ASSIGNMENT
The group assignment is to characterize your lasercutter's focus, power, speed, rate, kerf, joint clearance and types.
The group assignment is to look and experiment with the different options of the lasercutter, we did this using the same card-board I ended up using for my individual assignmnet. You can find this here
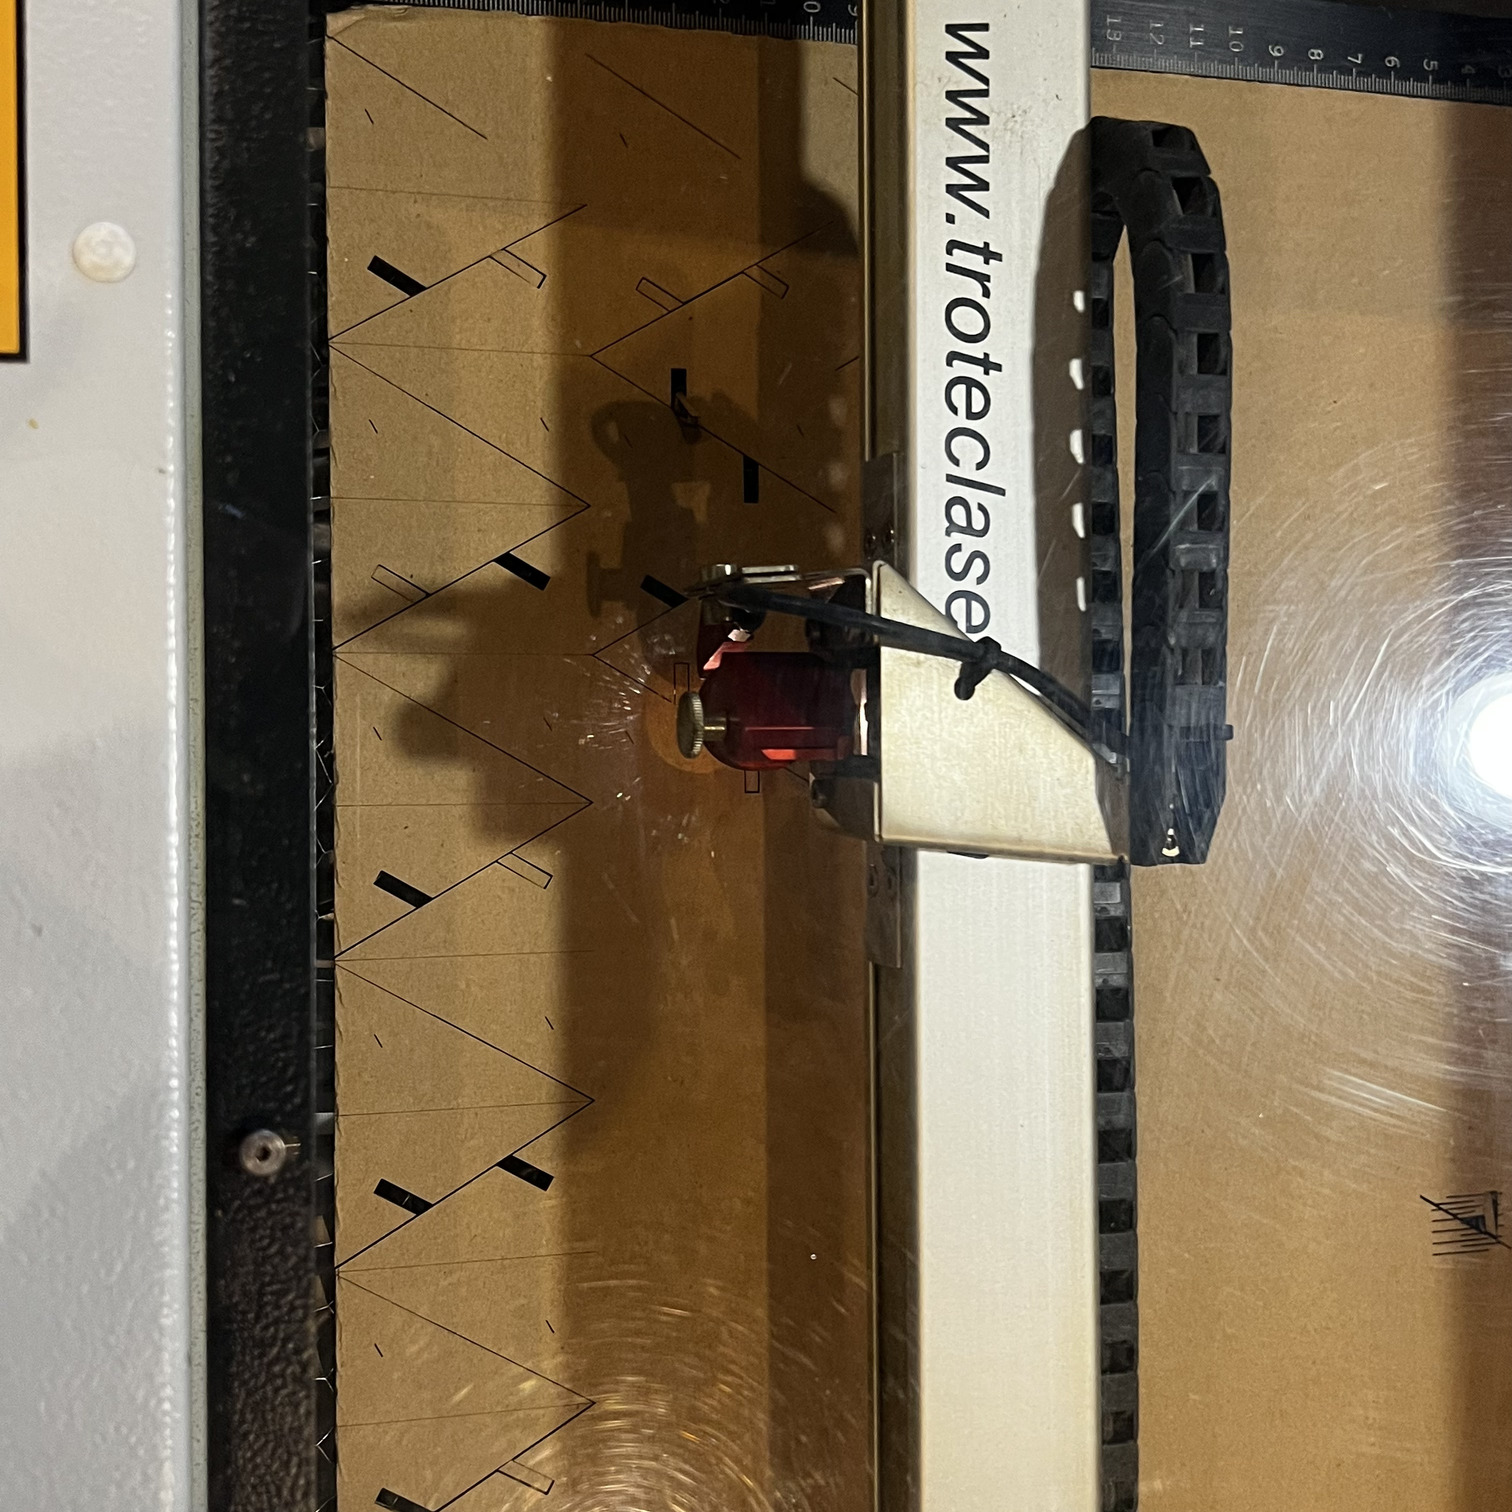
LASER CUTTING
Building the construction kit: I really couldn’t quite come-up with an idea I liked, so i decided to go the sarcastic route ;)
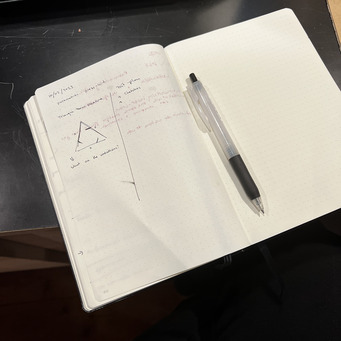
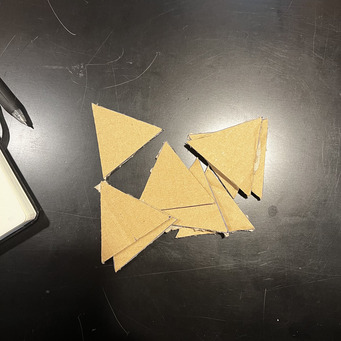
Sketch and Prototypes:
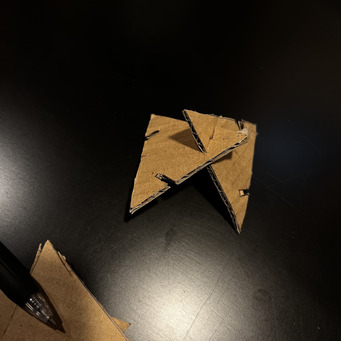
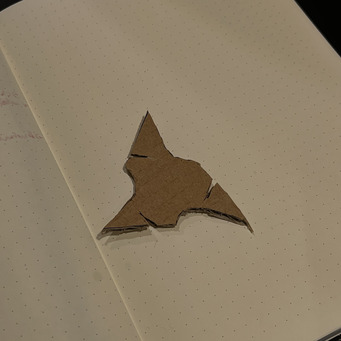
I first did some prototypes by hand using scissors, because I needed something in my hands to help me think on how I wanted everything to bend.
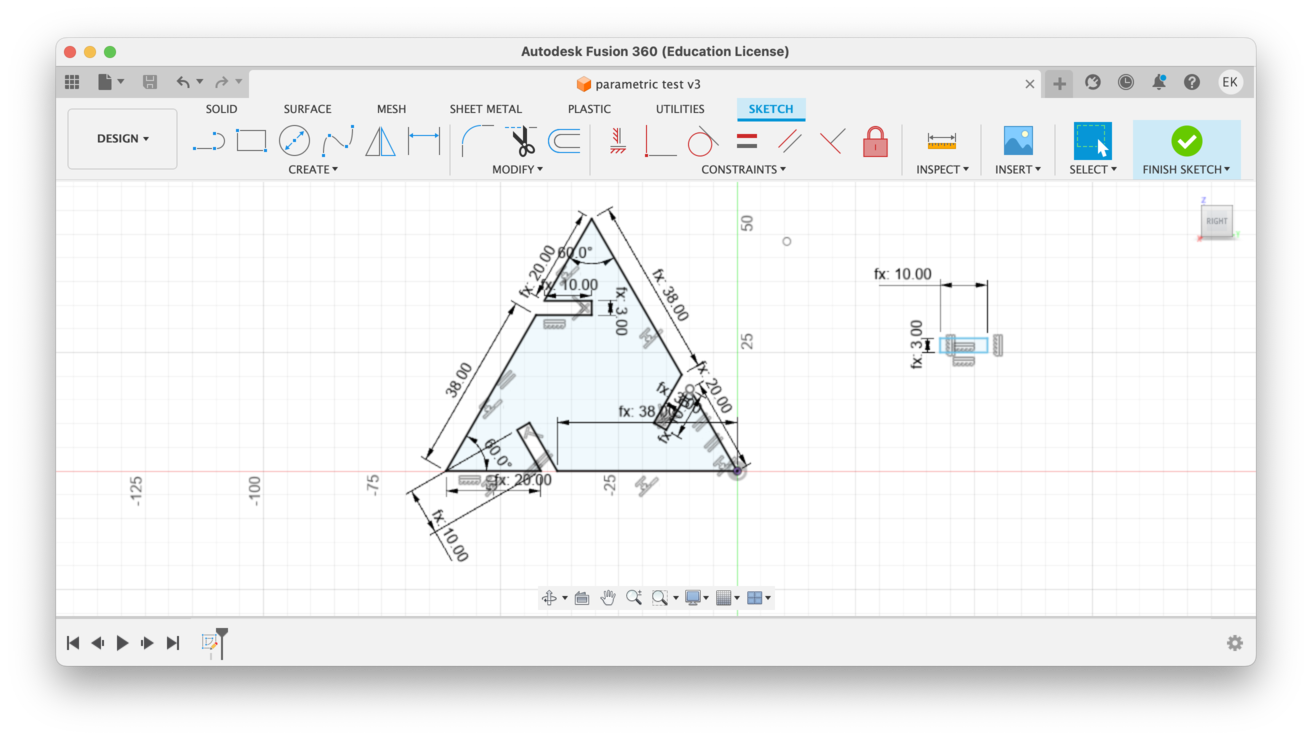
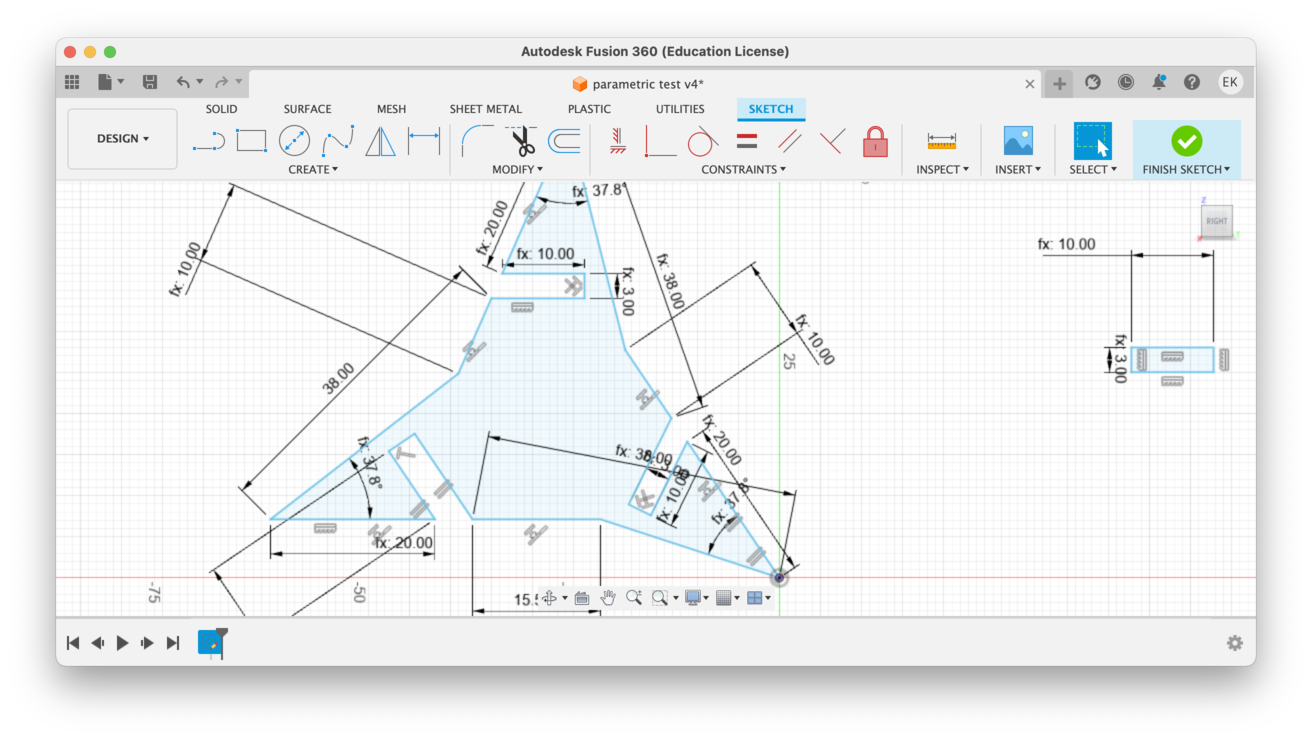
Design in Fusion360:
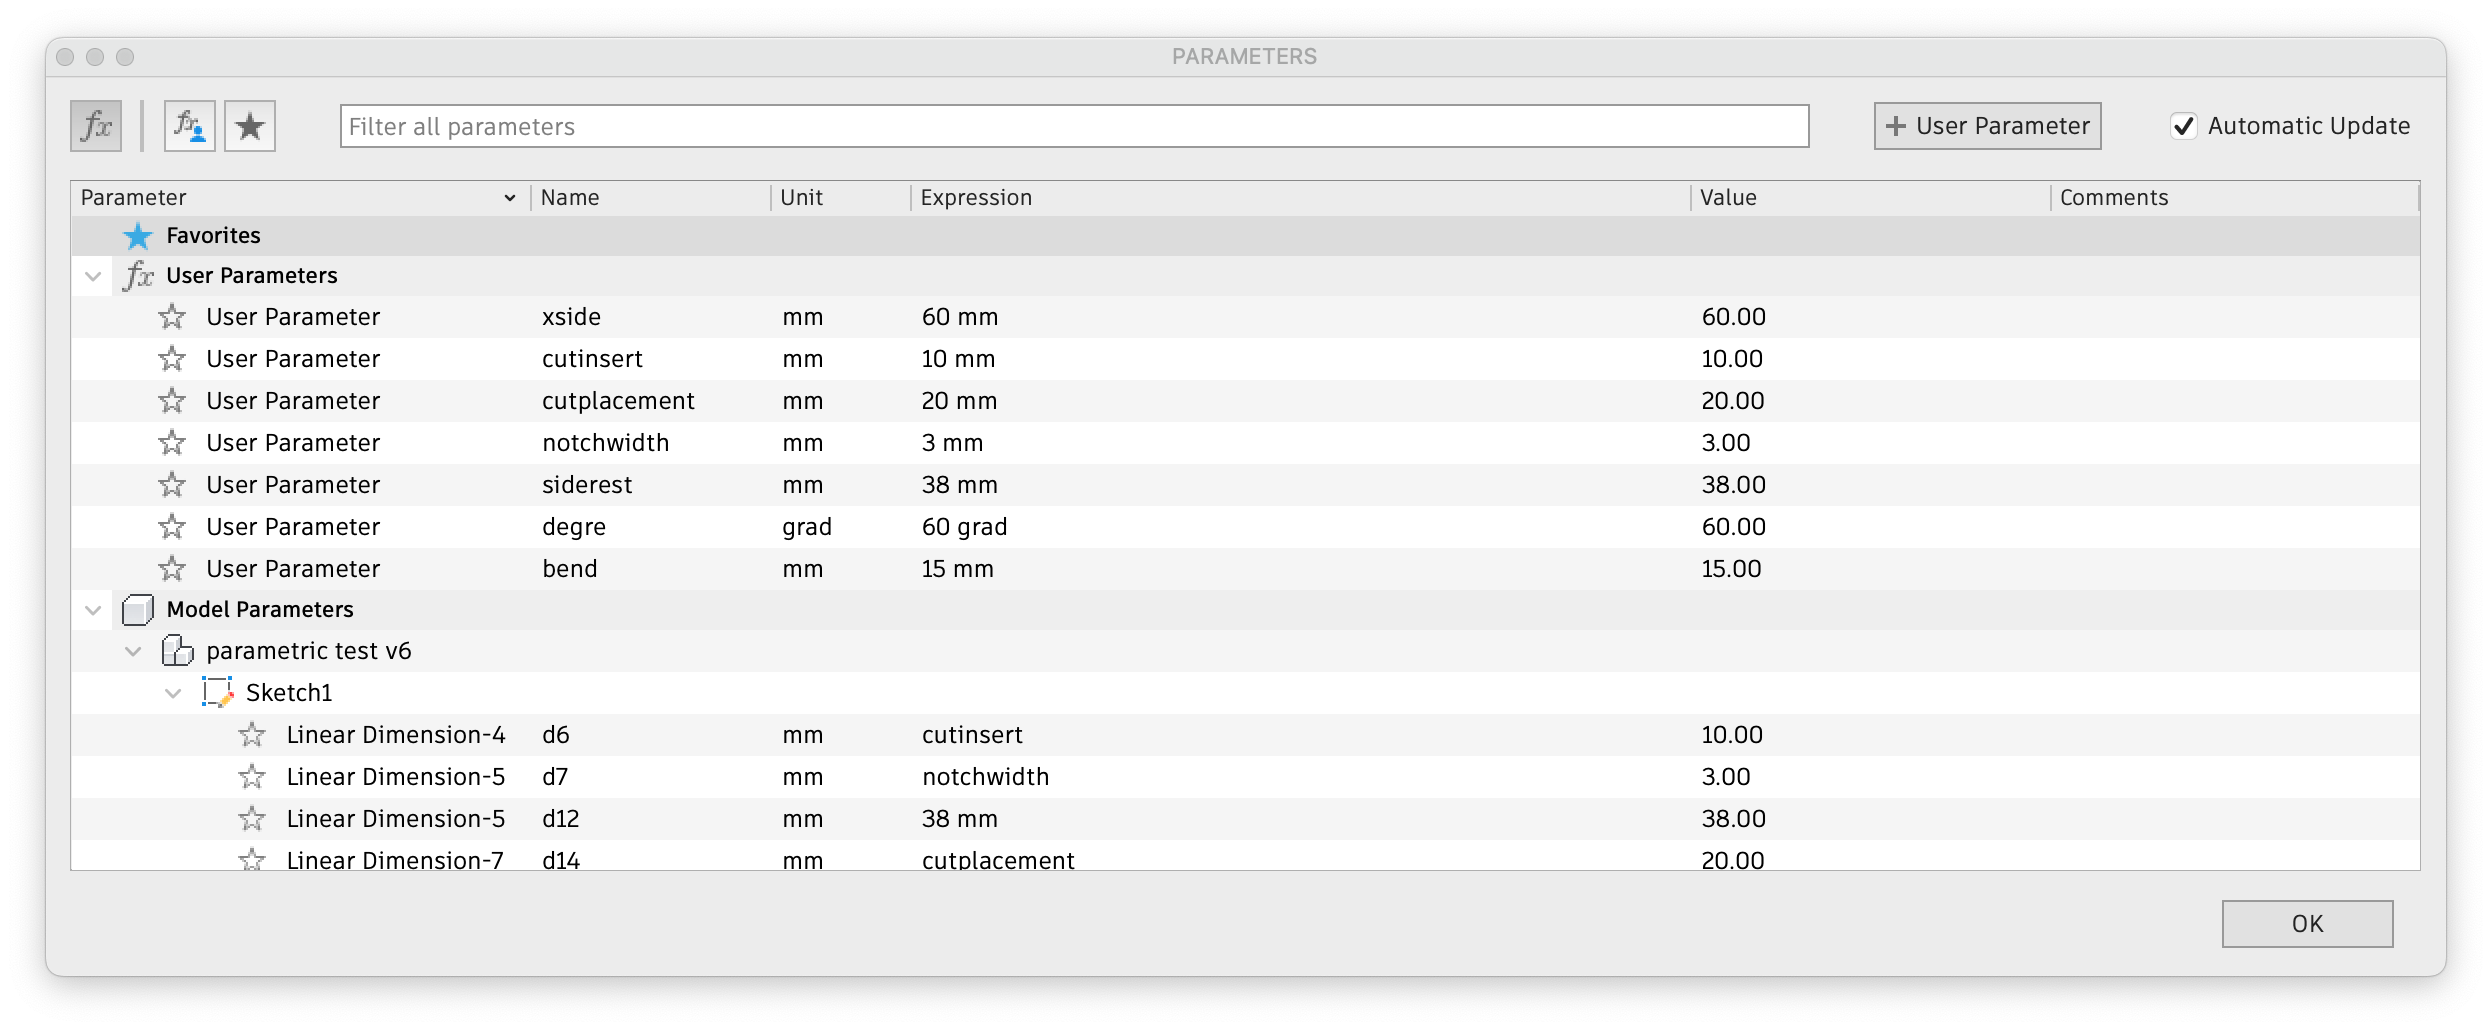
To make sure everything was parametric I defined multiple user parameters in fusion.
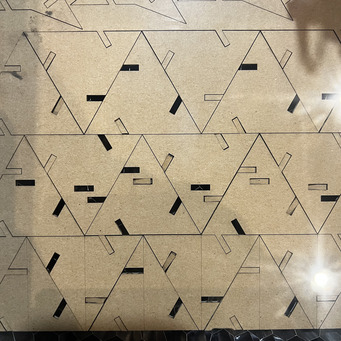
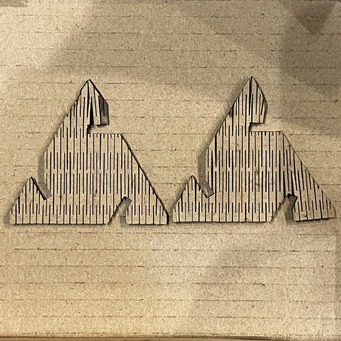
Types of shapes
I started working of triangles, and so I made multiple different triangle shapes which would all be able to co-work with each other.
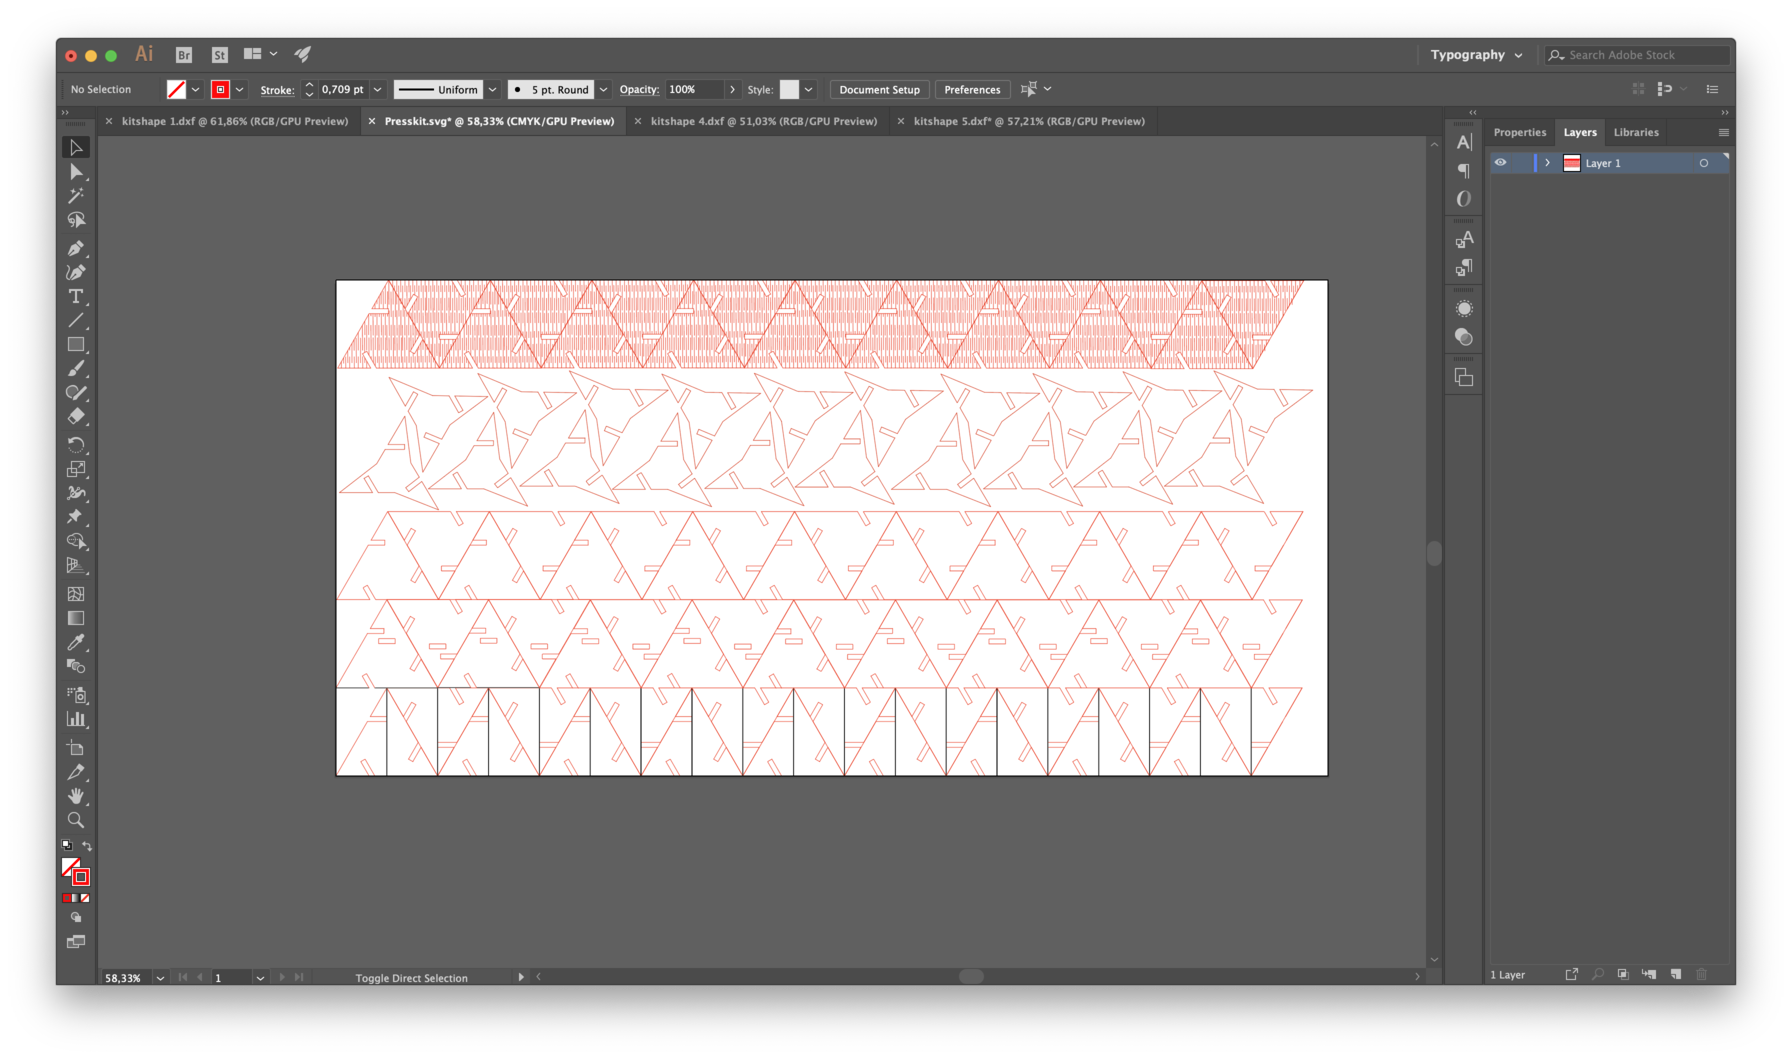
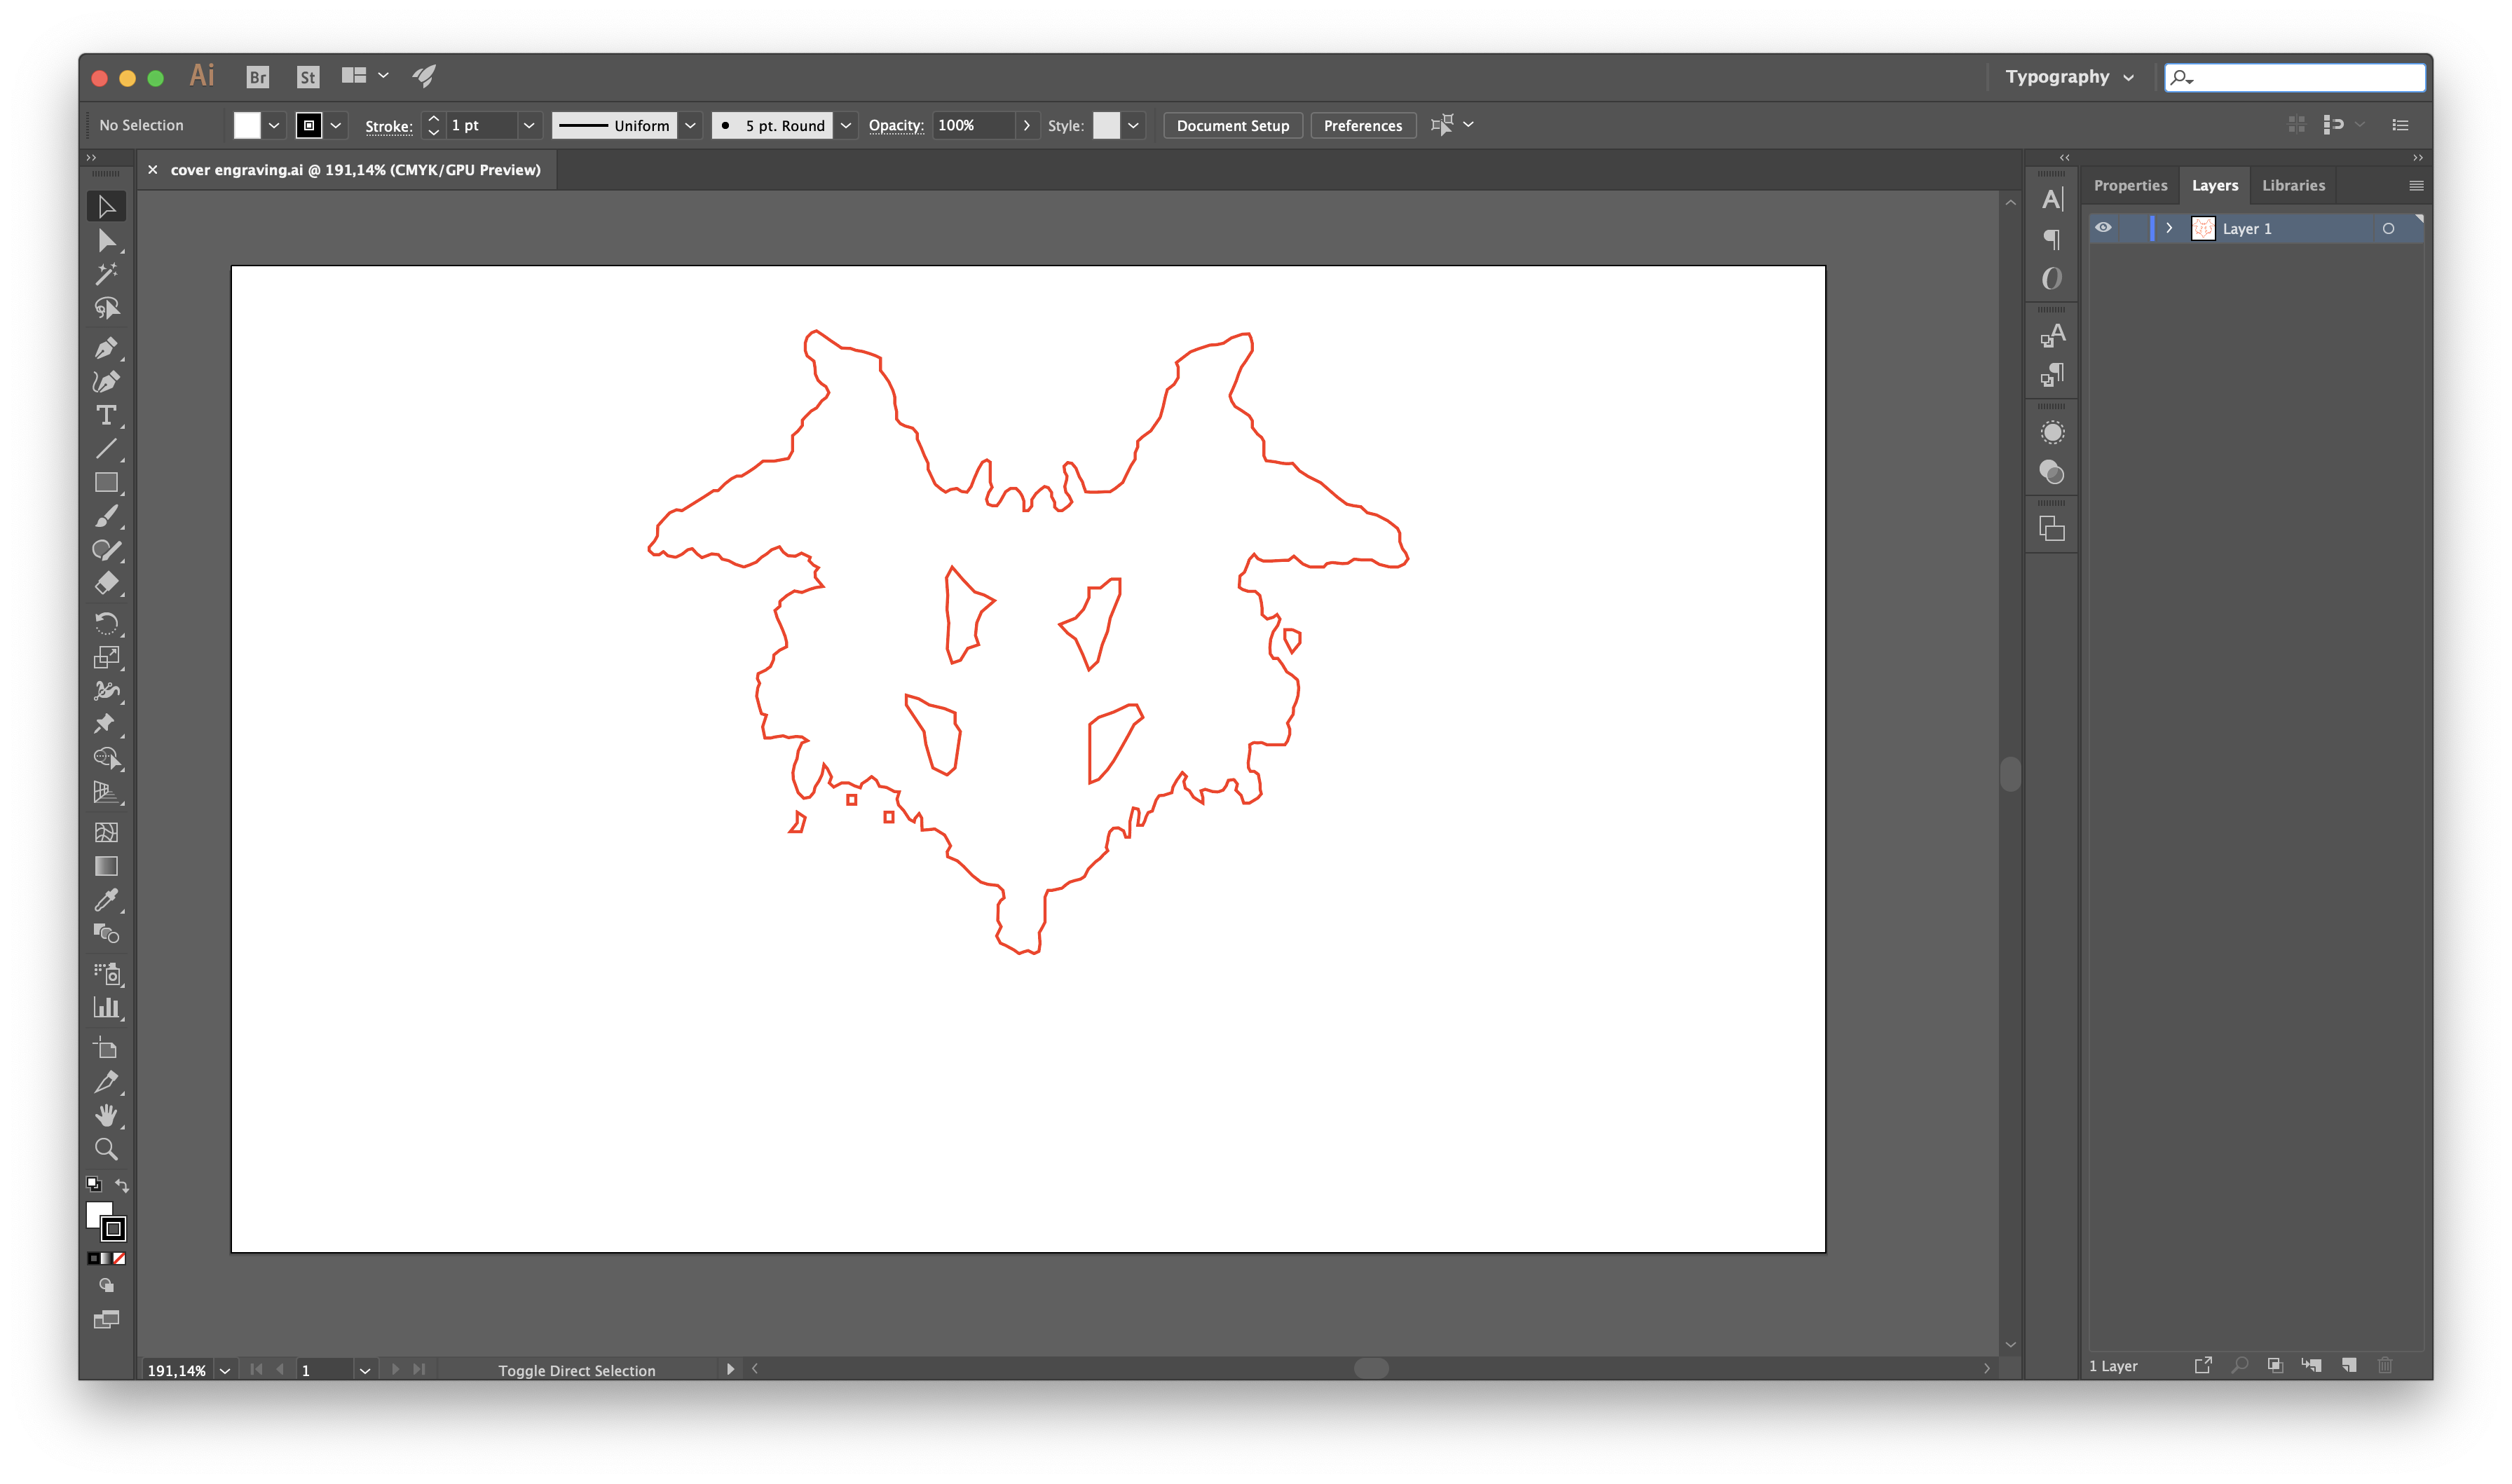
Assembling the Cutting-Board in Illustrator
I assembled the finished board in Illustrator, checked the RGB-values since this how the lasercutter recognises what
Lasercutting Parameters
Power: 45%
Speed: 1,2
Frequency: 1000
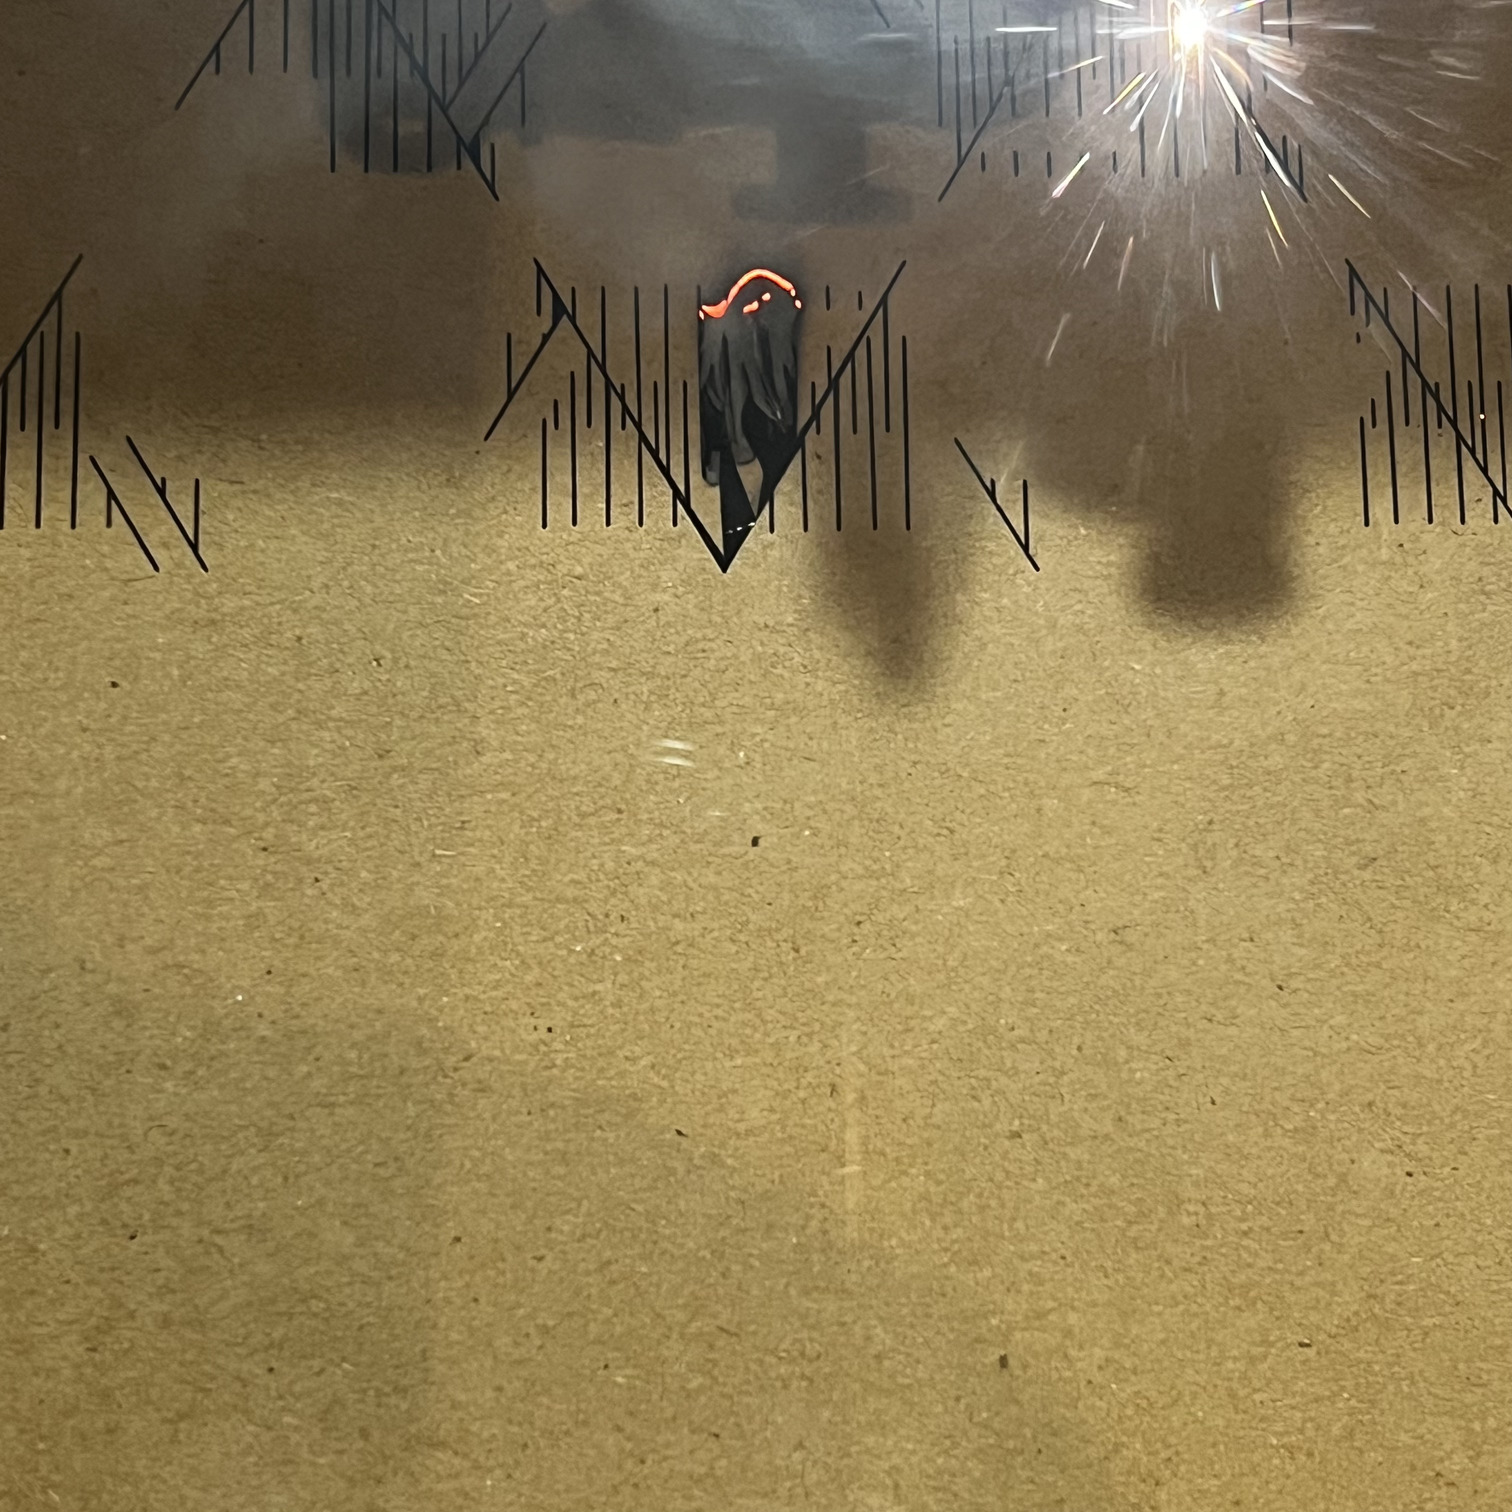
These were the final parameters established.. because.. well.. originally I used the parameters I had established during characterisation… but I set the lasercutter on fire.
Whilst my previously deduced parameters were fine, the problem was that too much heat gathered in the sections where I had designed the bendy-pieces, since so many lines had to be places in such close proximity that the honey-combe heat-grid underneath wasn’t quick enough at diluting the heat.
!!WHAT TO DO IN CASE OF FIRE!!
    ,.   (   .      )        .      "
   ("     )  )'     ,'        )  . (`     '`
 .; )  ' (( (" )    ;(,     ((  (  ;)  "  )"
 _"., ,._'_.,)_(..,( . )_  _' )_') (. _..( '..jb
After this assesment I decided to lower the power to 45, now it all worked fine!
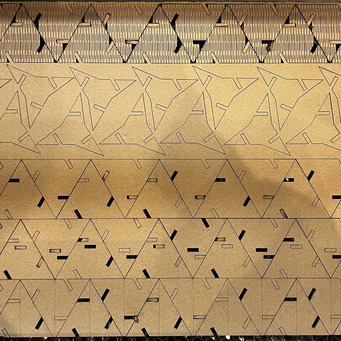
Ironically those were my favourite pieces :)).
Making a Box
Since I wanted this to be a game, and also because I didn't want everything to just fly around. I also laser-cut a quick box. I also designed a little engraving for the box
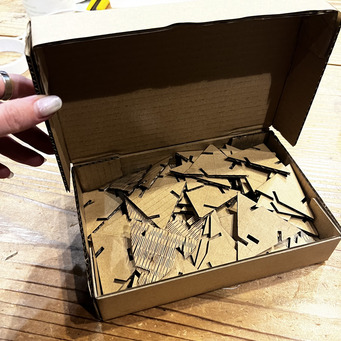
The box design itself I took from the Trotec website where they have some tutorials already available. I altered the design to fit the 30 x 60 cm cardboard that I had, and also I changed the colors to git with my pre-set-up color definitions for cutting and half-cutting ( for bending) in my local trotec programme.
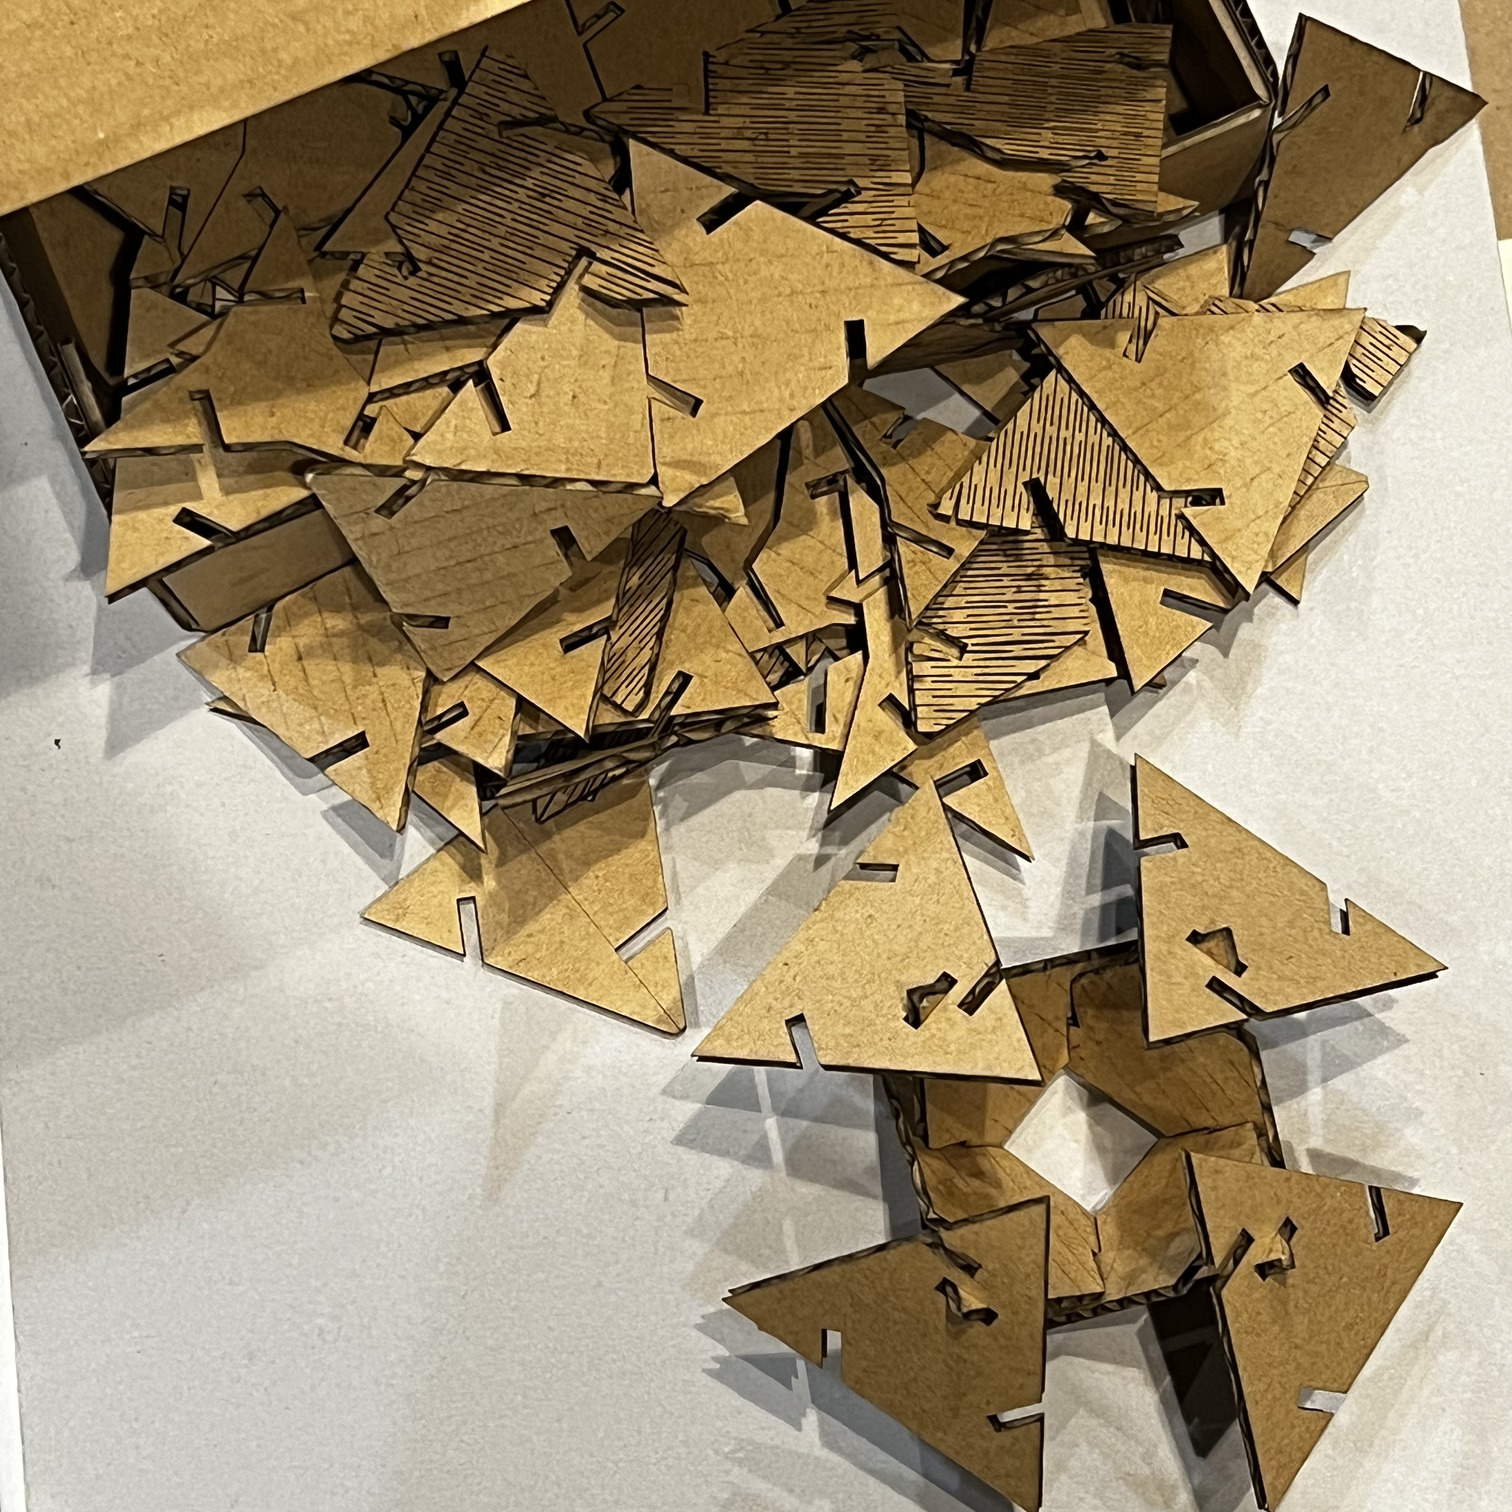
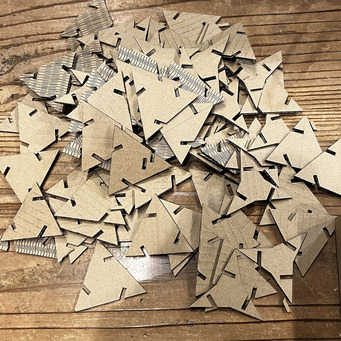
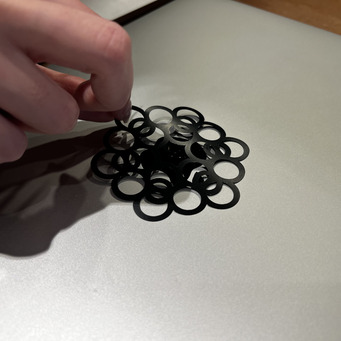
The Finished Product
In the end I had lots pieces. The ones that bend are really my favorite.
They look so beautiful.
VINYL CUTTING
The vinyl cutting assignment went very quickly. For many weeks already I’ve been wanting to look into some merch possibilities for the Bioclub… I also promised I would handle it’s social media.. and haven’t so I really need to look into my time management and get on that.
The design was commission by Loftworks for BioClub, unfortunately I do not know who the original artist was.
But apart from that the vinyl-cutting aspect was an easy affair. And I look forward to making a ton more things with it, because it kind of mesmerized me.
Unboxing!

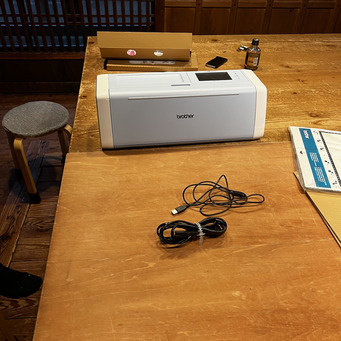
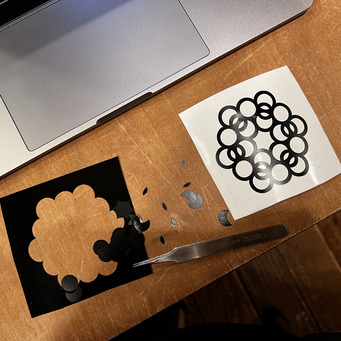
Set-up
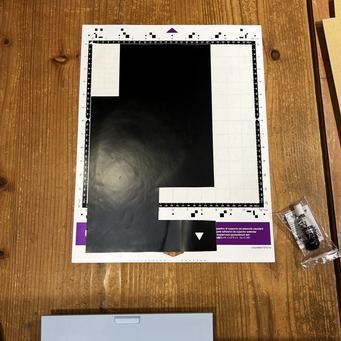
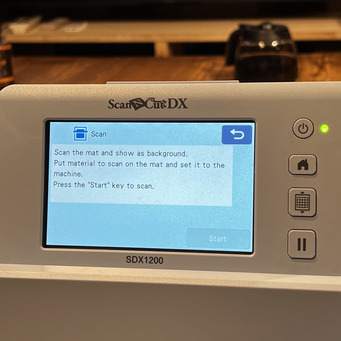
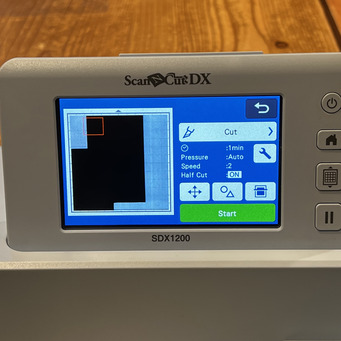
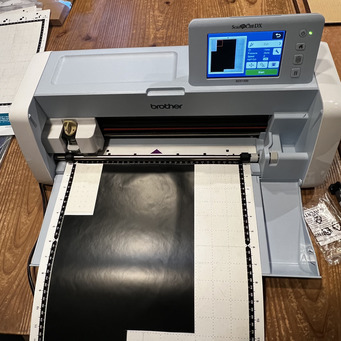
Doing the cutting
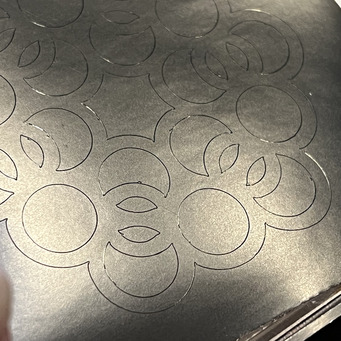
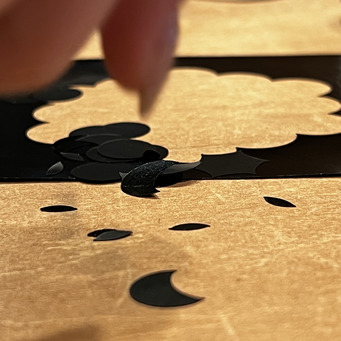
Then the time-consuming peeling
Since this was quite the intricate design, the peeling took some time since I of course didn't want to damage the sticker itself.
Also I somehow, while peeling the sticky... forgot it was sticky and stuck it all to the table, so there is that.
Heyo new sticker

FILES
LASERCUTTING FILES
VINYL CUTTING FILES
Bioclub Logo from Loftworks