WEEK13 - Molding and Casting
This week I made two things for molding and casting. I made gummibears and also an ice-cube tray for PCR-tubes.
WEEK THIRTEEN ASSIGNMENT
| Assignments | Completed |
|---|---|
| GROUP | |
| - review the safety data sheets for each of your molding and casting materials, then make and compare test casts with each of them | GROUP ASSIGNMENT PAGE here |
| INDIVIDUAL | |
| - design a mold around the stock and tooling that you'll be using, mill it (rough cut + three-axis finish cut) and use it to cast parts | - done |
HERO-SHOTS
GROUP ASSIGNMENT
In the group assignment we tested different casting materials, and explored consequences of correct and incorrect stirring and mixing methods.
the correct stirring methods is this:
OVERVIEW
The Smooth-On Document Library holds all the Technical Bulletins and Safety Data Sheets of their products.
Mold Star 16 FAST (Platinum silicone) SORTA-Clear 37 (Water white translucent silicone) Smooth-Cast 300 (Ultra-low viscosity casting resin) Smooth-Cast 325 (ColorMatch Series plastics are urethane resin)
A quick comparison of the main features:

GROUP ASSIGNMENT CONCLUSIONS:
We compared quick and slow curing silicones. The slow curing silicone was a lot softer and more flexible. This was not something that mattered to me for this assignment, but its something I kept in mind for soft robotics week, (wildcard) as I will be looking for something more flexible then.
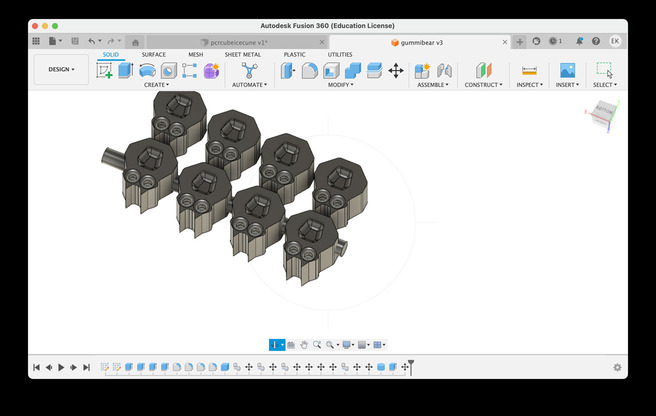
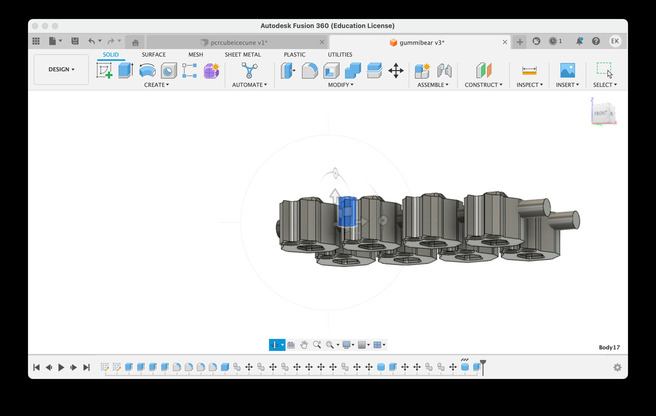
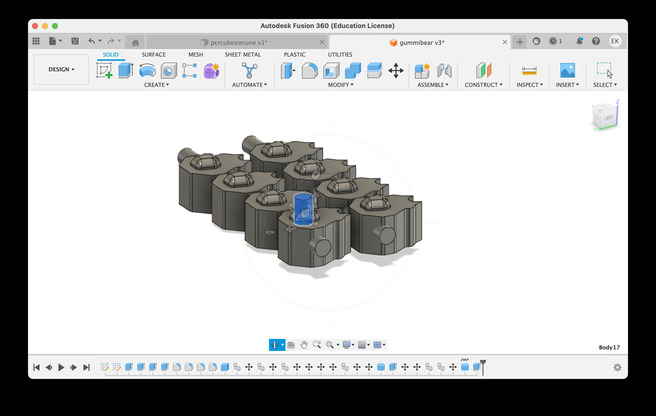
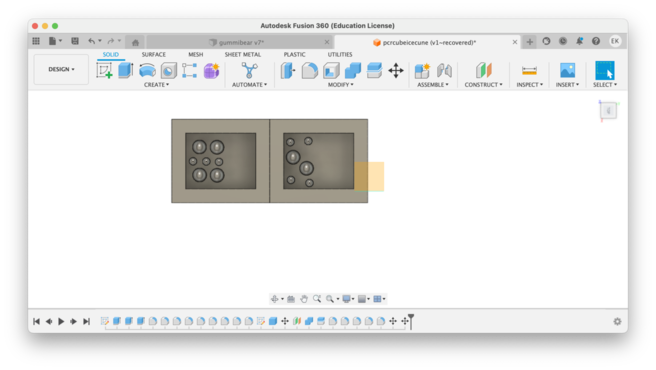
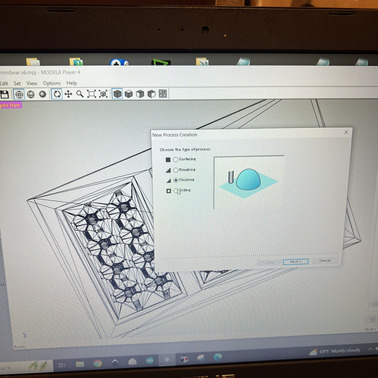
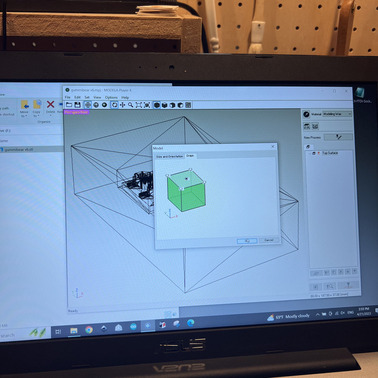
DESIGNING THE MOLD AND THE OBJECTS
To design the mold and the milling file for the wax block I followed Rico's tutorial on the Kamakura website, it had good step by step instructions until it came to milling on the roland, that bit was surprisingly hard to find instructions on and I ended up running into difficulties.
http://fablabkamakura.fabcloud.io/FabAcademy/support-documents/moldNcast/MNCtutorial/
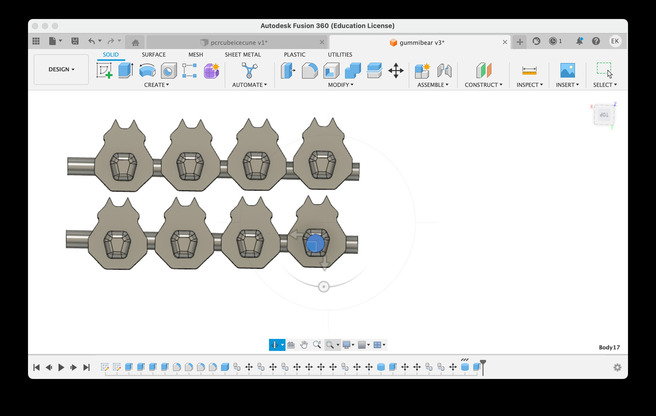
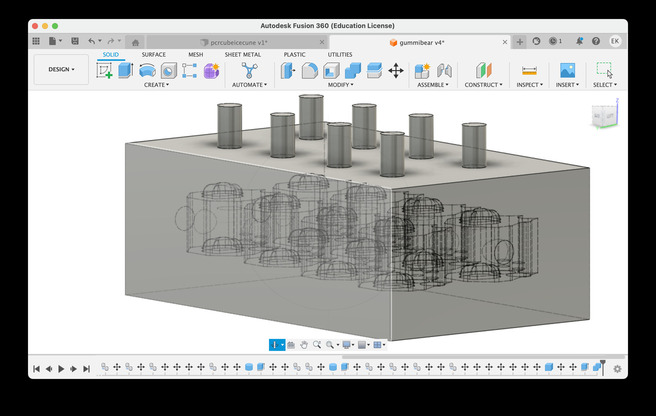
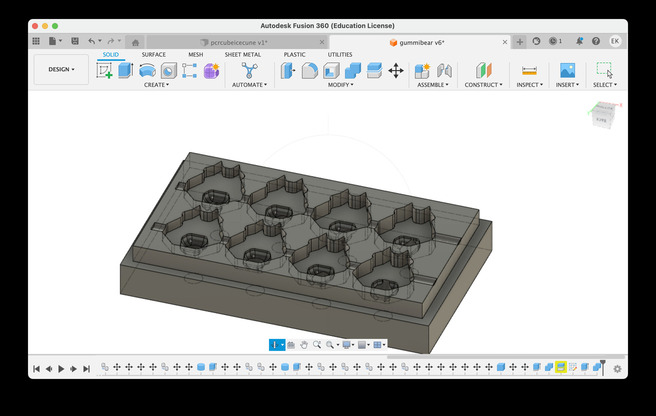
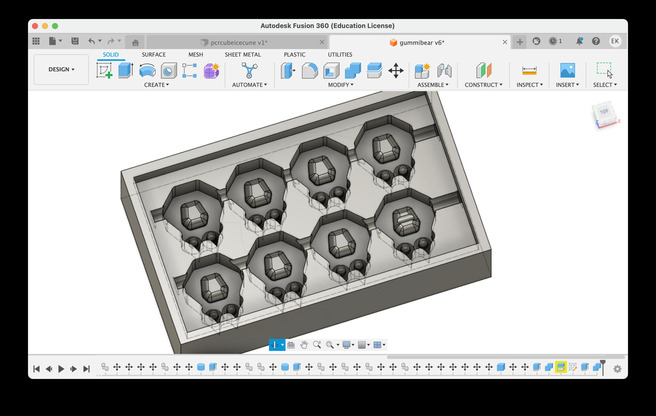
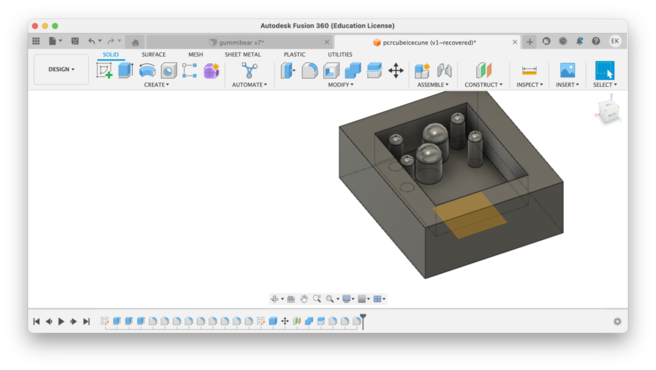
GUMMIBEARS
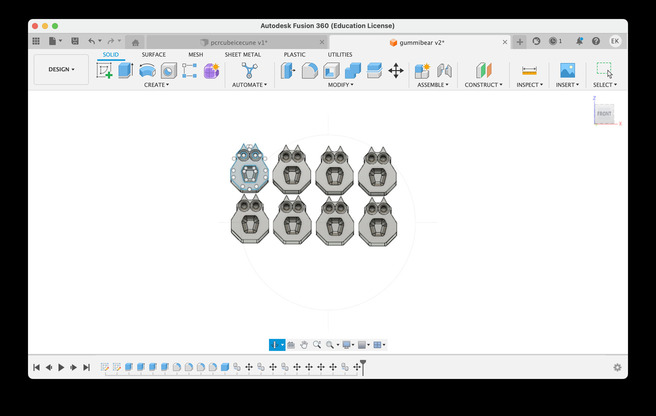
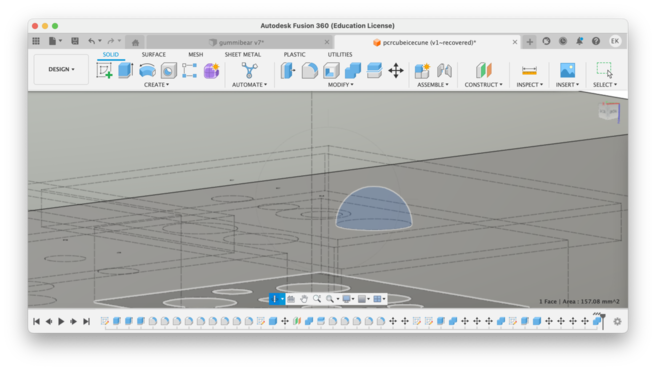
PCR ICECUBE TRAY
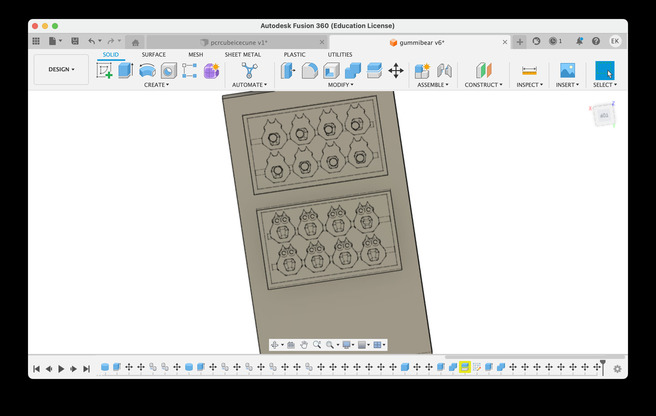
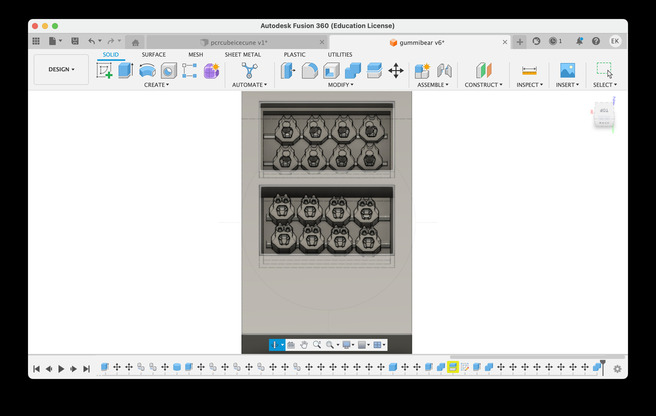
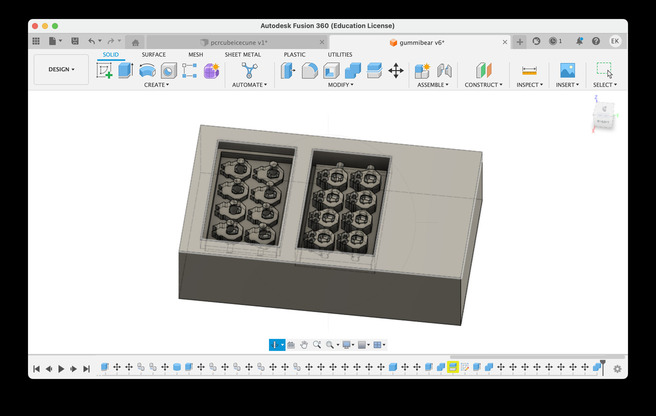
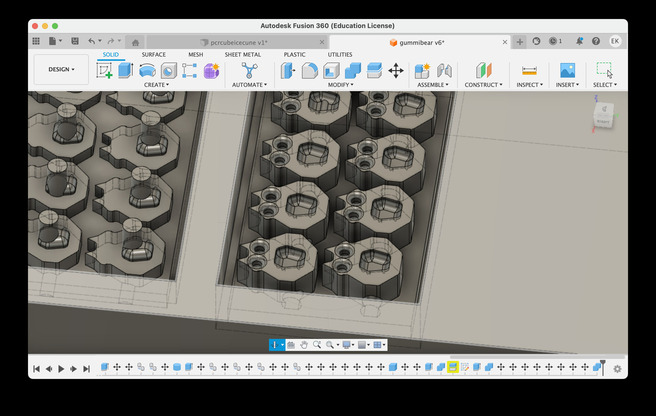
The second object I designed was an icecube tray for the BioClub.
THOUGHTS
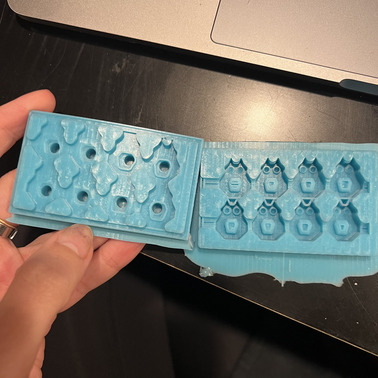
I applied the tolerances and dimensions of the tutorial. But in the teddy bear mold I didn't take into account the required length of the drill bit. That's why certain parts did not get milled. I corrected these mistakes in the Ice-Cube one.
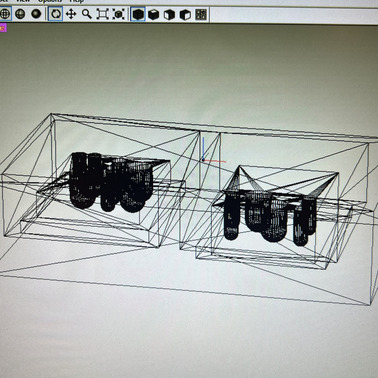
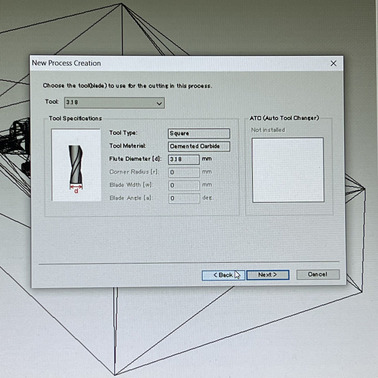
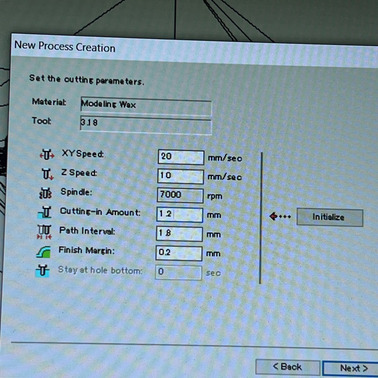
MILLING

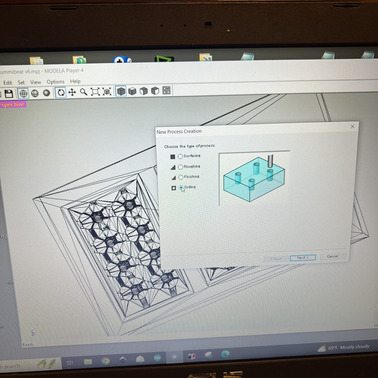
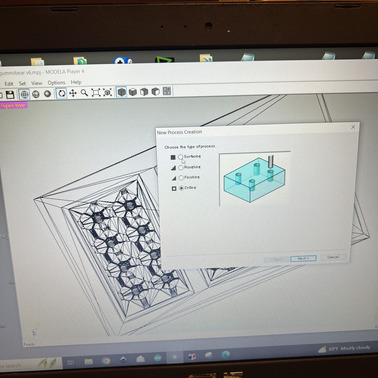
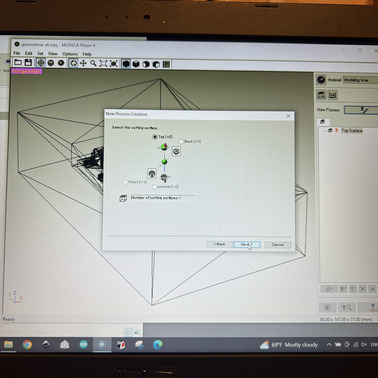
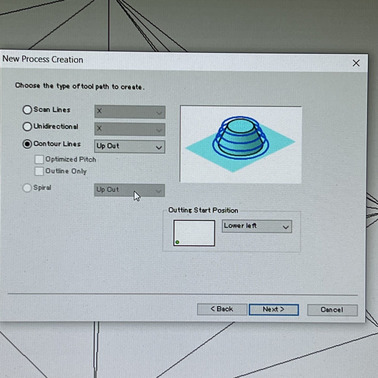
adjust the milling area:
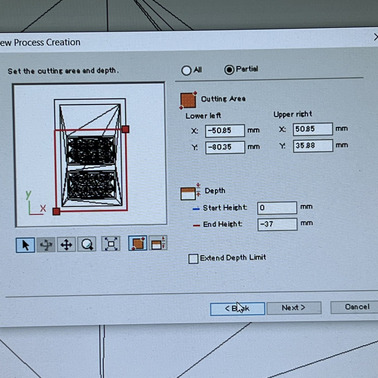

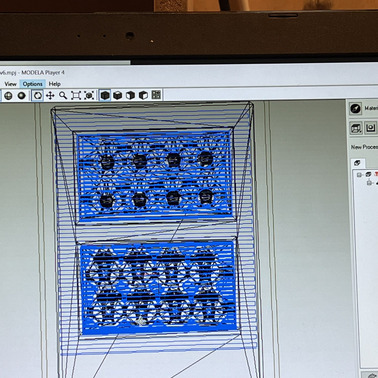
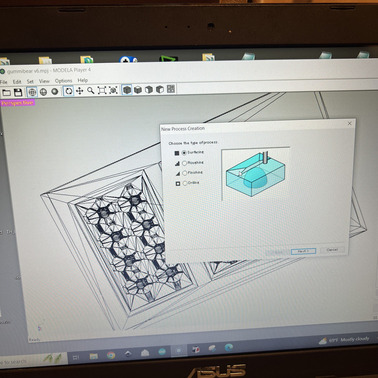
PROBLEMA!!!!!
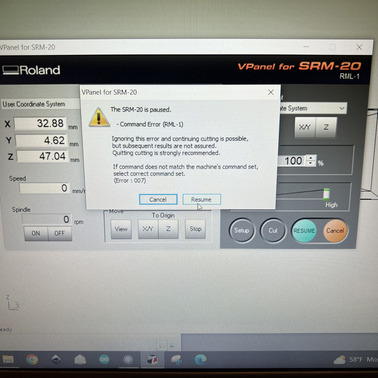
MISTAKES
IMPORTANT: no matter what you decide to mill into the block, once you know how detailed your mill is and which mill-bit you intend on using you have to check how long the milling bit is. The reason none of my registration edges got milled was because the machine was giving an error that the path was outside the machines functionality.

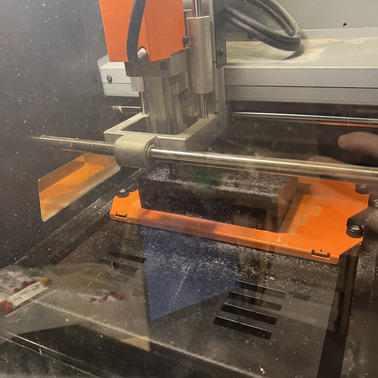
CASTING
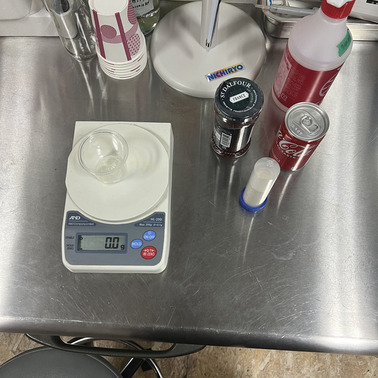
How to mix the silicon or the epoxy or any mixture to avoid bubbles? like a cement mixer. full stop. that's it. you're welcome.
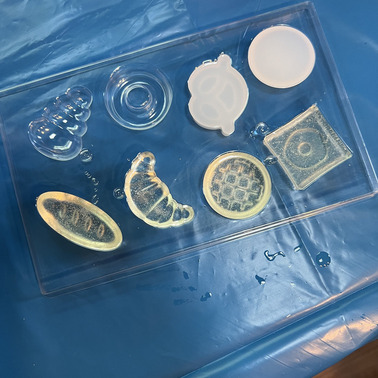
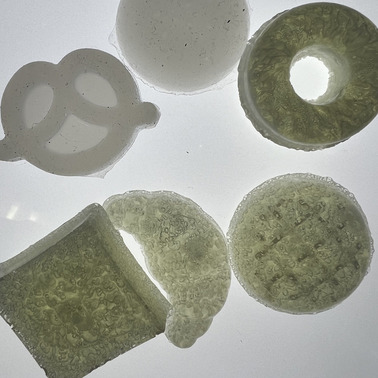
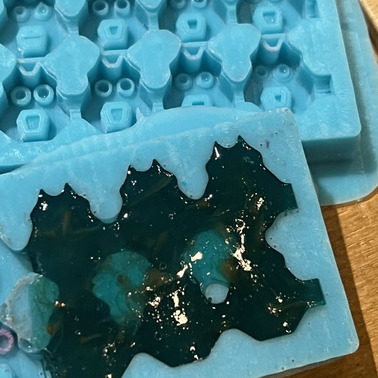
despite the lack of registration edges each half of my silcone casts still featured 3D curves and so i decided to mold it open, and make the gummibears.
For the silocone mold I used the 30min quick curing mold, since I knew that I wasn't going to be consuming the bears after wards. ( i ate one but that was kinda it).Sourcing foodsafe silicone wasn't rally on the time-scheduling. I could have also used the long-curing silicone, but again- it didn't seem more food-safe. Also after looking into it a bit more indepth unless the molding happened at very high heat, normal grade silicone was ok for now.
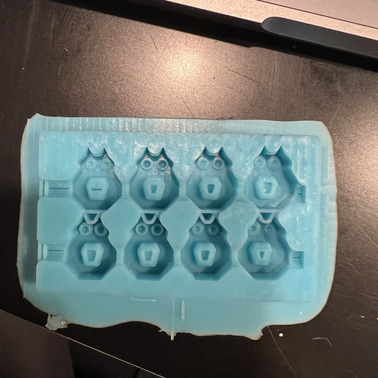

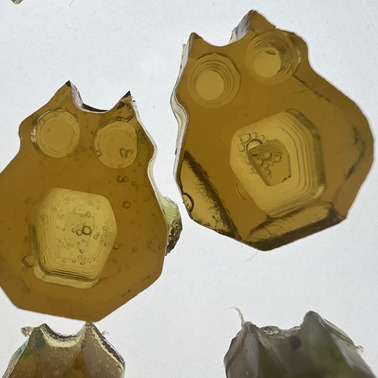
I made coco-cola and strawberry flavours
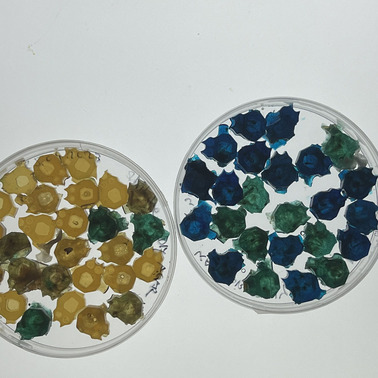
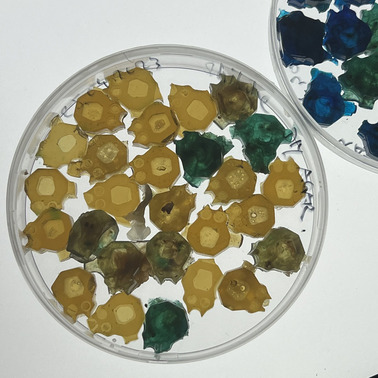
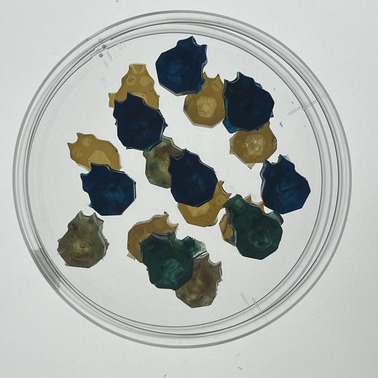
The gummibears didn't taste very good, so I decided to use them as some DIY medium for my BioHack project, lets see what grows on them.
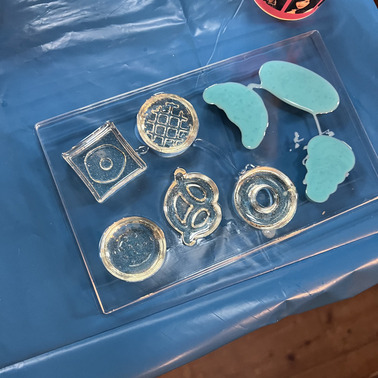
The ice-cube tray:
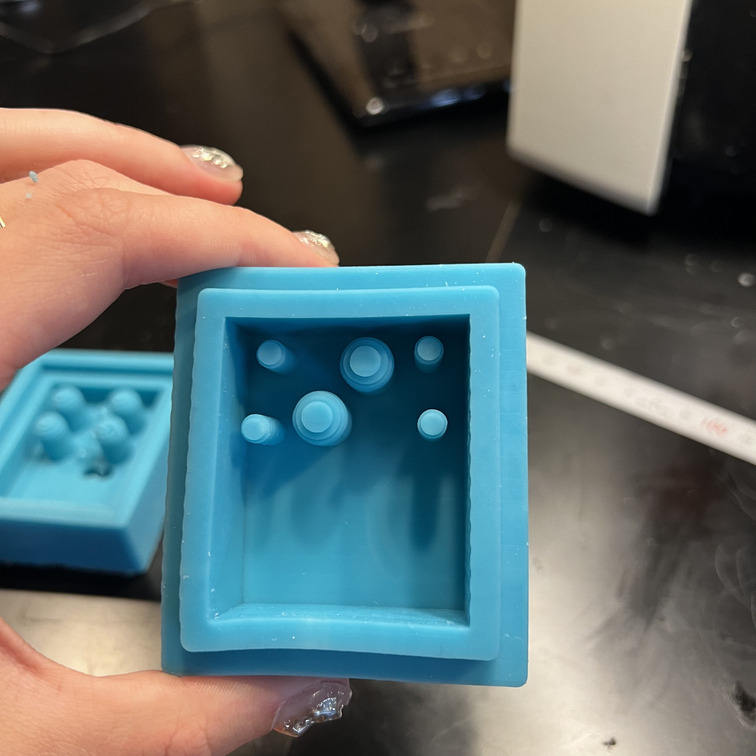
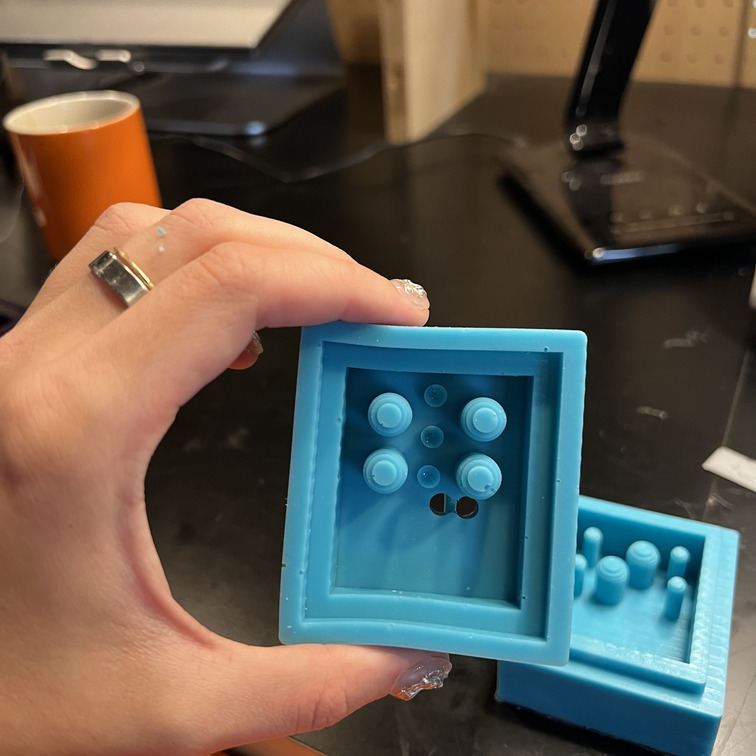
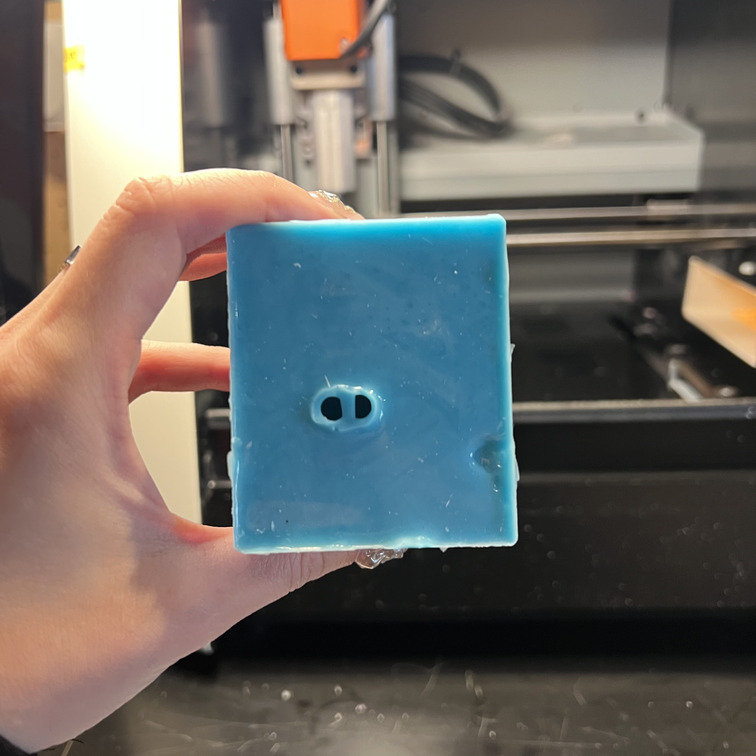
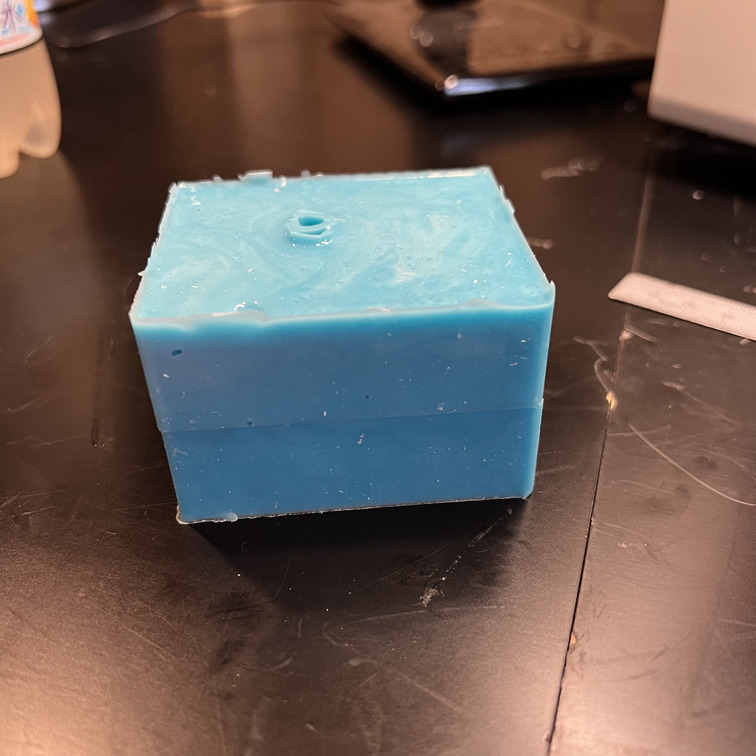
The Ice-tray was made in a way that it could be used as a closed or open mold ( like a normal tray) then you fill the silicone mold with water and let it freeze. After it's frozen the indentations are the place we're u insert small PCR-tubes to keep samples and reagents cold. U can also place the ice-cube in some water where it will float.
This had a better real world continuos application than the gummi bears.
I did not need to use demoulding spray in either case. Previously in life my experiences with demoulding spray were not the most successful. But also as discovered previously in the group assignemnt the rule of thumb is..
soft mould = hard insides
hard mould = soft insides
!!! so there we go.