WEEK02 - Computer Aided Design
This week was all about CAD. The following documentation outlines some of my thoughts, the models I completed and some short break-downs of the software I engaged with. I’m mostly comfortable with Photoshop, so I used the limited time this week to go into Fusion and parametric design as I had never engaged with this before. I have previous modelling experience with Zbrush but as I soon realized parametric modelling is a completely different game.
WEEK TWO ASSIGNMENT
2D: Raster / 2D: Vector / 3D Model
- raster/ render / design / animate/ simulate a possible final project
- compress images
COMPLETED
- 3D: Fusion360 + OpenSCAD
- modeled small model, exported and rendered.
- 2D: Inkscape + GRAM
- I still don’t have a concrete view of where my final project will go, so instead I reviewed tools and modelled smaller attempts in various directions.
- my 3D design was inspired by the AI images I had completed last week.
- my 2D work was primarily to explore the software and it's purpose nowadays.
HERO-SHOTS
3D
PARAMETRIC VS NON-PARAMETRIC DESIGN
Before I start some key points about parametric and non-parametric design.
- parametric: in short: this means that every constraint within your model is fixed against the other constrains in the model (for example through percentages) this way if you change one part of your model the other aspects all also adapt. Thus making sure that no matter what you adjust the over-all model remains functional towards itself → this is key only when you are thinking of later 3D-printing or laser cutting your designs.
FUSION 360
For the 3D aspect of this week I engaged with Fusion 360. As inspiration I used the MidJourney sketches I made last week.
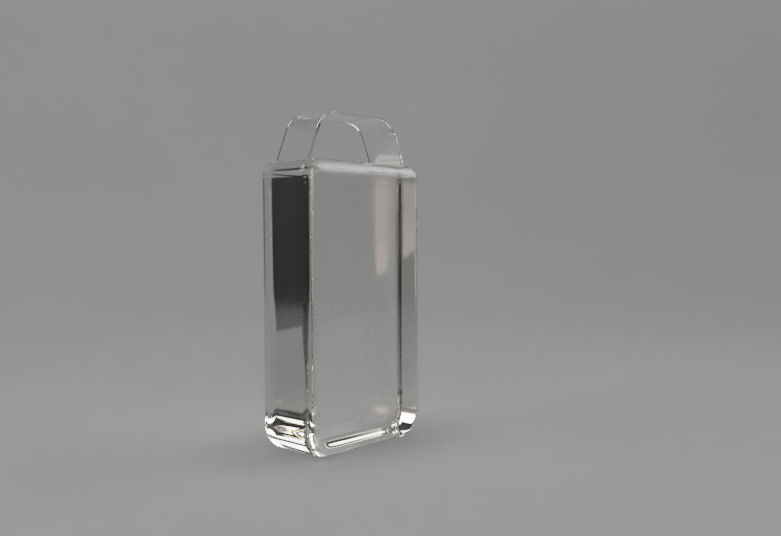
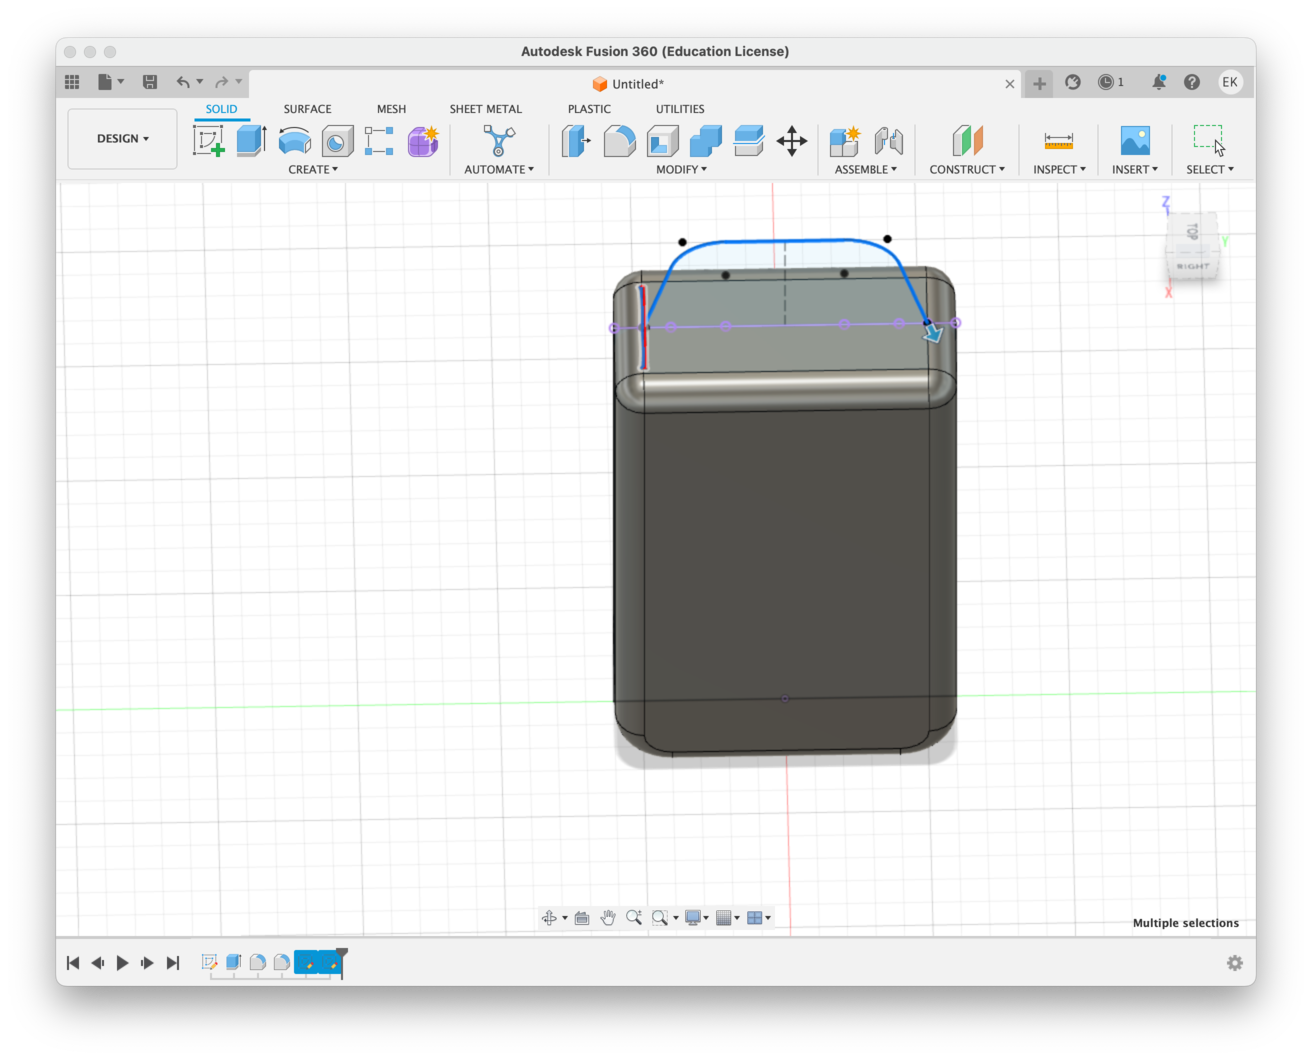
Sketching
When starting a design in Fusion360, you start in the sketch mode:
→ you pick a plane
→ you sketch your components and define your constraints ( these allow you to define the shape)
→ “sketch dimensions” (these allow you to work by values)
→ you can now introduce custom parameters - thus making your design parametric.
→ when thinking about parametric constrains it might help to also think about “circular patterns”
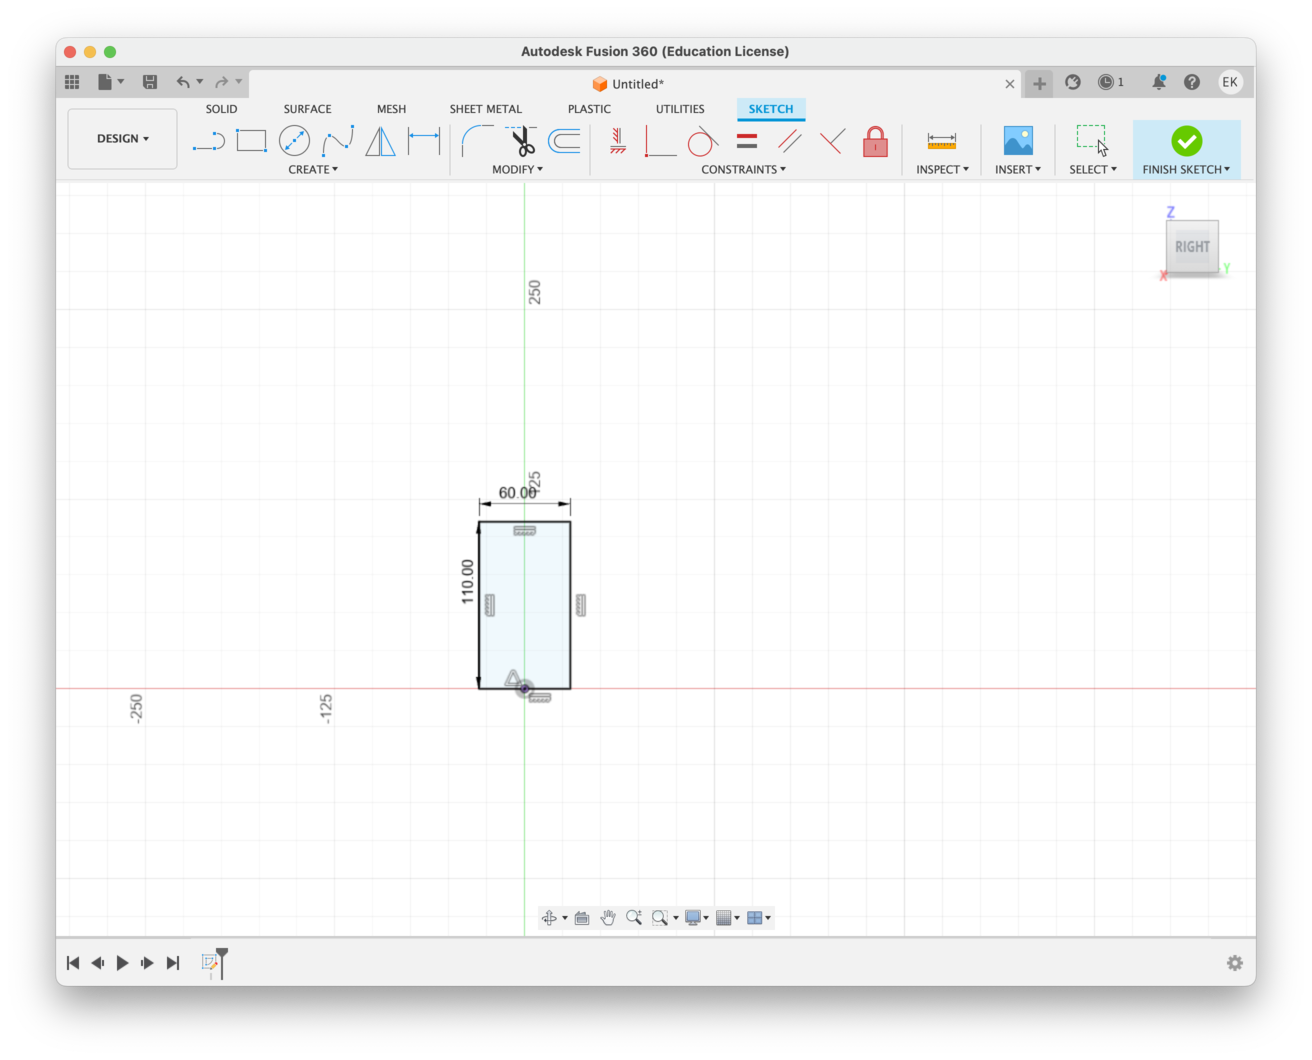
When sketching think about strategy and key-shapes.
Before finishing your sketch make sure that all the lines have turned black. This shows that your design is fully constrained.
I described the sketch part in the most detail, as this is the most key point in the design.. after this you extrude using various directions and sweeps. Once you are happy with your object you can render it and apply textures and lighting.
But the sketch is the key-point at which you lay down your strategies.
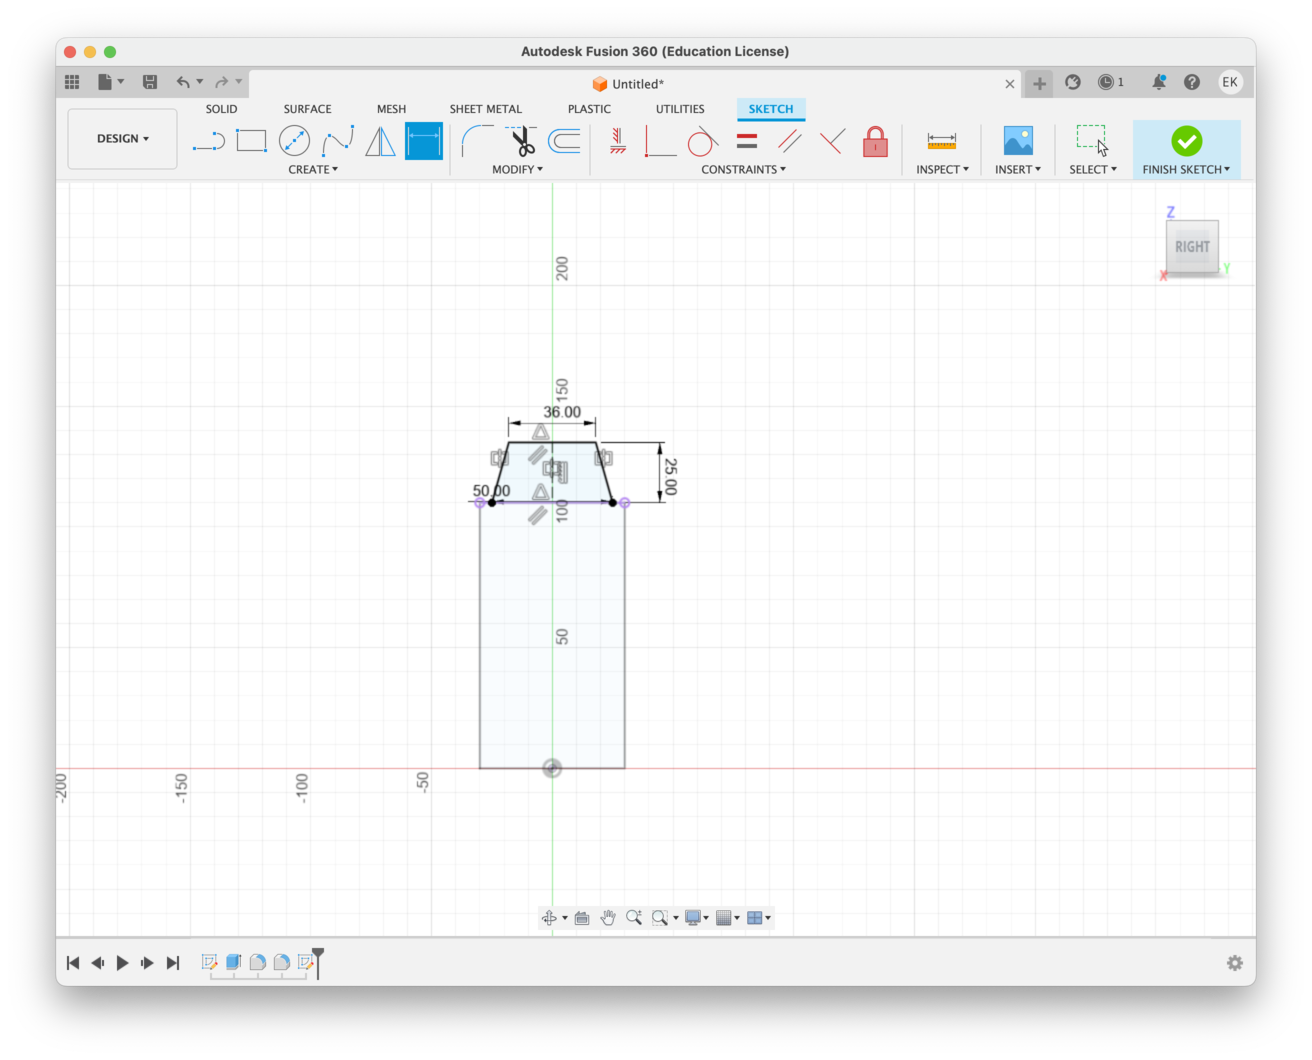
Extruding
After you've completed your sketch, you can keep defining your shape. For example I did the rounded corners using the fillet tool. For the handle I used sweep.
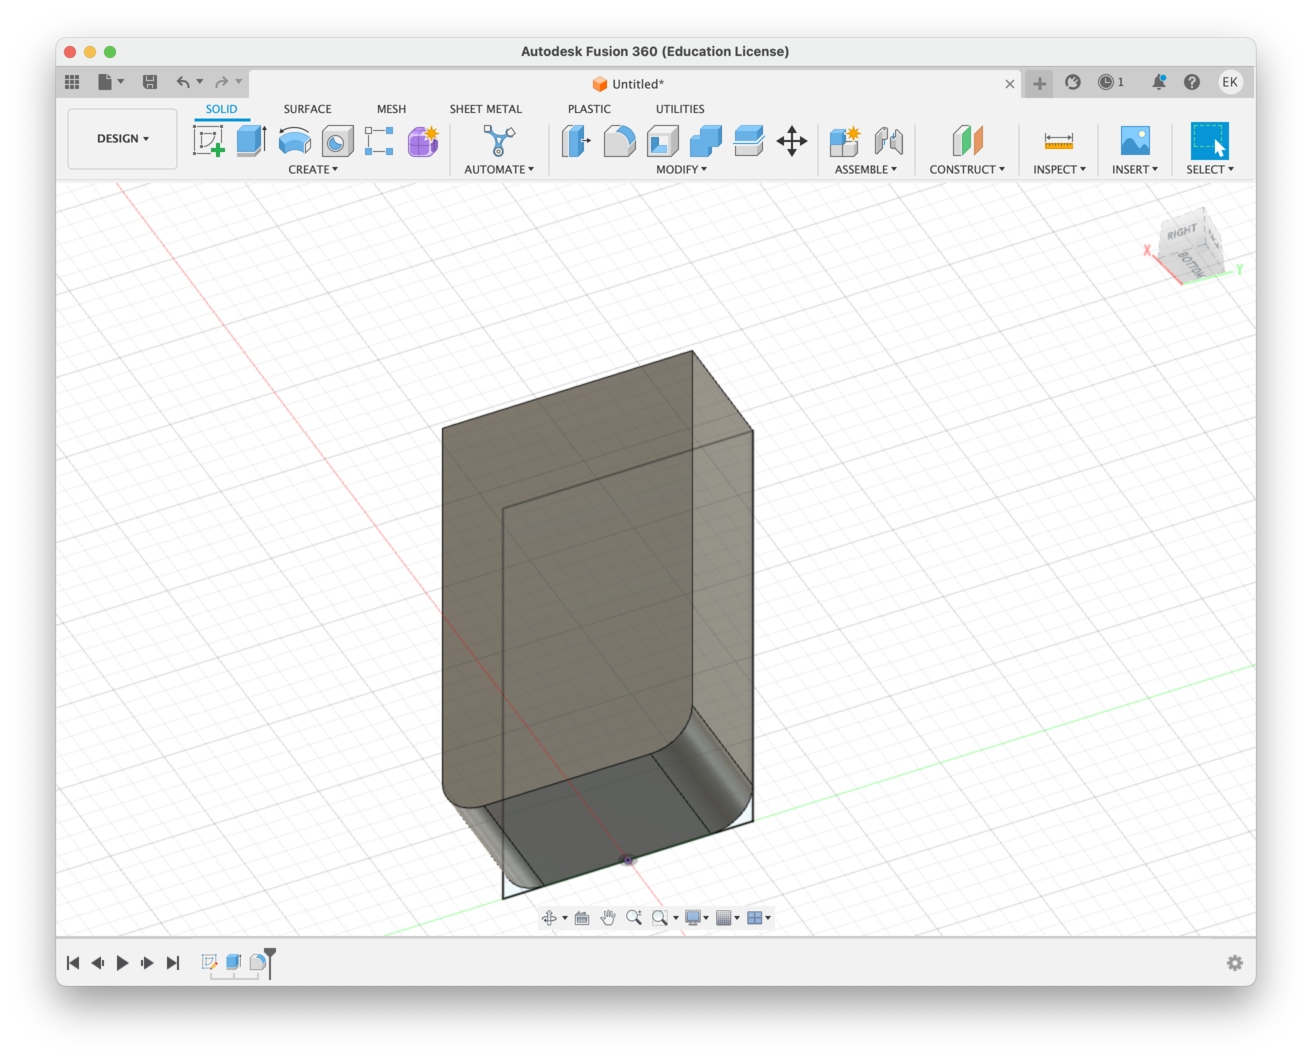

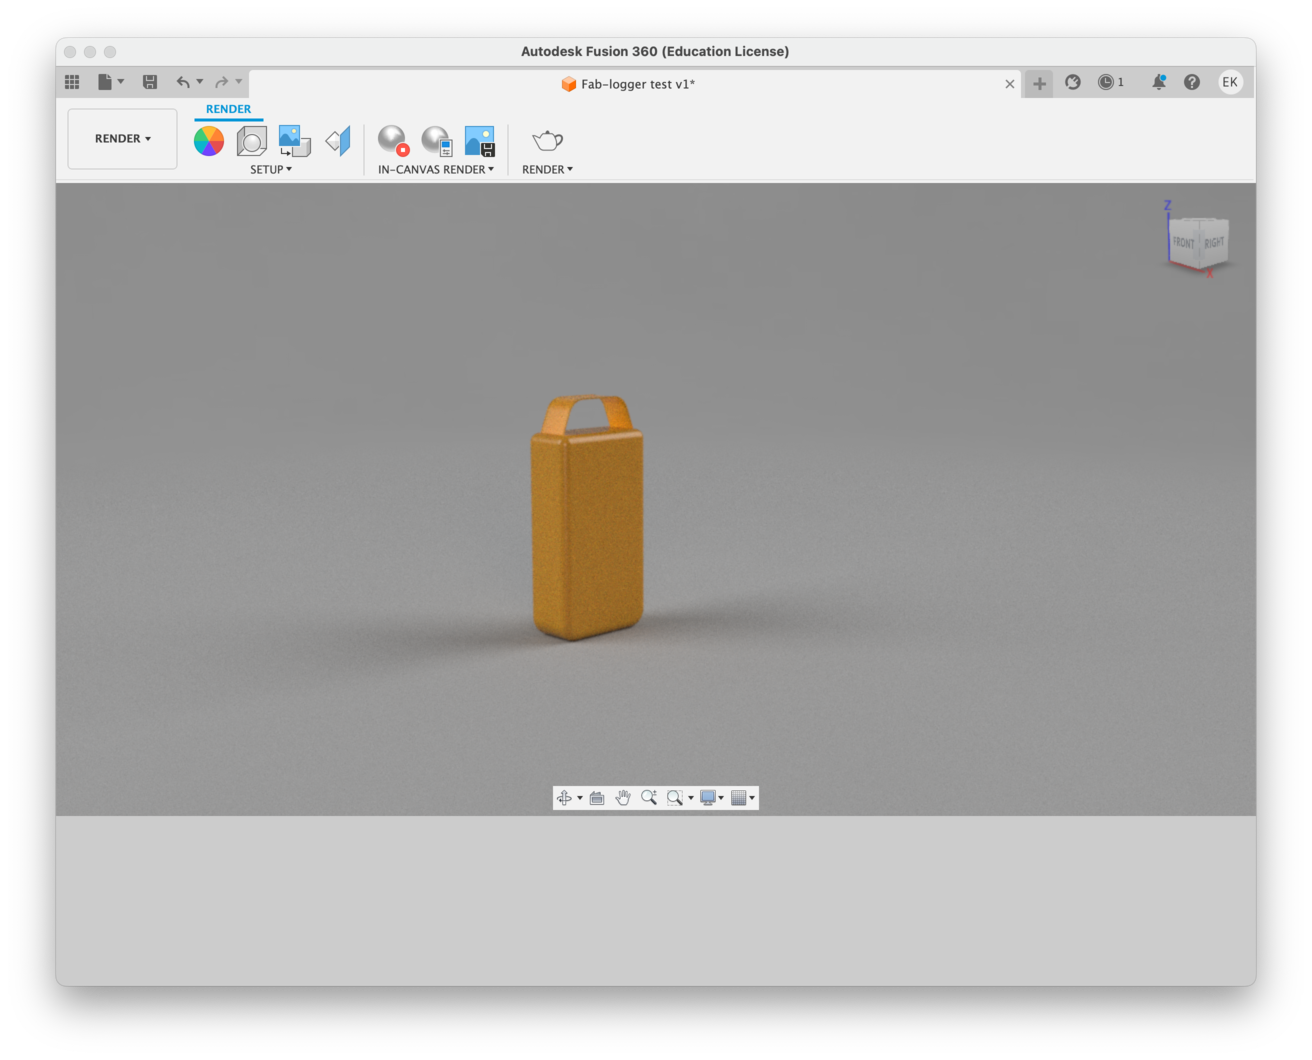
Rendering
I tried out different materials and settled on a glass render to give the object a more ethereal futuristic look, with soft light.
FUSION360 VS OpenSCAD
For the comparison I also engaged with FreeSCAD. After playing around with it for a while I decided that I found it to be not very intuitive and that i struggled a little to much with making it work for me.
I consistently lost track of where I was and could understand what was malfunctioning.
BUT, that said it is free and thus has a big upside when we’re thinking in terms of DIY-fabrication and accisability for for others.
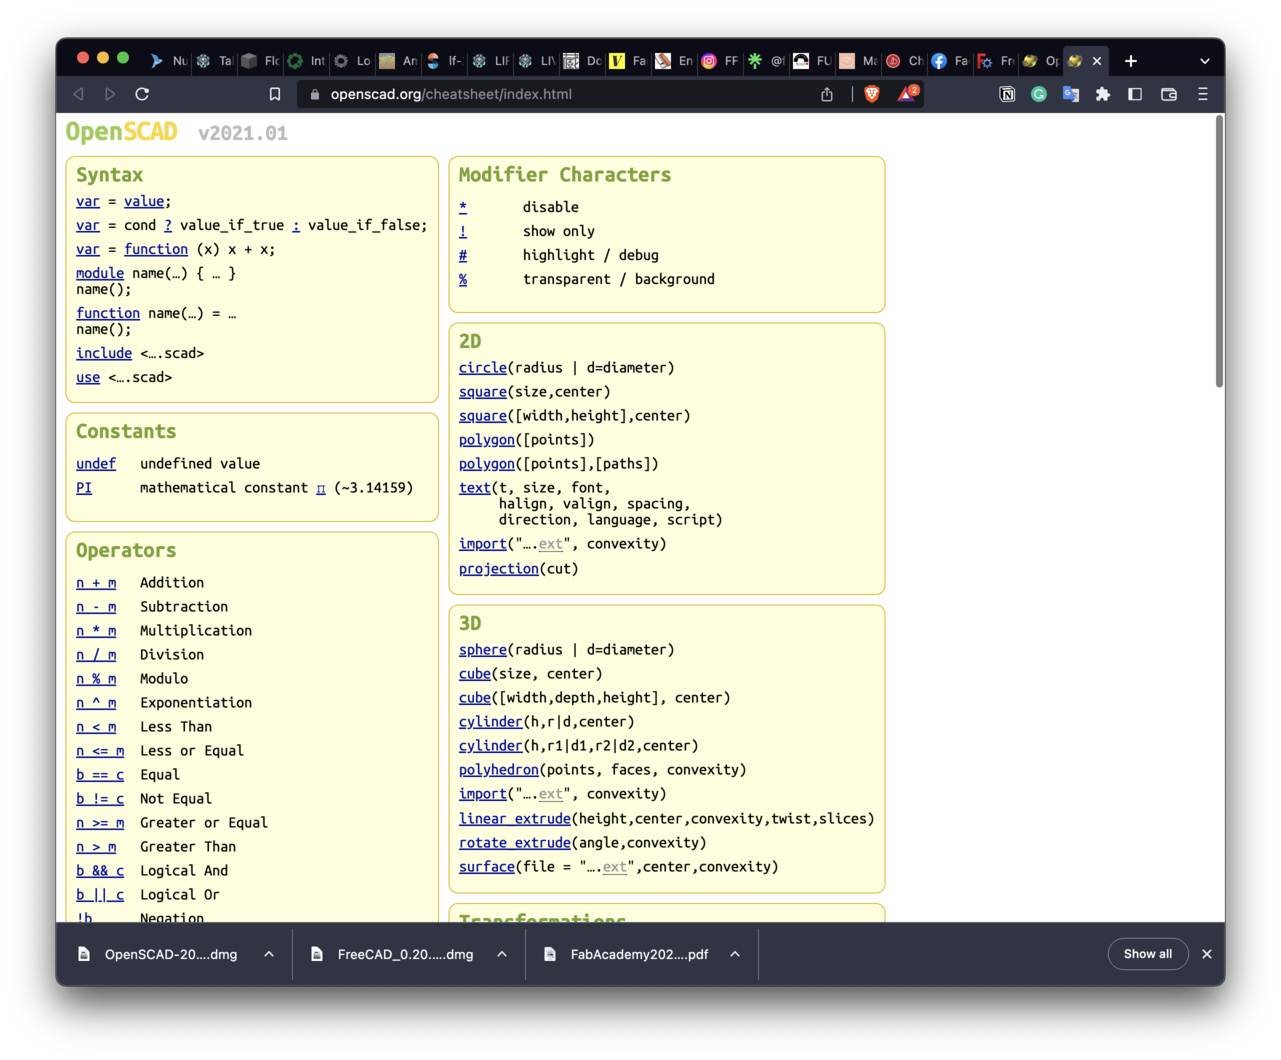
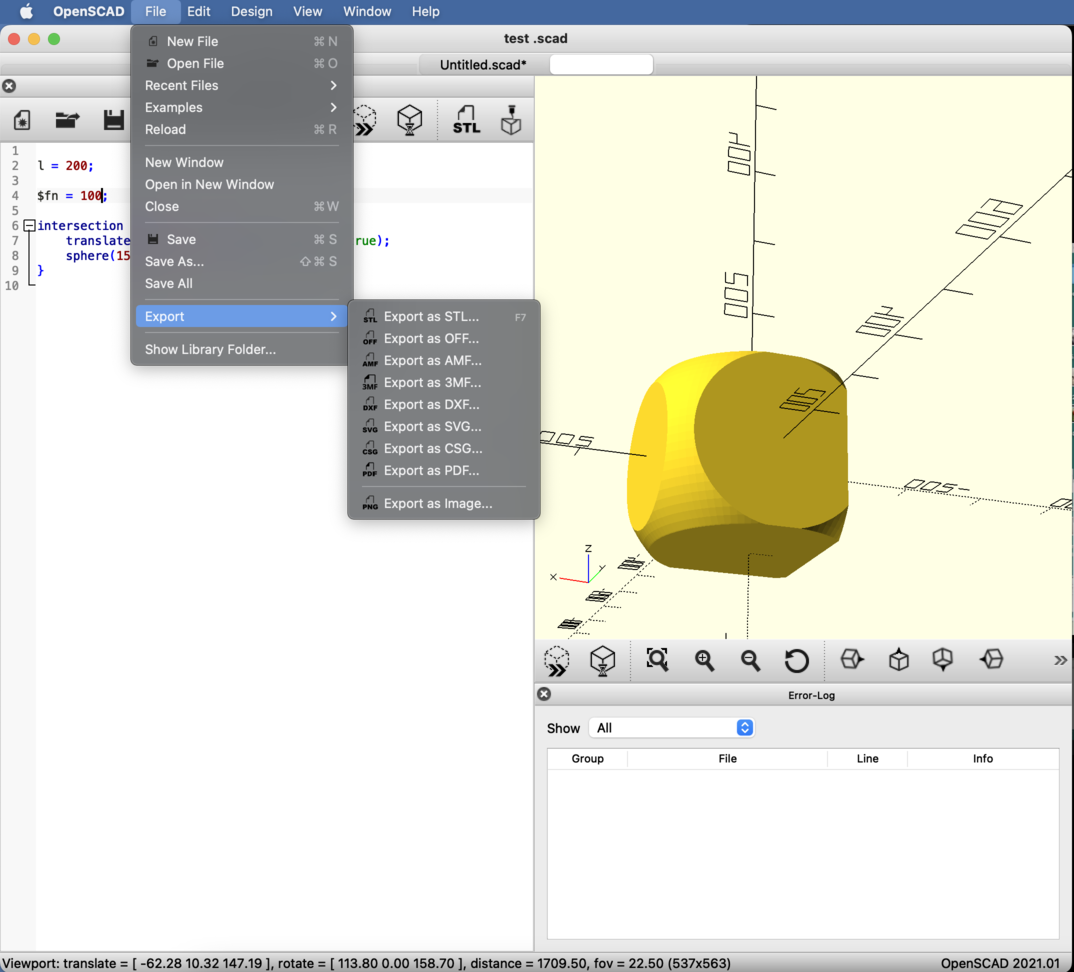
OpenSCAD
Let's go OpenSCAD So open SCAD has a couple of interesting moments, which do make we want to get to know it a little bit better later in time. The most obvious one being is that openSCAD can be code-operated. This again has a couple key upsides in being operatiable from any more simple equipment and not requiring a mouse or a good trackpad. It also again lends itself to parametric design.
To have any hope with OpenSCAD I had to keep the code cheat sheet open at all times.
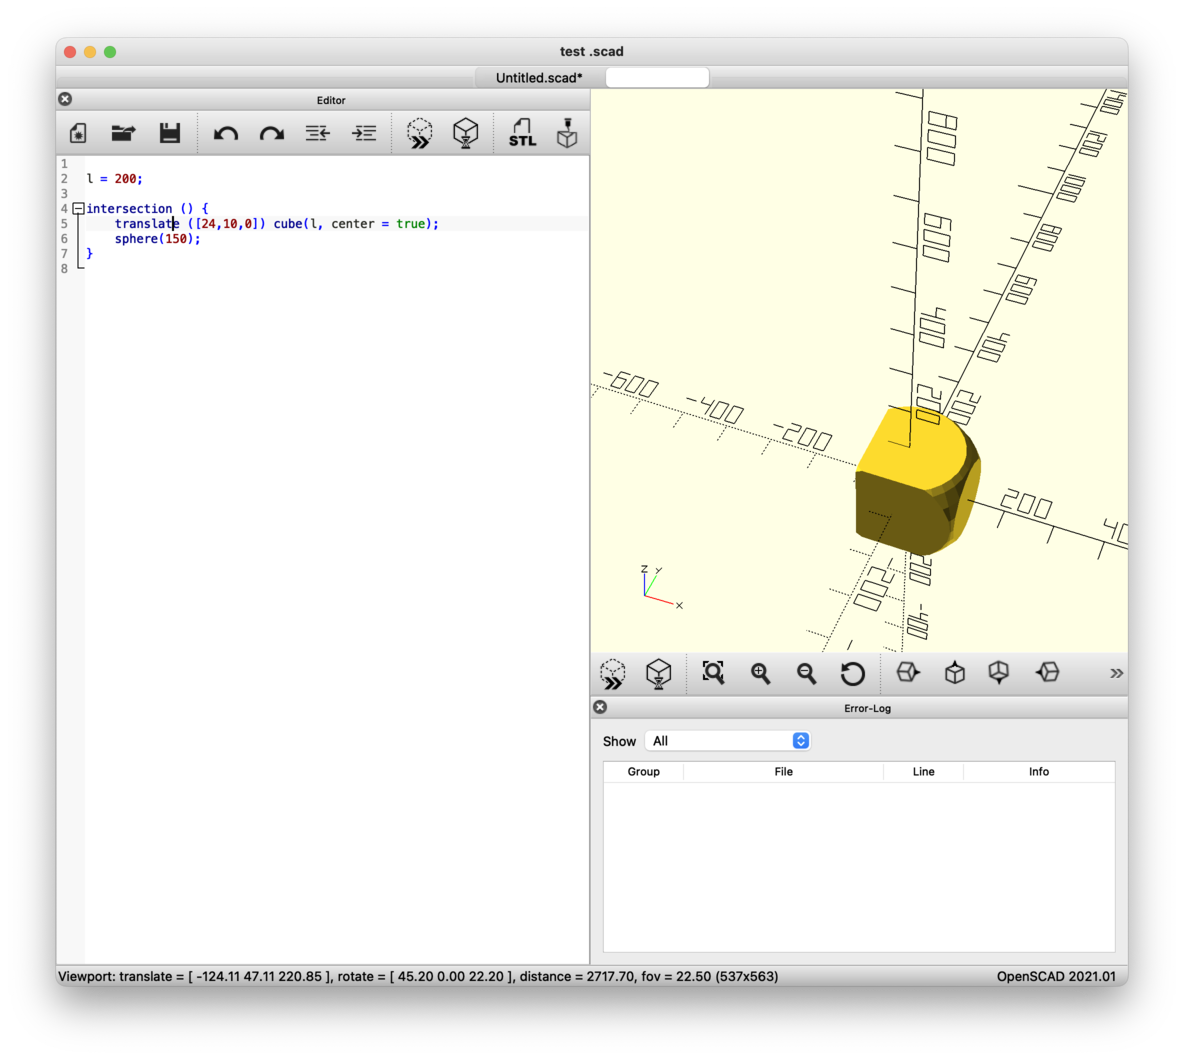
This is the code I ended up trying:
l = 200;

$fn = 100;

intersection () {
    translate ([24,10,0]) cube(l, center = true);
    sphere(150);
}
However something about the interface just wasn't really jelling with me so I only ever did a little test run with it.
2D ( and a little bit of time management)
RASTER VS VECTOR
Let me just quickly outline some key differences between raster and vector design.
raster = pixels || vector files use mathematical equations, lines, and curves with fixed points on a grid to produce an image.
I also got sick this week, and this screwed up my time schedule quite a bit as sometimes there are life events you can't move. So this became the week to fully try and implement a stricter time management: realized I didn't have that much time left I realized decided to focus only ony the last couple of things to complete this weeks assignment. SO rather designing a additional details designs I allocated only a set amount of time to explore each software and just document this process.
PAINT. (raster)
To start of with a small bite-sized intro. I was inspired by Georg Tremmel's 2021 documentation where he found an archived version of Mac-Paint here
I just gave myself 10 min to sketch a little animated gif- just because it fits so well with the aesthetic I imagined for this webpage! hihi
Unfortunately there was no way to the export the final-product through anything other than screenshots.
SKETCHBOOK (raster)
I have to be honest that without my graphics tablet I rarely still use raster image software, since I have never been particularly good or interested in graphic design and have only really done it when I needed a vector image.
I have always tended to use Photoshop and Gimp for sketching drawing ideas and concept art which I had done with a graphics tablet.
So in the spirit of trying to see if my phone could replace my tablet I decided to try the IOS app Sketchbook. ( I wasn't ready to buy ProCreate, though thinking back I probably should have. )
And it's no where near as good as working with a tablet or an Ipad. I will stick with paper I think.

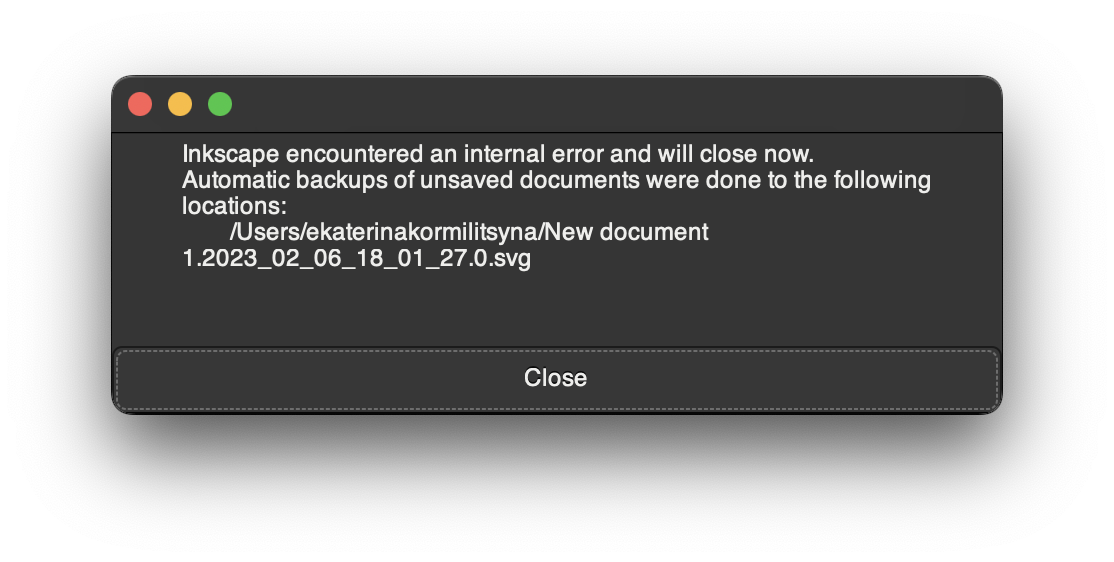
INKSCAPE (vector)
I gave myself 20 minutes to see if I could understand Inkscape
tbh I have never been particularly good with vector software.. my go-to method of sketch work used to be using AI or collaging many different inspirations together and then going ontop with a tracing paper of photoshop.
However I understand that vector software is essential when it comes to laser-cutting and other machinic fabrication that needs computational guidelines.
I tried Inkscape... and it failed me immediatly...
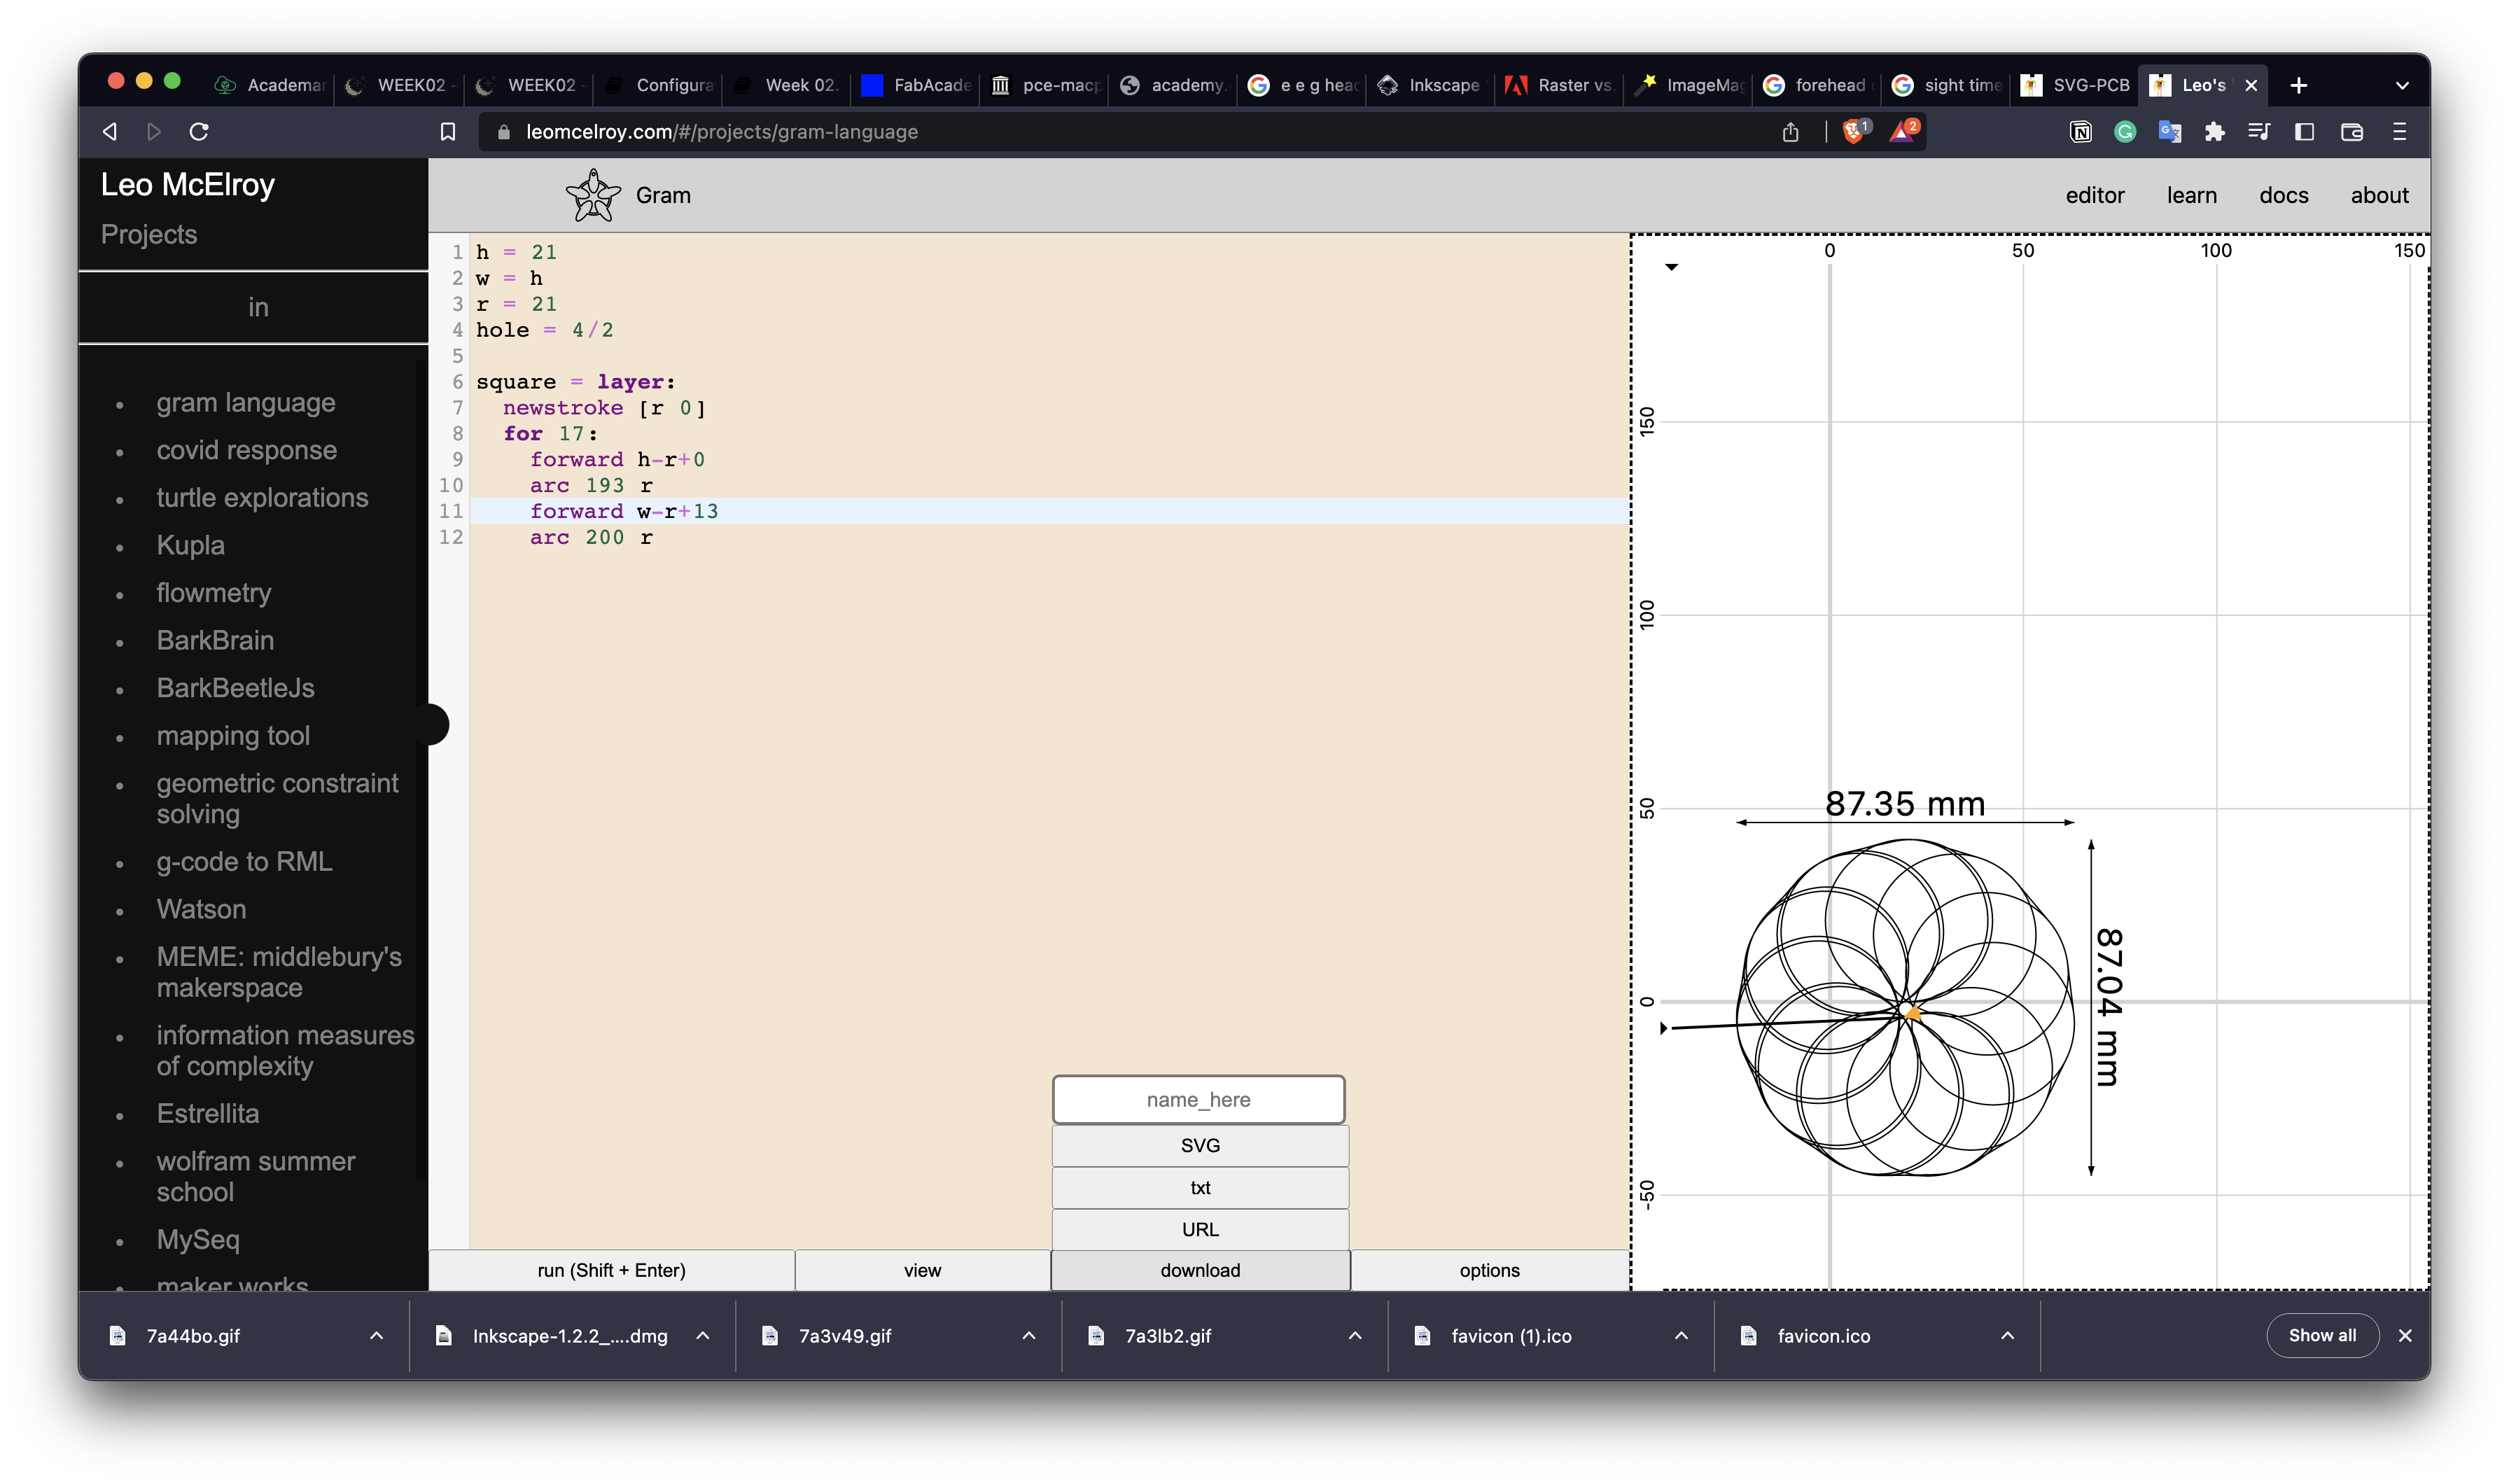
GRAM (vector)
Next I went to try Gram. which is an online software... or I guess a language. It describes itself as a language for describing patterns and creating structured drawings... you can export .svg files from it.. so I made a mandala-esque drawing and also movie.
this is the code I played with:
h = 109
w = h
r = 21
hole = 4/2

square = layer:
  newstroke [r 0]
  for 2:
    forward h-r2
    arc 90 r
    forward w-r2
    arc 90 r
You can view the Gramvideo I made here: Screenrecording
IMAGE COMPRESSION
As briefly touched upon last week: there are multiple different ways to compress and convert files. The program I tried last week was called imagemagick.
To batch compress images in my screenshot folder I used ImageMagic
$ magick mogrify -resize 50% *.png
I choose to keep the screenshots as .png’s as this allows me to keep the transparency features, and I prefer the aesthetics of that.
VIDEO COMPRESSION
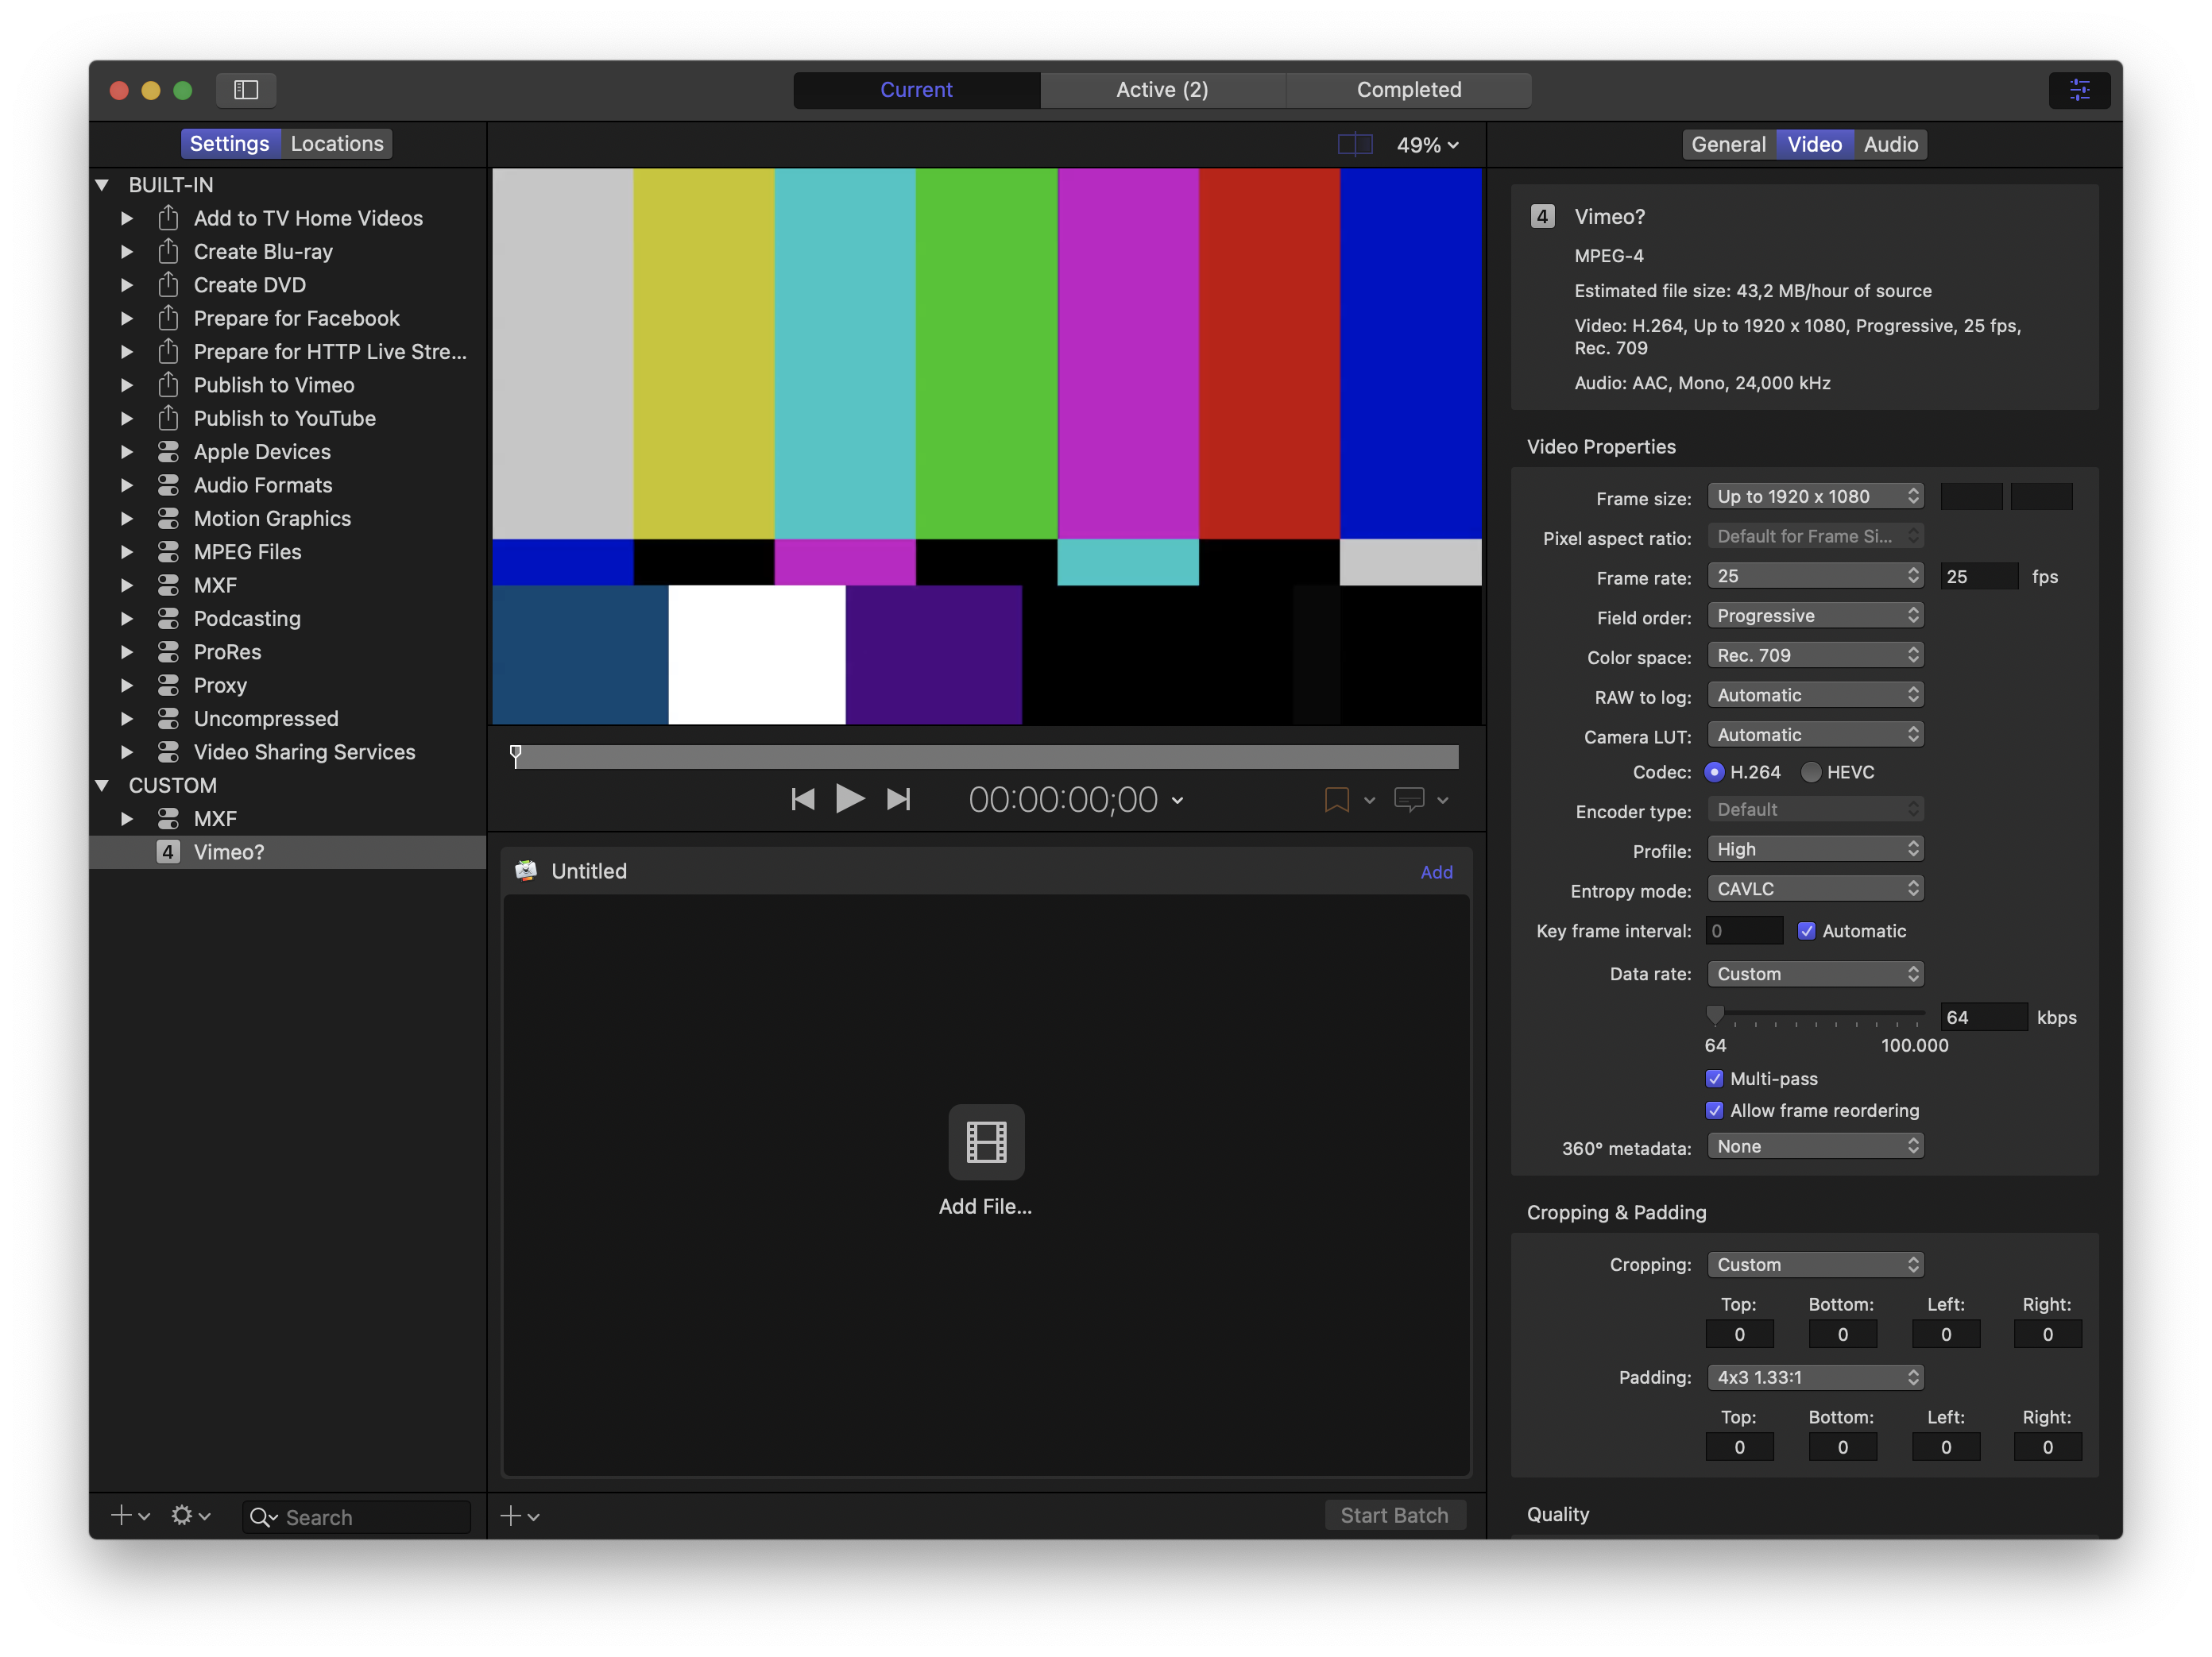
Video Compression I do using Compressor. I'm used to it from being a freelance film-maker and already have a bunch of preset's established. For todays compression I did the smallest bit-rate: as this was just a little screen recording.
In this case I also afterwards turned the movie into a gif, so that it would auto-play on the site.
Settings: When working with Compressor it already offers you a lot of different settings. You can adjust those as you go. In the little preview image on the side you can review the post-compression size.
In the video preview you can also compare how much the visual quality is being impacted.
FILES
Gram video: Screenrecording