15. Wildcard week
Hero Shots
Assignment Requirements
Design and produce something with a digital fabrication process (incorporating computer-aided design and manufacturing) not covered in another assignment, documenting the requirements that your assignment meets, and including everything necessary to reproduce it. Possibilities include (but are not limited to wildcard week).
Workflow
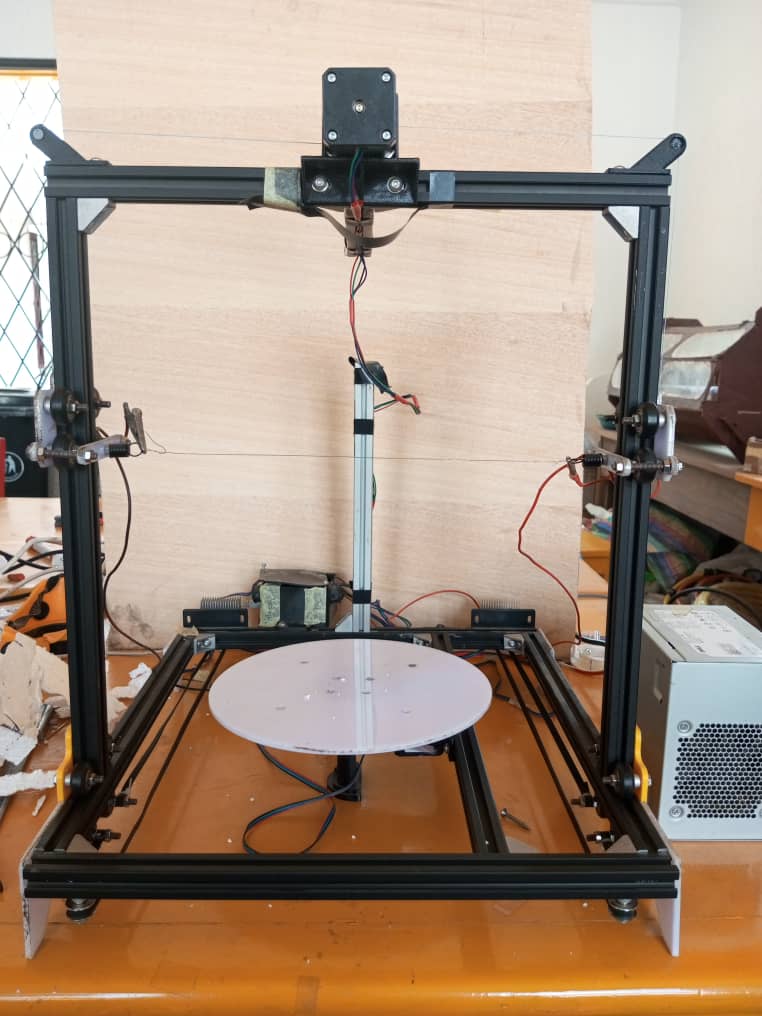
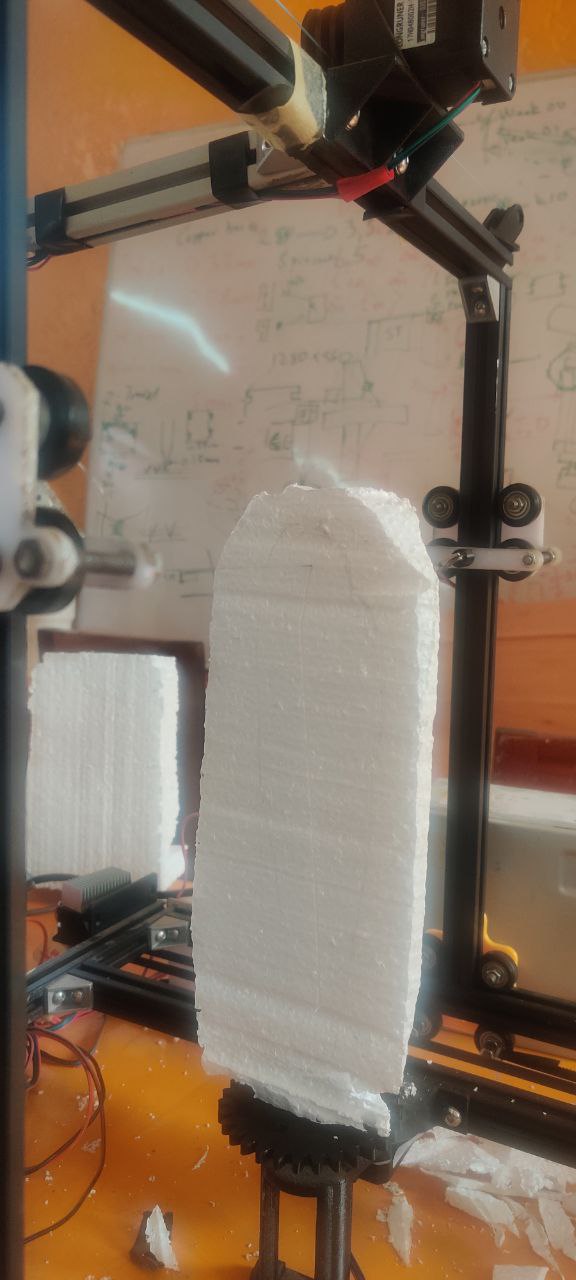
To do this we have to model an object in 2D and cut it with the CNC foam cutter. A machine that was designed at EnergyLab by these students of fabacademy 2022.
Here’s an overview of the machine
- Specificity of this technique.
We use 2 linear and one rotational axis as opposed to 3 linear axes
- Settings
We found settings by testimg various speeds to see how well it cut through the material to avoid straining the hot wire
- Is it related to the thickness ?
We have not found that the thickness Plays a significant role in the maximum cutting speed because the heat along the length of the wire is fairly uniform
- The material
The material is polystyrene
- Thickness
We use polystyrene up to 15 cm thick
- Test for a temperature/voltage setting
The voltage is constant 12V from the power supply, the temperature is fixed, but Sufficient to cut polystyrene
- How do we attach the material ?
We attach the material using screws that go up into the polystyrene from the bottom and reinforce with double-sided tape (it may be useful to add photos)
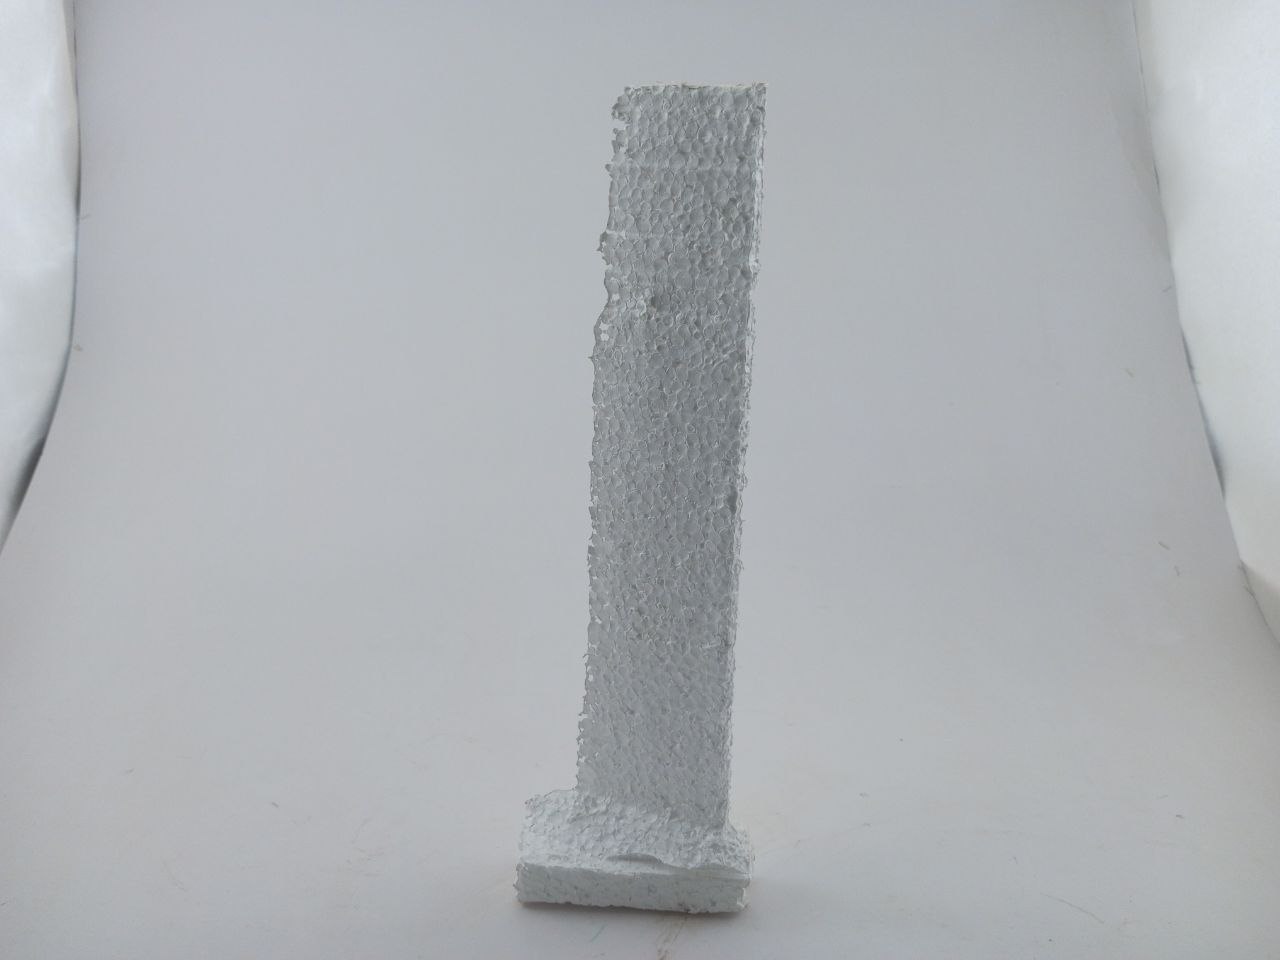
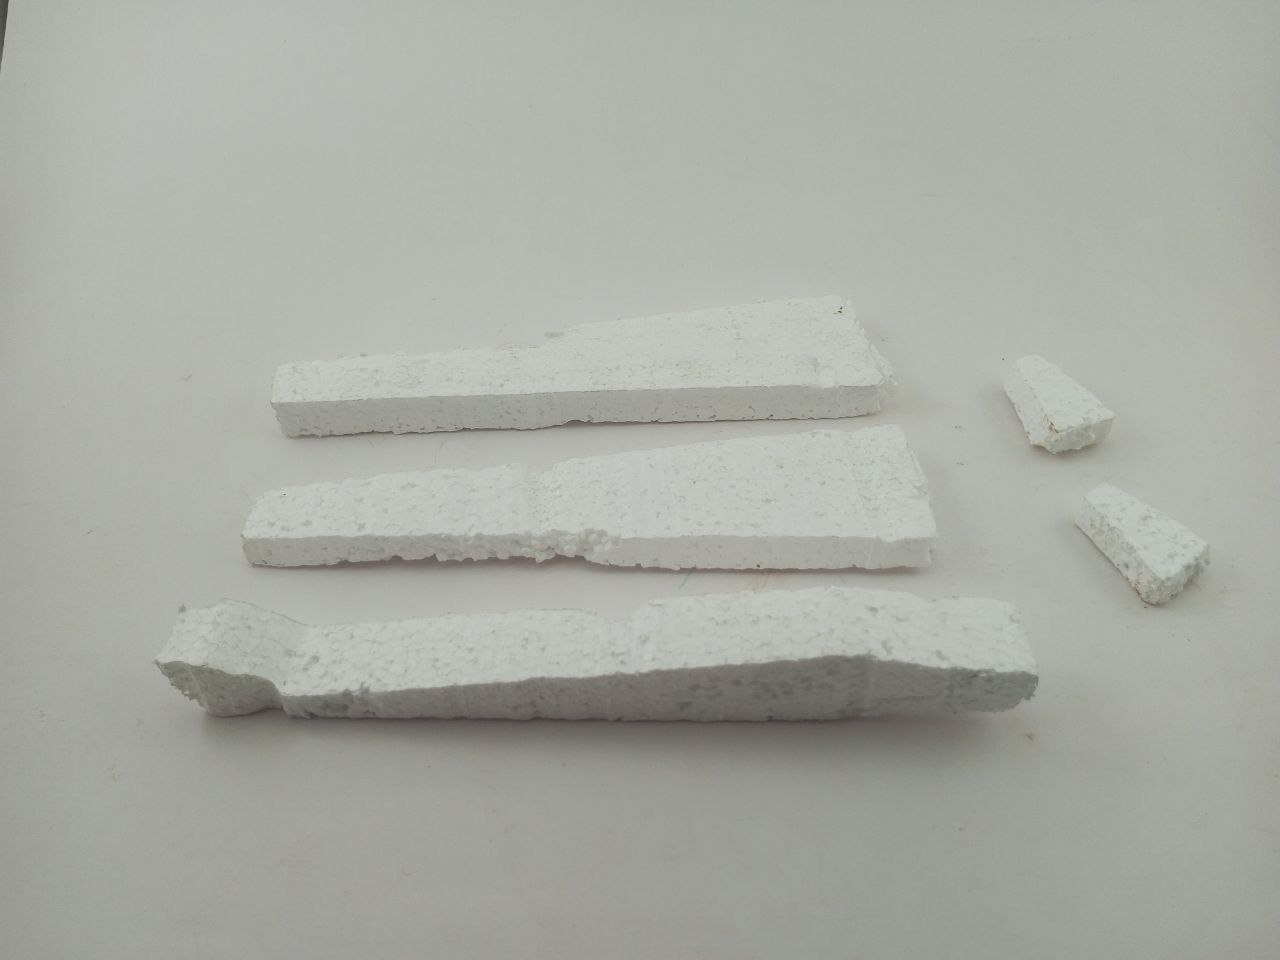
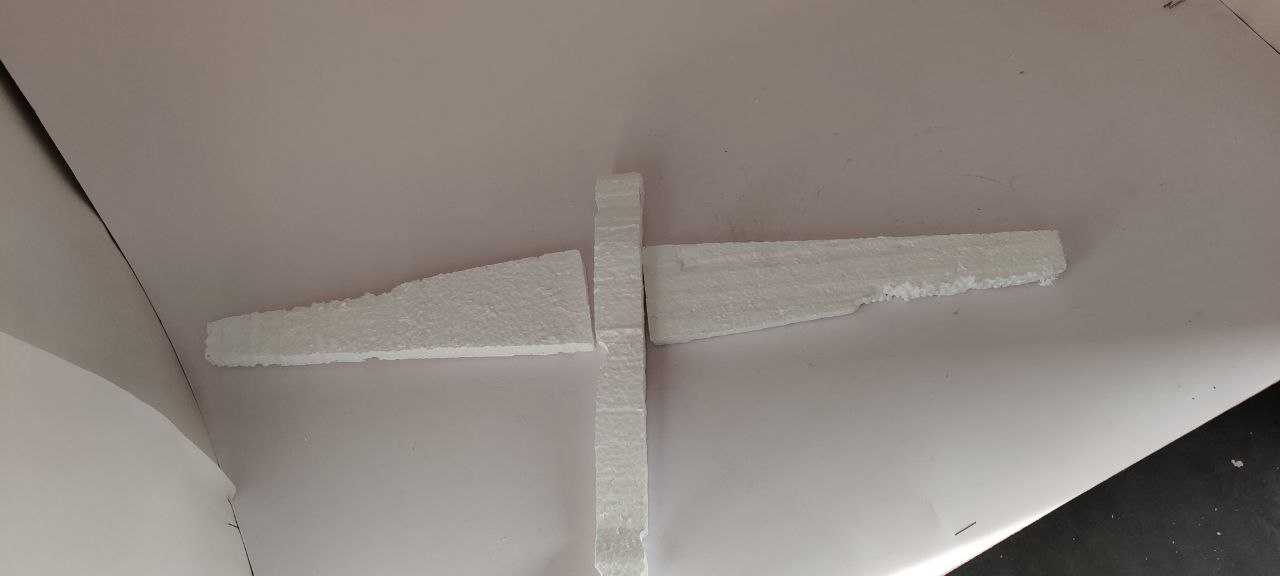
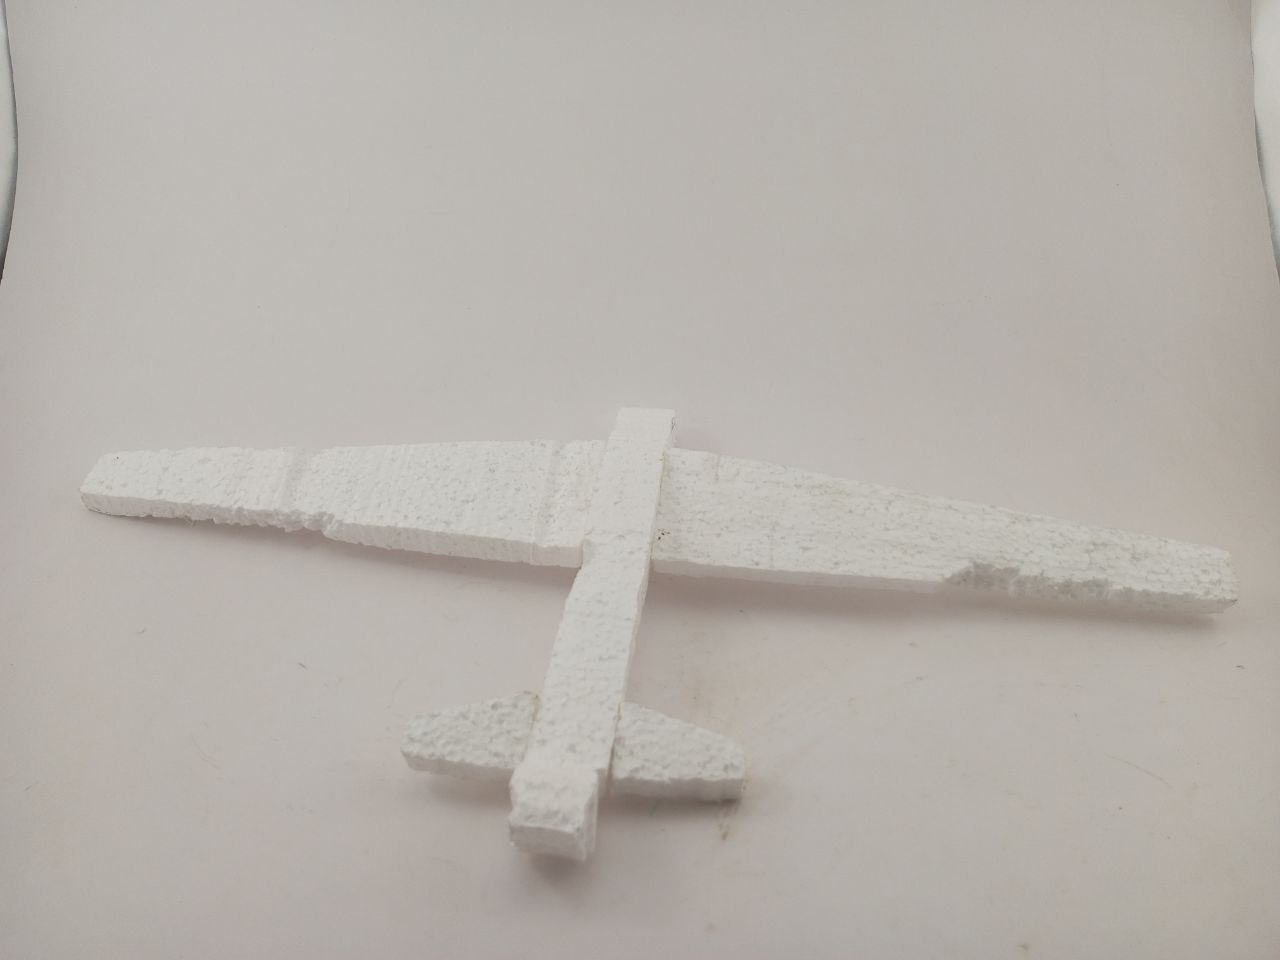
For the purposes of this assignment, we’ve chosen to cut out the shape of an airplane.
Step1: Modeling the shape to be cut and generating the G-code
- Fusion 360
To start with, I’ve made a sketch in Fusion 360 of the shape of the plane I want to cut.
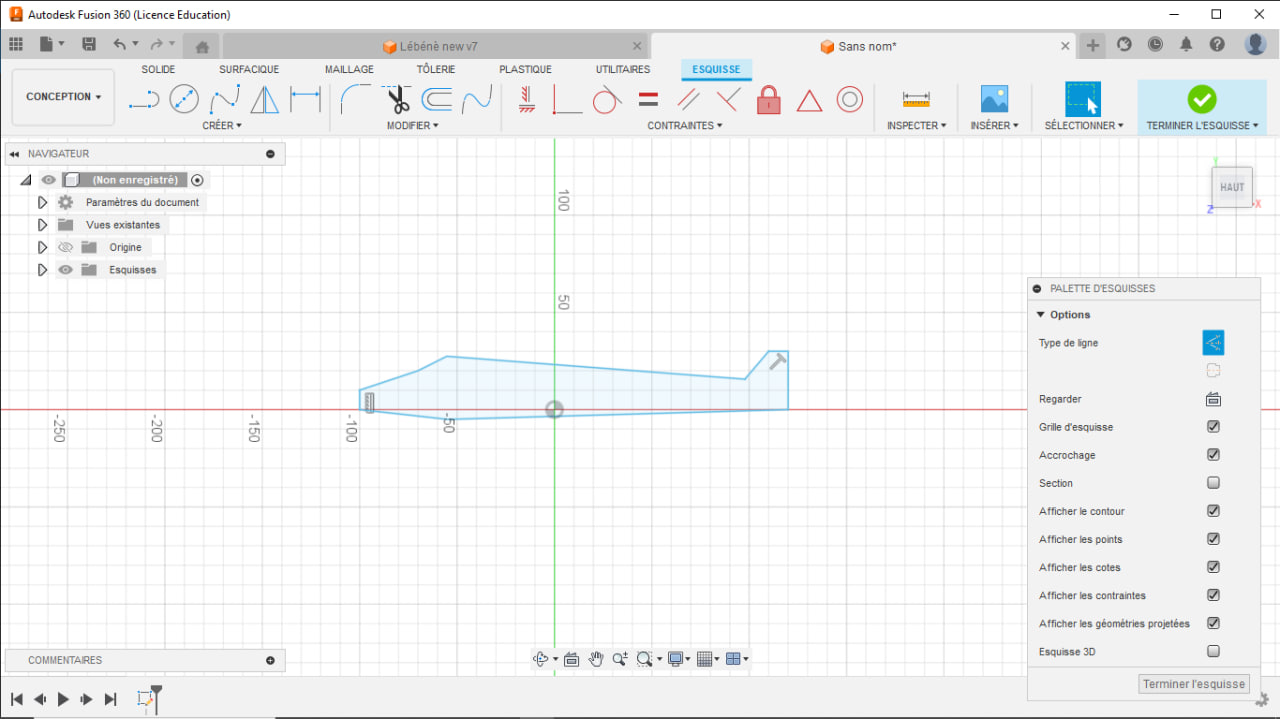
As well as its different wings
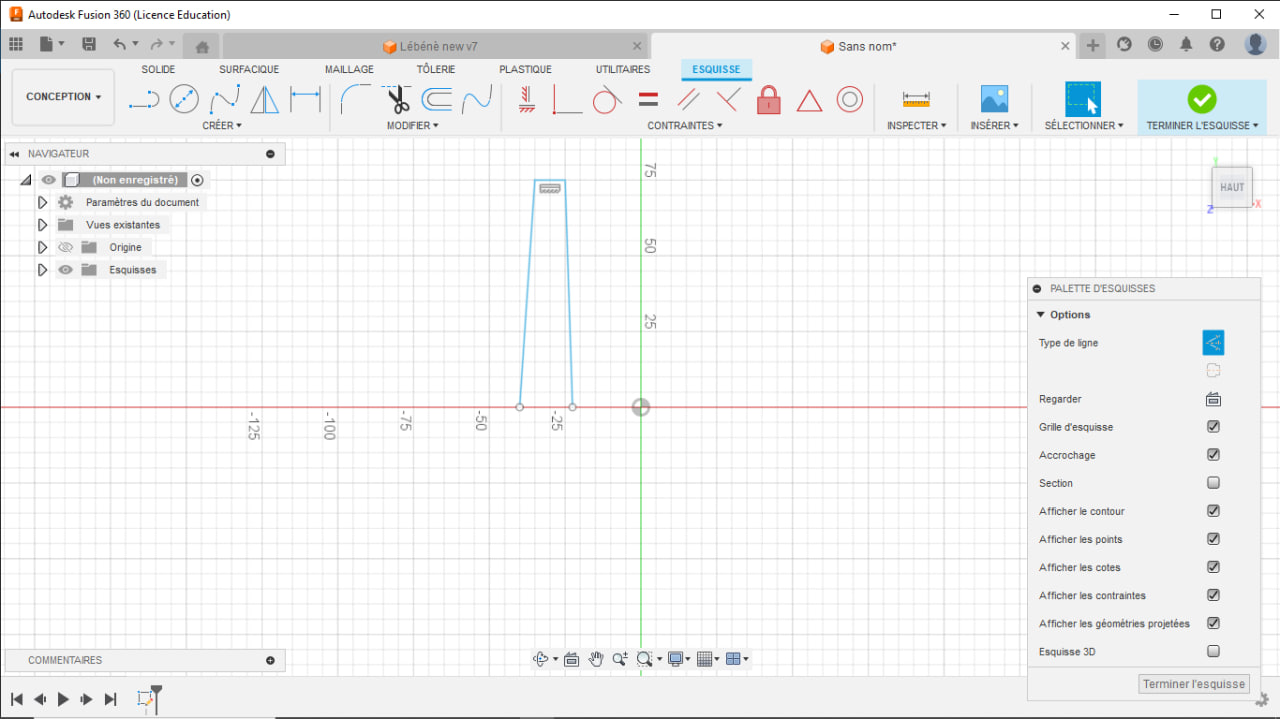
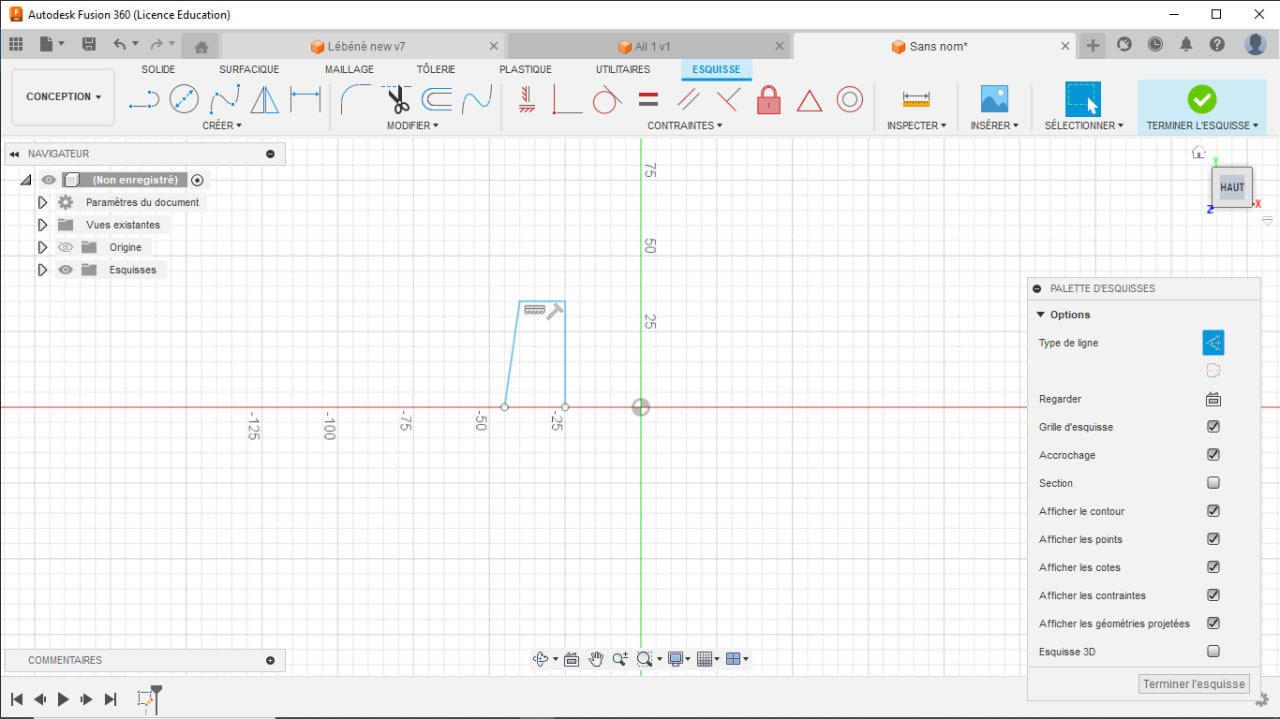
After creating the various sketches, we export them in “dxf” format.
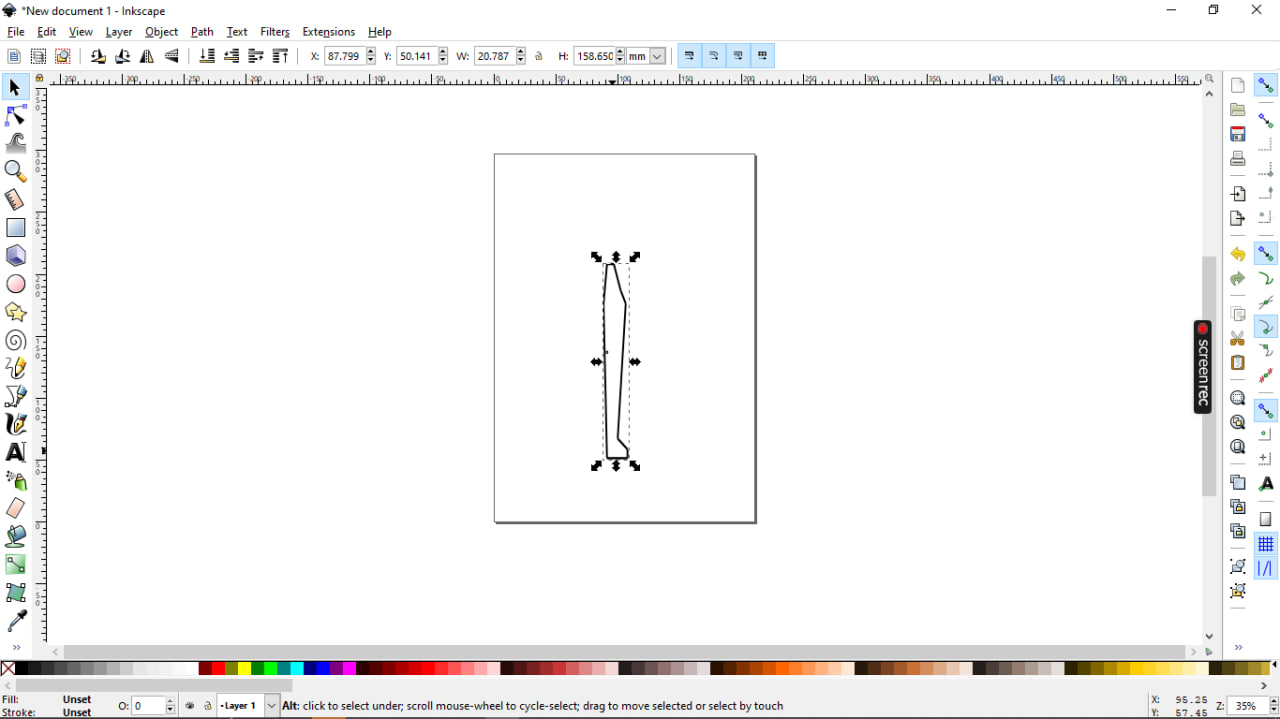
- Inkscape
Now let’s open the “dxf” file in Inkscape by importing it.
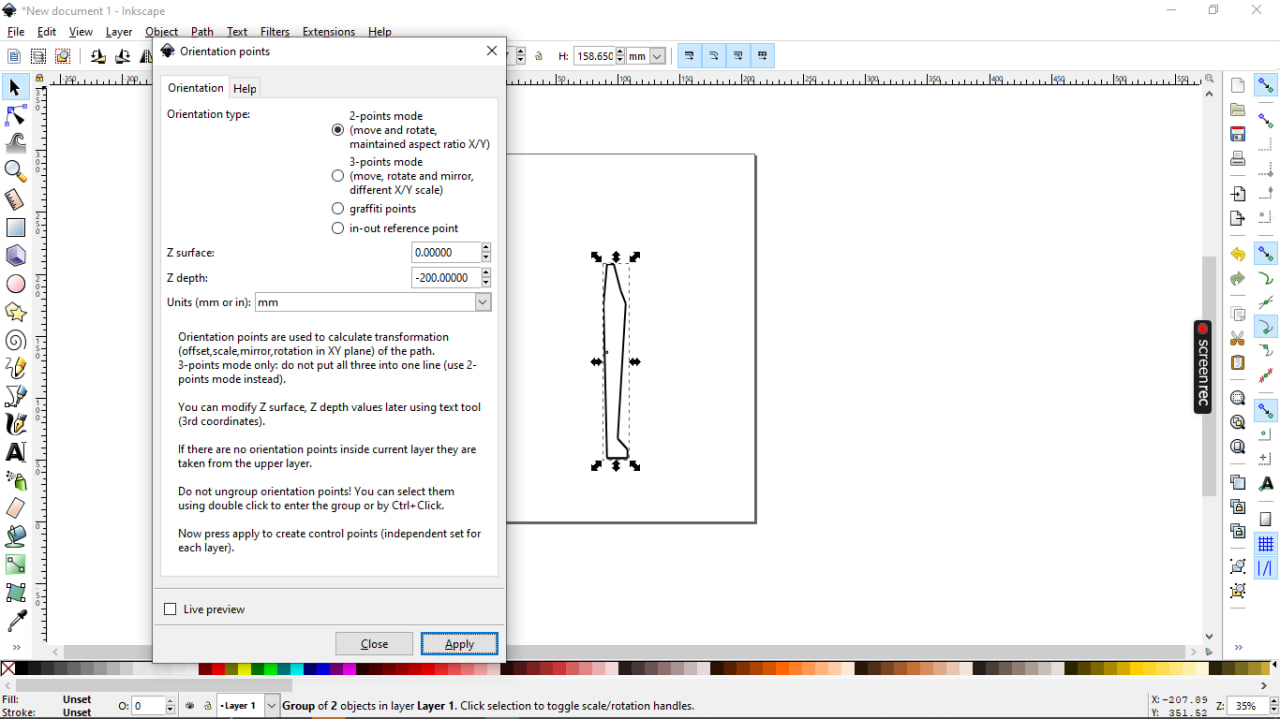
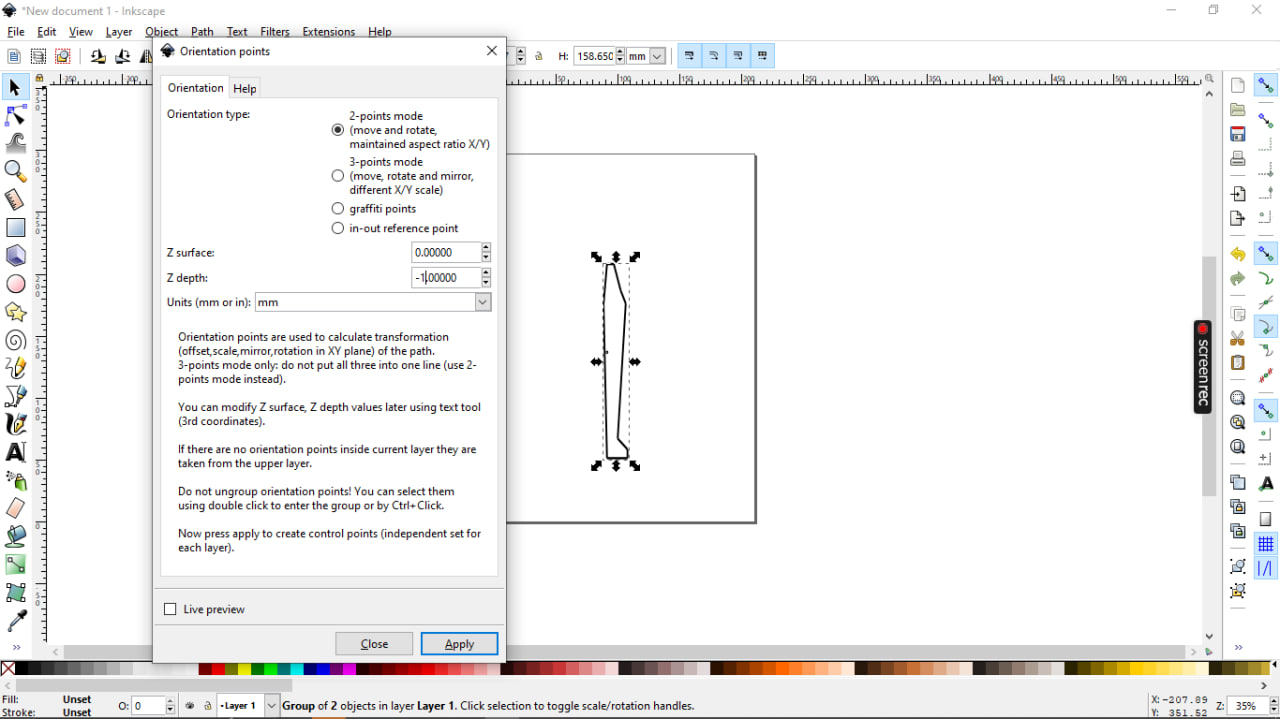
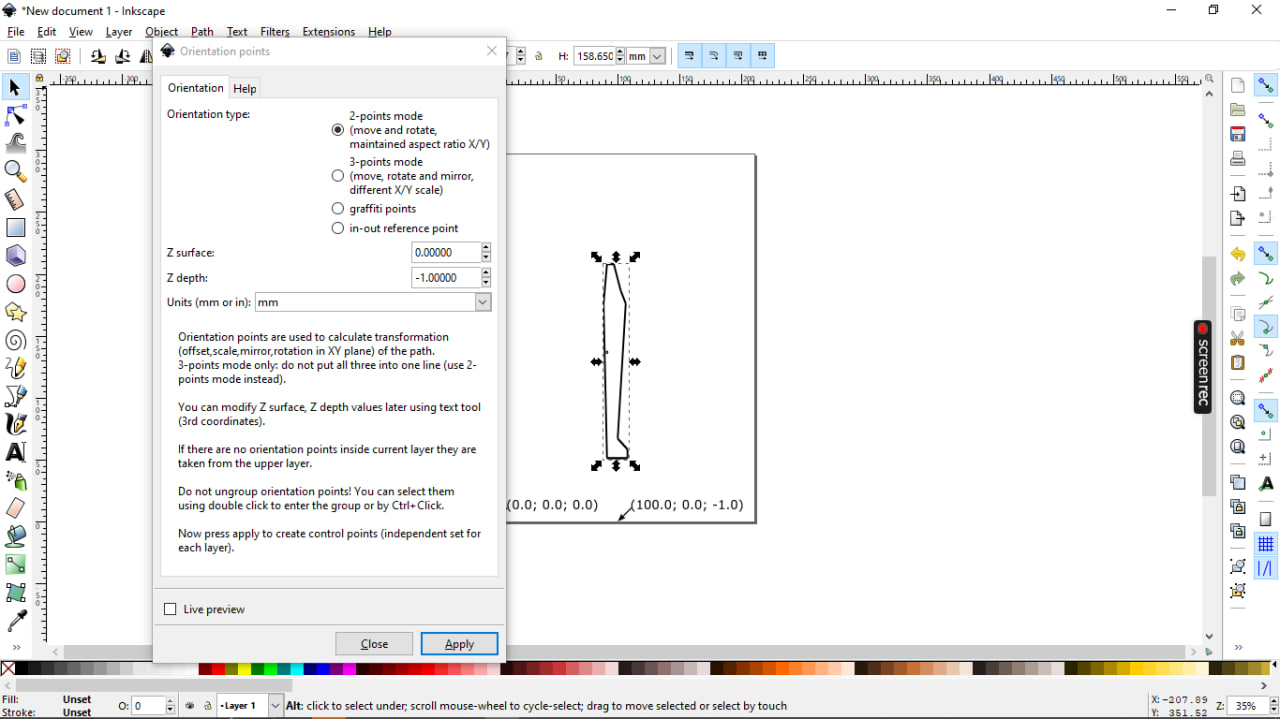
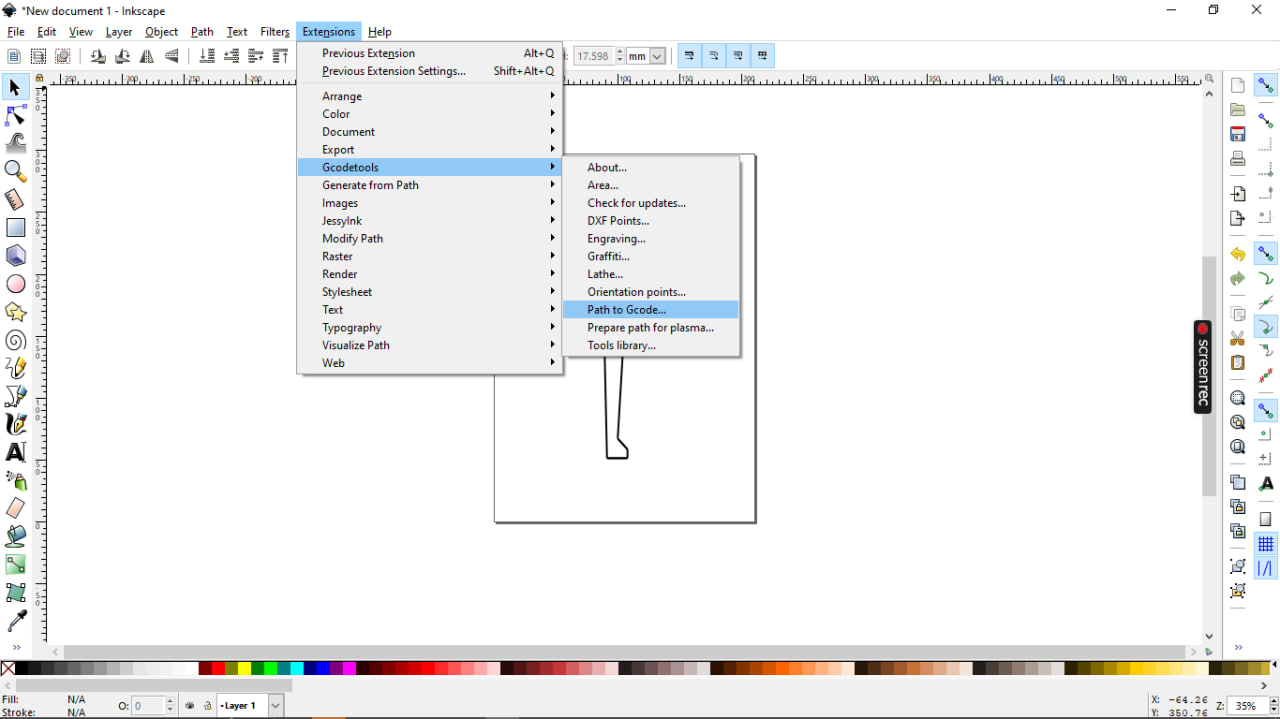
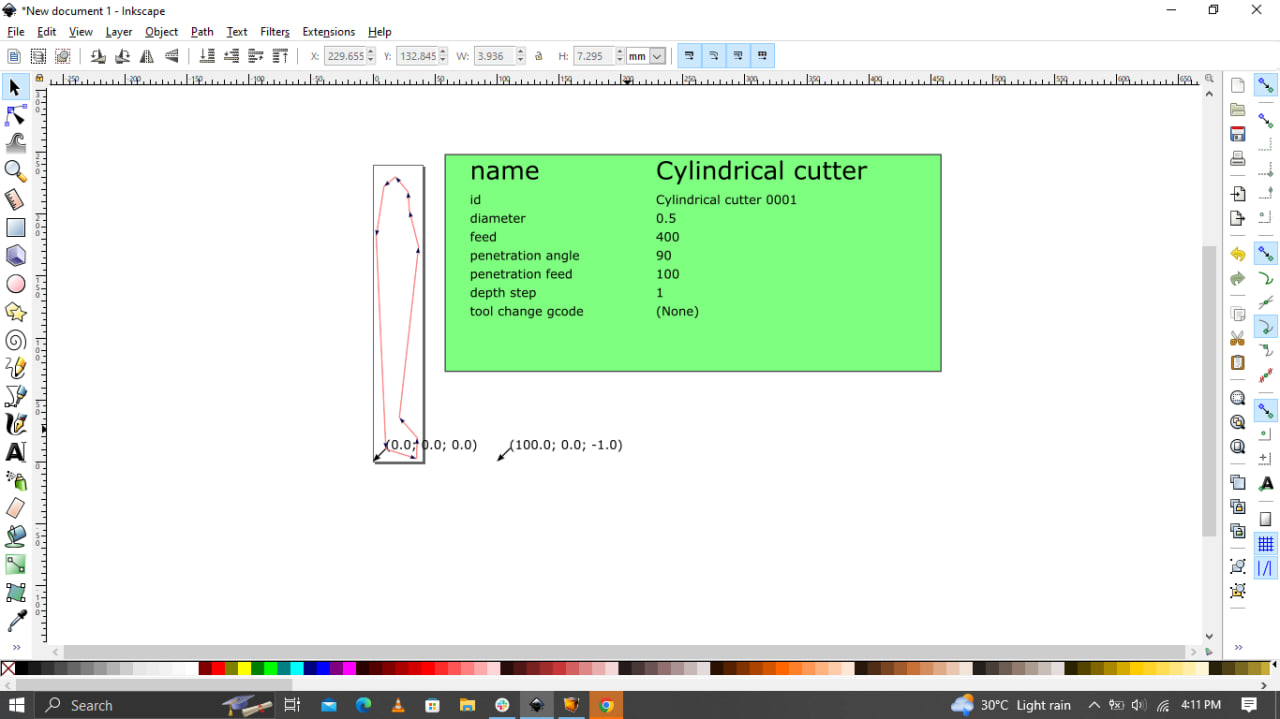
At this point, we need to change the Z depth to -1. To do this, go to Extensions>Gcodetools>Orientation points.

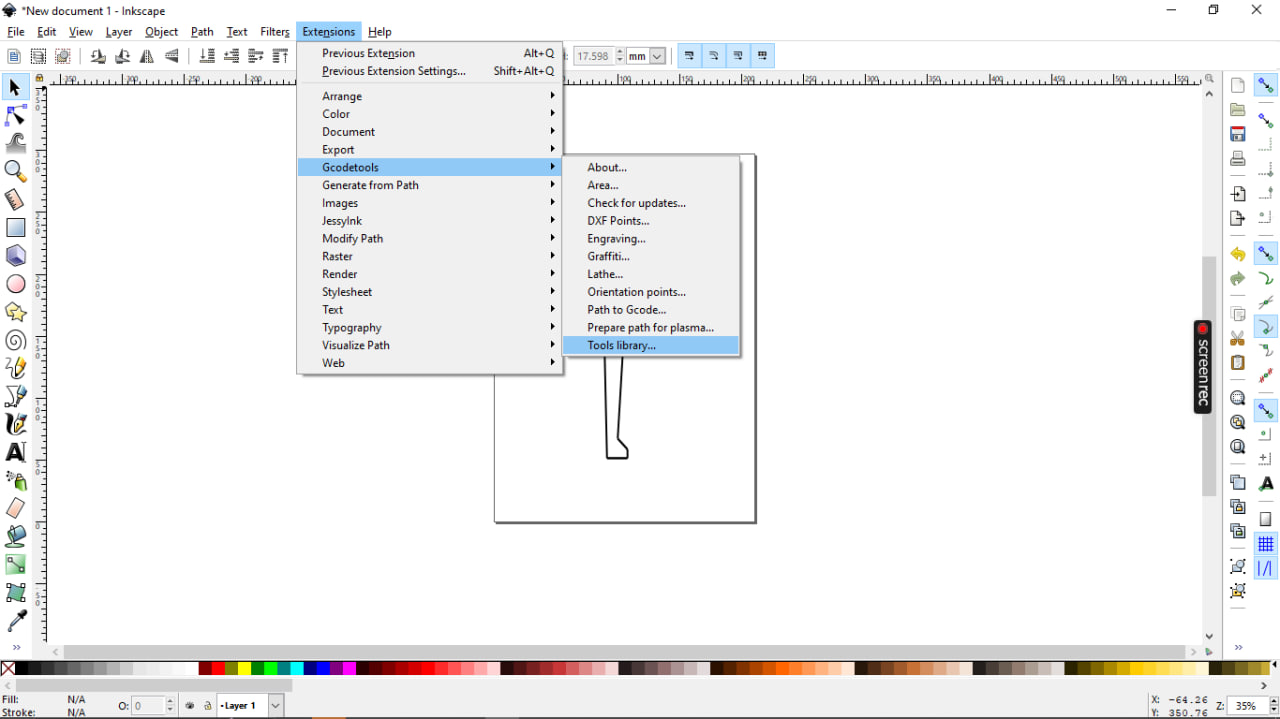
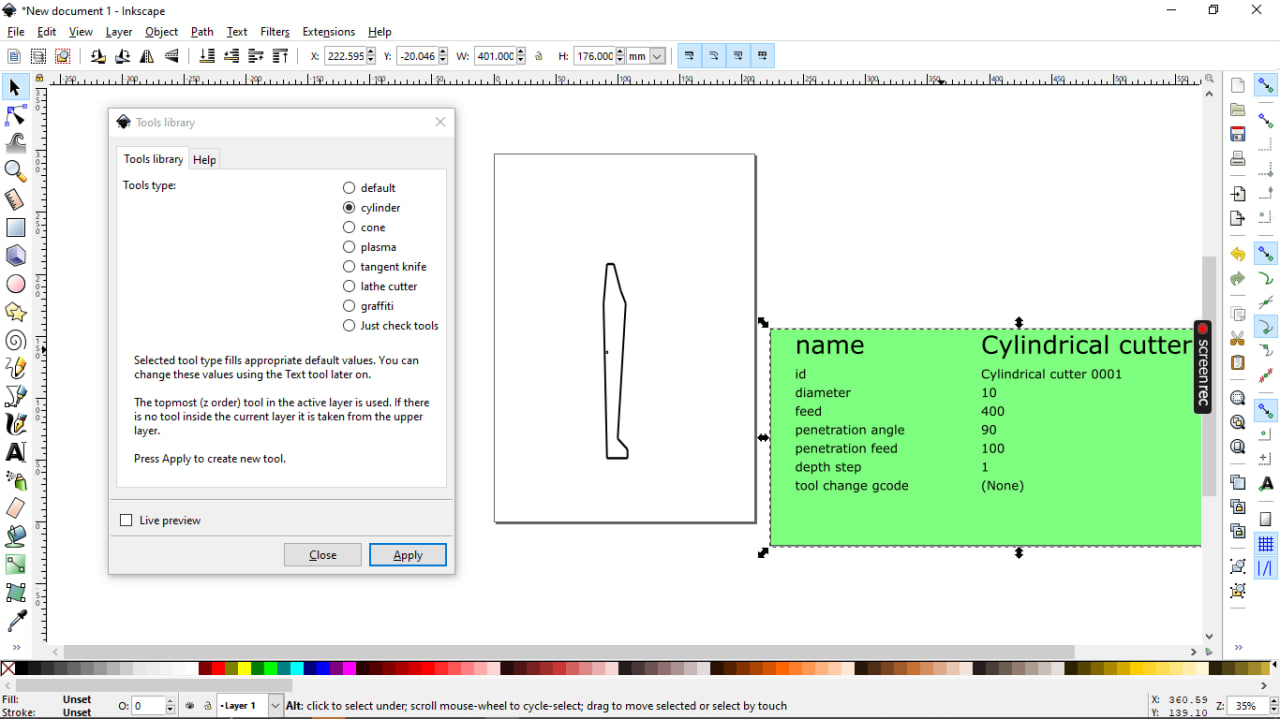
Still in the Extensions>Gcodetools>Tool library window, select Cylinder in Tool type and confirm.
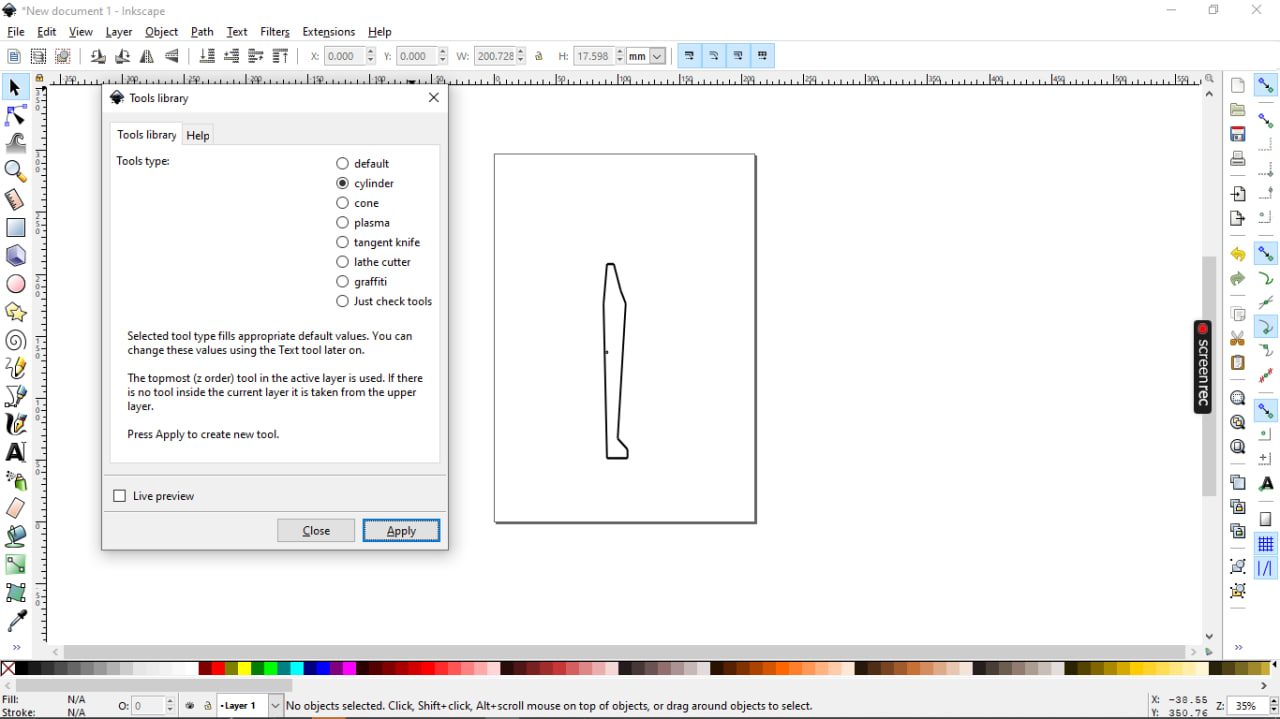
Next, we’ll change the diameter to 0.5 and leave the other default parameters inside.
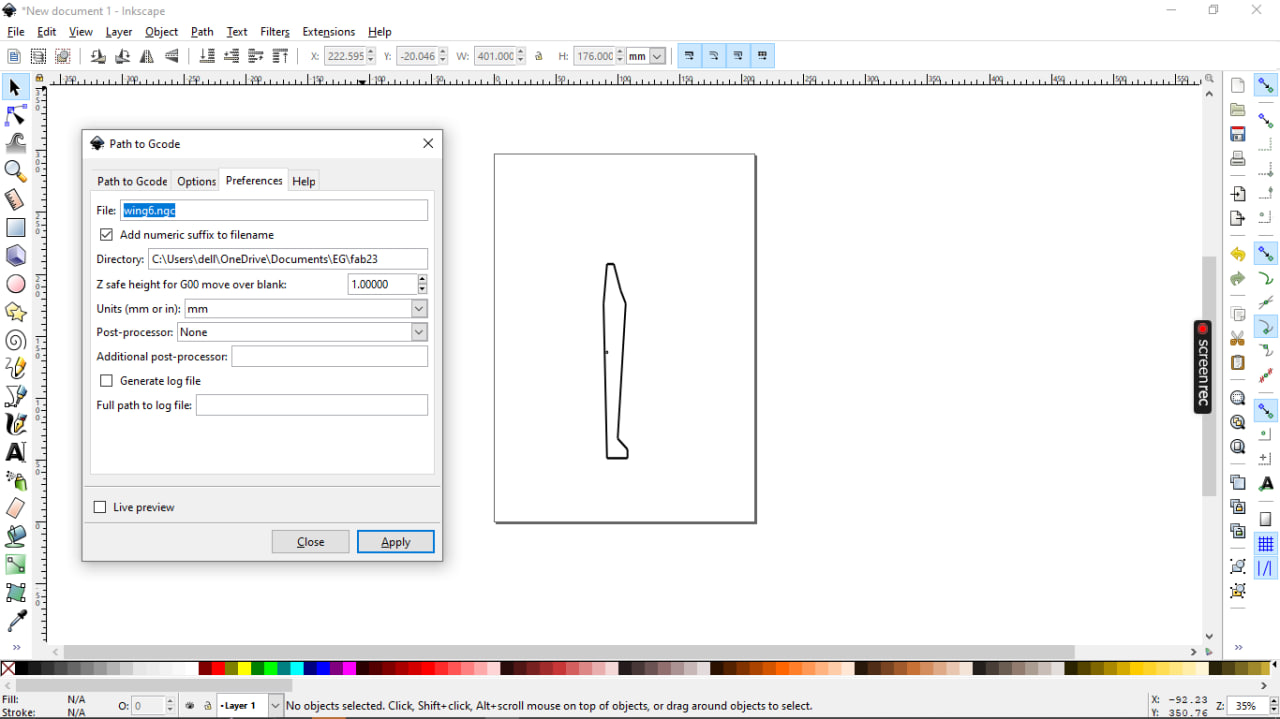
Once again, in the Extensions>Gcodetools>Path to Gcode window, go to the Preferences tab to specify the name and location of the final file and then validate.
After validation, we obtain the following:
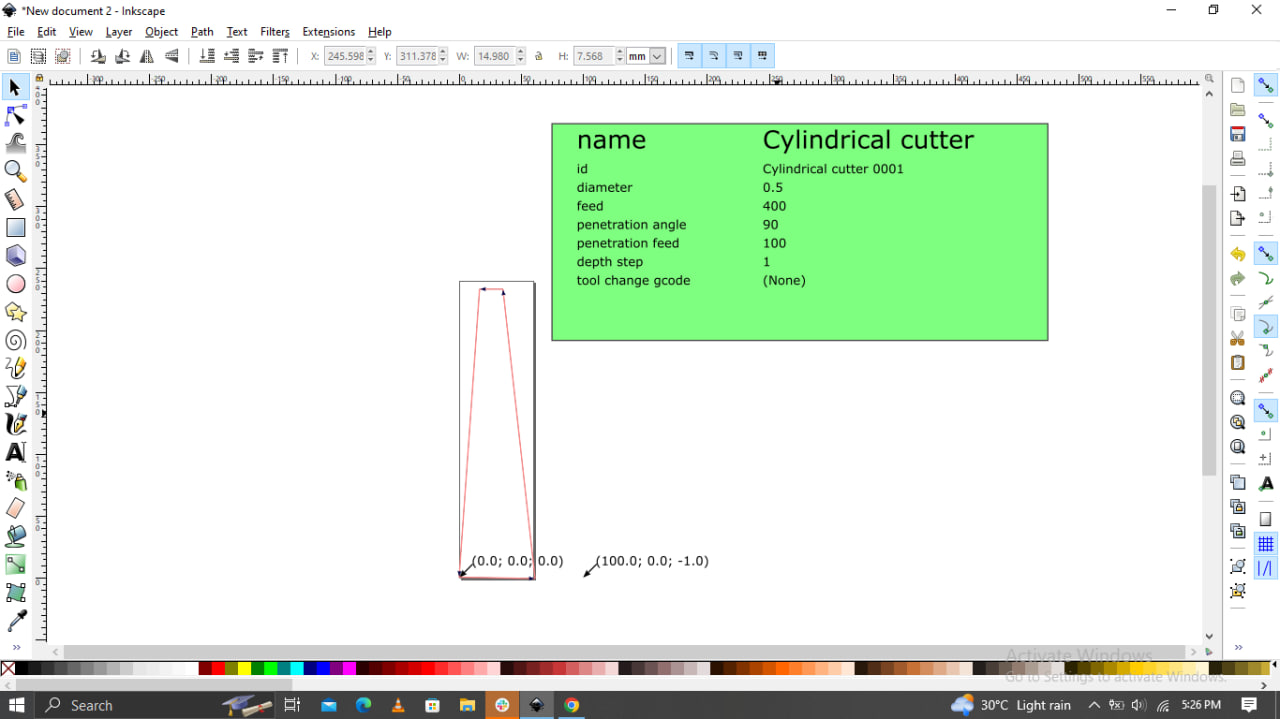
By the same process we obtain the G-code file for the wings.
Step2: Foam cutting
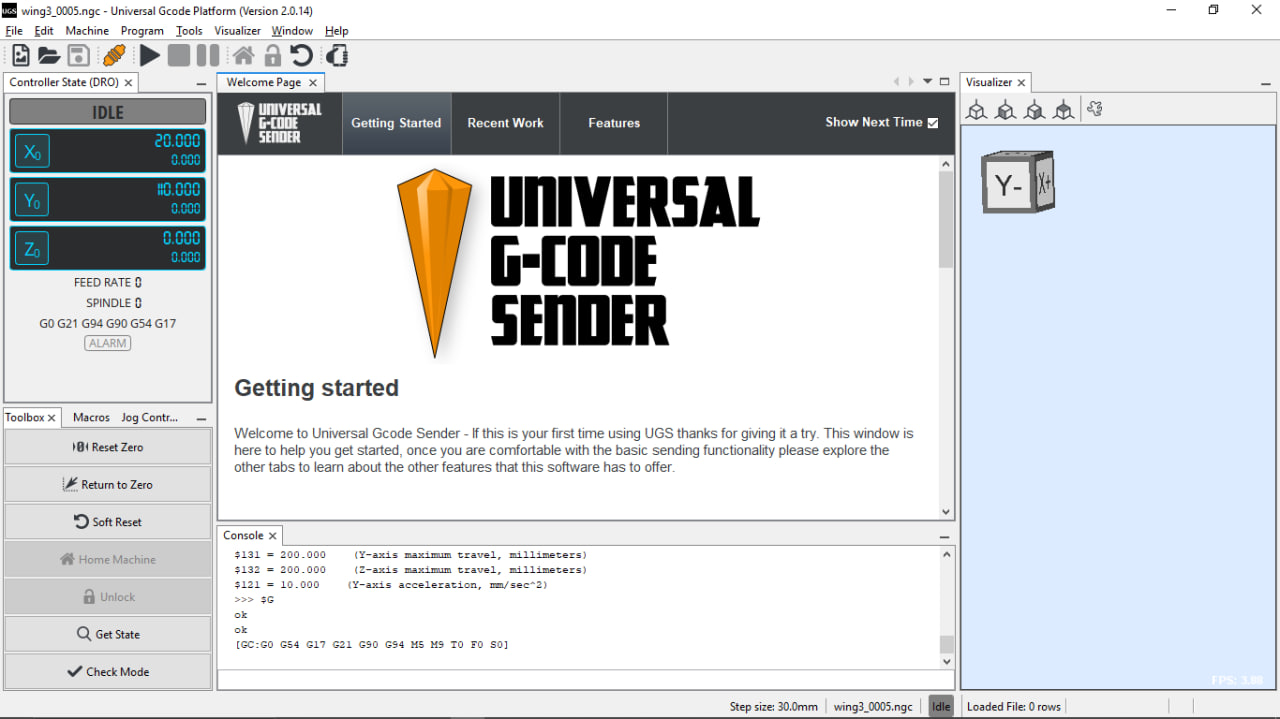
Having generated the G-code, let’s move on to cutting.
But first, let’s load the file into the UGS.
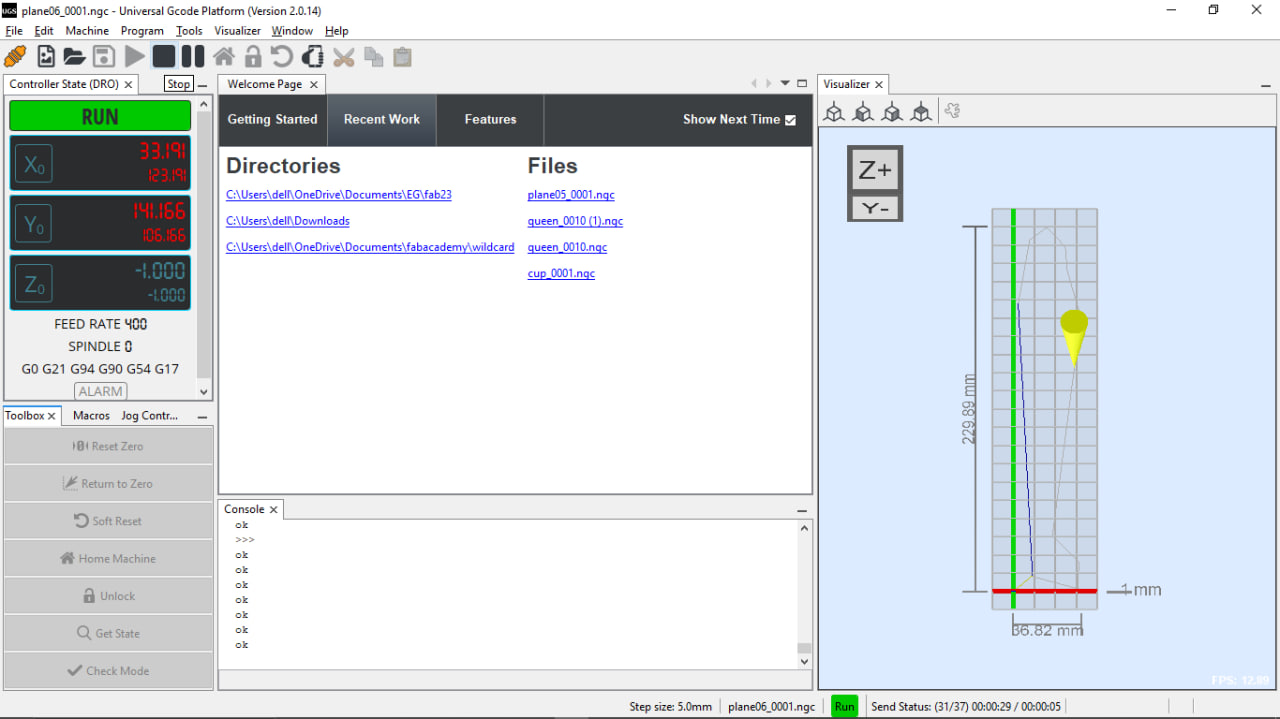
Now let’s start cutting
Step3: Result
What went wrong / what went well
It’s been another week of learning for me, and I’ve discovered yet more new things. On the whole, everything went smoothly because I was assisted by my instructors and I didn’t have any major difficulties.
Files
You will find below the files of the different pieces.