3. Computer controlled cutting
Hero Shots
Assignment Requirements
Group assignment:
Characterize your lasercutter’s focus, power, speed, rate, kerf, joint clearance and types
Individual assignment:
Cut something on the vinylcutter Design, lasercut, and document a parametric construction kit, accounting for the lasercutter kerf, which can be assembled in multiple ways, and for extra credit include elements that aren’t flat
Group Assignment
Requirements:
Characterize your lasercutter’s focus, power, speed, rate, kerf, joint clearance and types
Link to group assignment page
The group assignment page can be found on the Energylab 2023 website here
it is also embedded directly in the webpage below.
Individual assignment
Workflow Laser Cutting
Step 1: Modelisation
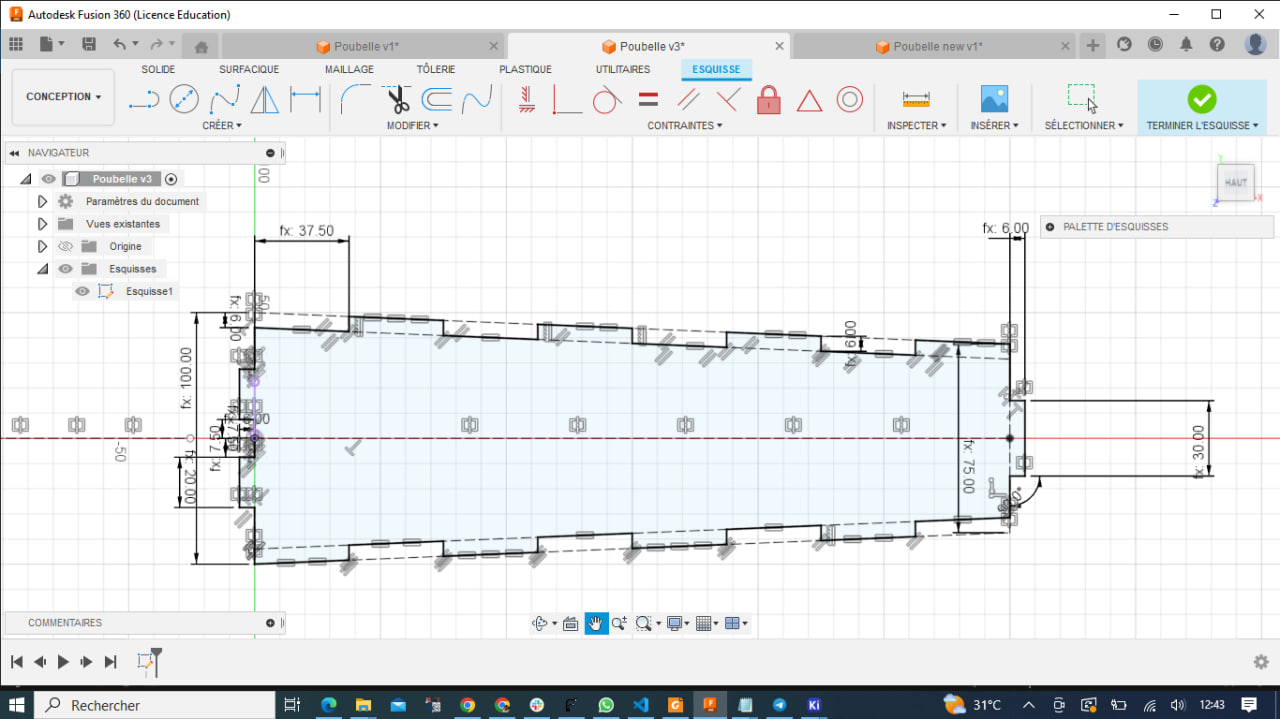
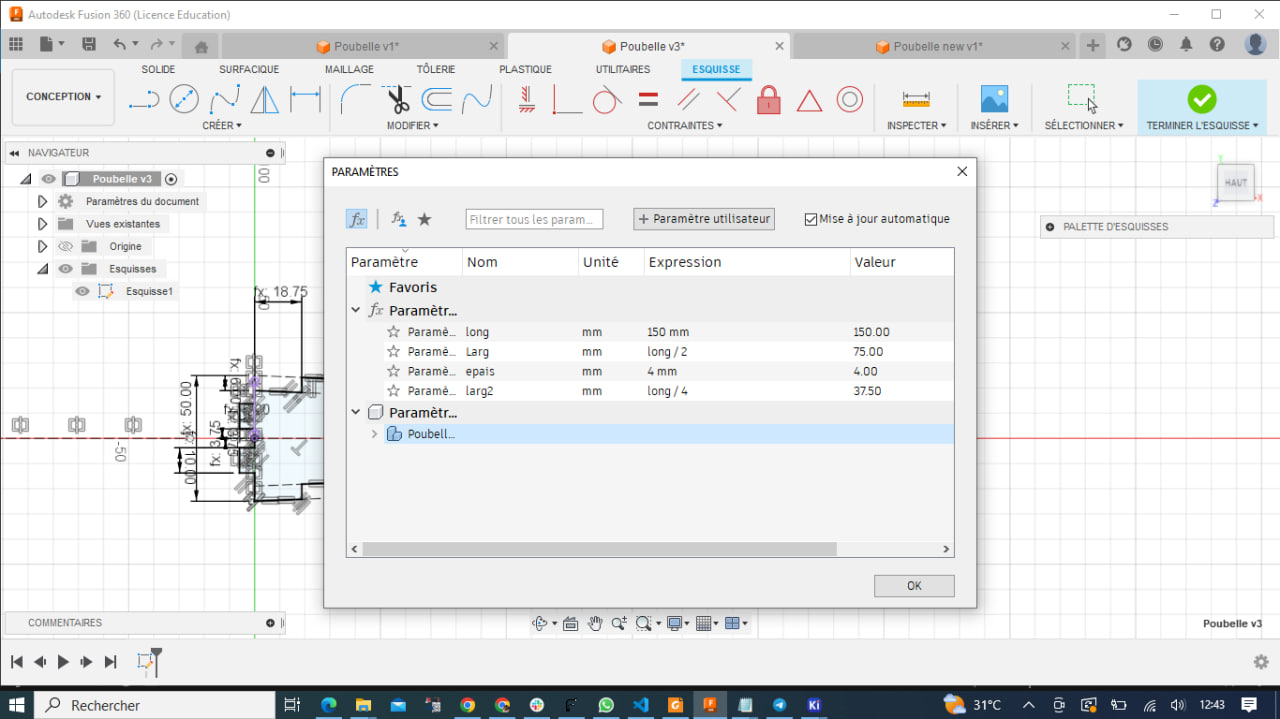
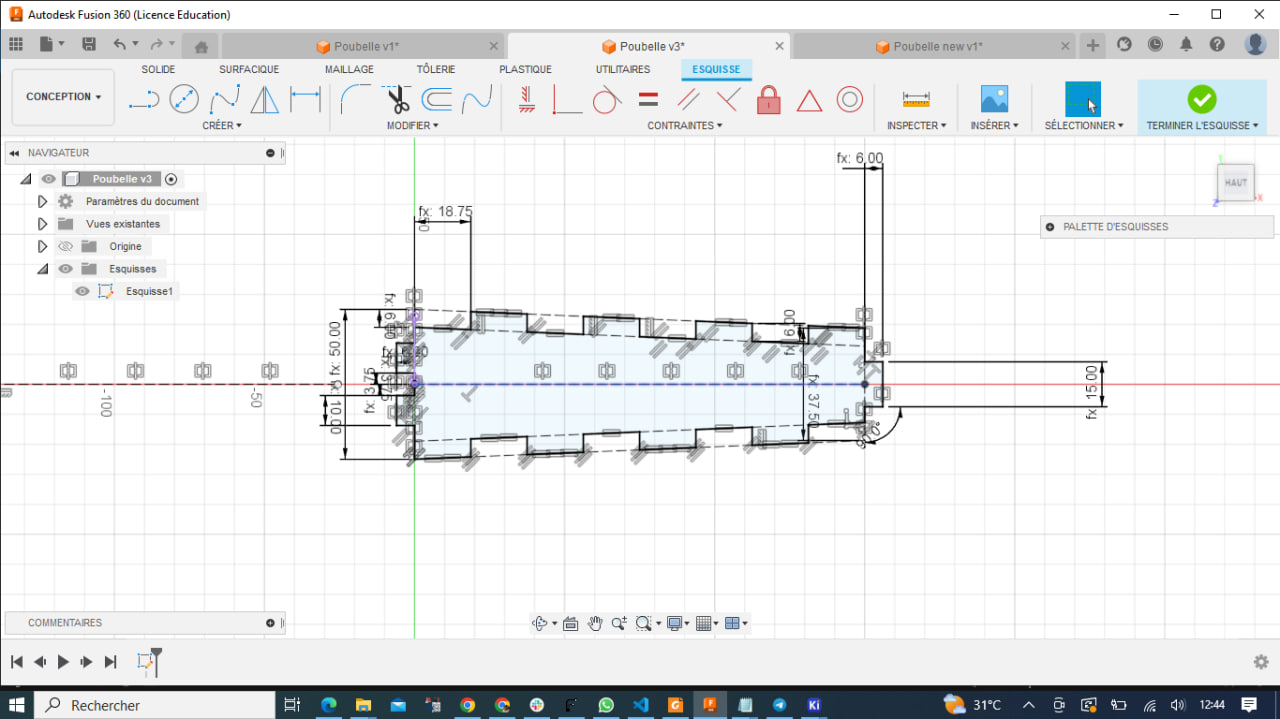
For the modeling, I decided to model part of the garbage can to be used in my final project. The model was created using fusion 360 software.
Fusion 360
Here are a few images of the modeling
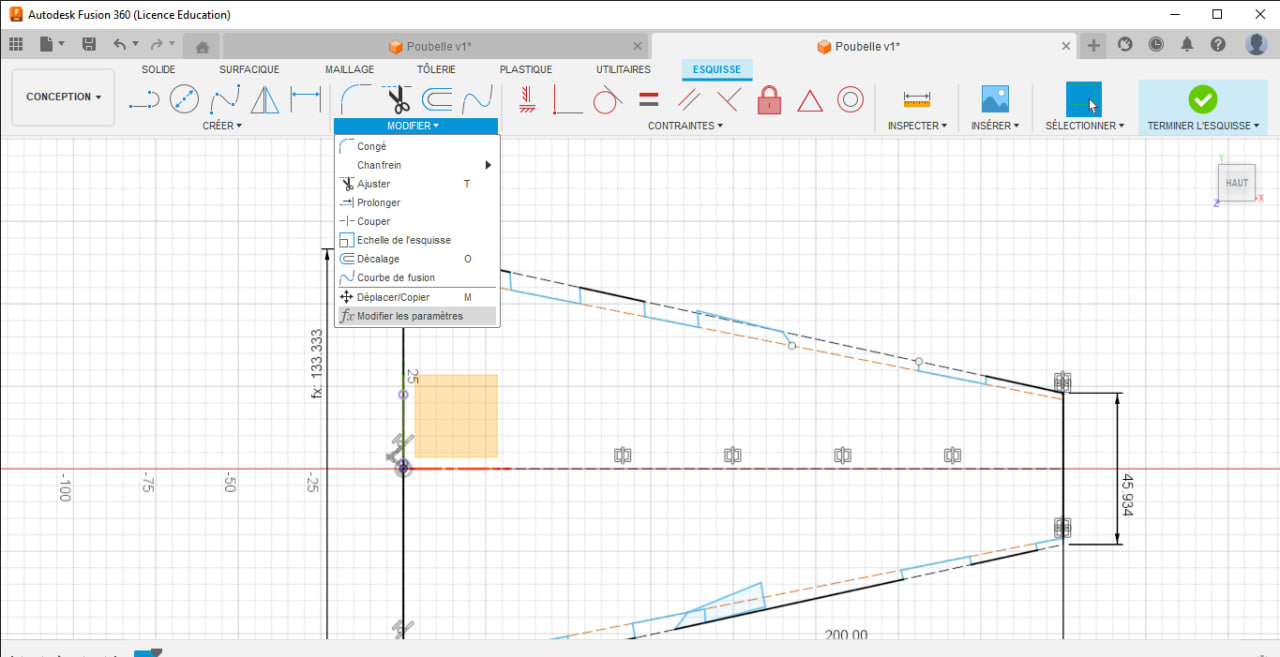
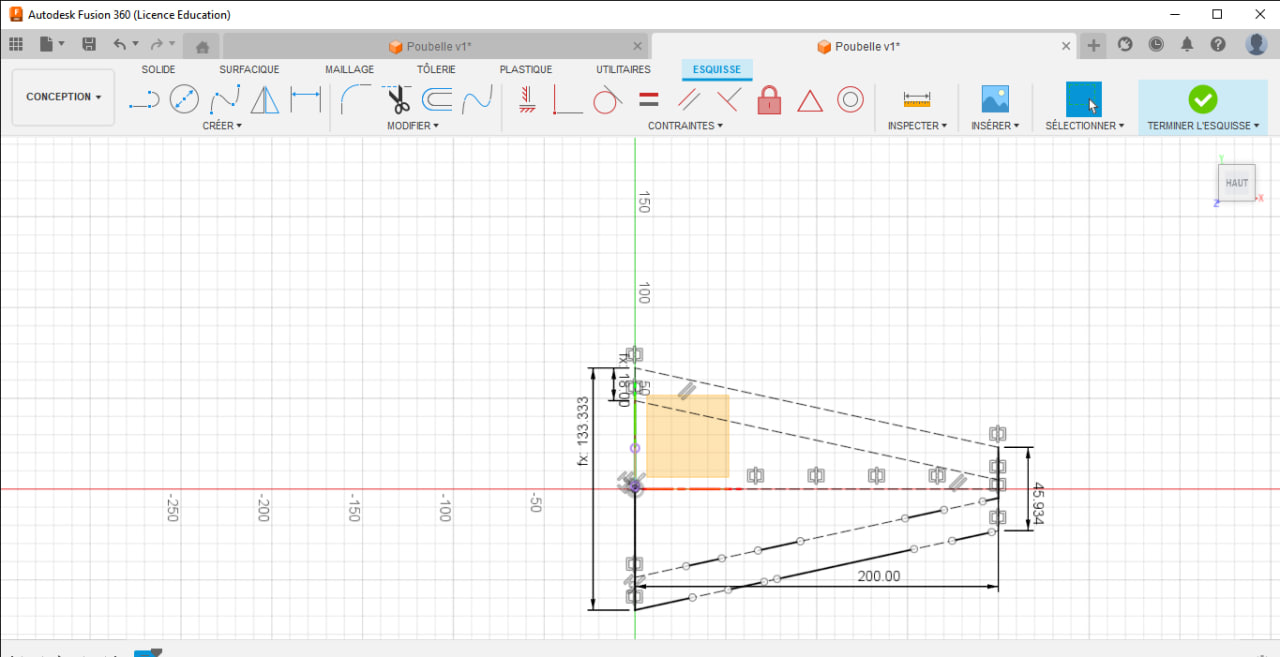

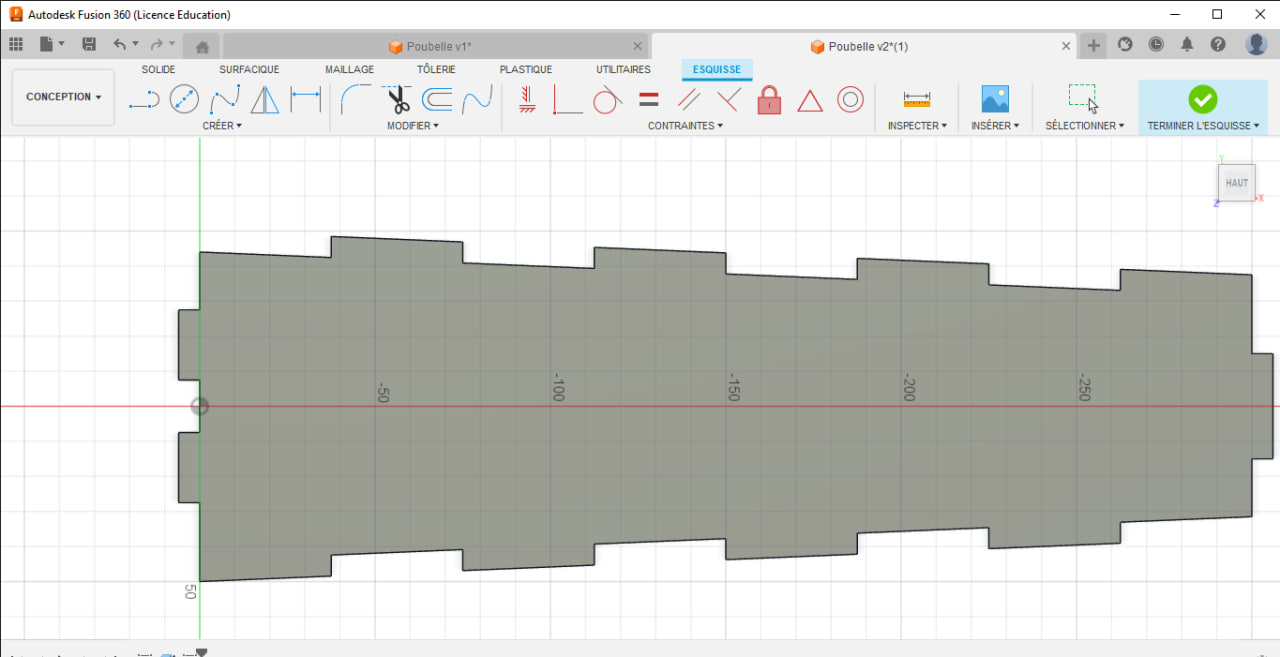
Parametrisation
As my modeling is parametric, I can modify my model by playing with a few parameters to adapt it to the material I want to cut. In my case, I’ll just modify the length to have 2 models of the same shape but different sizes.
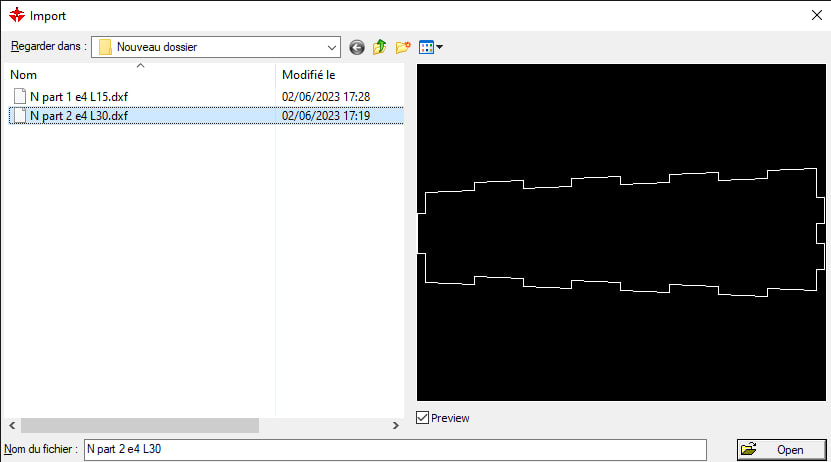
- My first model is 300 mm long and 4 mm thick
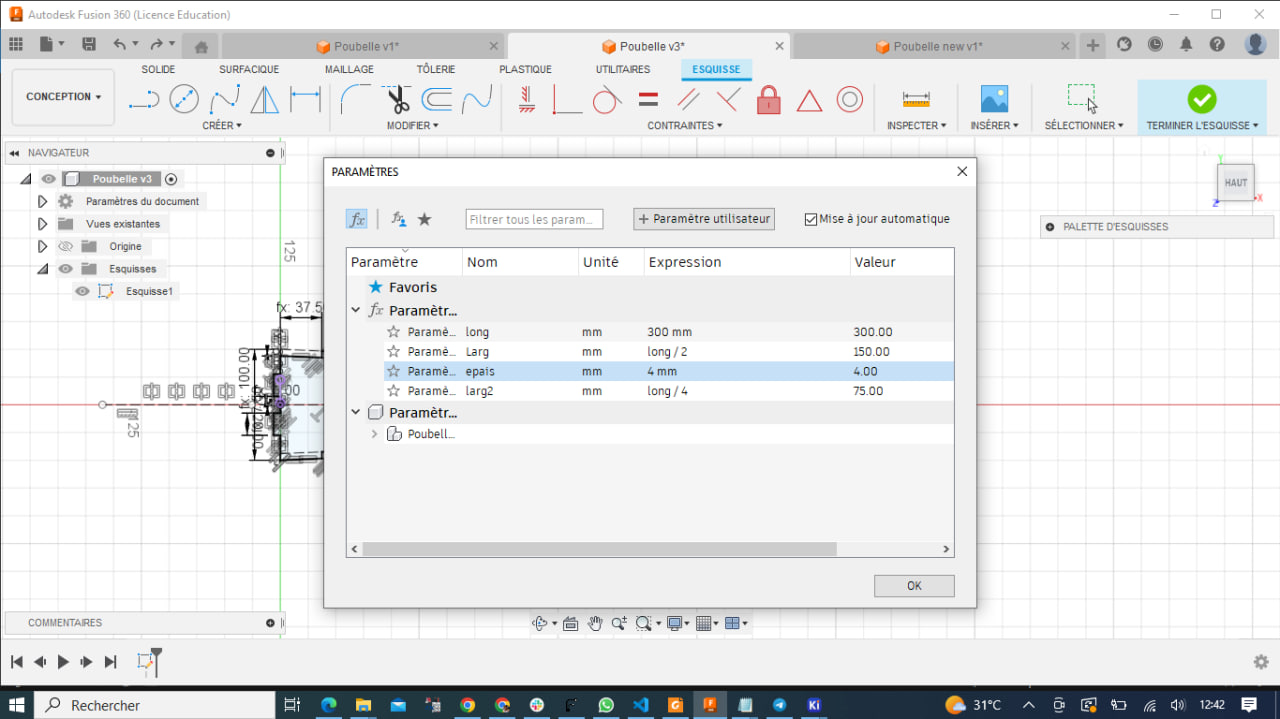
- My second model is 150 mm long and 4 mm thick
Step 2: Export dxf
To be able to use the software (RDWORK V8) that controls our laser cutter, I exported my 3D model in DXF format.
Step 3: Upload to software
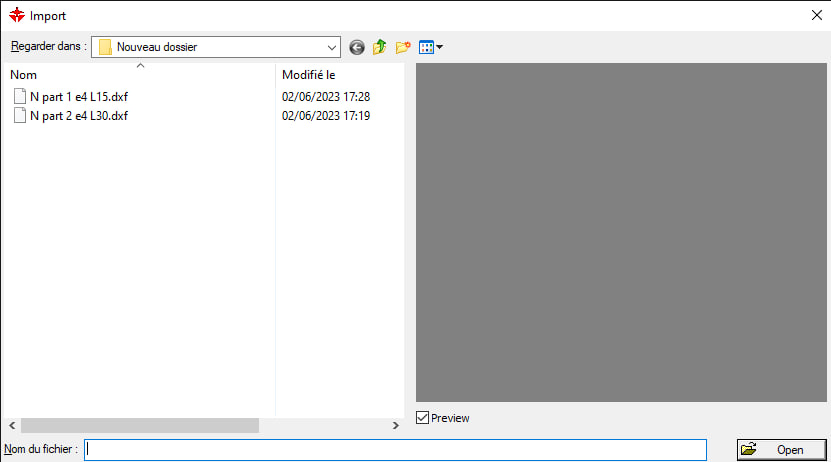
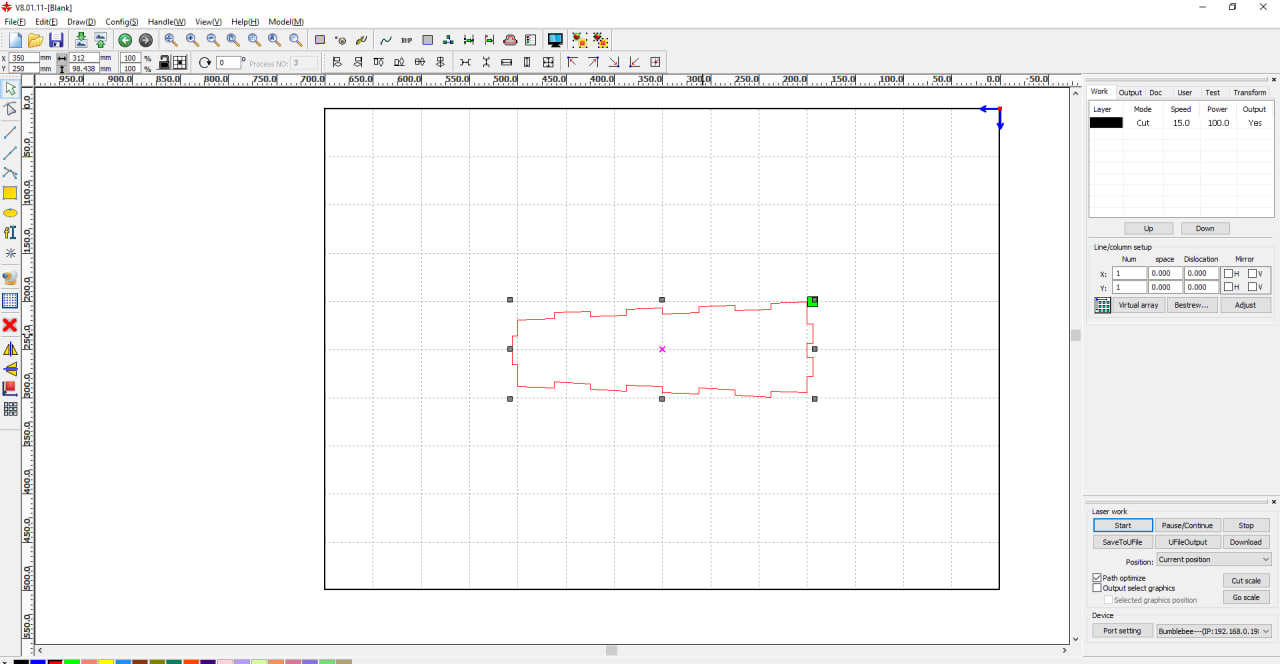
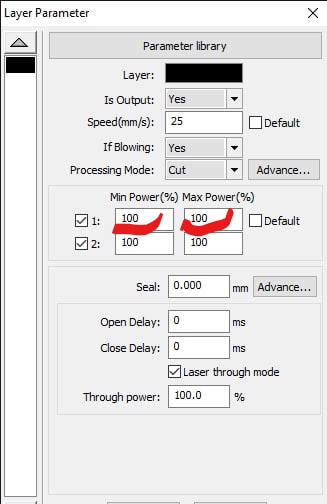
Now we need to import our file in “dxf” format into RDWORK V8 in order to parameterize it for cutting.
speed
For the settings, I’ve chosen a cutting speed of 25 mm/s.
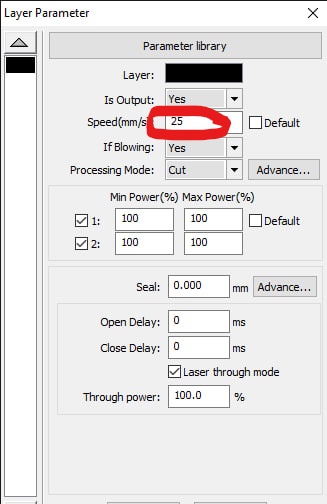
Power
I’ve also set the power to 100%.
Step 4: Cut
Having set up the software, let’s move on to our laser cutter.
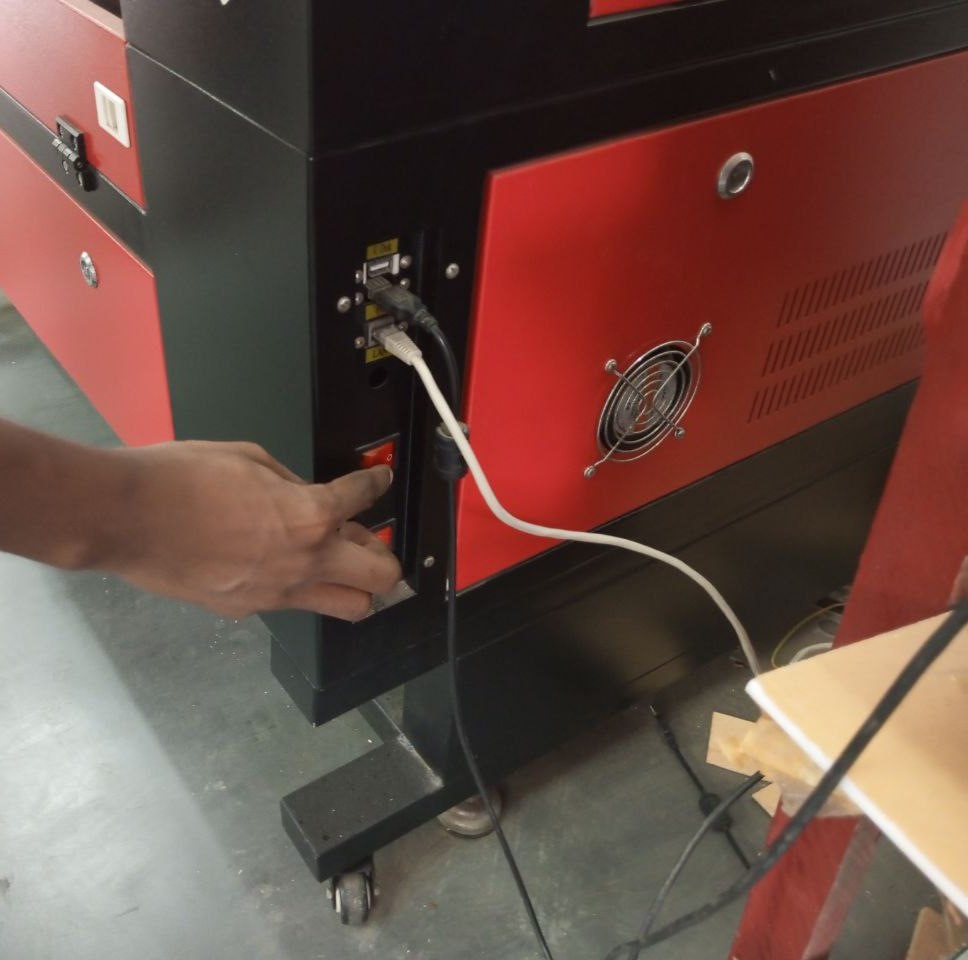
Switch on
First, let’s switch on the machine
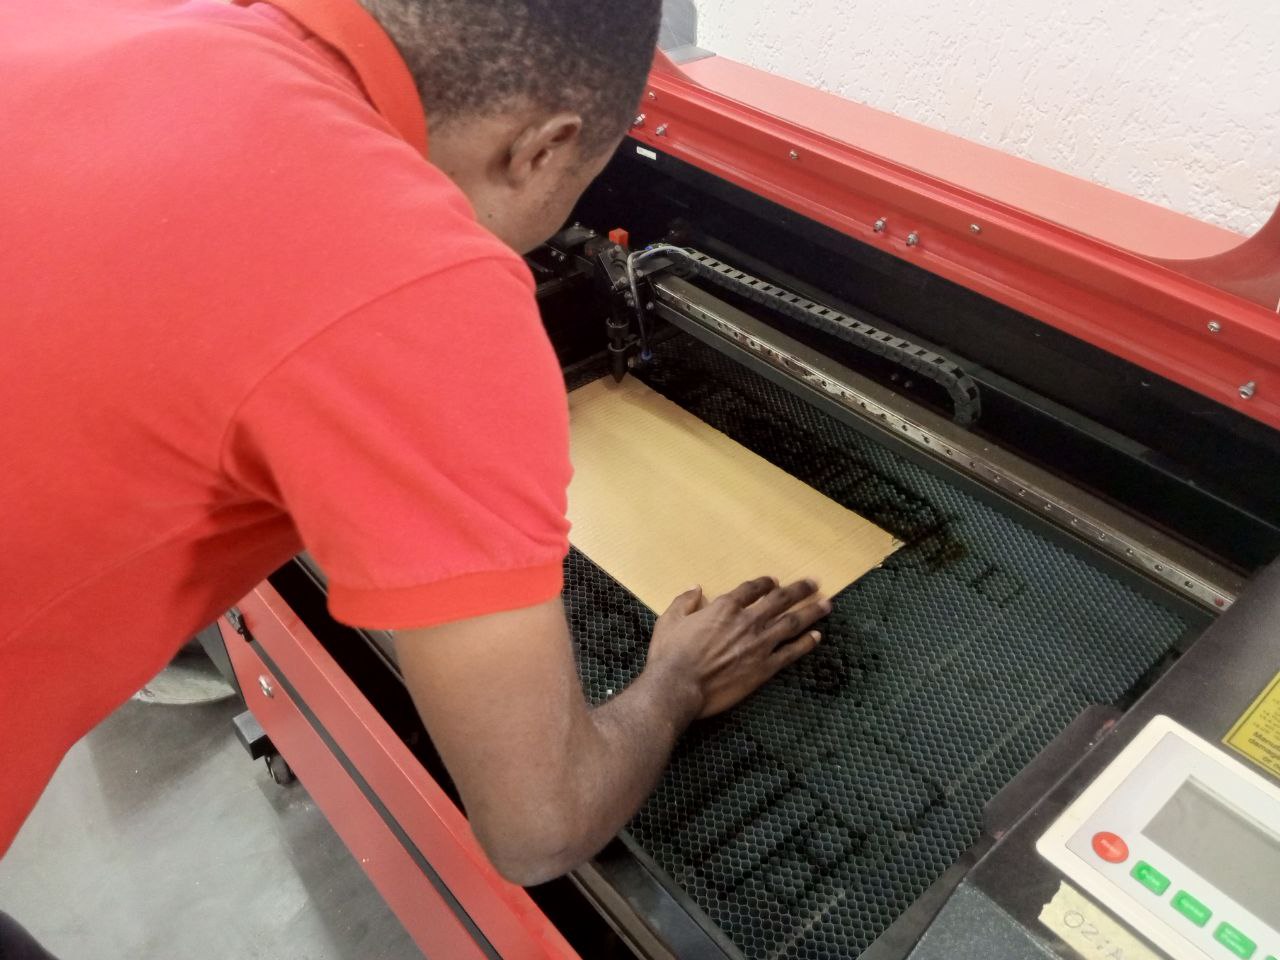
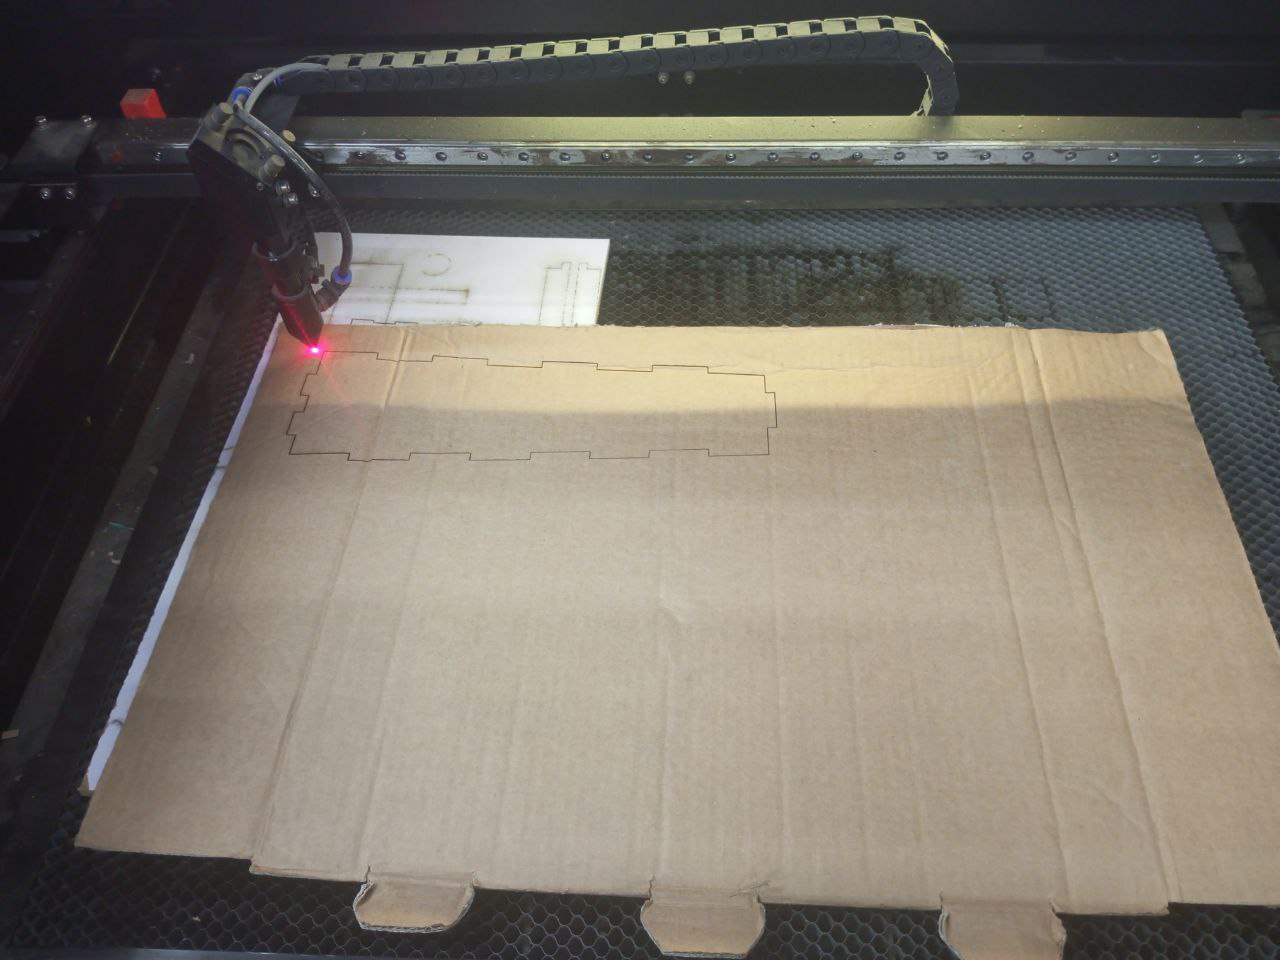
Place material
Let’s place the material to be cut in the machine. In my case, it’s cardboard.
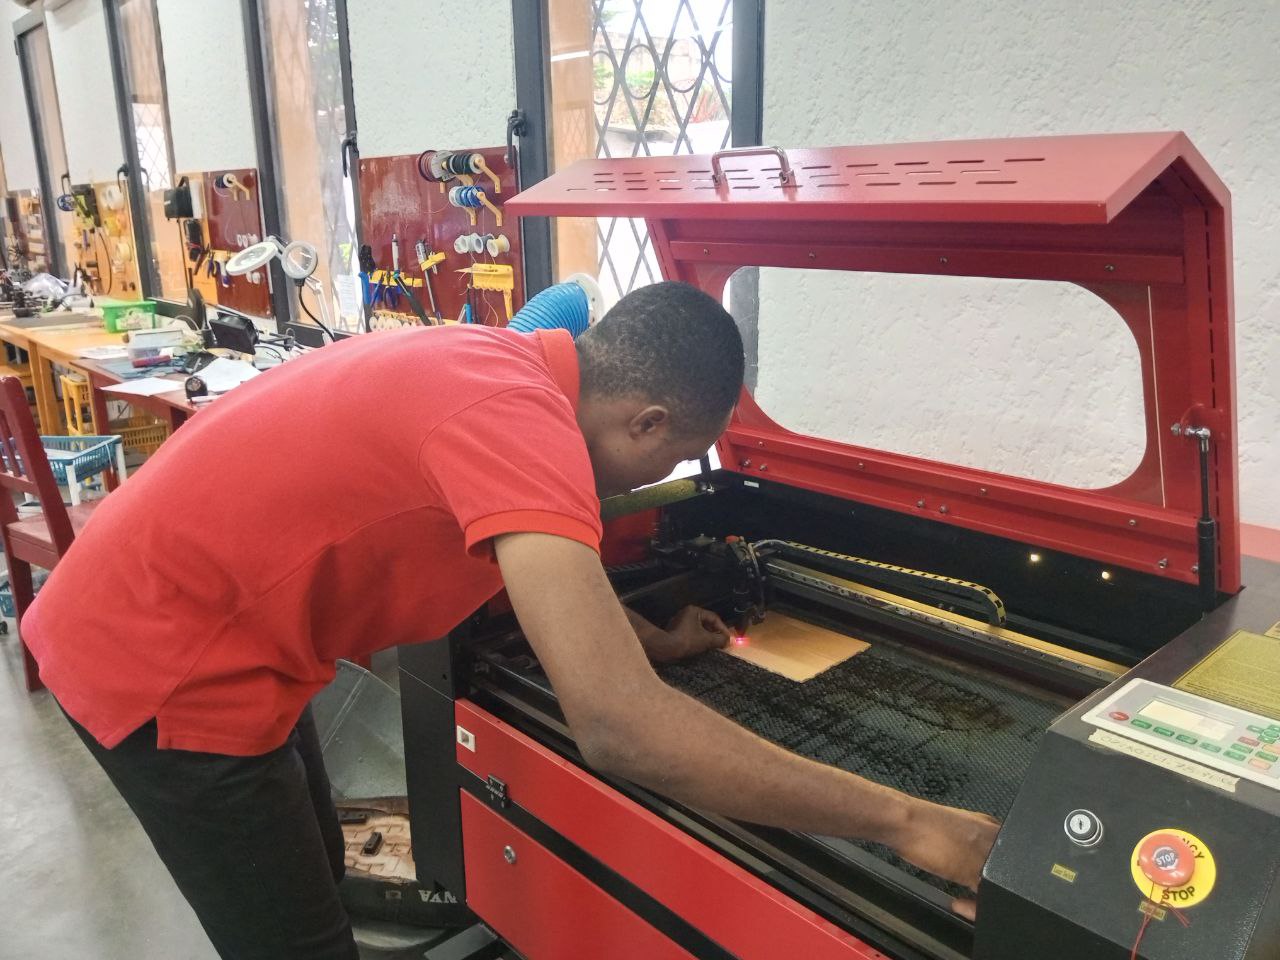
Focus
Next, let’s calibrate the machine’s focus.
Start
At the end of all these steps, we can start the machine for cutting.
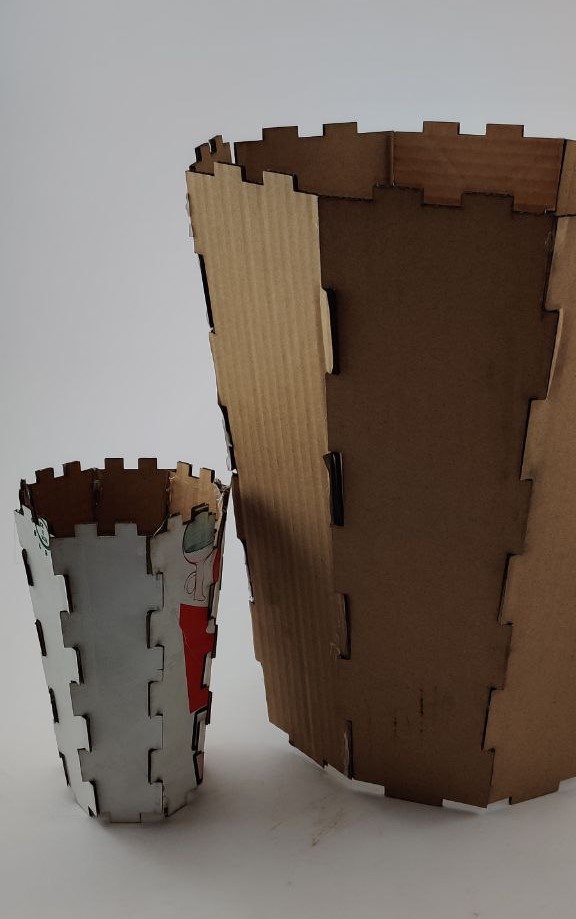
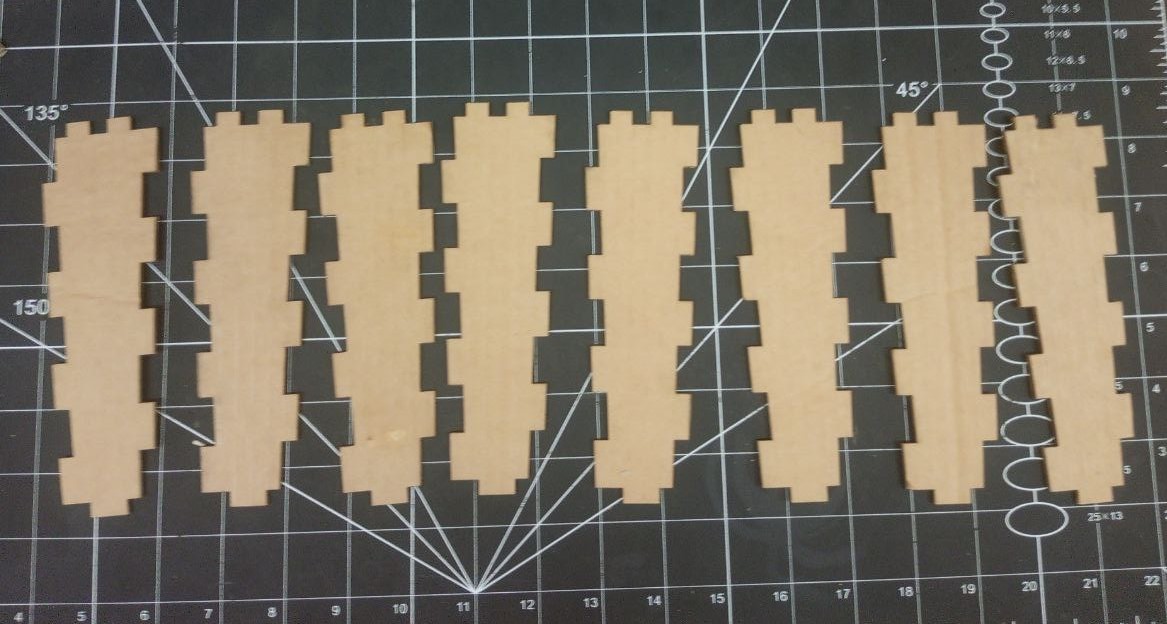
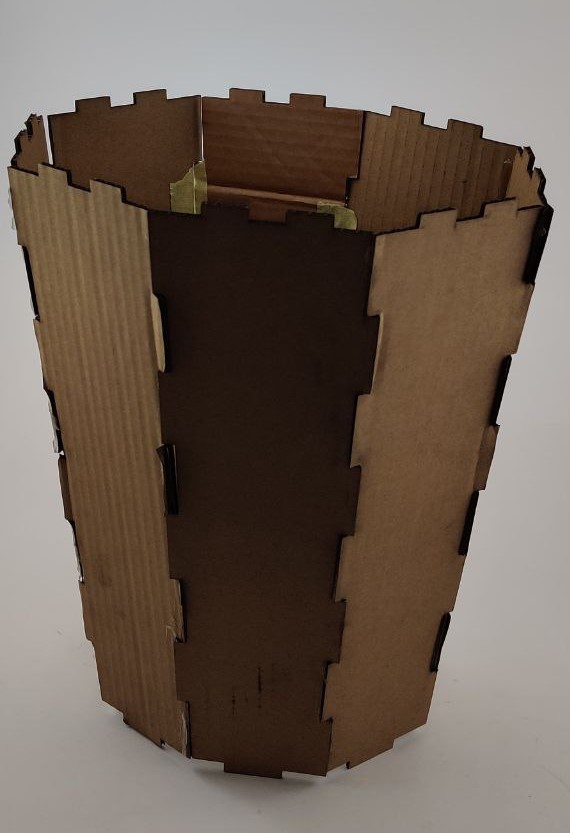
Results
Here are a few images of the product obtained after cutting.
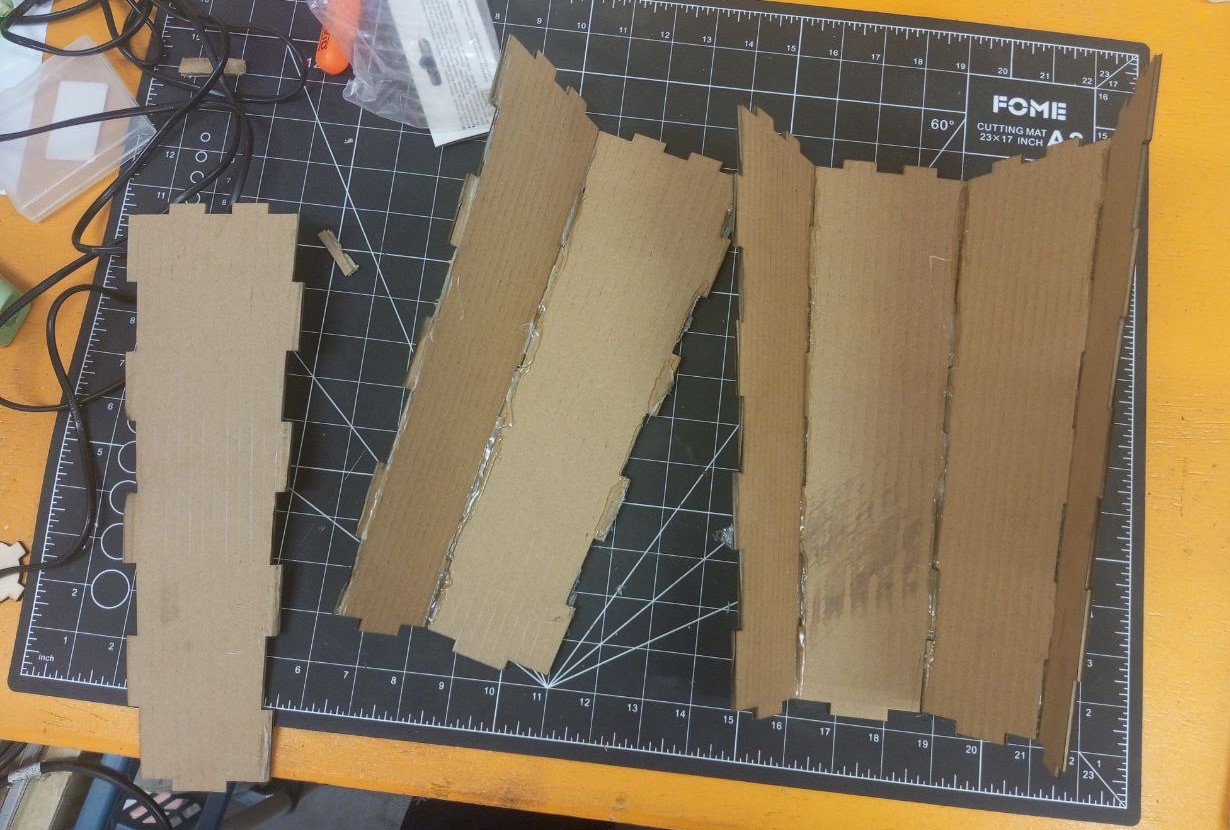
Assembly
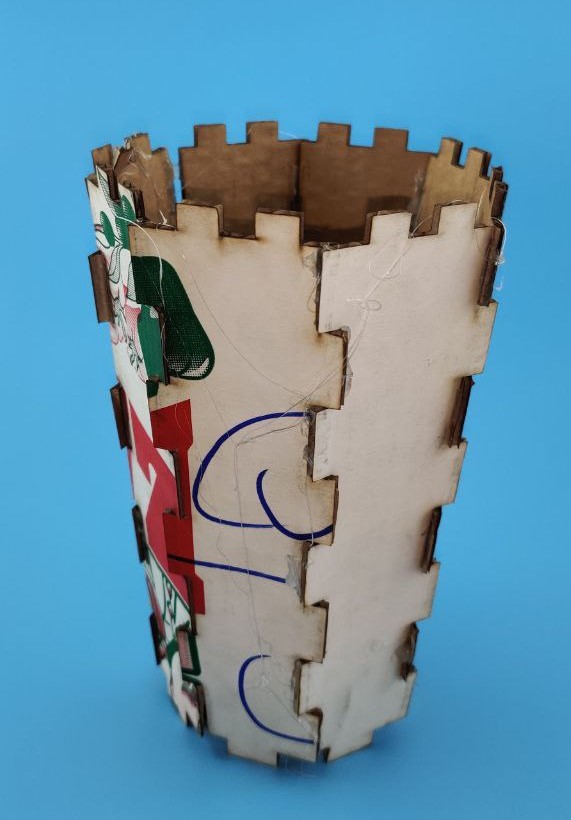
After complete assembly
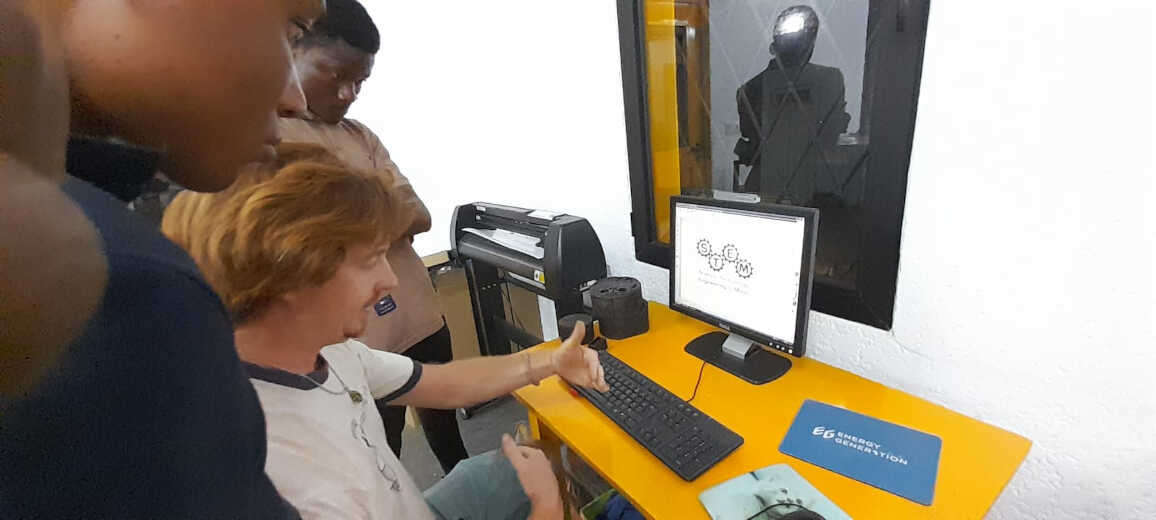
Workflow: Vinyl Cutter
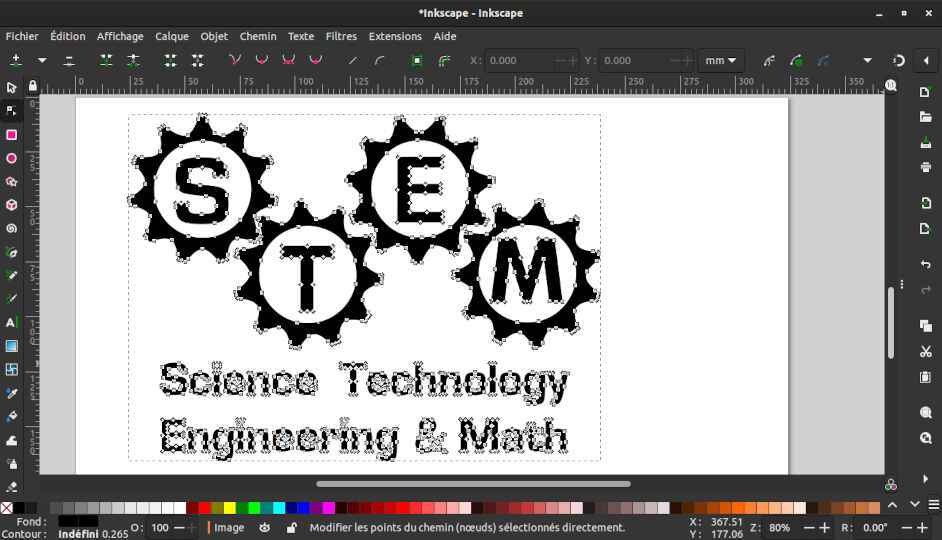
For the vynil cutter, we need to convert the file to svg. To do this, we’ll use the image I used in inkscape last week (Computer aided design).

Step 1: Creating the svg file
You can find the different steps I followed to convert the PNG image to “svg” format in this week’s Computer aided design.
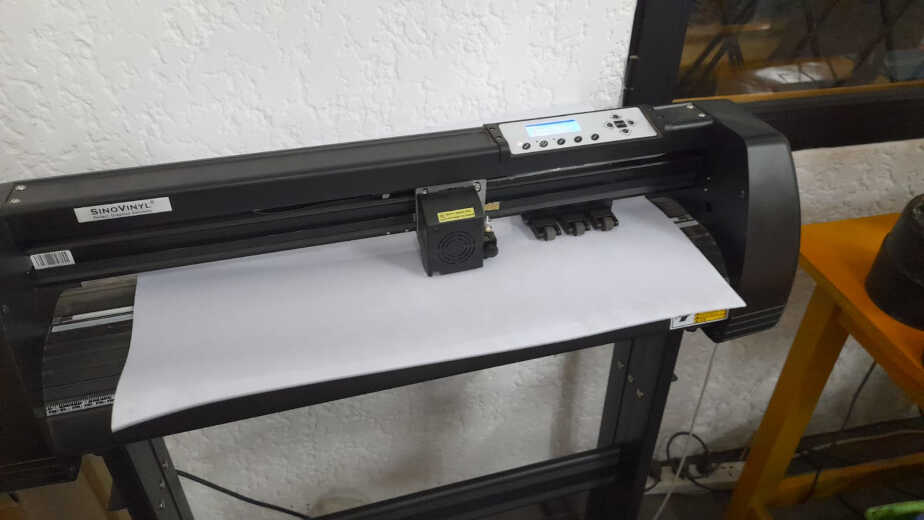
Step 2: Loading the Vynil into the machine
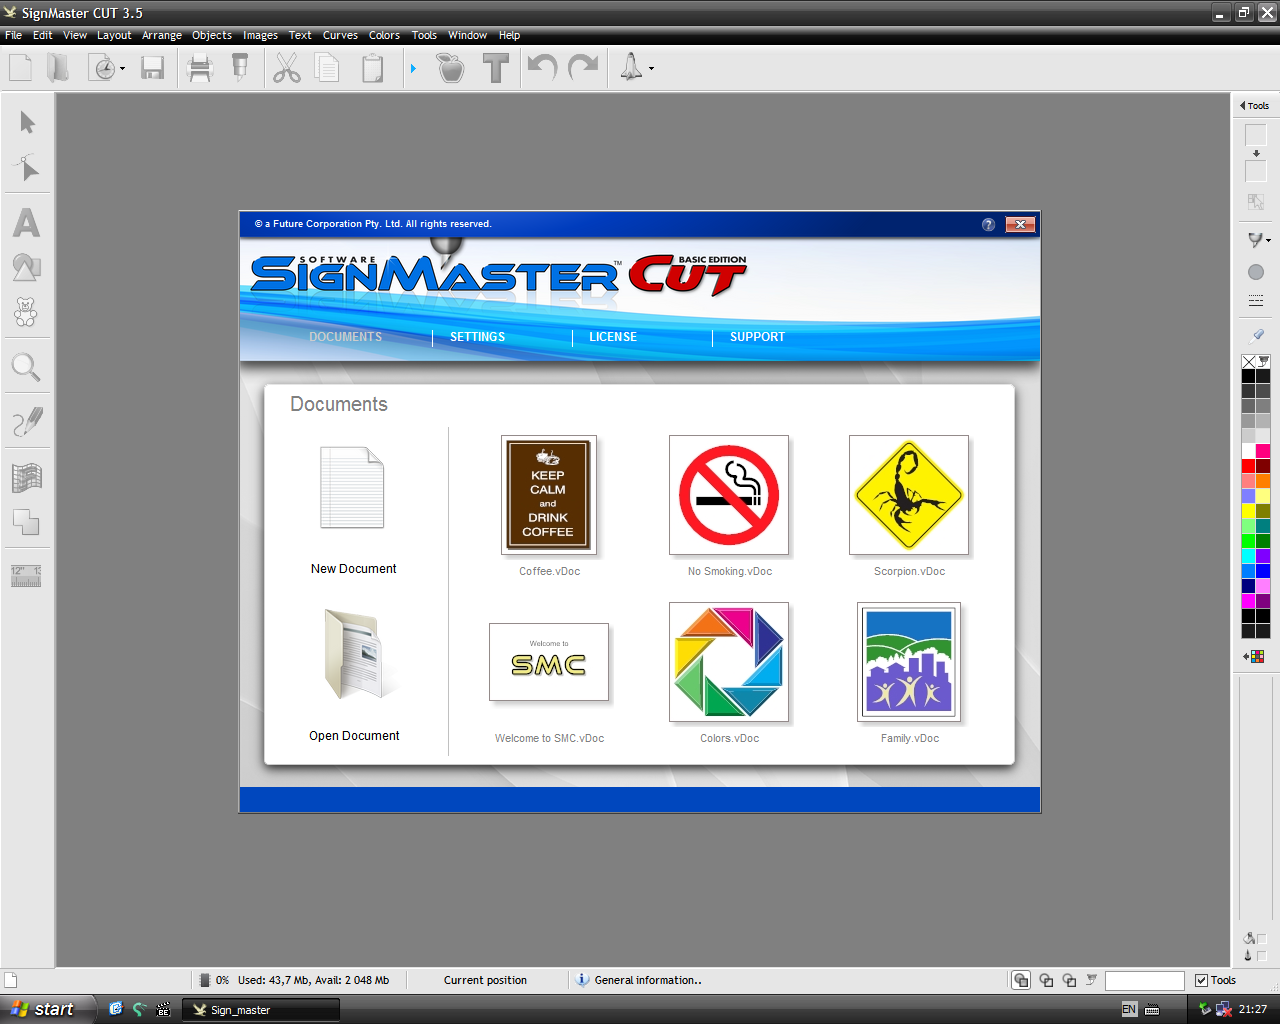
Step 3: Import file into software
To control our vynil cutter, we use the software SignMaster CUT 3.5
Step 4: Switch on vynyl cutter
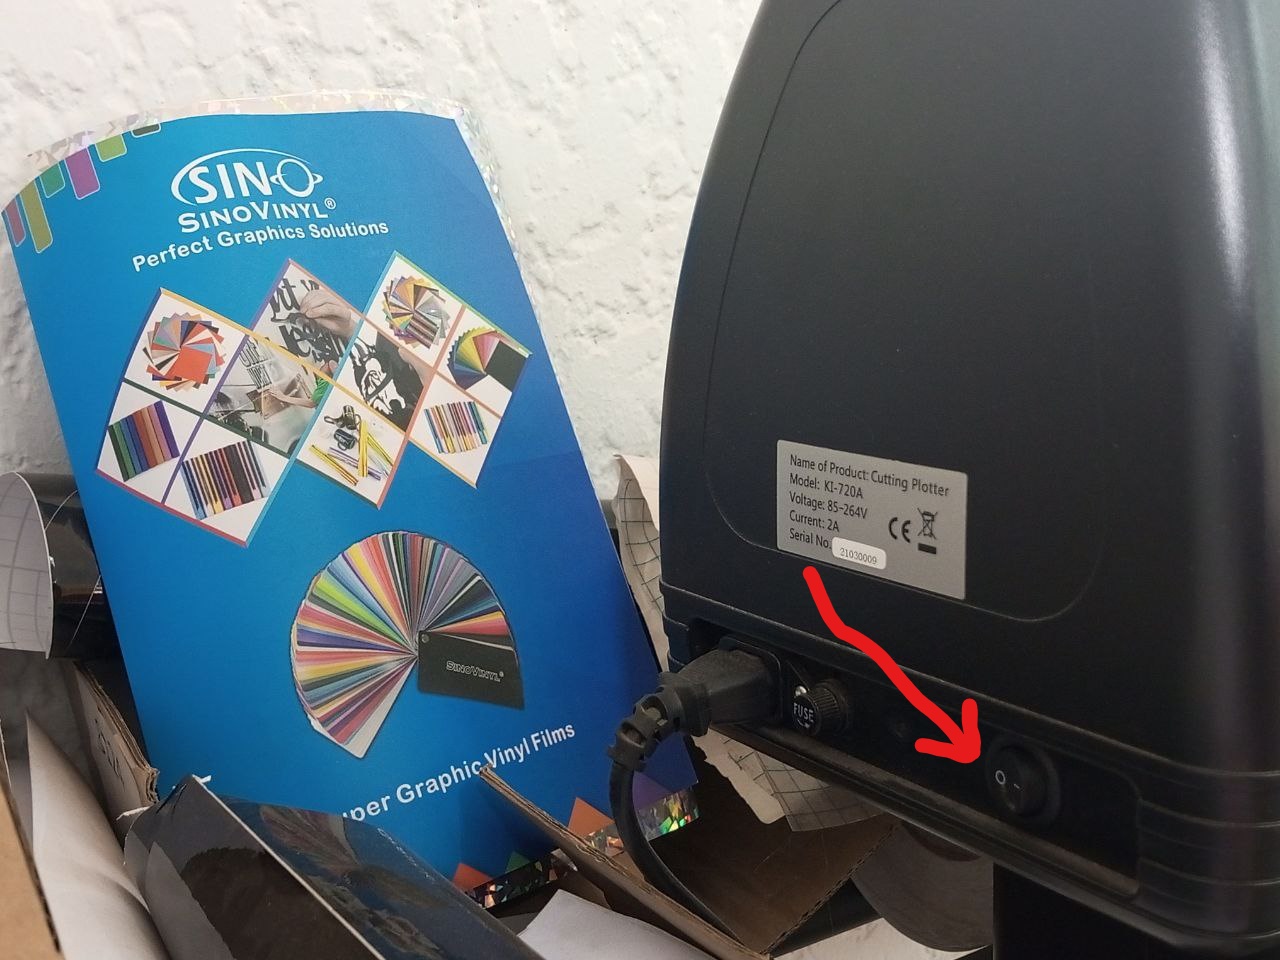
Step 5: Start cutting
After all these steps, we’re ready to start cutting on the software
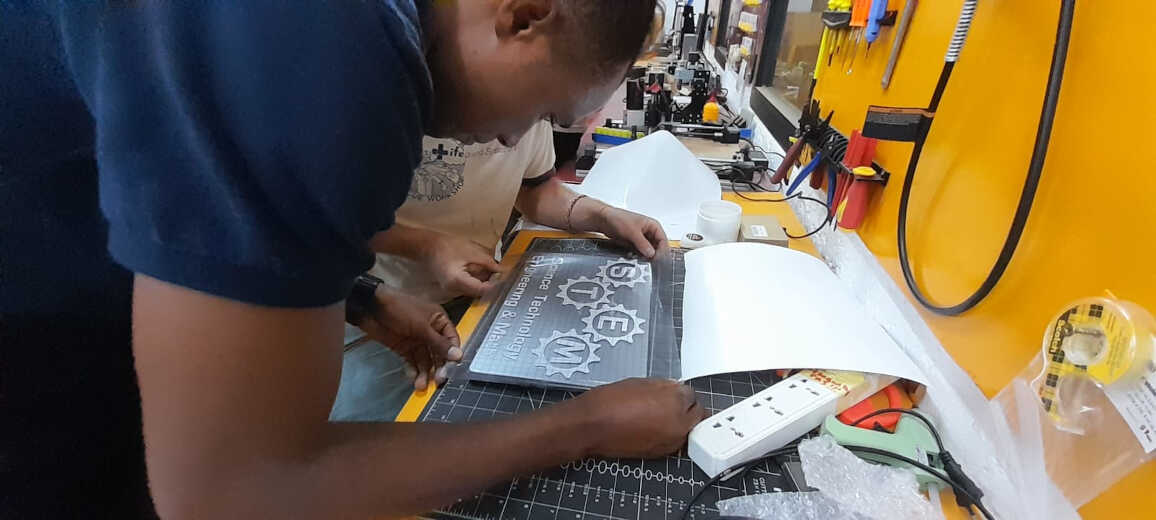
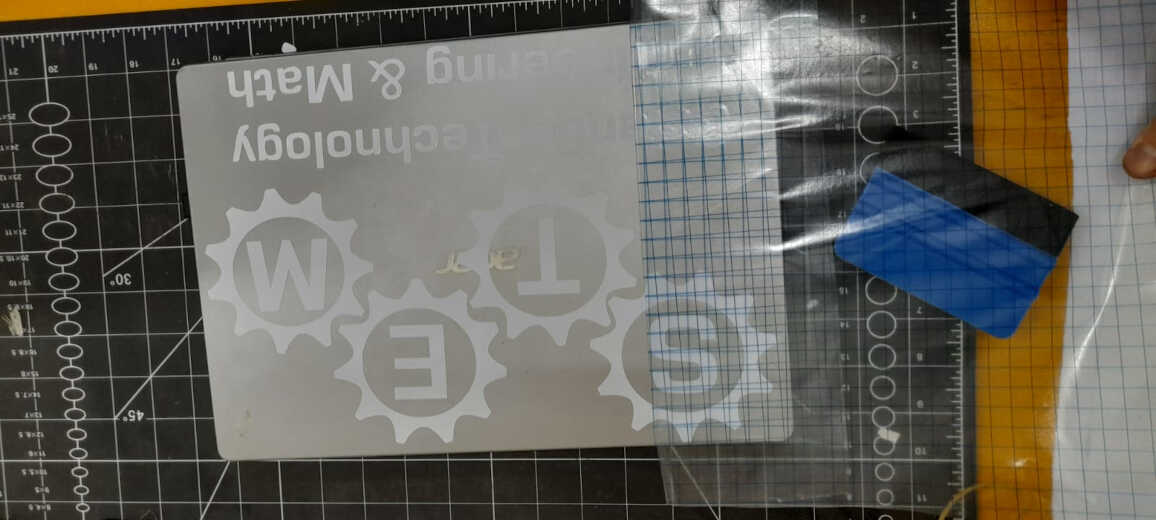
Step 6: Result
After all the cutting operations, I used the transfer ribbon to transfer my self-adhesive to my laptop, giving the final result below.
Files
What went wrong / what went well
During this module, I discovered and learned new things, namely how to use the laser cutter and the vynil cutter. I can say that everything went well. Nevertheless, there’s still a lot I need to learn about these machines. And I intend to do so over time.