2. Computer aided design
The objective of this second week is to learn how to use computer-aided design software, namely 2D and 3D, and then to model our final project if possible. For my part I decided to learn how to use Inkscape for 2D and fusion 360 for 3D.
Let’s go !
Assignent Requirements
Model (raster, vector, 2D, 3D, render, animate, simulate, …) a possible final project, compress your images and videos, and post a description with your design files on your class page
2D Modeling
I learned that there are two types of image formats in 2D modeling. It is the raster format (jpg, psd, png, bmp…) and the vector (svg, eps, ai, ps…)
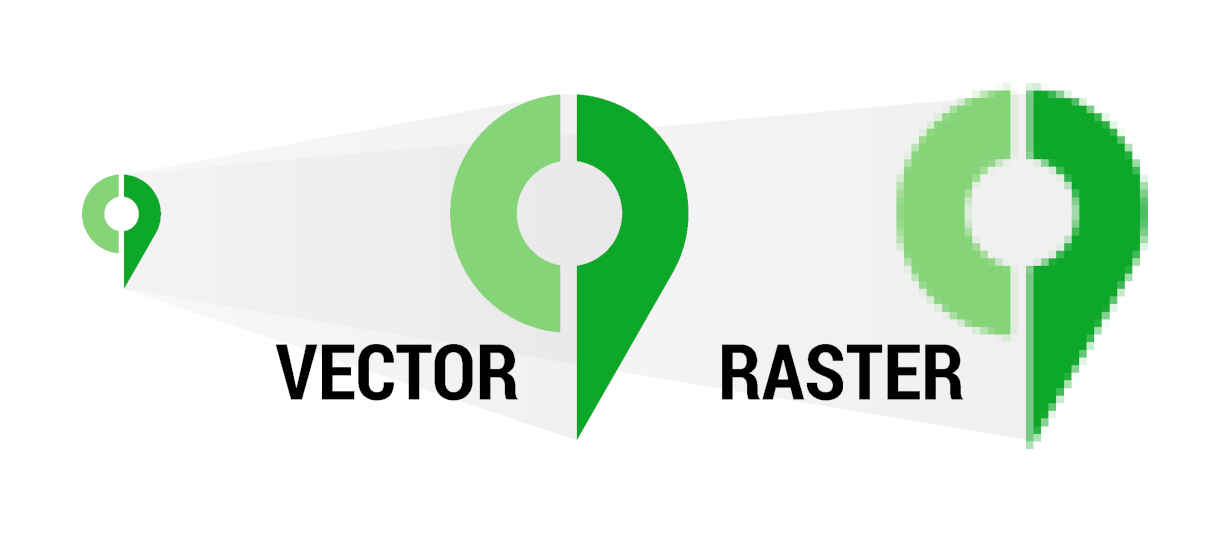
The raster images also called bitmap are made of a set of tiny pixels. These pixels are mixed together to form a clear image. When you start to increase the size of the image beyond its original size, its quality decreases and it loses its sharpness.
Vector files use mathematical equations, lines and curves with fixed points on a grid to produce an image. A vector file’s mathematical formulas capture shape, border, and fill color to build an image. Because the mathematical formula recalibrates to any size, you can scale a vector image up or down without affecting its quality.
The main difference between these two formats is that a vector image can be enlarged without losing its quality while a raster image loses its sharpness when enlarged.
Here is an example
Inkscape
As I said above, for the 2D learning I chose to work on the software Inkscape.

Inkscape is a cross-platform and Open Source vector drawing software. With it, you can create, convert and modify images, apply filters and effects, etc. It offers a host of brushes, stamps, templates and tools. Inkscape can manage and modify layers, paths and extensions. You can download Inkscape for free for your Windows, macOS or Linux computer. Inkscape is the direct open source competitor to Adobe Illustrator, Corel Draw, Xara X and Freehand. The default format for saving designs is SVG.
It can be downloaded through this link
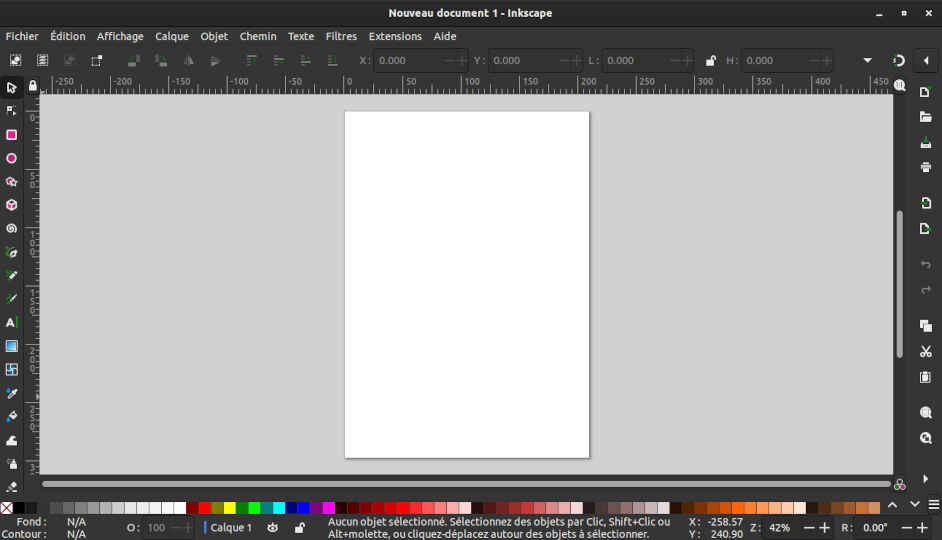
I use the Linux operating system (Ubuntu) in which Inkscape is already incorporated. So I just installed it and here is what it looks like after opening.
Through the different video tutorials I followed on youtube, I was able to learn how to use the Inkscape software. But I need to deepen my knowledge to be able to use it efficiently.
Visiting the website of one of my predecessors who had taken the fabacademy 2022 at EnergyLab, I saw one of his works on Inkscape that I wanted to do too. He used a png image that he customized on Inkscape to make a sticker for his PC with the vinyl cutter. I have to say that the PC sticker is something I wanted to do for a long time and so this is the opportunity for me to do it.
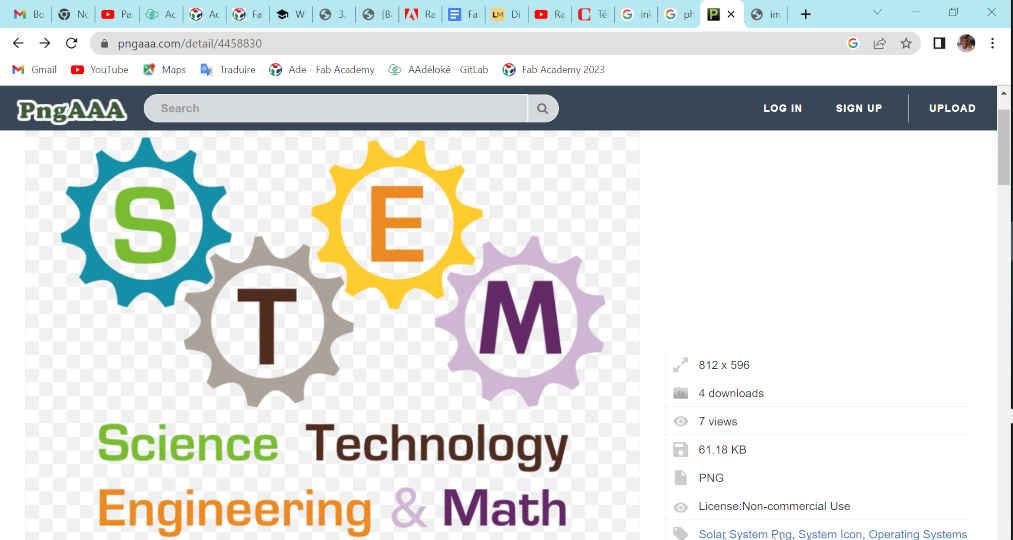
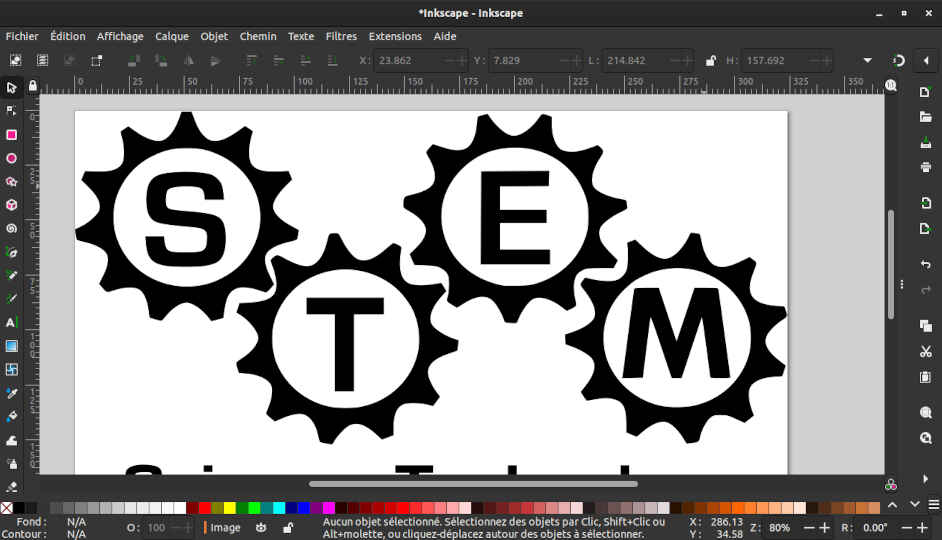
So I went to download a STEM image in png on a website
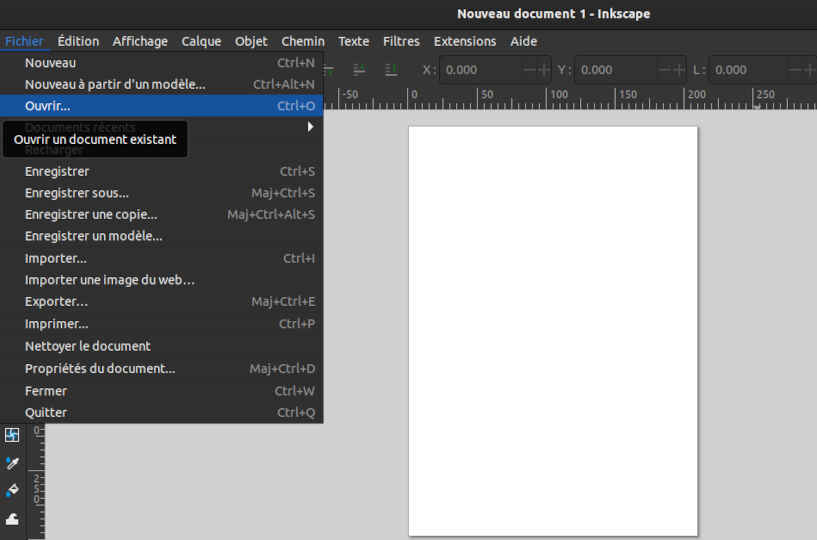
After downloading, I opened it in Inkscape by going to file>Open.
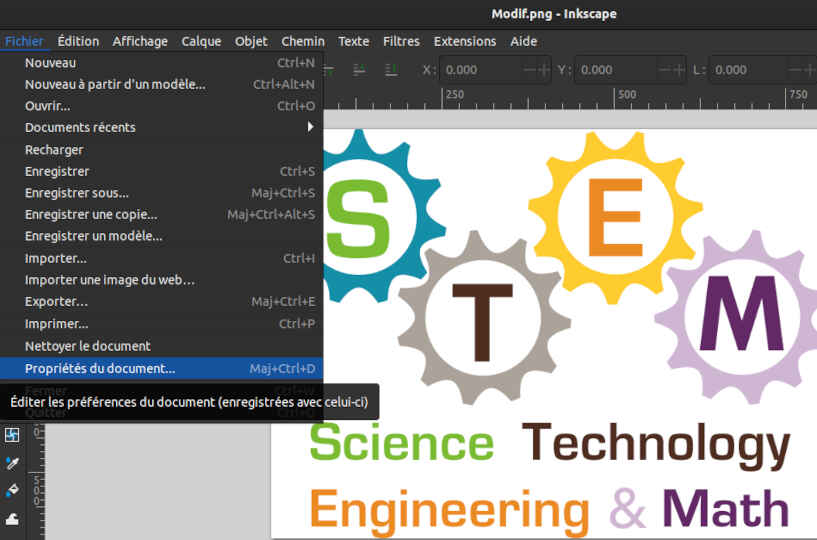
As the sticker will be pasted on my PC, I need to resize the image to the size of my PC. To do this, I clicked on File > Document Properties
In the window that appeared, I inserted the dimensions of my PC. Height: 22.5 and width: 32.4
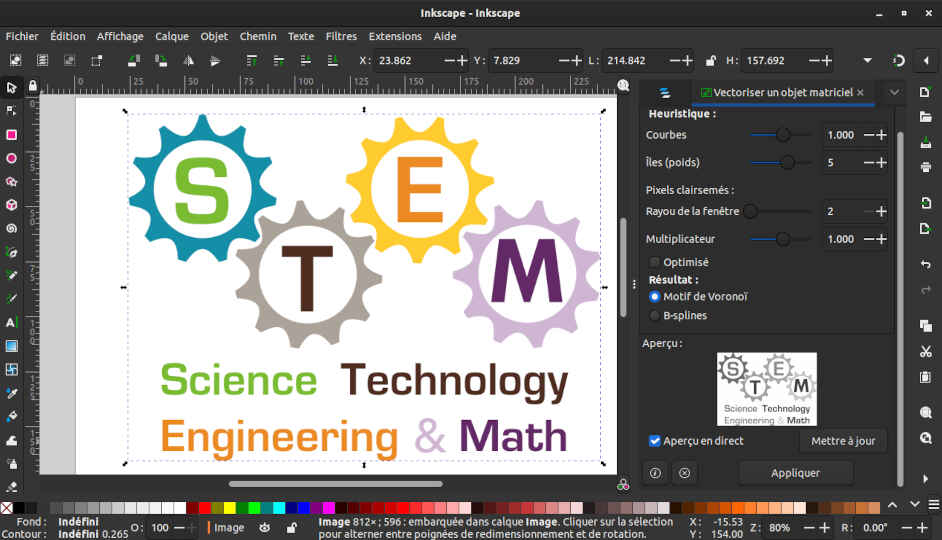
To transform my image into several editable forms, I will create a trace bitmap. To do so, I click on the Path> Trace bitmap tab and validate in the window that opened.
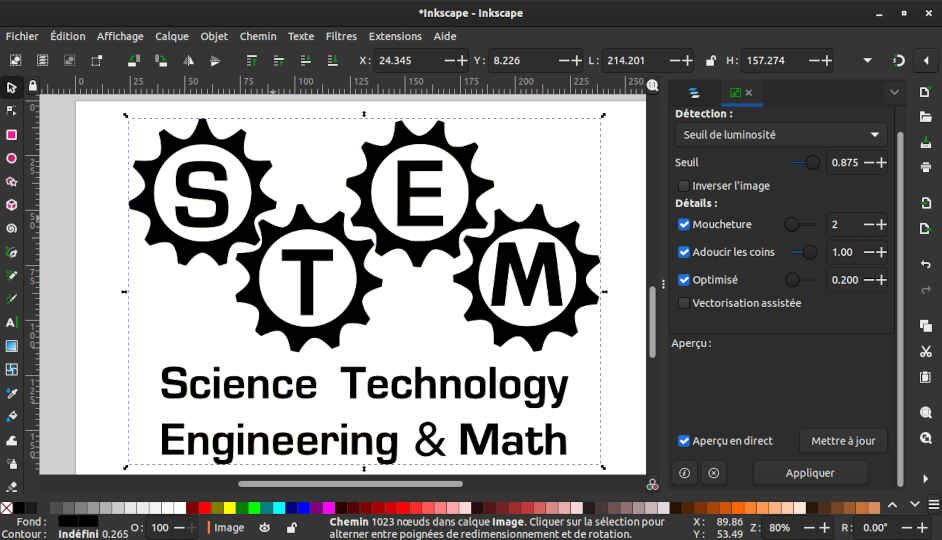
When I click on the OK button, a second black image is created above the initial image.
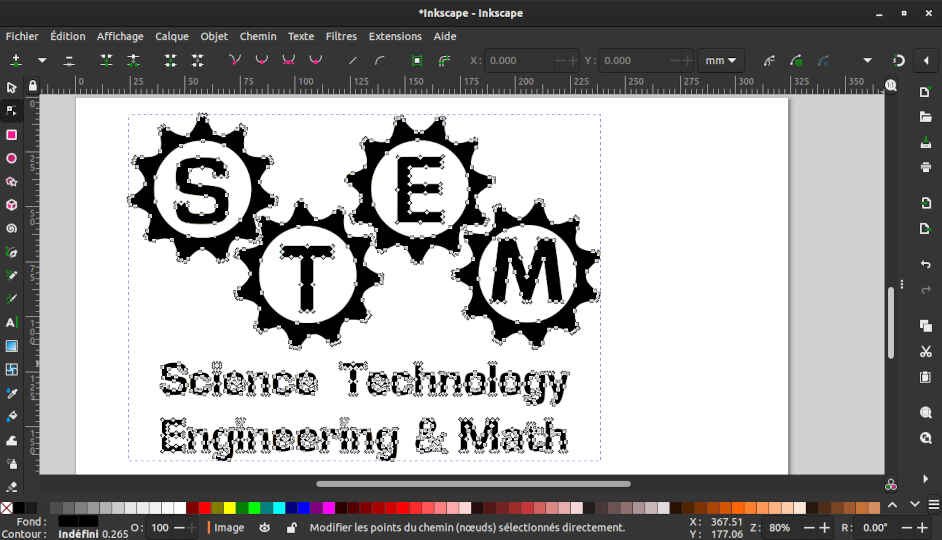
By double clicking on the image that is in black, you can see the different shapes that make up the image. At this level, I can save my image as an svg file.But before that I have the possibility to modify the image to make it what I want.
Let’s see!

To change the image to what I want, I just need to move the little squares around. But for now, I just want to enlarge the image so that it takes up my entire print area.
Clearly we can see that the original shape of our image was just below it. To delete it, just select it and press the delete button.
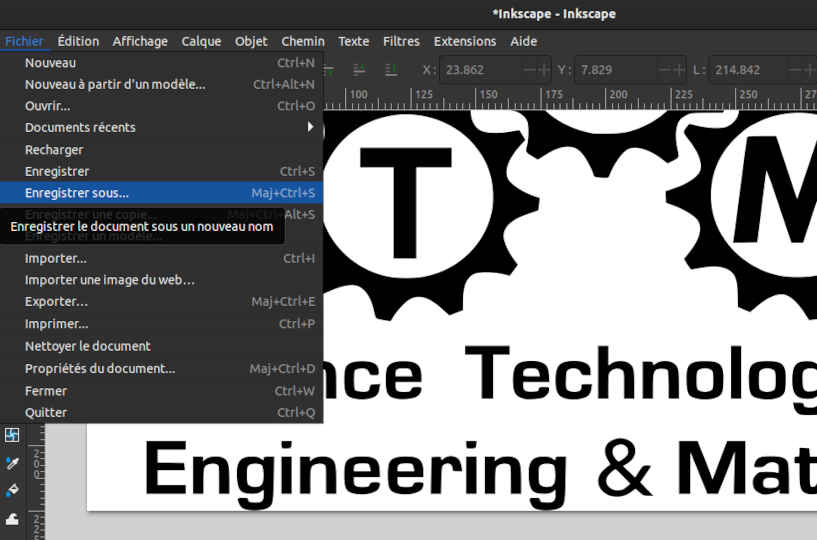
To save my work in svg, I click on File>Save as… so a new window opens and there I chose the svg extension
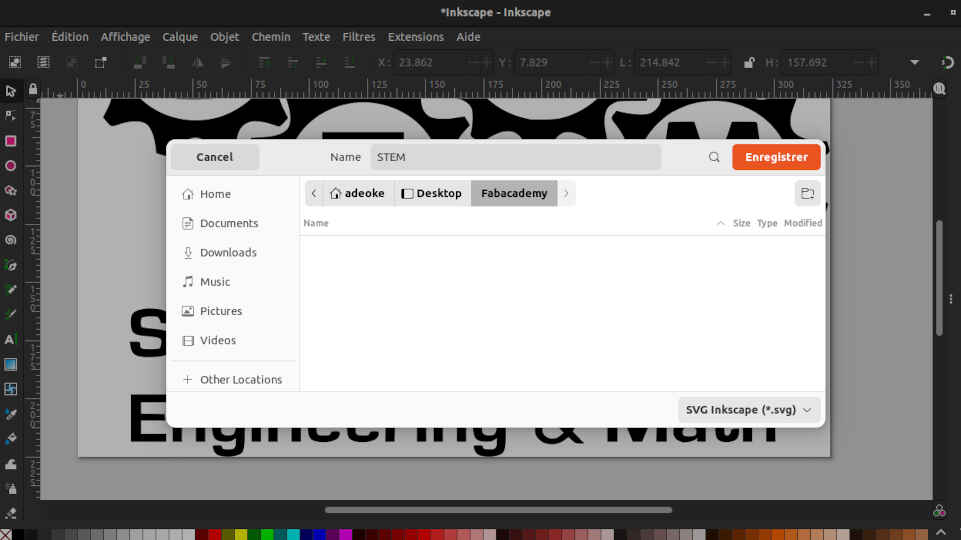
Image compression
For the documentation of the assignments I have to hand in every week, I will use images to better explain my work. For that, it is important to compress these images to reduce the size of my files before putting them on gitlab. To compress my images, I use the gimp software (a free open source software under GNU/GPL license which allows to retouch and process images) to which I added a BIMP plugin.
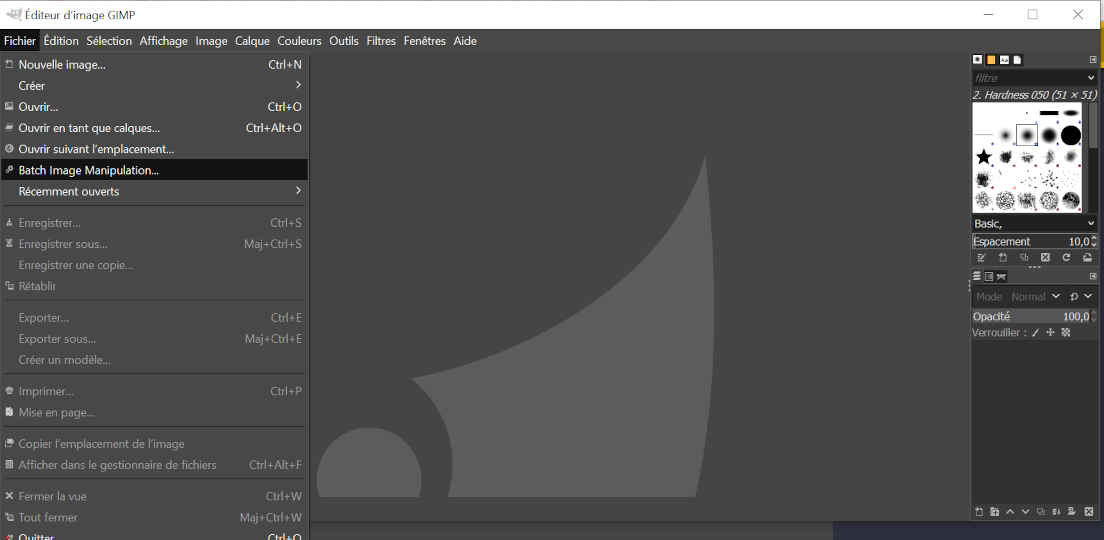
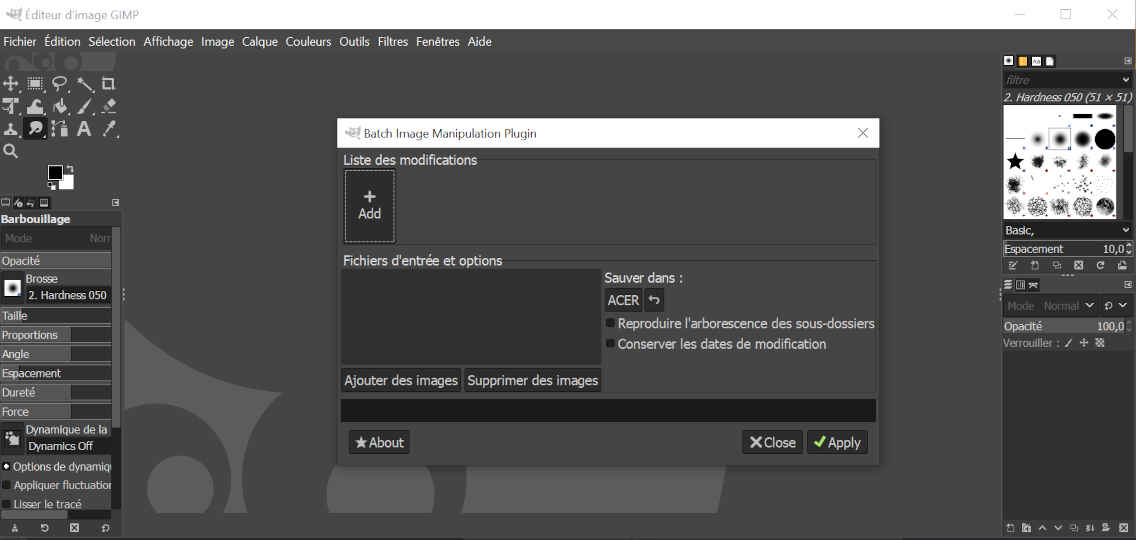
After installing gimp and the bimp plugin, I opened gimp and clicked on the file tab and then on the Batch Image Manipulation Plugin sub-tab.
Once clicked, the window below opens. To compress an image, you need to select the image to be compressed by clicking on the Add images button. Then you need to choose the folder in which the compressed image will be saved at the end of the process by clicking on the Output folder button.
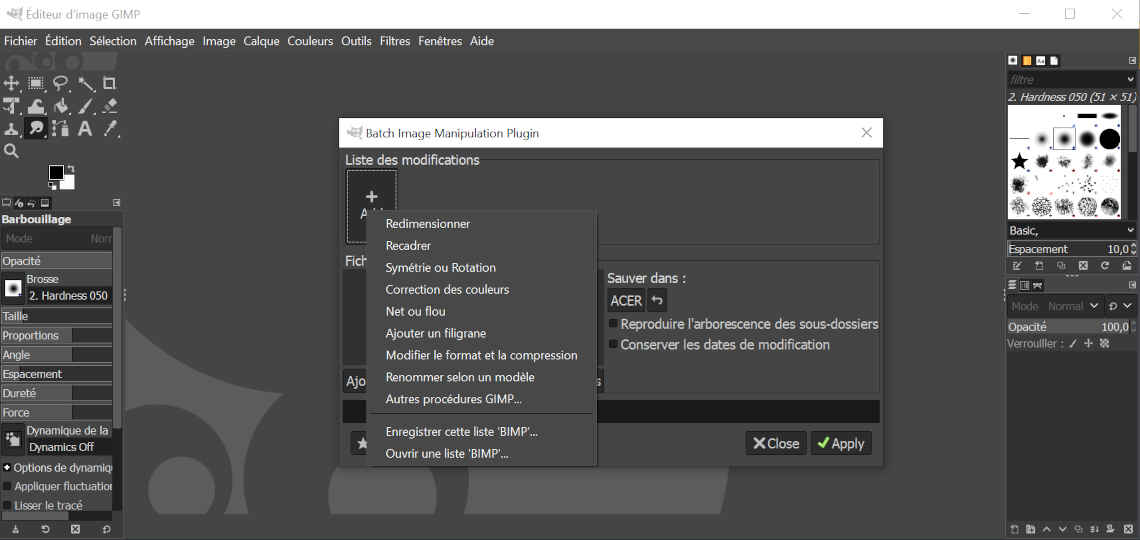
Then you need to click on +Add located in the Manipulation set part. We have several tabs, but at this stage they are Resize and Change format and compression.
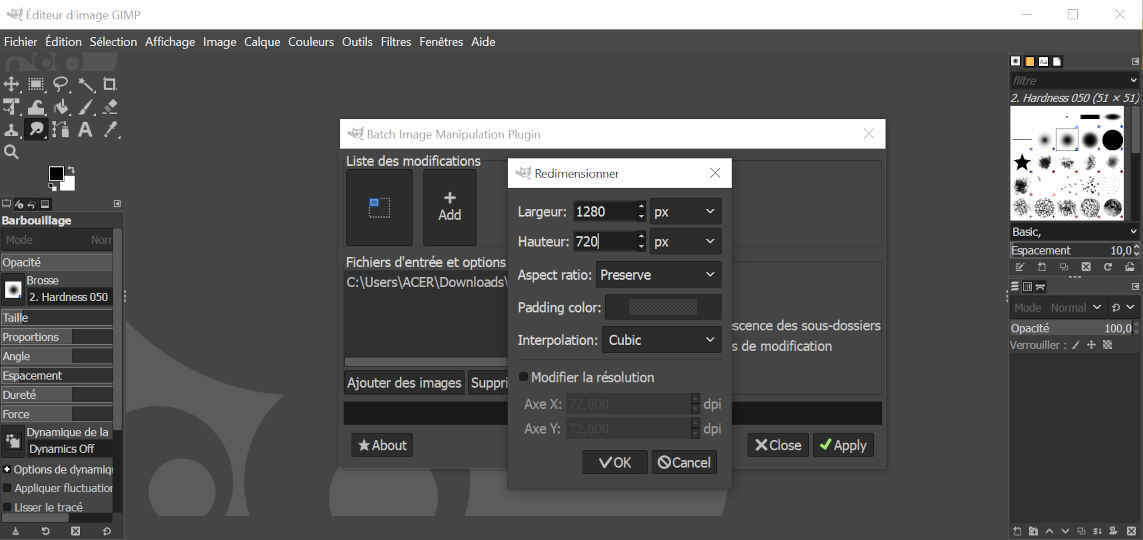
Here are the parameters I used for the resizing.
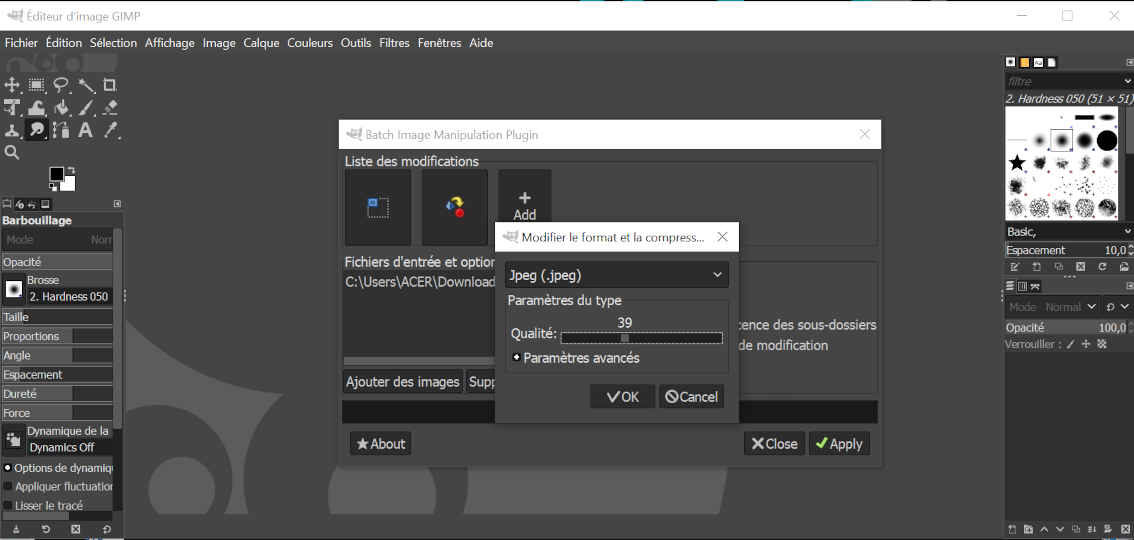
Here are the parameters I used to change the format and compression.
At the end of the different settings, you have to click on the Apply button and the chosen images will be compressed.
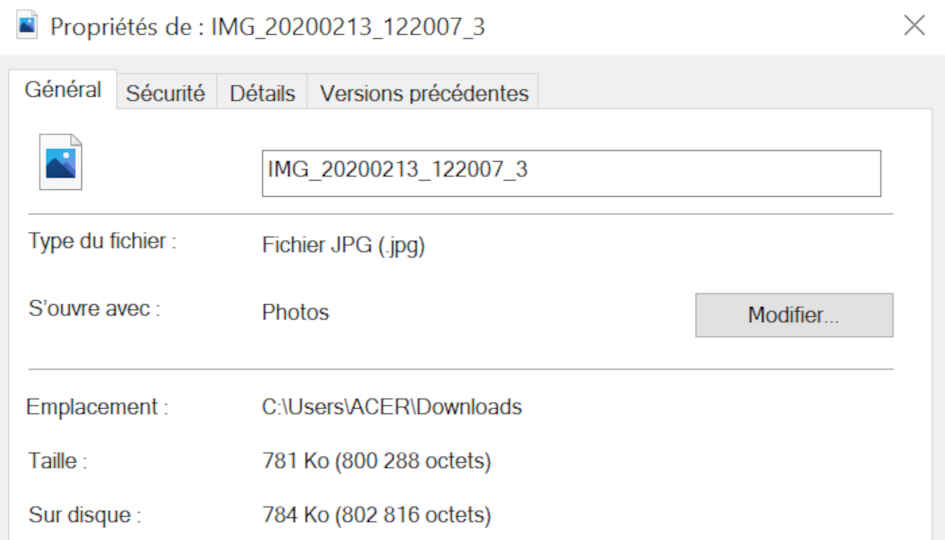
Here is the size of the original image that I compressed and which is 781 kb.
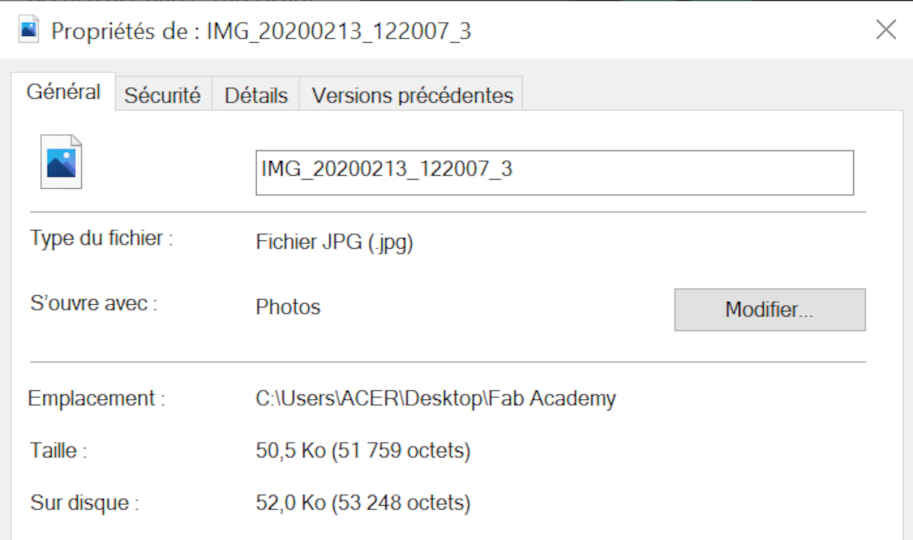
After compression here is the size of the image which is 50.5 kb.
Video compressing
Another important trick is being able to embed MP4 videos into your webpage. In order to minimize the size of the files on the server so that your webpage loads fastest you will likely want to compress and scale your videos. To do this you will want to convert all your videos to mp4 format using ffmpeg.
Scale and convert your video format to mp4 by navigating the folder it is in and using the following code in your terminal:
- ffmpeg -i input.ext -vf scale=1280x720 output.mp4
This will scale your video to 1280x720 and convert it to mp4.
You can further scale down your video by trimming any unwanted portions using the following command:
- ffmpeg -i input.mp4 -ss XX -t YY output.mp4
where -ss XX is the starting seconds where you want the video to start (i.e. you will be removing anything before) and -t YY is the length of seconds you want the video to be
Lastly if your video needs further compression, you can compress it even further using the following code
- ffmpeg -i input.mp4 -vcodec libx264 -crf 28 -an output.mp4
where the “-an” flag will remove the audio, so use this for videos that will be muted. The -crf flag value results in a higher compression rate so the higher the value the more compression and the lower the quality. So you may want to explore higher crf values such as 32 or more.
3D Modeling
For the 3D modeling, I chose to use the AUTODESK Fusion 360 software among the plethora of CAD software available. This choice is explained by the fact that it is simple, parametric, versatile and collaborative. Personally, I find it less complicated to use. But to use it, we will need a license because it is not totally free.
To start, we must install it on our computer and to do this we must first download the software. You can download the trial version here.
To learn how to use the software, I followed several tutorials on youtube. If like me, you don’t know much about Fusion 360 software, I invite you to take a look on the internet to learn. There are lots of tutorials on this.
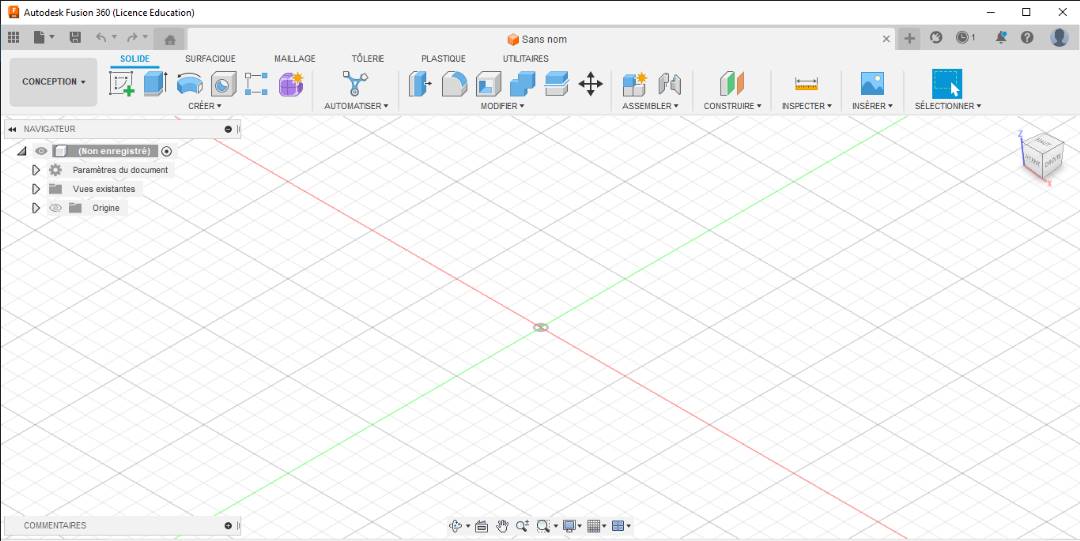
After installing and opening Fusion 360, you will have access to this interface.
For my assignment, I did the Z-axis modeling as part of the Mechanical Design and Machine Design course in week 10. For my assignment, I did the Z-axis modeling as part of the Mechanical Design and Machine Design course in week 10. This modelization is made of 2 parts. A first part which is the support of the Z axis and a second part which will ensure the movement on the axis.
Modelisation of the first part
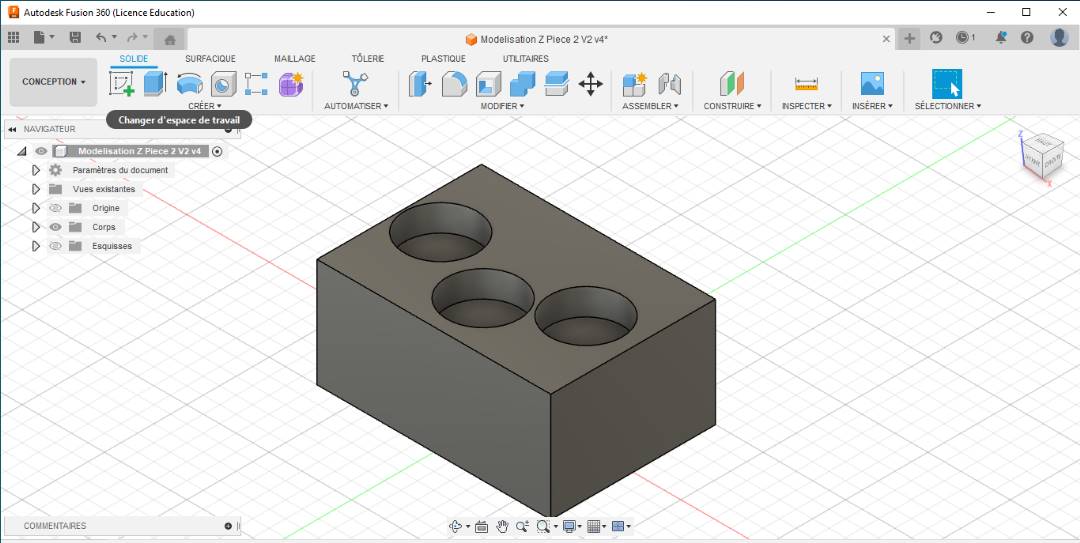
To realize this part, I first made a sketch of the part with all the constraints that the sketch must have.
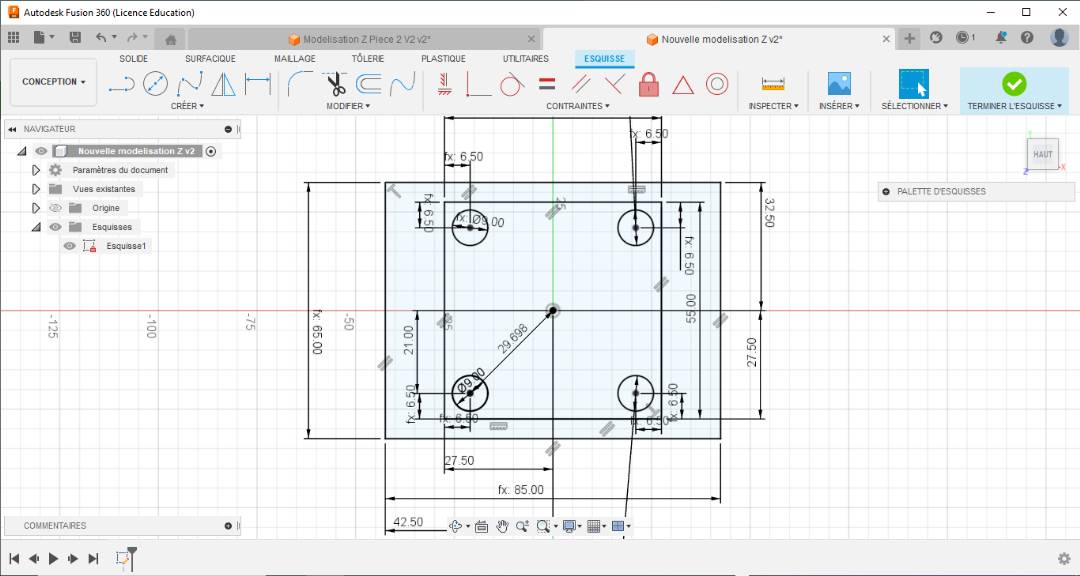
Once my sketch is done, I make an extrusion of 55 mm of my 2D plan.
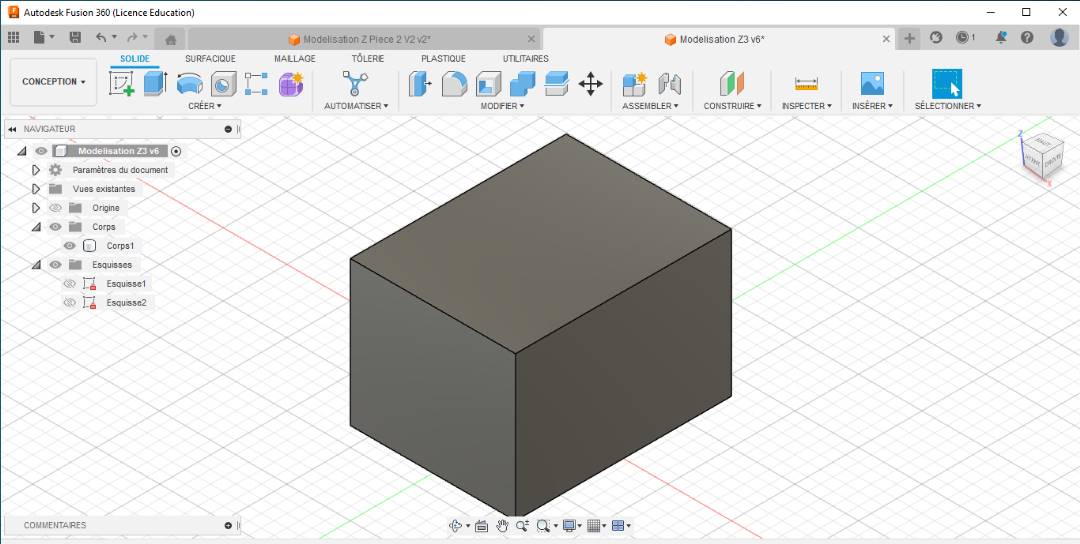
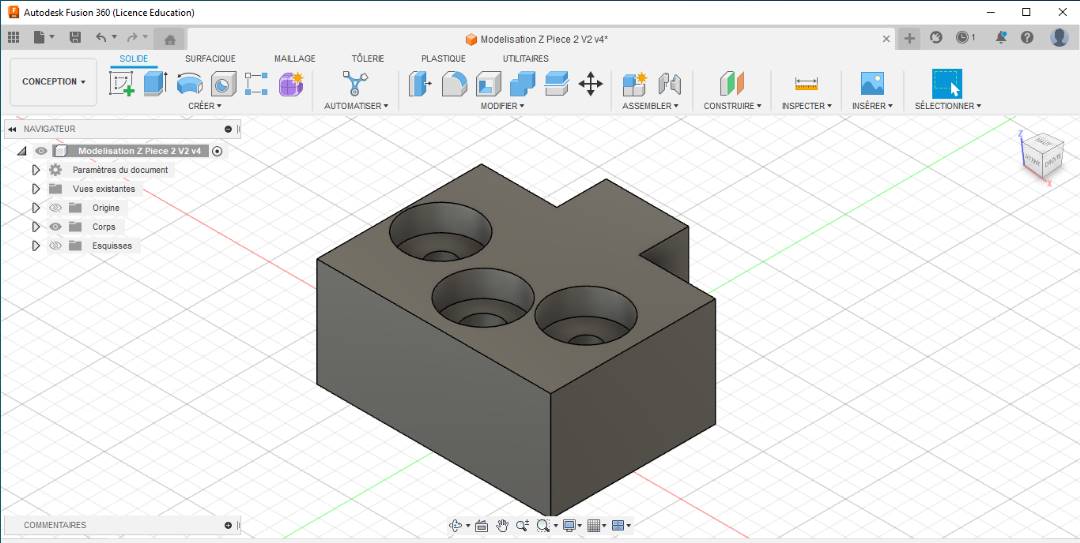
Then I realize again, a 45 mm extrusion but this time towards the interior of my object while leaving 10.50 mm on both sides of the ends.
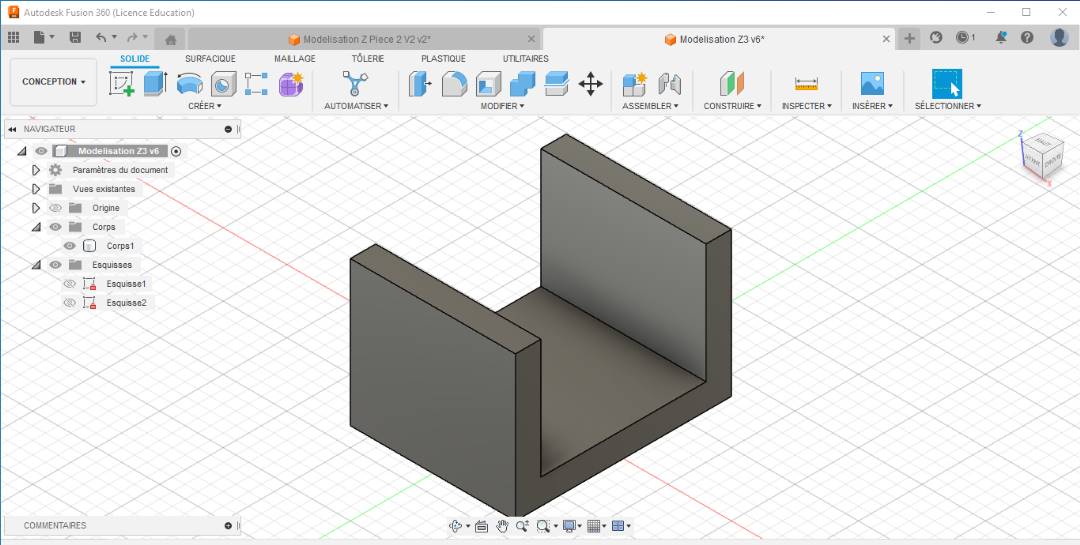
A new sketch followed by an extrusion on the top face of my object allows to obtain what we have on the image below. It is at this place that the stepper motor will be fixed and will drive the movement on the Z axis.
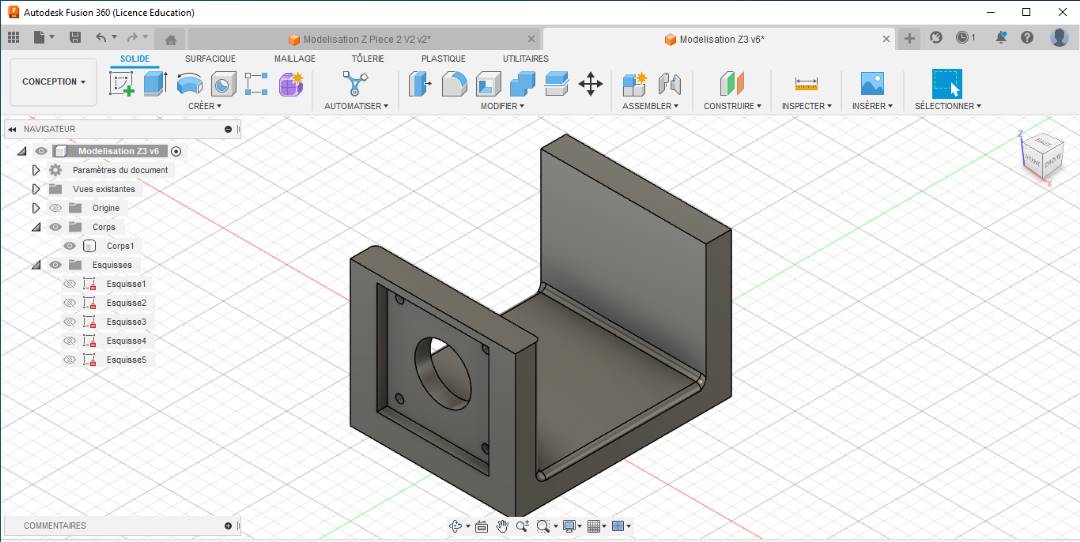
Still with new sketch and extrusion but this time on the bottom side then we have what follows.

To finish the modeling of my first part, I once again made a sketch and extrusion on the central face of my object.
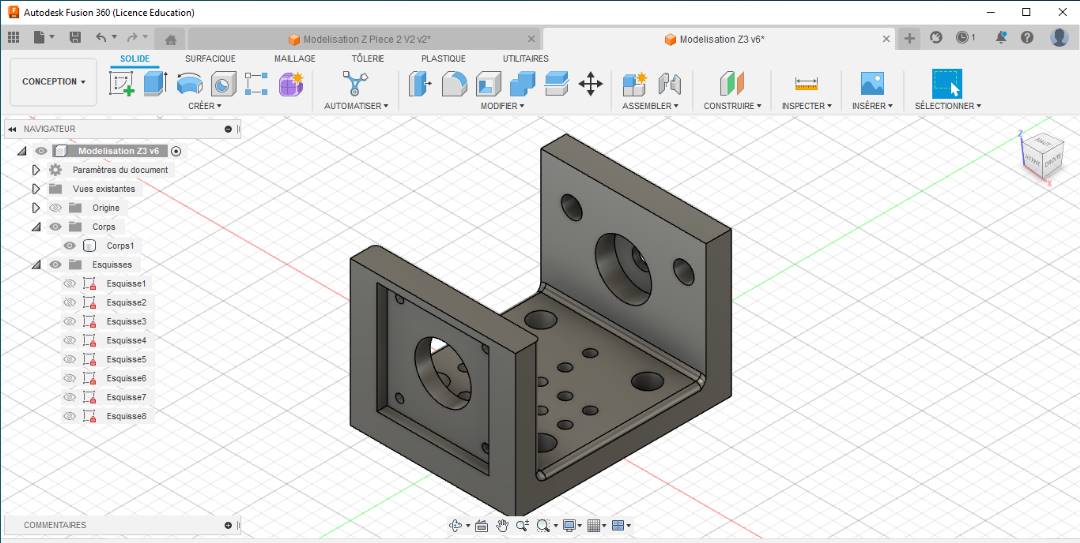
You can access the CAD file of my first part by clicking on it Model_Z1
Modelisation of the second part
This second part will ensure the movement of the machine on the Z axis.
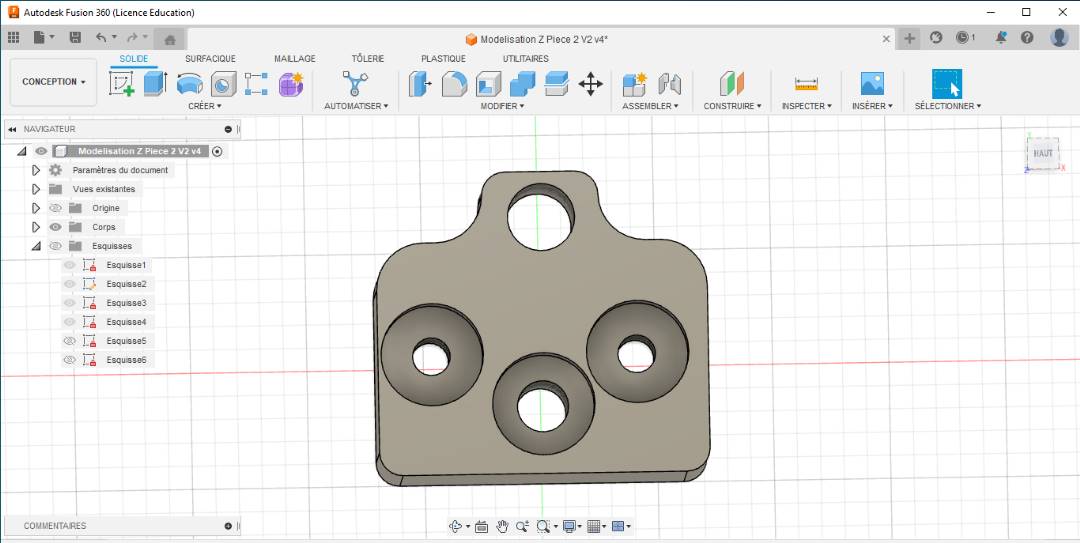
To do this, I also made first a sketch of the part with all the constraints that the sketch must have.
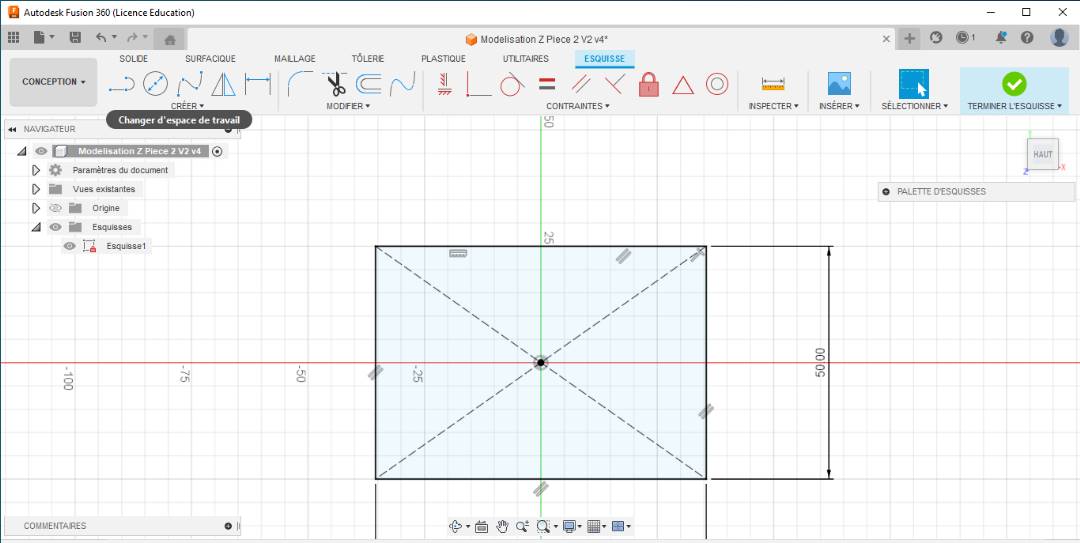
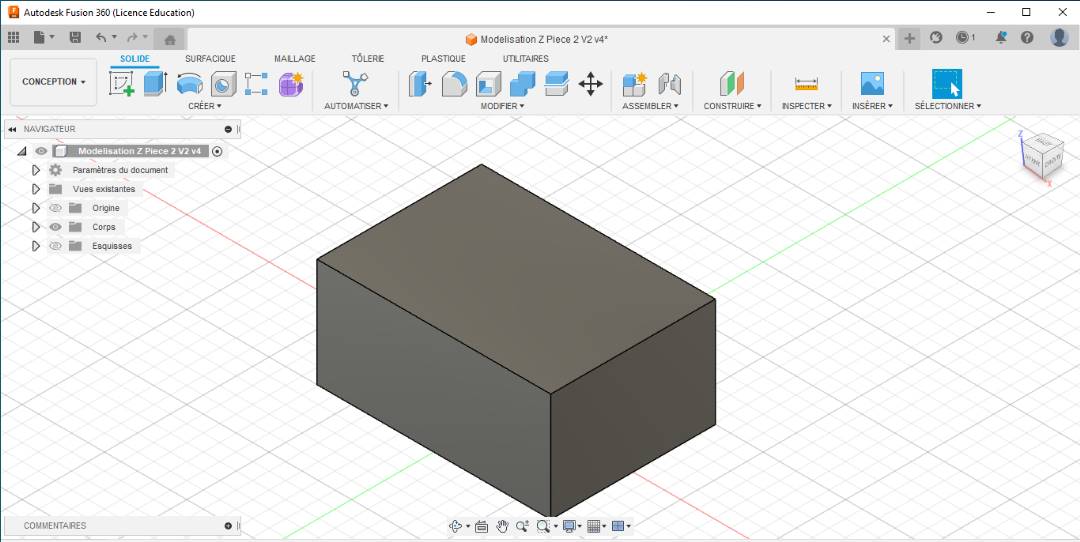
Then I made an extruision and step by step I got the final product. The pictures below show these different steps.
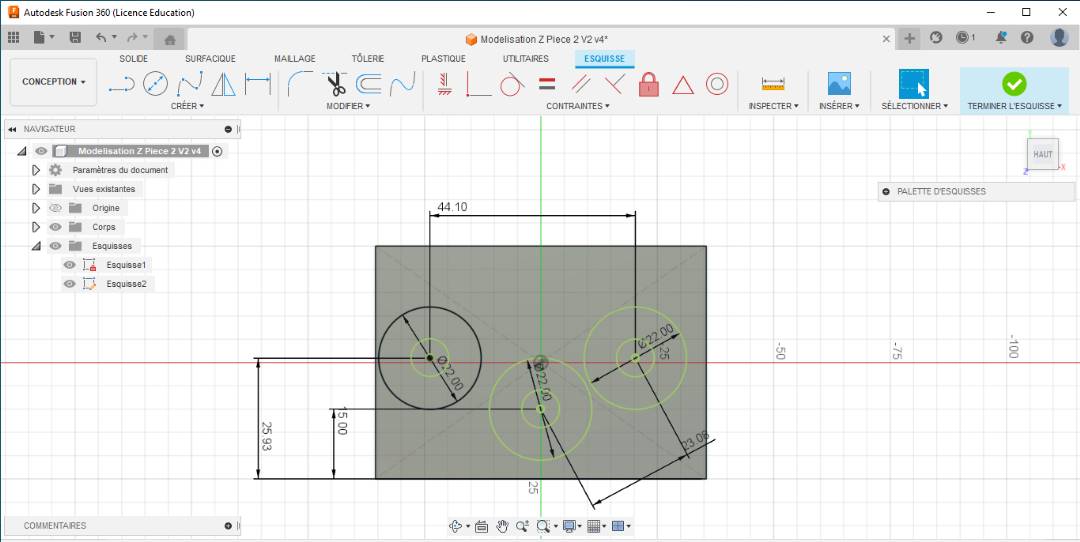

You can access the CAD file of my second part by clicking on it Model_2