1. Principles and practices
For this week of the fabacademy course,I worked on my website and how to use Gitlab. I also made a draft of my final project idea. The objective here is not necessarily to have a clear idea of the final project. But an idea that I will on throughout the course and refine for its realization.
Sketch of my potential final project
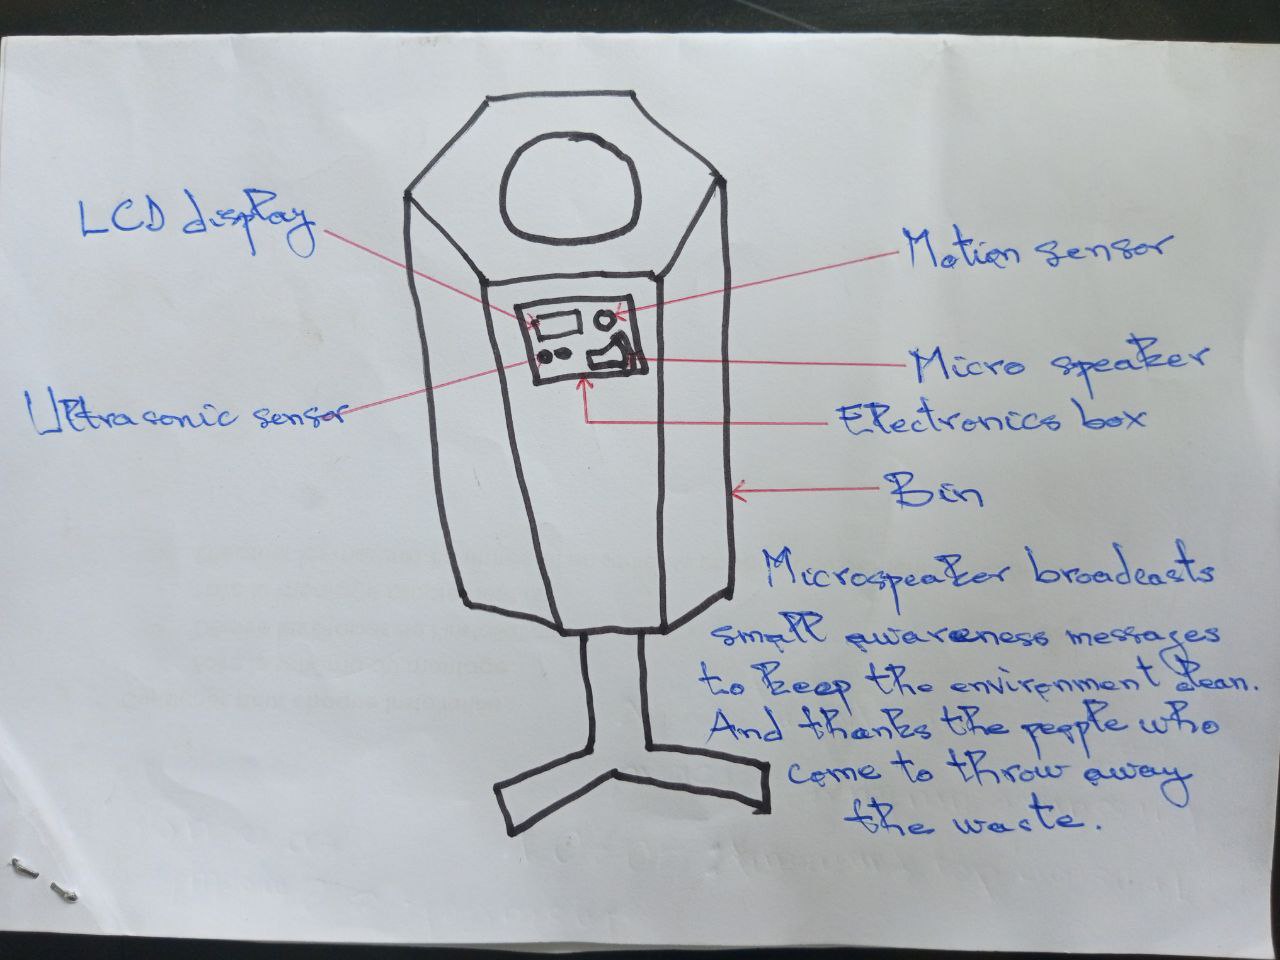
Keeping our environment clean is fundamental to our well being and a pleasant living environment. But this is a challenge in our environment today. In order to make people aware of the situation so that they no longer throw waste on the ground but in the appropriate bins, my project consists of creating intelligent bins that make people aware of keeping their environment clean. The system will be equipped with sensors and other electronic components and will be powered by solar energy, making it autonomous. Its objective is to raise awareness of cleanliness through small messages as soon as it notices a human presence within its range. It will be used by local authorities, municipalities and universities, as well as schools, so that they can install it in their various environments to raise awareness of the need to keep the environment clean.
2. Project management
This week I started by building my site using Git and Markdown. I also used VS code as a code editor to edit the markdown code used in my website.
The first thing to do is to install Git. Whatever the operating system, there is a compatible version.
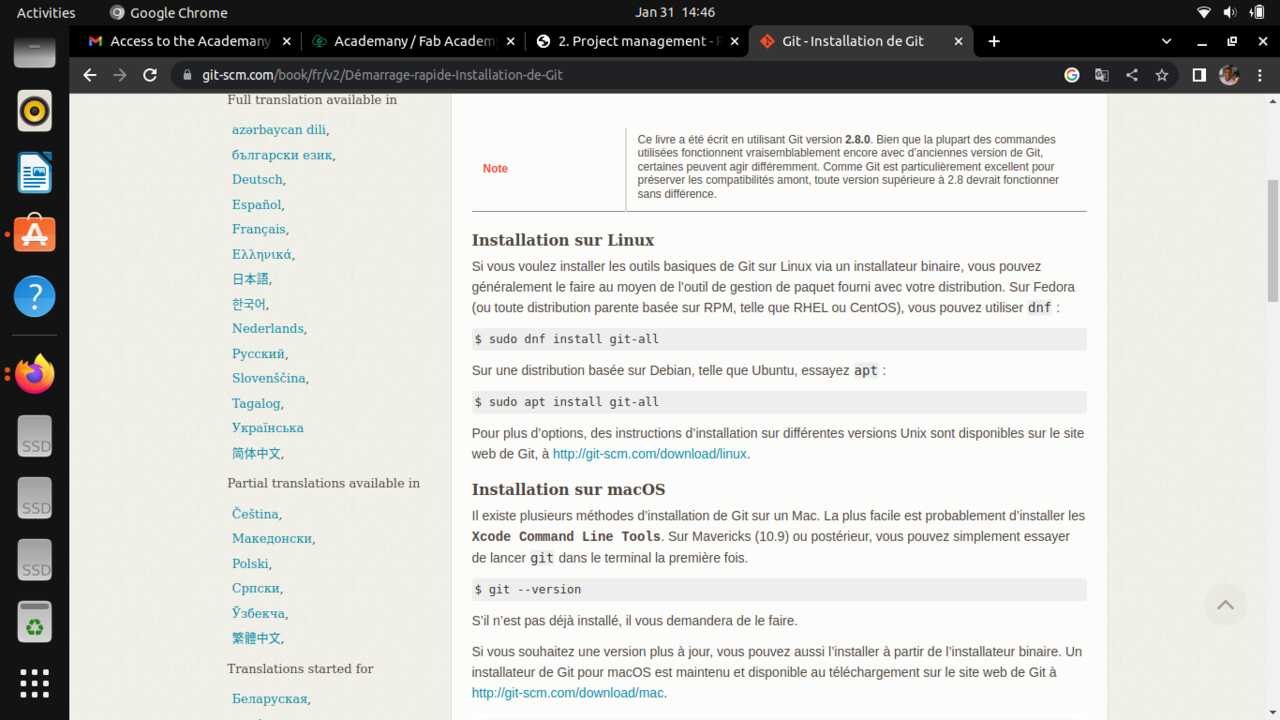
The image below shows how I installed Git from the commands.
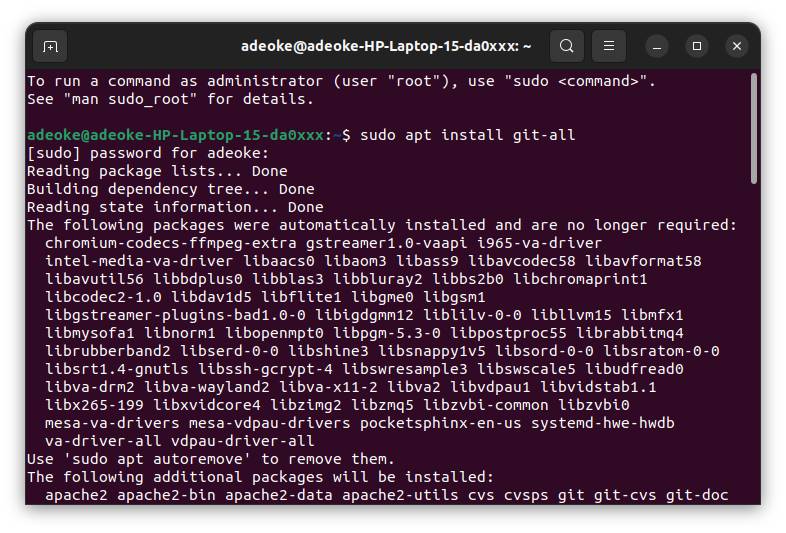
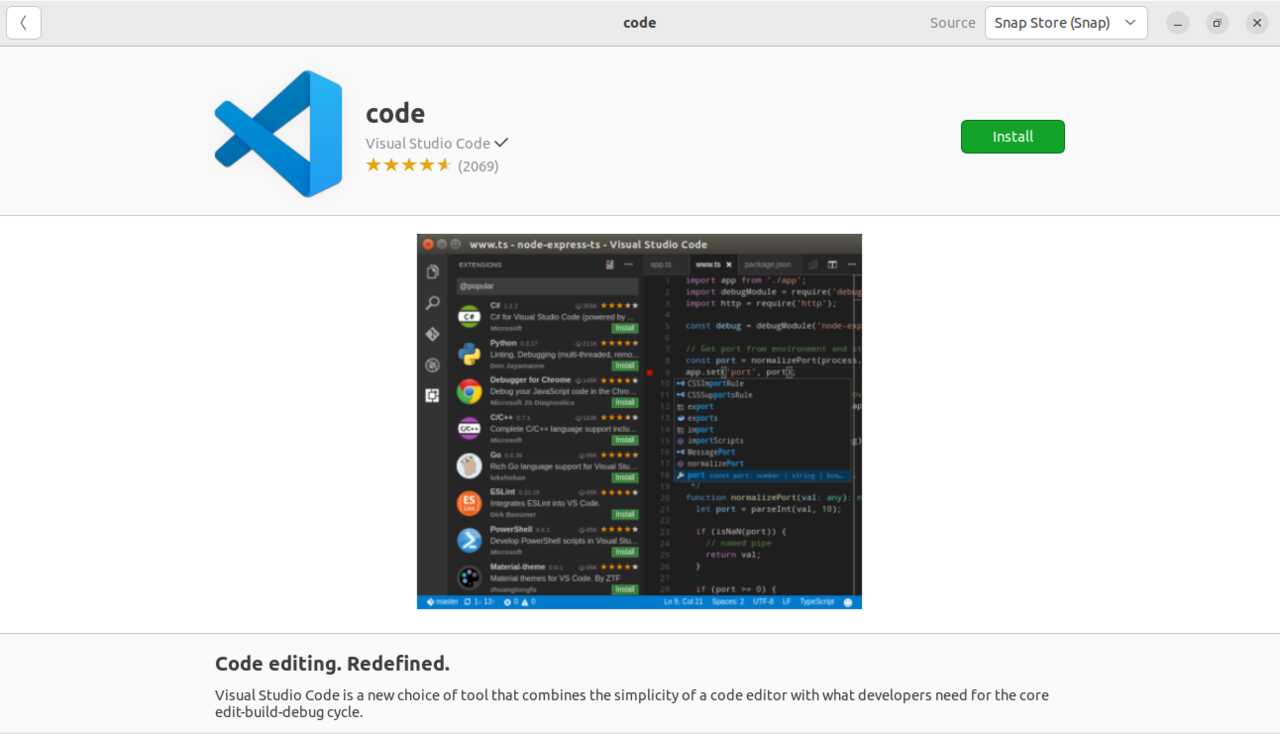
I also installed VS code
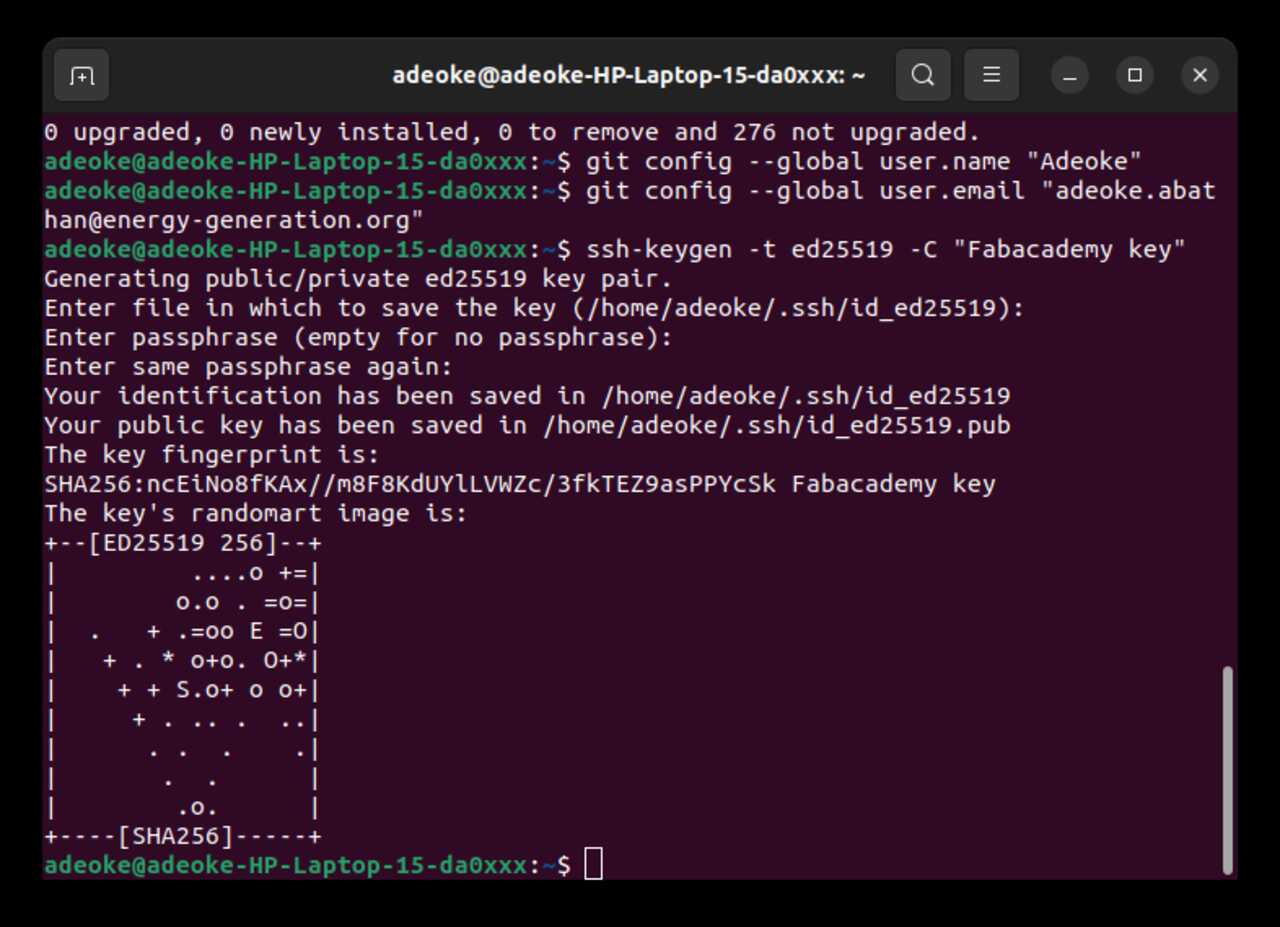
During the installation of Git, it is important to define your username and email address.

After the installation, you need to generate the SSH key
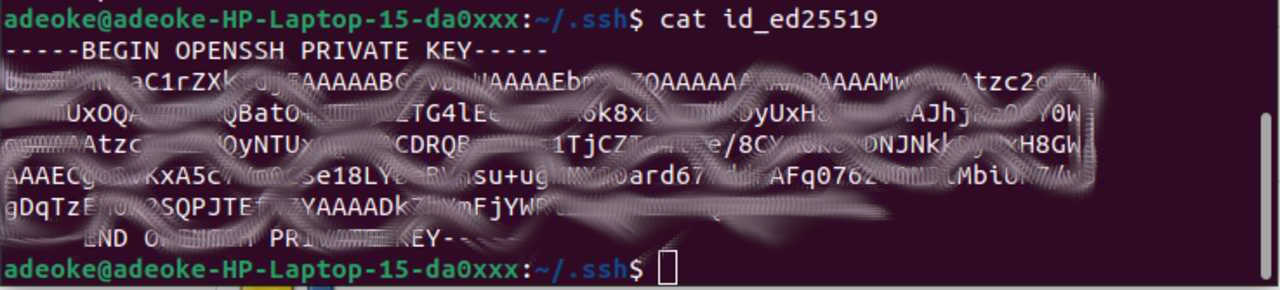
- Copied the key and then when in to my Gitlab page
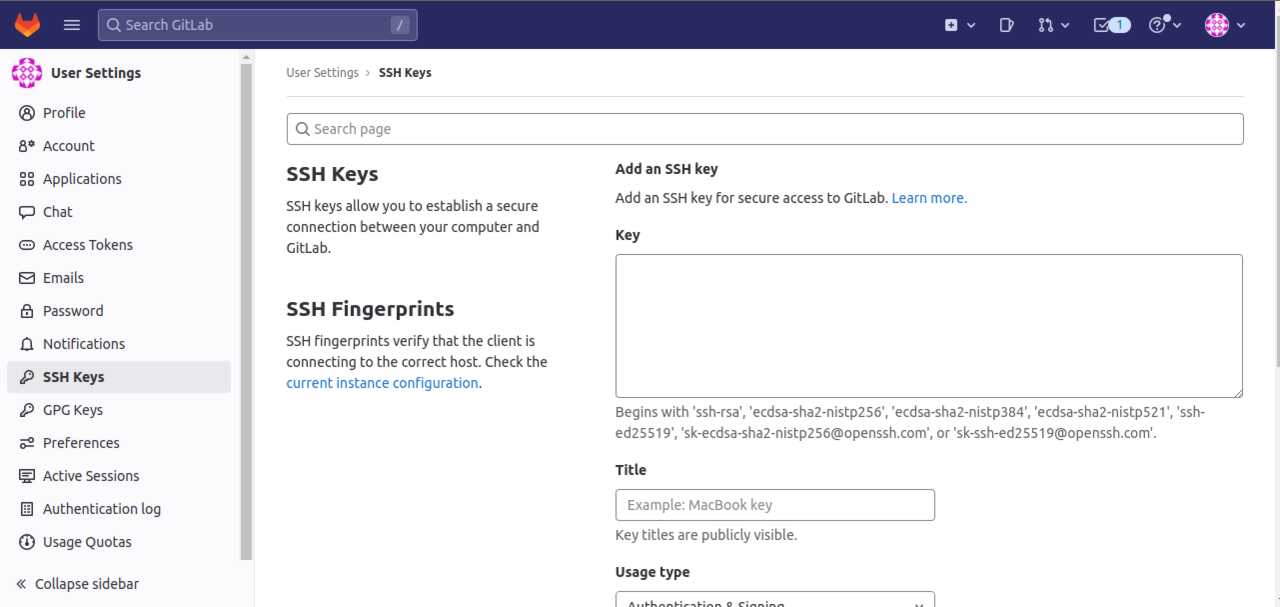
- Navigated to the page(that is the SSH keys page under your user preferences page) where I can add my SSH keys
- Pasted it there and then clicked on add keys
Now I’m going to clone my gitlab repository on my computer. To do this, I first have to go to my gitlab repository.

On this page, we can easily see a blue “Clone” button.
By clicking on this button, we have two options (copy ssh clone url and copy https clone url). For my case, I chose “copy ssh clone url”.
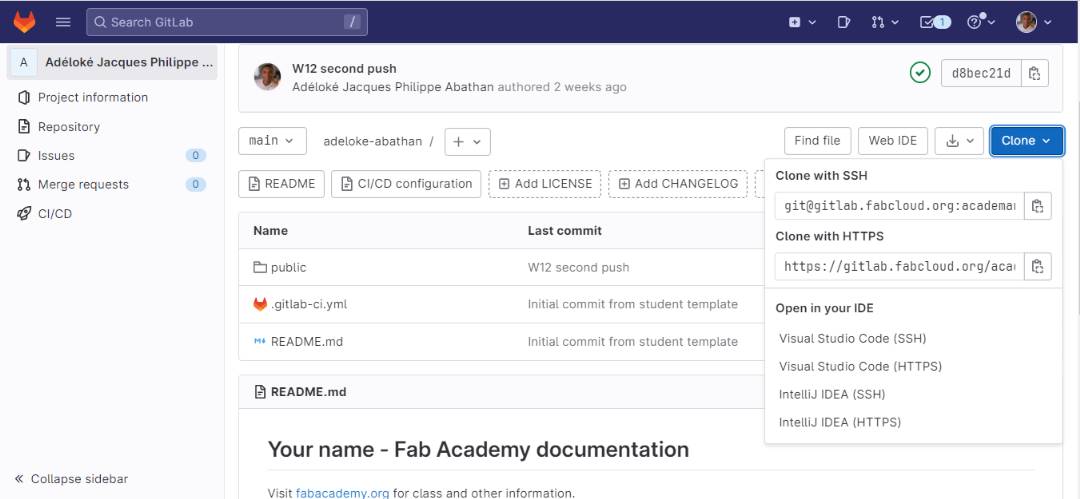
After copying the url, I opened git Bash and executed the following command: git@gitlab.fabcloud.org:academany/fabacademy/2023/labs/energylab/students/adeloke-abathan.git

Now I’m going to install MkDocs on my computer. To do this, we open git bash and run the following command to install MKDocs:
pip-install mkdocs
After the installation, I started to test the markdown language and to edit the website using the MkDocs documentation in order to add the necessary features and plugins (Table, list,…). But before we do that, we need to make sure we are in our cloned gitlab repository on our PC first.
The image below shows how on git bash I access my cloned folder.

We are now in the right folder and we just need to enter the following command to open our site locally:
| mkdocs serve
Once the order is validated, you can access the local site page by clicking on the link that will appear in your terminal. For my case, here it is: http://127.0.0.1:8000/2023/labs/energylab/students/adeloke-abathan/assignments/week01/
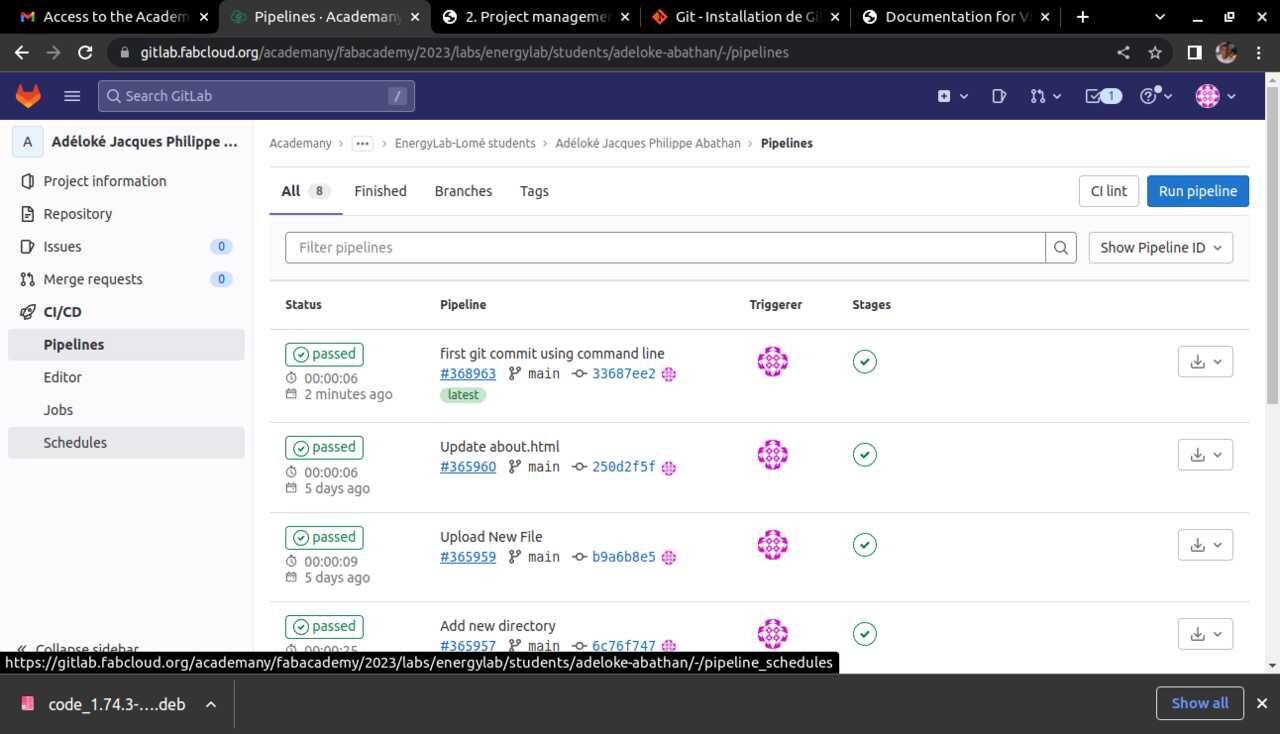
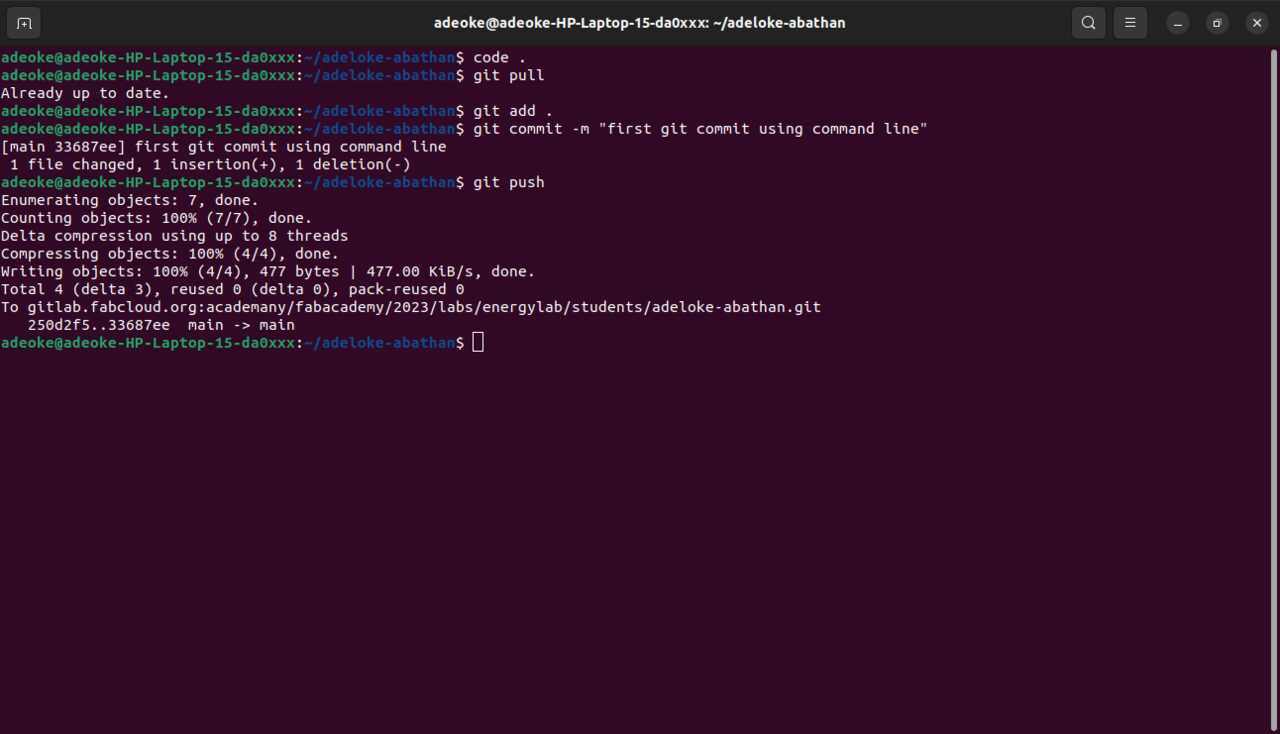
How I add and commit changes then push my website to Gitlab?
You will use the add and commit functions to add and commit changes that you make to git.
- git add . takes a modified file in your working directory and places the modified version in a staging area.
- git commit -m “comment” takes everything from the staging area and makes a permanent snapshot of the current state of your repository that is associated with a unique identifier.
- git pushTo add the changes to your git repo files on your computer to the version of your repository on Gitlab, you need to push them Gitlab.
The image below shows the three steps we just discussed.
Gitlab Last update