12. Molding and Casting
This week we mainly worked on molding and casting. As for the different assignments, here is a general overview.
Hero Shots
Assignent Requirements
Group assignment
-
Review the safety data sheets for each of your molding and casting materials
-
Make and compare test casts with each of them
Individual assignment
Design a mold around the stock and tooling that you’ll be using, mill it (rough cut + (at least) three-axis finish cut), and use it to cast parts.
Group Assignment
Requirements:
- Review the safety data sheets for each of your molding and casting materials
- Make and compare test casts with each of them
Link to group assignment page
The group assignment page can be found on the Energylab 2023 website here
it is also embedded directly in the webpage below.
Individual assignment
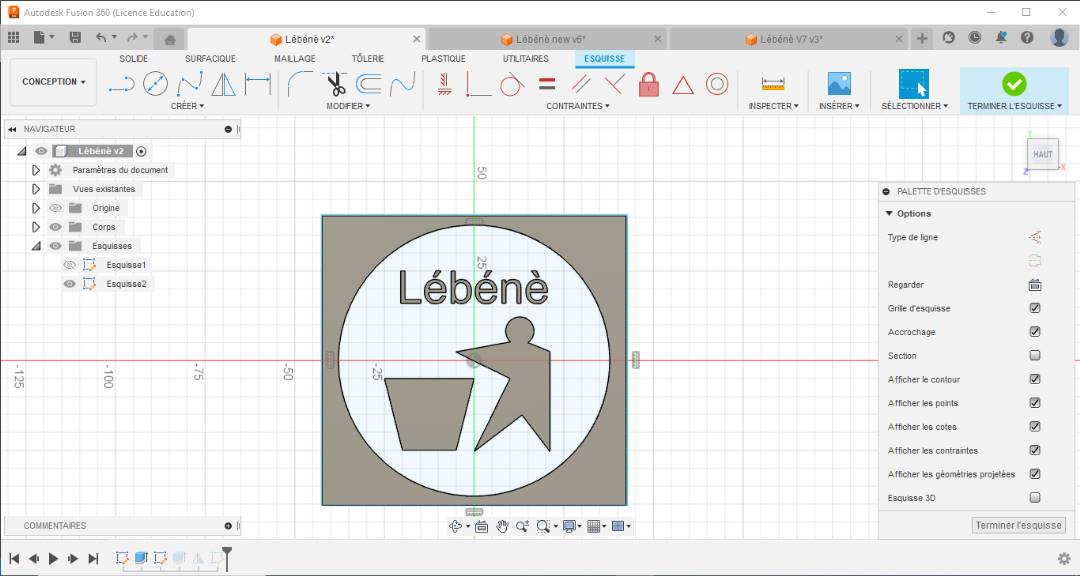
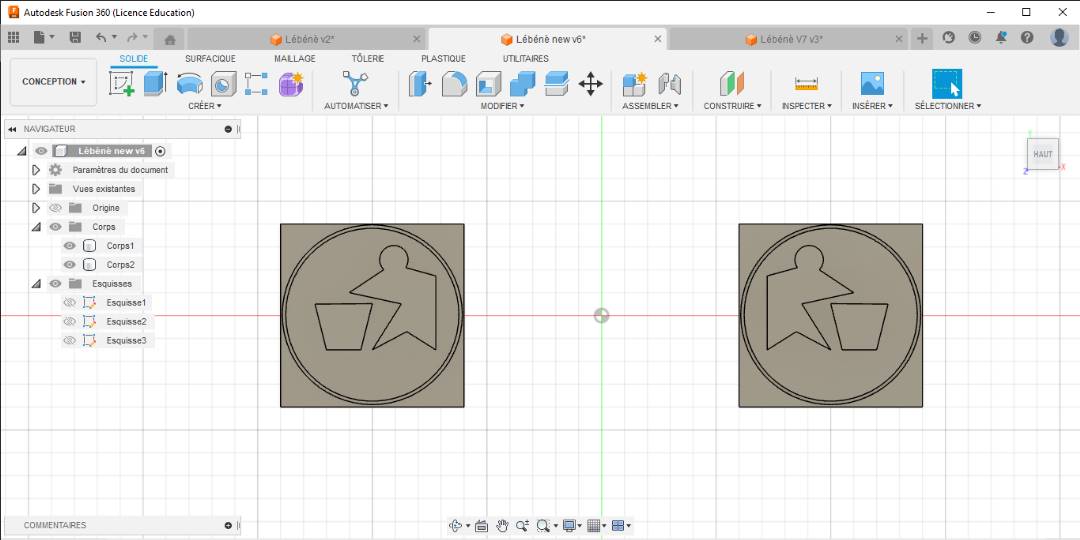
As for my individual assignment, my plan is to use the name of my final project which is called “Lébénè” (Take care in local language) to make the mold and cast.
Here are some pictures of the modelling
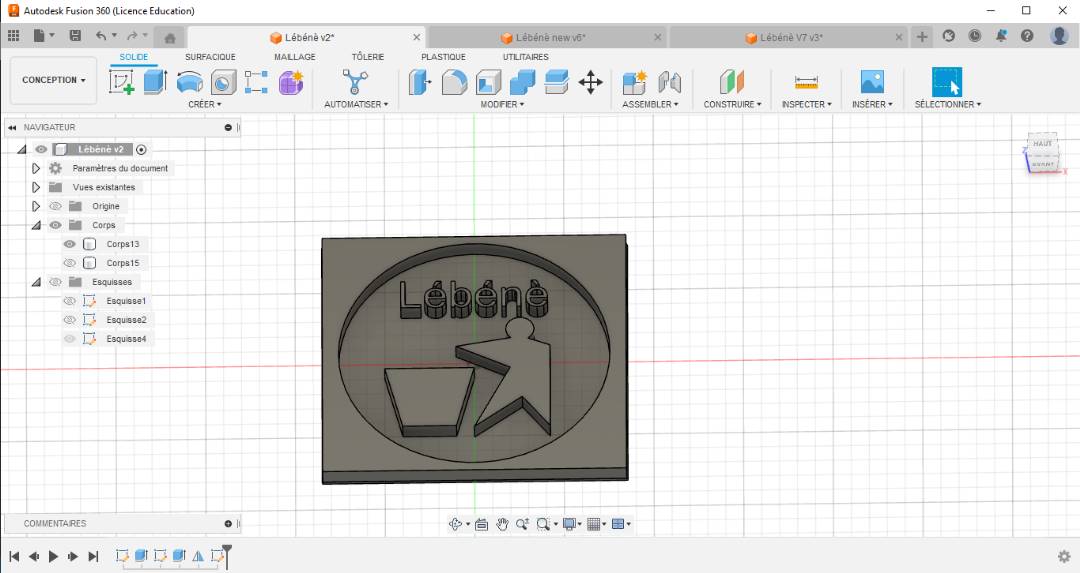
After modeling, I started cutting with the CNC, but I had problems with cutting the name because we don’t have a suitable machine to cut the name. So I had to remove the name from the model to be able to move forward with my work.
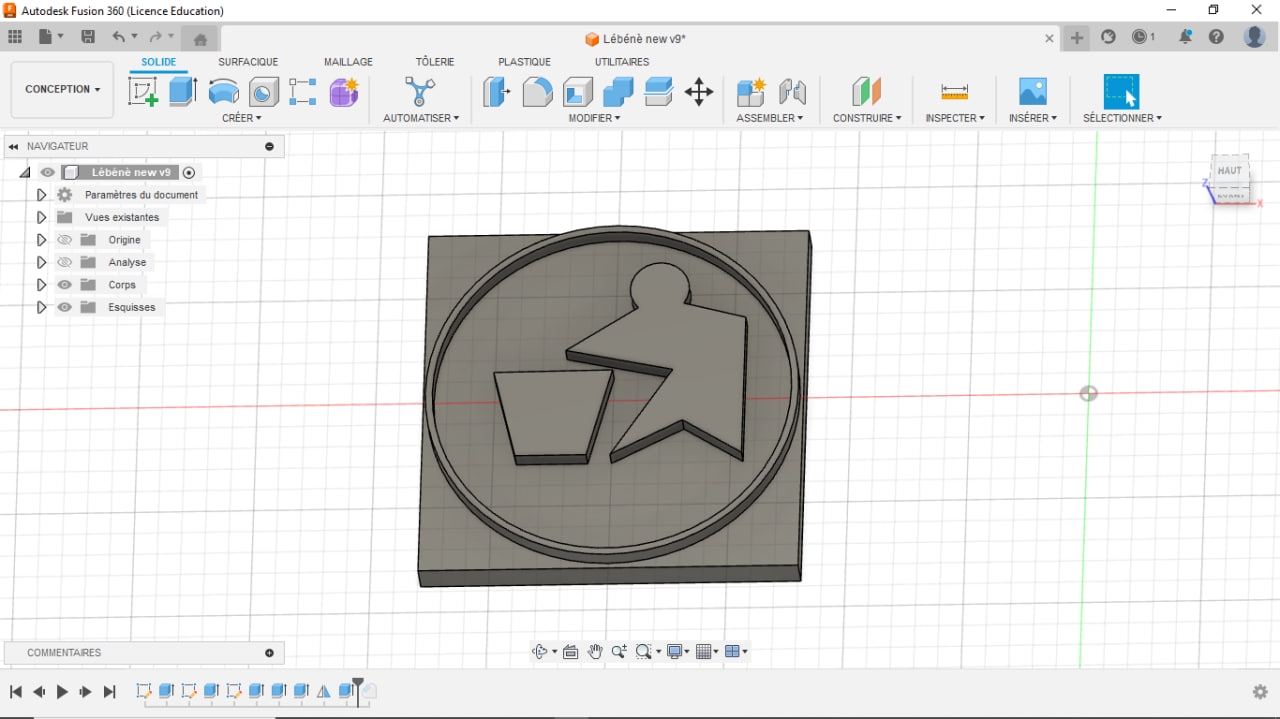
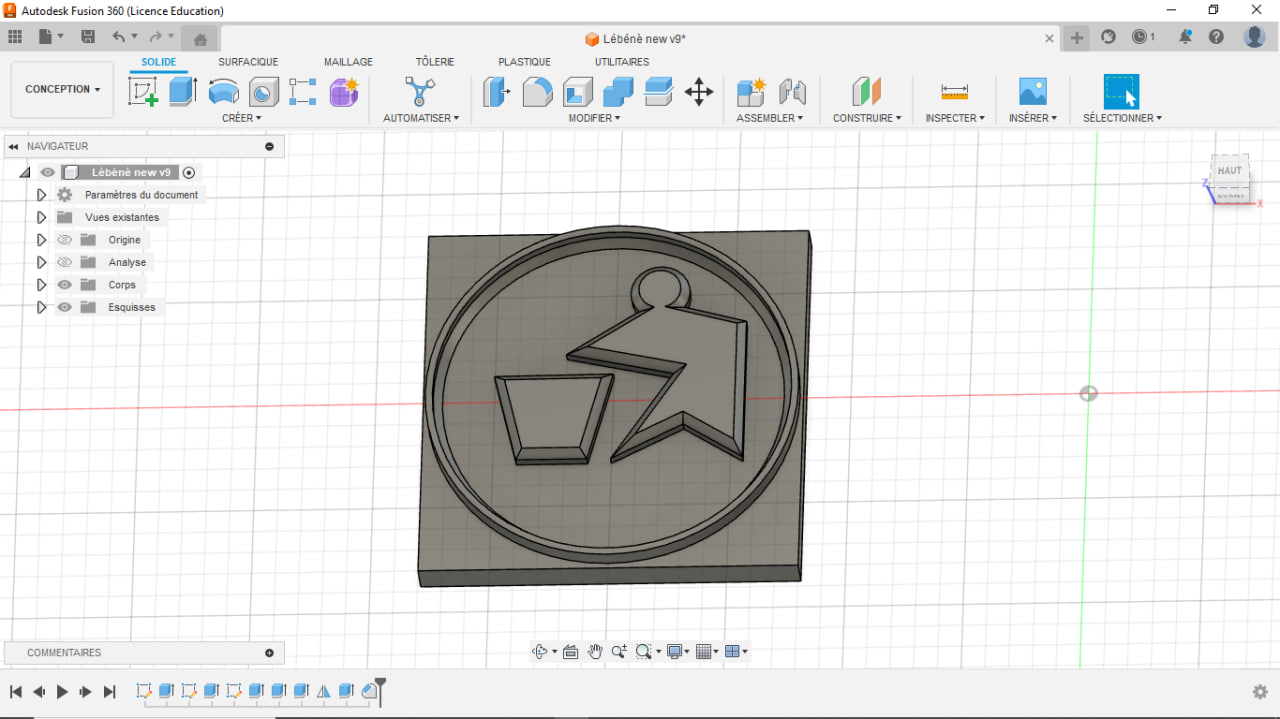
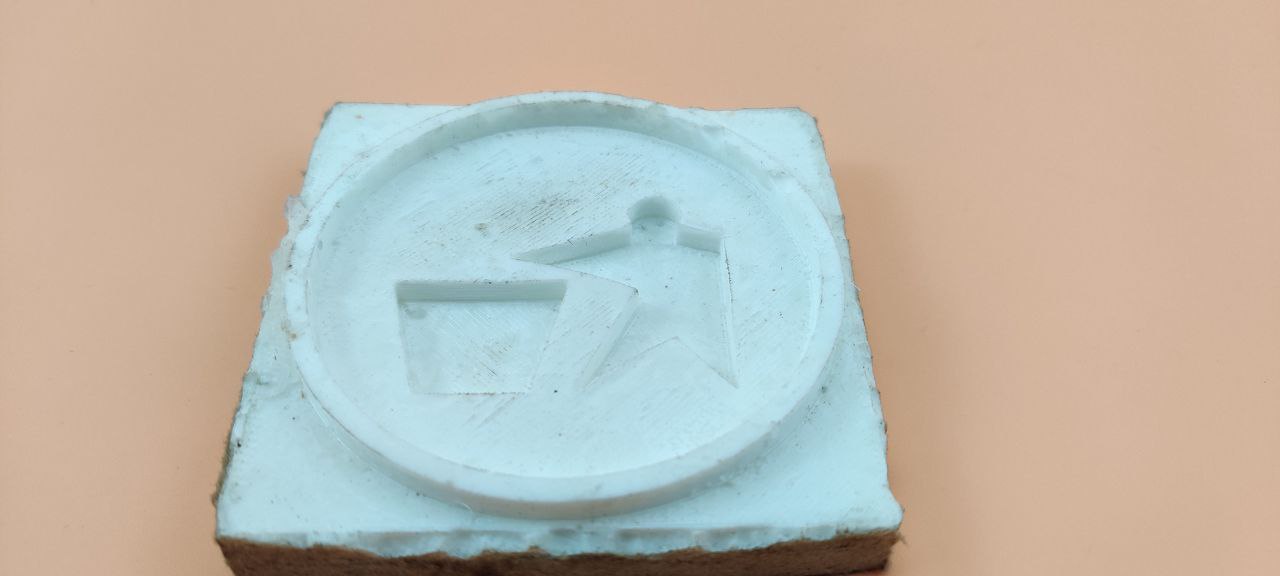
After deleting the name, here is the new model I worked with.
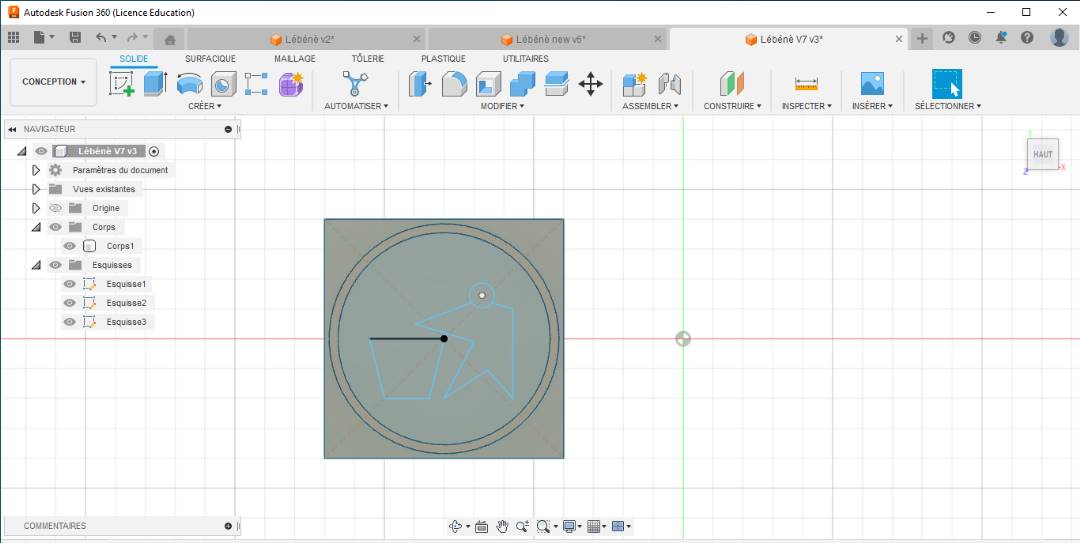
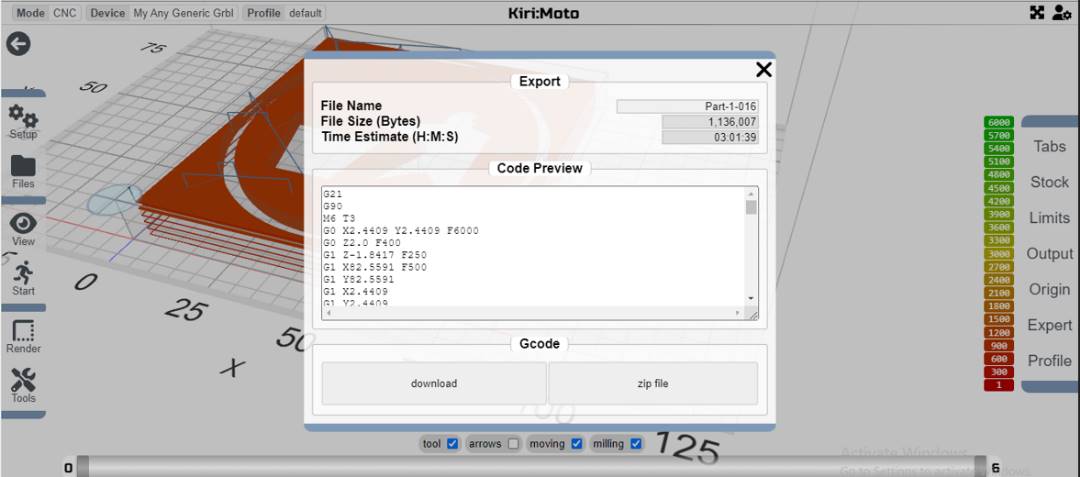
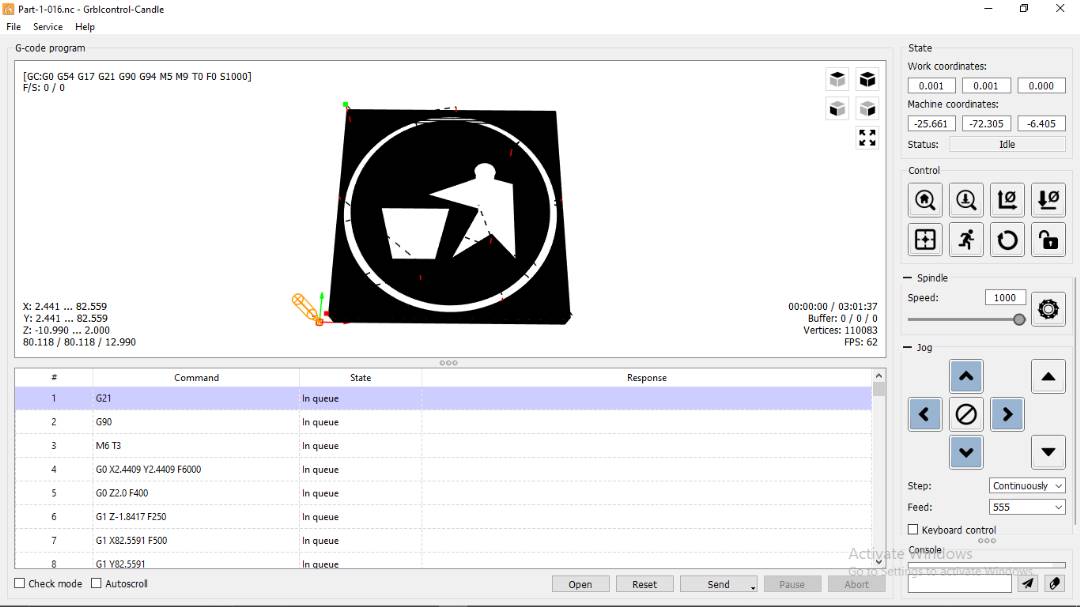
After modeling, I generated the G-Code that will enable me to make my cut.
About 3-axis milling
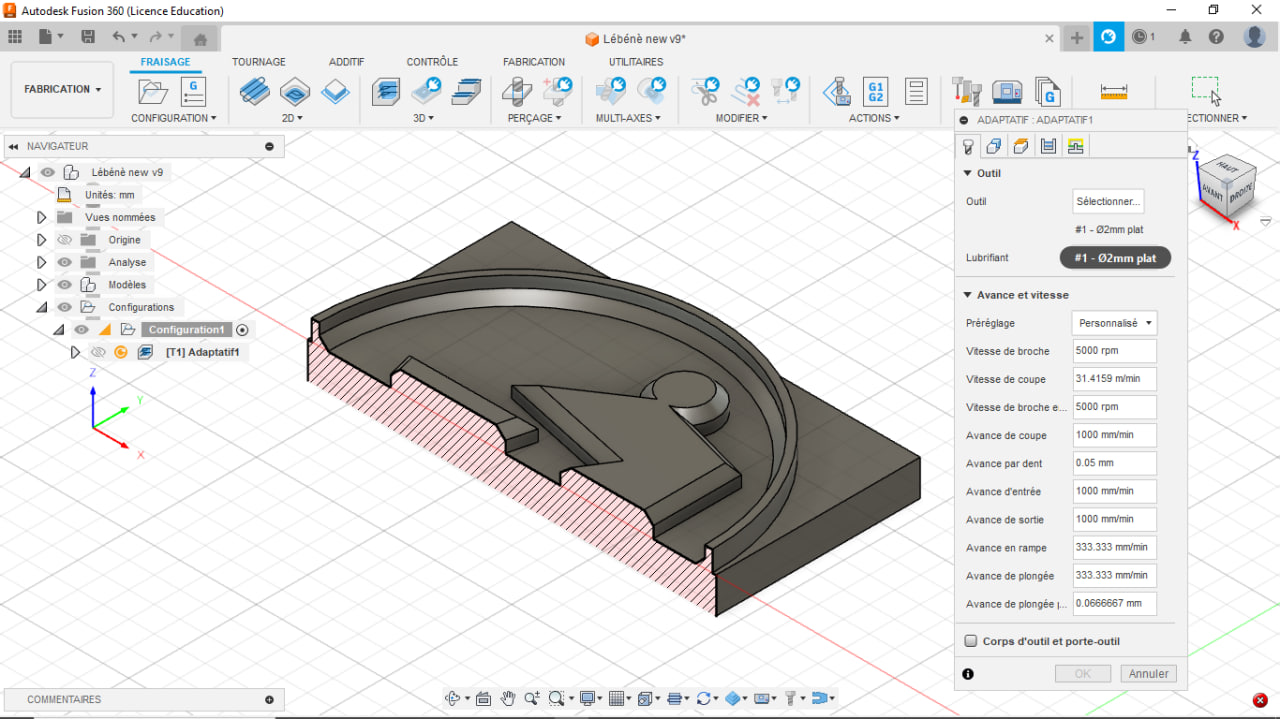
Concerning my modeling, I first made a “rough cut” and then a “finishing cut”.
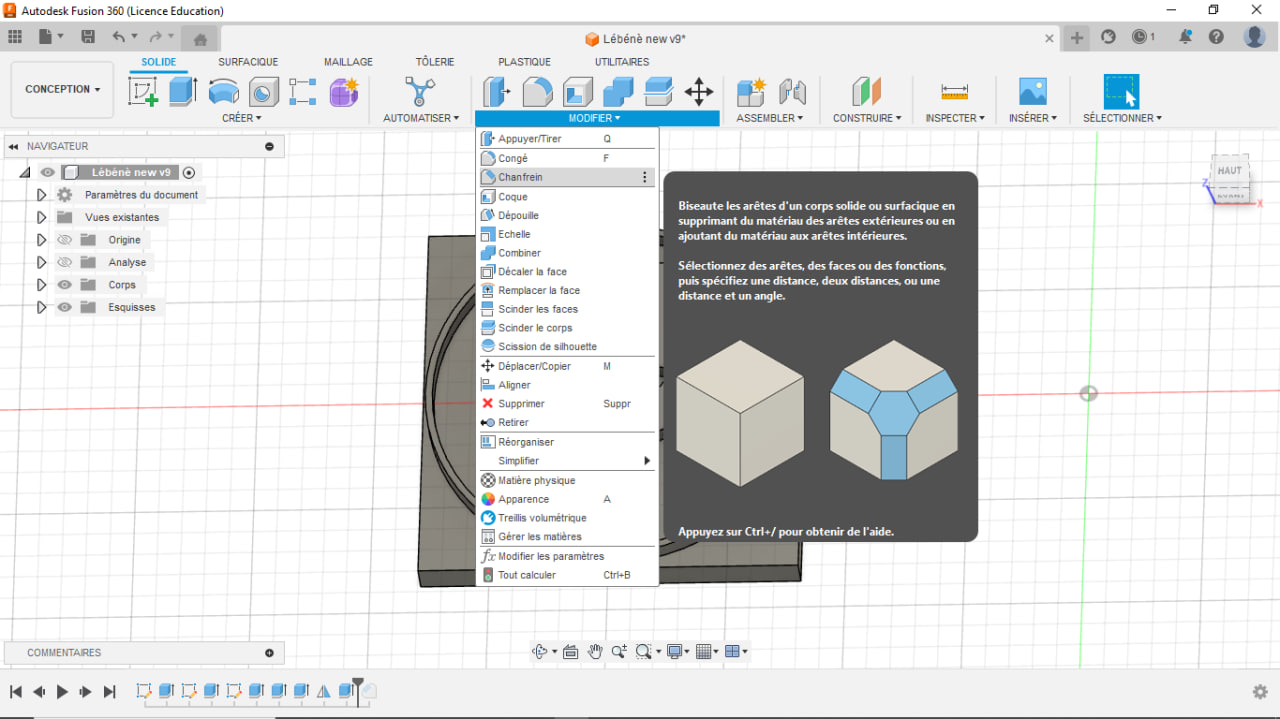
But well before these 2 operations, I made a small modification to my modeling by adding a “chamfer”.
Rough cut
The rough cutting process is the initial stage of milling where the primary goal is to remove excess material quickly. The rough cut is characterized by high material removal rates and is typically performed using a larger cutting tool with fewer flutes. The purpose is to remove as much material as possible in a shorter time, reducing the overall machining time.
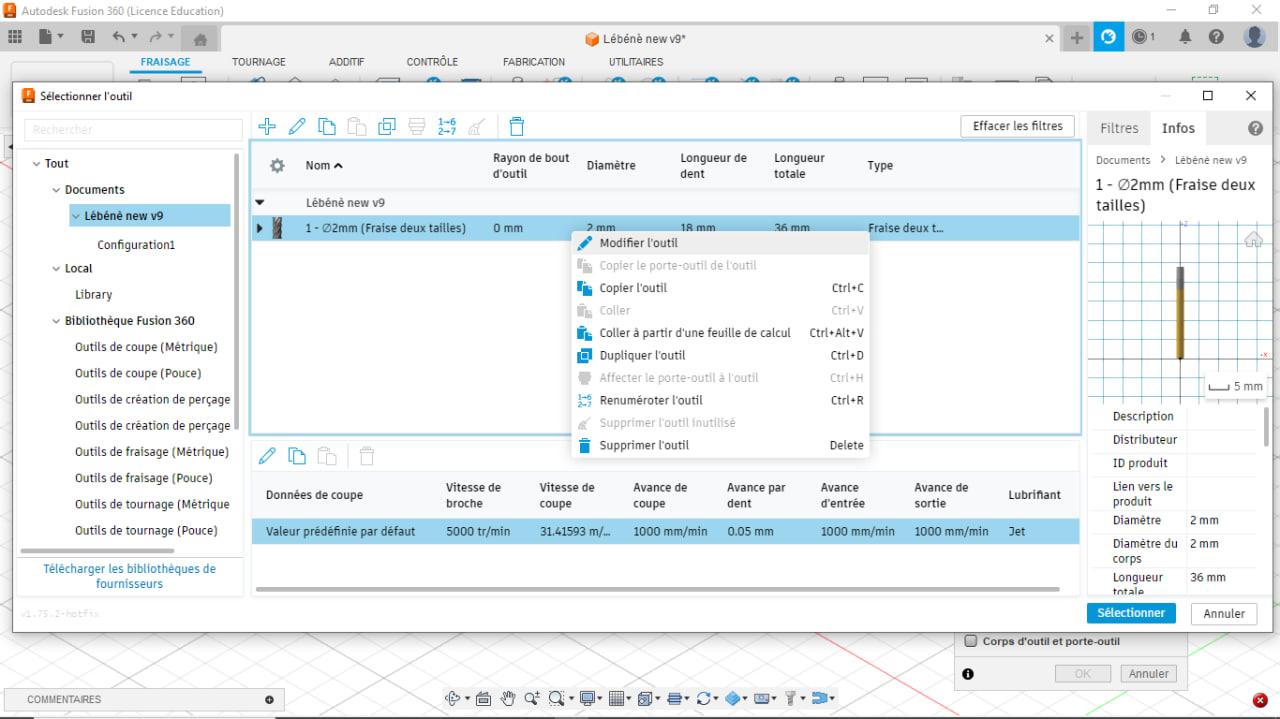
To do this, I’m going to use a 2 mm diameter bit.


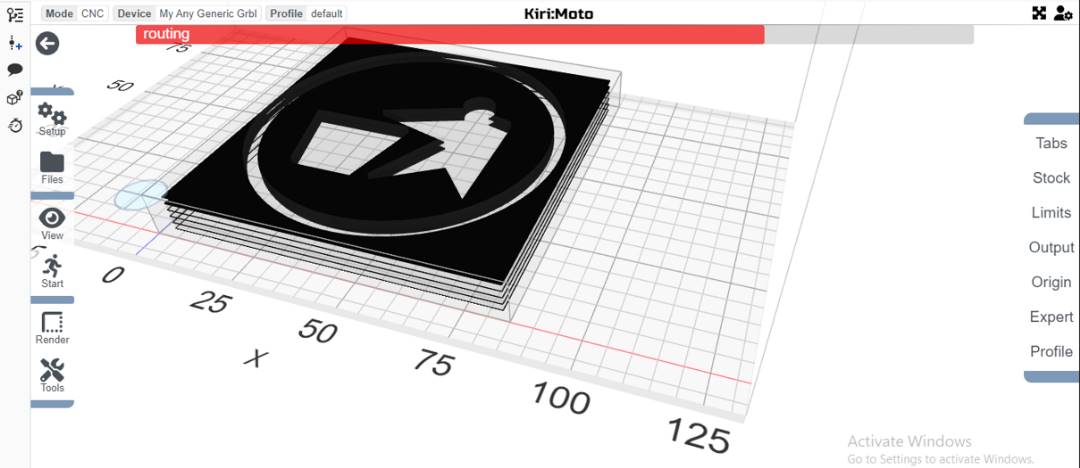
Here’s a “rough cut” simulation
Finishing cut
After the rough cut, the fine milling process is performed to achieve a smoother surface finish and improve dimensional accuracy. Fine milling involves using a smaller cutting tool with more flutes to achieve higher precision and finer detail on the workpiece. The fine milling process focuses on reducing the surface roughness and achieving the desired tolerances and surface quality.
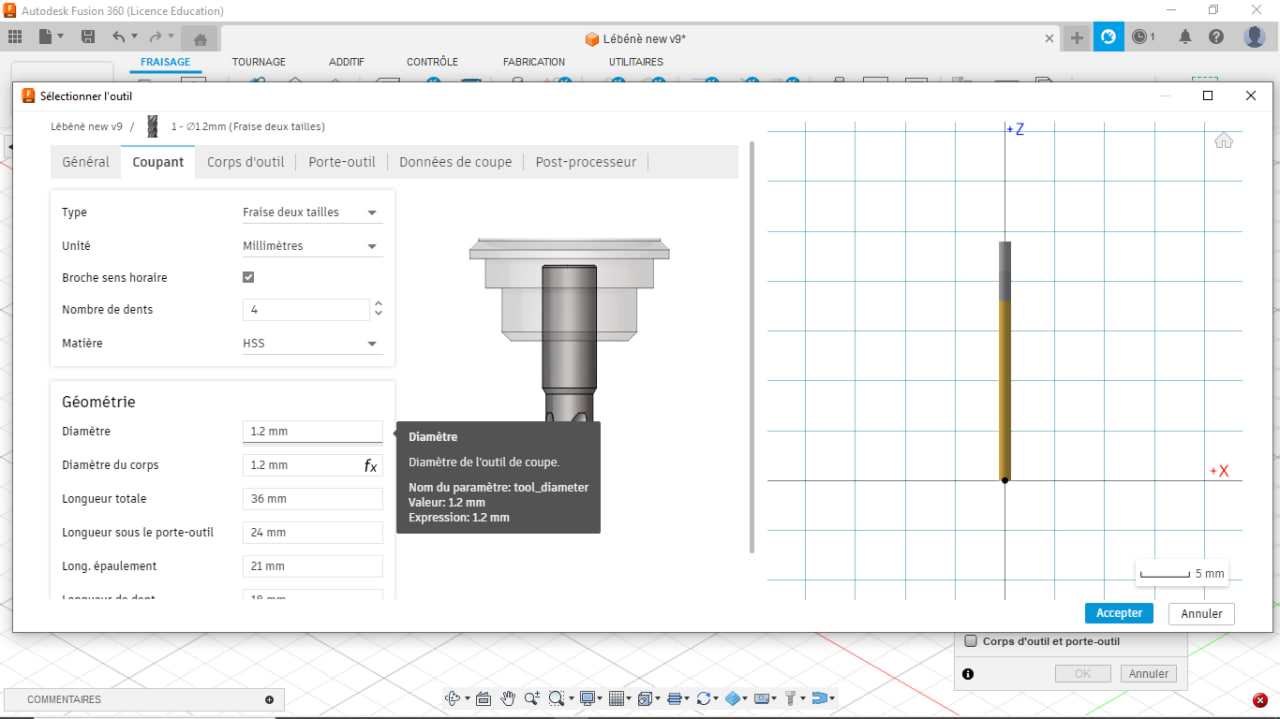
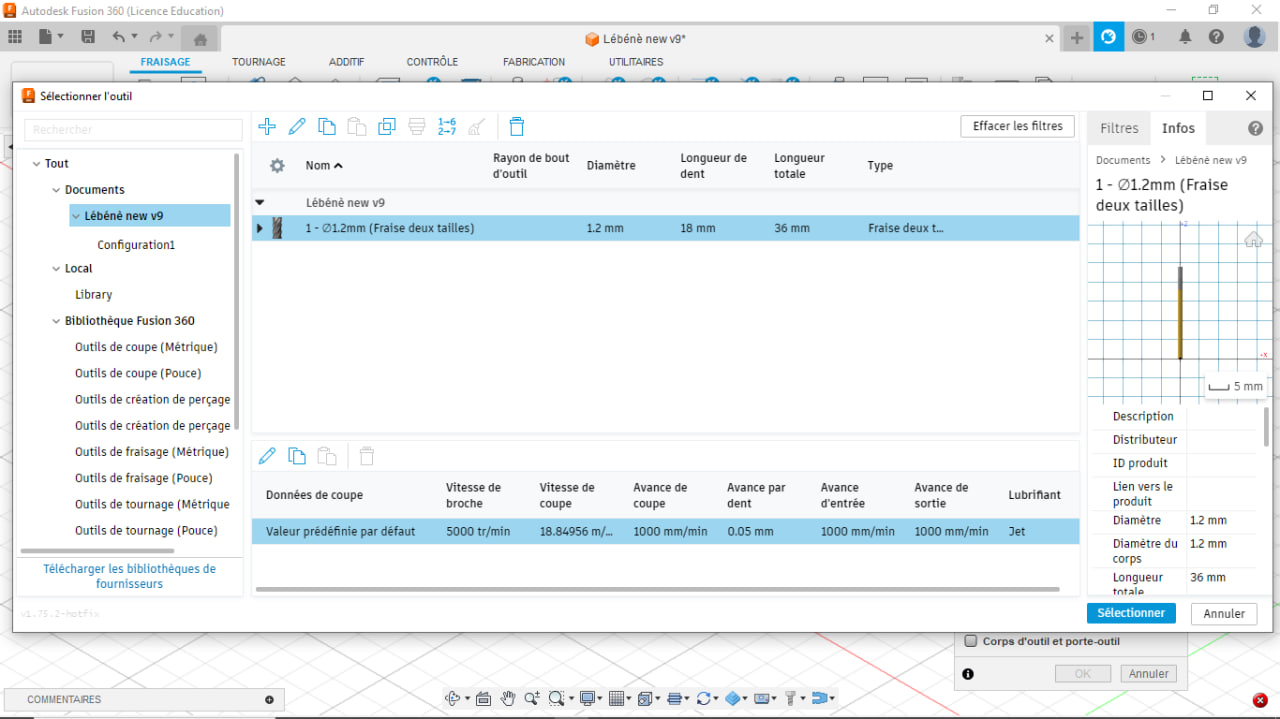
For the finishing, I’m going to use a 1.2 mm diameter bit.
Here’s a “finishing cut” simulation
Then I loaded the G-code file into our CNC software
Now I’ve installed the wax on the CNC.
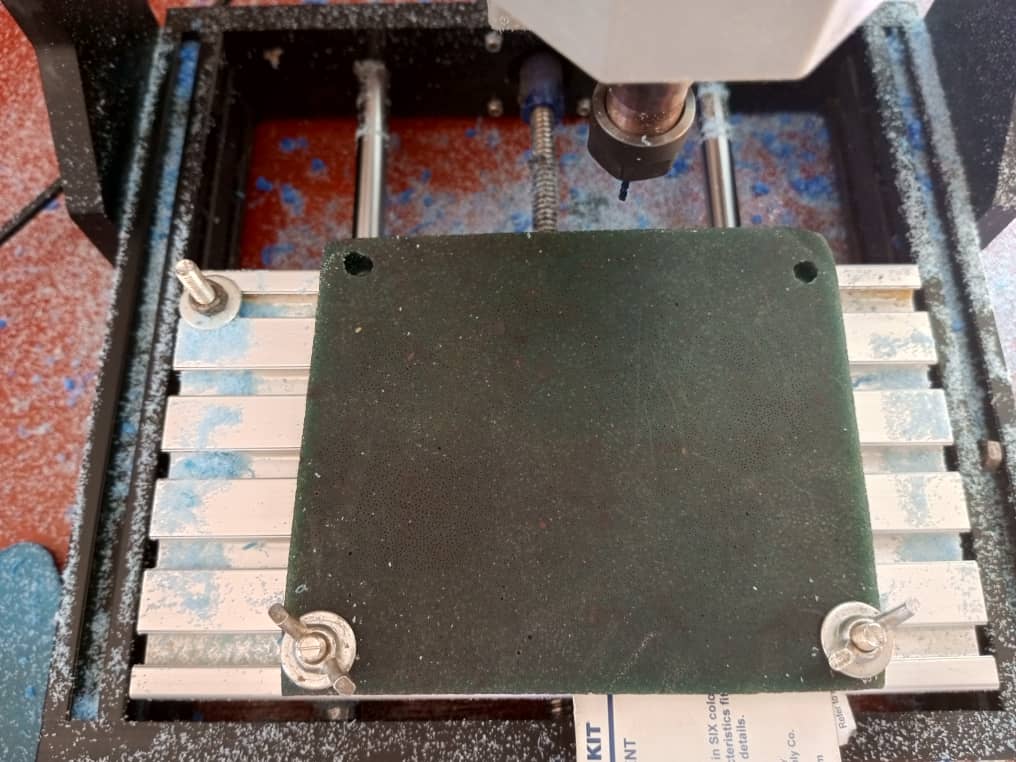
Cutting the model
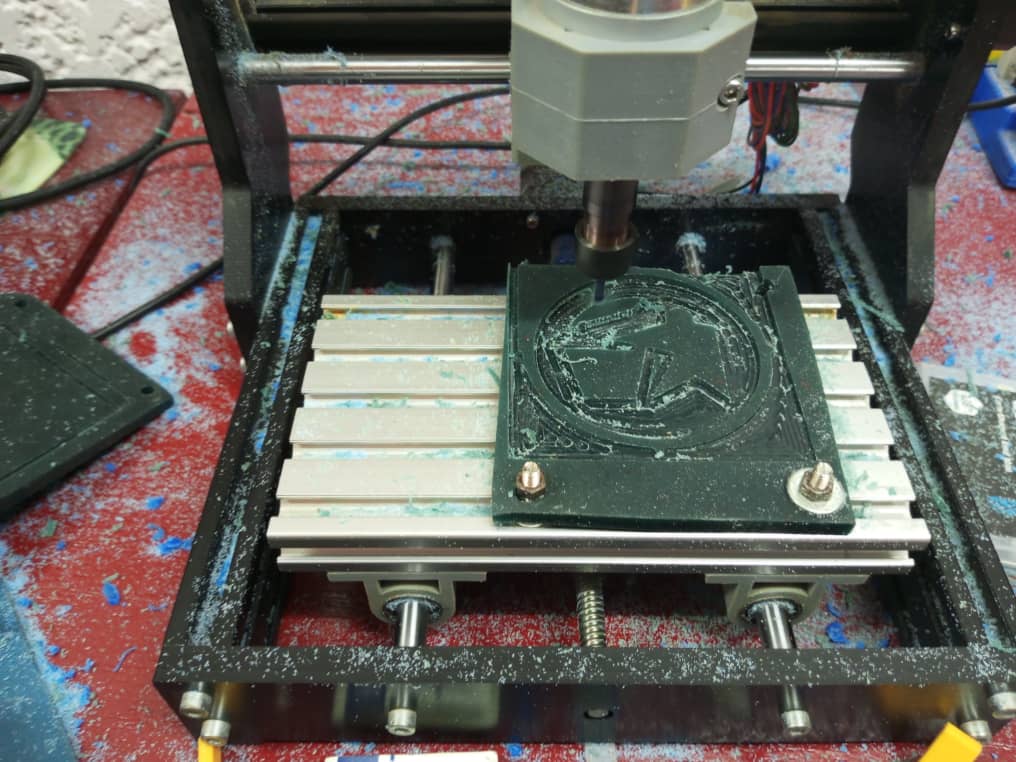
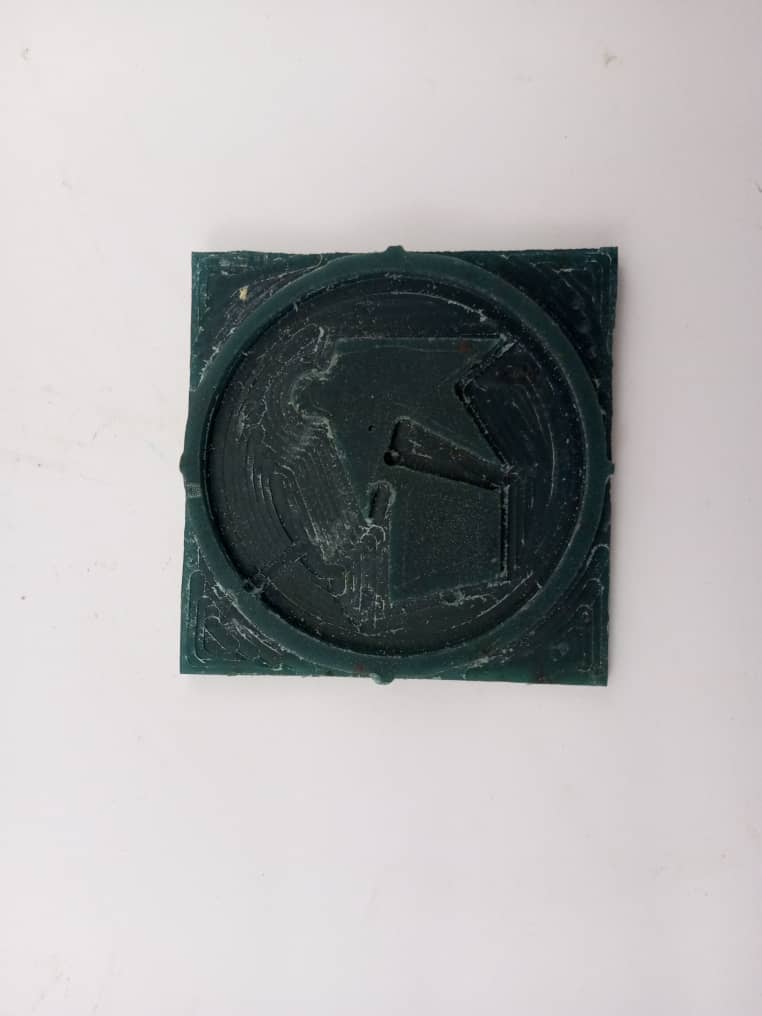
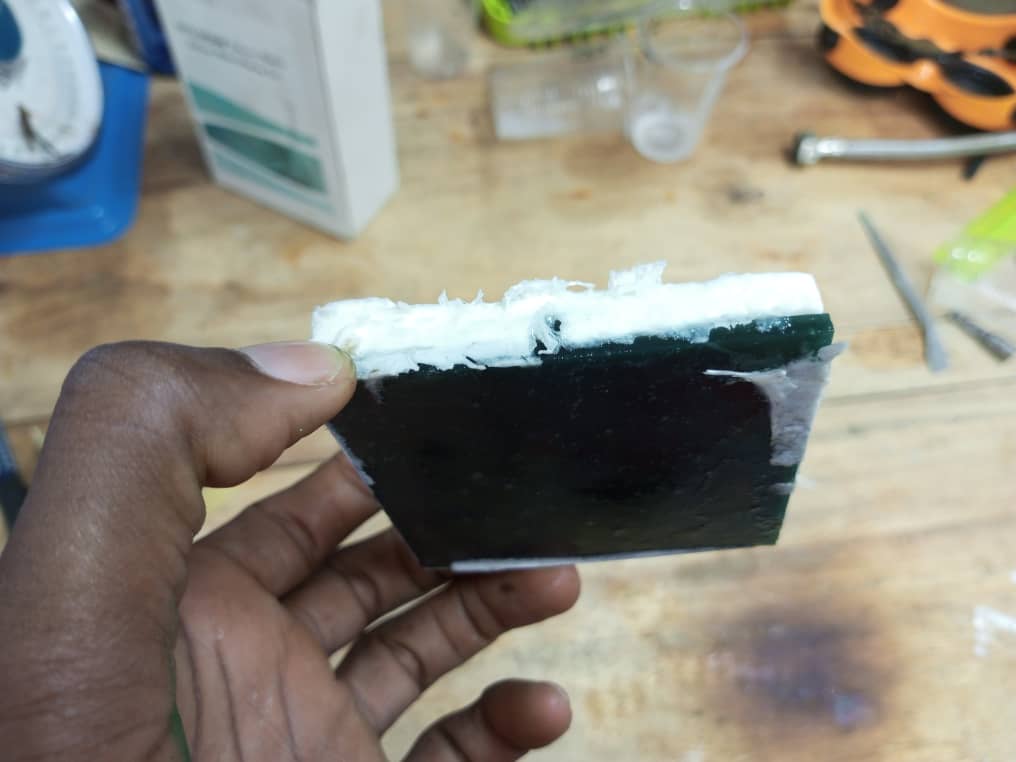
At the end of the cutting operation, the result is as follows
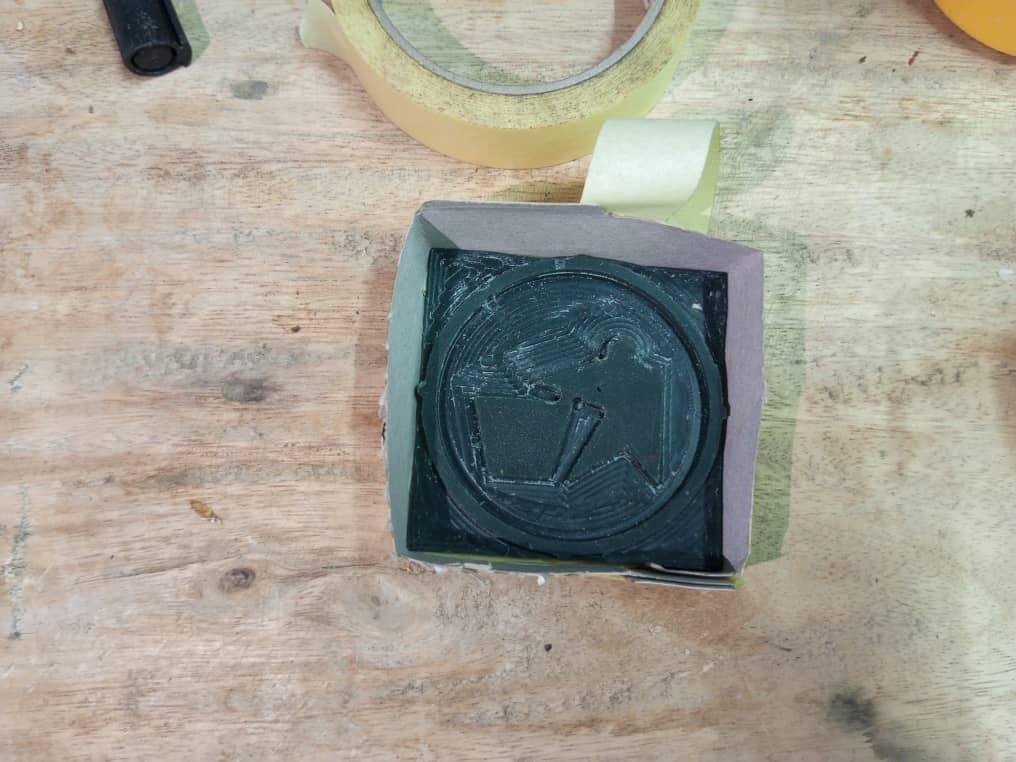
To create the first part of my mold, I put the wax I’d just cut into a small cardboard box with a certain height to give our mold a certain thickness.
To make the mould, I used “plastic Resin”.
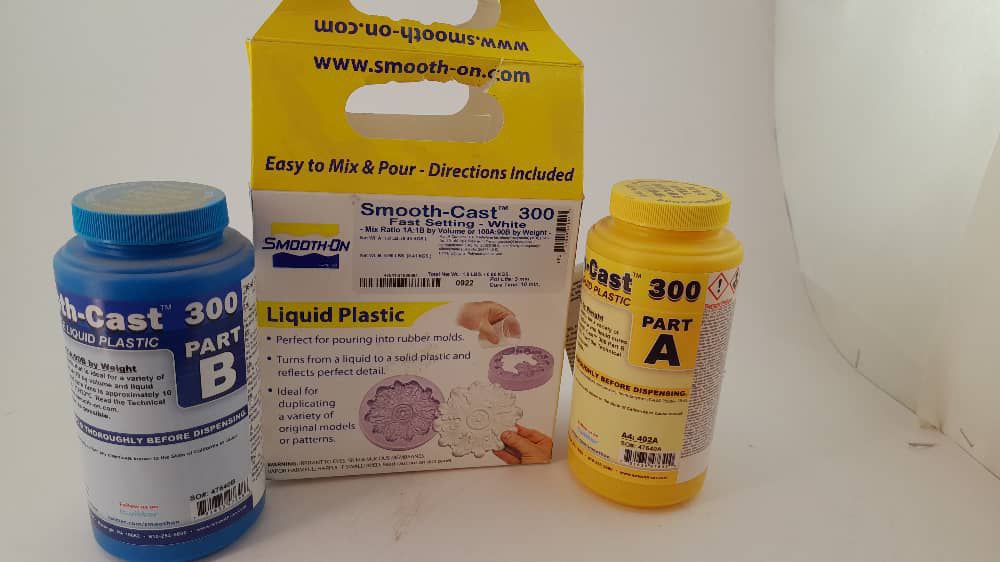
I took equal quantities of the 2 products.
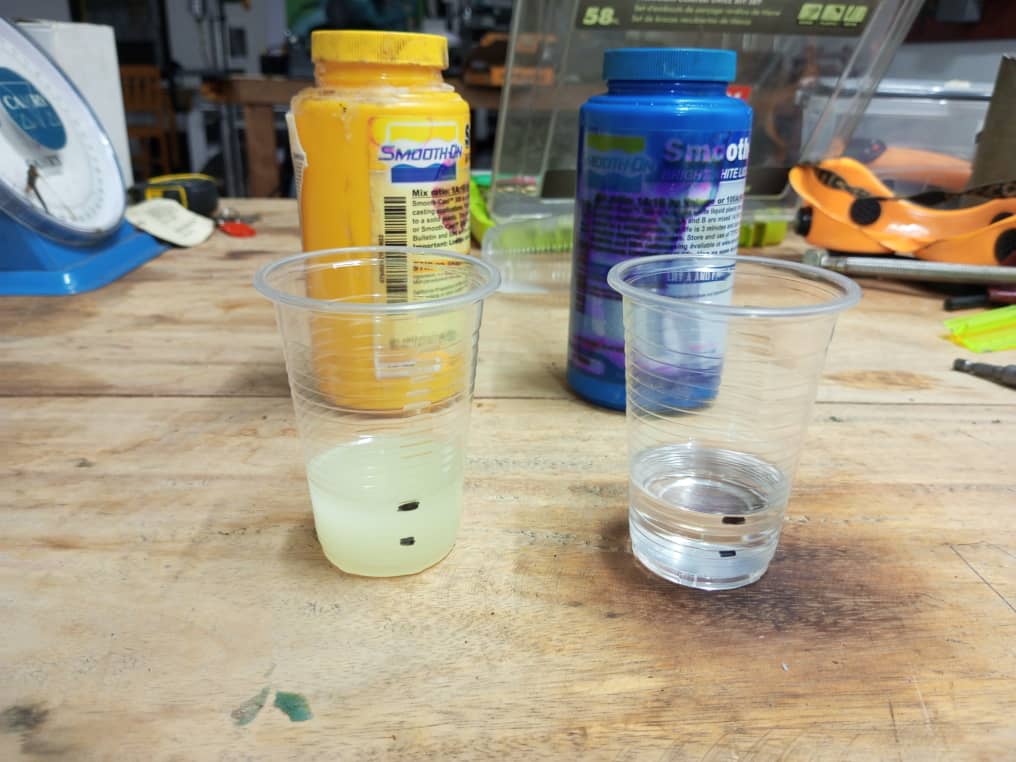
I poured one on top of the other
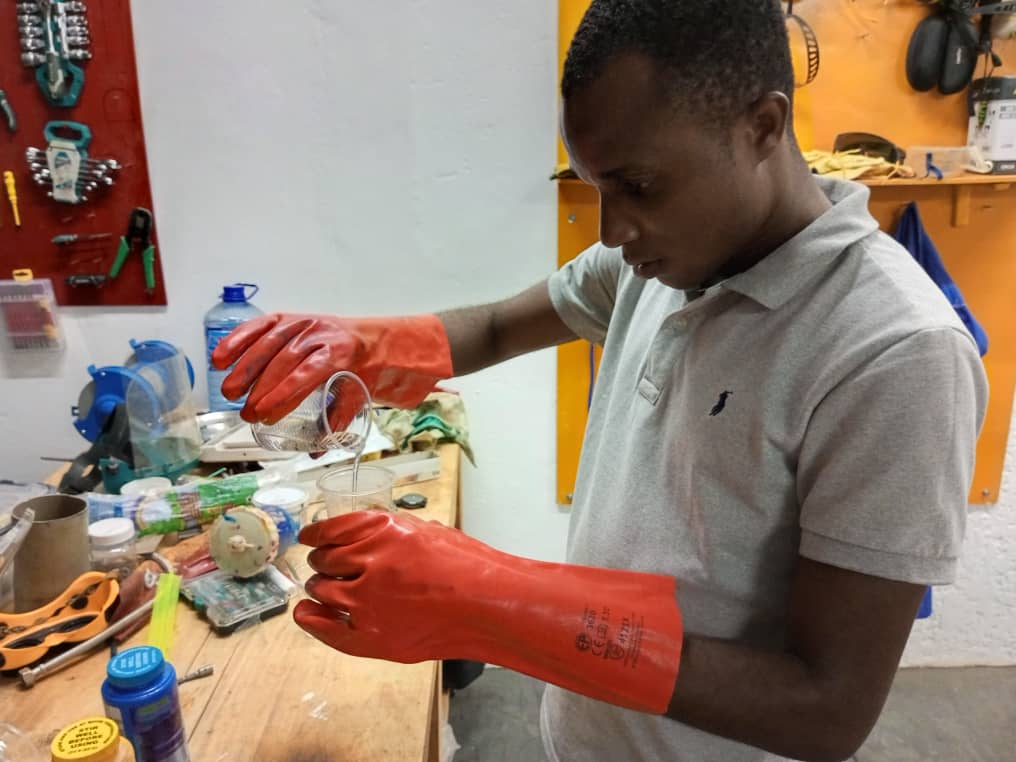
Then mix for at least 2 min.
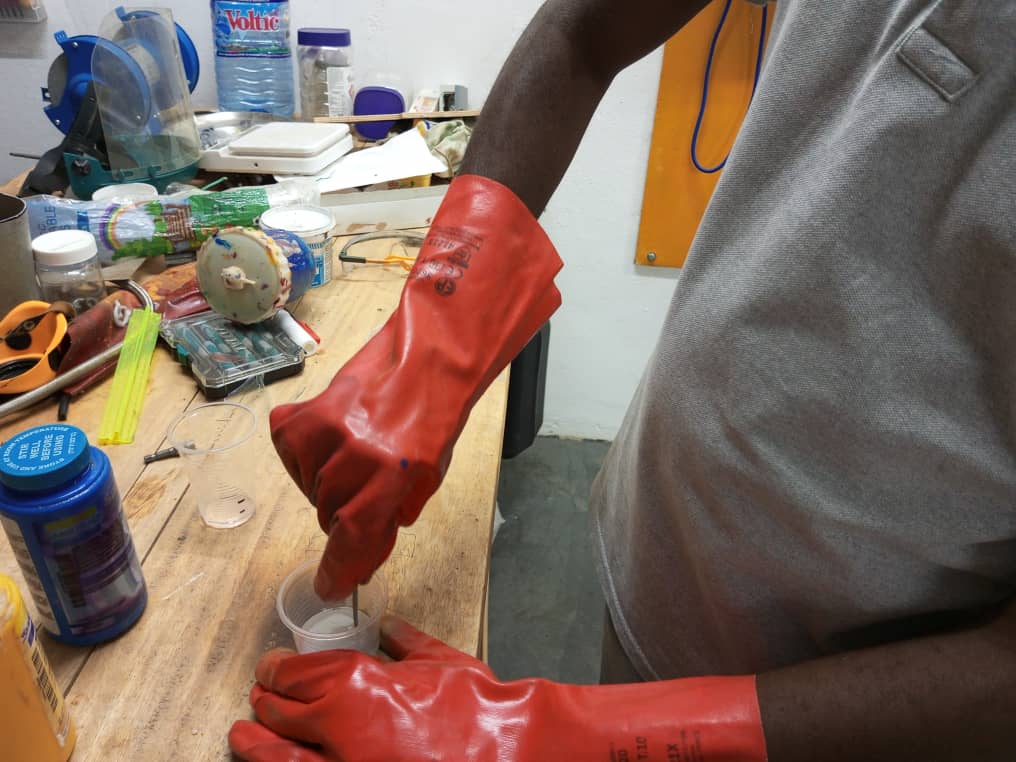
We pour the mixture into the mould we’ve prepared.

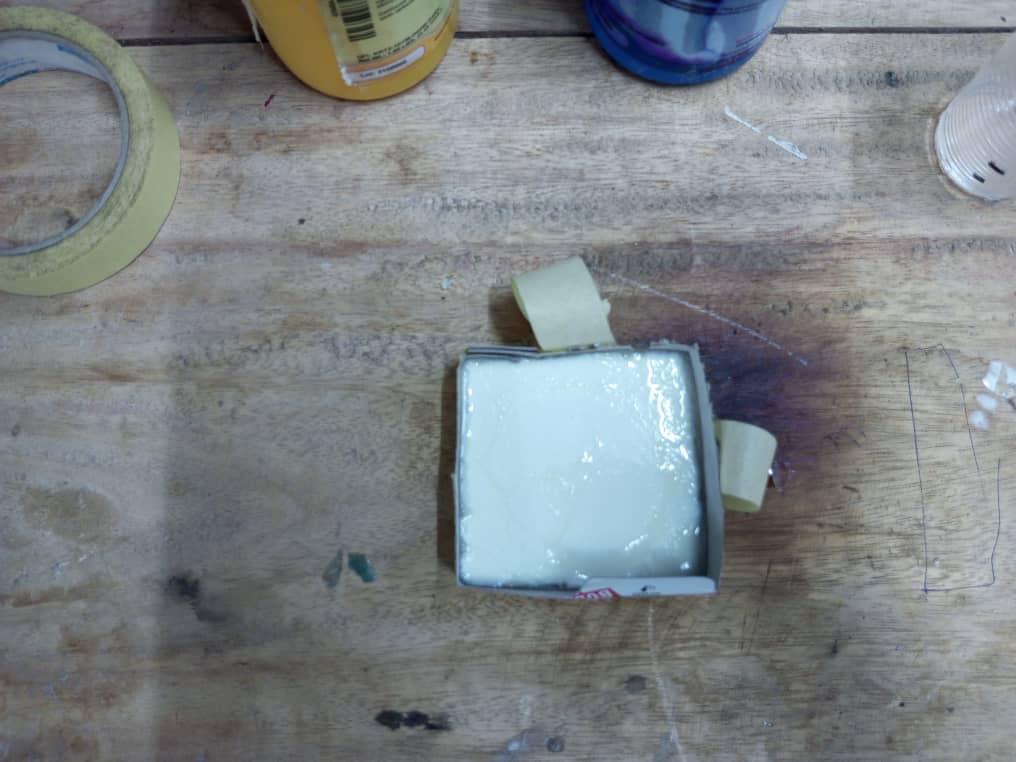
Leave it for a while to solidify, then remove the outline and hold it in place.
Then remove them from each other.

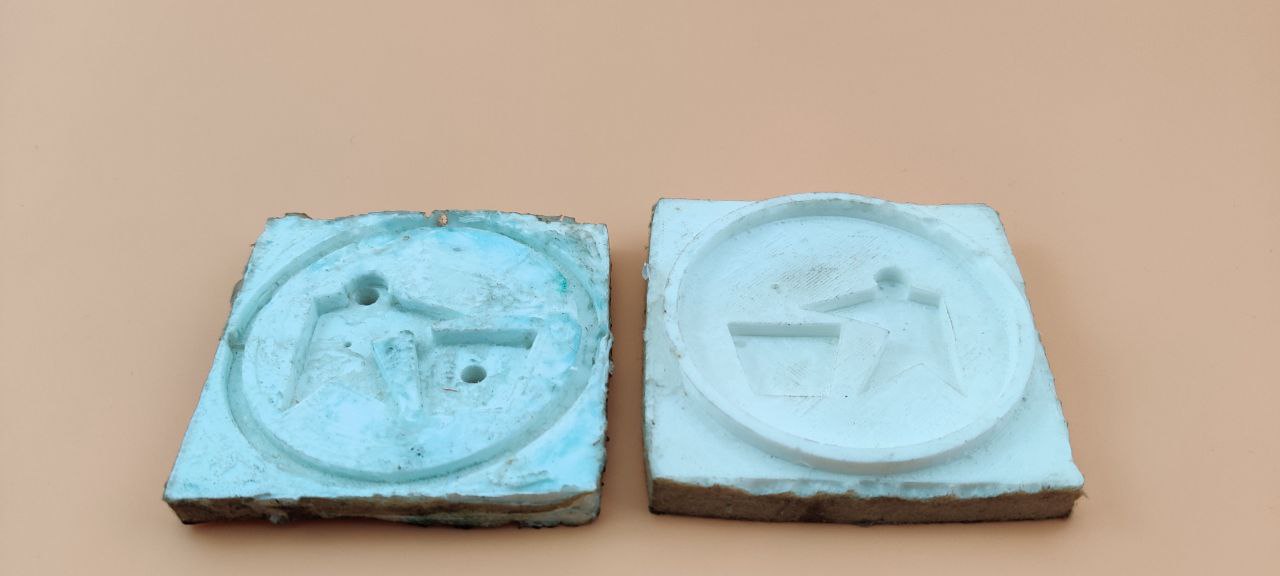
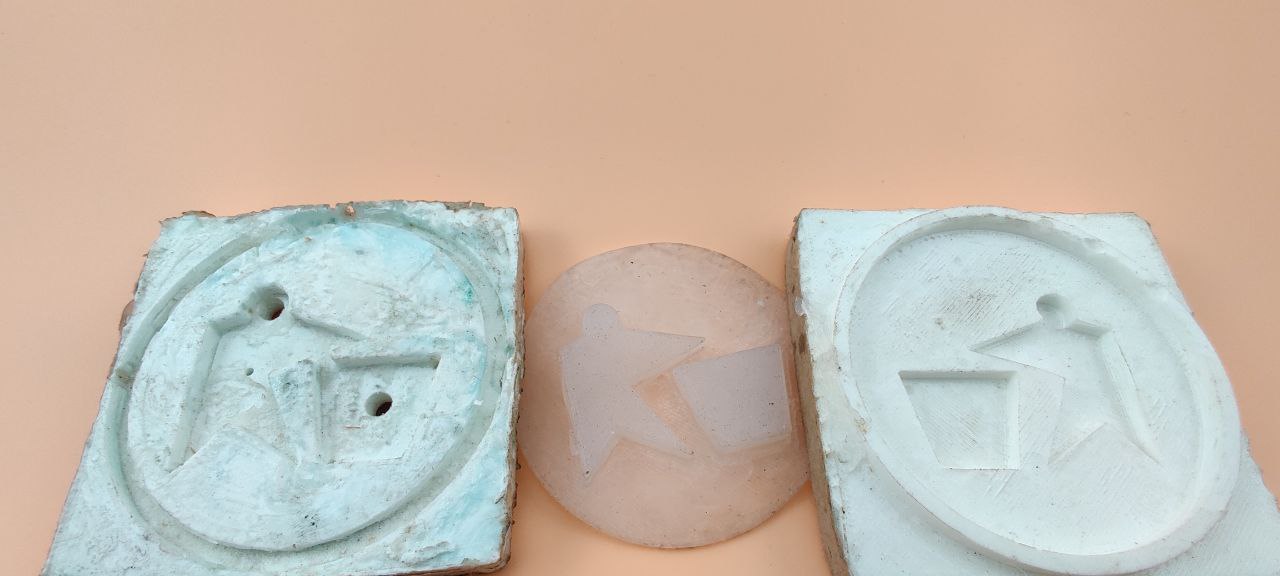
Through these same steps, we’ll obtain the second part of our mold below.
Here’s an overview of the 2 parts making up our mold.

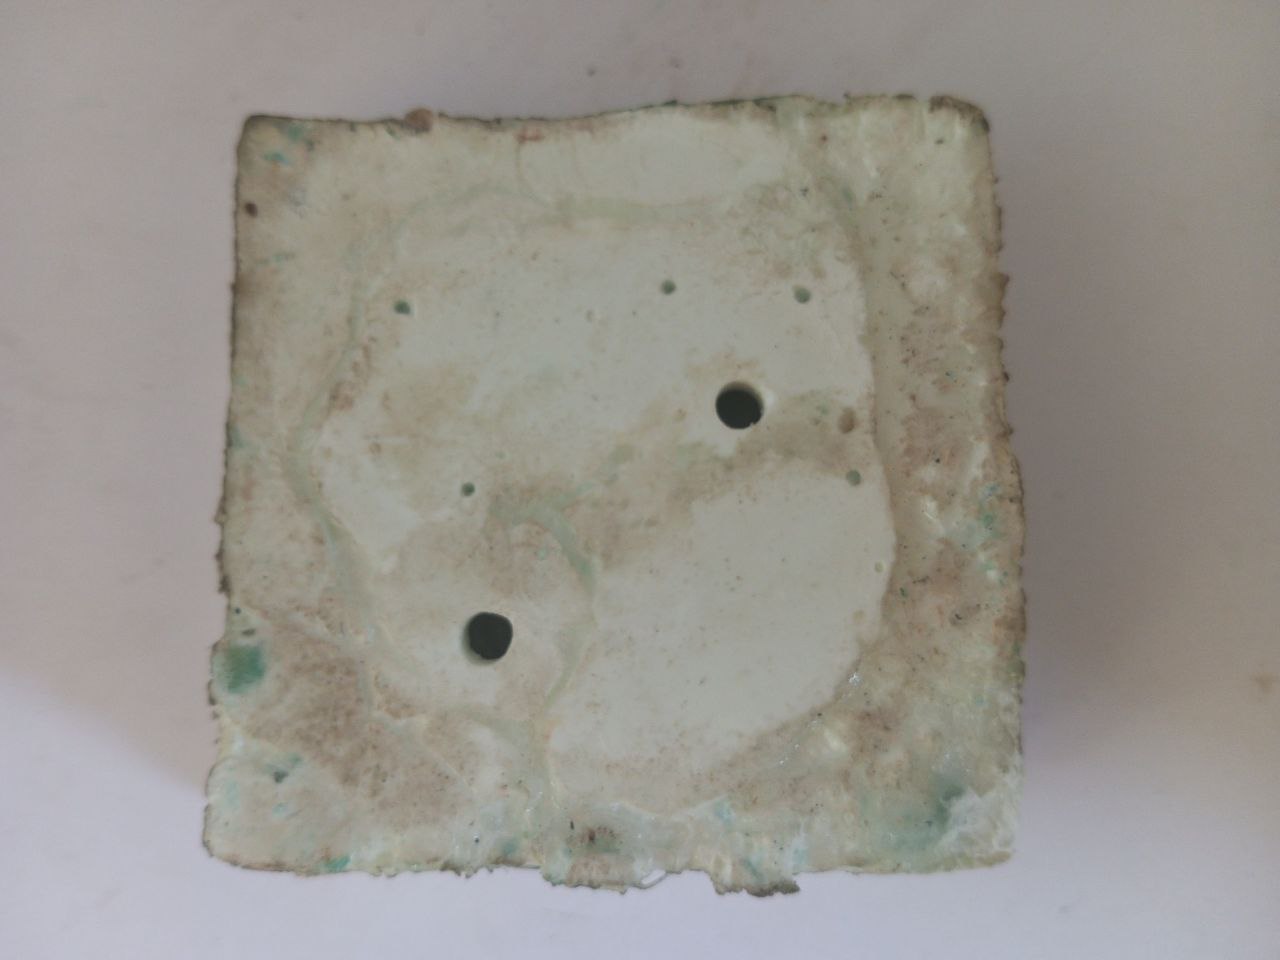
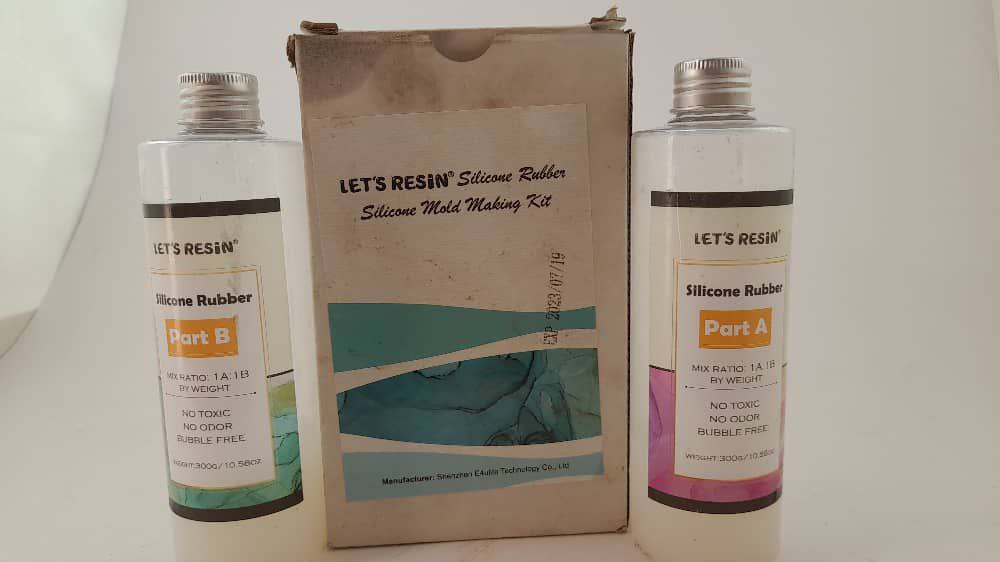
Now I’ll use “Silicone” for casting
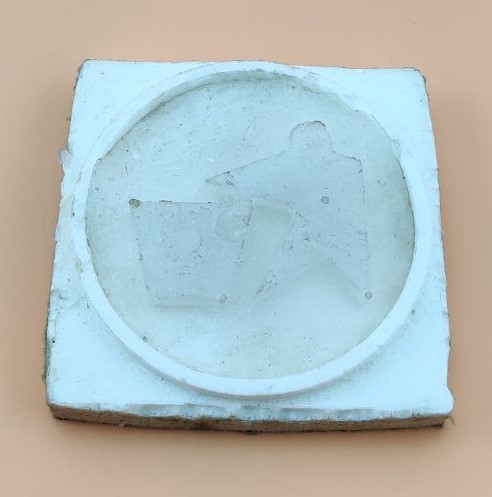
These holes, which I made by hand with a drill, can be taken into account when making the mold.
For casting, here’s the silicone I used
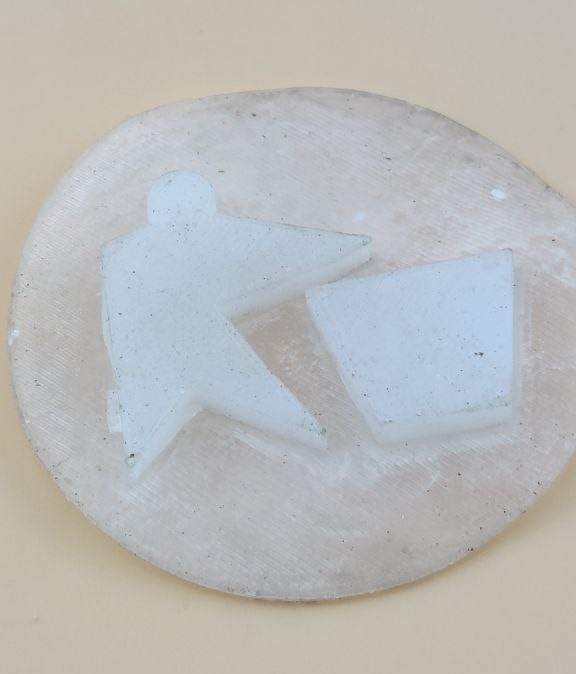
As before, I took a certain quantity of the 2 products which I then mixed and poured into the mould. A few hours later, here’s the result.
What went wrong / what went well
As for this week, I’d say I’ve learned a few new things. But I also encountered some difficulties that I’d describe as major. I can cite the problem linked to the fact that the machine couldn’t cut out the name I wanted. It was only after several attempts that we realized that it was the machine that wasn’t suitable. And I had to remove the name in my modeling to be able to evolve. I also had a little problem with the molding. You can see that the first part of my mold wasn’t totally successful because I didn’t stir the mixture for at least 2 minutes before pouring it into the mold I’d prepared.