11. Machine Design
This week my teams focus was on build a PCB Buffing machine. One of our team mates Zack Budzichowski noticed that many students do not deburre the PCB boards they milled and end up having shorts in thier boards. The goal was to build a machine that would buff and clean the boards after they are milled.
You can see the full team documentation on this page
my focus this week had 5 parts:
-
Disassemble and recovery of parts from broken machines in the lab
-
Set up group working environment in fusion and mattermost
-
3D print and assemble the body of the machine
-
Design and build that base platform holding the board (3D print/Laser cut)
-
Build the cleaning head and code the controller for ESC/Brushless motor
Disassemble and recovery
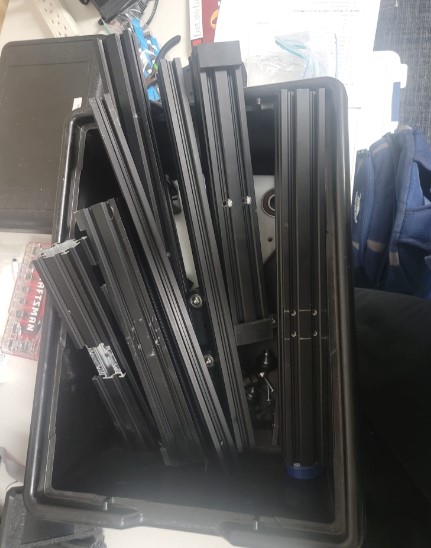
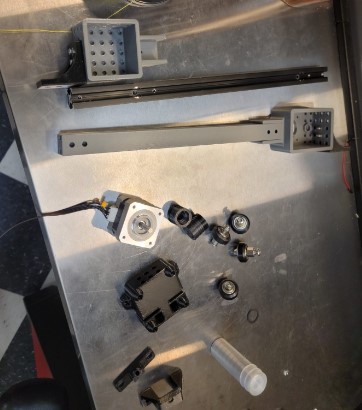
First we decided to see what we have in the lab we can repurpose and found a partially disassembled only 3D printer and another mechanism left over from another machine.
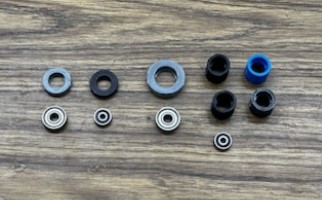
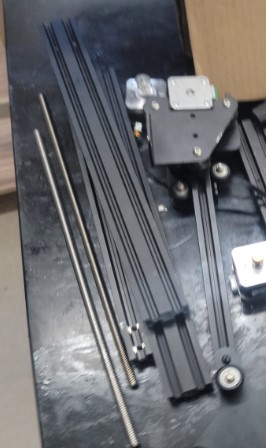
We completely disassembled this into parts we can potentially reuse
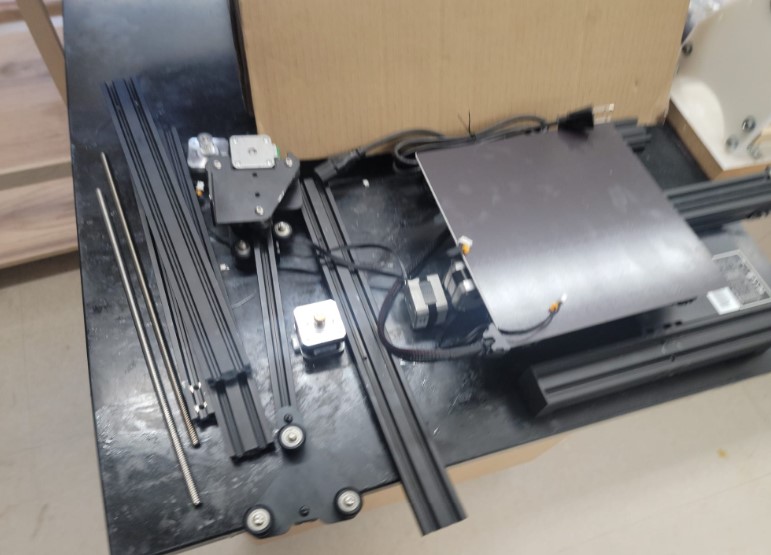
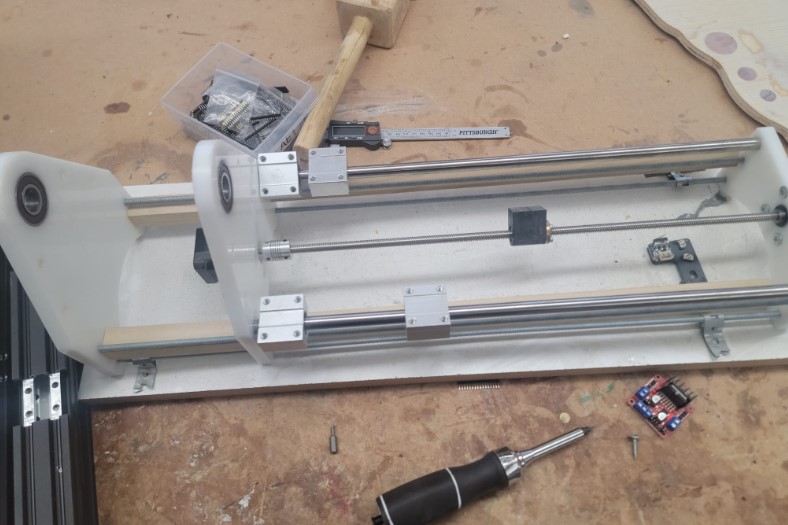
We recovered 6 stepper, a number of rails, threaded and non threaded roads and some wheels and bearings.
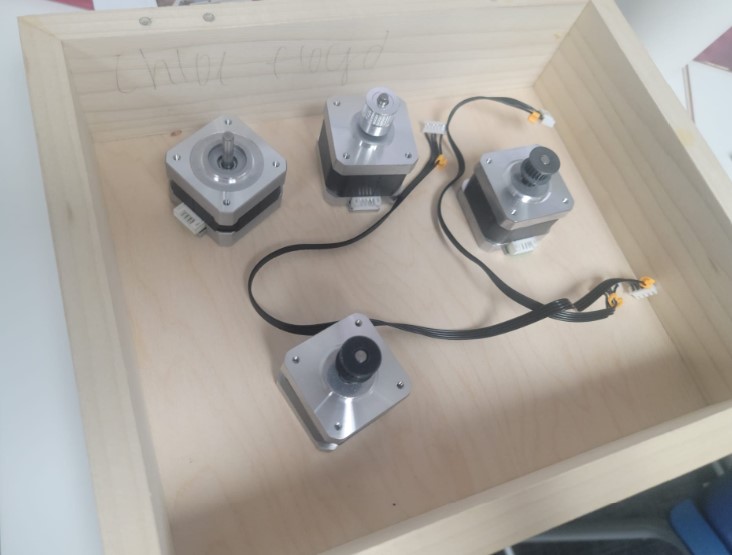
Testing stepper
Just to quickly make sure the stepper we recovered we quickly plugged them into an arduino and ran one of the stepper example codes to spin them.
#include <Stepper.h>

const int stepsPerRevolution = 200;  // change this to fit the number of steps per revolution
// for your motor

// initialize the stepper library on pins 8 through 11:
Stepper myStepper(stepsPerRevolution, 8, 9, 10, 11);

void setup() {
  // set the speed at 60 rpm:
  myStepper.setSpeed(60);
  // initialize the serial port:
  Serial.begin(9600);
}

void loop() {
  // step one revolution  in one direction:
  Serial.println("clockwise");
  myStepper.step(stepsPerRevolution*5);
  delay(500);

  // step one revolution in the other direction:
  Serial.println("counterclockwise");
  myStepper.step(-stepsPerRevolution);
  delay(500);
}
4 of the 6 were working well!!
Setting up group work
We established a group project in Fusion and set up a private channel in matter most to help facilitate the work.

I added a private group on matter most and we are ready to go!
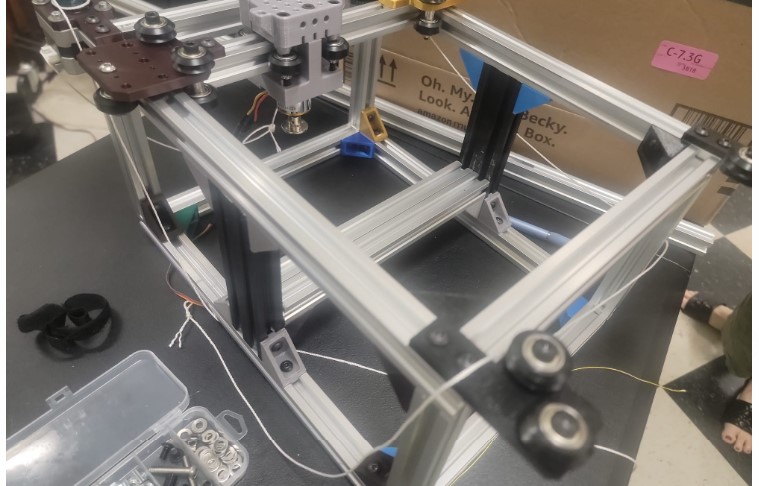
3D print and assemble the body of the machine
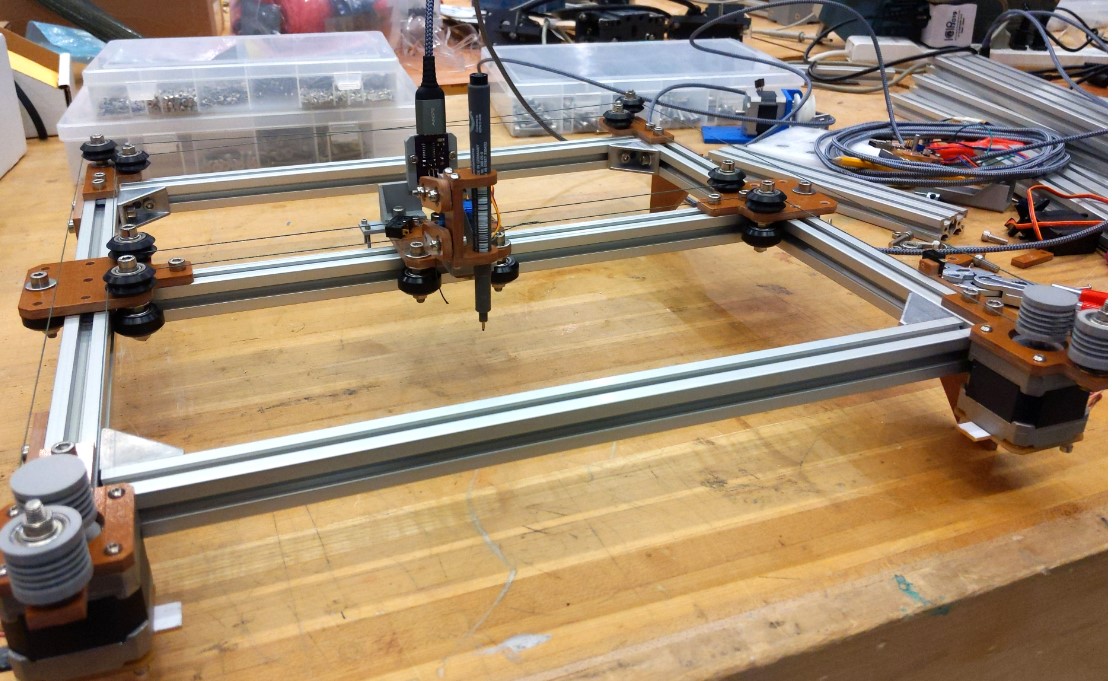
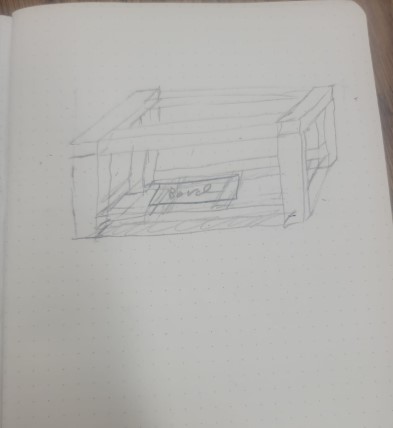
Our base design is a box with a top CoreXY mechanism based on the following design from the Urumbu project:
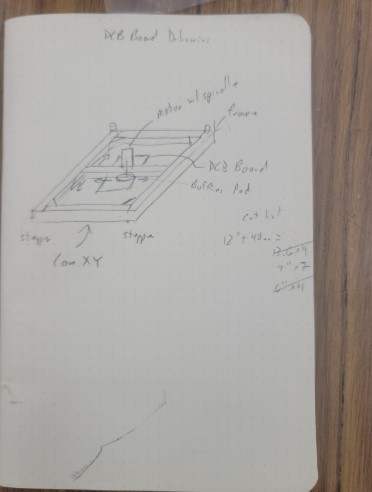
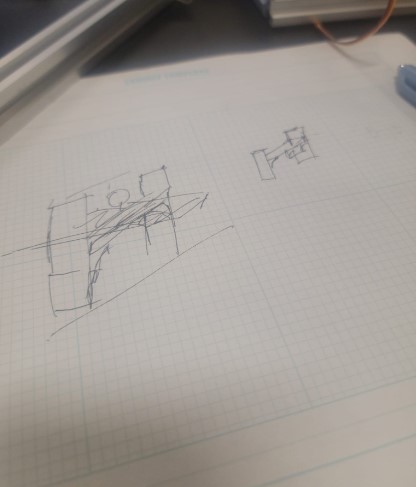
Our sketch:
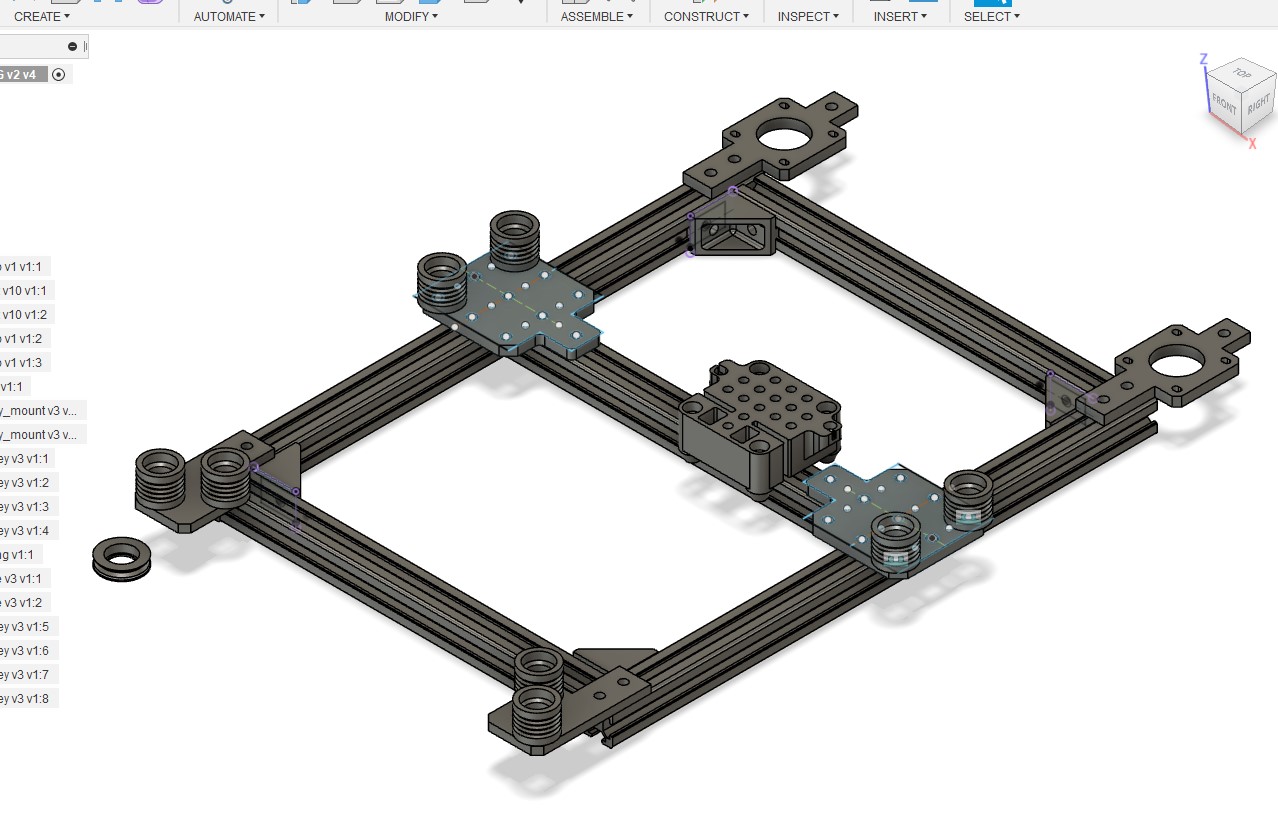
Zack turned it into a fusion design
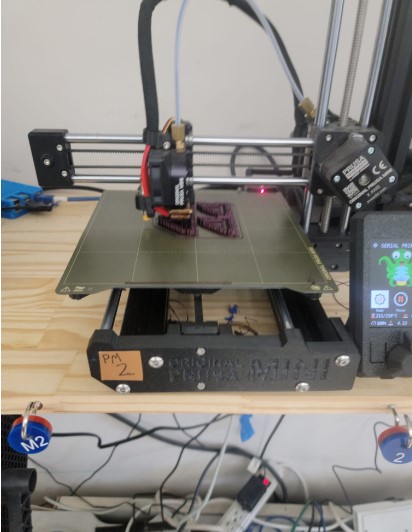
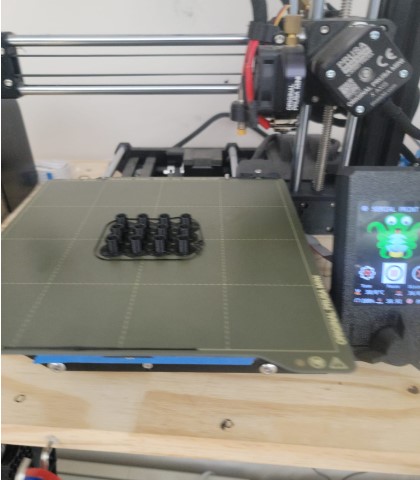
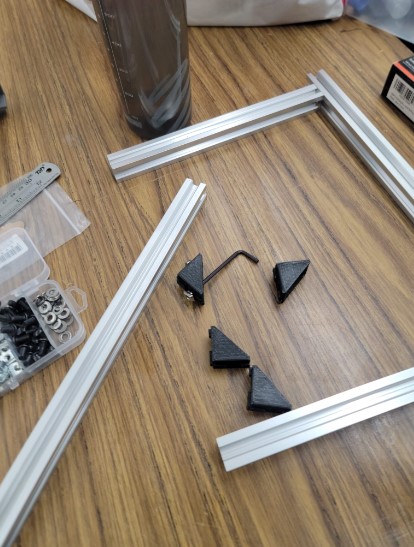
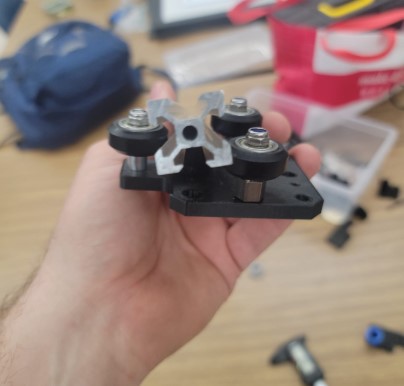
I focused on 3D printing all the parts for the joints and carriages.
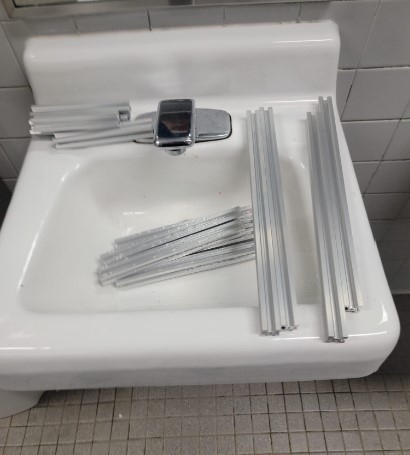
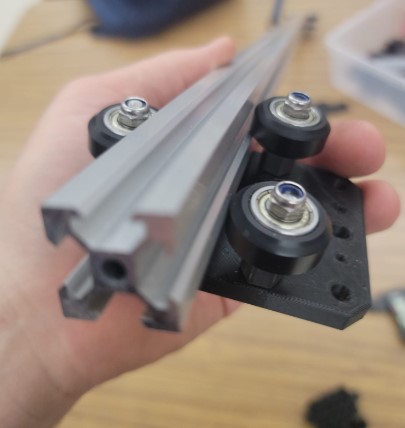
We would uses these together with the T Slots beams we cut to assumble
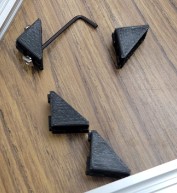
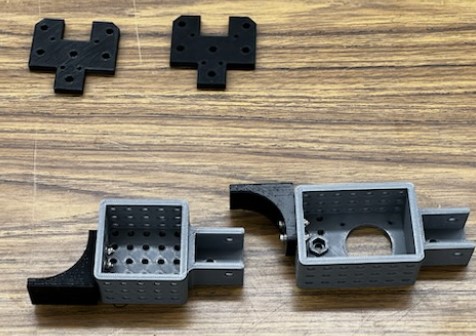

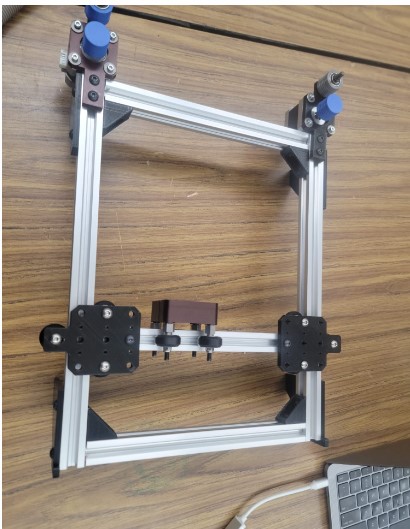
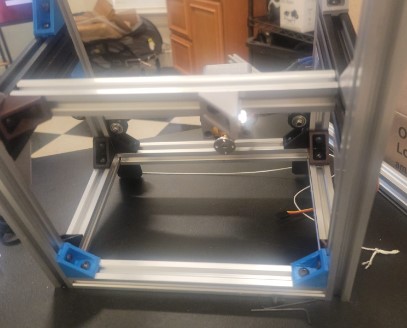
With the 3D printed parts we needed the T slots rails cut and then focused on assembly

Now that we have them cut focus on using the 3D parts and wheels that we stripped from the broken 3D printer to assemble our base machine
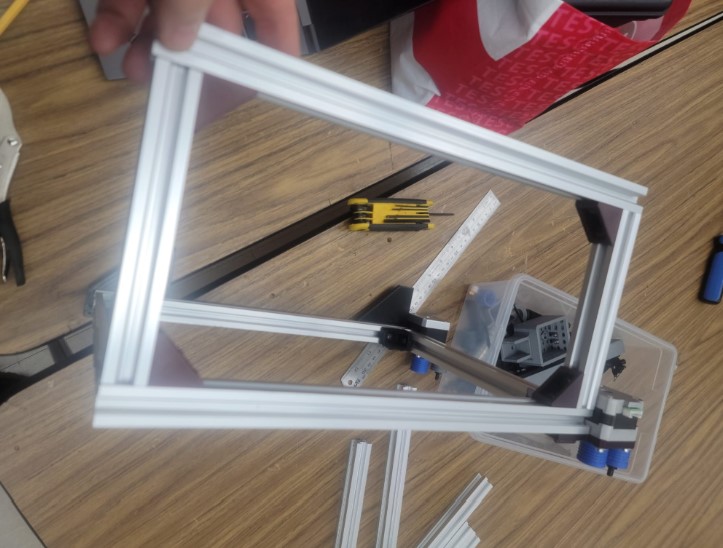
We used the drill press to test a slot instead of a hole to get a tighter fit
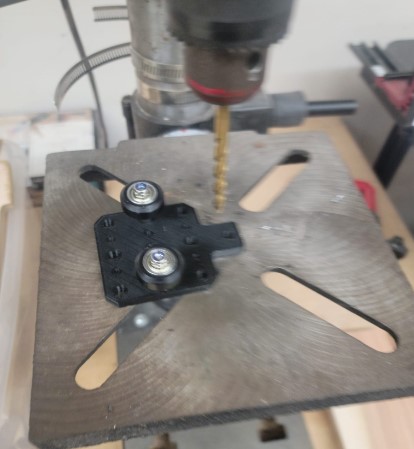
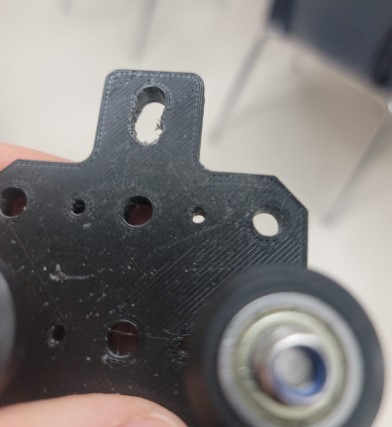

We then found out that the designers of the original part were a step a head and once we flipped the part we saw it already had a slot
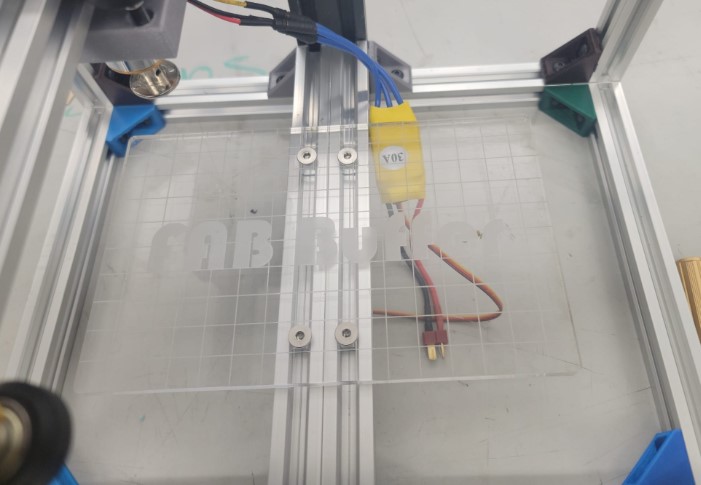
And we have a top frame
Design and build that base platform holding the board (3D print/Laser cut)
We needed to have a strong base on which the board will sit to be buffed.
We decided to have this Z axis manually adjustable and will use double sided tape to hold down the PCB similar to milling machine
I decided to use one of the double wide rails that we stripped from the 3D printer
I cut it down to side and used 3d printer brackets and T Slot screws to hold it in place
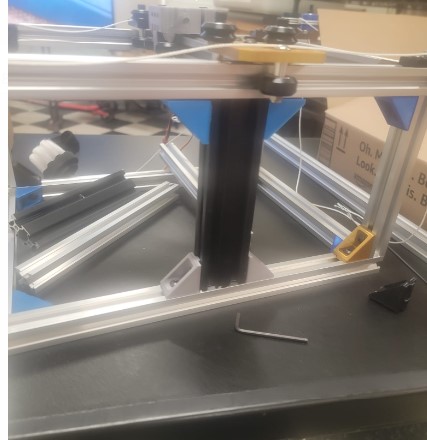
For the cross based I used the same brackets and screws and that will allow us to have Z axis manual adjustment when needed
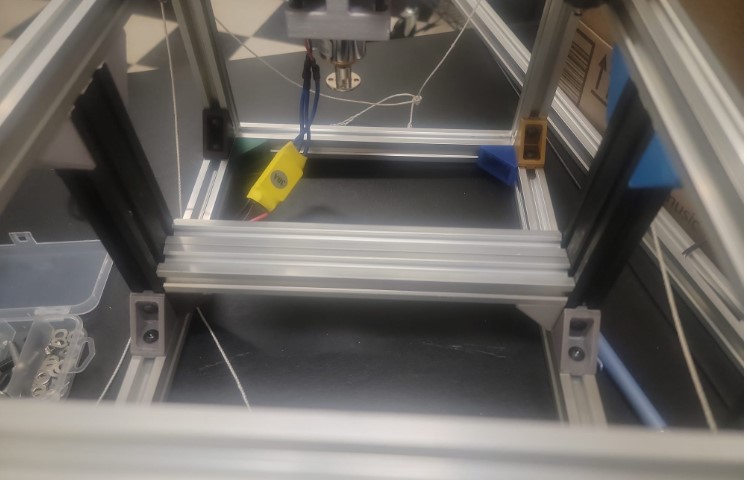
Now that we have a platform in place I designed a base plate.
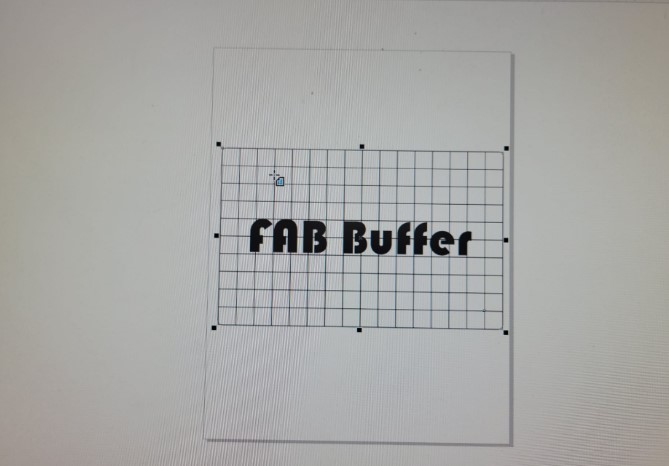
I found a 0.25 inch plexiglass leftover pieces in the lab we can use
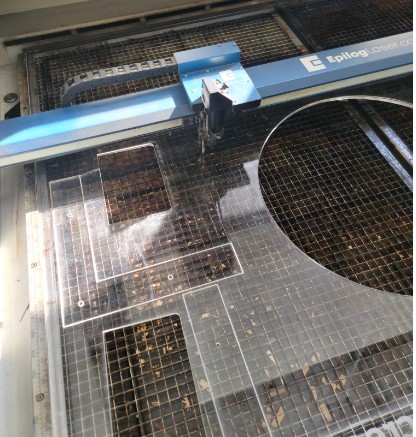
Got the laser focus and ready to cut
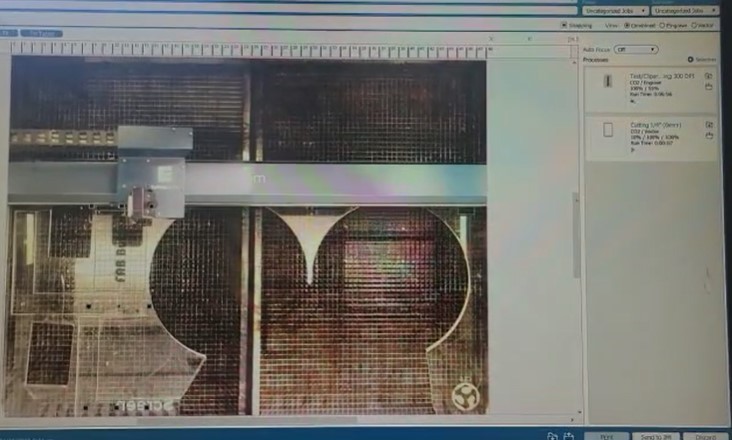
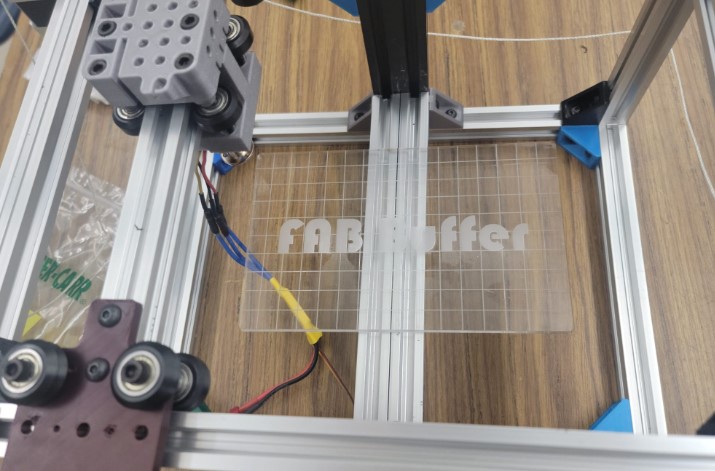
And here we go we have a plate

Next we need to secure it to the base platform
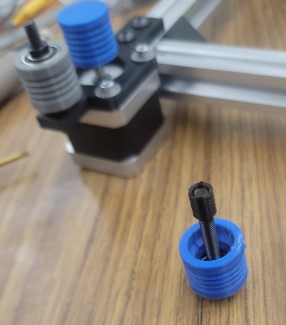
Used counter sink drill bit so we can use M5 screw and still have a flat surface
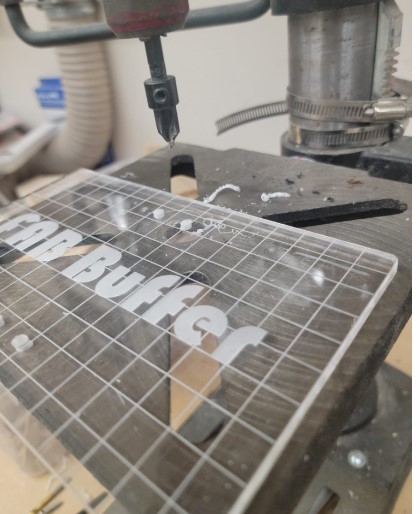
And here we go:
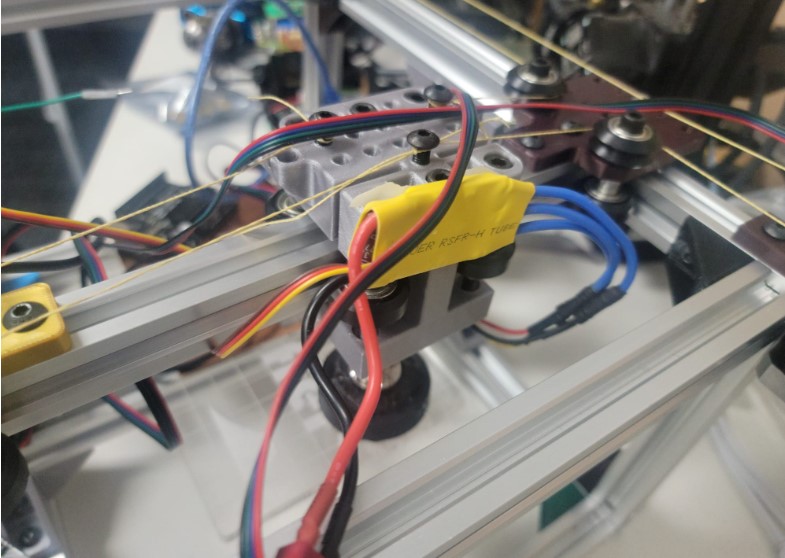
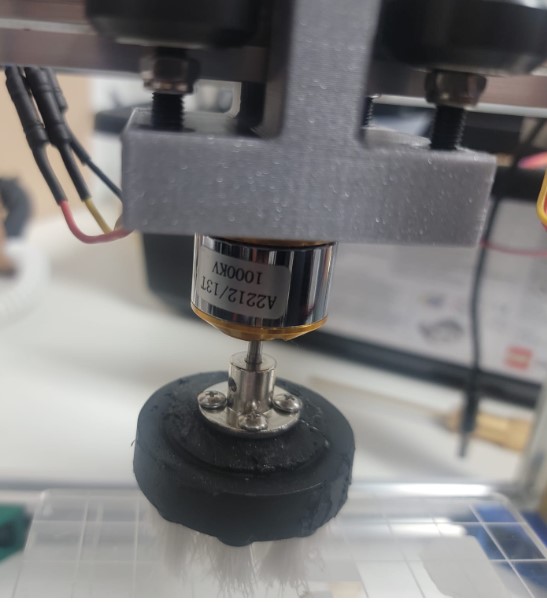
Build the cleaning head and code the controller for ESC/Brushless motor
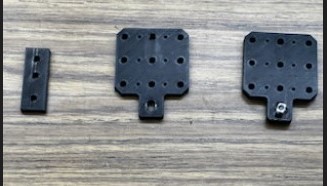
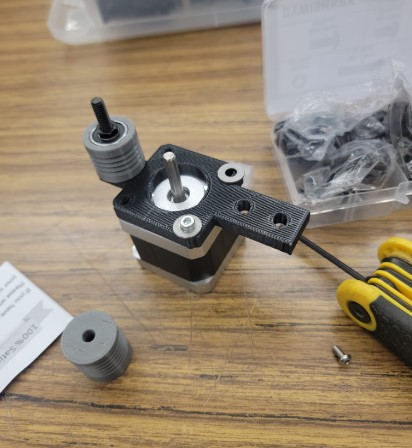
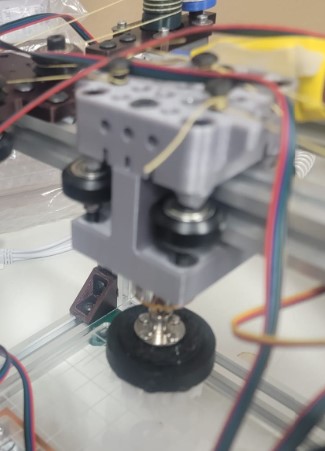
Here is the design for the cleaning head and carriage

For the cleaning head we decided to us a outrunner motor and ESC typically used in quadcopters we found on amazon - Xiangtat A2212 1000kv Outrunner Brushless Motor + 30a ESC Electric Speed Controller Set for Rc Aircraft Plane Multi-Copter Quadcopter
The data sheet for the motor is found here
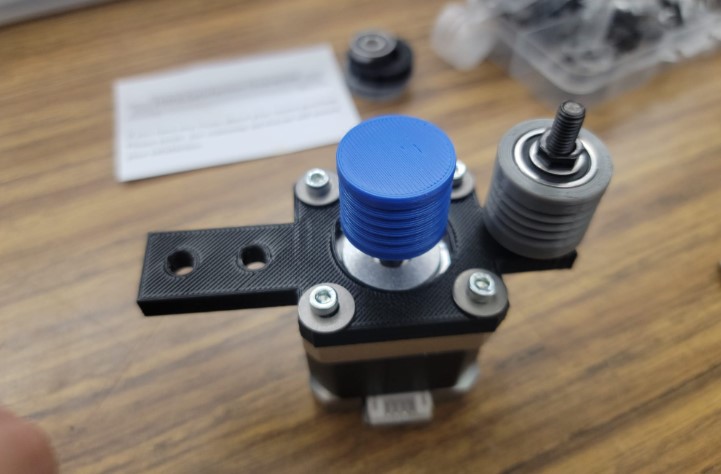
We tested a dremel buffing head but found the resutls not so great
and so decided to go with a plastic brush that was originally set up for a drill. Once we had the motor to the carriage I focused on getting the code on an arduino to control the ESC
The ESC uses pulses to control the speed similar to have a servo control roatation. I asked ChatGPT for code that would drive the motor at half speed got the following:
#include <Servo.h>

// create a Servo object to control the ESC
Servo esc;

void setup() {
  // set the baud rate for serial communication
  Serial.begin(9600);

  // attach the ESC to pin 9
  esc.attach(9, 1000, 2000); // the second and third parameters are the minimum and maximum pulse widths

  // wait for the ESC to initialize
  Serial.println("Initializing ESC...");
  delay(3000);
}

void loop() {
  // set the speed to half of the maximum (which is 180)
  int speed = 90;

  // send the speed to the ESC
  esc.write(speed);

  // wait for the motor to ramp up
  delay(2000);

  // print the speed to the serial monitor
  Serial.print("Speed: ");
  Serial.println(speed);

  // pause for a moment before starting again
  delay(5000);
}
It is very important to have the initialization step as this would not work without it. It also would go to full speed and the slow down while I wanted it to start up slow and speed up. A small change to the code helped get that in line
#include <Servo.h>

// create a Servo object to control the ESC
Servo esc;

void setup() {
  // set the baud rate for serial communication
  Serial.begin(9600);

  // attach the ESC to pin 9
  esc.attach(9, 1000, 2000); // the second and third parameters are the minimum and maximum pulse widths


 esc.write(40); //added to slow down at start up


  // wait for the ESC to initialize
  Serial.println("Initializing ESC...");
  delay(3000);
}

void loop() {
  // set the speed to half of the maximum (which is 180)
  int speed = 0;

  // send the speed to the ESC
  esc.write(speed);

  // wait for the motor to ramp up
  delay(2000);

  // print the speed to the serial monitor
  Serial.print("Speed: ");
  Serial.println(speed);

  // pause for a moment before starting again
  delay(5000);
}
We tested different speed and found that 70 was the optimal
You can see the full machine build including the efforts from my team mates and the final results here
You can find the code file here