4. Computer controlled cutting
Goals
This week we are focused on getting to know the laser cutter and vinyl cutting machine.
Group assignment: 1. Characterize your lasercutter's focus, power, speed, rate, kerf, joint clearance and types.
- Charlotte Lab characterizes different engraving features by Photo: Floyd-Steinberg, Jarvis Stucki, Bayer
Individual assignment:
- Cut something on the vinylcutter
- Design, lasercut, and document a parametric construction kit, accounting for the lasercutter kerf, which can be assembled in multiple ways and for extra credit include elements that aren't flat
Accomplishments
We completed the group exercise characterizing our lasercutter Here
Here are my top 5 insights:
- The kerf is not consistent and dependent on the material to some extent
- The impact of 1% change in speed is a multiple of the same % change in power
- It is very important tol keep clean laser lenses and mirrors clean
The Parametric kit design was a great way to "burn in" some of the new learning from CAD week. I made a mistake with the slot width which I only discoverd after my first cut and so came to appreciate the speed of the change possible in a parametric design.
User testing is alway critical!!
I came to appreciate the vinyl cutter. I think this Sticker just scratch the surface but I am looking forward to seeing what else this little machine can do. It was clear to me as a novice that choosing the right image to start with is critical to success and ease of the process
Parametric construction kit
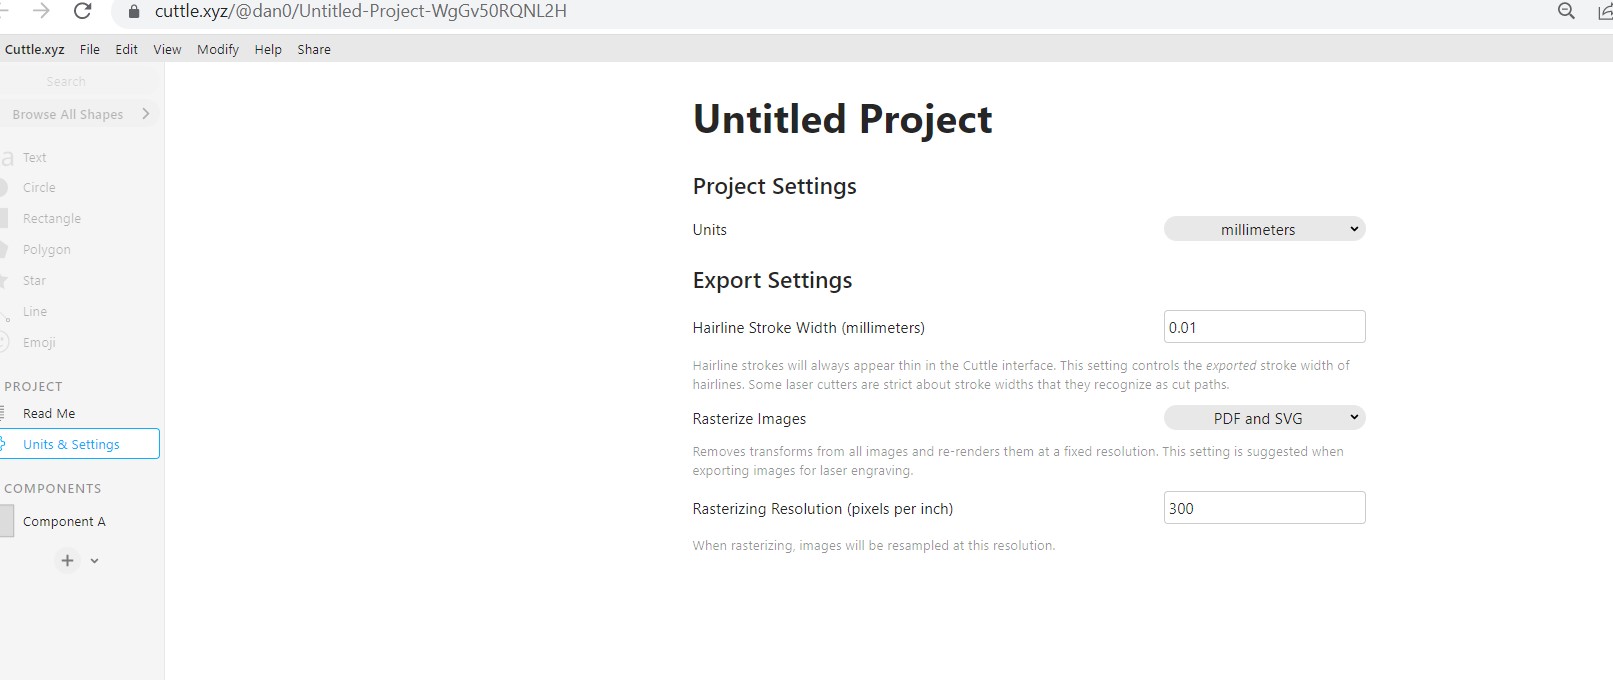
I decided to use Cuttle for this effort and like the idea of leveraging the number of sides as a key part of the parametric design
I am going to use cardboard for this kit and so I was worried about the logjavity of the different joints and so I decided to use the chamfer joint.
Next I defined the parameters I expected to use
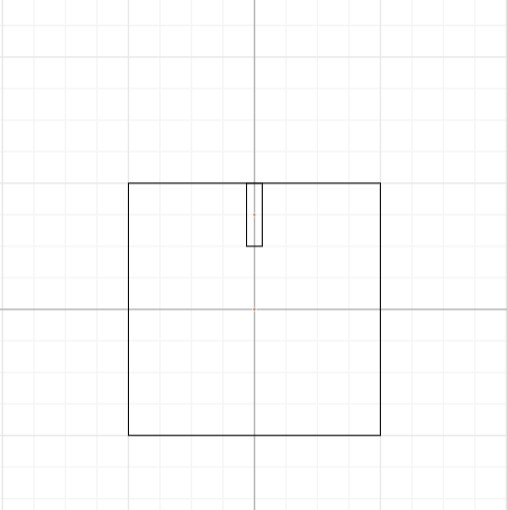
I started with using the rectangle shape using the round corner
When i started to play around the the parameter value i did not like how the round corners looked and I decided to move the connector from the middle of the leg to the corner using the pentagon shape this will allow easier scaling up and down in the number of sides. I also change my approach to the chamfer and replaced the rounded corder with a triangle cut out.
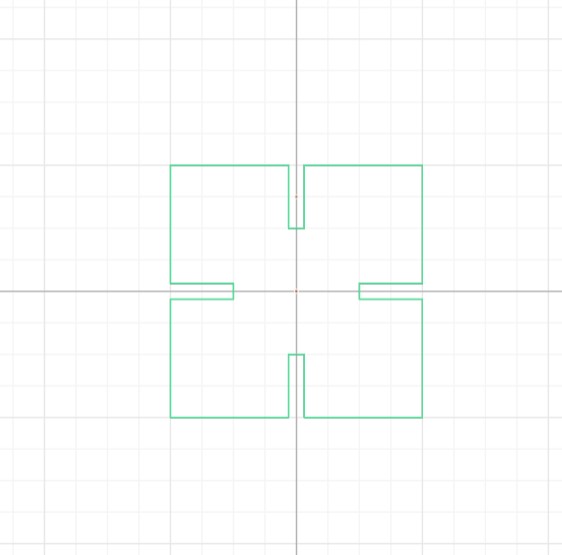
So starting over looked like this:
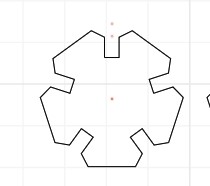
I figured out that a lot of the issues I had with the boolean union/difference had to do with the order in which I had the object in the group
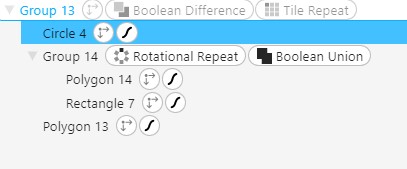
Any once I combined them we got the shape I was looking for
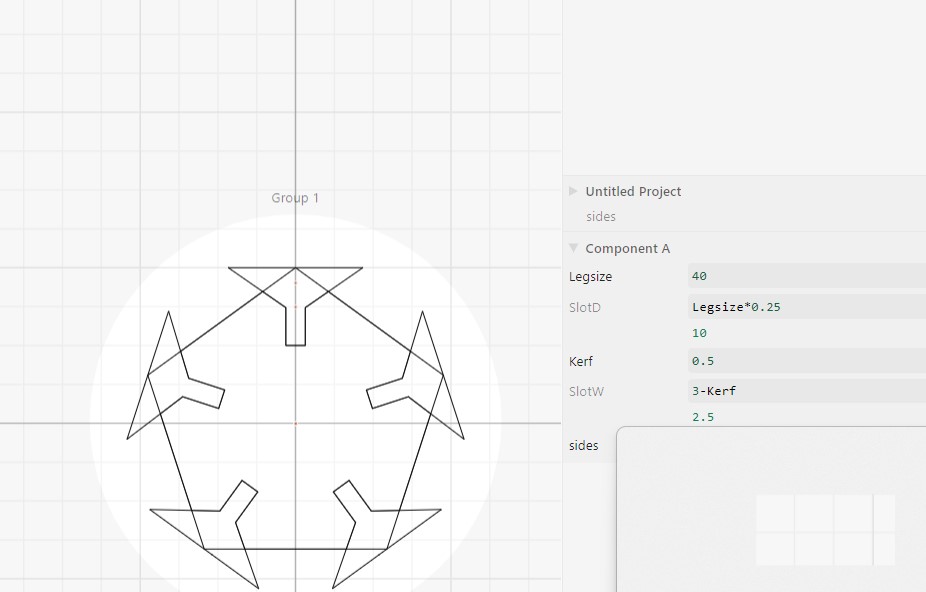
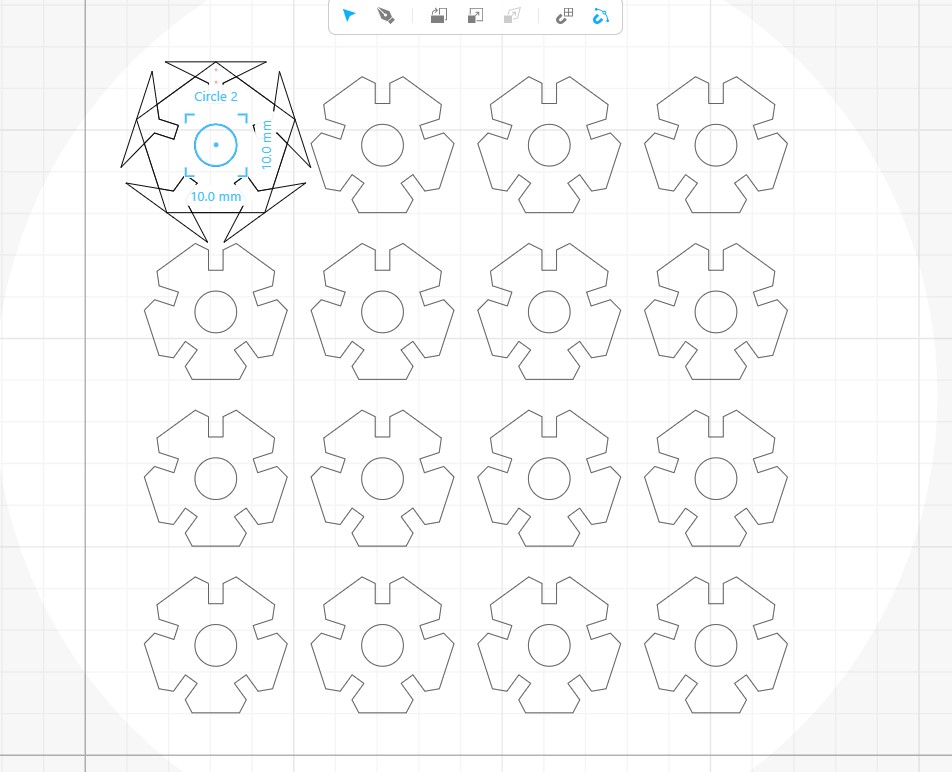
Now i worked through the rest with my goal being to me able to change the shape by increasing the number of sides. I used the sides parameter as both the driver of the number of sides and the repeat of the slots which worked well as you can see in the video:
I then used the tile repeat to make a sheet
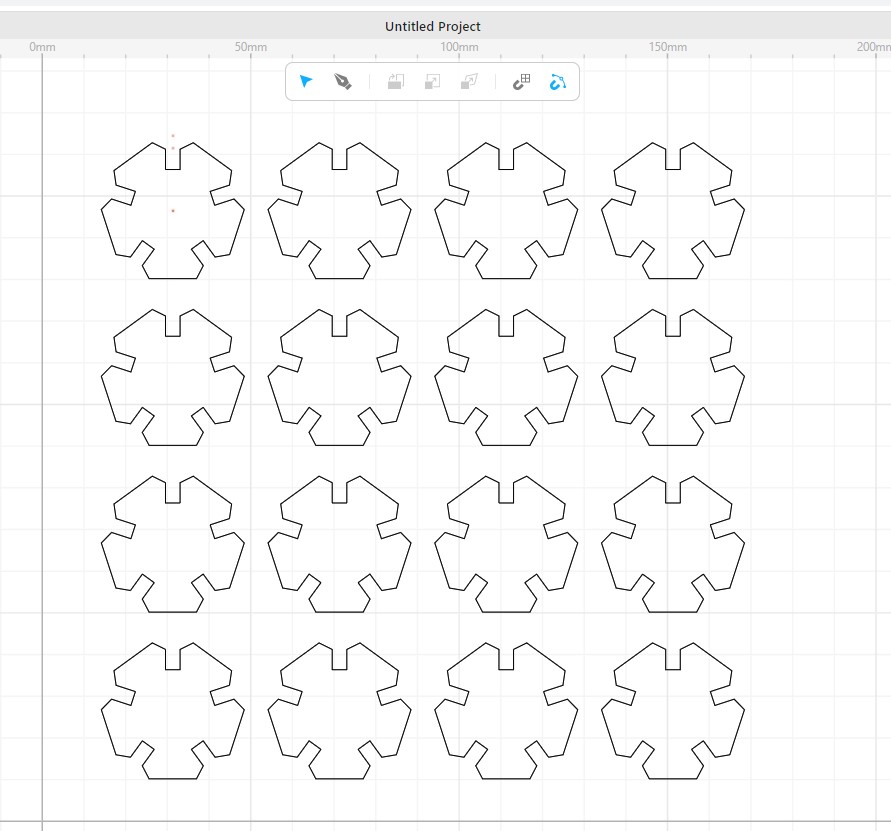
I had set the slots depth and width as parameters as well as tne kerf as I was working on a number of different laser cutters and would adjust as needed.
And now it is time for the test cut
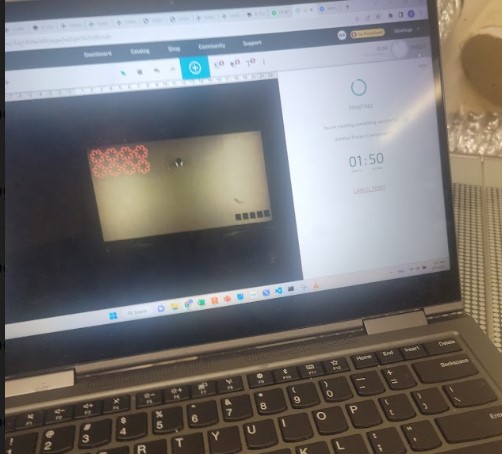
and they DO NOT FIT!!! a quick investigation shows my mistake. I set the slot width to 3mm but the cardboard i was using was 4mm.
That was an easy change in the width parameter.
I also felt like I needed something more to help make this a "kit" so I decided to add a hole in the middle
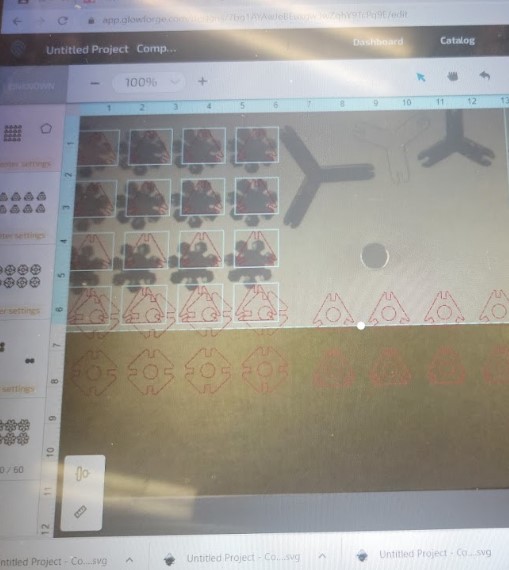
and I downloaded a a number of shapes triangle, square etc and got to cutting
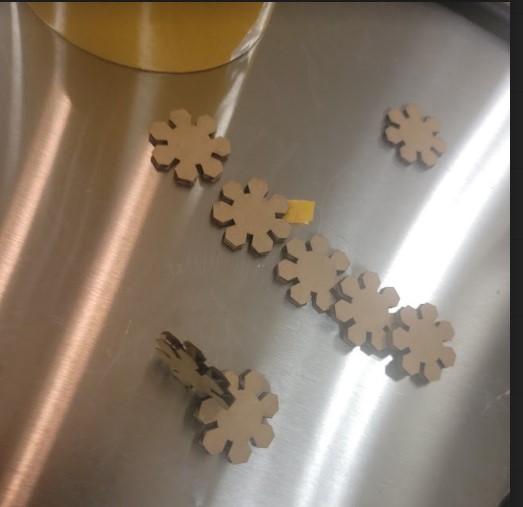
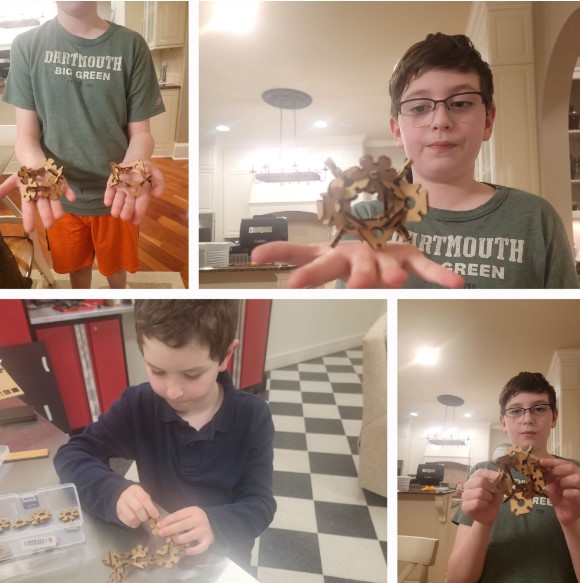
It is time for real user testing for which I enlisted my younger 2 kids Avi and Ari:
Vinyl cutter
I wanted to make a sticker of Albert Einstien. I have a painting in my office that was given to me as a gift and I really chriesh but it was a bit too complicated to replicate so I started to look for another picture
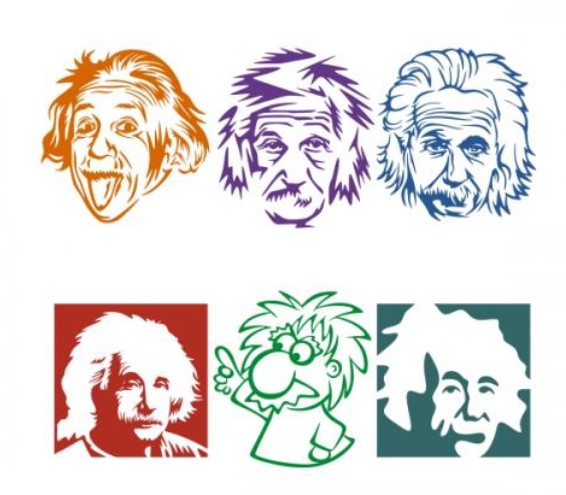
I choose 2 of these as option but I knew I needed to trace it to get it to a place where I can export to SVG and cut but saw all different type of trace options
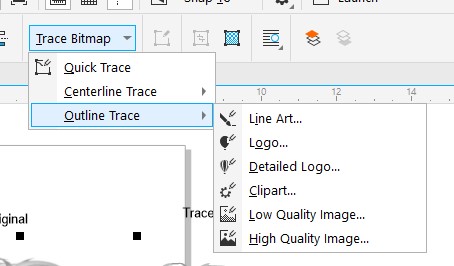
I tried all types on 2 different images
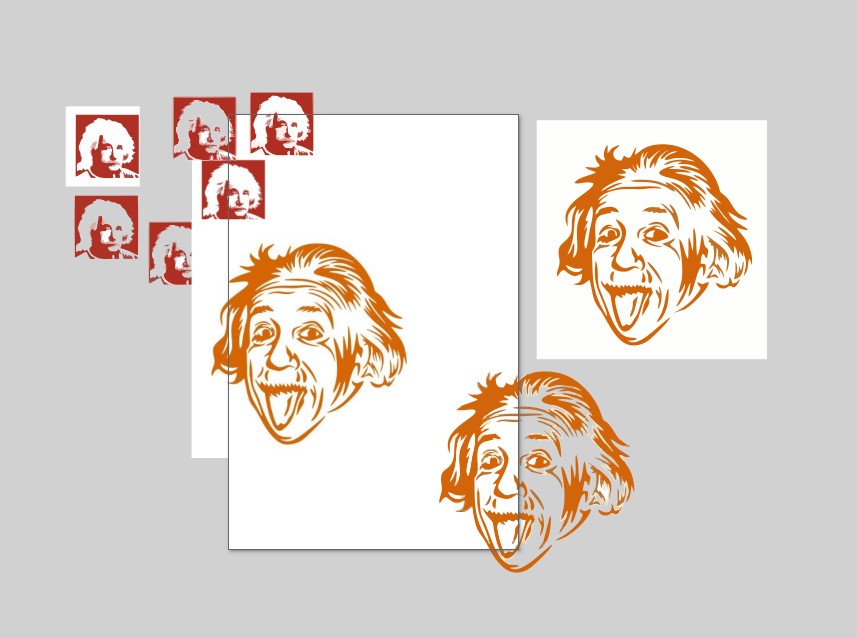
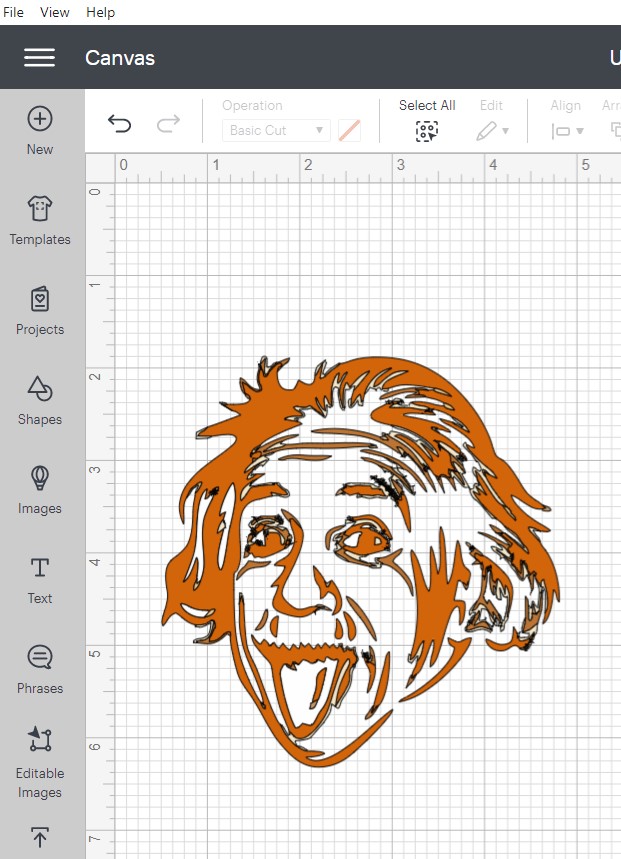
I think I found that the line art is the best option est as I was going to do a multi colored sticker
But when I loaded in the vinylcutter I did not like the way the eyes came out.
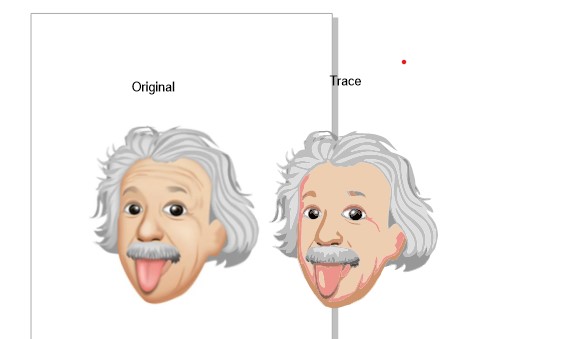
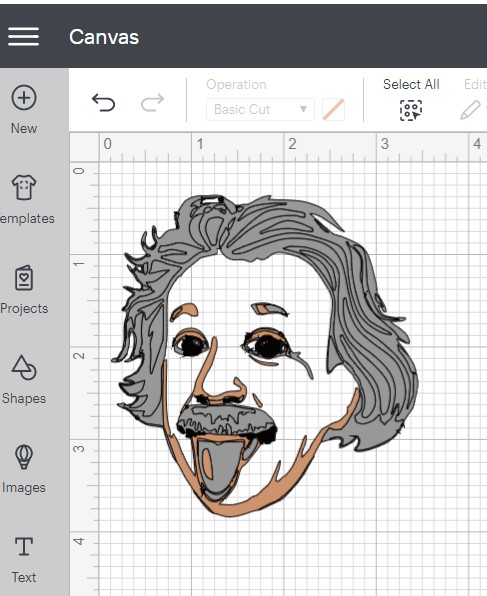
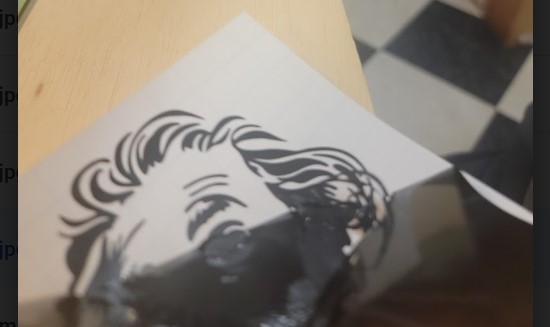
So i went back and found another images, used the line art trace (on the right below) and thought this is a better option to go with:
I loaded this in to my vinyl cutter software and it did a nice job breaking all the colors apart
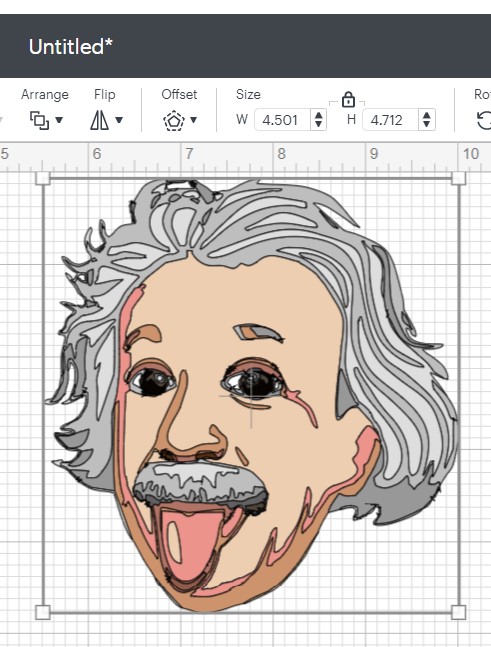
After removing a few parts I got to something I liked
But there are too many colors
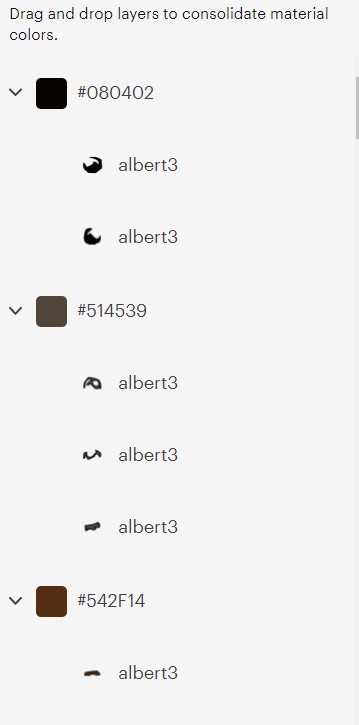
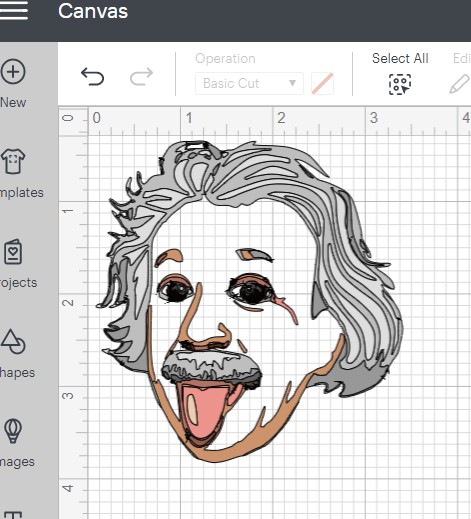
and so i used the layers to consolidate to 3 colors
Now lets get cutting!!

That DID NOT WORK out at all!!
I did some investigation and looks like a number of issues:
-
Picture very complicated with lot of cuts even in areas with the same color
-
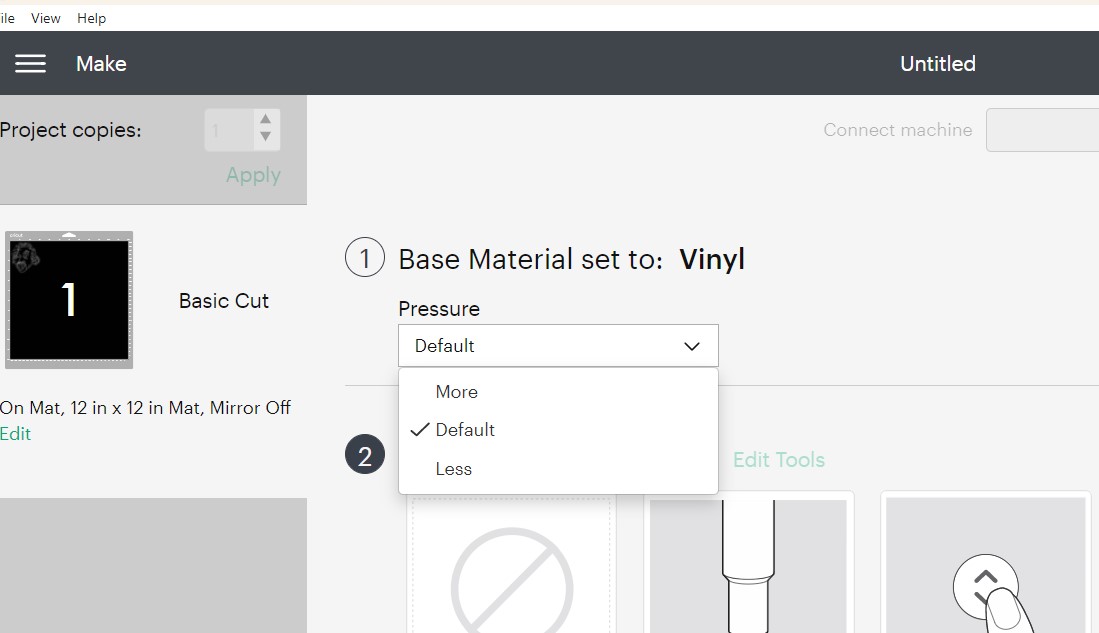
I was using too much cutting pressure
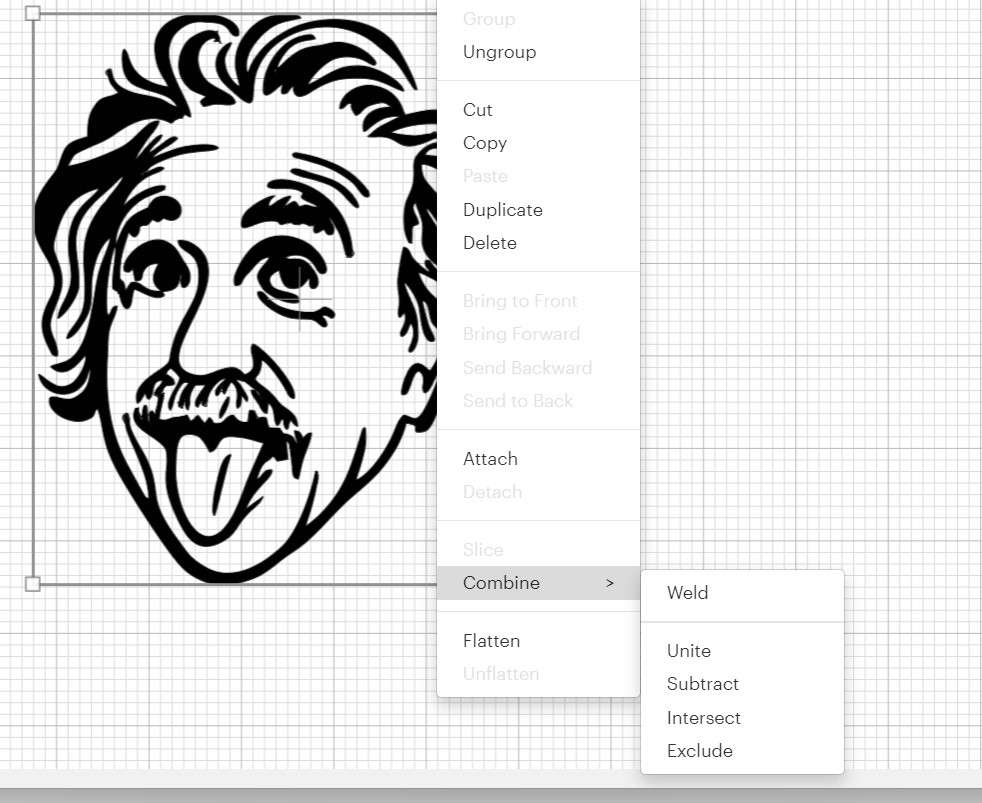
I went back and got another version of the picture that is line based

I then used the "weld" feature to combine areas of the same color and avoid unnecessary cuts
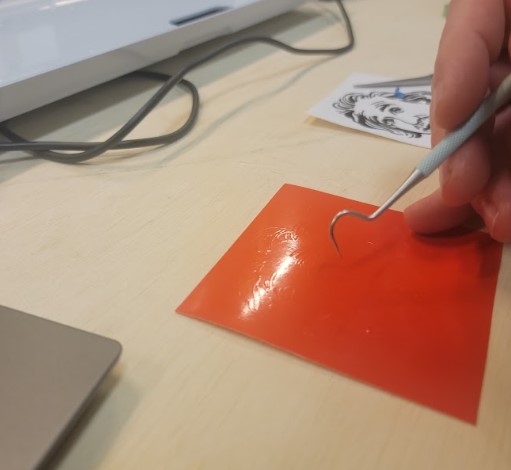
Set it up on the left corner
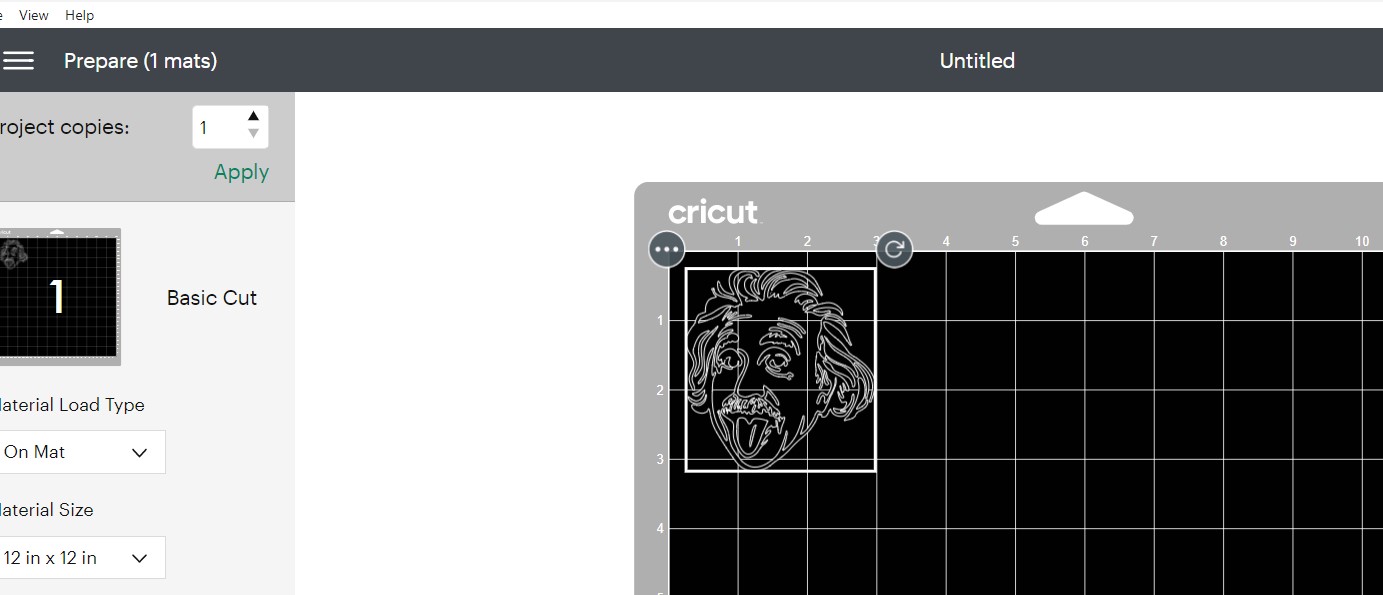
I reduce the cutting pressure
and got cutting and weeding
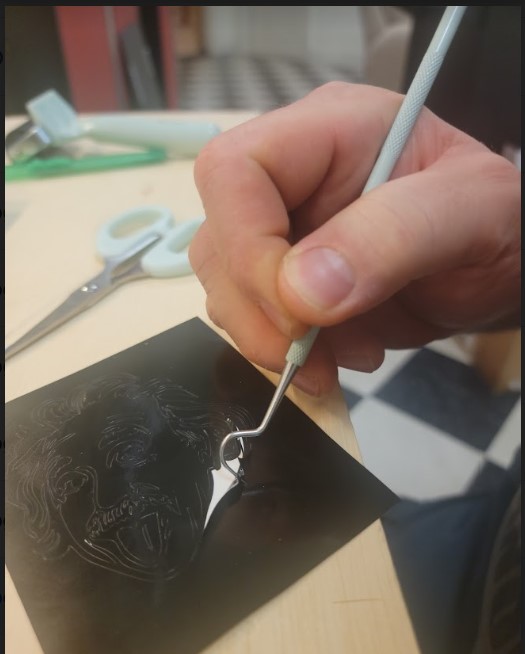
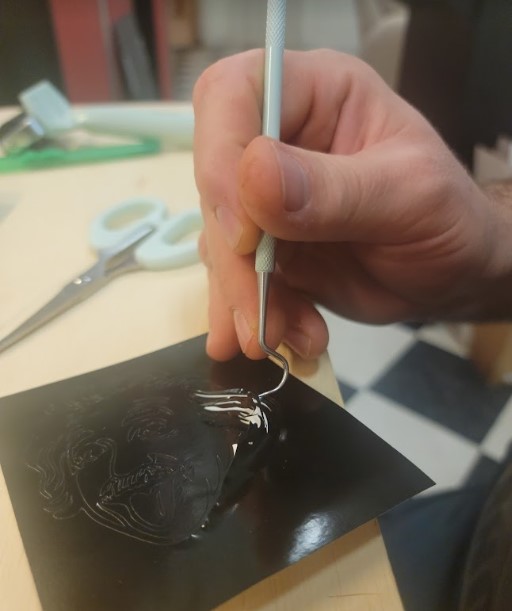
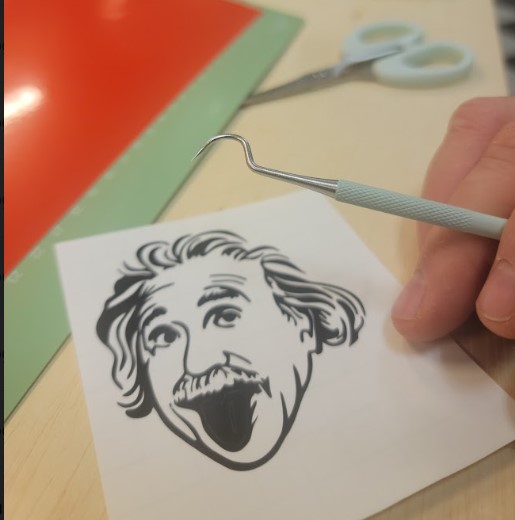
 |
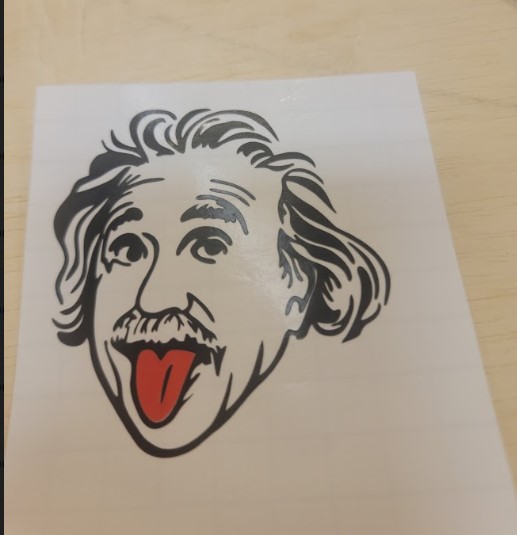
|
A little transfer tape and the sticker is done!!!
Here are the files for this week