13. Casting and Molding
This week we moved away from electronics and focused on molding and casting. This is something I have never done and was an exciting week. I enjoyed working with the differnt materials and seeing the molds set!
For the group assignment we cast a number of different materials and it was very clear that choosing the right material is key as well as following the prep process in detail. You can see our results here
Goals
- Design a mold around the stock and tooling that you'll be using, mill it (rough cut + three-axis finish cut), and use it to cast parts
Accomplishment
-
Milled a part for my final project into a wax block
-
Made a soft mold and cast hard parts
-
Made a hard mold and case soft parts
Molding feet for final project machine
This week I decided to make legs for my Vegetable washing machine to provide traction and shock absorption.
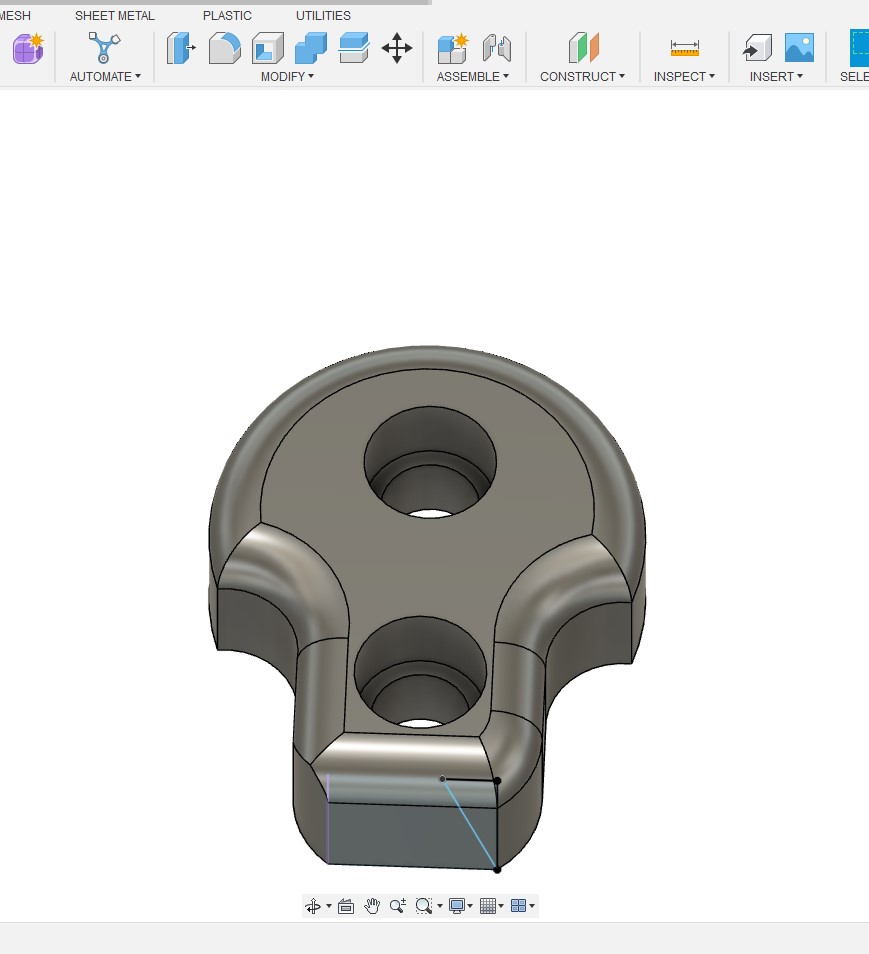
I went with a mushroom design
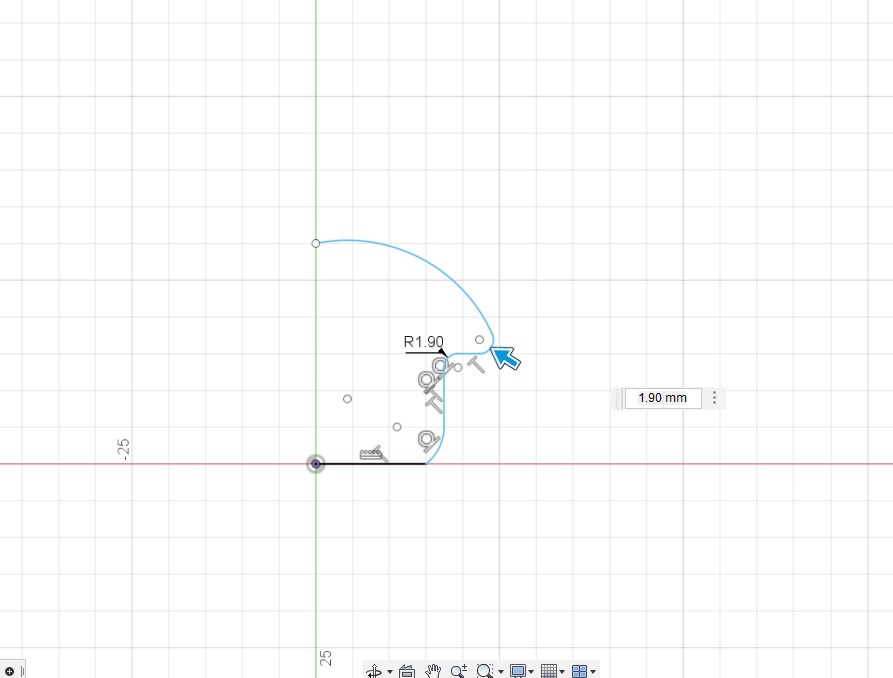
Starting in 2D
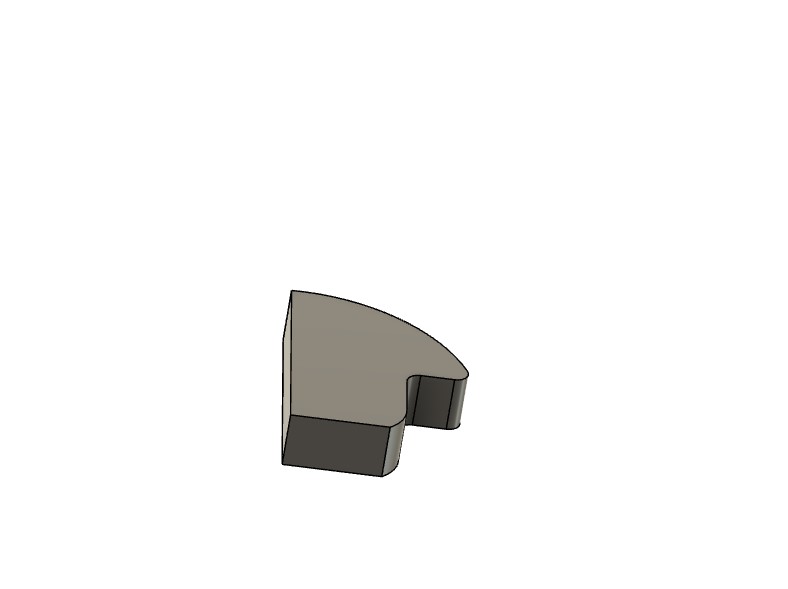
Moving to 3D
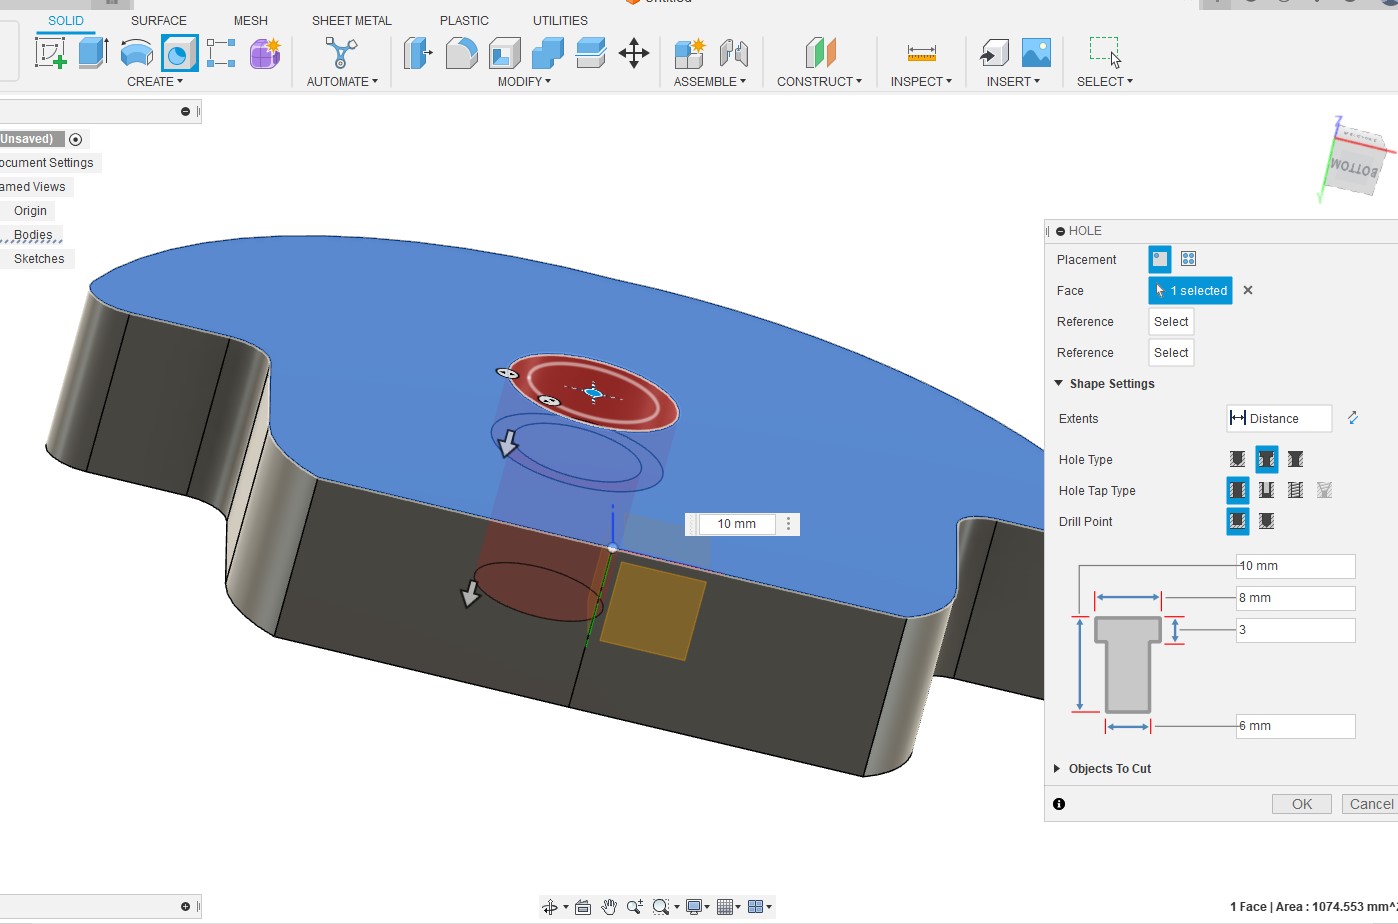
Adding hole for the M5 screw
But I did not like this design and wanted to add more depth so I started over
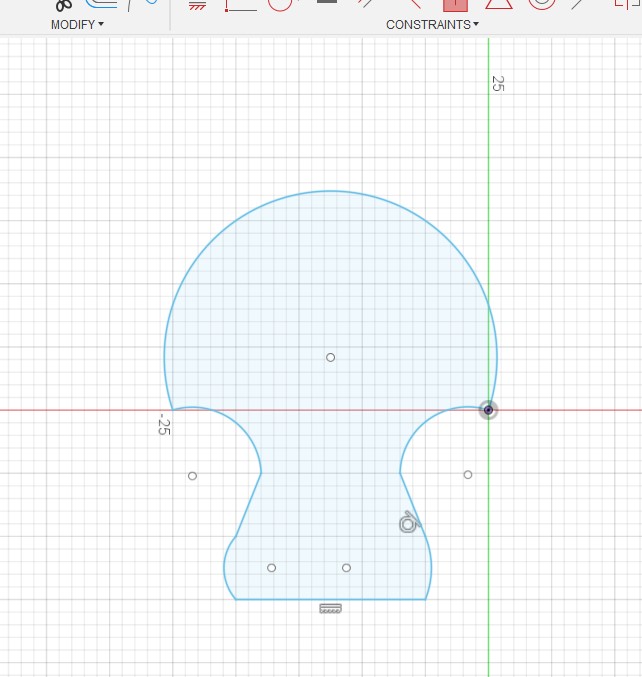
Add more height and smoothed edges and

2 holes for better stability
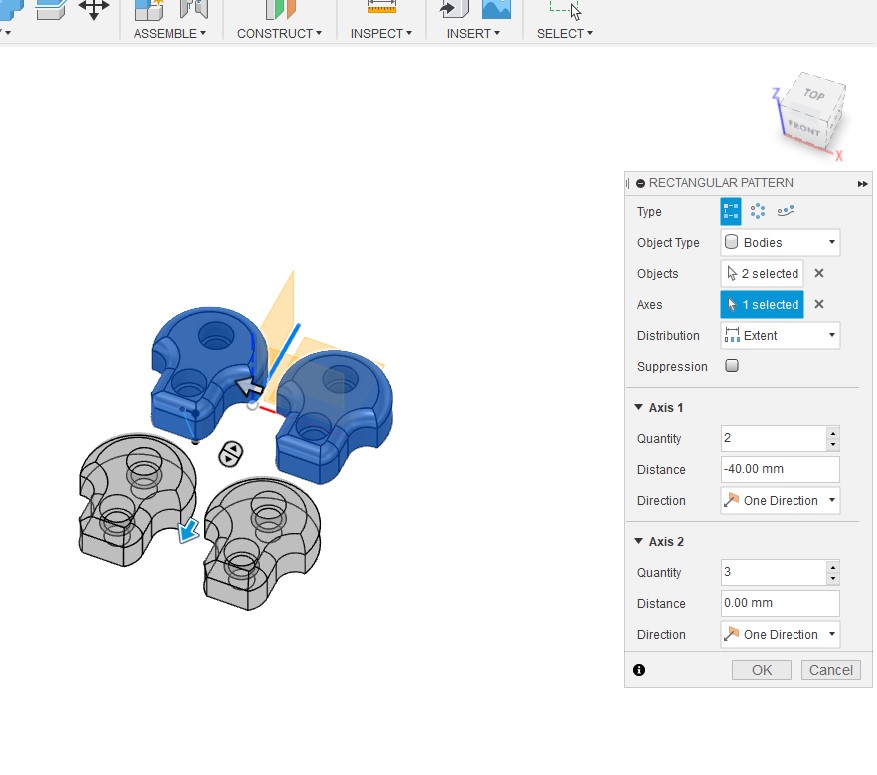
Created a pattern
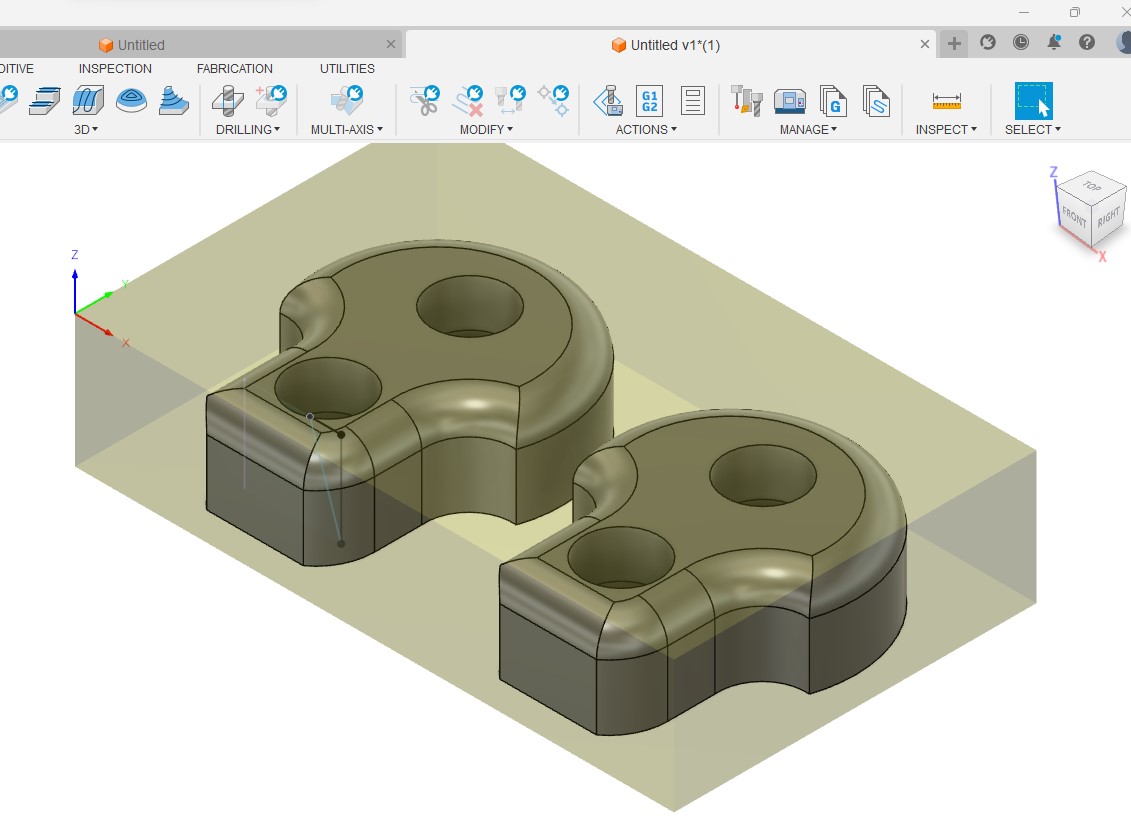
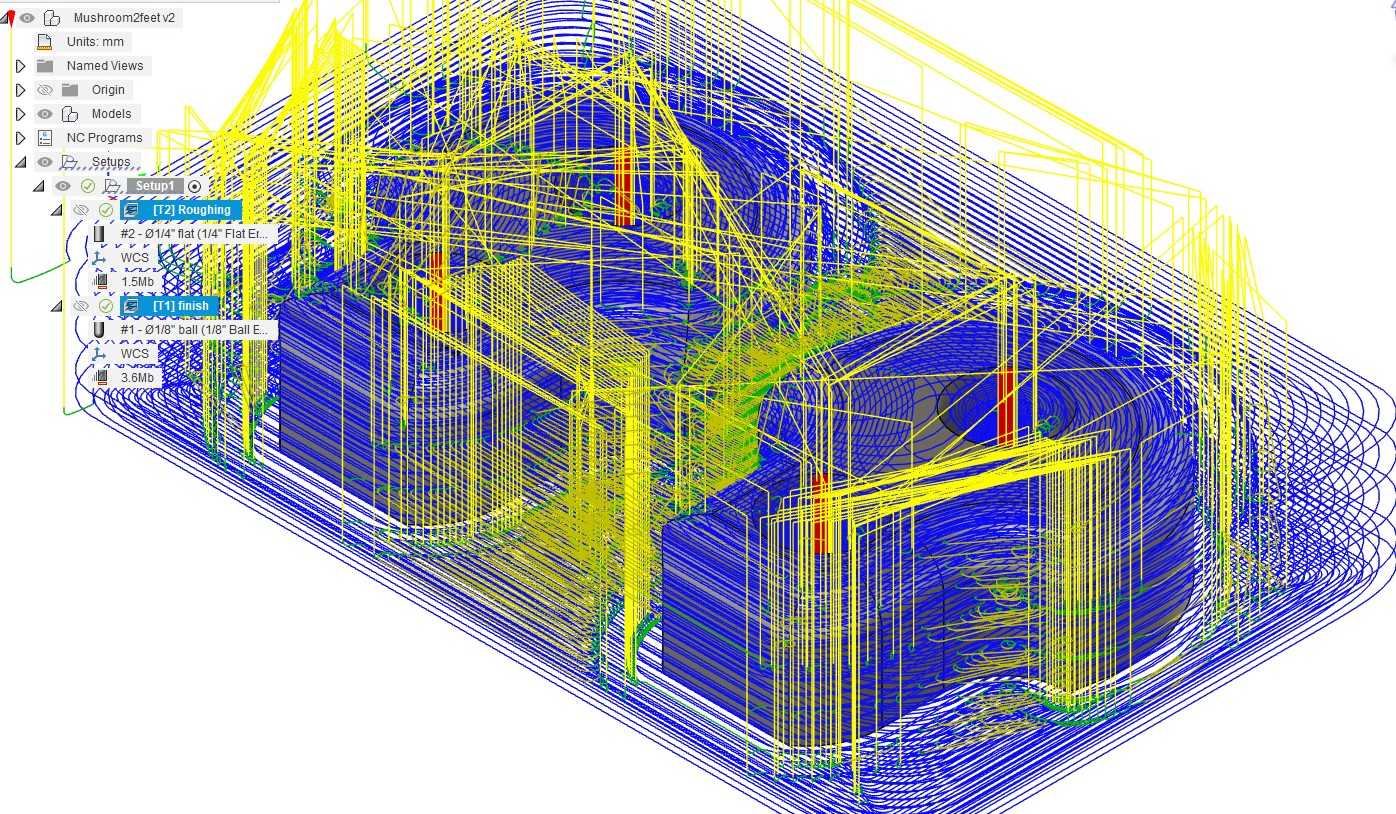
Moved to the manufacture workspace and set up the material size
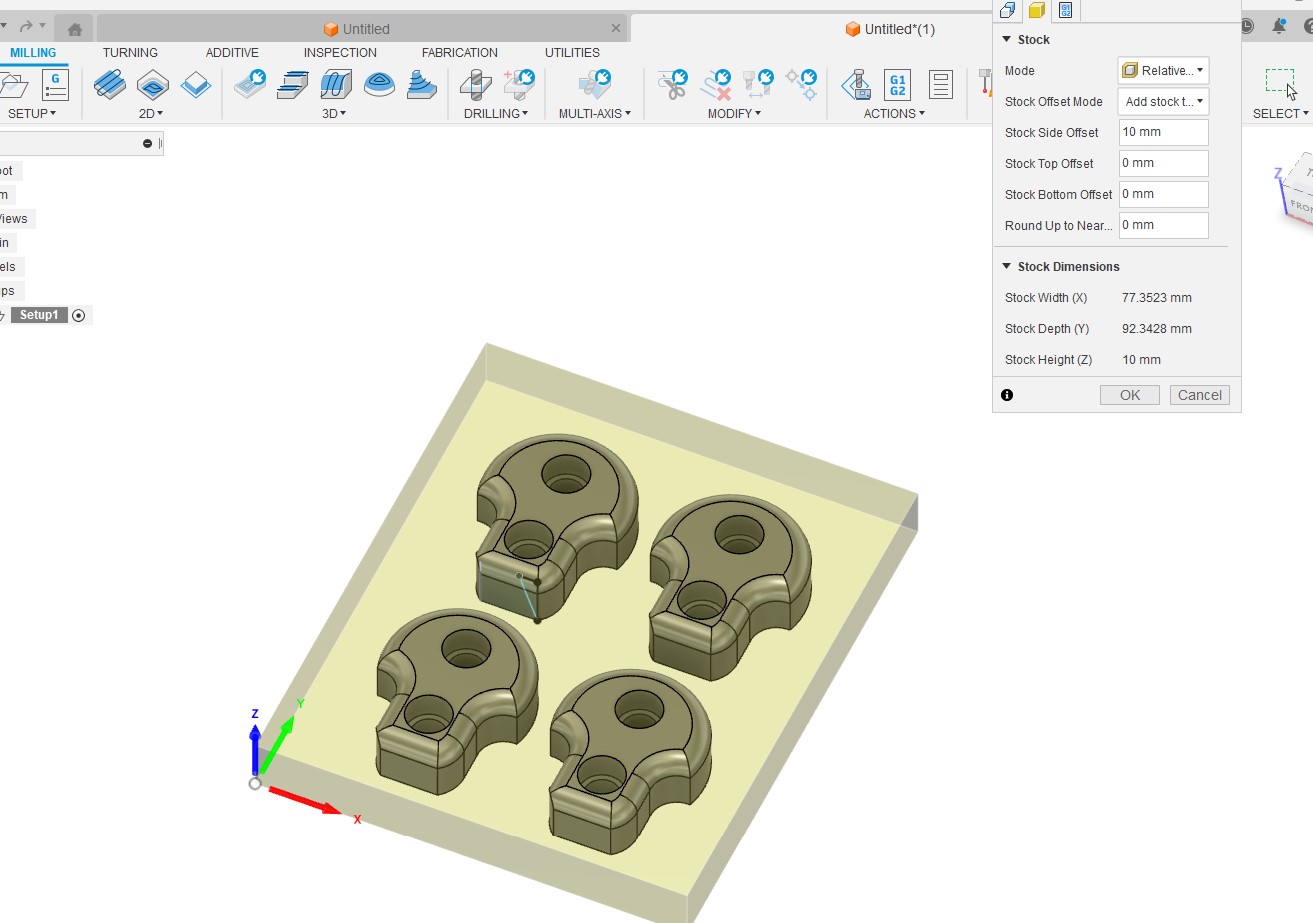
and 2 tools path one roughing and one for finishing. I left 0.5mm of material in the roughing for the finishing pass
Unfortunaly I measured the piece of wax I had and found out I can only fit 2 of these. So I had to go back and change the set up for 2 legs
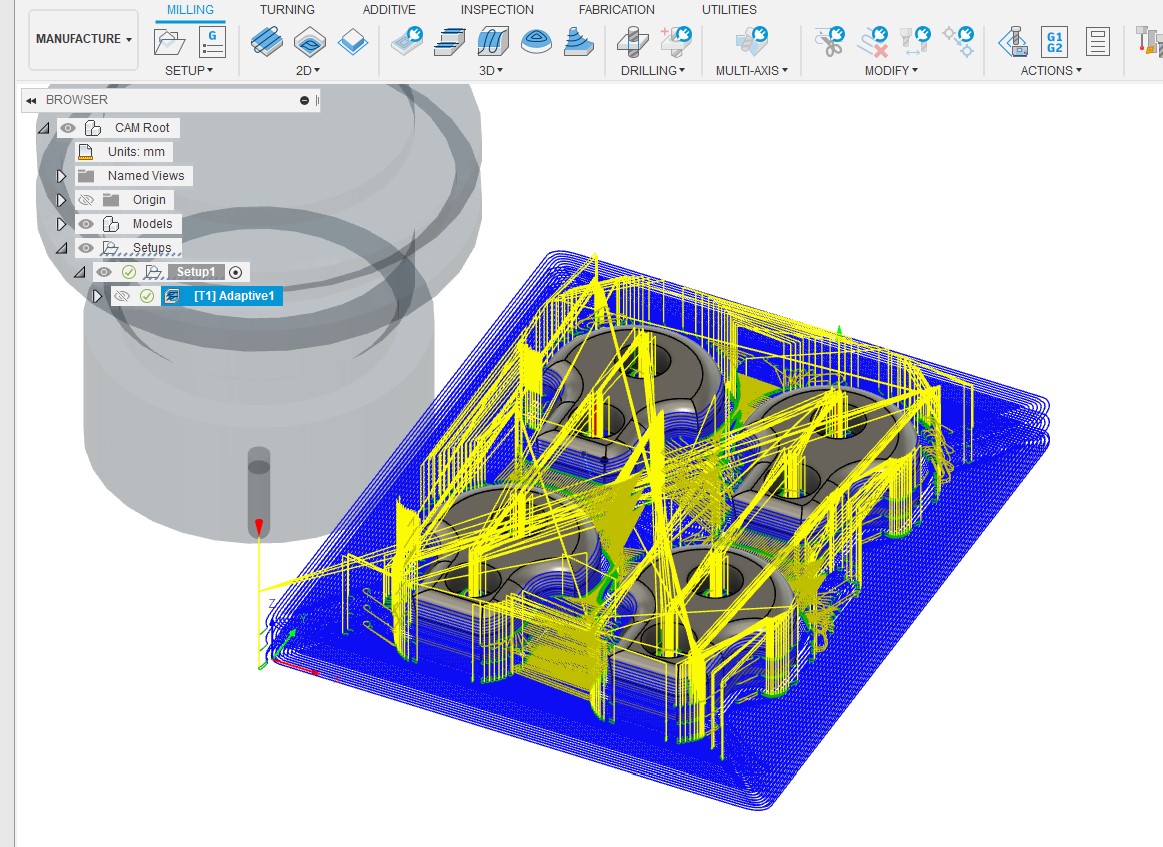
In order to maximize efficiency of the milling process I will turn a 2 passes. A roughing pass and a finishing pass.
For the roughing pass I will use a 1/4 inch end mill using the adaptive roughing tool path. You can see the specs here
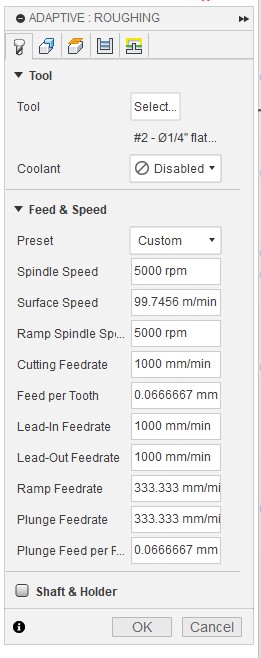
and the simulation

For the finishing pass I will use a 1/8 inch ball nose bit in the adaptive finish toll path an you can see the spec here
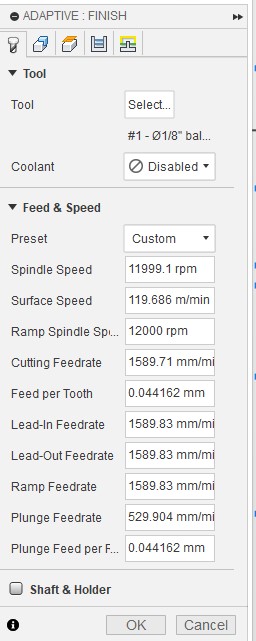
and the simulation
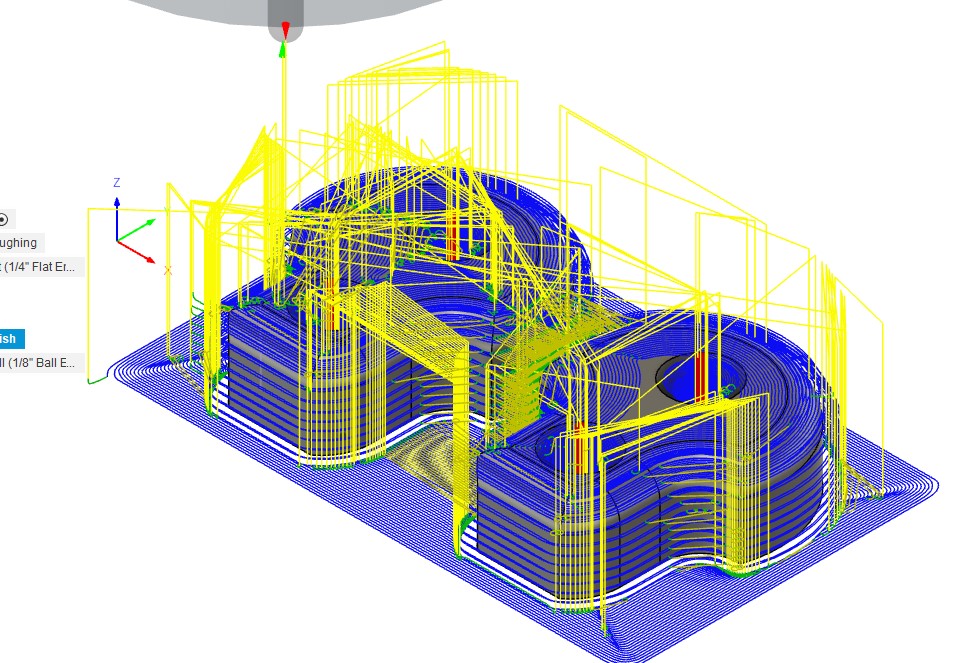
And rerun the tool paths adding a roughing pass followed by finishing pass
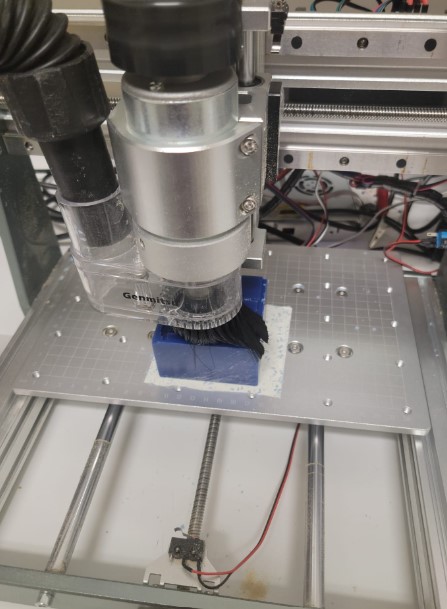
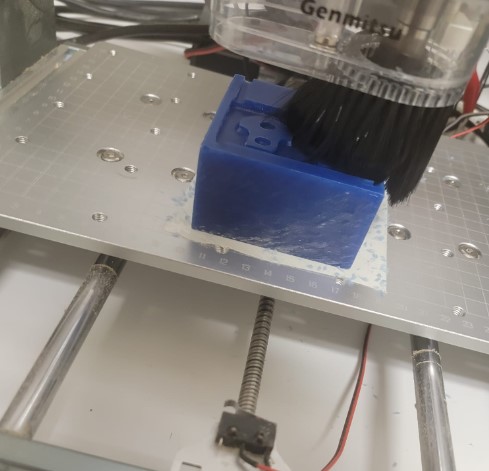
And I started to mill
Rubber mold casting
Now we are ready to move to the next stage
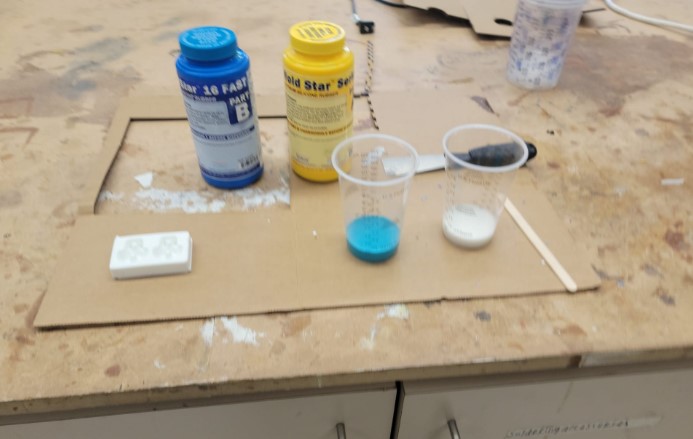
I decided to use OOMOO 30 Silicone Mold Making Rubber for the rubber mold
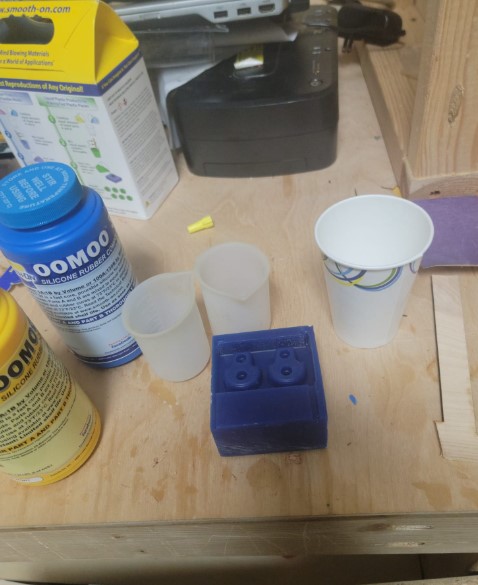
I set up 2 cup with equal amounts of each as per the instructions

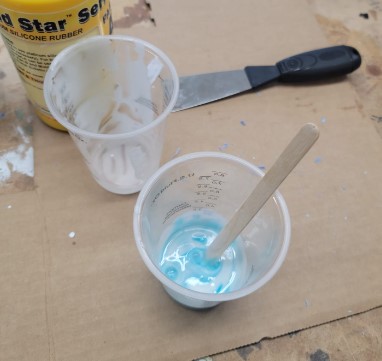
Both go into mixing cup
A full 3 minutes of shearing
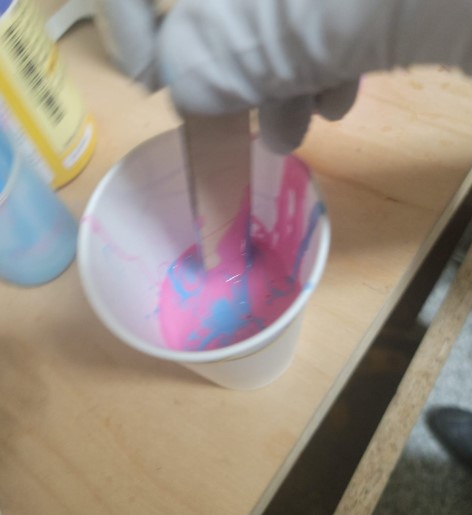
And it is fully mixed
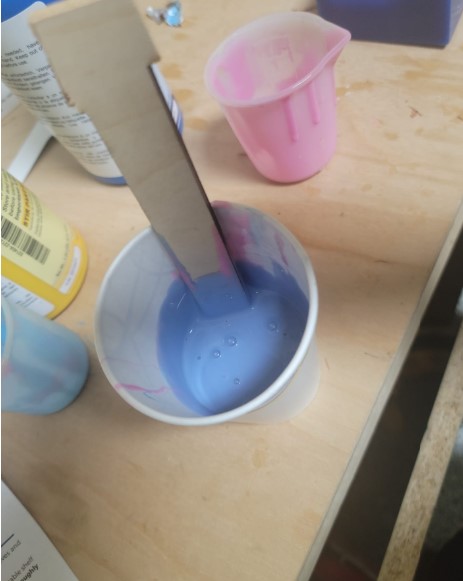
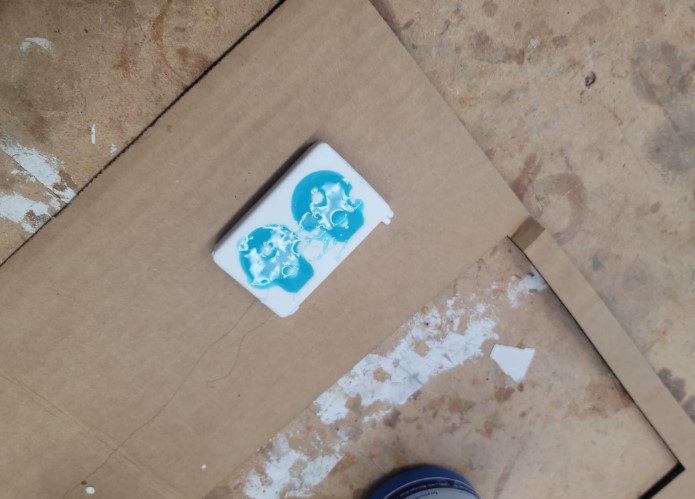
Next I pour it in form the corner and let it flow over the mold
I left it for 6 hours to cure

It easly came out
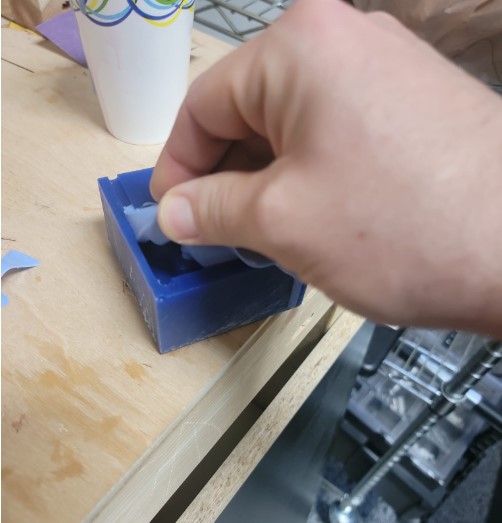
And ready to cast the feet
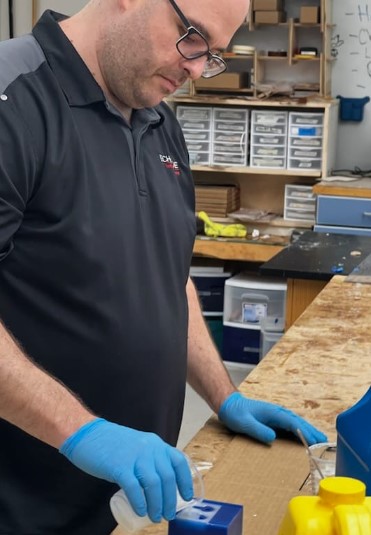
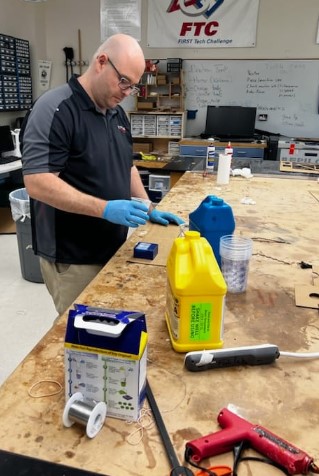
Plastic casting
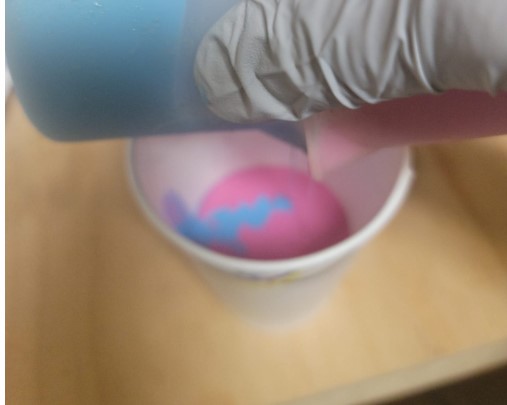
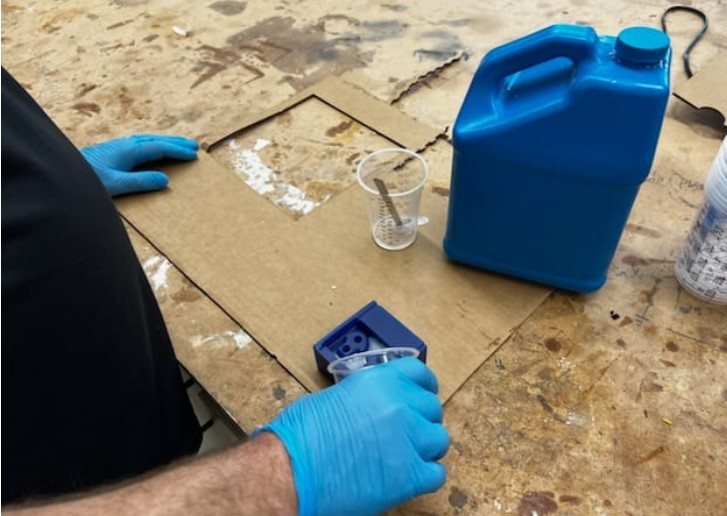
I used Smooth-Cast 300 Liquid Plastic
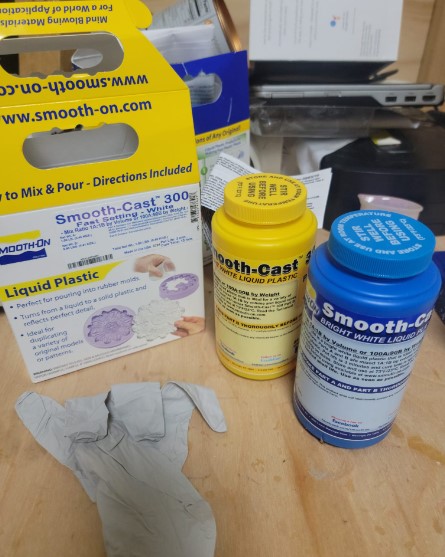
I has a 3 min put life and 10 min cure - so I have to move quick after it is combined
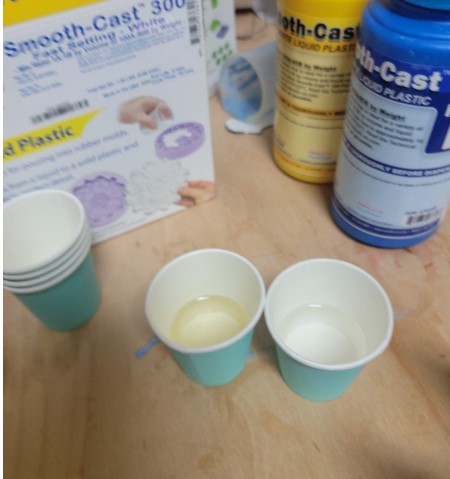
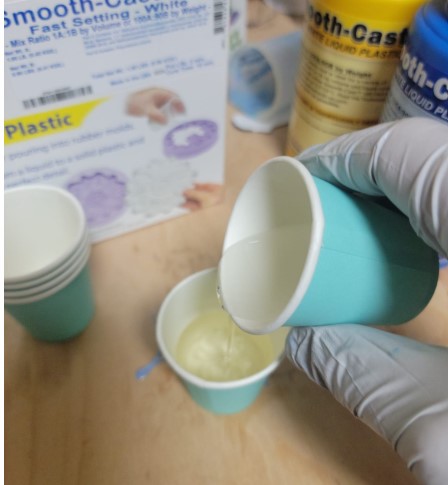
Equal parts and 1 min of shearing
Poured into the rubber mold
All set to cure
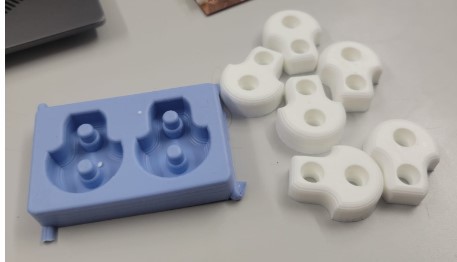
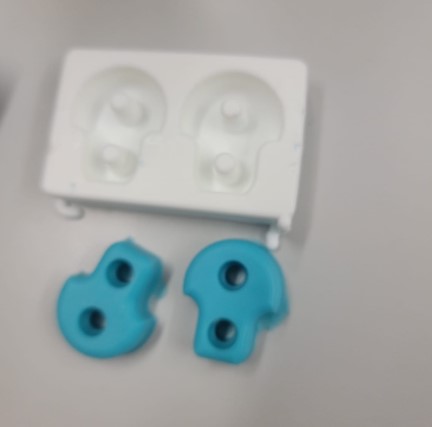
It turned white as it hardened
And we have feet ready to go
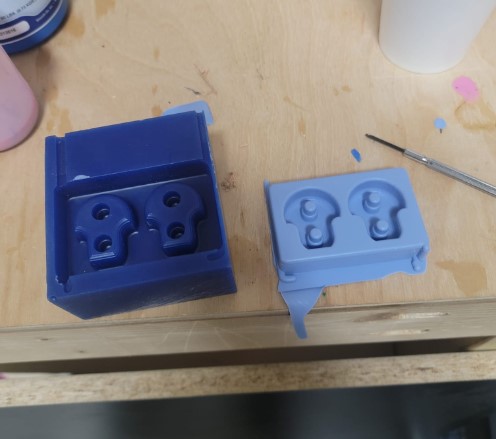
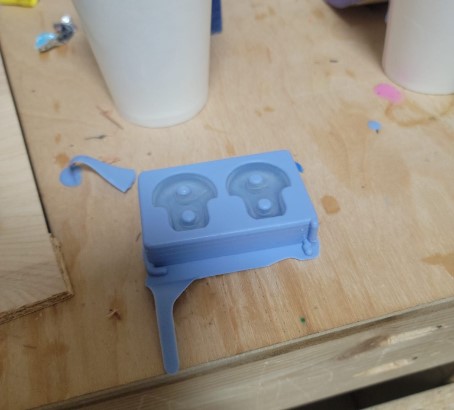
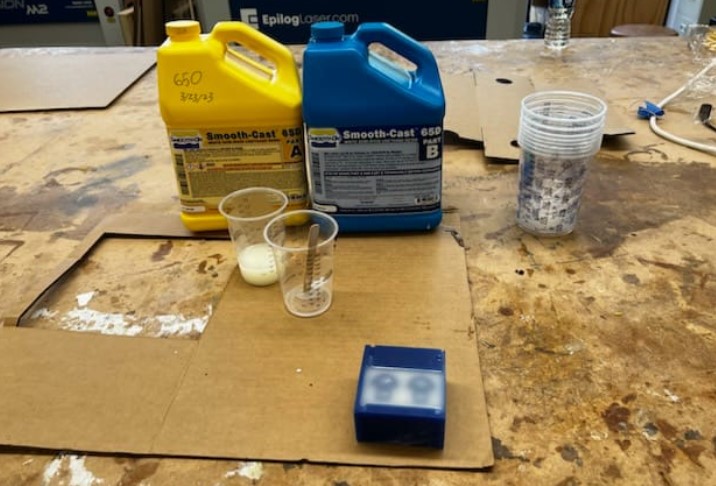
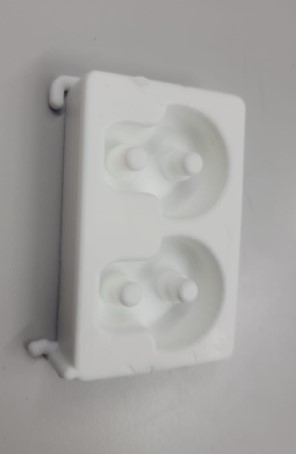
Hard mold with rubber cast
Once I got a chance to review the feet it seemed to me that they were a little too hard and I would like a consistency closer to the mold. So I decided to use the Wax milled mold to make a plastic mold.
I knew getting this out would likely destroy the wax but I was ok with that.
This was the same plastic I used for the leg so it had a 3 min pot life and 10 min cure
Got it mixed and poured
Now we just need to wait
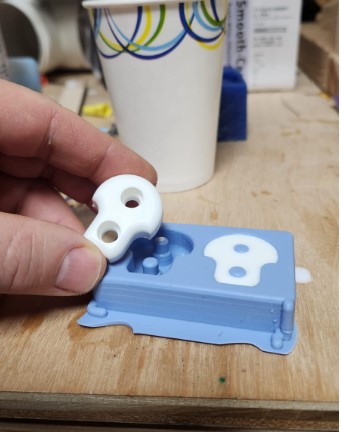
Now that I have a plastic cast I need to cast the rubber feet.
Mixing is next
Poured and now we need to wait
and here we have rubber feet
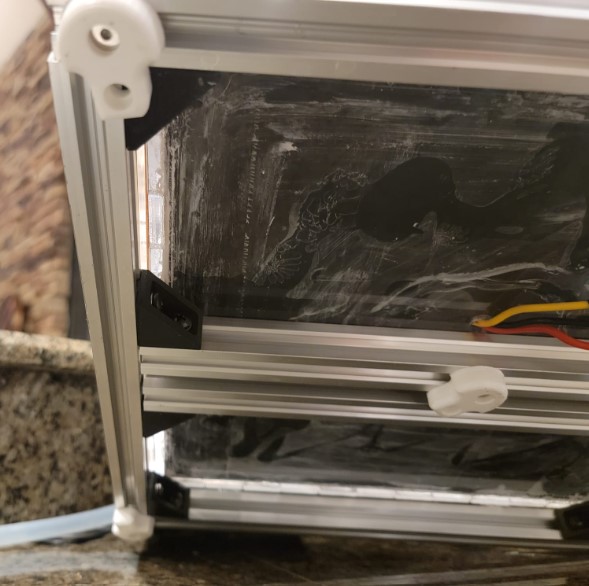
I ended up using these muchroom in 2 spots:
- As a trigger for the lid sensor
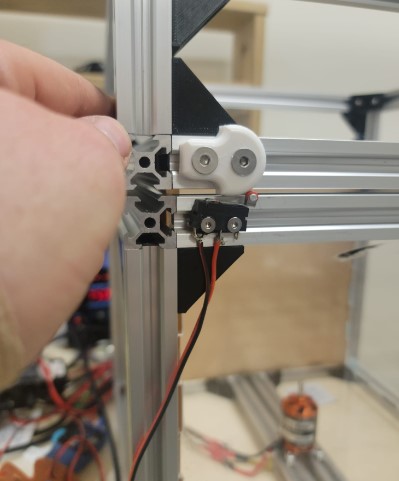
- As feet
Here are the files from this week here