3. CAD Design
Goals
This week we are focused on exploring different design tools including the following:
I had used Fusion 360 and Coral draw in the past and so decide to explore some more tools.
Get through basic tutorials and some simple designs using the following:
2D Raster - GIMP 2D Vector - Cuttle 3D CAD - Free CAD
To design the same part of my final project using Fusion and FreeCAD and compare the experiences.
Accomplishments
Cuttle: Got basic understanding and created a simple Hexagon design. Cuttle felt easy to use and will be a go to for me.
GIMP: Went through basic tutorial and logo design. I am very comfortable with JPG manipulation. When I got into graphic design the process here did not feel intuitive to me. I see the power this software and I think I would have to invest a lot more time in learning the system to be able to use it well.
FreeCAD: I liked this software a lot. It was easy for me to use for a simple part design
Comparison Fusion 360 vs. FreeCAD: I found the high level steps to be very similar. The basic operation were simple to follow. The FreeCAD process is a little more "choppy" since you move between different workbenches compared with the more integrated Fusion360 experience. I found this "Choppy" approach and Workbench very easy to follow! It felt easer to me then Fusion timeline.
For basic part design I would be comfortable with both and as non professional I very much appriciated the FreeCad cost!
Cuttle
Sign up was very straight forward.
I started off the the simple tutorial.
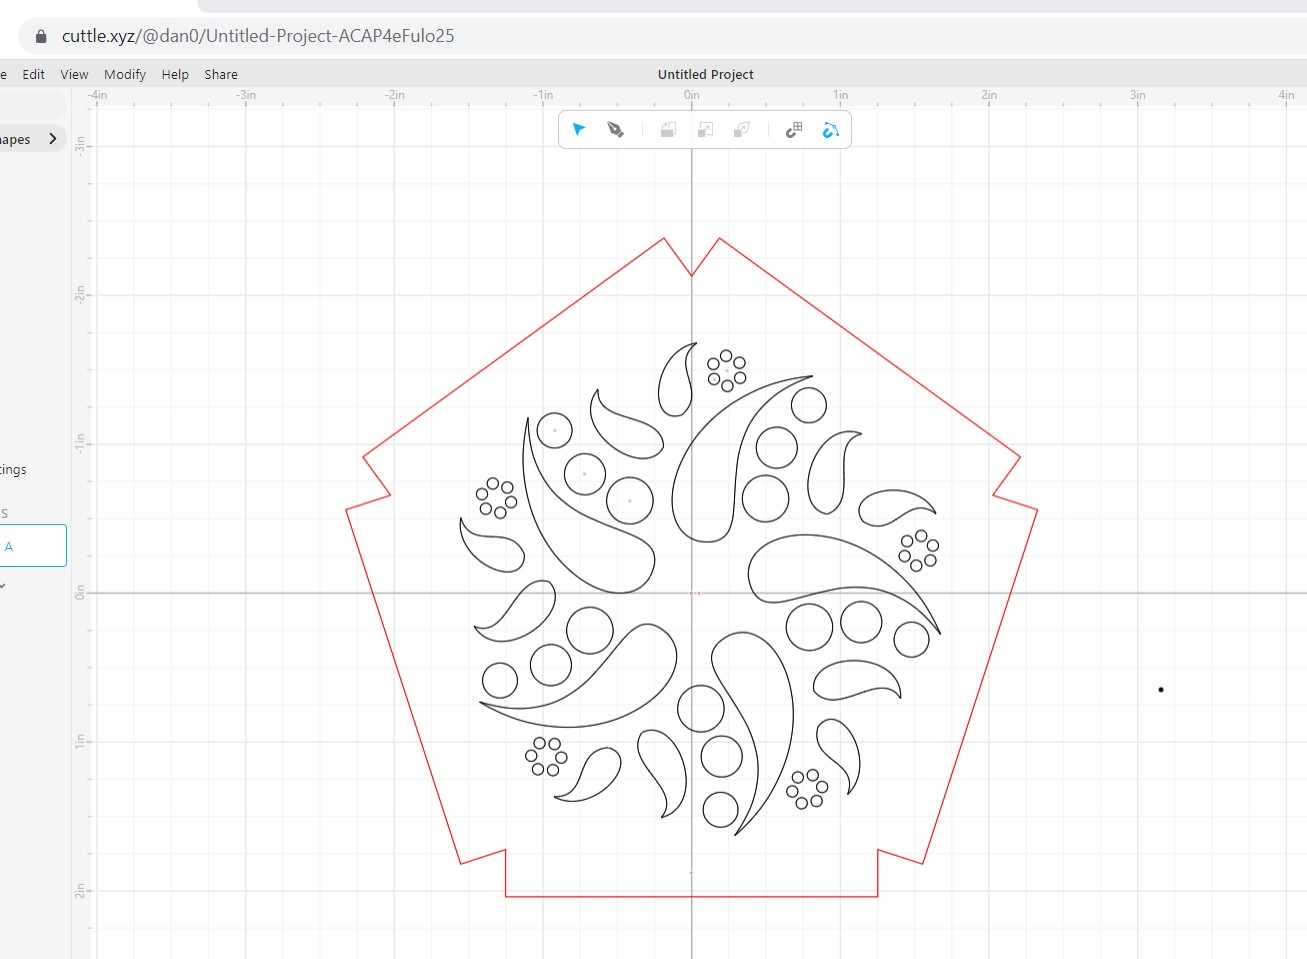
It started off as a simple shape set up but pretty quickly some nice features came up that made me take smile.
-
Very easy snapping shaped to each other which is no unique but easy to use
-
The rotational repeat very intuitive way to create patterns
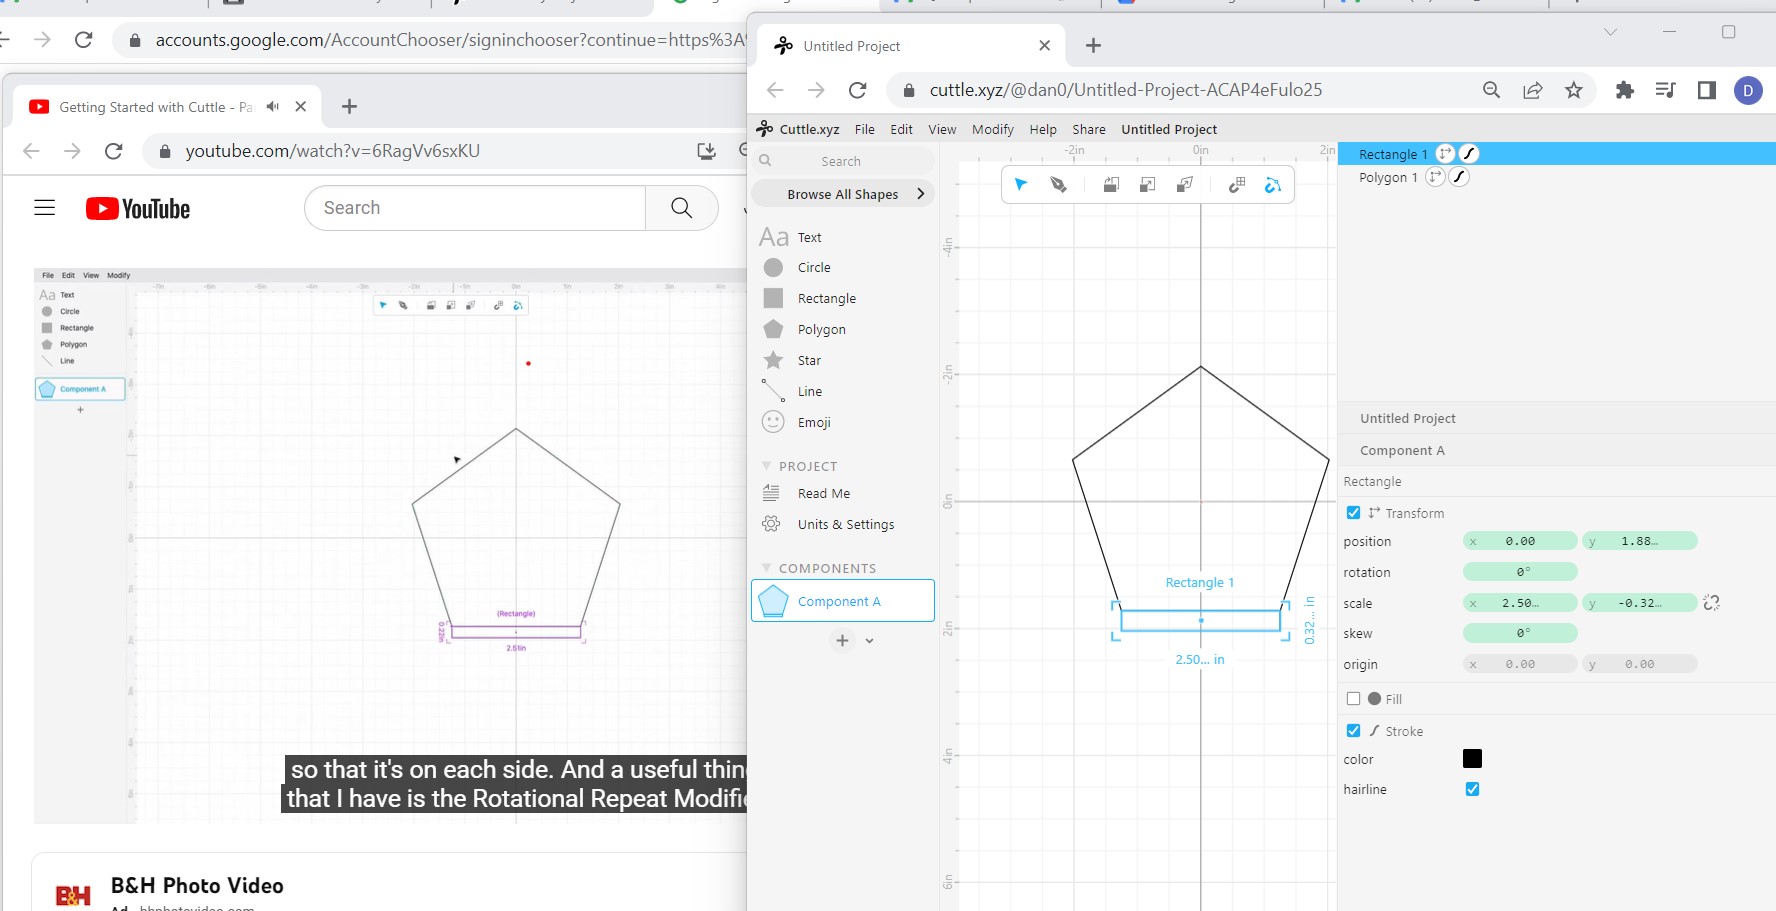 3. On the right side you see a block based list of your shapes and so it is very straight forward
to move items between group
3. On the right side you see a block based list of your shapes and so it is very straight forward
to move items between group
- I got a rotational pattern going on a shape but then added a circle, it was 2 clicks to create a group add the two shapes to the group and drag the pattern repeat on to the the group. I really appriciated the ability to see how a design looks and move then back and forth without the need to redo the whole process
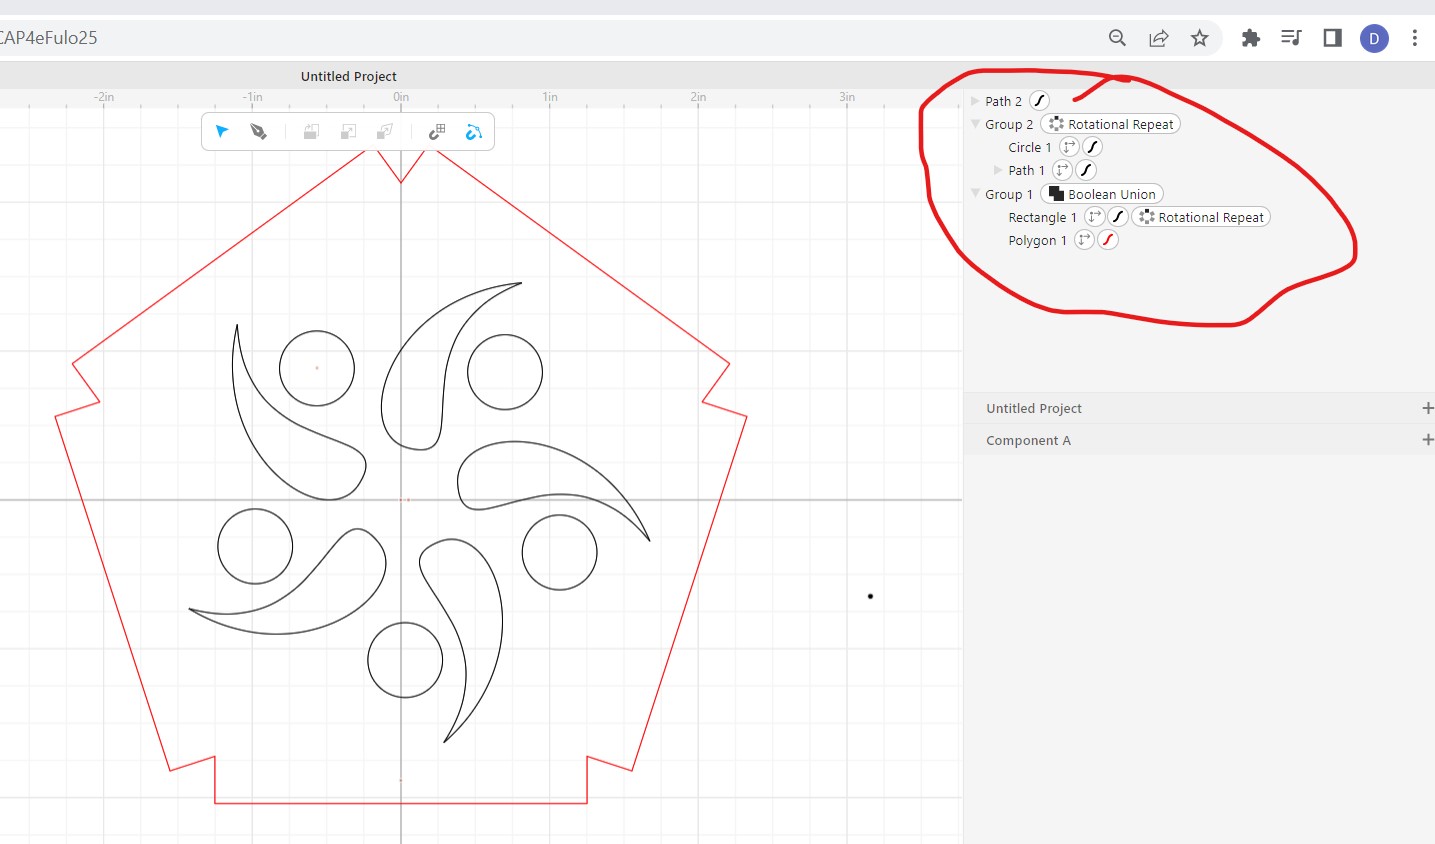
Overall I found this tool very easy to create pattern shapes
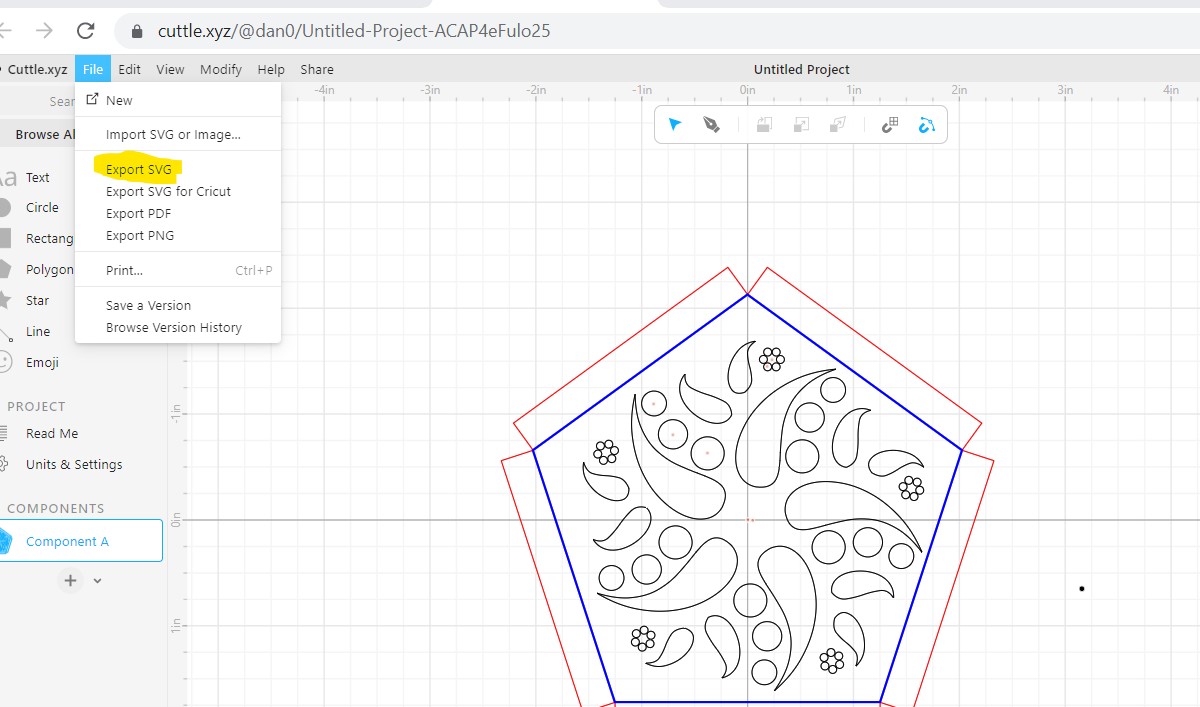
I exported the file as SVG which was easily found as that is a file type most lasers can use
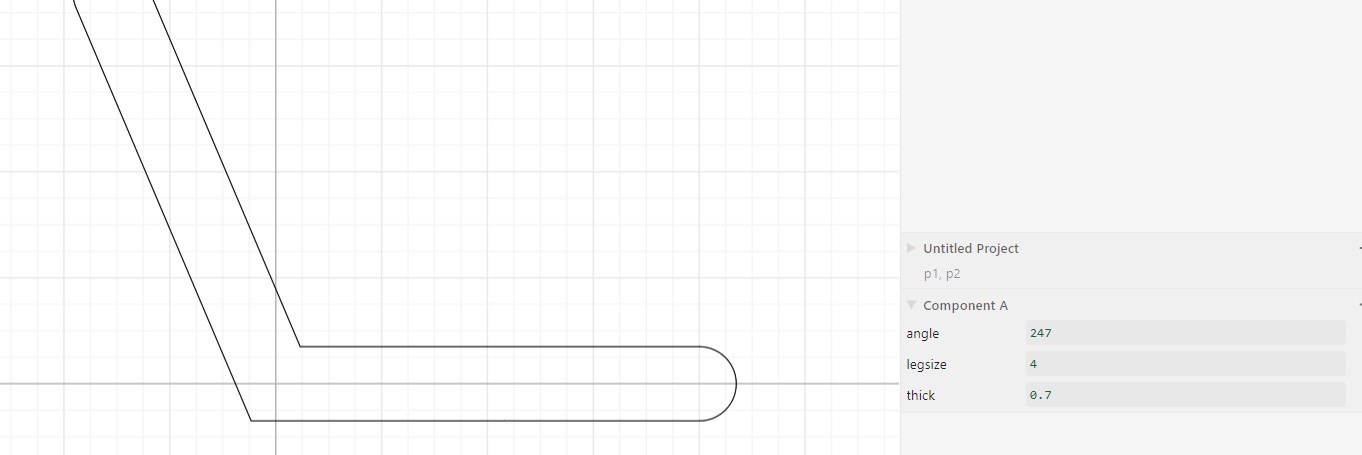
I started to explore the parametric design elements including variables and constrainers
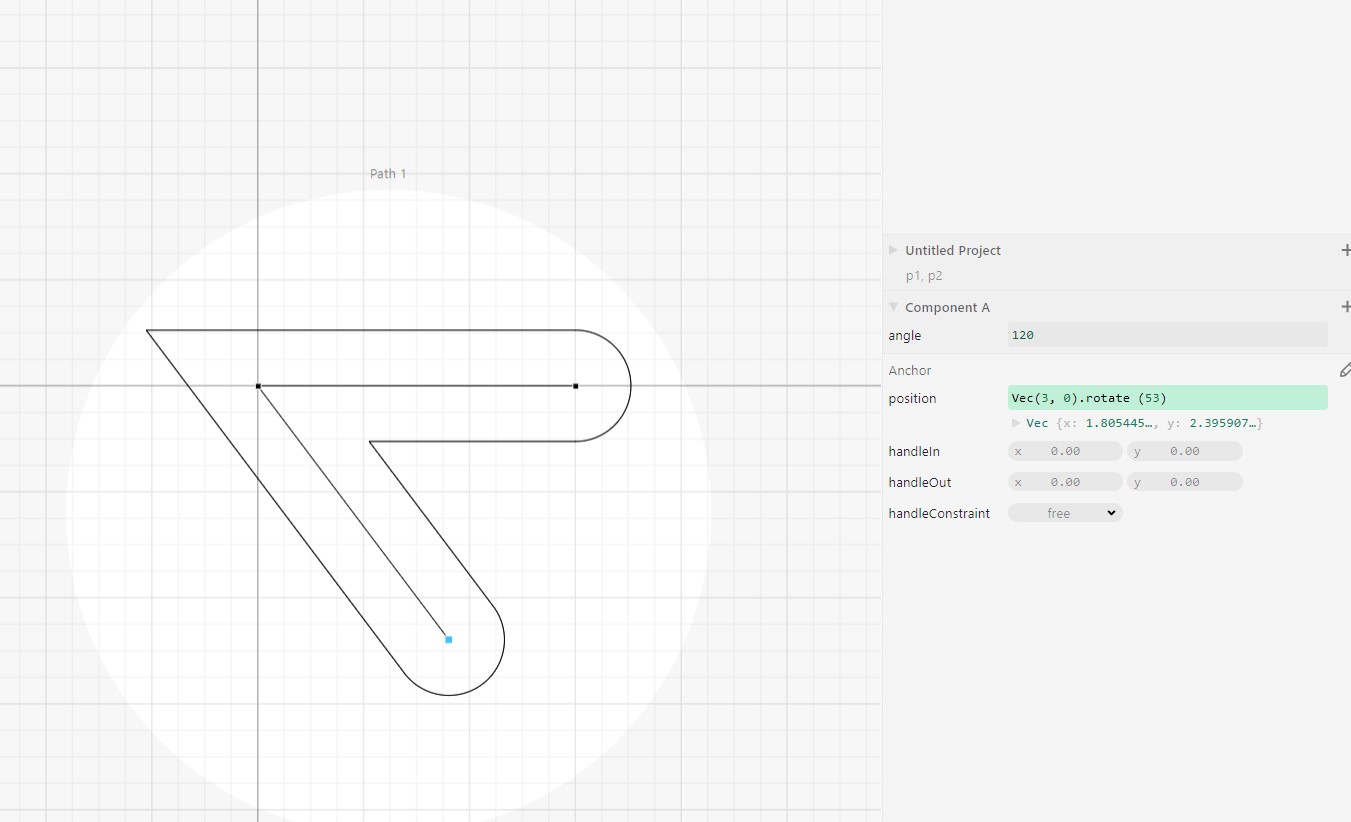
Added more parameters including thickness, legalize and angle. This UI continue to be super easy drag and drop type dynamic.
The ability to easily create variable and interconnect them to shapes in a very intuitive UI is very powerful
Conclusion - compared to CorelDraw (that I use a good amount) I find Cuttle to be simple to use with some very good functionality. For 2D work focused on laser cutting
Cuttle maybe a new top contender in my toolbox!
GIMP
I was excited to try this as it has been many years since I work with a raster based application.
Next I downloaded a image and start my first tutorial
Basic operation seem straight forward such as resizing an image
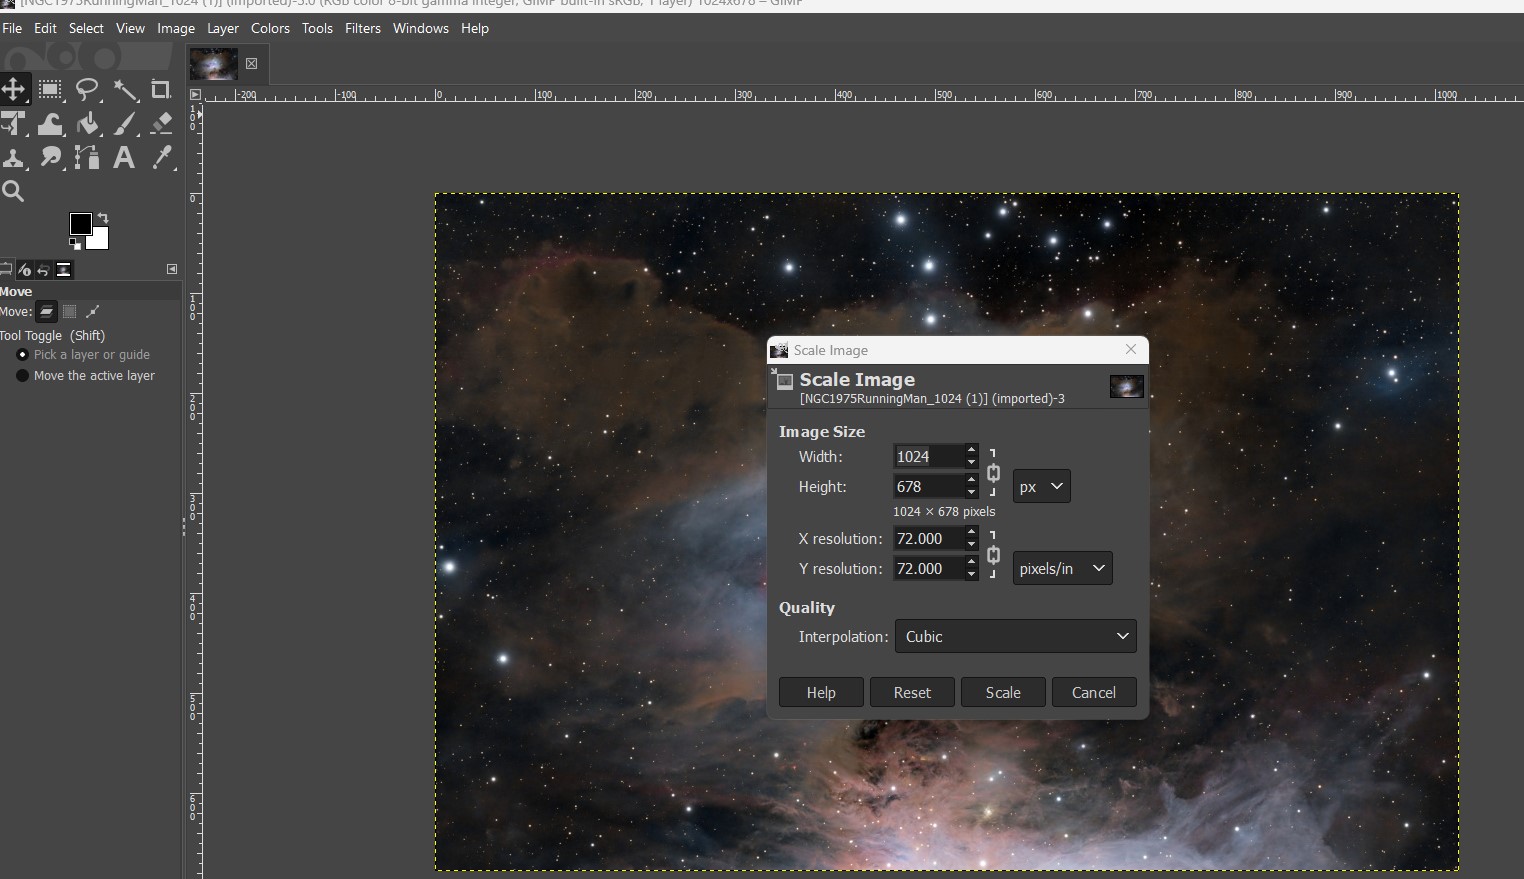
Followed by a slew of other basic command such as export, crop, select etc.
All pretty straight forward.
Next I moved over to another tutorial that was suggest by our Lab.
We learned how to work with layers which seems in line with other programs
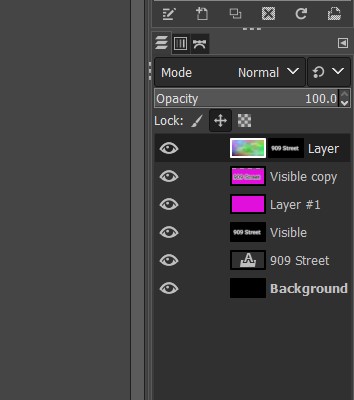
I added a offset layer to create a shadow, used multiple filter and then exported the final image:

Conclusion - GIMP seems pretty straight forward, not as intuitive as cuttle but provide a lot of flexibility working with pictures at a great price.
FreeCAD
I had done a good amount of tutorials in Fusion360 in Fab Academy prep weeks and so I was very excited to try FreeCad
It is a big file to download and install
Ran through the tutorials
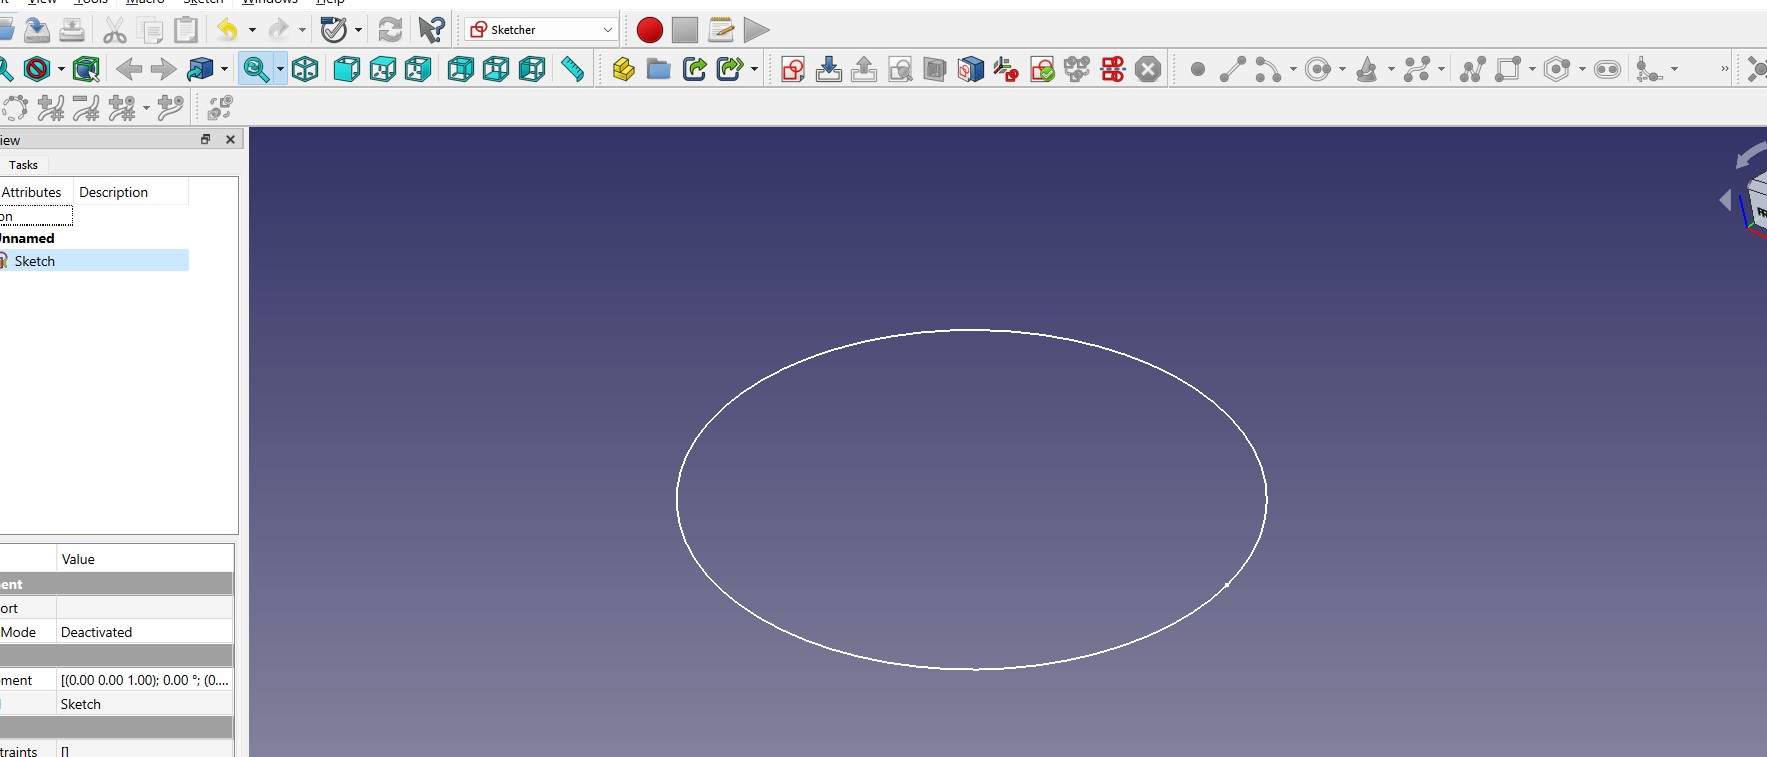
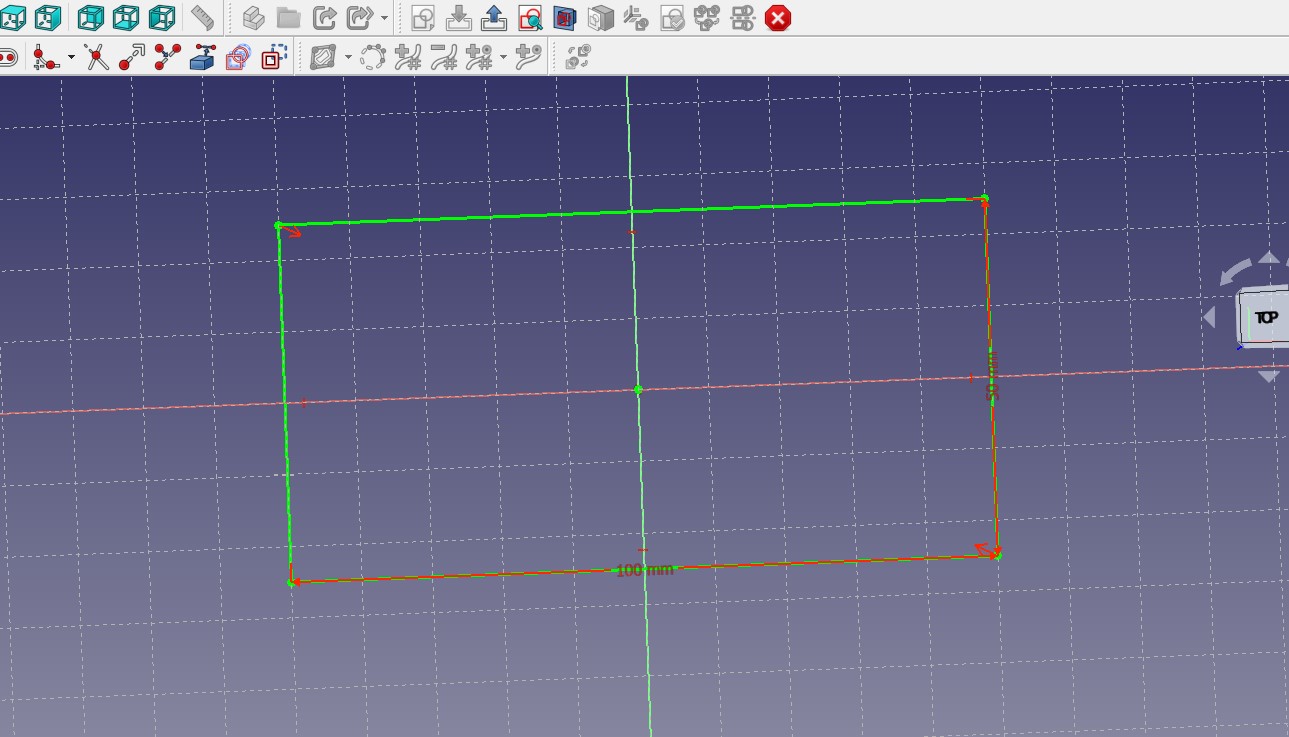
Now opened a new design and getting ready for my first sketch
and some more sketch
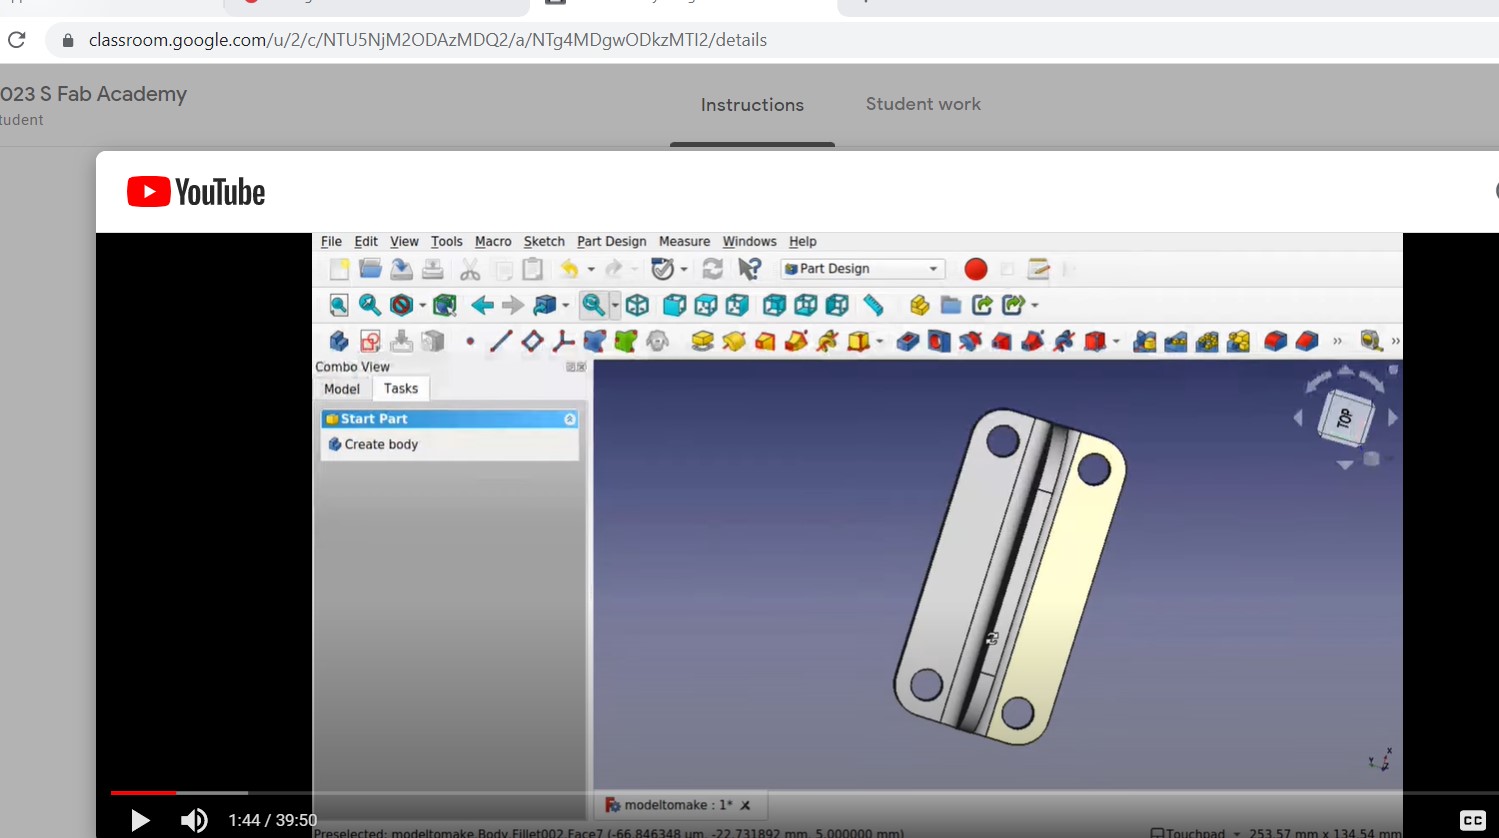
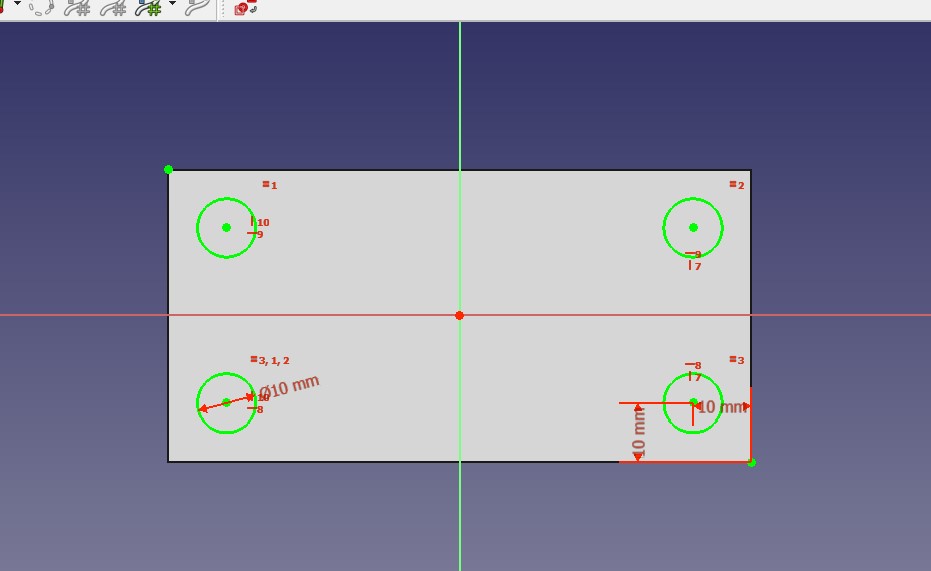
Now I am moving on to part workspace with a tutorial where we will make the following:
First fully constrained sketch as base shape
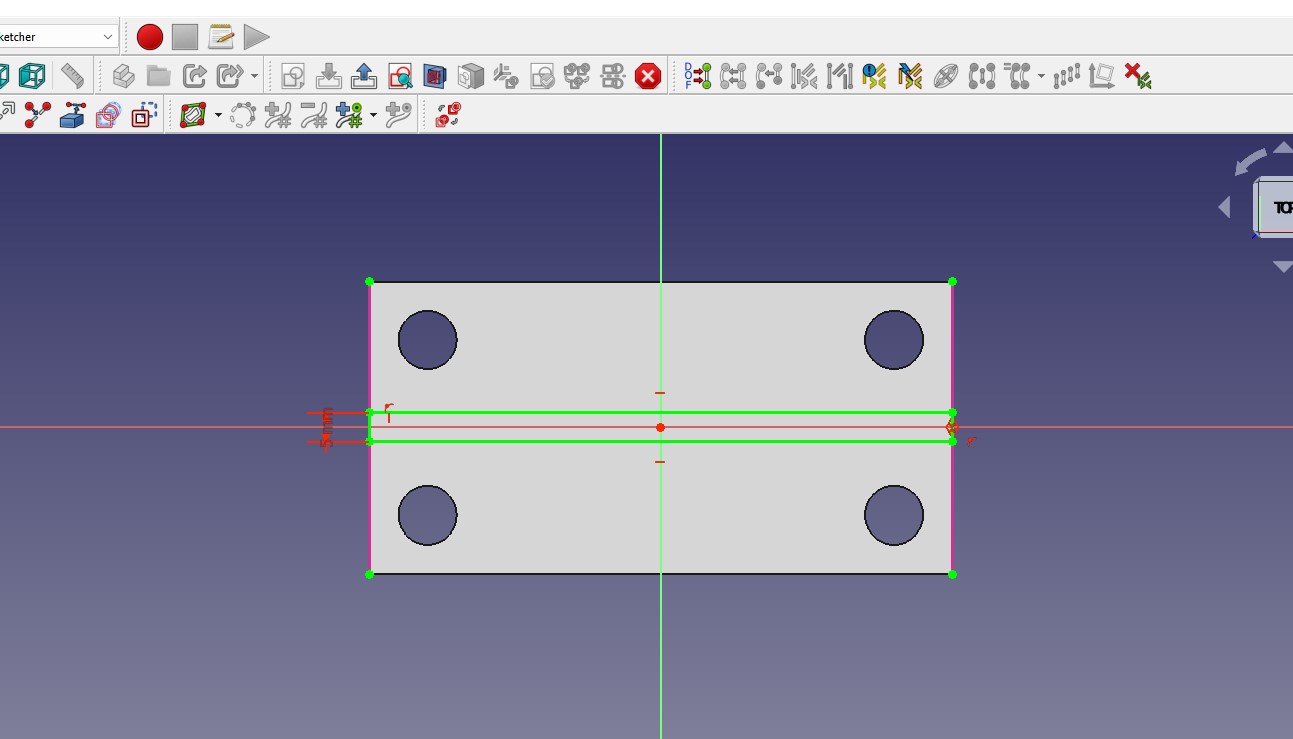
Step by step we went through sketching, padding (extruding), pocketing (cutting), filleting
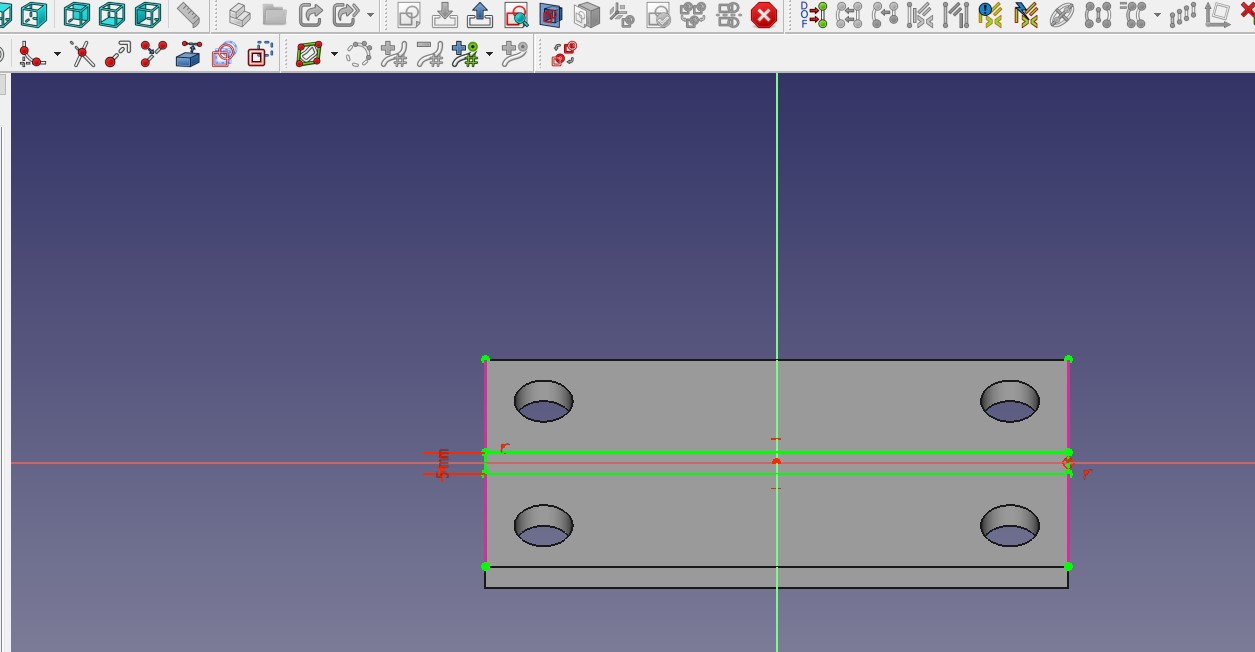
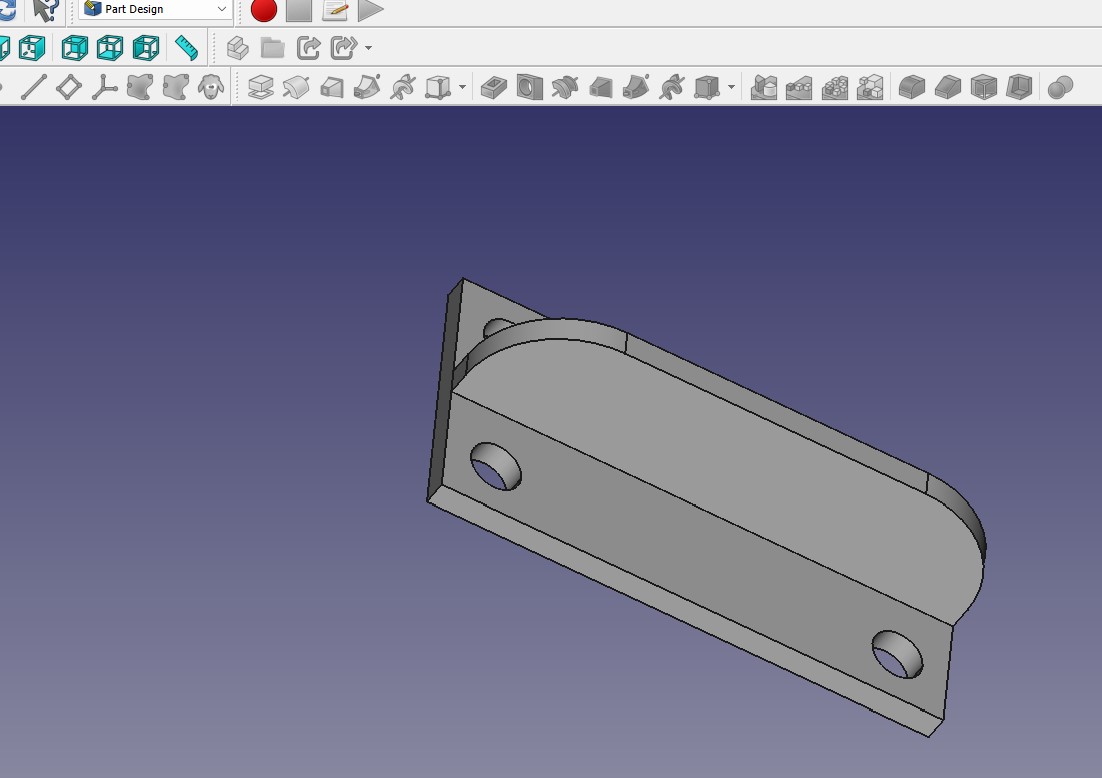
and we have the final bracket done!

Conclusion: - I like free cad a lot! I find the left side model navigation a lot easier to navigate vs. the timeline in fusion 360. I am going to try and make the base plate for my Vegtable Washing Machine in both and see how the process compares!
Here we go....head to head...... Fusion360 vs. FreeCad
The total dimension for the VWM is 35 cm wide, 45 cm deep, and 35 cm high

Fusion360
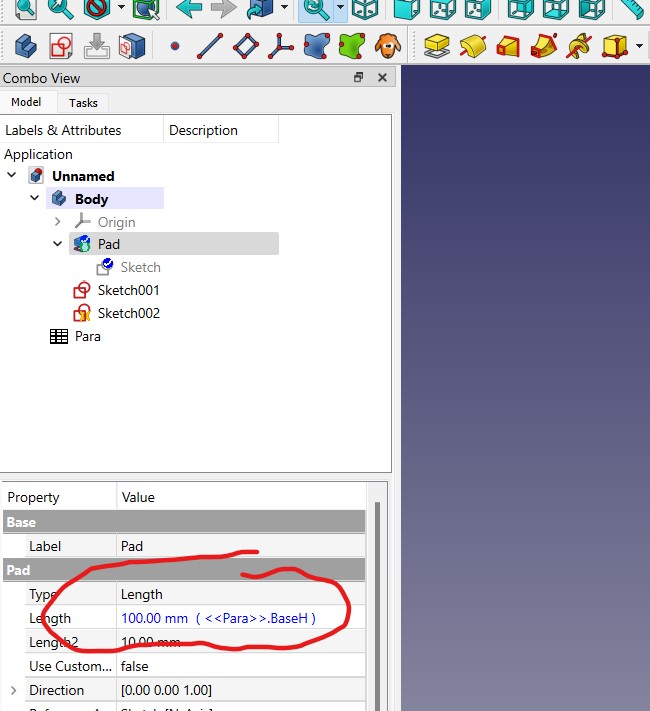
First I set up some user parameters I will use in sizing the spinning plate and it base

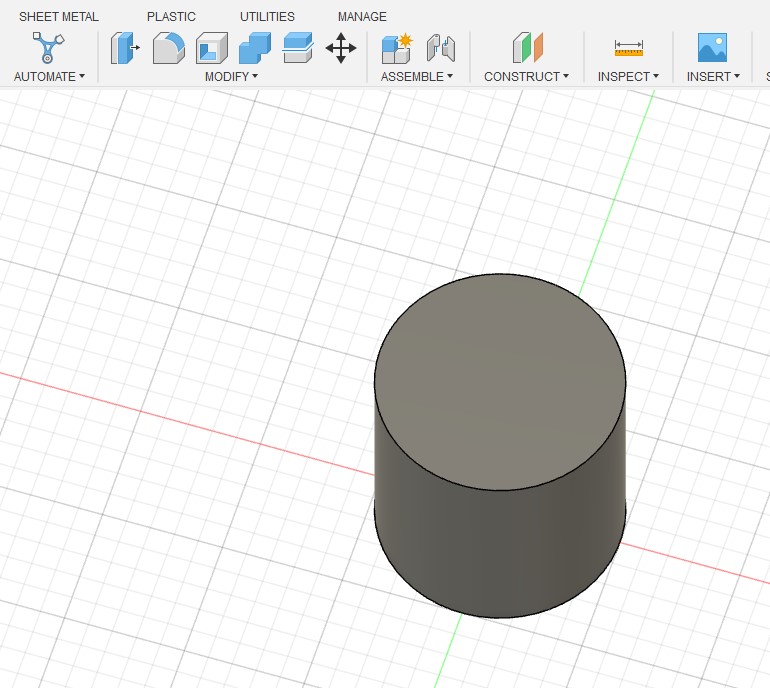
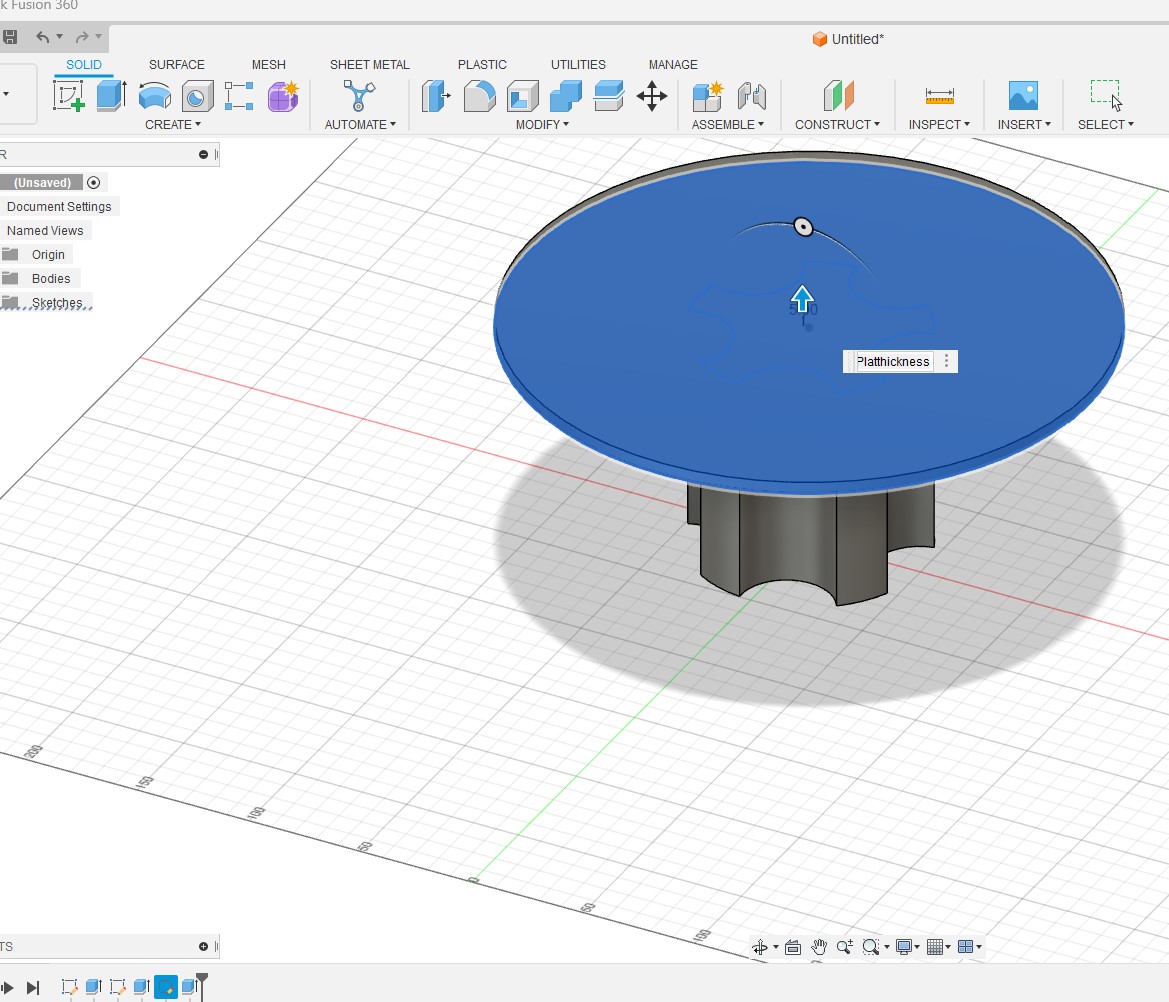
Now I made a round leg for the plate to sit on
To create the shape of the base I will create a new sketch on the top of the base leg. I then create a circle and replicate it using the circular pattern tool followed but a cut.

I then sketched on top again and created a circle to create the plate itself
Here I made a mistake as I did not select the whole plate and where the handy timeline tool come into play
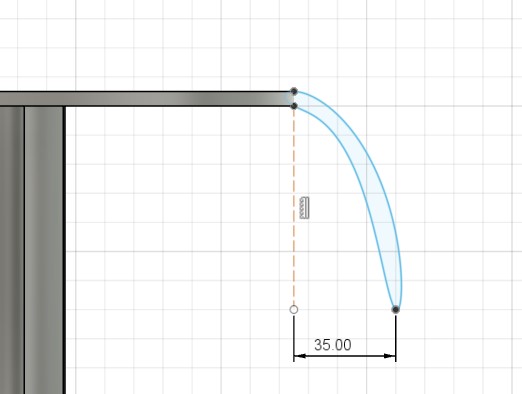
And we are back on track. I wanted to create a downward facing lip in order to provide some water protection for the spinning mechanism during the dry cycle.
To do this I am going to draw a sketch of the lip and have it rotate around the plate center axis
Start with sketch
Then used the revolve to create the lip and set it to join the plate base.
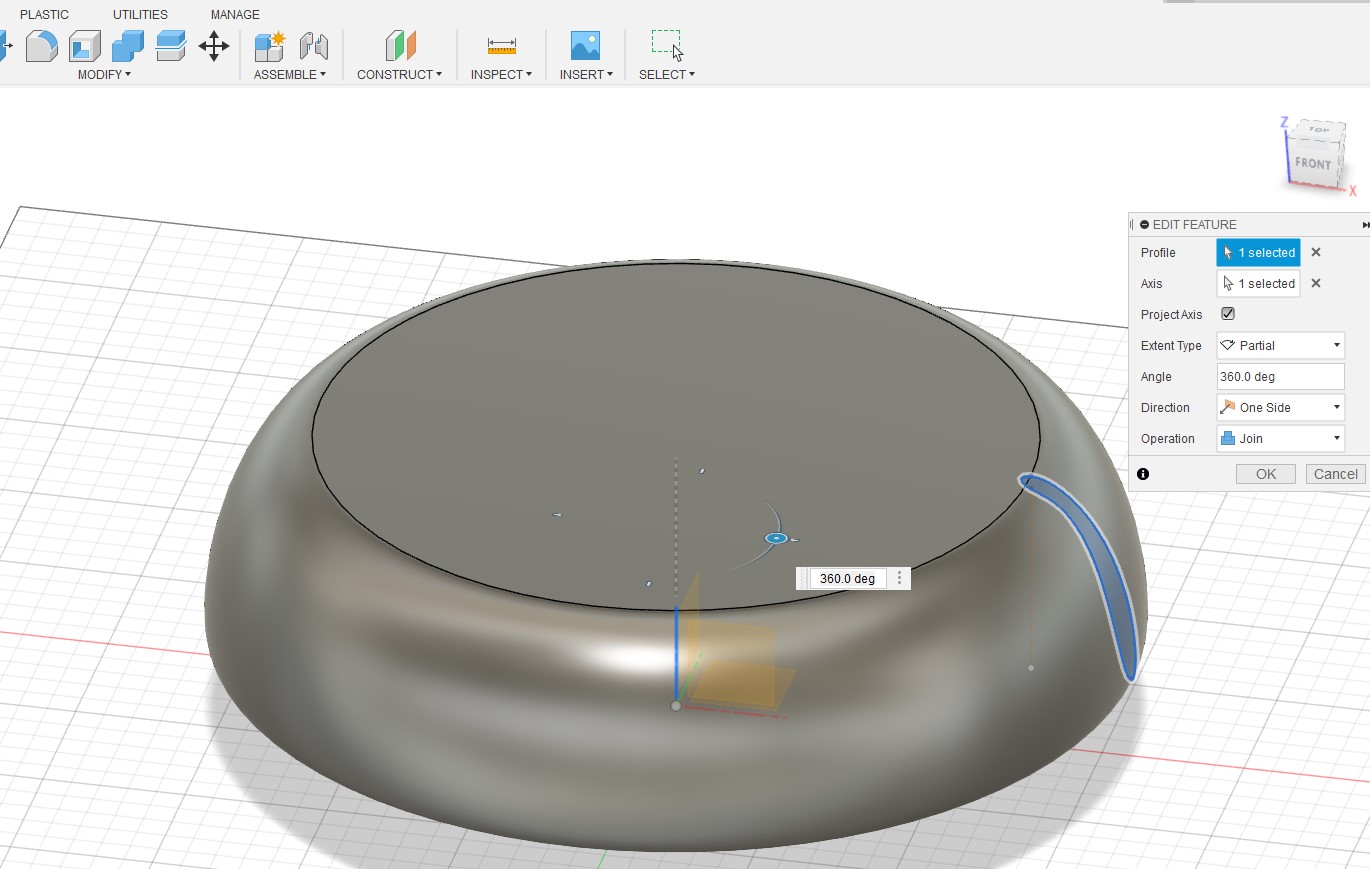
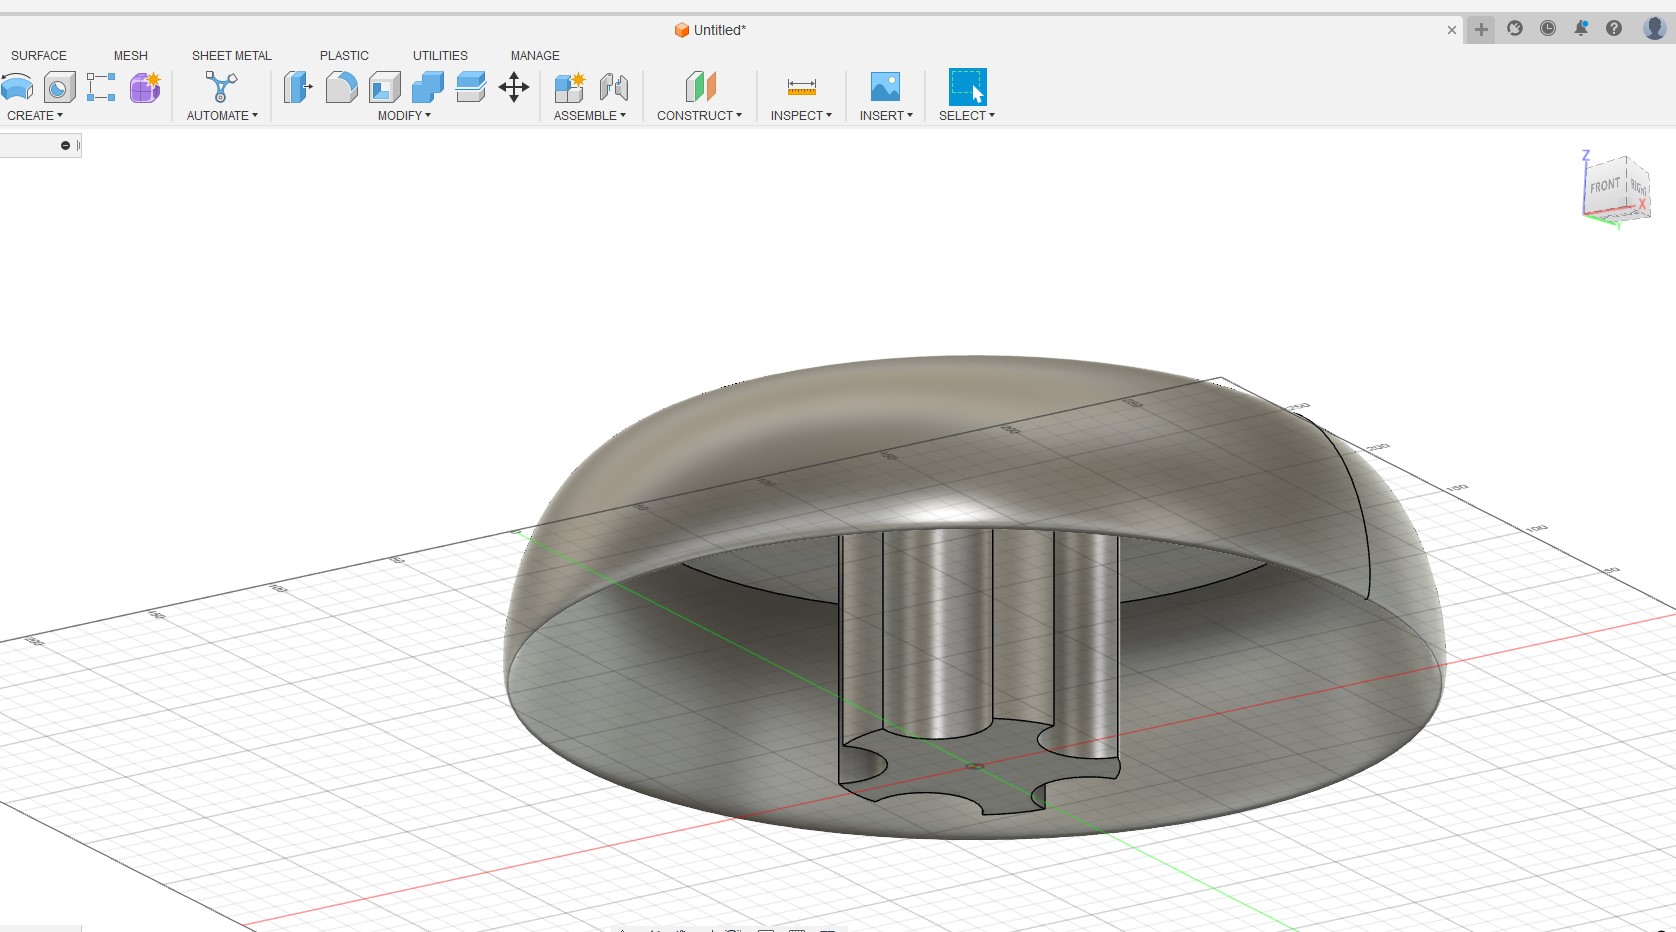
and there you go a first cut at the base plate
Now let do that again in FreeCad
Free CAD
I will follow the same overall process, starting with defining the user parameters
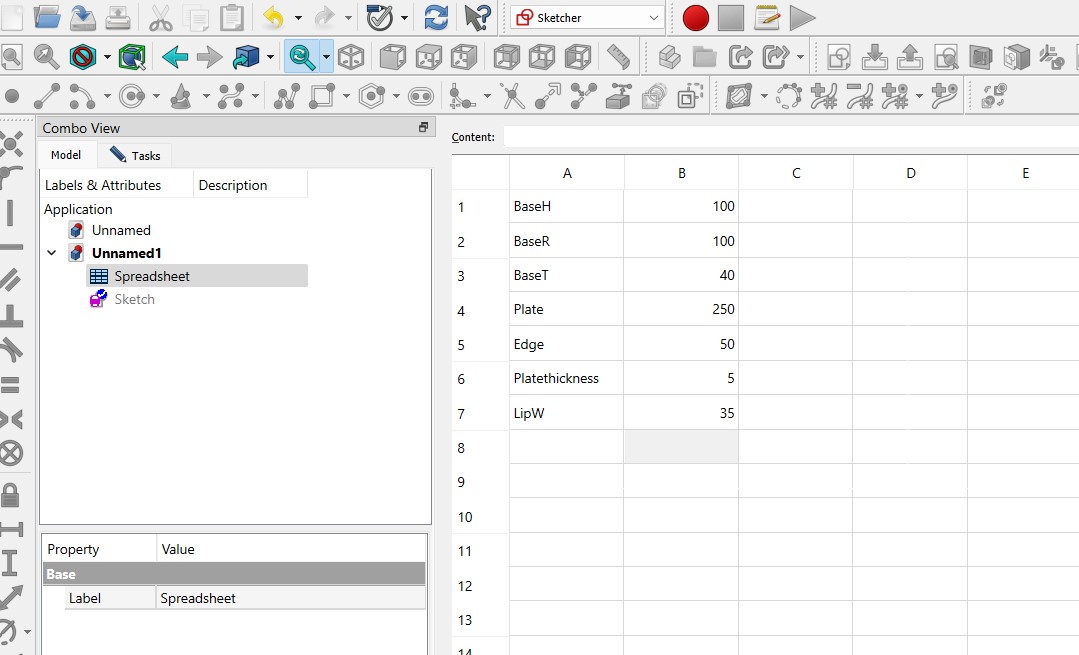
You need to remember to name the cell with the number itself in the top right
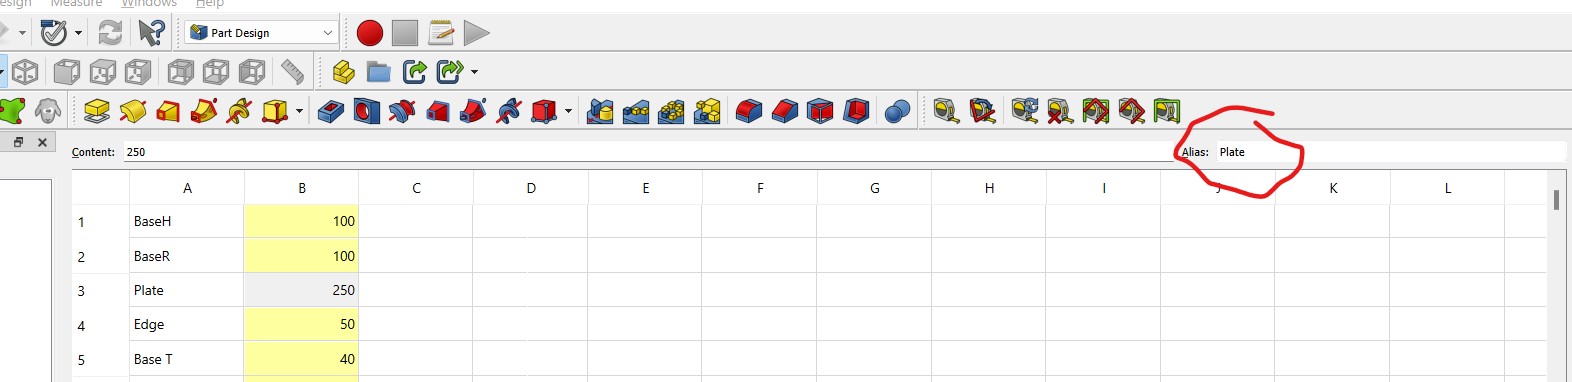
Then you right click on the number and set the unites to mm
Finally when setting the variable you need to type the spreadsheet and then variable name
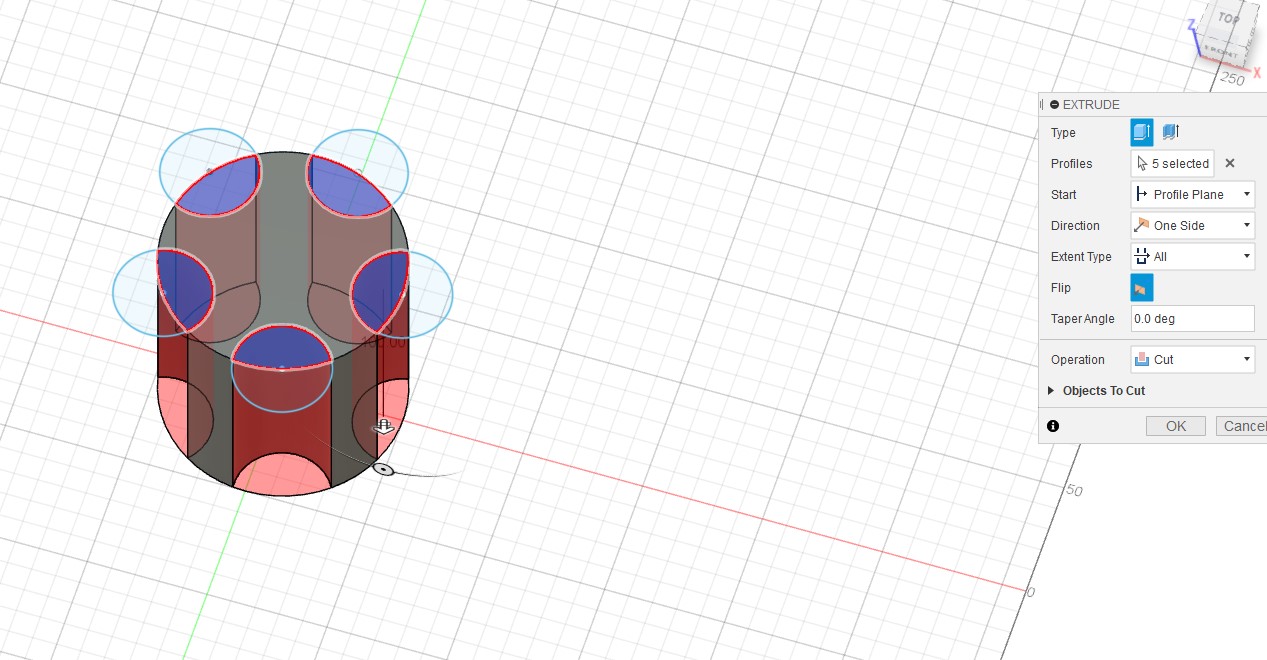
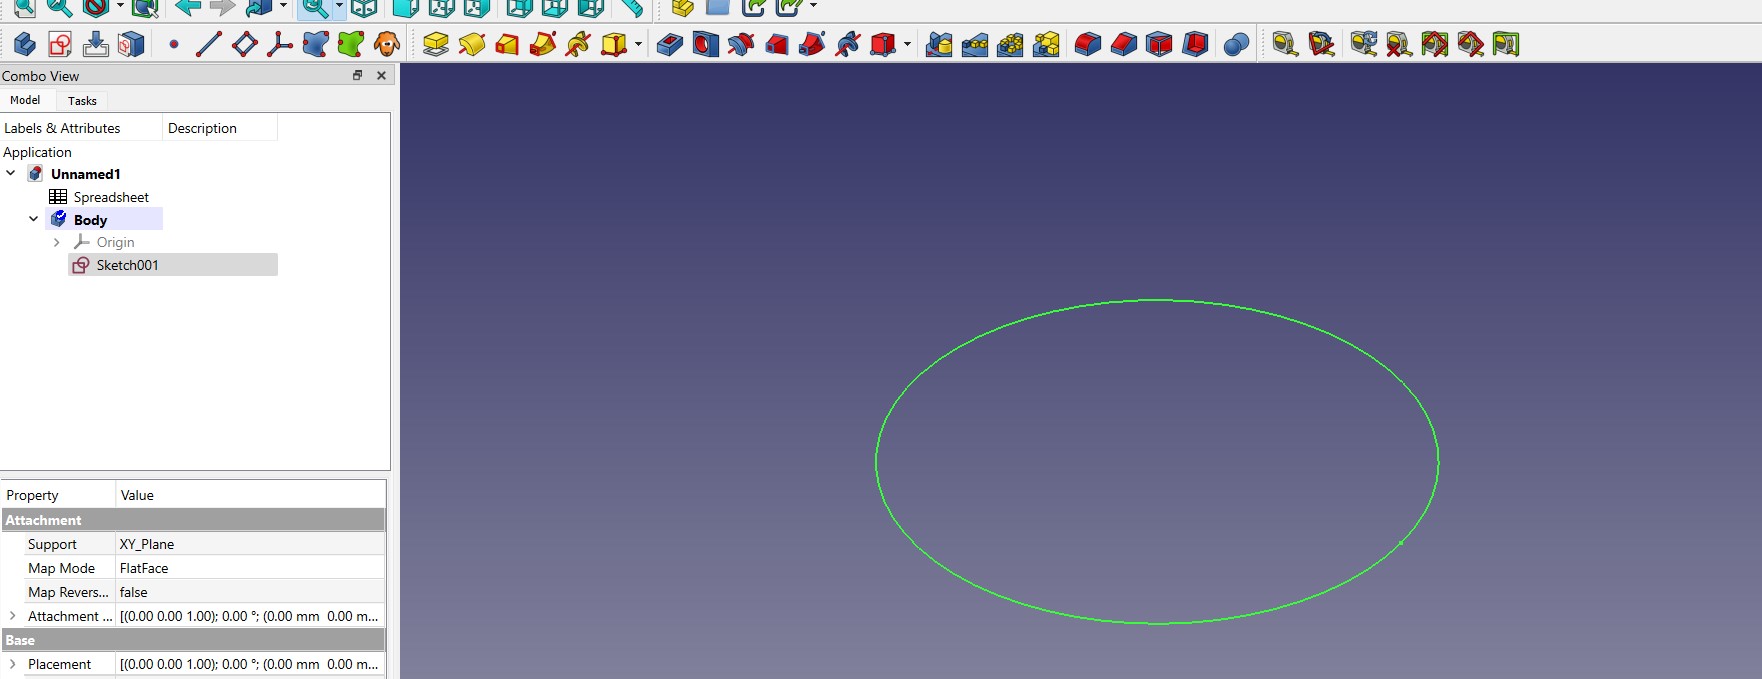
I then added a circle sketch and used Pad to create the leg
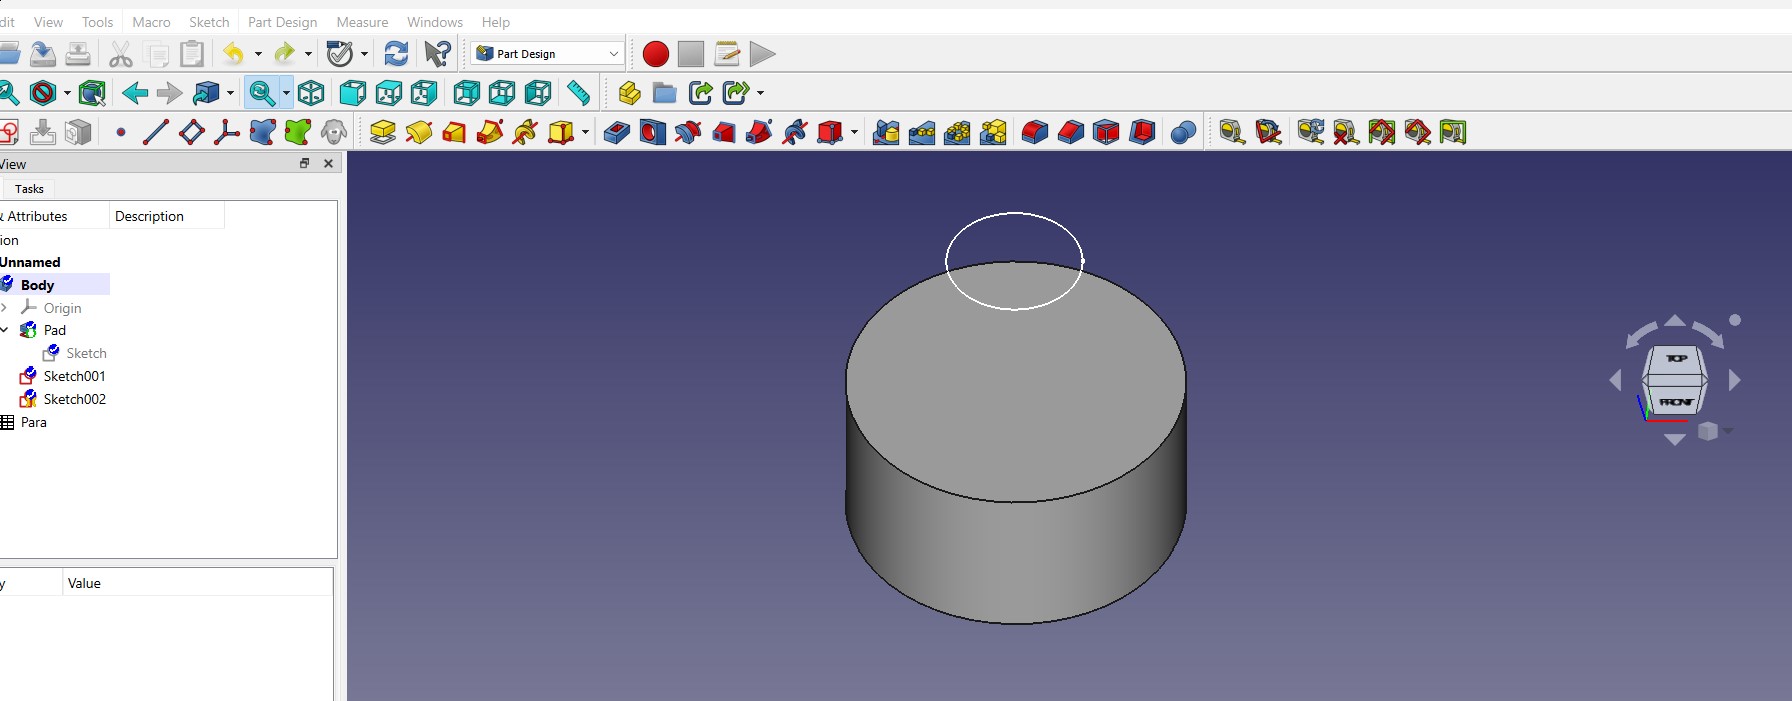
Then I added a pocket all the way through and used the polar pattern feature to repeat around the leg.
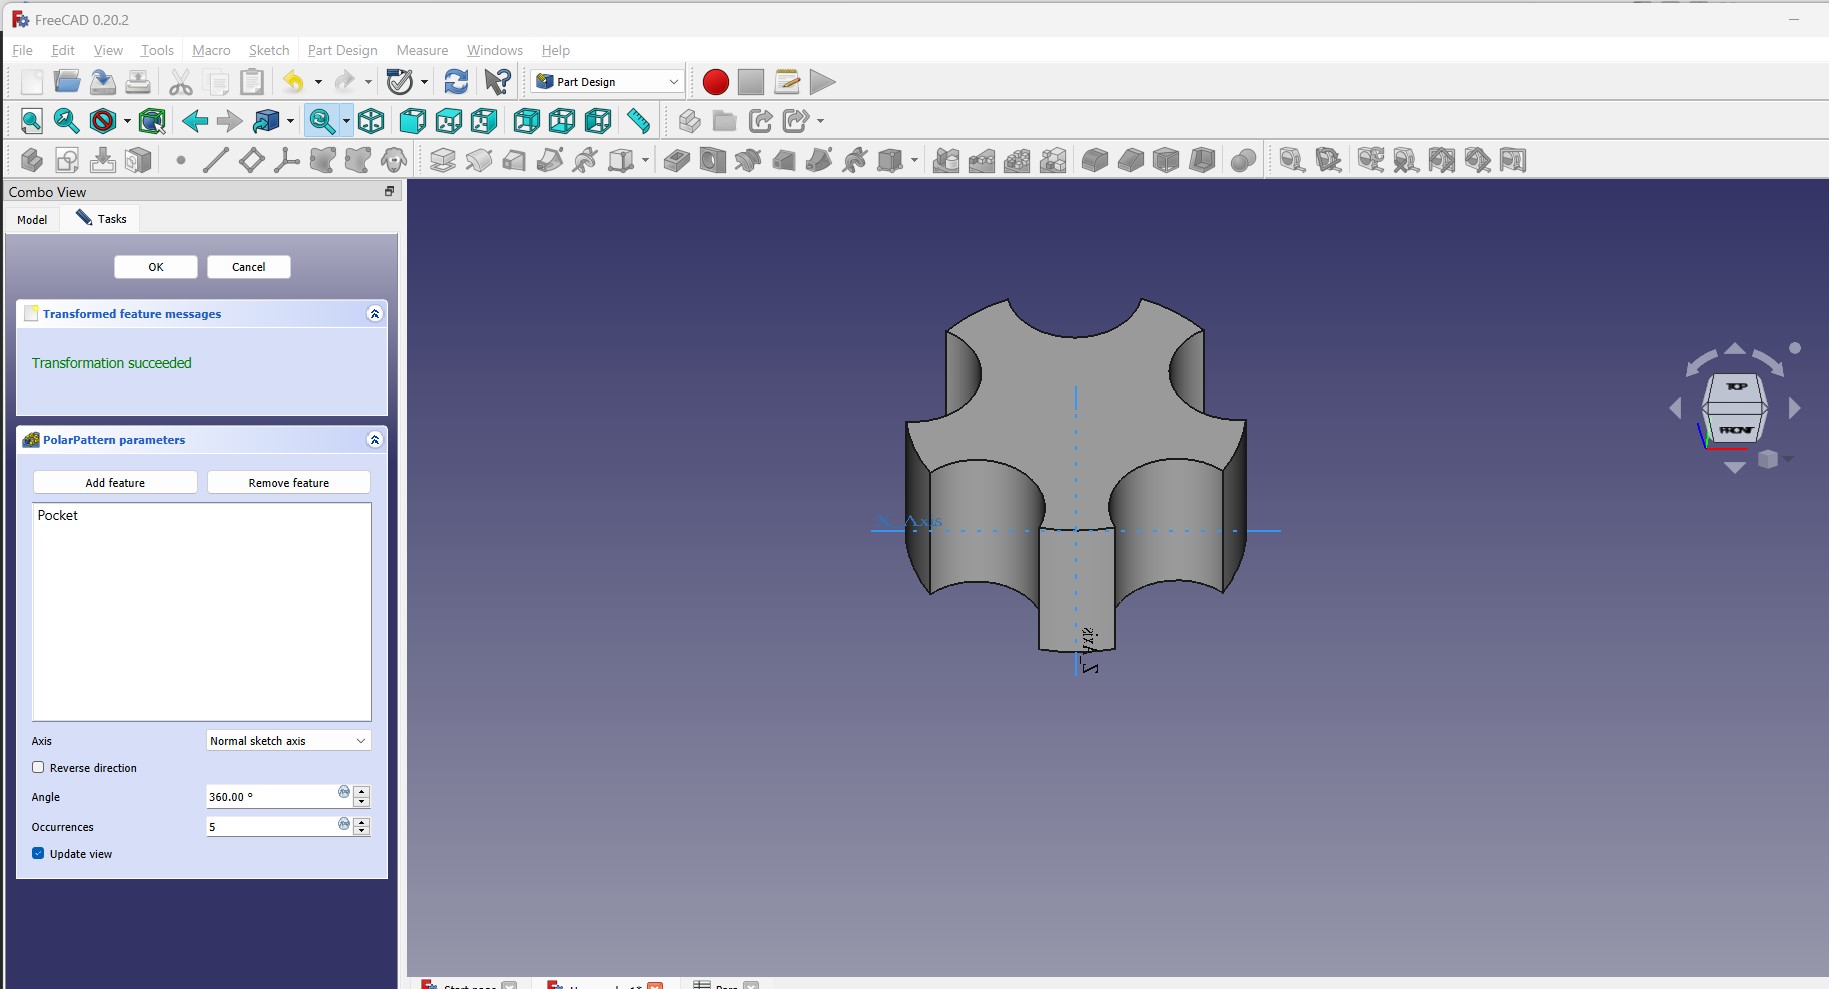
I found the tutorial very helpful in creating patterns
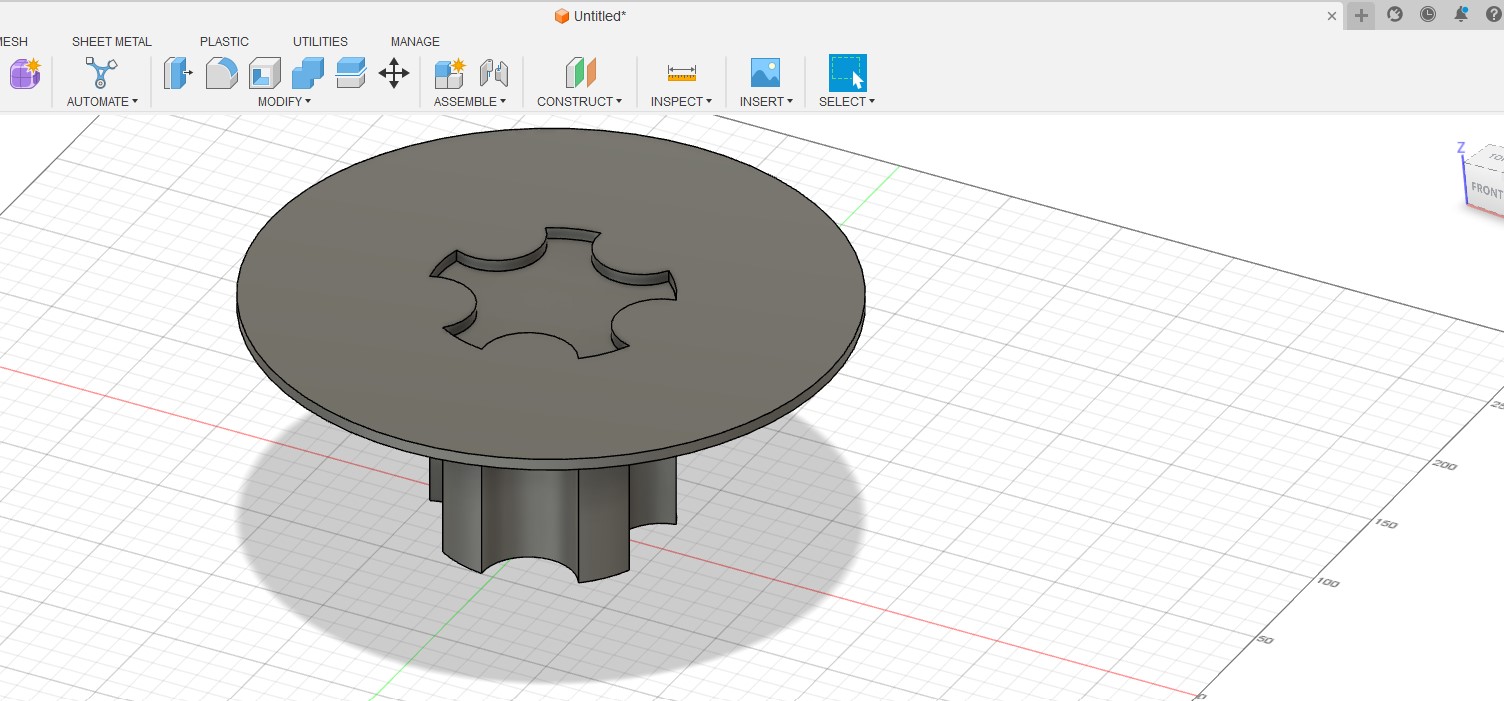
Now it is time to create the plate itself. Since we are building a sketch on top of another shape we need to use the extrude command vs. pad.
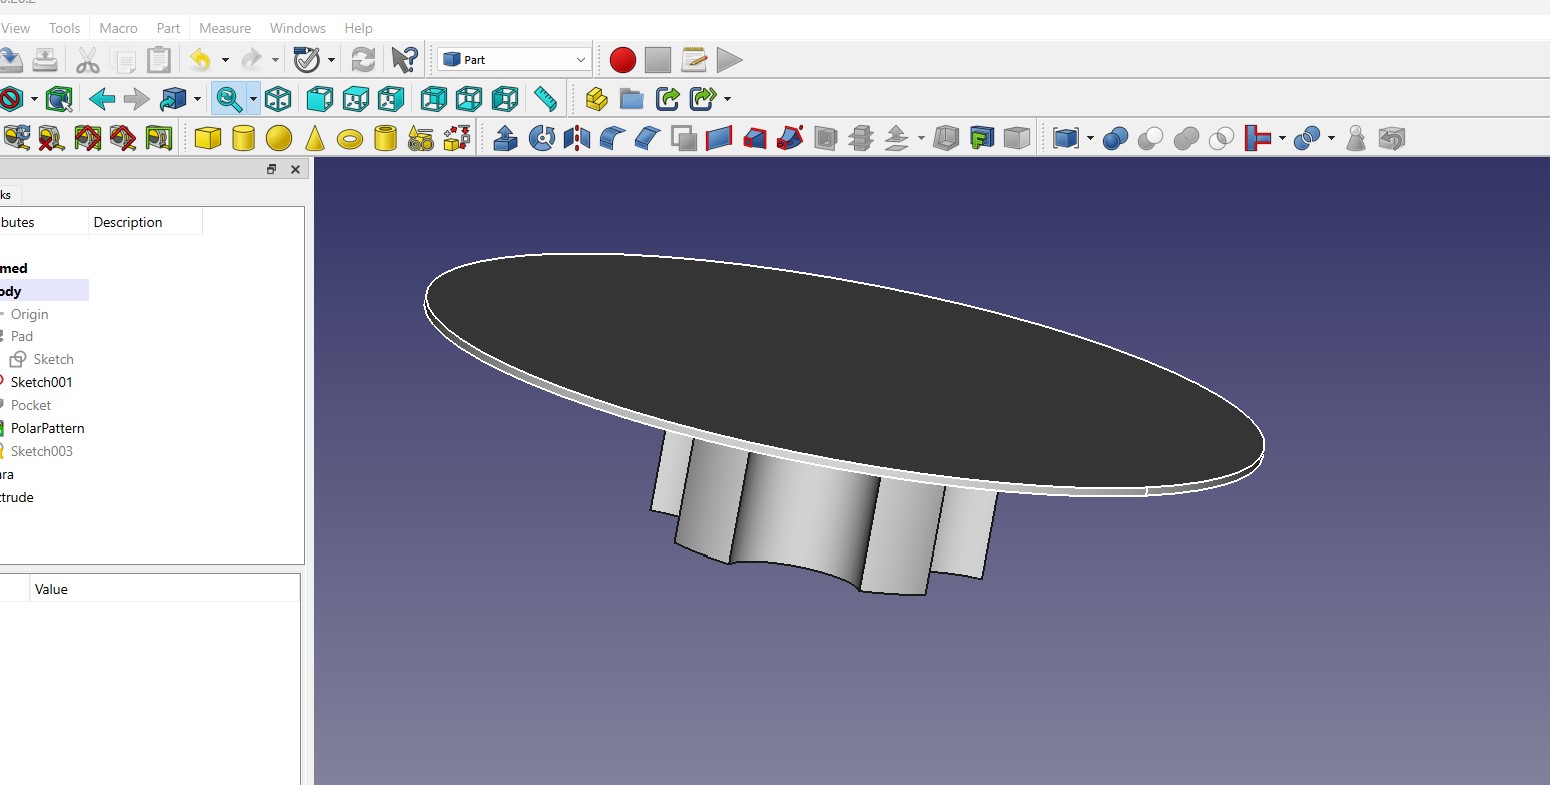
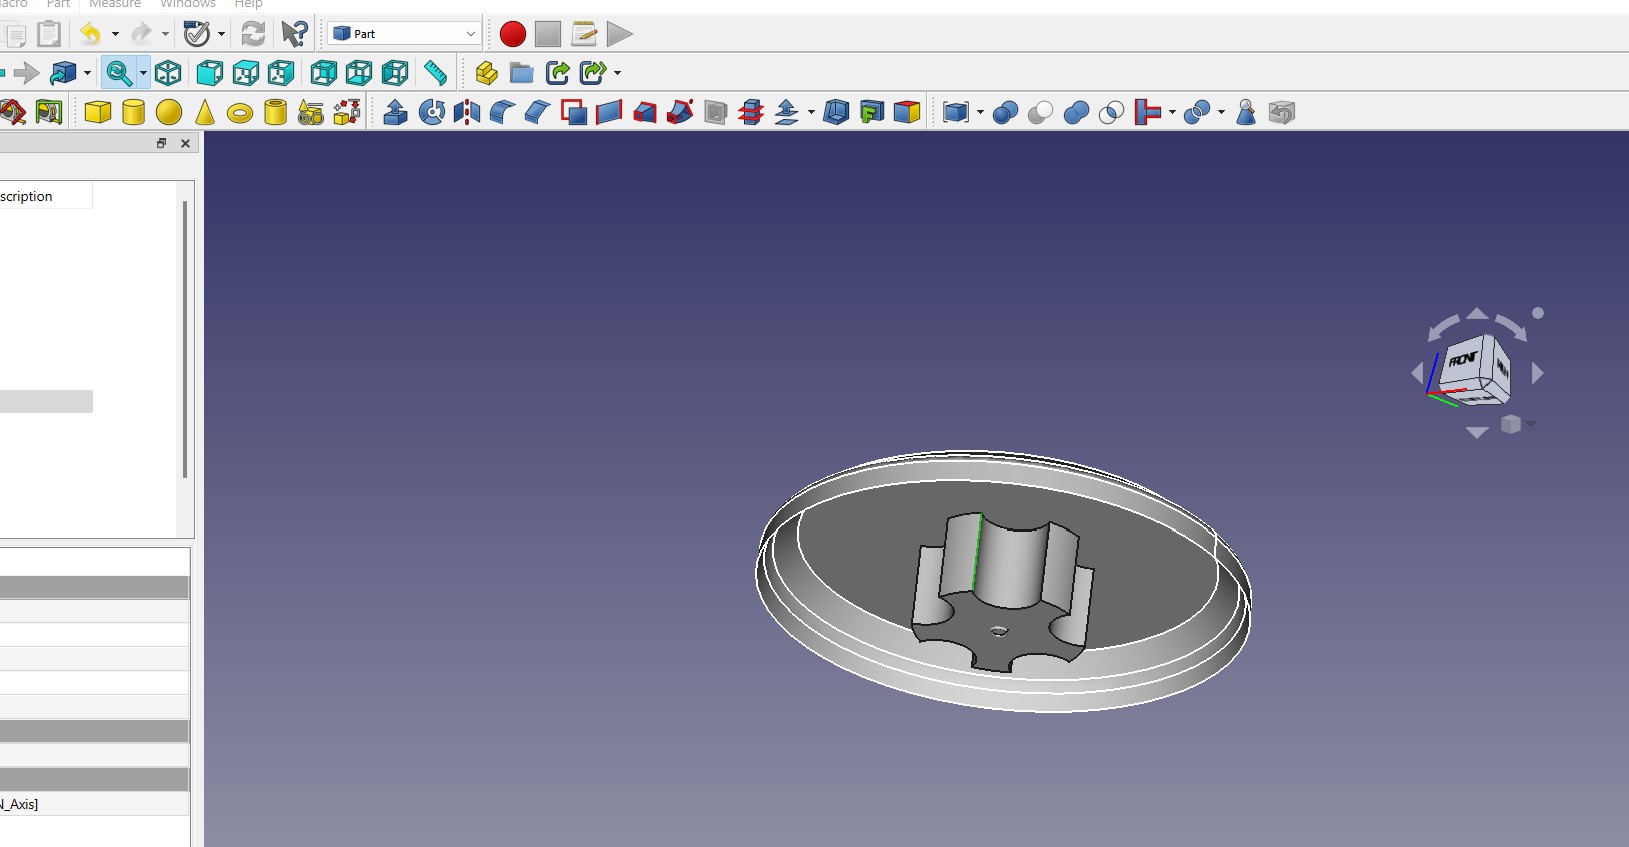
Now we need to create the lip to finish this part.
I started off by creating a sketch on the XZ axis to create the profile of the lop
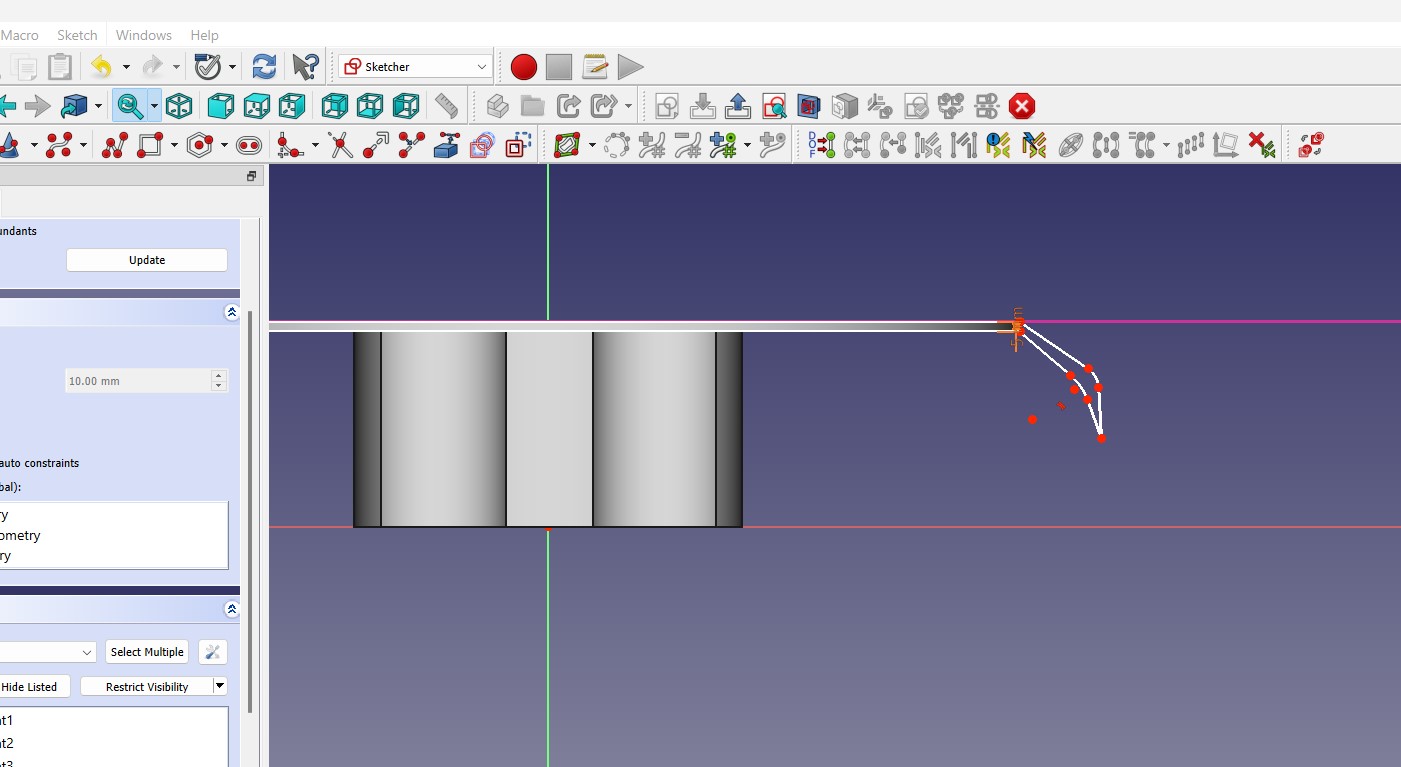
And using the revolve command we got the lip to go around finishing the plate design
Conclusion I found the basic part creation that both FreeCad and Fusion did a good job. Knowing fusion a little bit helped me understand the concepts and it was just matching the right commands.
I did not try any of the more advanced features but for basic features I think FreeCAD is a good solution for the price!!
Here are the files: