11. Molding and Casting
Hello! this time, let’s learn about Molding and Casting.
Equipment and materials
For this occasion we use a machine already known.
The materials we use are:
- Milling cutters 1/32 SE 2FL.
- Green Carving Wax Ferris File-A-Wax.
- silikast epoxy resin and catalyst.
- Silicone for mold.
CNC milling for mold
The first step as always is… design!!!
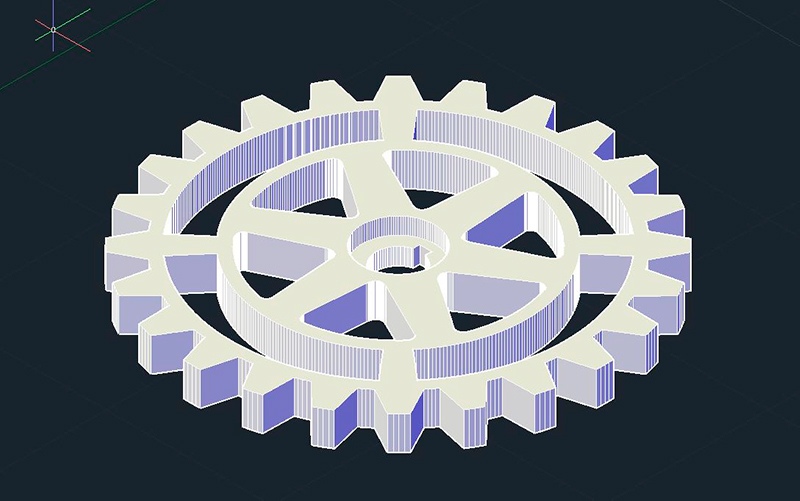
Then we use it we export the STL and use Mods CE to generate the milling files, here we must take into account some details.
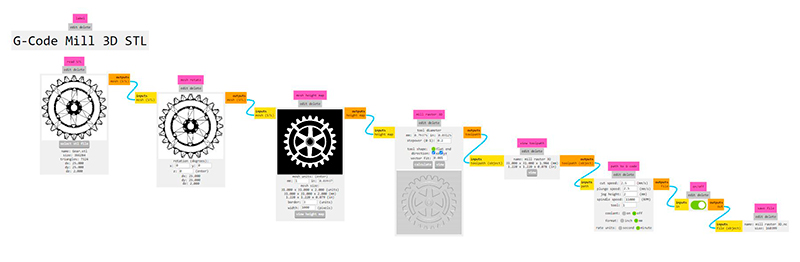
the first thing is to enter the diameter of the milling cutter to use. in my case it is 1/32 or 0.03125 in. We can also decrease the stepover to refine details
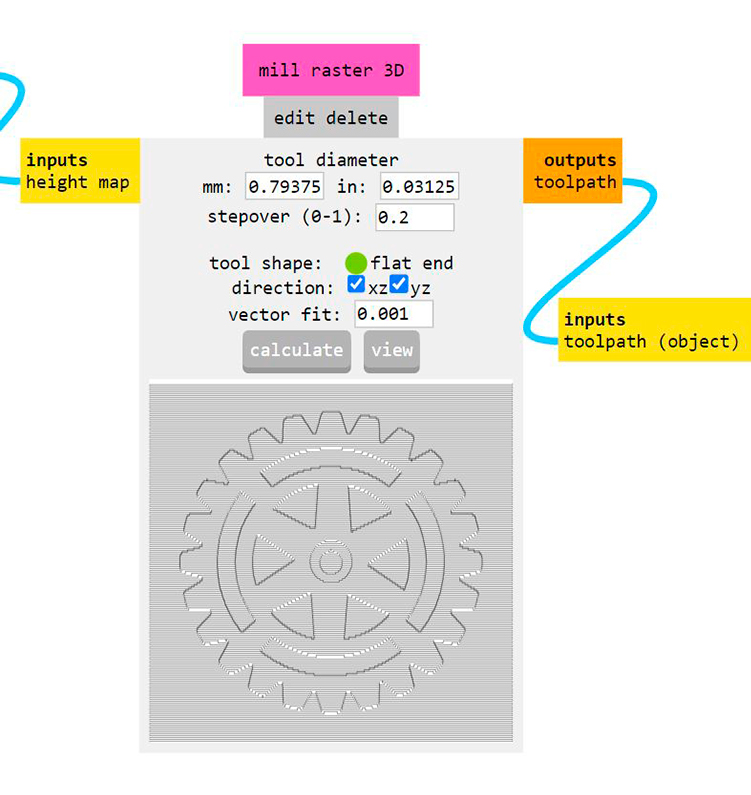
then generate the milling file, and we can review the milling paths
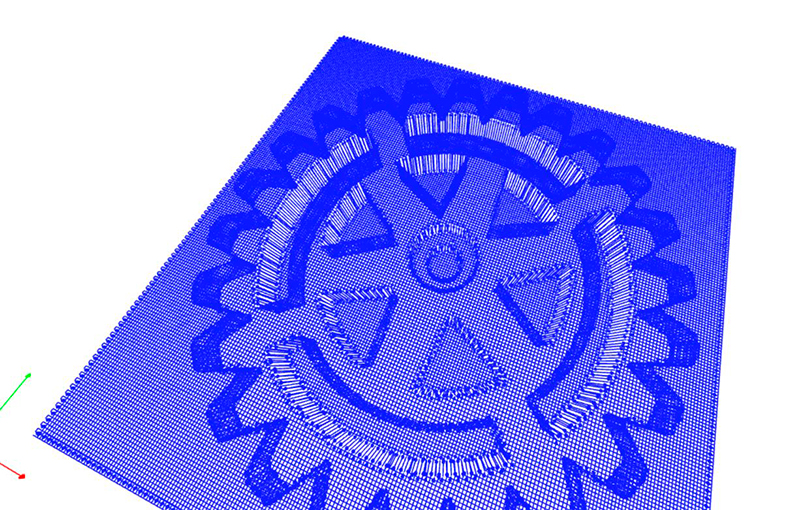
The CNC milling machine will work on the wax block, remember: we must fix the wax block well to the milling bed
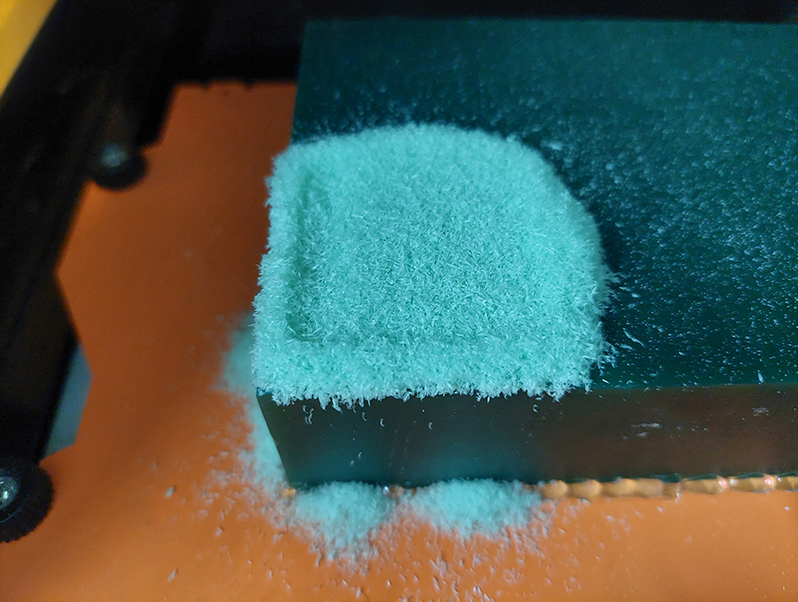
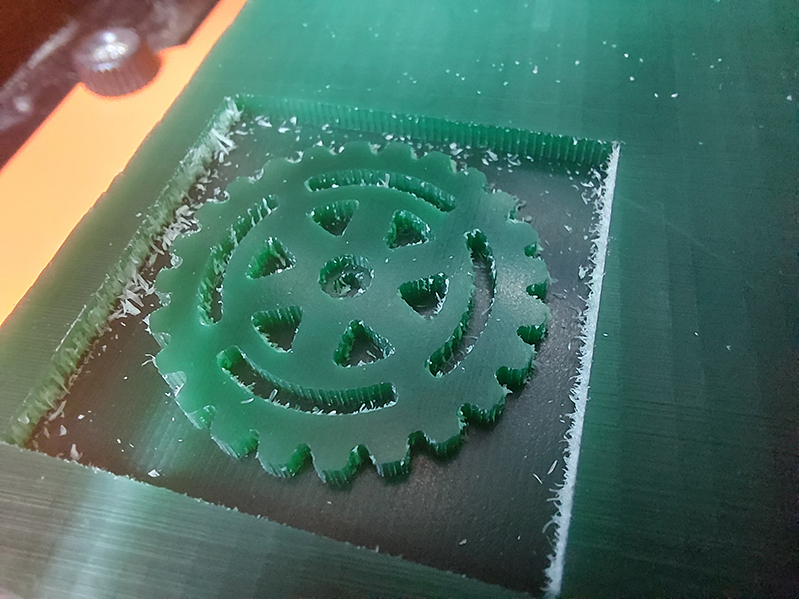
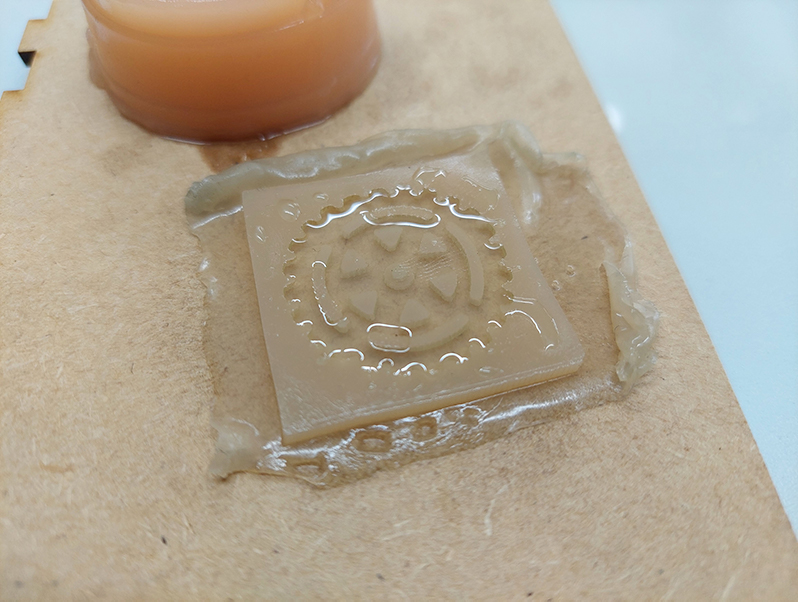
Once the work is finished we must clean to see the result.
Silicone
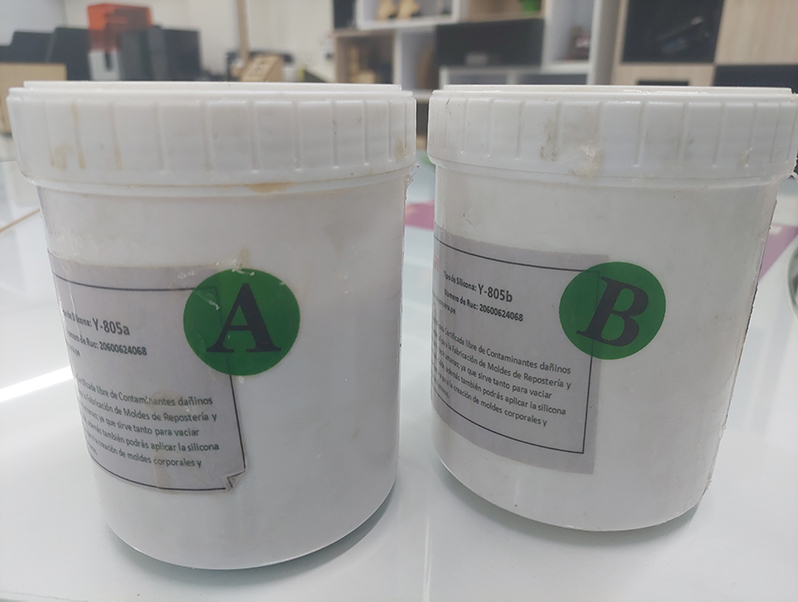
Now we work with silicone, but first we have to prepare ourselves, reviewing the data sheet and safety elements.
Now we work with silicone, but first we have to prepare ourselves, reviewing the data sheet and safety elements. you can find the data sheet here
Some important points are: - Not for specific use by pregnant women or in applications specifically designed to promote or interfere with human reproduction. - Degrade when exposed to temperatures above 150°C. - The surface of the original must be clean and free of loose material. If necessary, and particularly with porous substrates, use a suitable mold release such as petroleum jelly or soap solution.
For the preparation we must take into account the following: - Compounds A and B should be mixed until the curing agent is completely dispersed. Hand or mechanical mixing may be used, but do not mix for an extended period of time or allow the temperature to exceed 35°C. - It is strongly recommended that trapped air be removed in a vacuum chamber, allowing the mixture to fully expand and then collapse. After a further 1-2 minutes under vacuum, the mix should be inspected and may be used if free of air bubbles. - Caution: Prolonged vacuum will remove volatile components from the mix and may result in poor thick section cure and abnormal properties.
An important fact is that the maximum curing time is 24 hours.
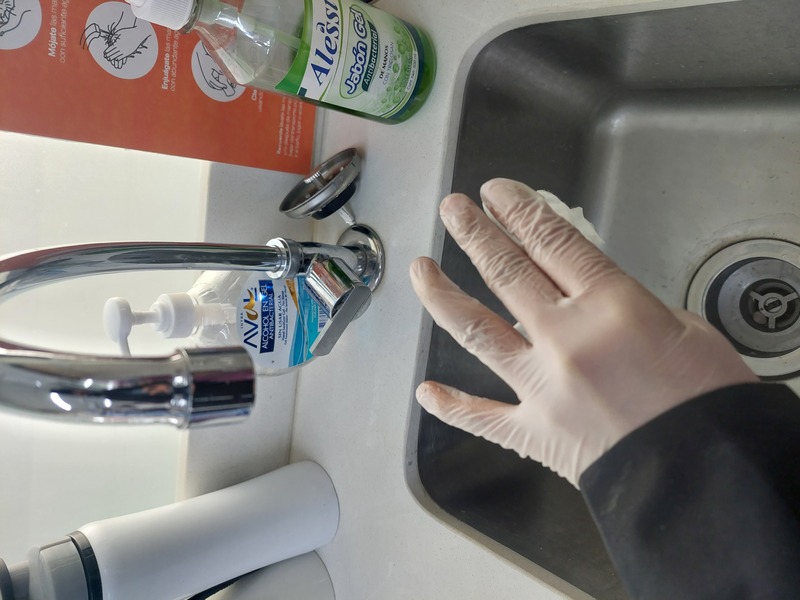
Then we need our nitrile gloves, let’s remember that our skin is a porous surface, and also have soap and water within reach,
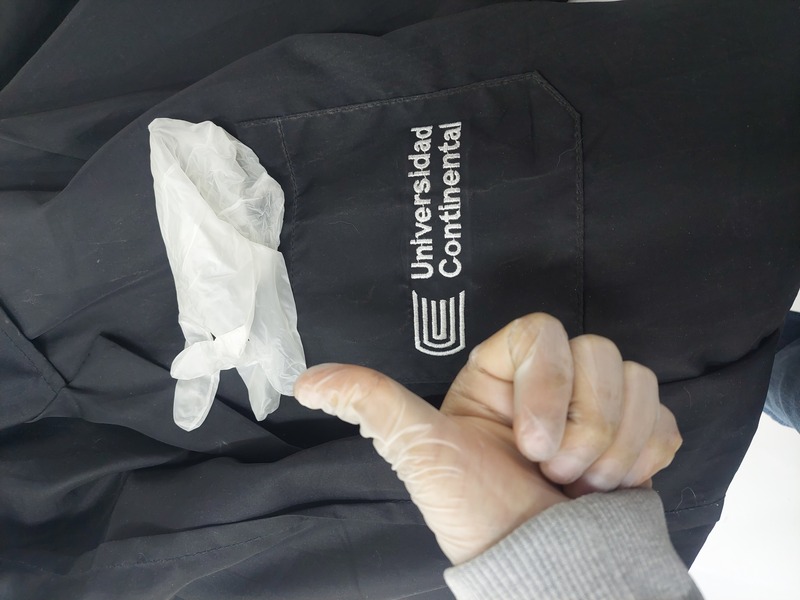
We will also use our antifluid duster
Now let’s follow the instructions, the components A and B, and they must be mixed in equal parts, remember to mix until everything is dispersed.

I also used a vacuum chamber, by recommendation that I received, and something important happens, the bubbles are extracted, that will make the mold without any defect.
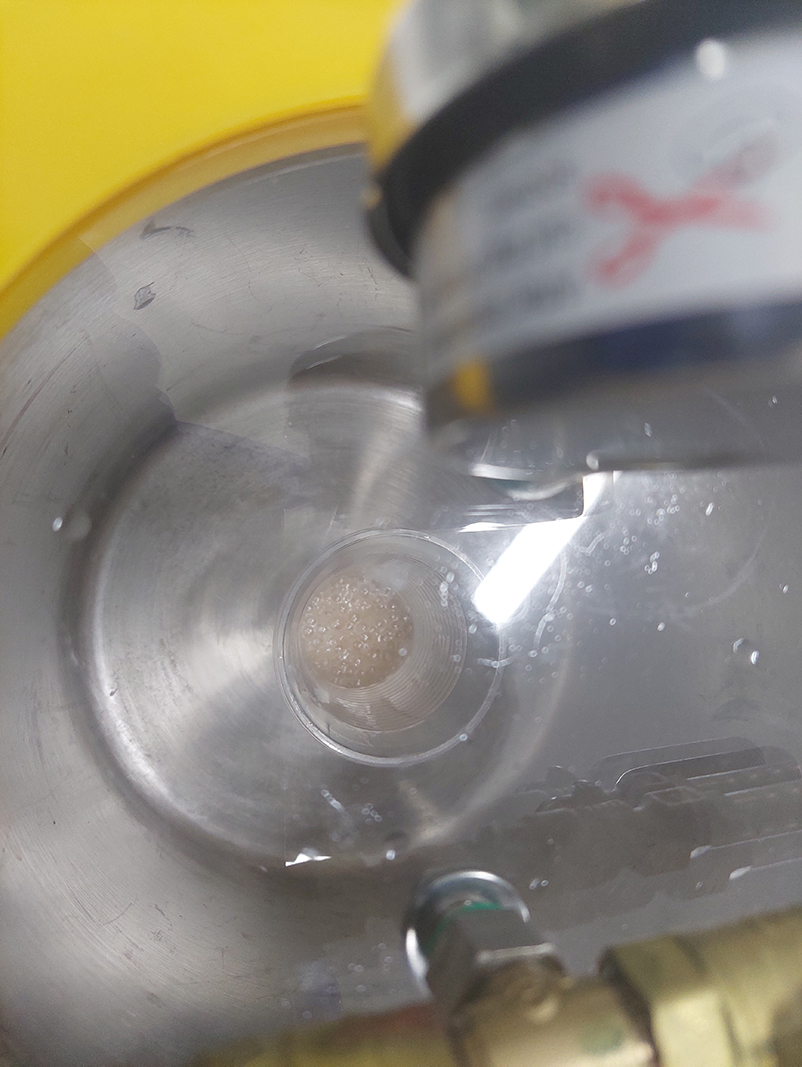
While the bubbles were extracted from the silicone, I put liquid desoldering agent on the wax to be able to remove the silicone more easily.
When bubbles are no longer visible in the silicone, it is removed from the vacuum chamber and poured over the wax,
Now it’s time to wait.... a day…
Epoxy resin
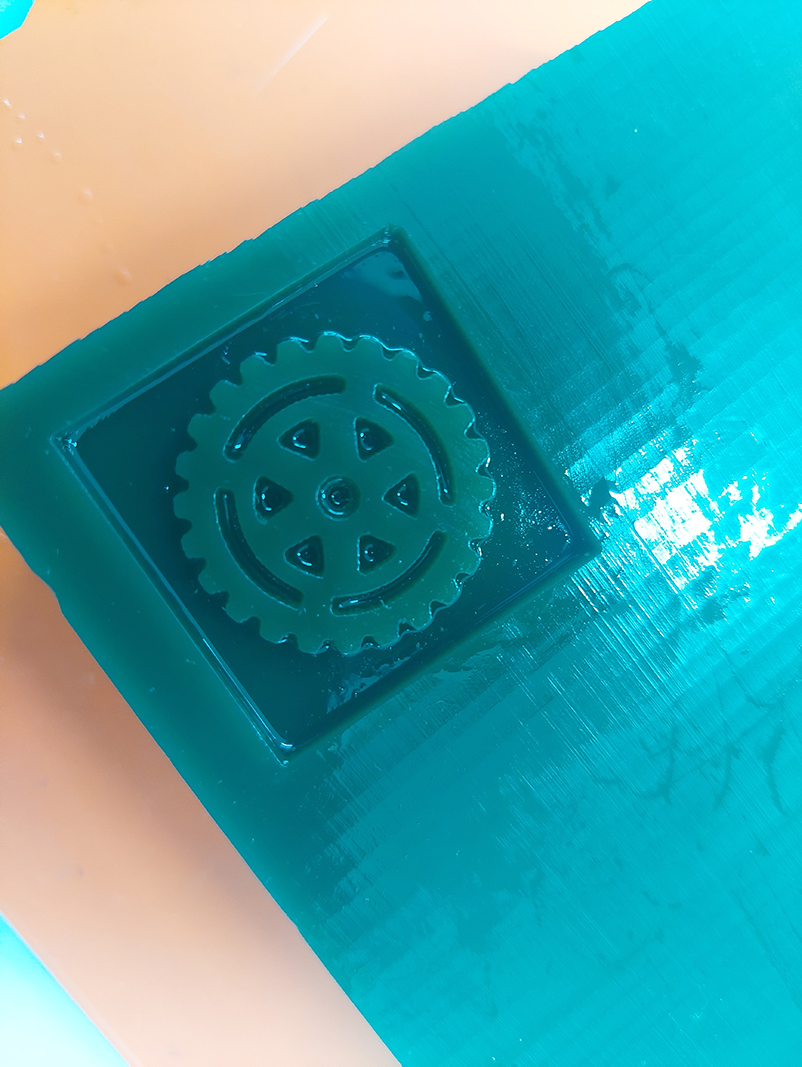
The next day, take out the silicone, and pour epoxy resin on the silicone mold, the epoxy resin as well as the silicone must be mixed in equal parts, both the resin and the catalyst.
Resin information can be found here
Important information we found in your data sheet is: - Causes skin irritation. - Causes serious eye irritation. - May produce an alergic reaction on the skin. - It is suspected of causing genetic defects. - Toxic for the acuatic organisms, with lasting noxious efects.
For this reason we will continue using the same protective equipment. We will try not to leave liquid residue from the resin, we do not want to contaminate, so we will try to take advantage of everything, and take care of the used containers until the resin cures completely and deposit them in a special treatment container.
We make the mixture in equal parts, and mix until everything is dispersed evenly, and we follow the same silicone process, leaving it to cure for 24 hours.
and wait another day…
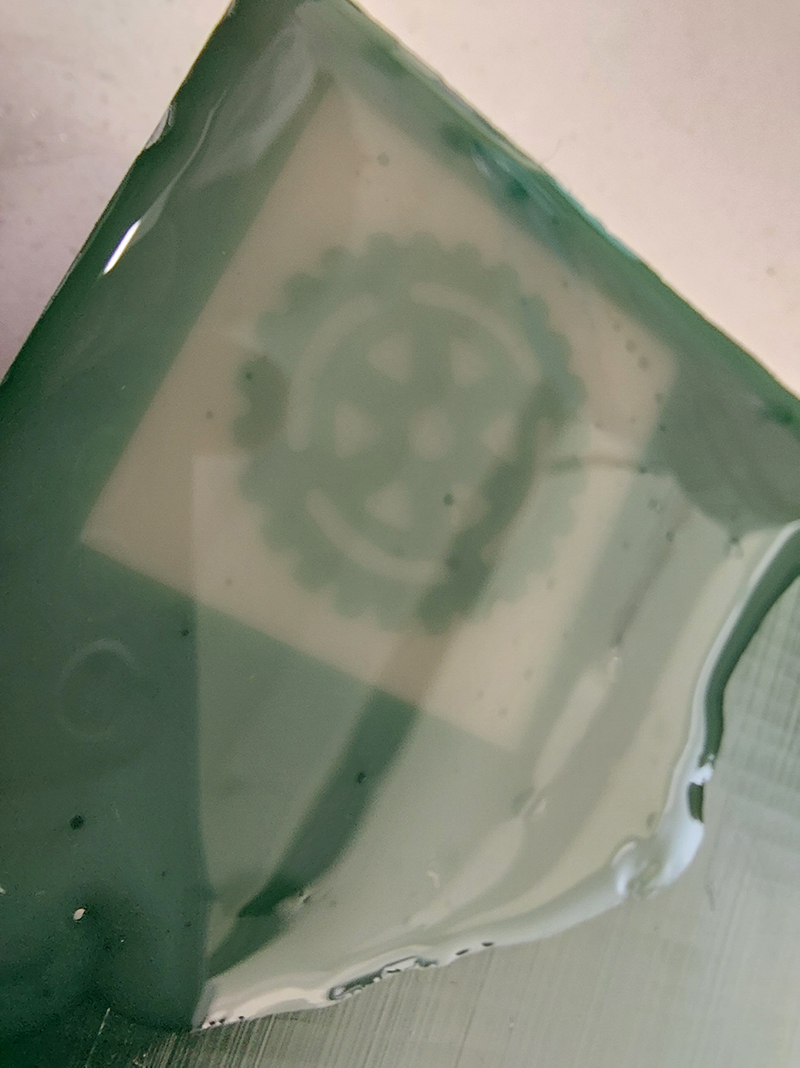
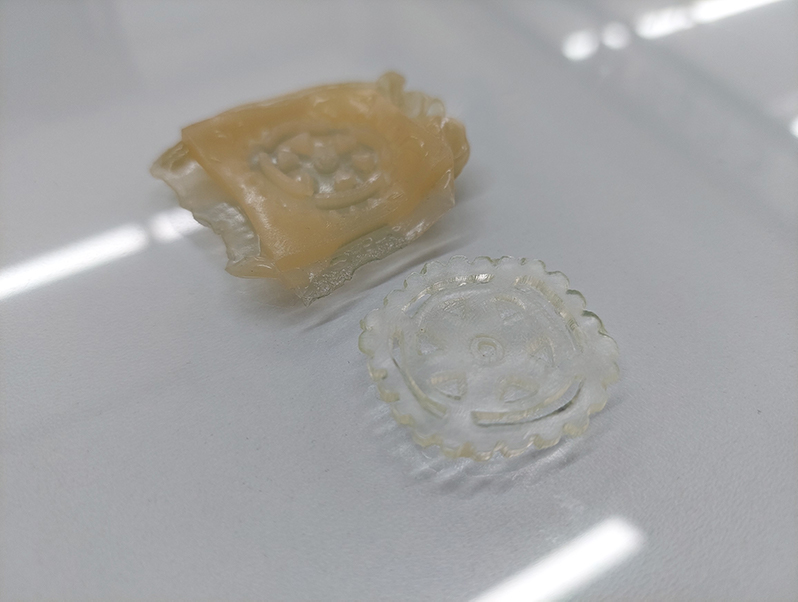
The truth is that the result was not good, this is because the resin and the catalyst were not well mixed, and one side of the piece became deformed.
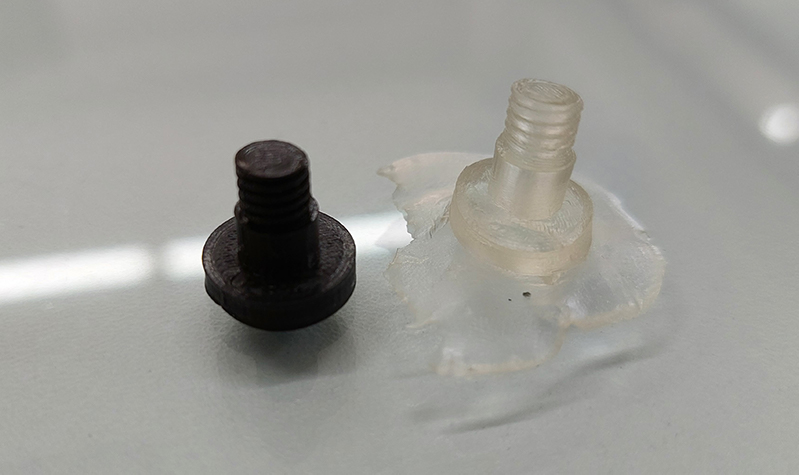
Parallel to this whole process, it has a nut made of PLA and in order not to waste the resin, nor the leftover silicone, I decided to make a replica of this nut. The result was the following.

- This experience was a bit laborious as I had to mix and document everything with one hand, while also having security considerations.
- I did not have many difficulties in mixing, because he helped me with a scale, even so I had resin left over, and I did an experiment, I think that something that could be done is to make a volumetric calculation for the replicas, although that process would be complicated since each piece has different designs and volumes.
Finally, I leave all the designs.
- Download the files here
This is all for this time.