2. Computer Aided Design
Hello! this time, I designed an HMI (Human-Machine Interface) for my project.
Software
I used two software for this design.
They are paid software, you can use the trial version or you can use:
These are free software.
Well!, Let’s start with the 3D model
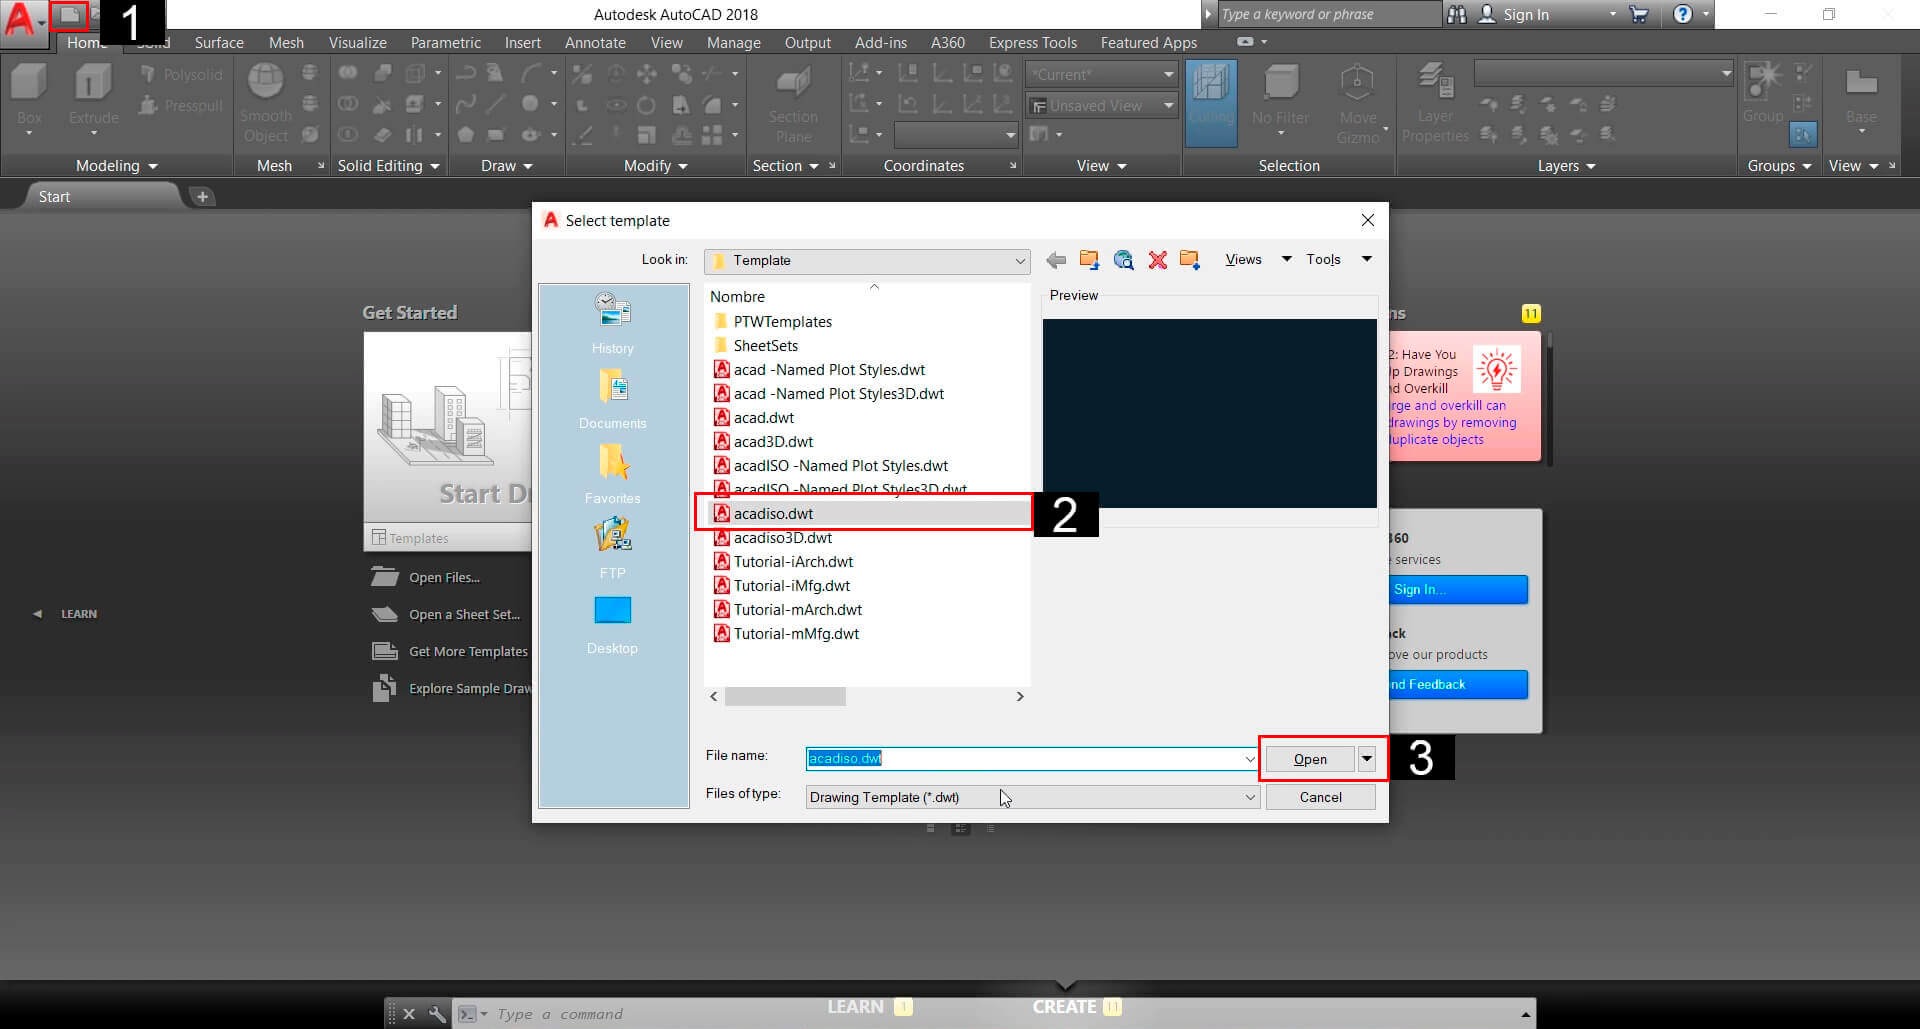
We create our workspace.
The design is based on parallelepipeds, We will move, rotate, and position them where we want.
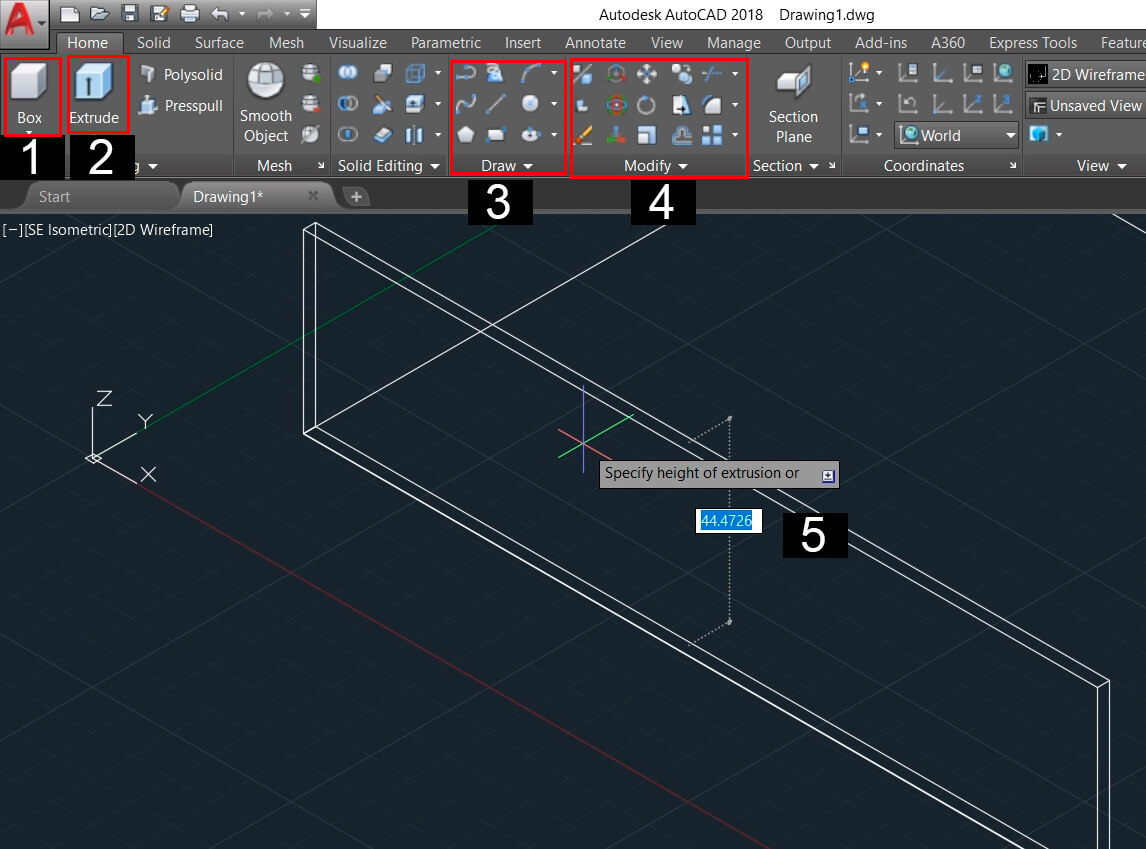
- Solids: Allows to make solids (Cube, Cylinders, Cones, Spheres, Pyramids, Etc).
- Extrude: Allows to extrude or give volume to a 2D figure.
- Draw: Allows to make 2D shapes (Lines, Arcs, Spirals, Circles, Etc).
- Modify: Allows to modify the shapes (Rotate, Move, Copy, Scale, Etc).
- Length or measure that we determine.
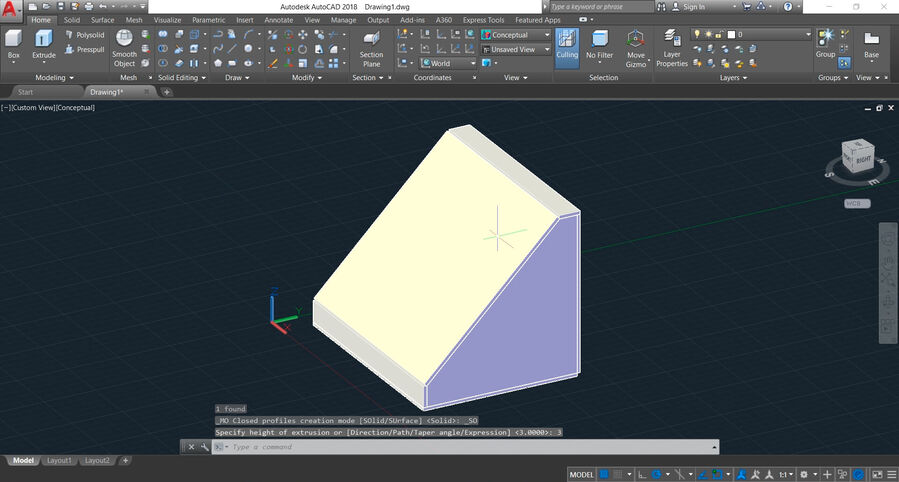
Using these basic tools we form the faces of the module, this model, if we plan to build it, wouldn’t work because it can’t support by itself, it has no joints.
I designed this model thinking of using a 3mm thick material.
Now, let’s make the unions
I made a parallelepiped of 3x3x15mm, and I position them on the sides.
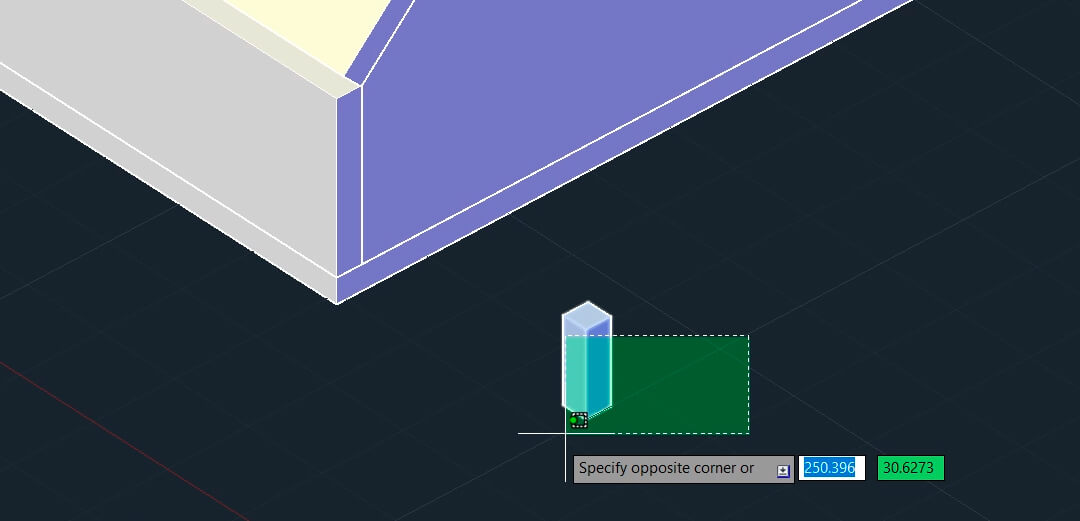
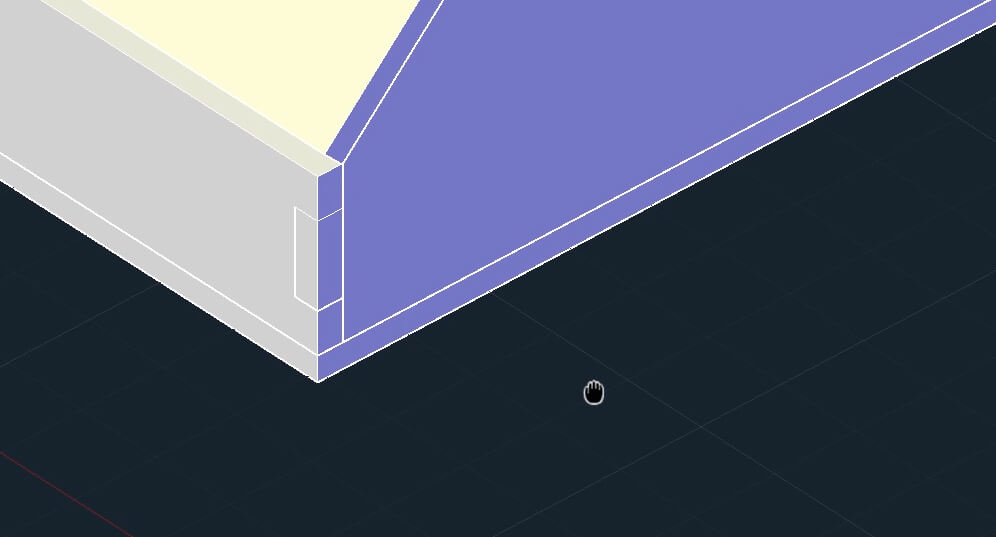
Then, I mode more parallelepiped for other sides of the design. The parallelepiped is added to one face and subtracted from the next face.
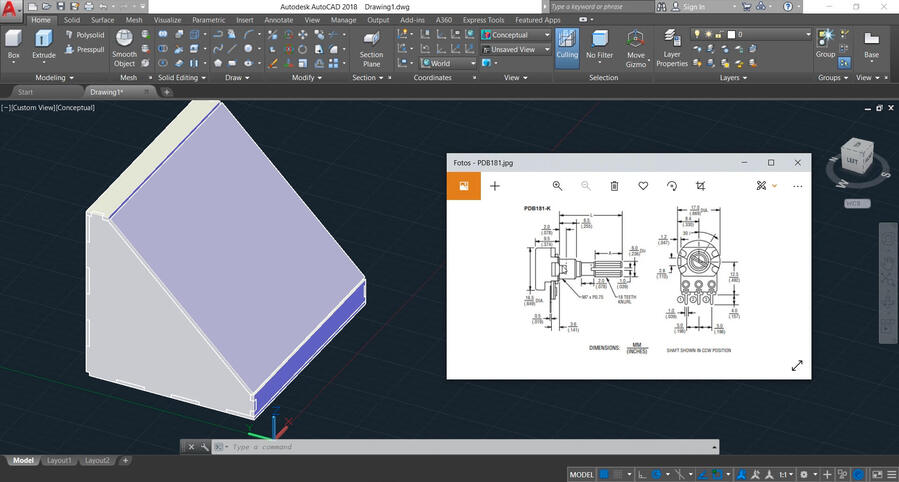
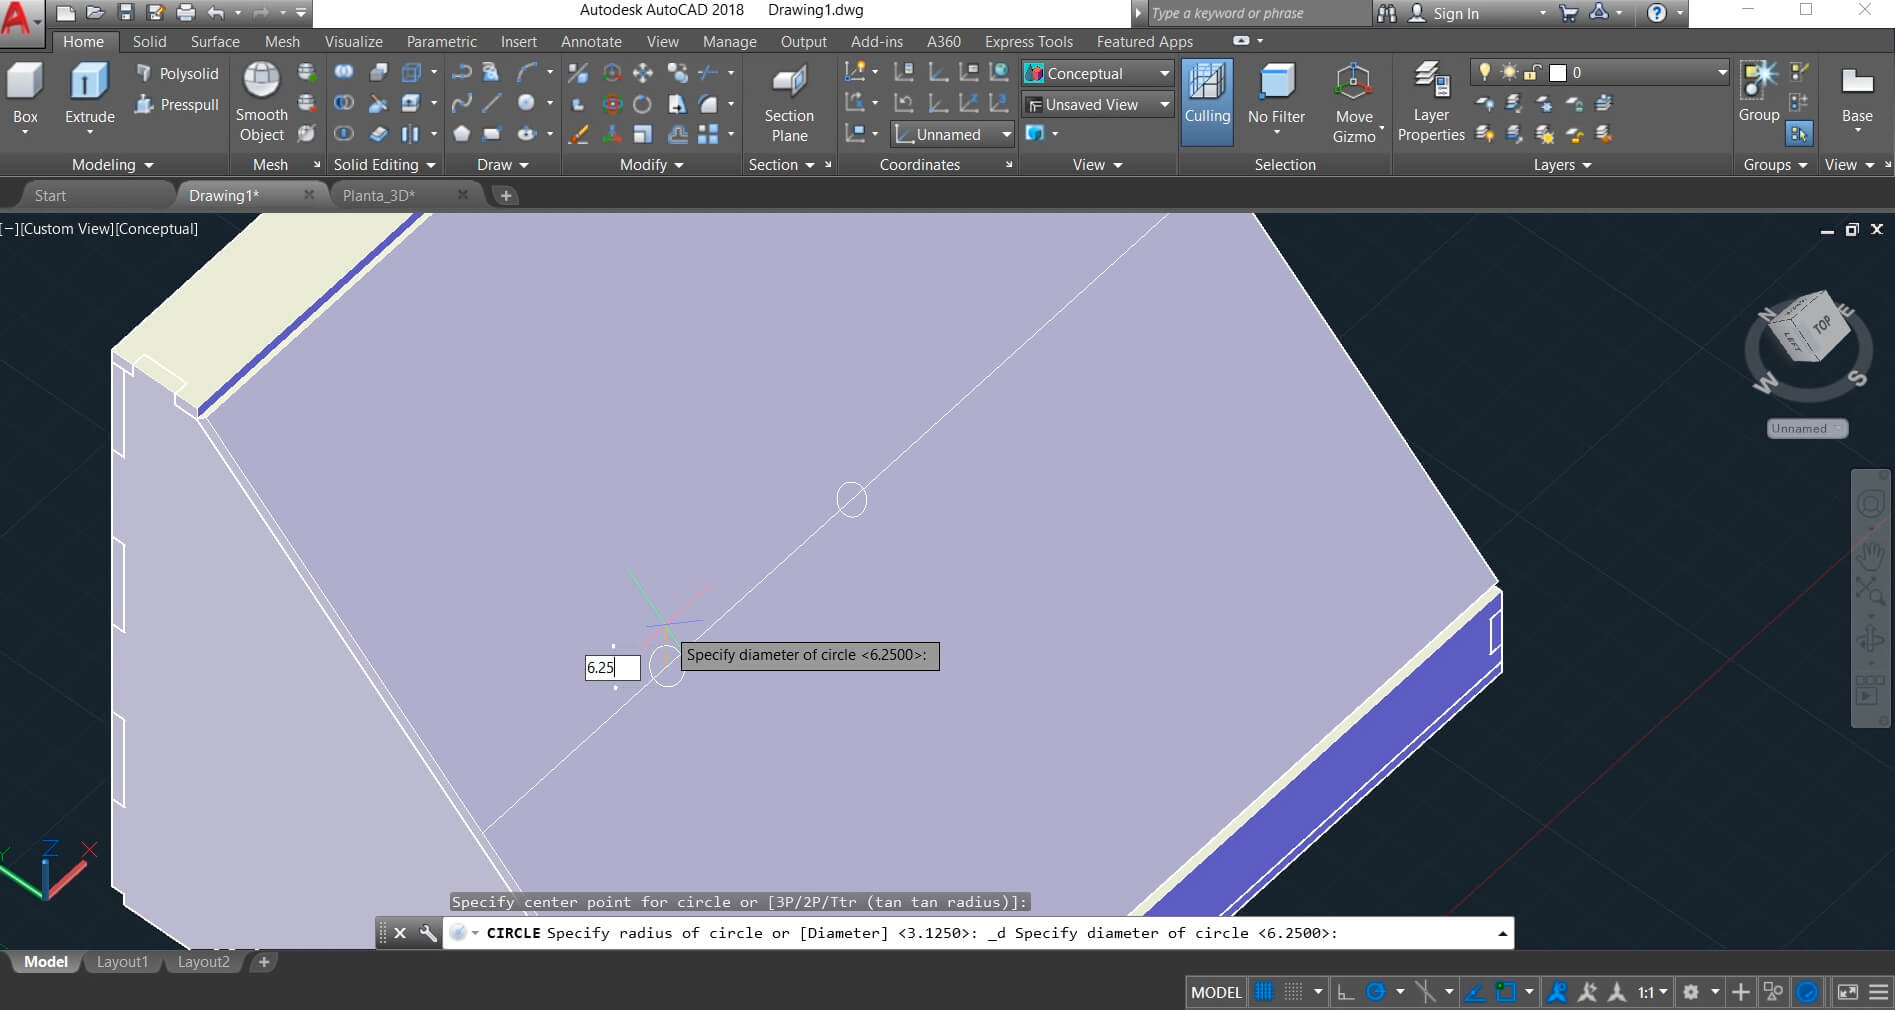
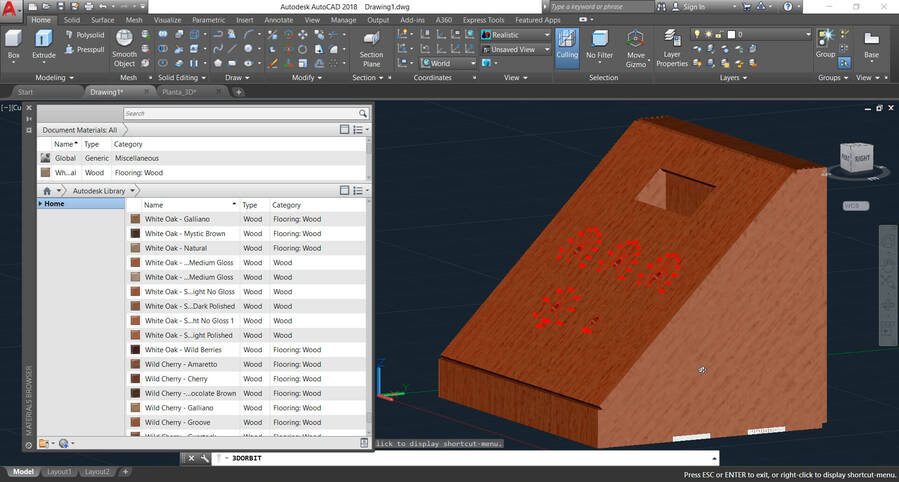
Now, we need the holes for the devices, I’ll use potentiometers and an LCD display. and we need the measurements of the devices but we can look it up on the internet.
We have to position the devices and design the signage.
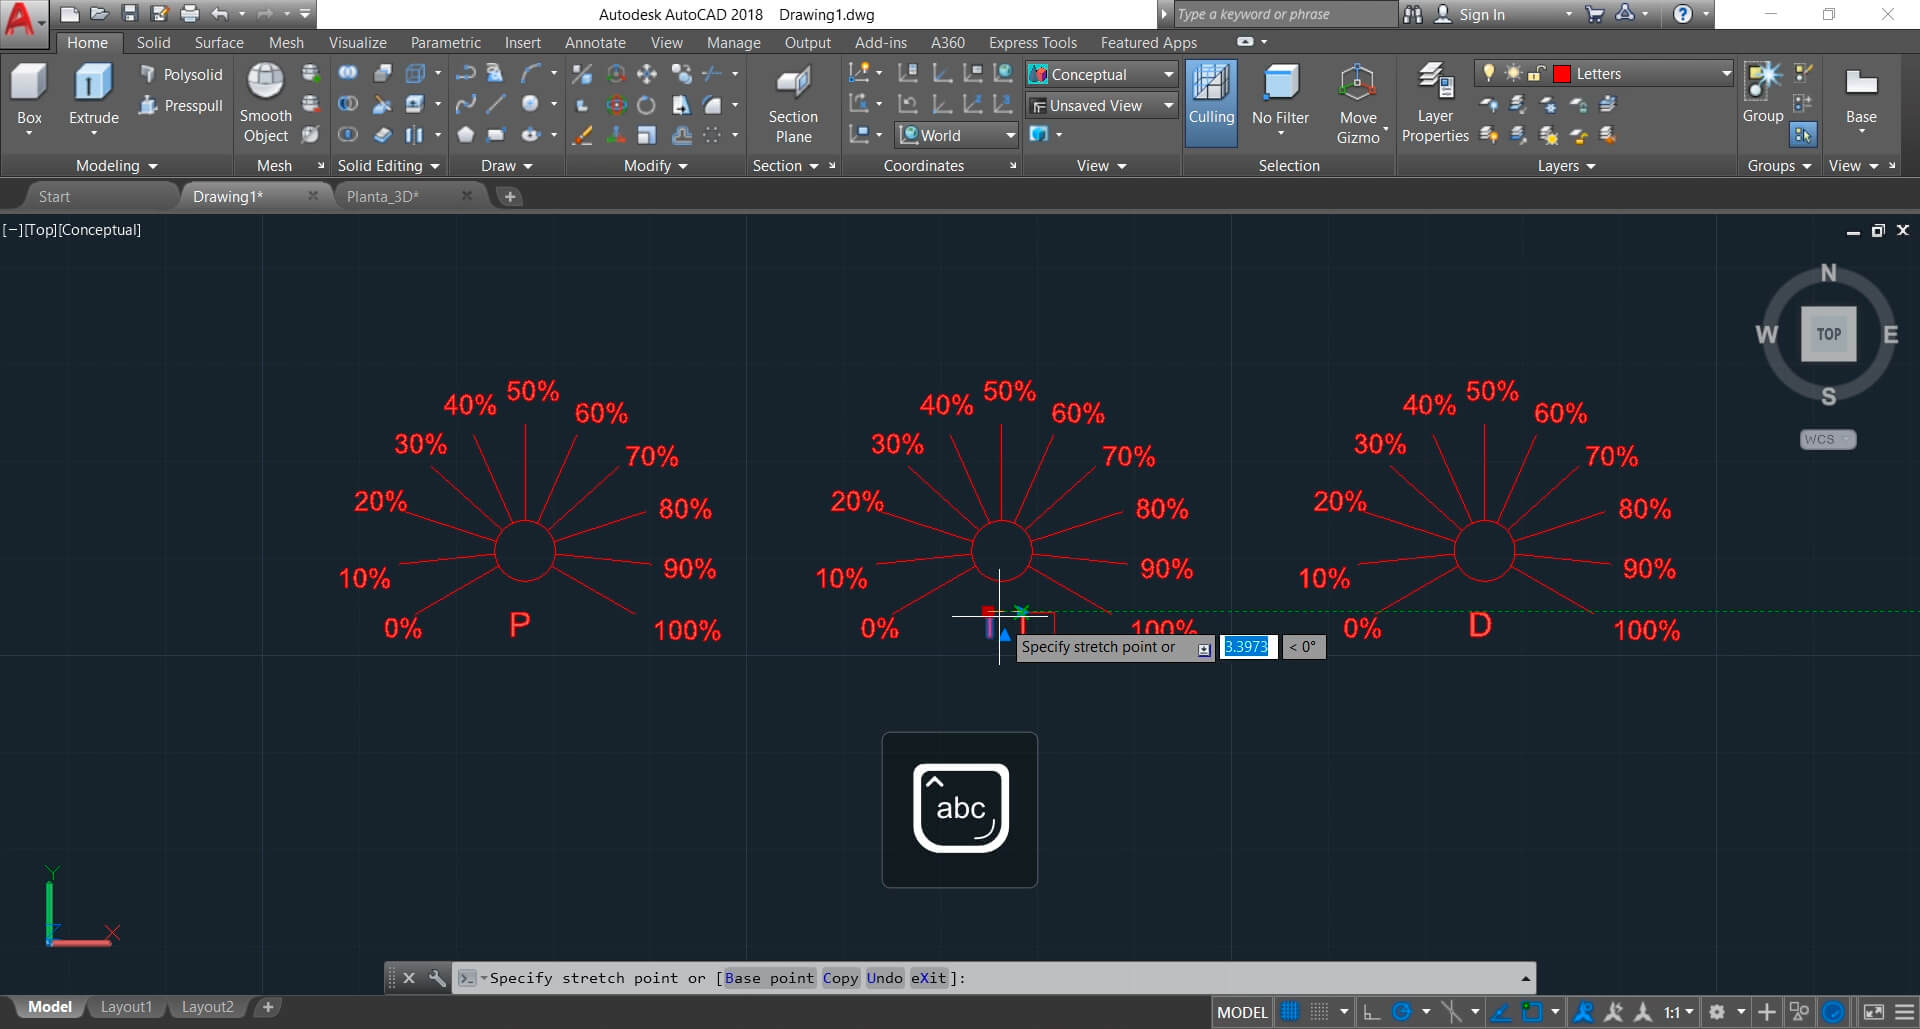
Finally, we position the signage, and we give material textures to the pieces.
AutoCAD is a good software for design with solids, plans and parametric design. For artistic or aesthetic designs, we need other software, because we’ll review concepts such as: bitmap and vector image.
Now!, Let’s start with the 2D model
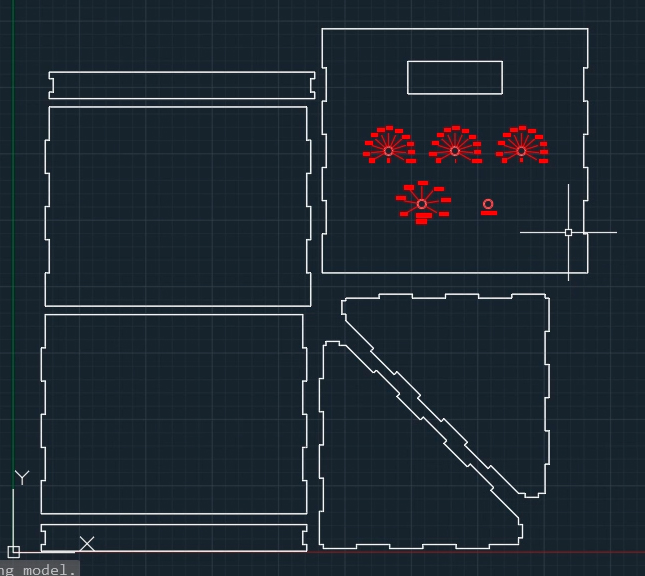
First, we need to prepare our 3D model, we exploit our design, and position the parts for a job from a top view.

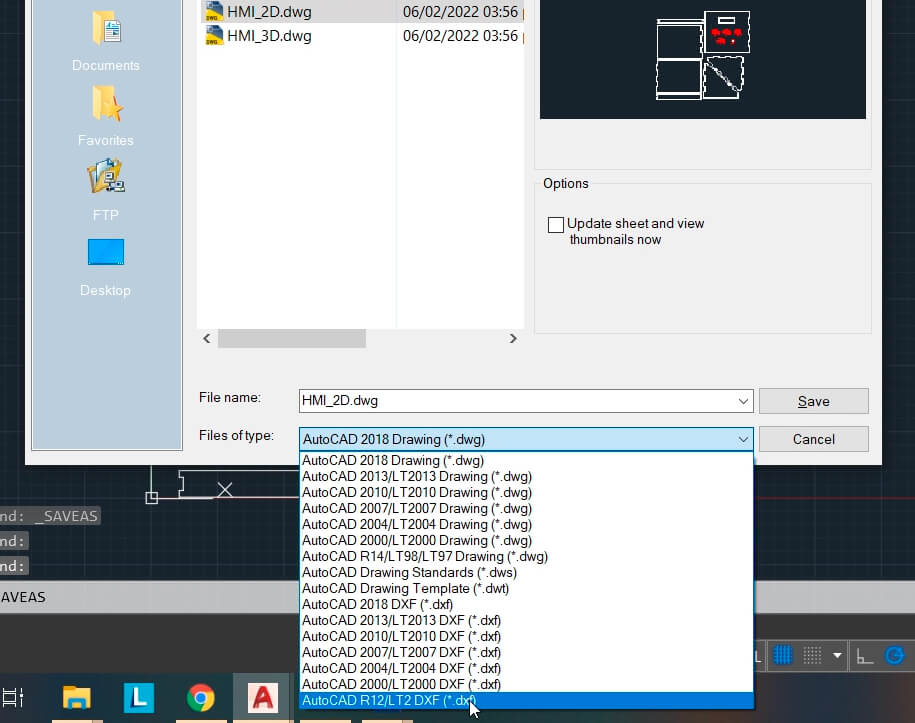
Then, we have to save our project in dxf format.
Now, let’s embellish our project, I want to give it a style related to my city, In Huancayo, there are blankets with the following style.
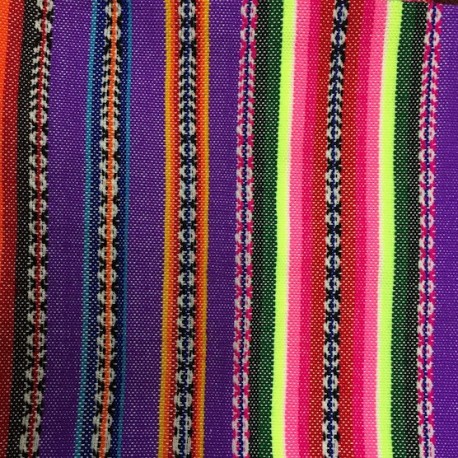
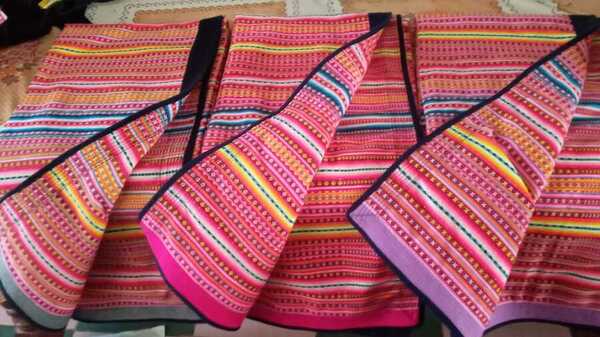
I used this design.
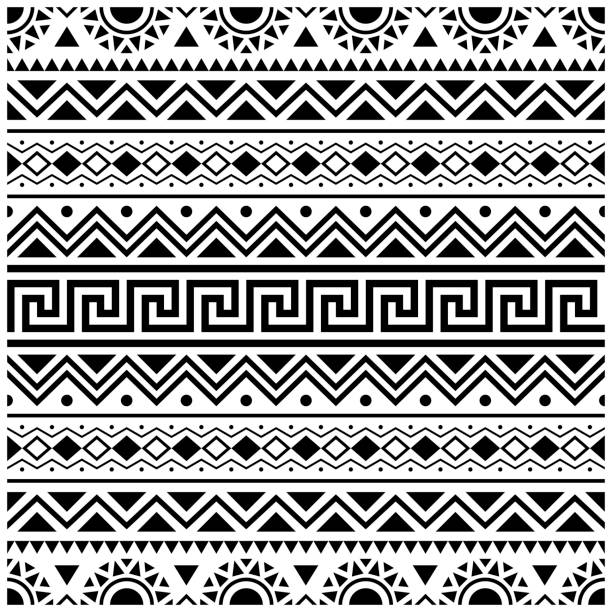
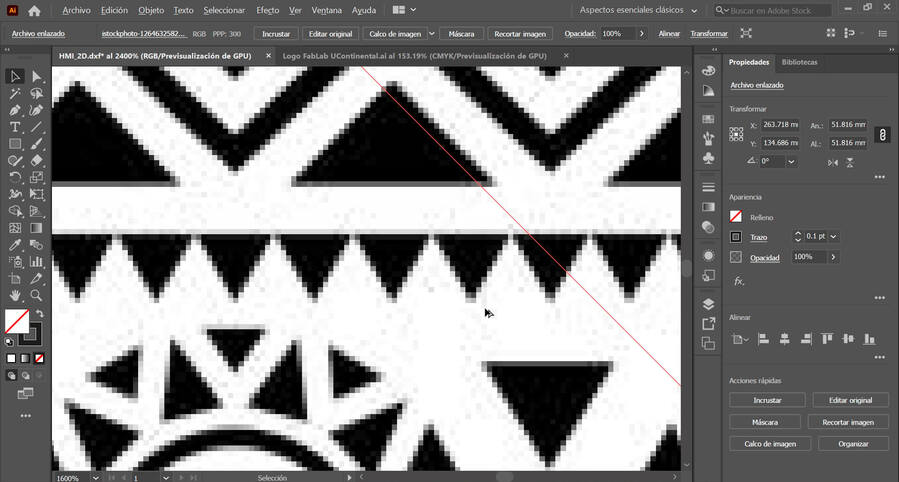
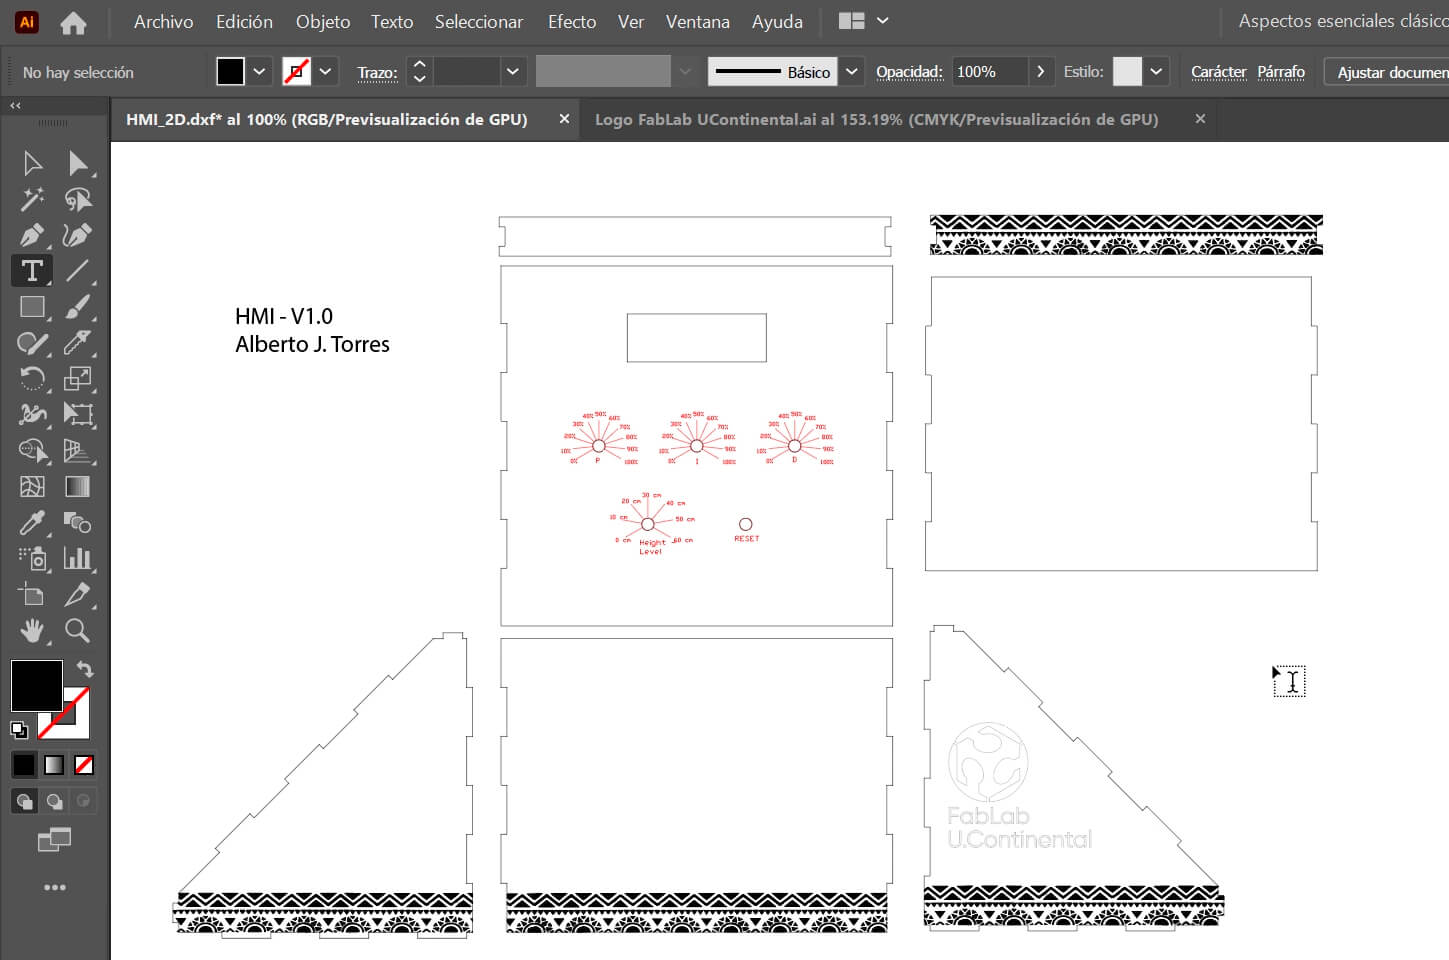
We open our project in DXF format in illustrator, and in the same Illustrator project we open the previous design.
This image is a bitmap, and we can see it by zooming in on the image.
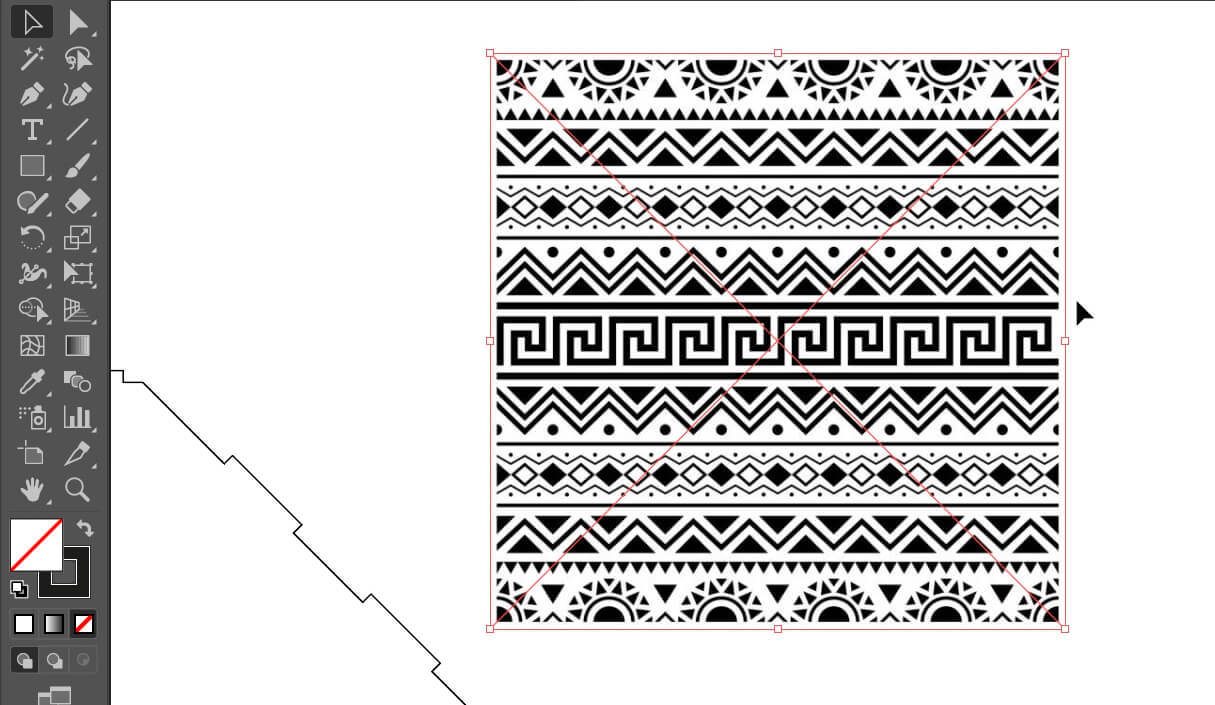
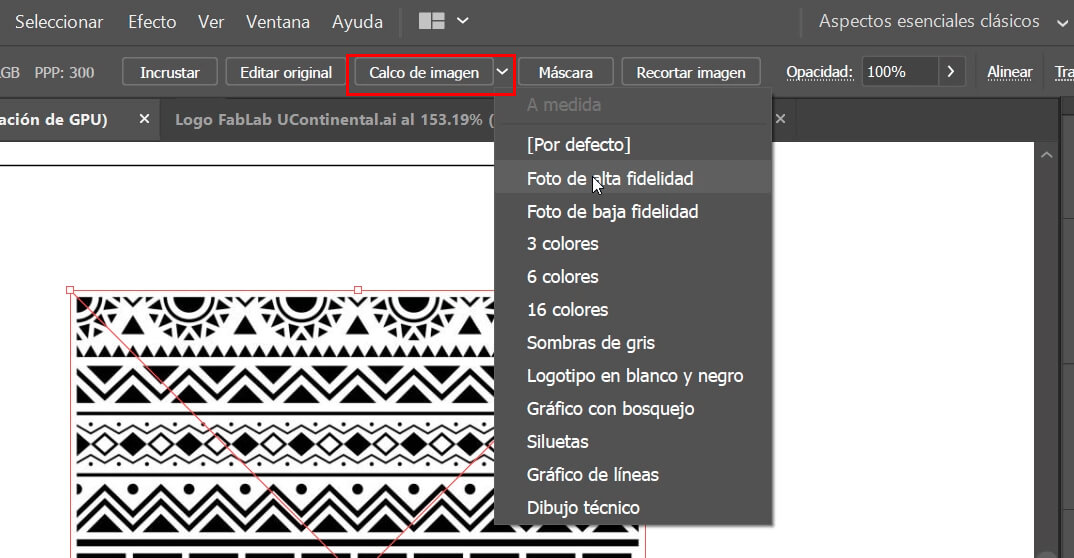
When clicking on the image, the option “image tracing or calco de imagen” appears, this option allows us to vectorize in different ways, in my case I used High Fidelity, you can try other options.
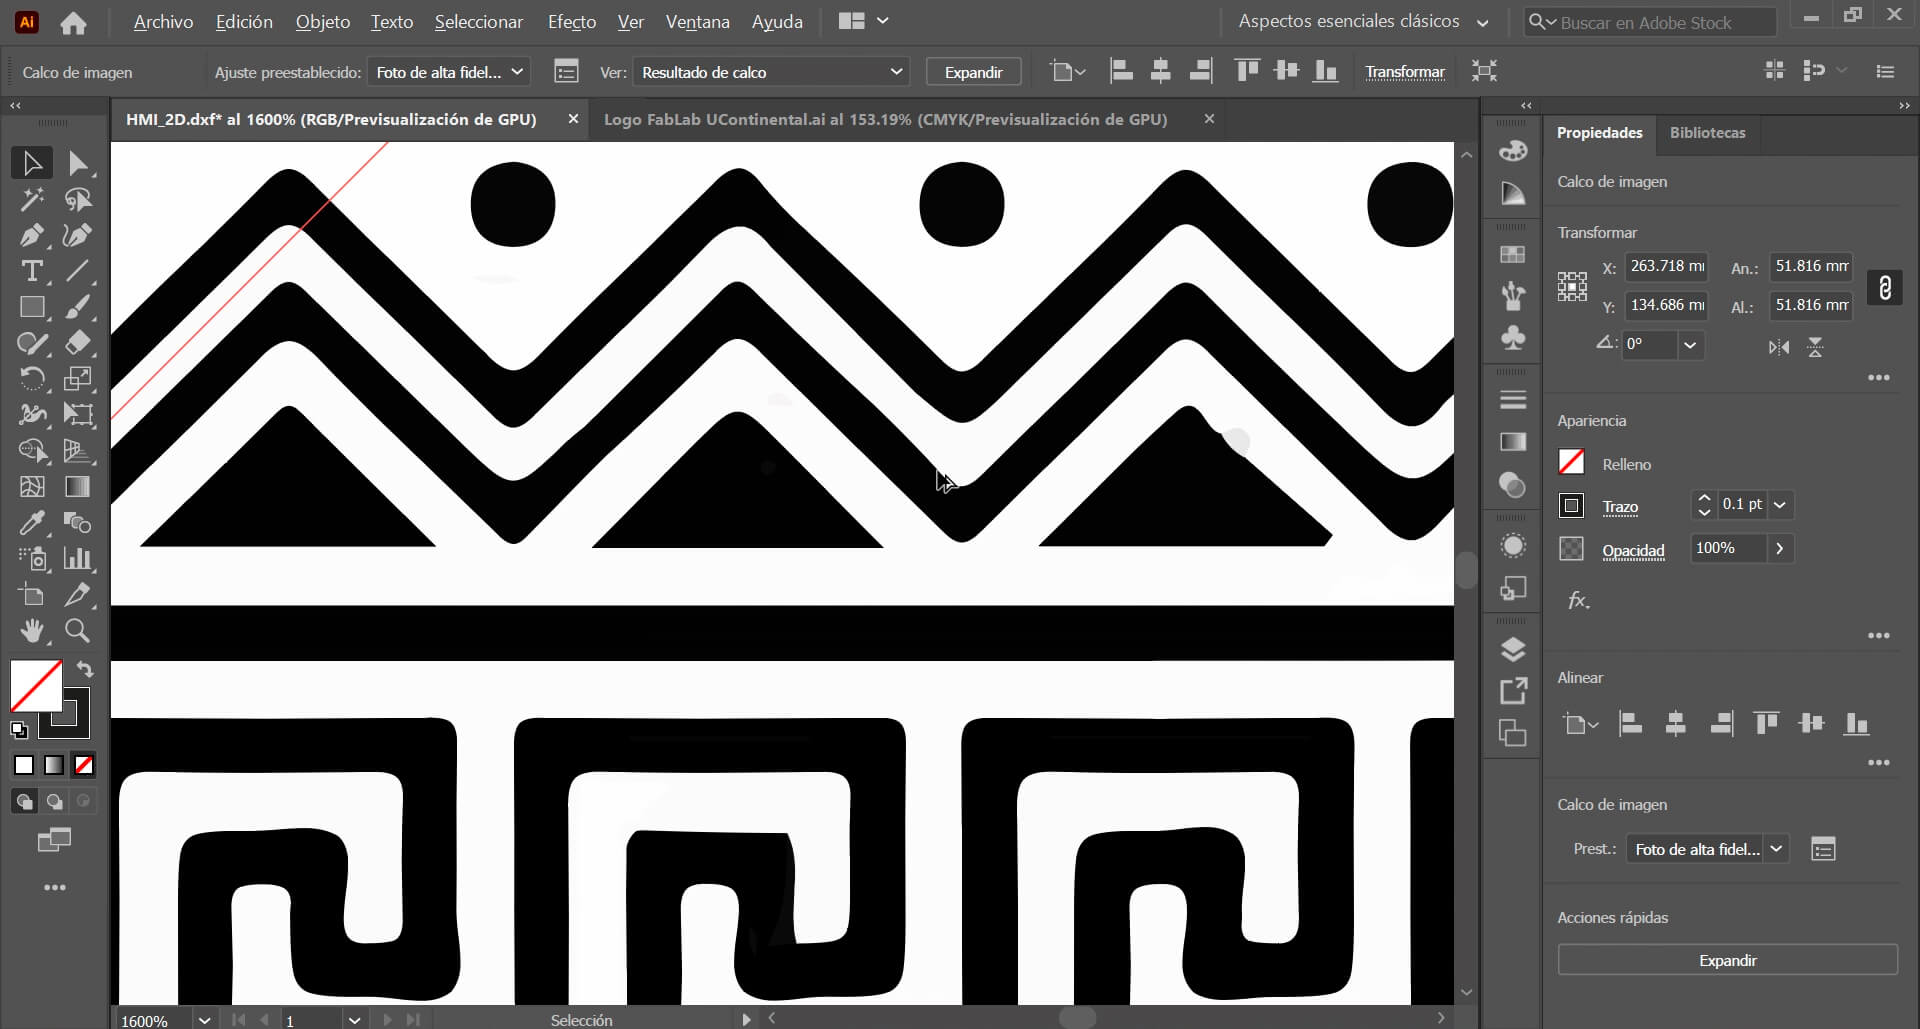
Now if we zoom, we can see a big change.
We position the design where we want, I put it in the lower part surrounding the entire HMI.
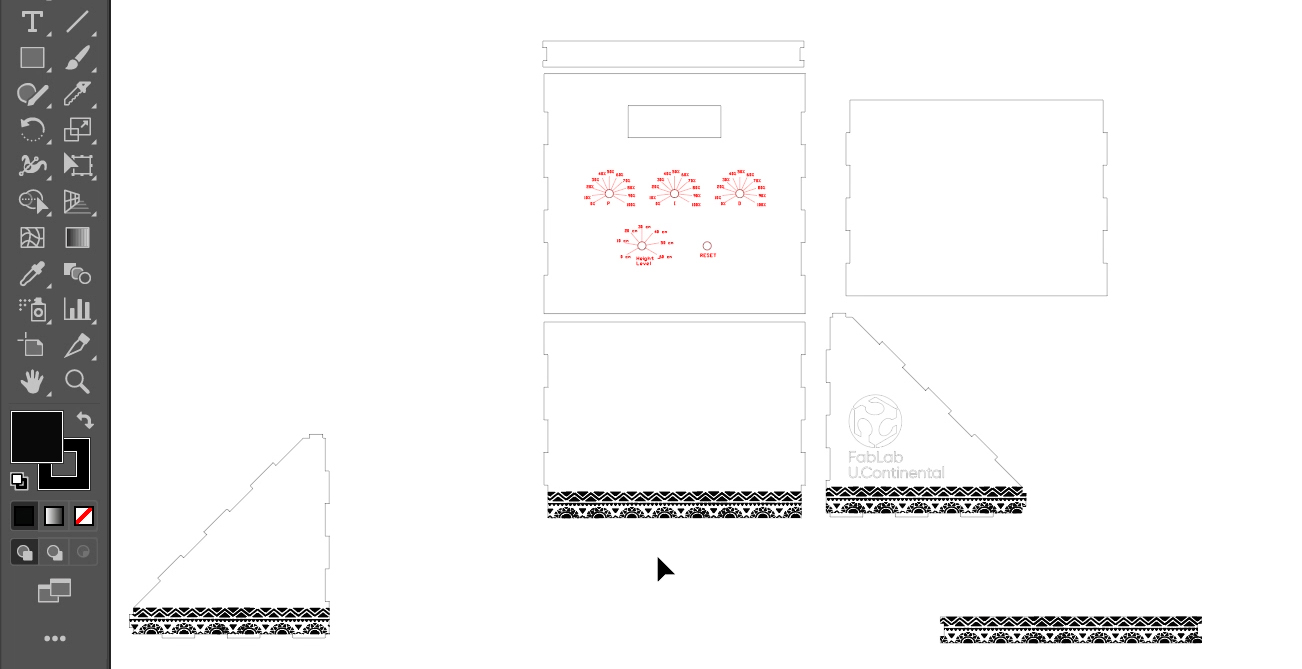
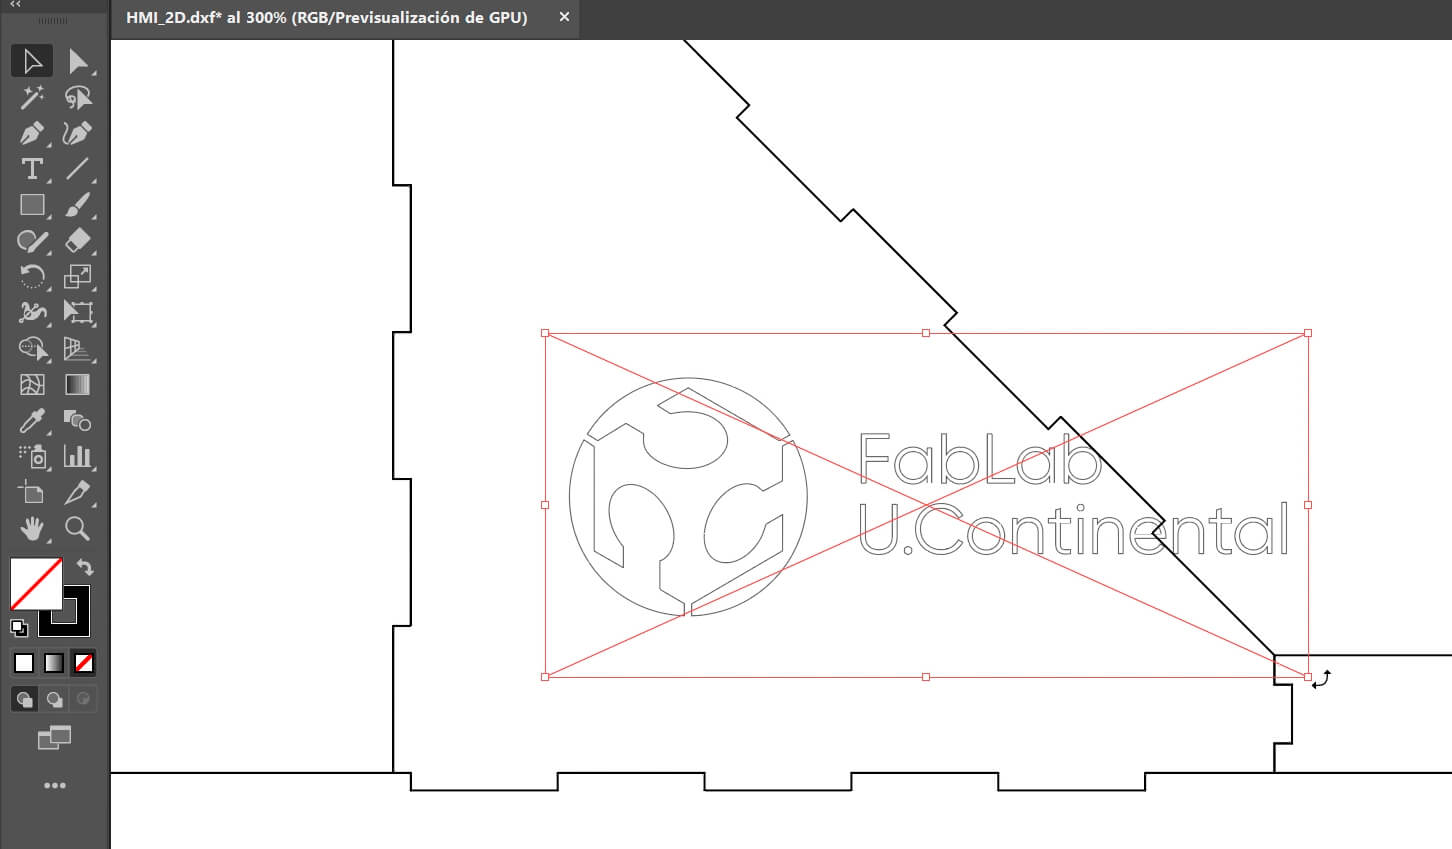
Also, I did the same with the Fab Lab logo.
Well!, this is the result.
Finally, I leave all the designs here.
- Download here
I also leave you some timelapse of my work.
3D design timelapse
2D design timelapse
I also made an animation, I used blender for this process, I leave you the software page and the animation files.
Finally, I leave all the designs.
- Download the files here
This is all for this time.