10b. Group Assignment
For the group assignment, we used the requirements from Nueval as a guideline:
Group Assignment Progress
- Review the safety data sheets for each of your molding and casting materials
- Make and compare test casts with each of them
Reviewing Safety Data Sheets of our Molding and Casting Materials
We gathered a number of different molding and casting materials to use this week:
-
Molding materials:
- Smooth-on Ecoflex
-
Casting Materials:
- Alabaster Casting Plaster
- Dental Casting Plaster
- Acrylic Mineral Resin
- Polyurethane Resin
We then read through the materials linked above to get a feel for the toxicity of things. It became quickly obvious that the mineral based materials (water based plasters) were the most forgiving, while the acrylic resin and 2-part polyurethane resin materials needed more and more precautions.
Group Assignment Progress
- Review the safety data sheets for each of your molding and casting materials
- Make and compare test casts with each of them
Test Casts with our Casting Materials
For our test casts, we used two commercial Hirstarts Castle Molds, which Roland had kicking around for a few years. They were still going strong, so we cast the materials into similar features of the molds (little curved floor tiles) to compare them later. Since we had a lot of material of each left, we also cast more little parts wherever material was left over.
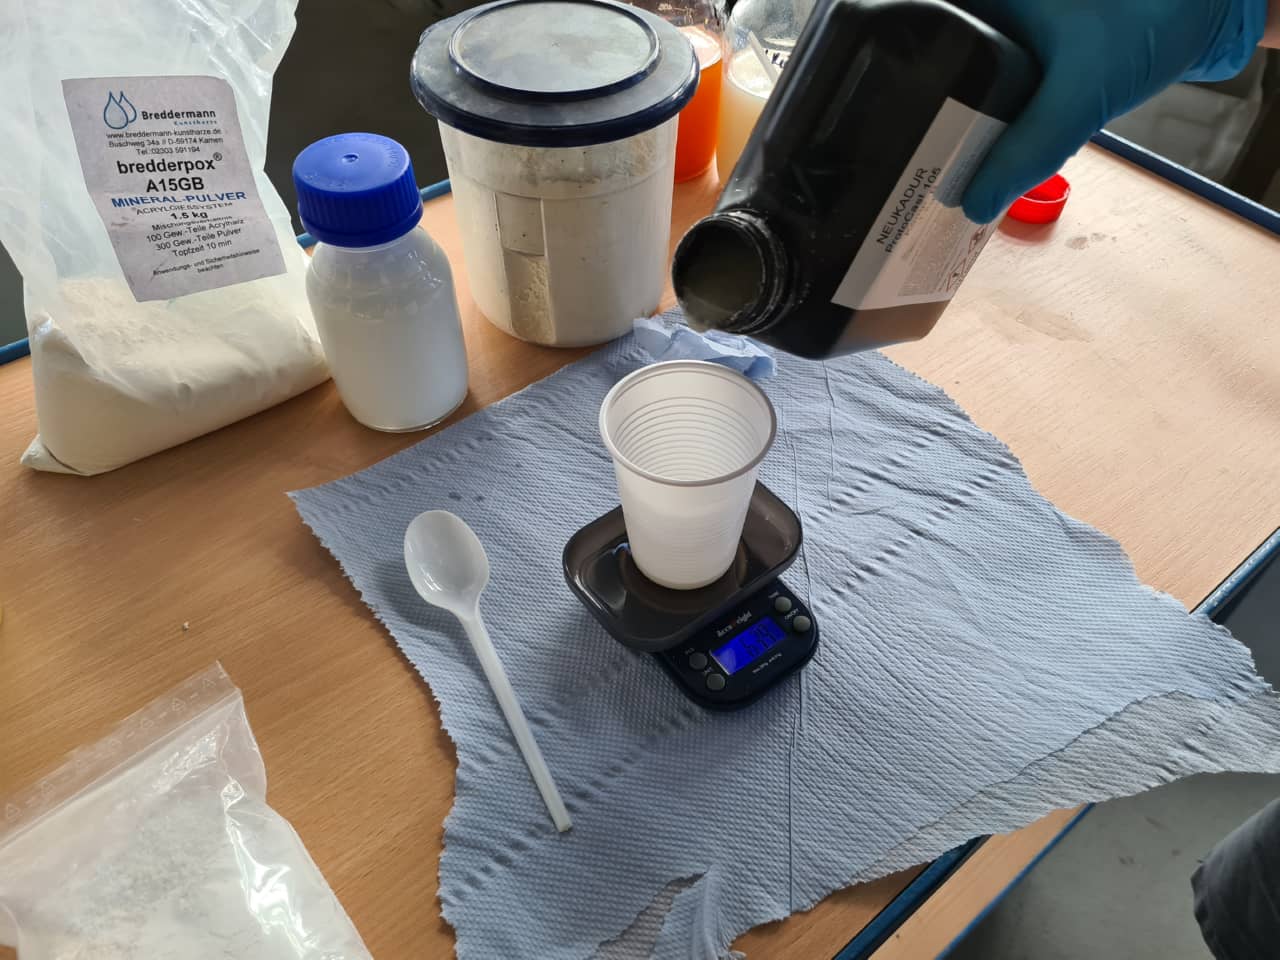
To begin our testing, we collected a number of supplies, so we had everything at hand:

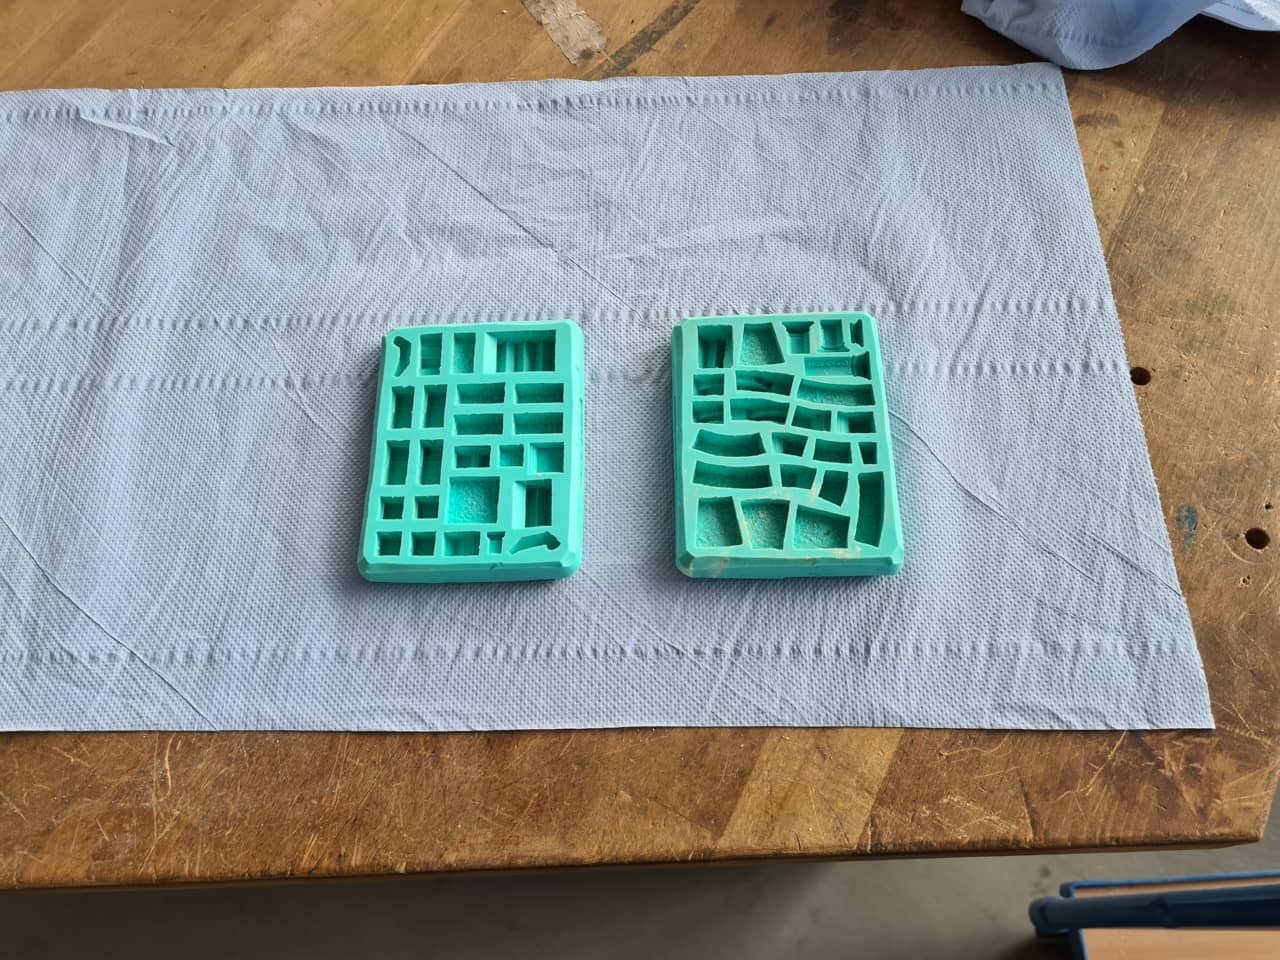
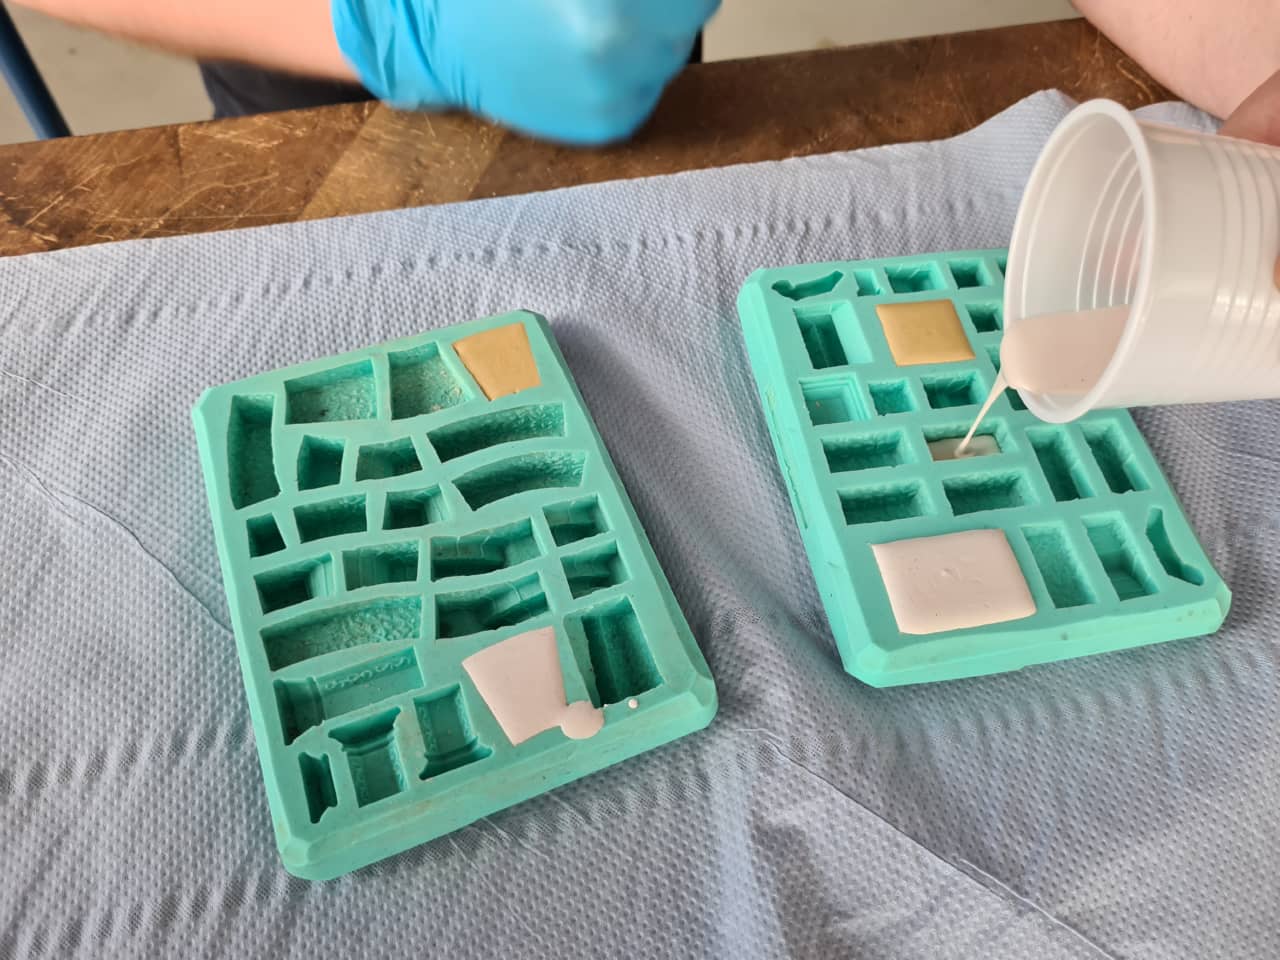
These are the two Hirstarts Castle Molds we intended to use for the testing. They can be used for roleplaying/board games to make pieces for constructing scenery from building blocks:
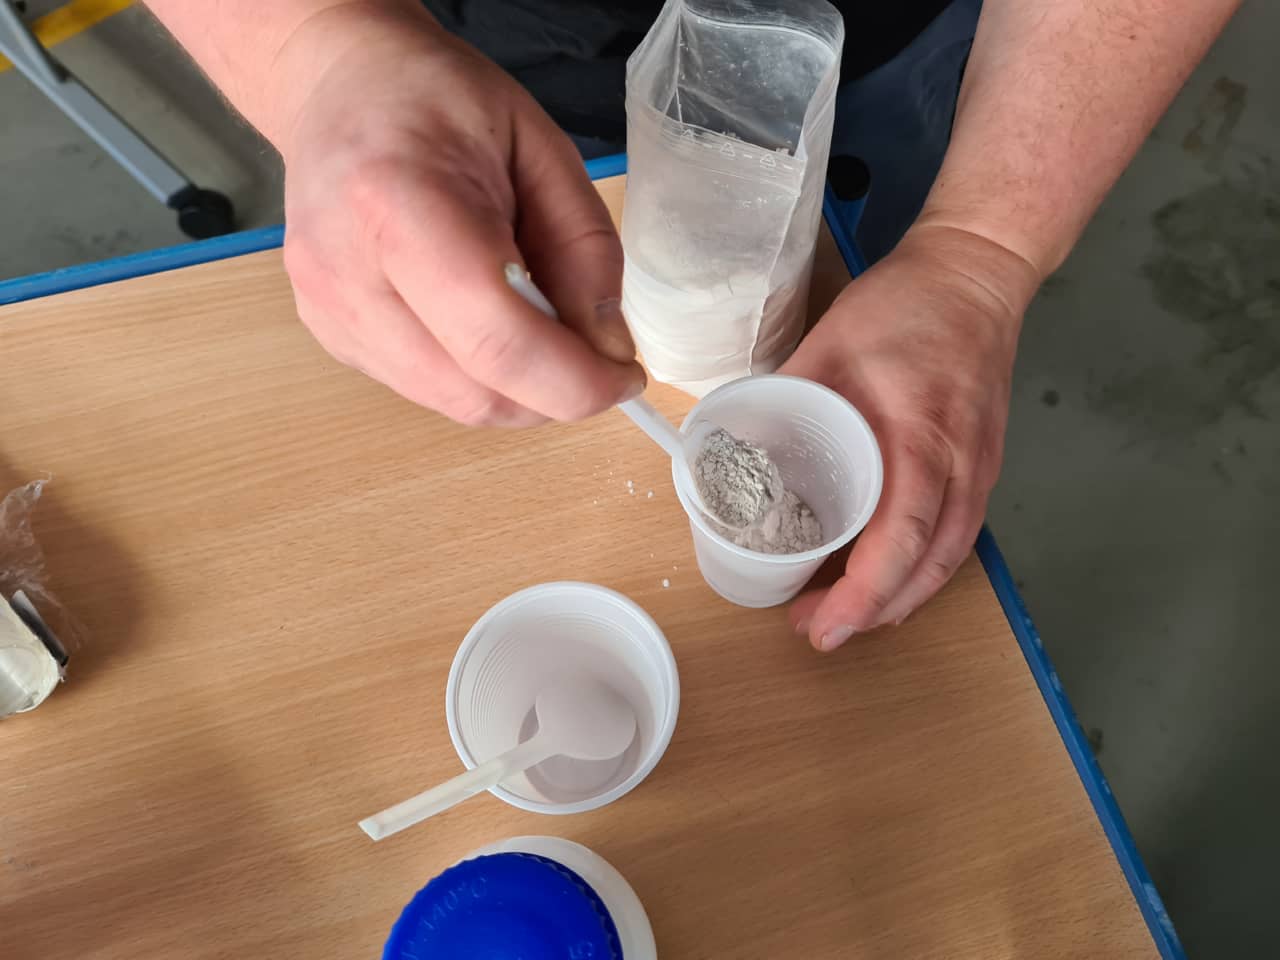
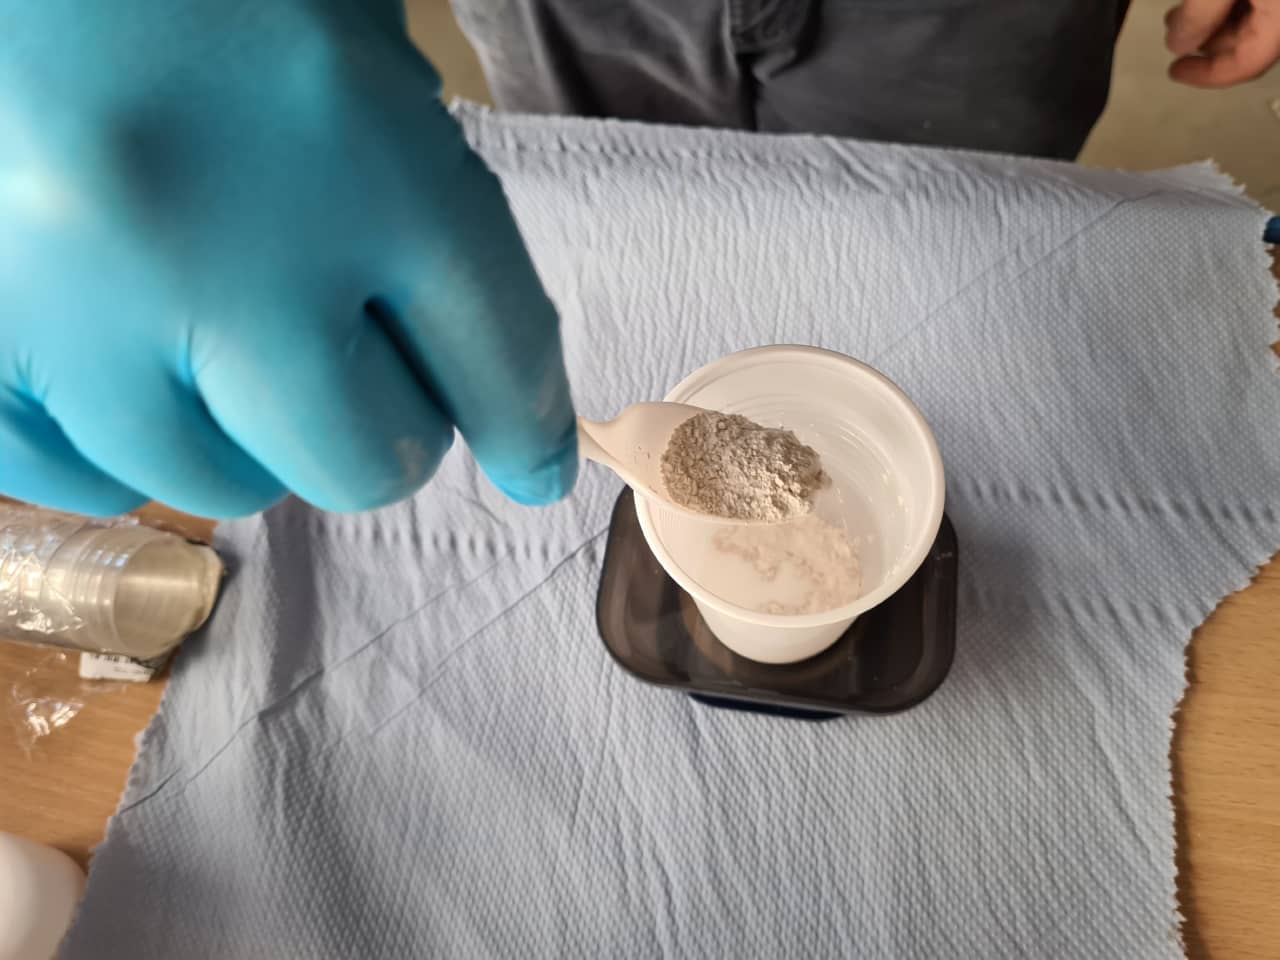
To prepare the Alabaster plaster, we slowly added plaster powder to a cup filled with a small amount of water:
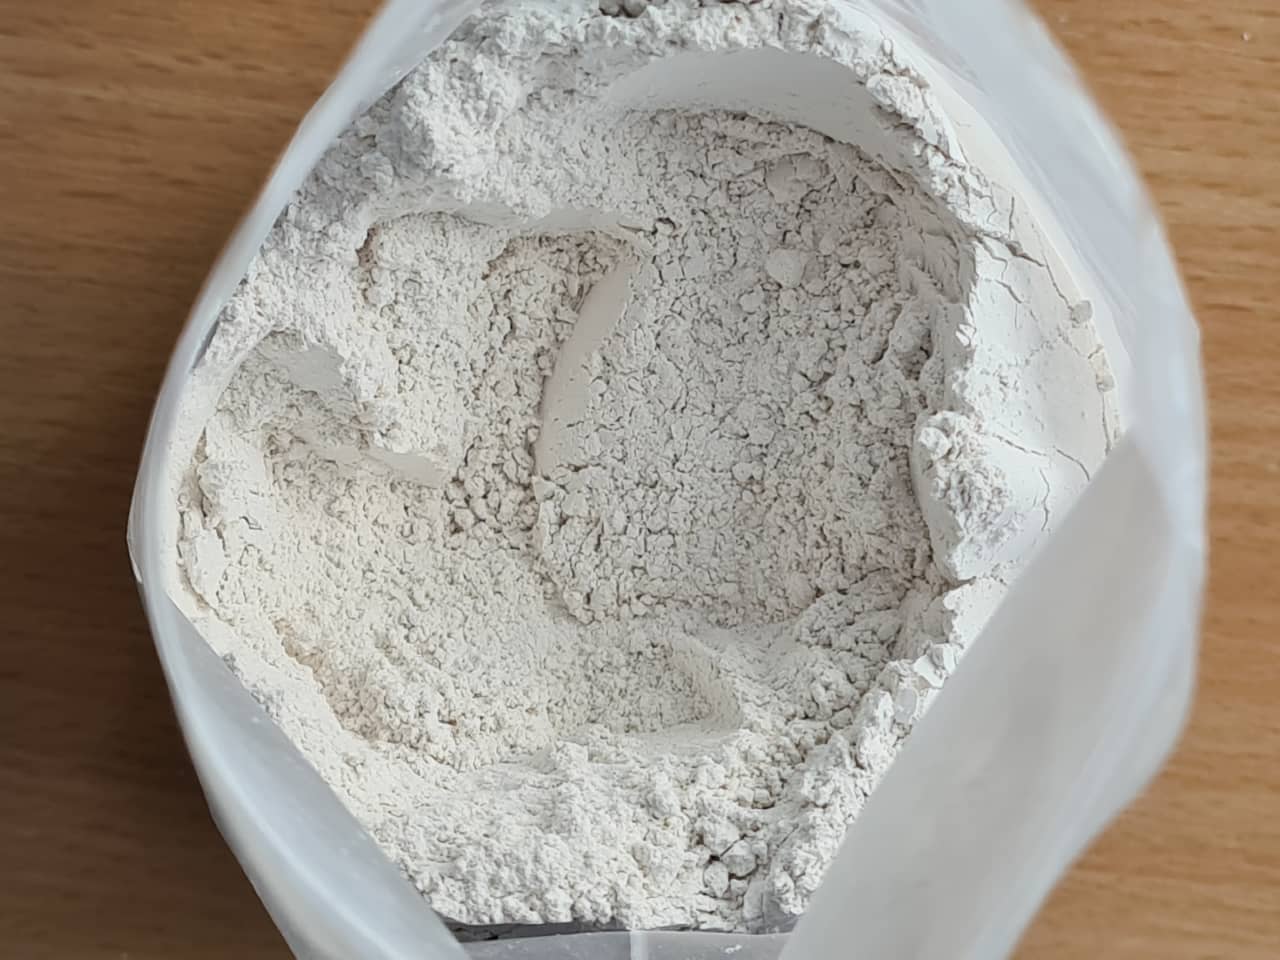
The Alabaster plaster powder is pretty white and very fine:
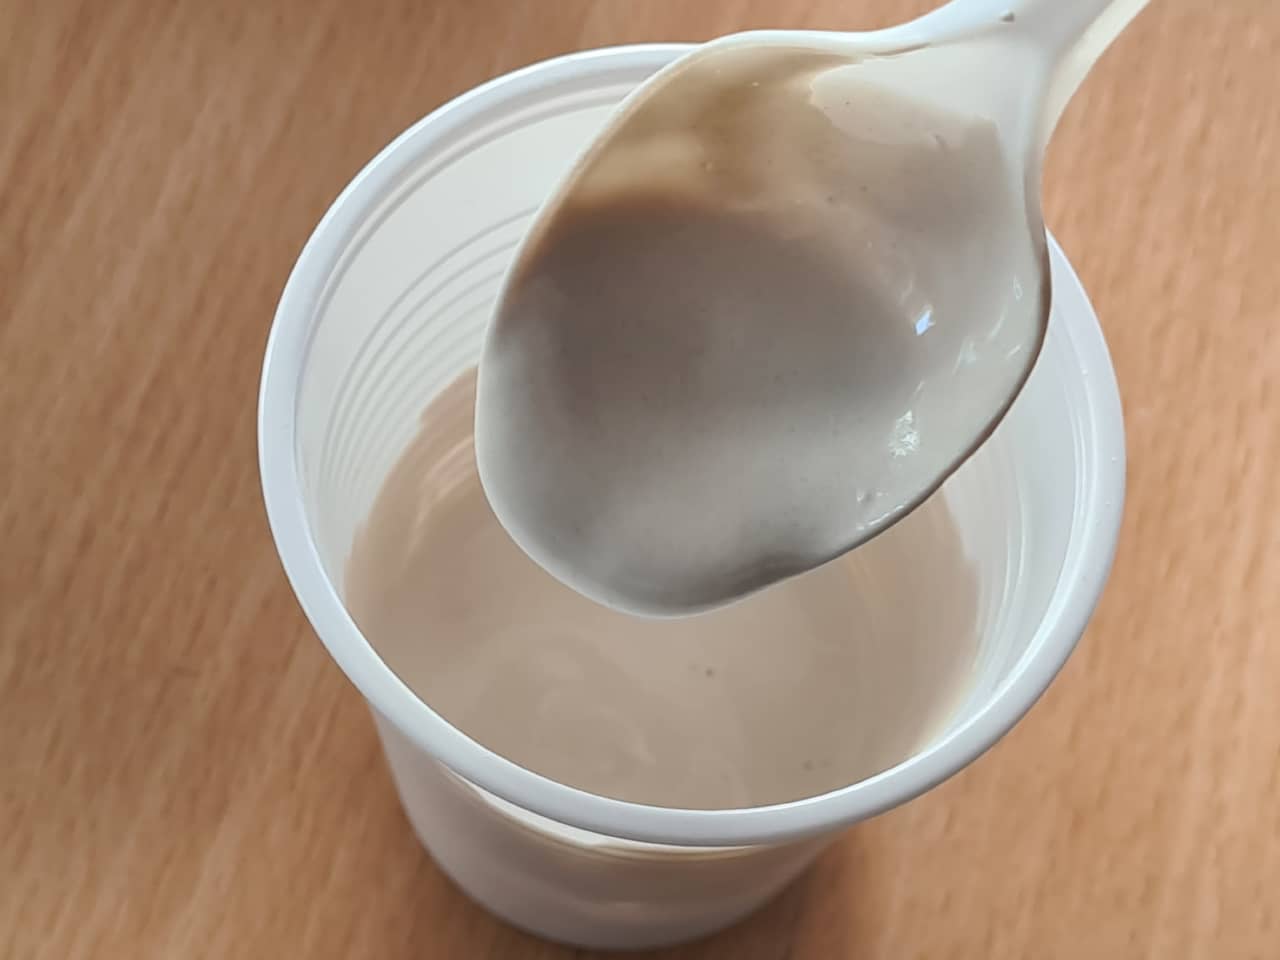
For castable consistency, plaster powder should be added until breaking through the surface and forming small mounds. When the powdery material stops absorbing water, it can be stirred to smooth consistency…
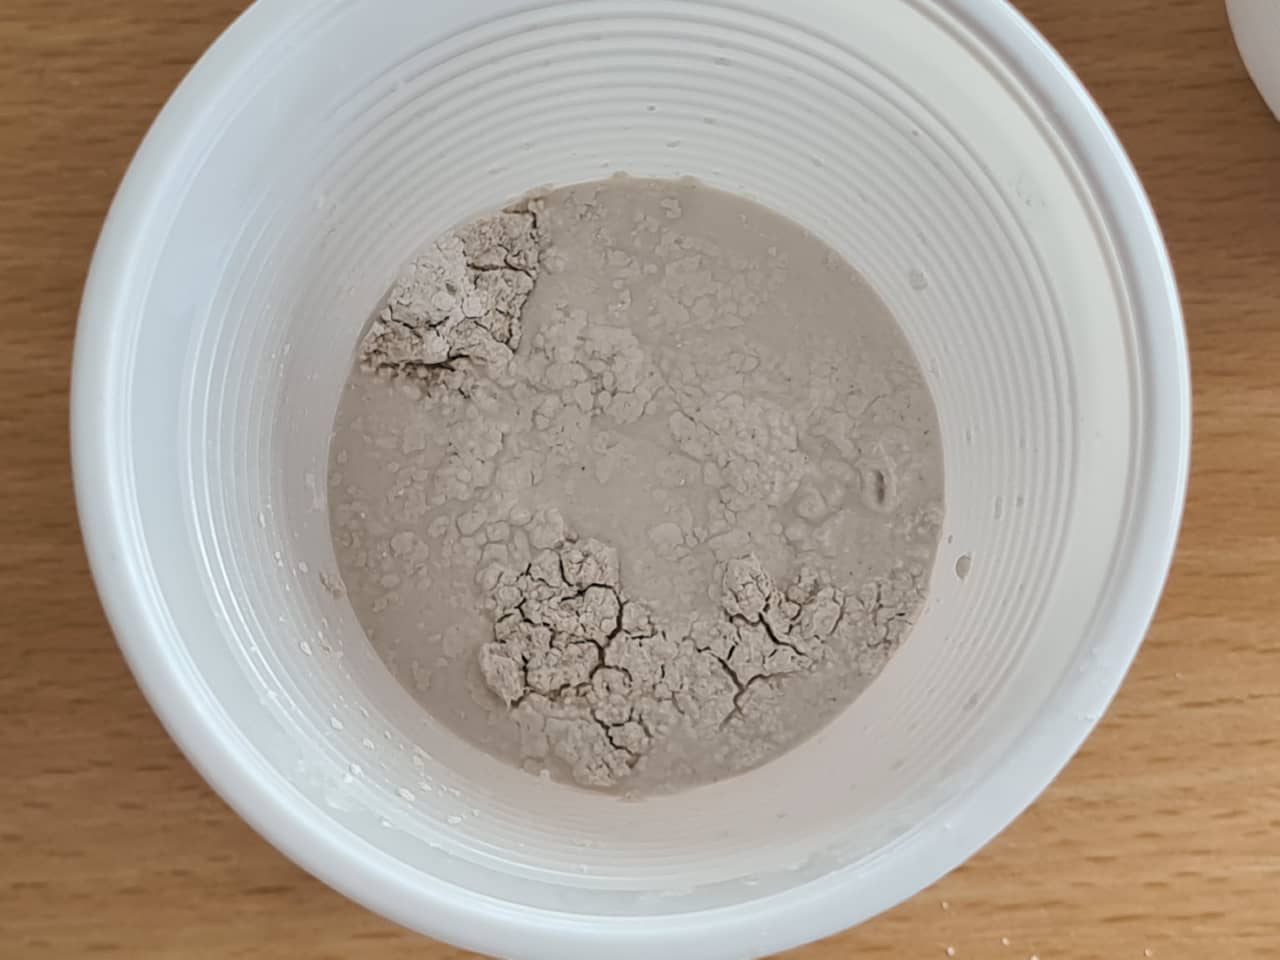
which flows very easily and is pretty creamy:
When casting the plaster into the mold, the mold can be vibrated to make the plaster flow more easily. A vibrating table is often used, we simply tapped the mold and the table when casting the material:
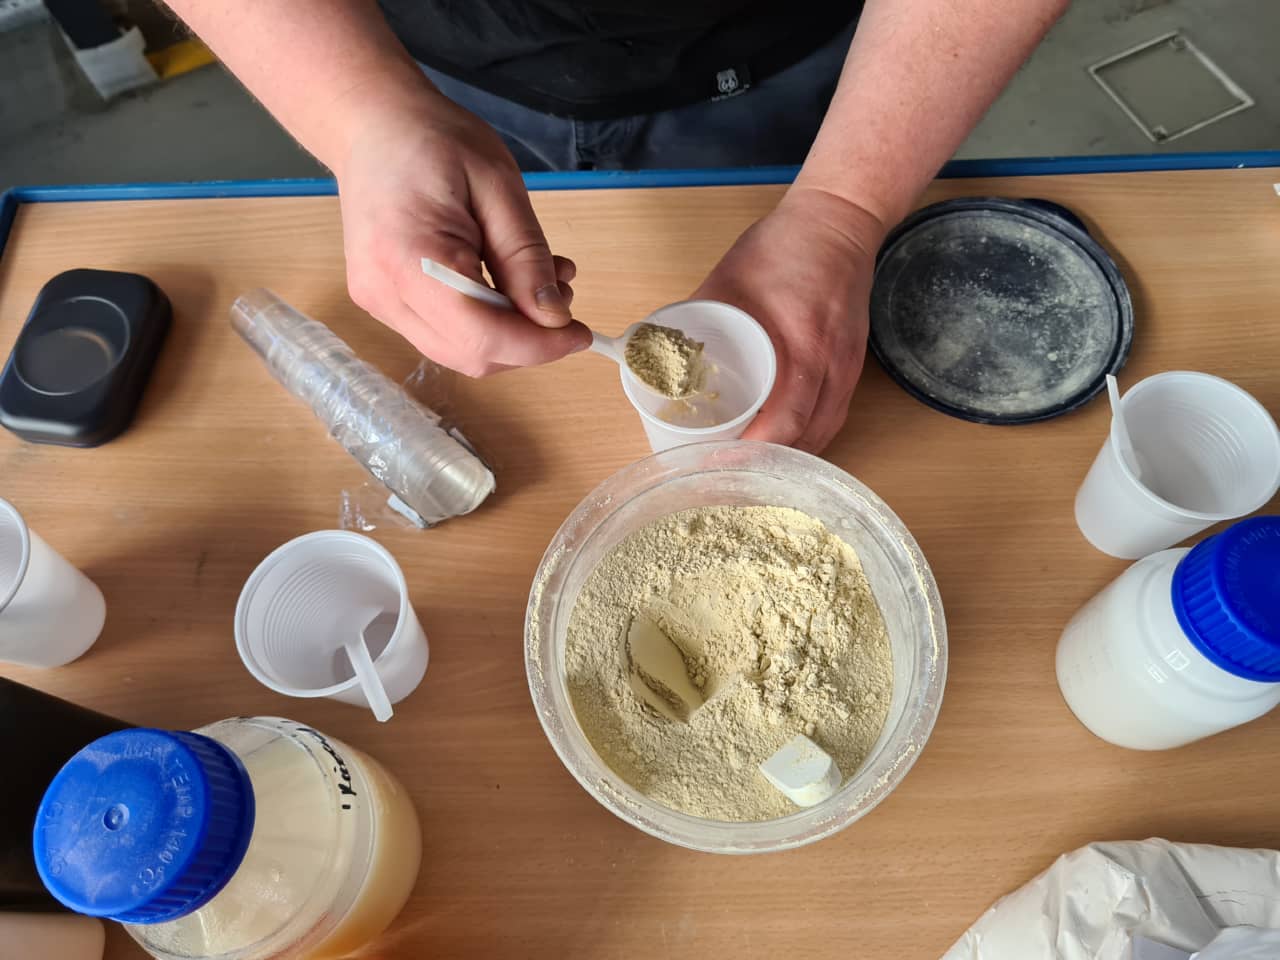
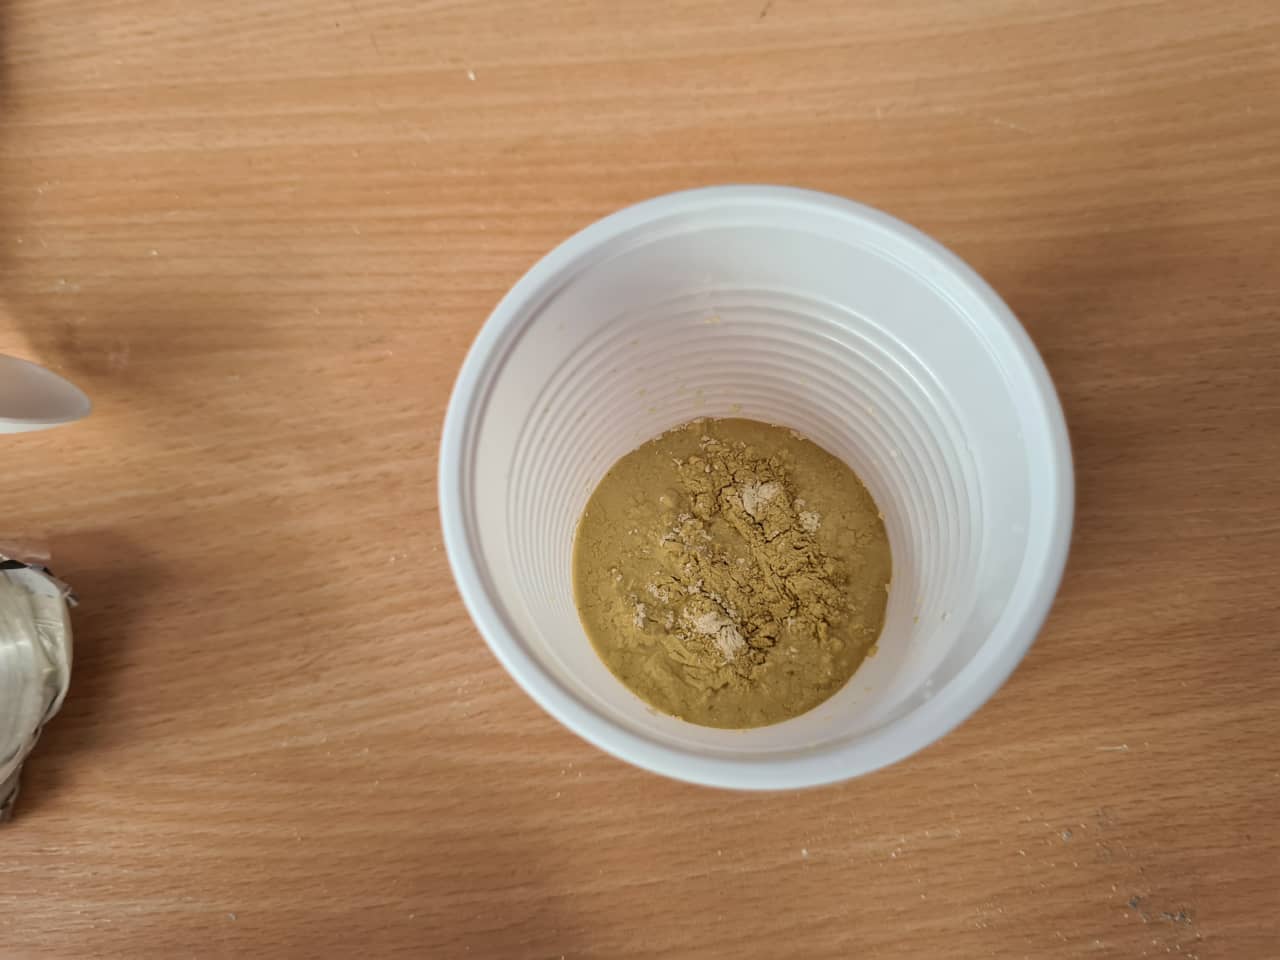
The preparation of the dental plaster (yellow powder) was very similar to the Alabaster plaster. We slowly added powder to a little water…
…until, again, small mounds were breaking through being wetted to where they start to crumble:
The consistency of the casting material was, again, creamy:
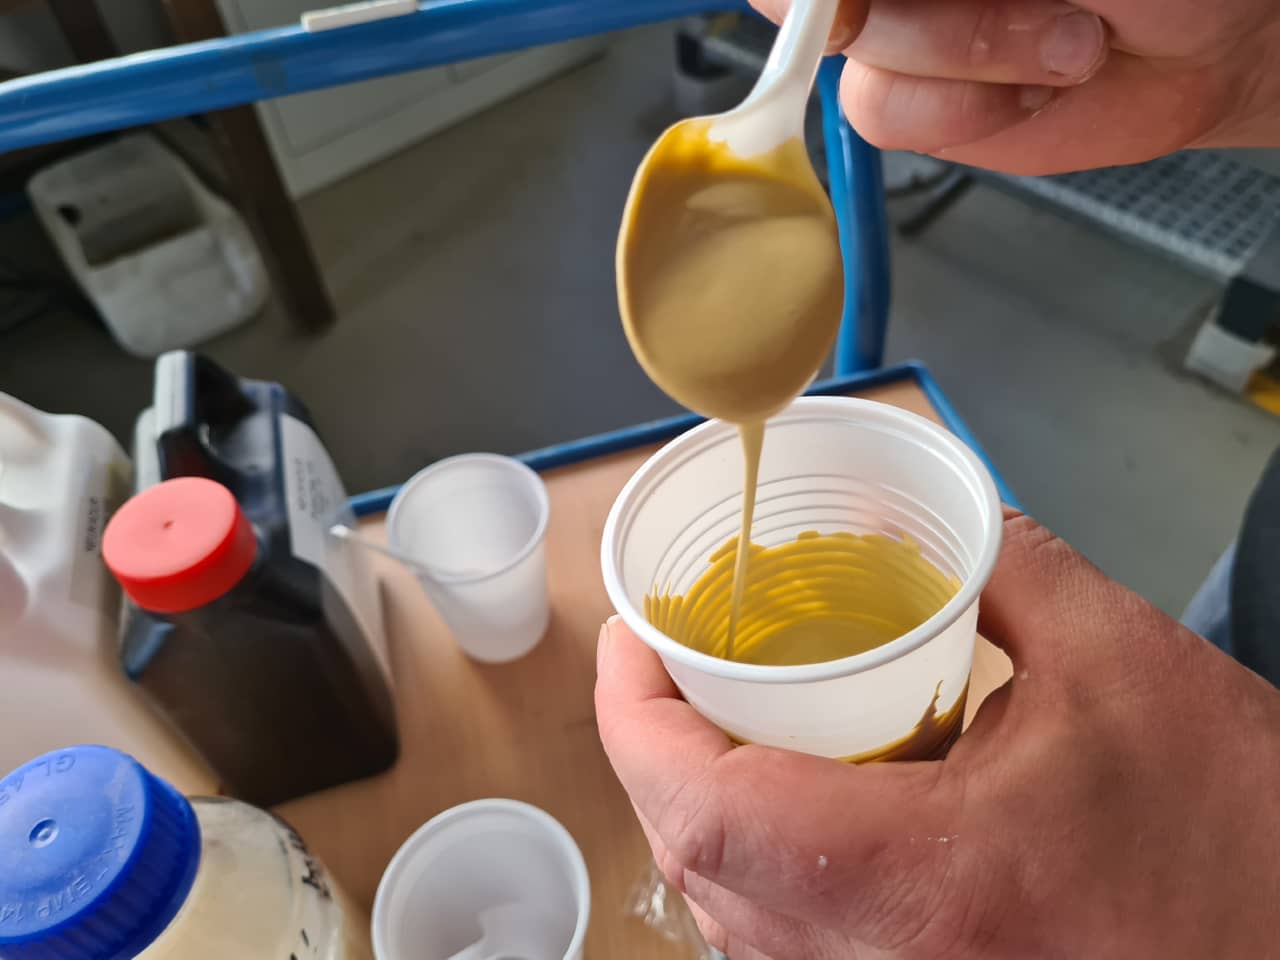
When casting the plaster, the mold and the table were again tapped:
The Acrylic Mineral casting material consists of an acrylic resin and a mineral powder. It does rely on a good mixing ratio to fully cure, so we used a fine scale to weight out both resin…
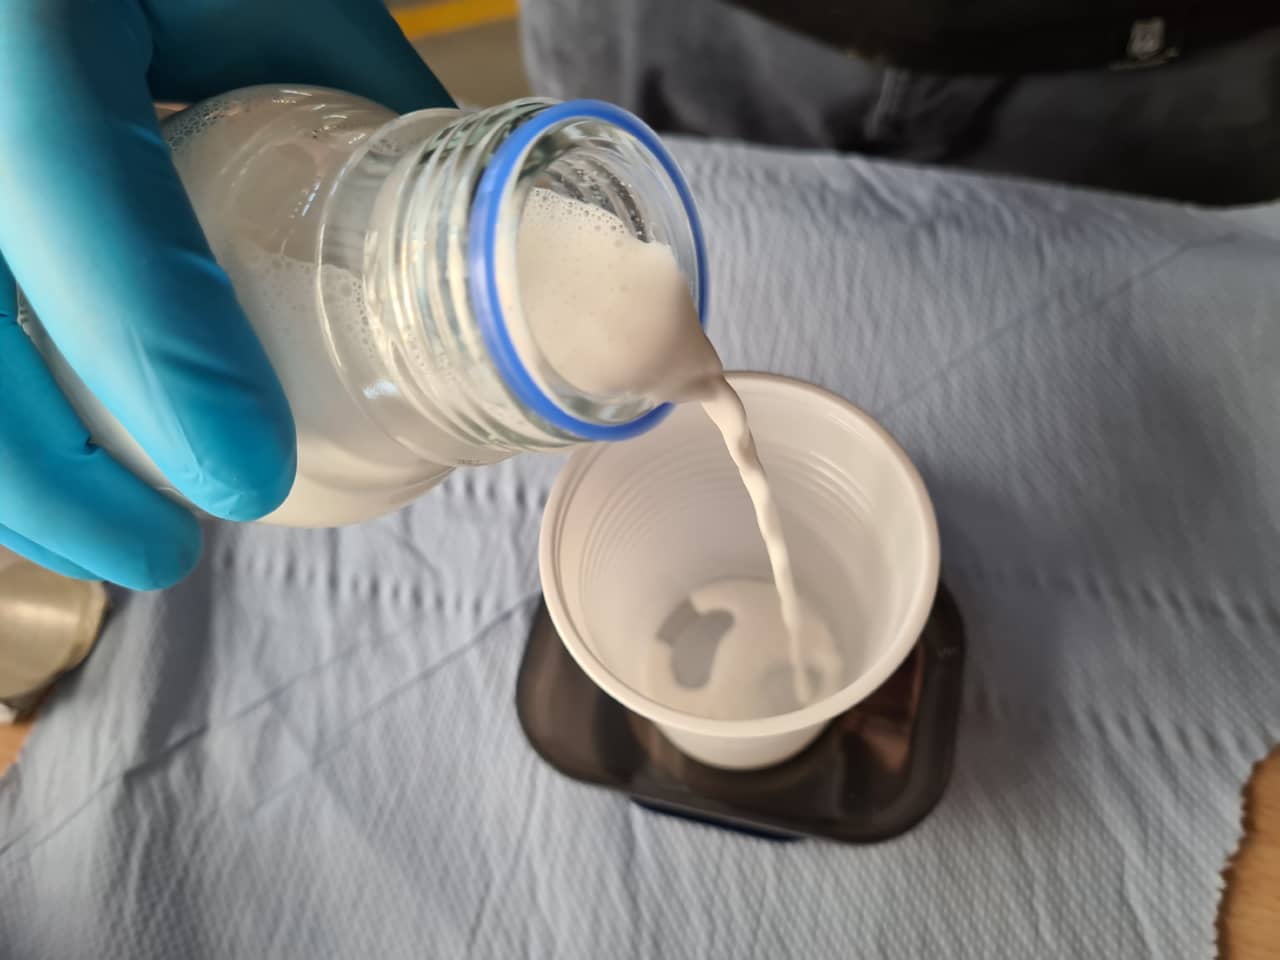
…and powder in a 1:3 ratio (1 resin : 3 powder, by weight):
After mixing, the material had a creamy consistency as well and could easily be cast while tapping the mold:
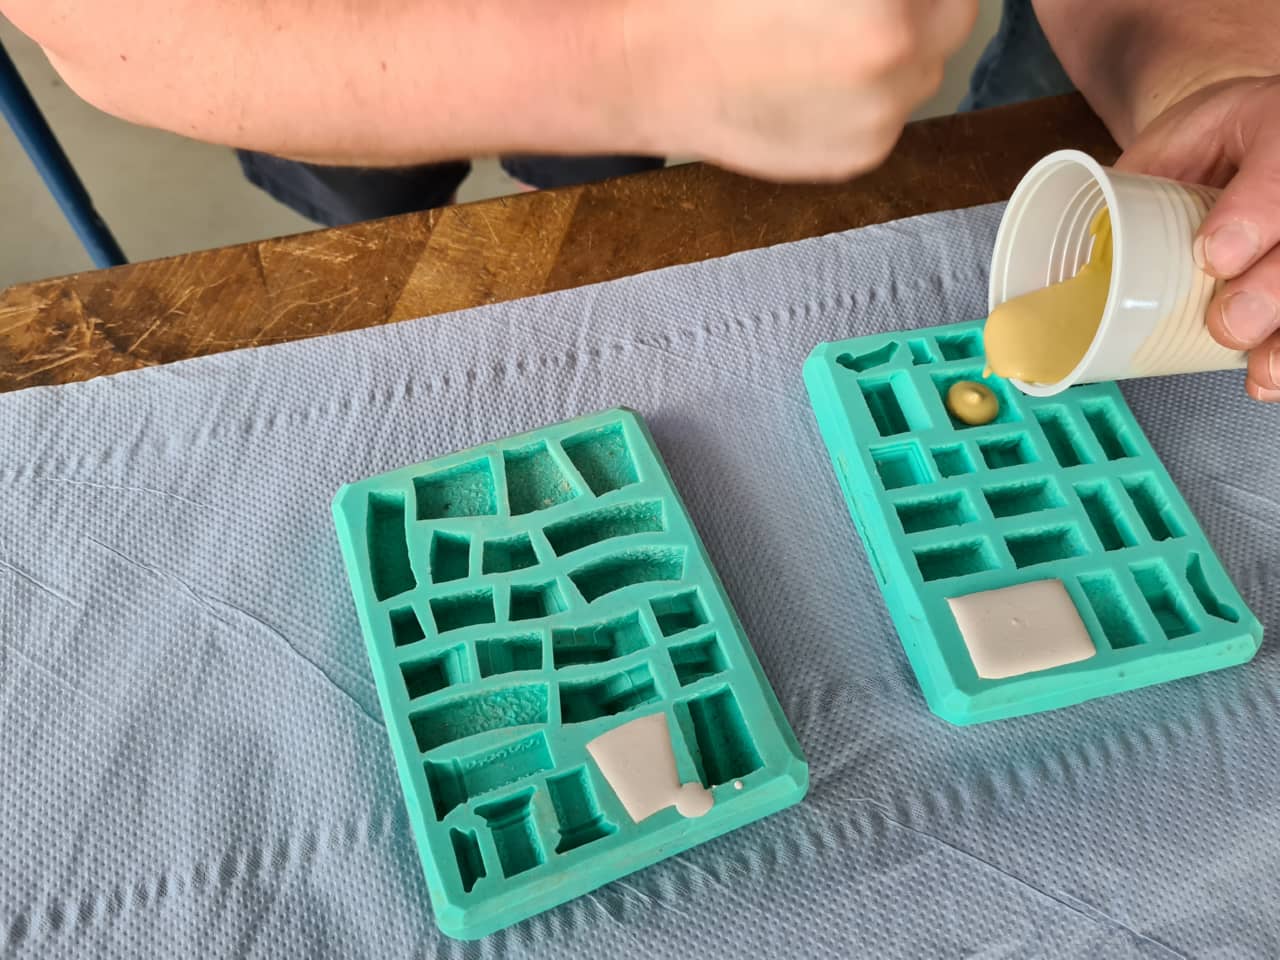
The Polyurethane Resin was prepared by weighing out parts A and B in a 1:2 ratio (1 A : 2 B, by weight) and mixing them:
When casting, the polyurethane resin flowed much easier than the other casting materials (lower viscosity than the powder based materials):

After about 120 minutes, all casting materials were ready for demolding:
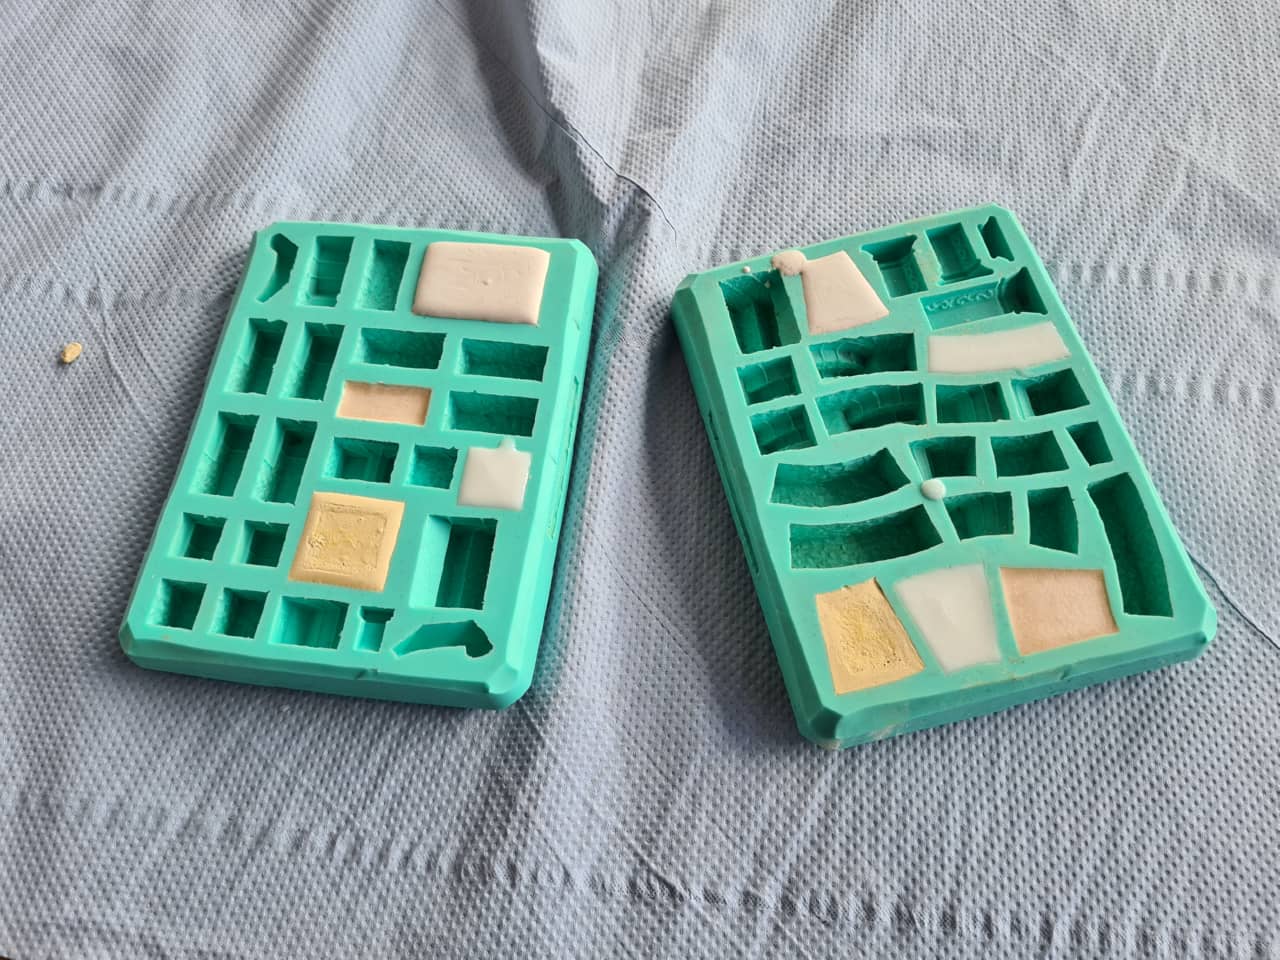
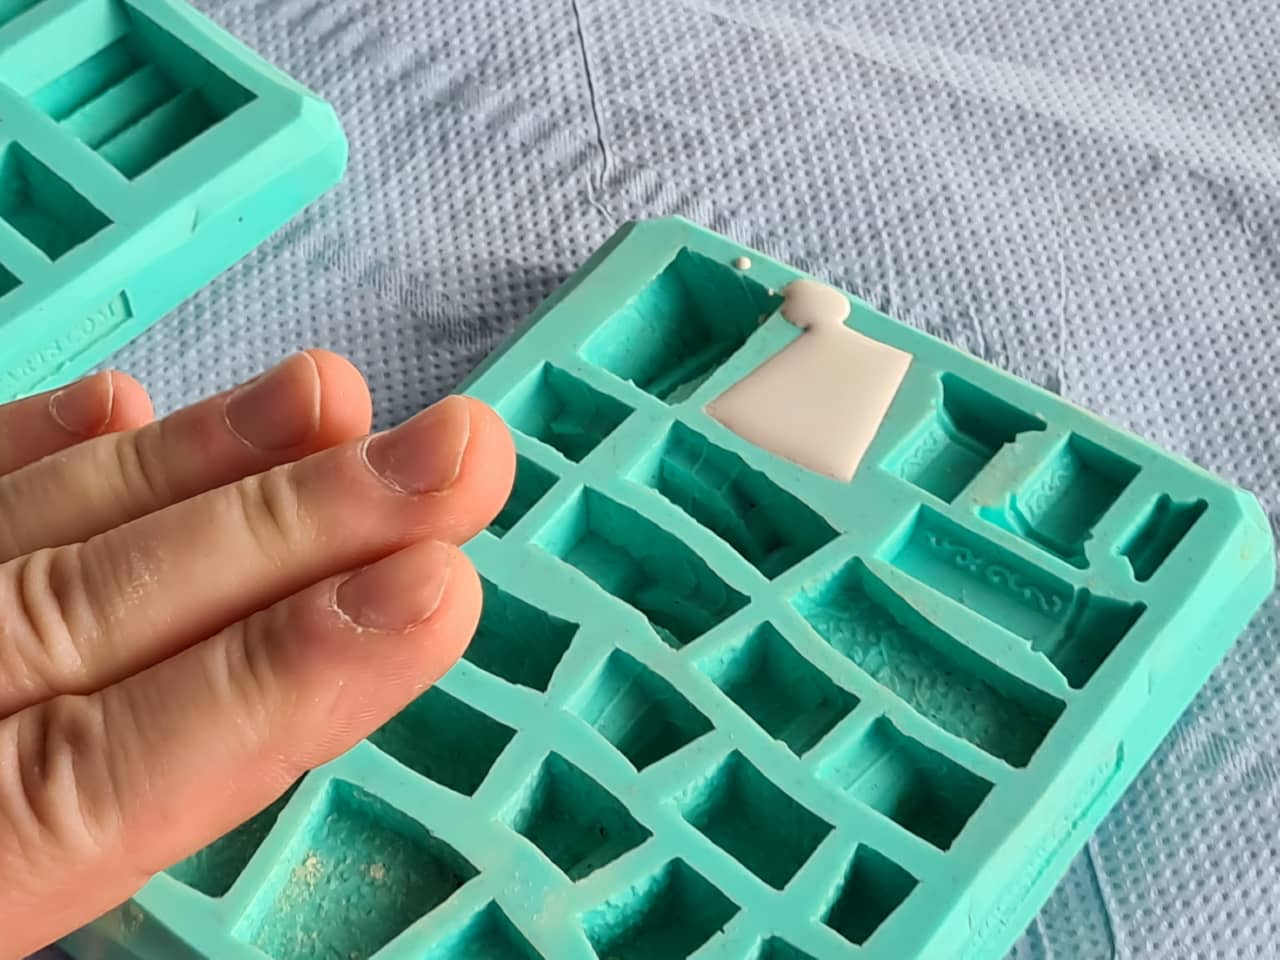
Even getting large parts out of the silicone molds is easy enough by just flexing the molds and pulling the casts out:
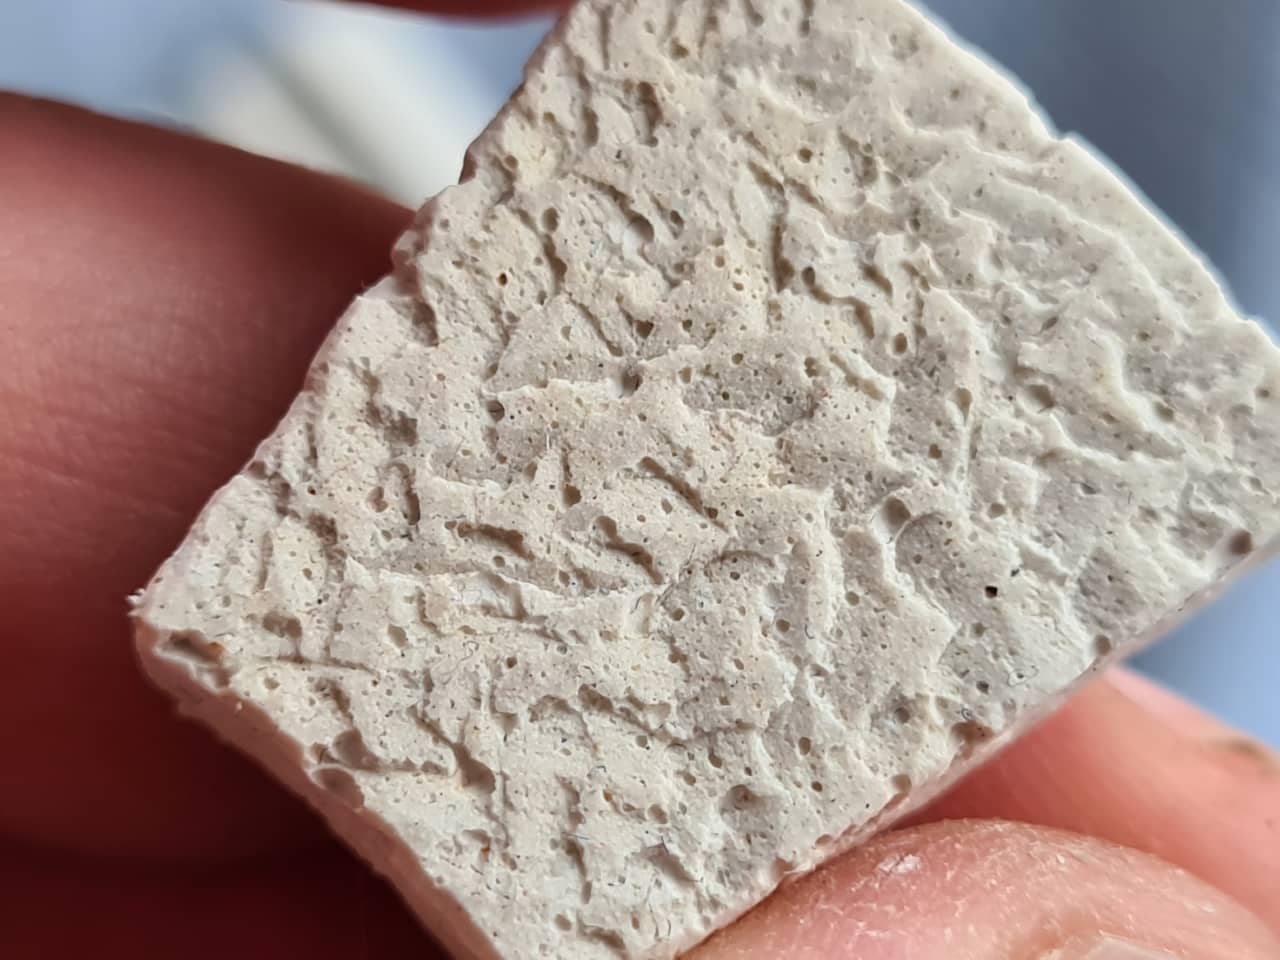
Here’s parts one…
…and two of our Alabaster plaster casting test:
And parts one…
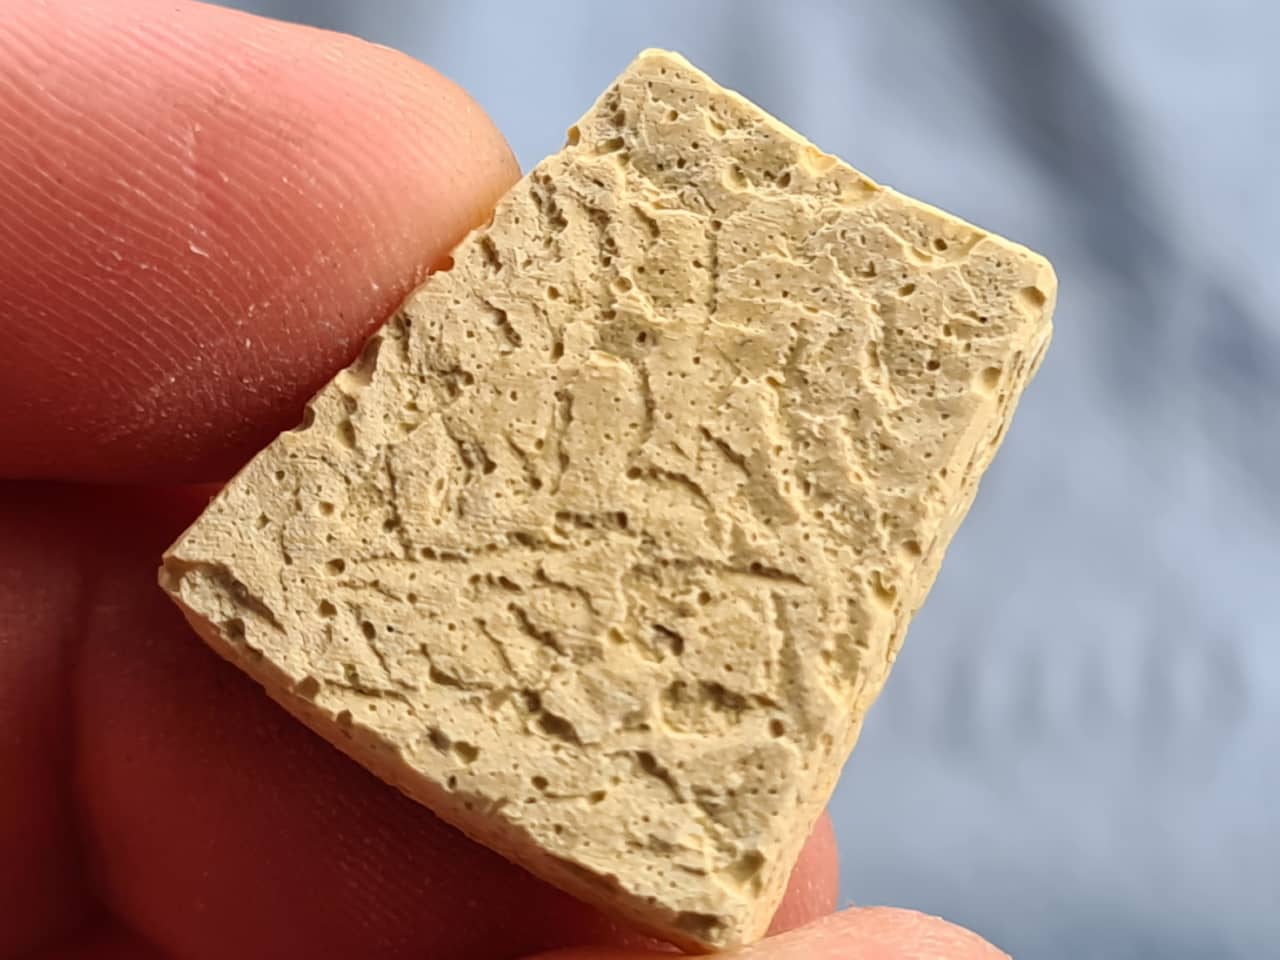
…and two of the Dental plaster casting test:
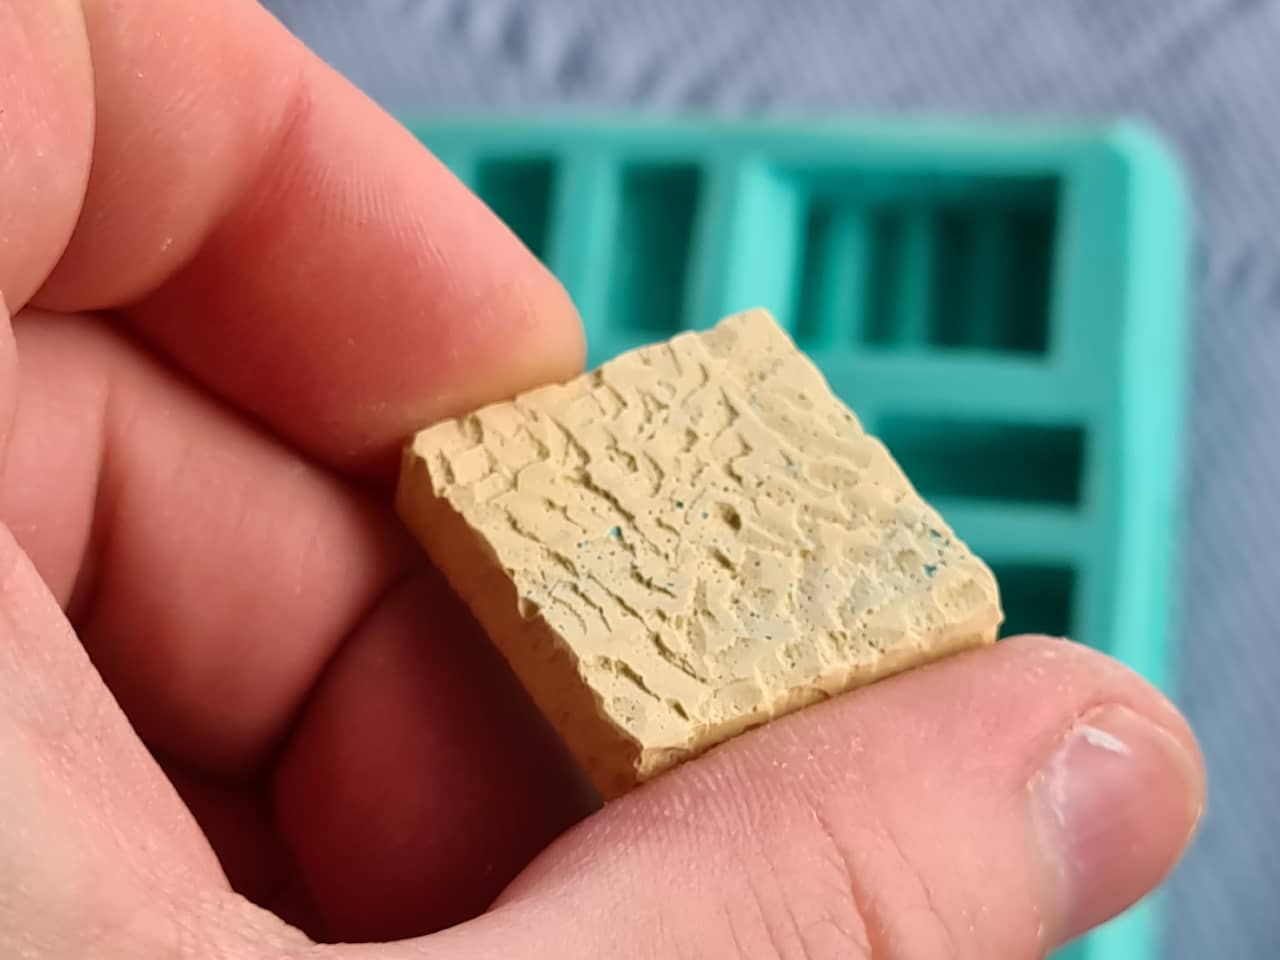
Similarly, parts one…
…and two of the Acrylic mineral casting material test:
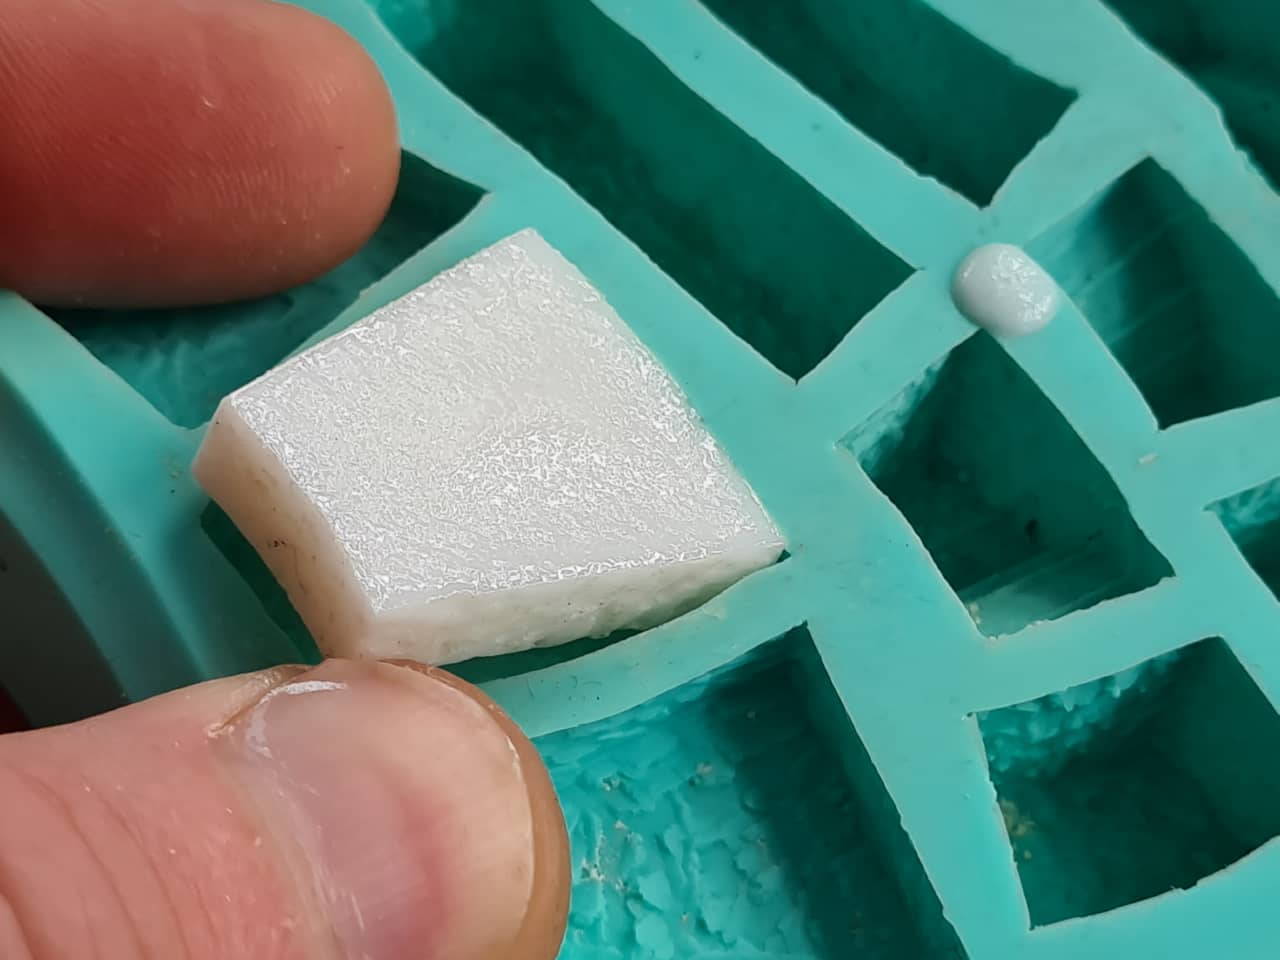
Here you can see the polyurethane cast being removed from the mold:
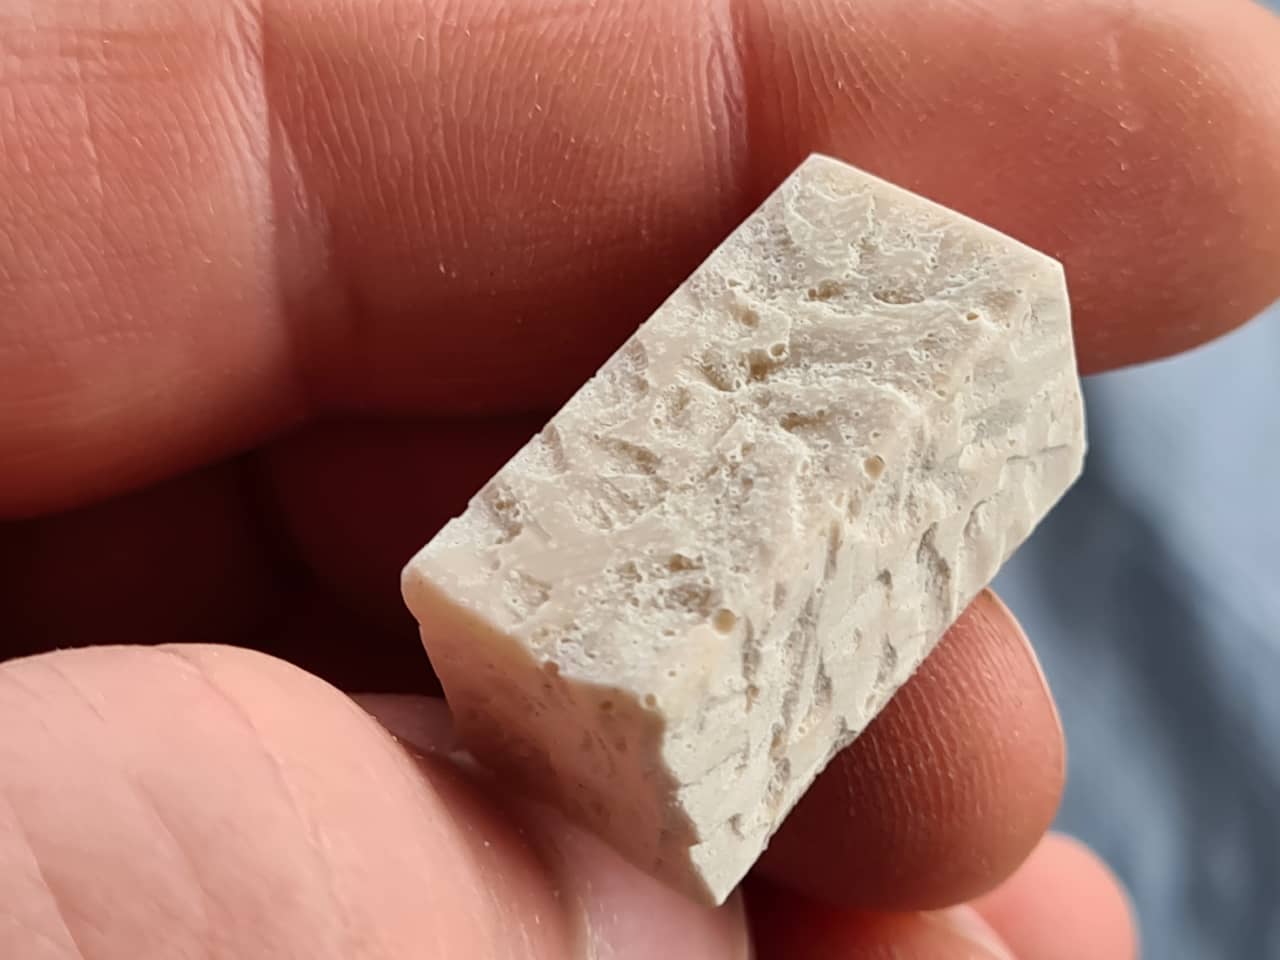
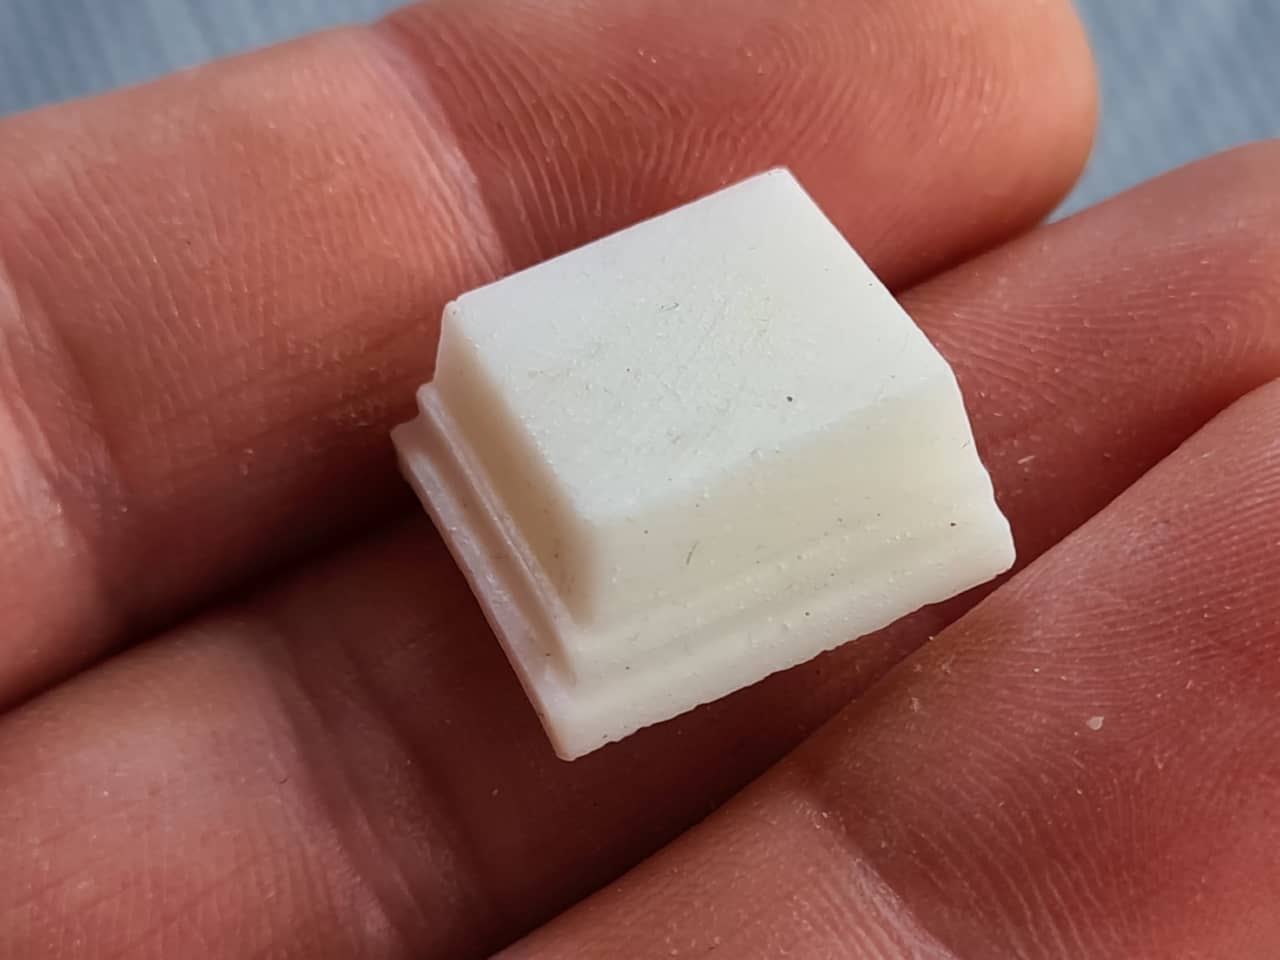
And this is test piece one…
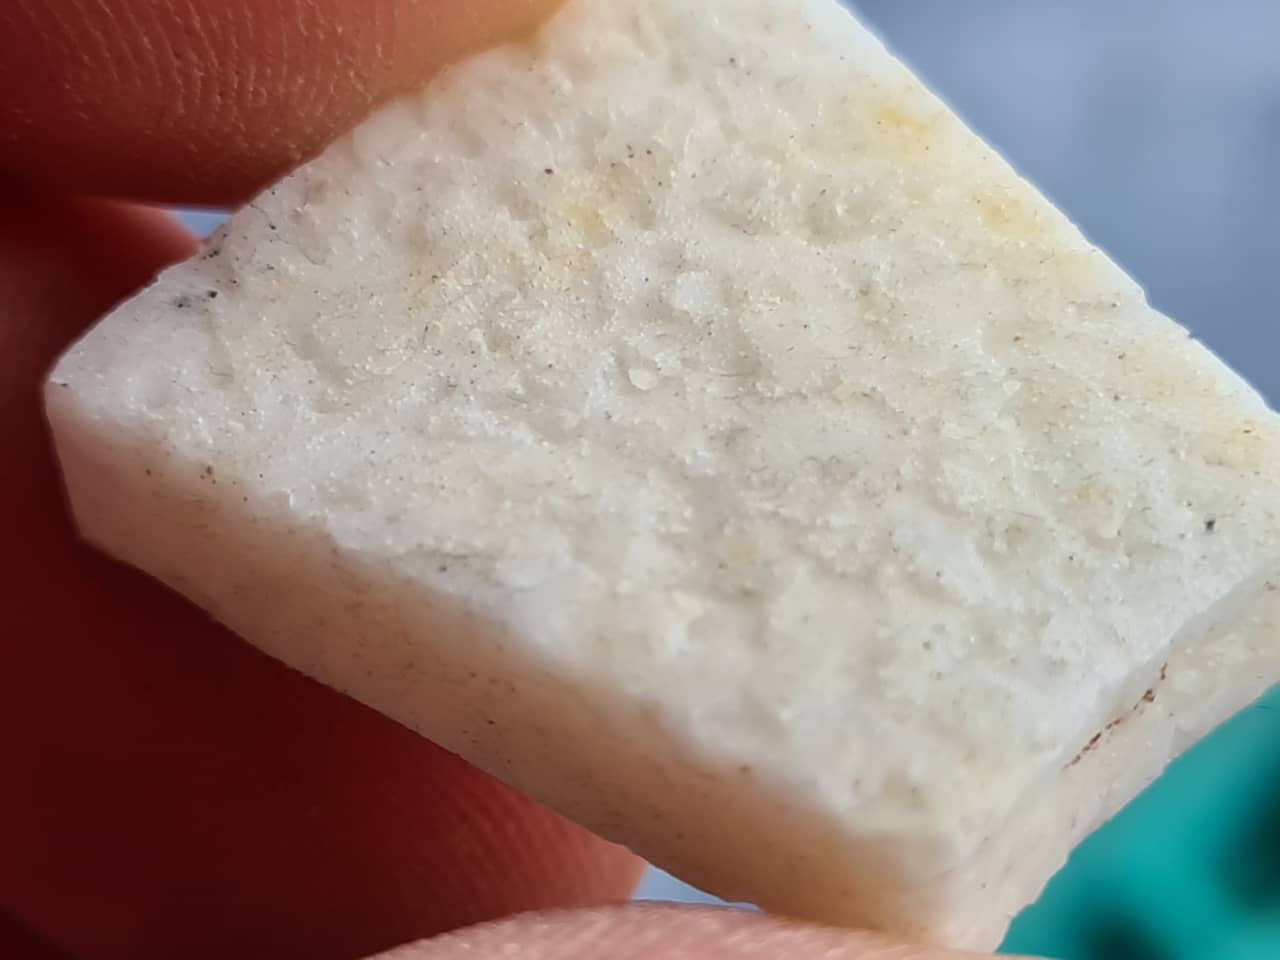
…and two cast in polyurethane resin:
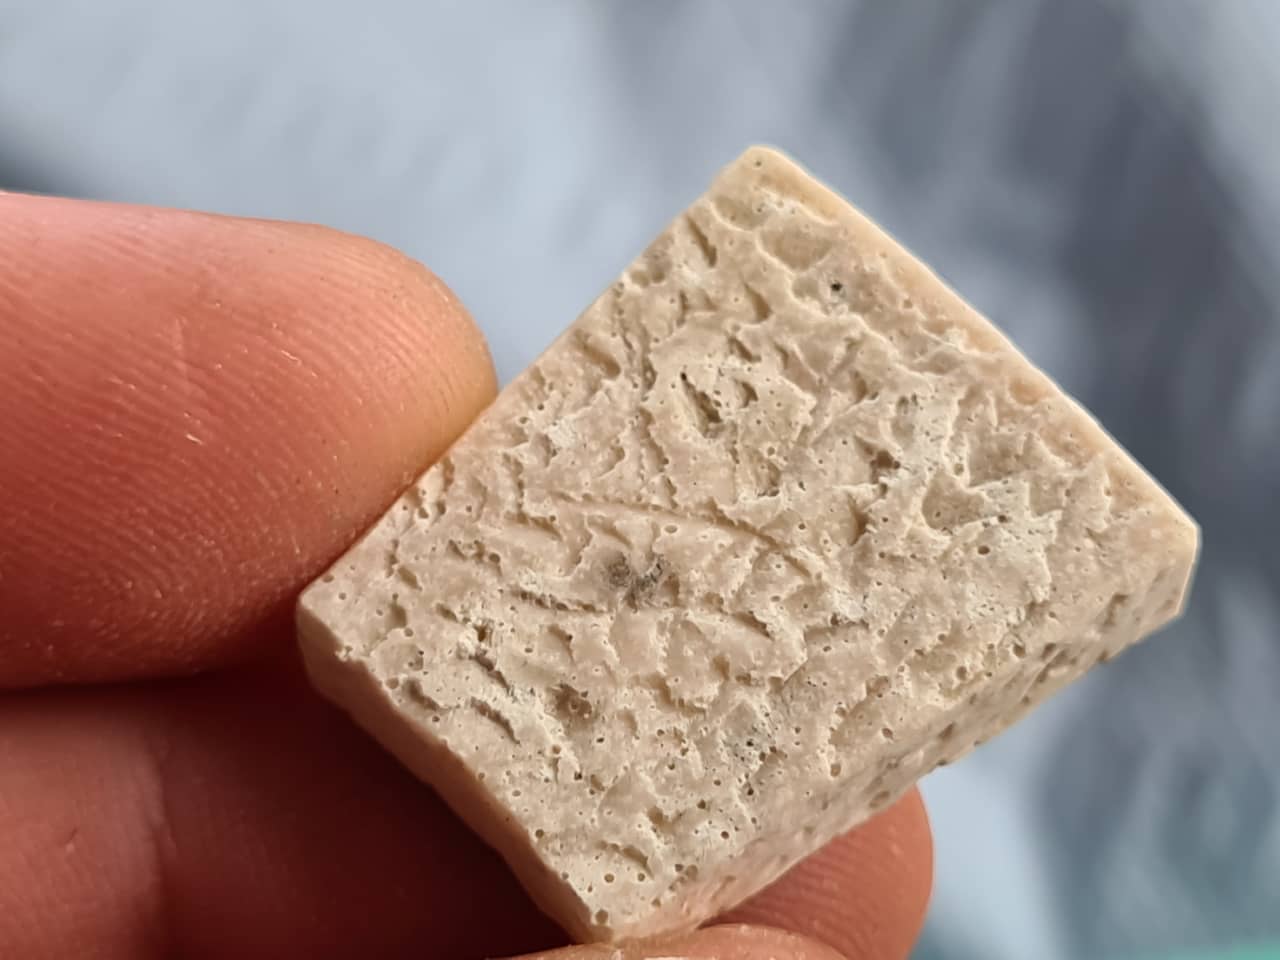
This shot shows all the different casting materials in comparison. It does not really do the differences between them justice, which are mostly haptic:
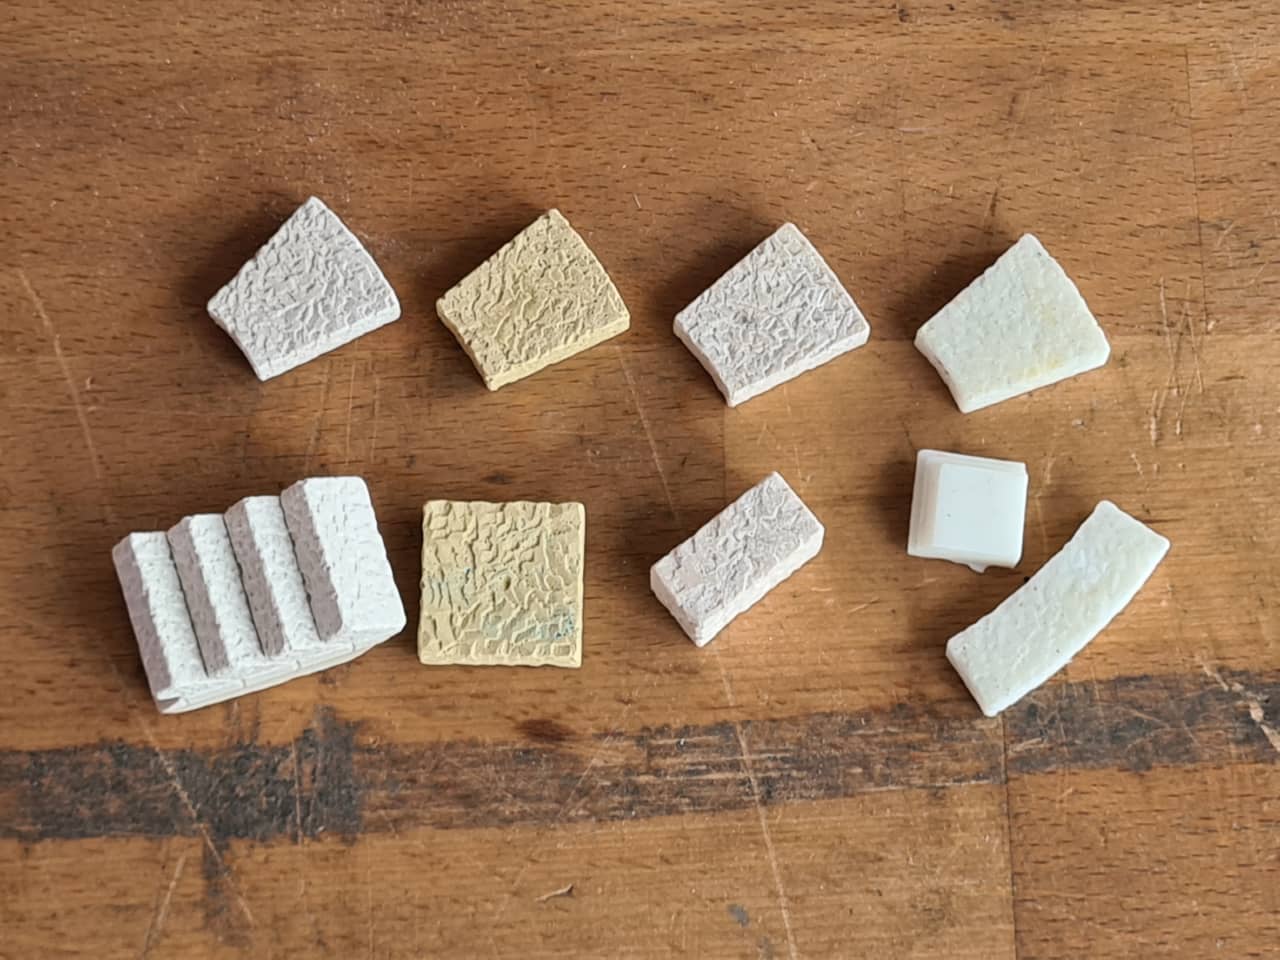
All materials showed some signs of air bubbles in the finished casts, with the Polyurethane resin casts being the best ones in that regard. This isn’t very surprising, as it had the lowest viscosity and bubbles were able to rise towards the surface more easily than with the other materials. Notice that the backside (th top of the mold) on the polyurethane was still relatively bubbly, only the final surfaces (which are at the bottom of the mold) did actually come out relatively bubble free.
When casting professionally, often there are two steps to prevent bubbles. First and foremost, if possible (longer pot life), the casting material components as well as the mixed casting compound can be degassed using a vacuum chamber. This helps get rid of the basic bubbliness of things. Still, casts can sometimes contain air due to it being trapped in the mold while casting or because air is introduced into the mixture during the casting process. To help with bubbles like that, often pressure is applied instead of vacuum to shrink the remaining little bubbles to inconceivable size (when air pressure is raised, the air bubbles compress and get smaller). When the material hardens, the air is captured in that high pressure state and can later not expand anymore when the material has solidified.
Sometimes bubble rising is also facilitated using vibrating structures and/or chemical additives. We used neither of all of the mentioned methods for our simple test casts.
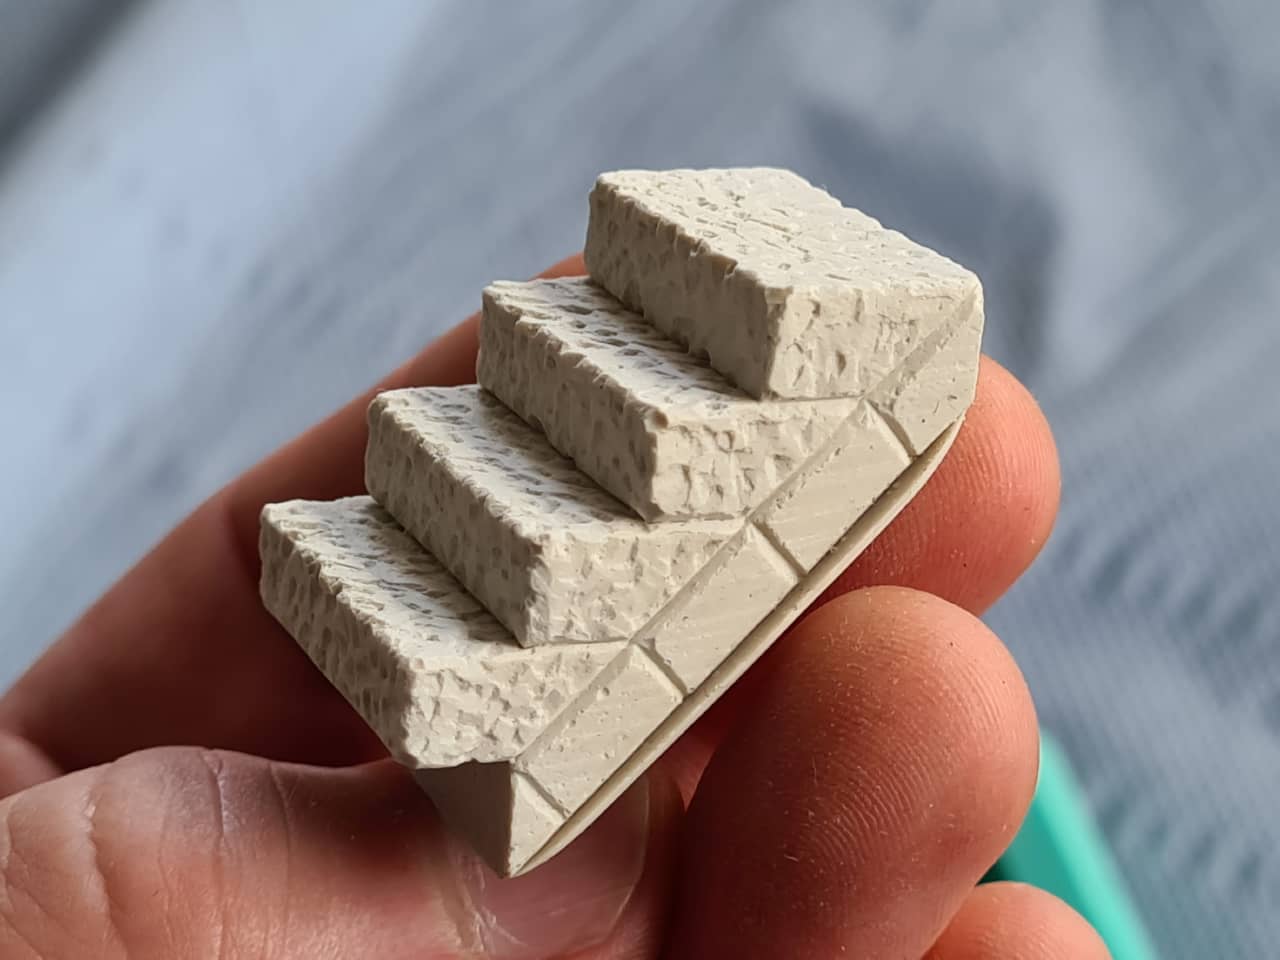
The water-based casts when demolded still had a noticeable water content, feeling cool to the touch and pretty heavy. The acrylic resin mass, although heavy(ish), did not feel cold at all, as the whole material is not water based but undergoes a different curing reaction. The polyurethane resin pieces out of all of them were the lightest and felt the most plasticky - all the other materials had distinct stone haptics. The polyurethane resin casts also show some translucency (looking almost milky/icy), while the mineral-based casts were very opaque.
Group Assignment Progress
- Review the safety data sheets for each of your molding and casting materials
- Make and compare test casts with each of them
Files
- MSDS Datasheets:
- Alabaster casting plaster
- Dental casting plaster
- HP-Textiles Acryl-System A15GB
- NEUKADUR ProtoCast 105