10. Molding and casting
Group Work
A detailed documentation of our group assignment work can be found on the shared group assignment webpage.
Background - Molding and casting
I have been interested in Molding and Casting pretty much ever since I started playing tabletop and miniature based board games. Back then, I got really interested in designing and making scenery, which often comes with the need to mold off and cast things. Molding wise I have used in my past:
- Weird, smelly thermoplastic casting materials for Arts and Crafts purposes (don’t even know what that was, but it was jelly…)
- Two-part silicone for making both open as well as two-sided molds
- Kneadable silicone for making quick molds of small and simple parts
- Hot glue-like molding putty that gets heated in boiling water and then pressed onto and cooled on the object
In casting, I tried many different things, too:
- Plasters of multiple kinds (normal, Alabaster, dental plaster)
- Polyurethane 2K-resins
- Epoxy resins
- Water (no really, when using ice cube molds :) )
- Filling materials for above casting materials (hollow glass beads, fibre glass chunks etc.)
Designing a 3D mould
For this week’s assignment, we needed to design a 3D mould, so a mould where the milling job would actually be three-dimensional (unlike in CNC Machining week, where simple cutting 2D shapes from flat stock was enough). This week was slightly chaotic, as Covid isolation impeded me during the course of the week.
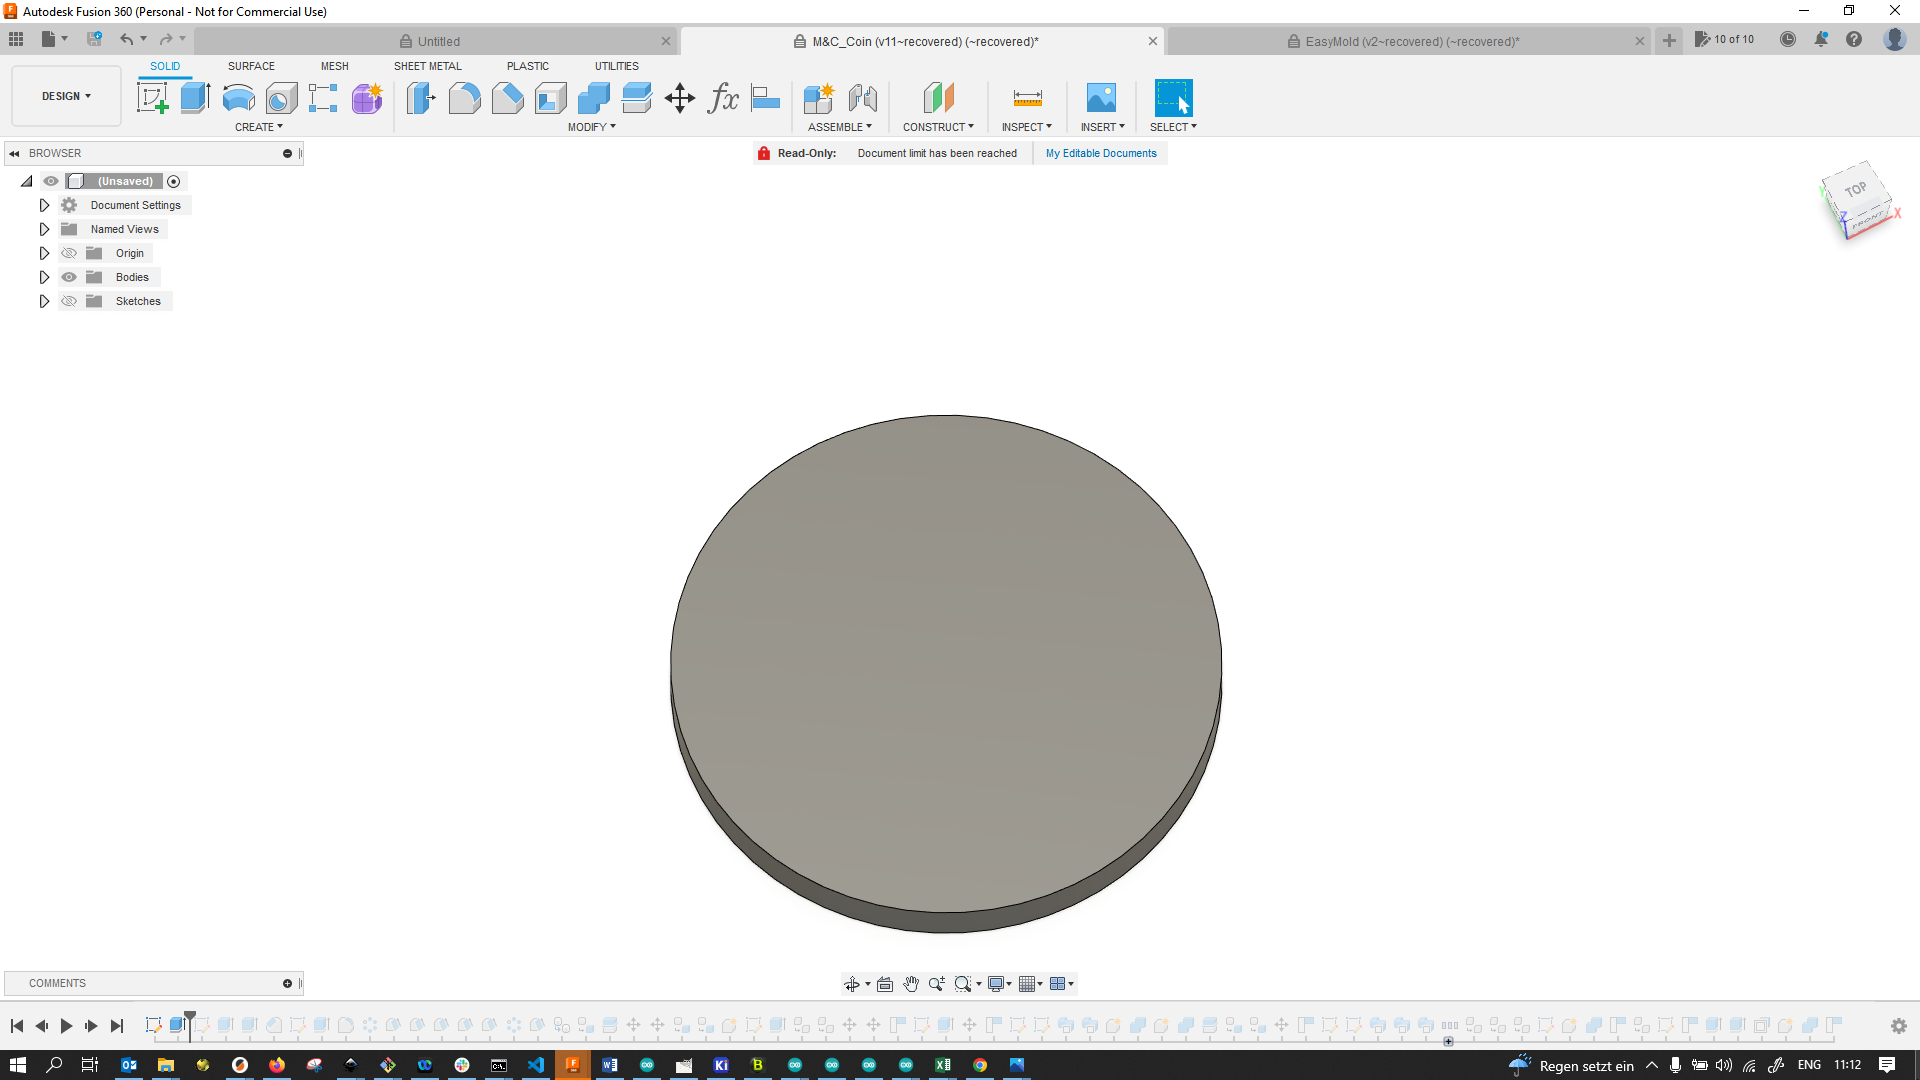
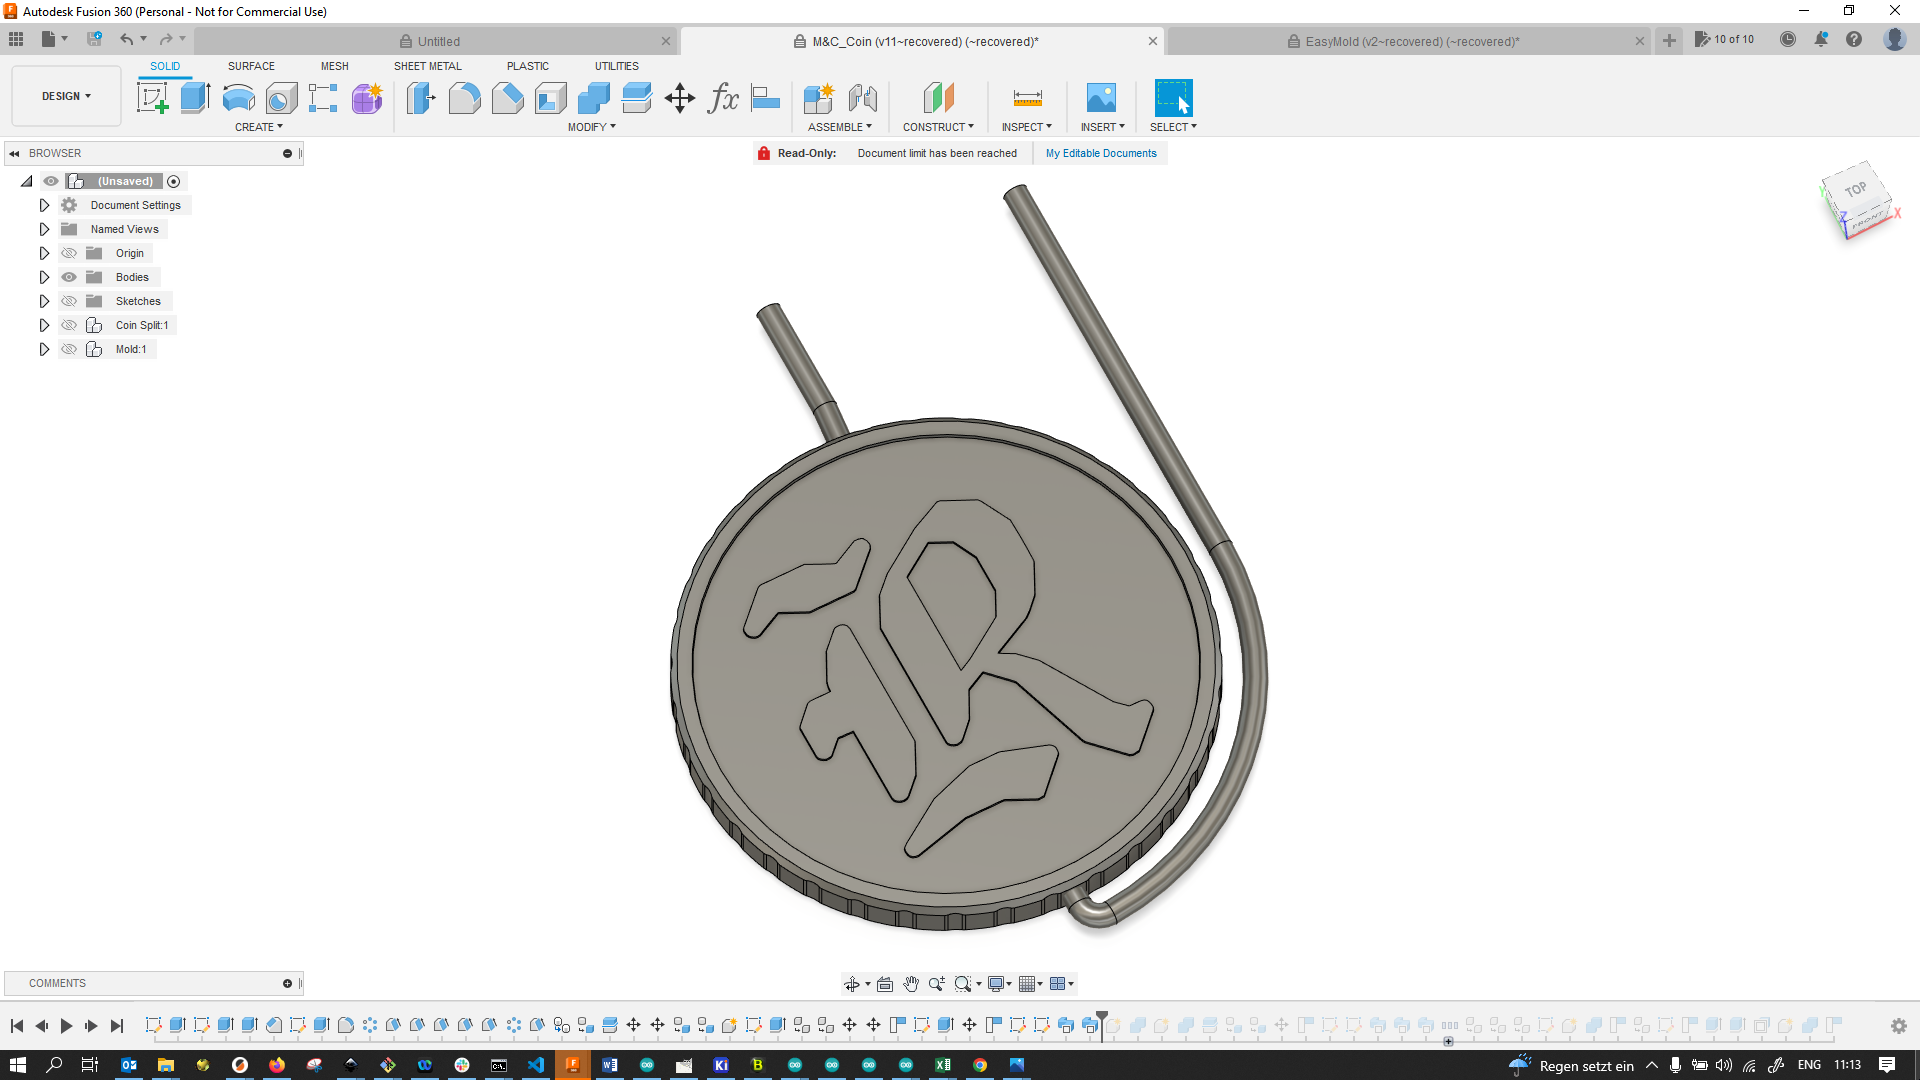
For the first design that I actually wanted to produce, a coin with my initial on it, I started out by creating a cylinder,…
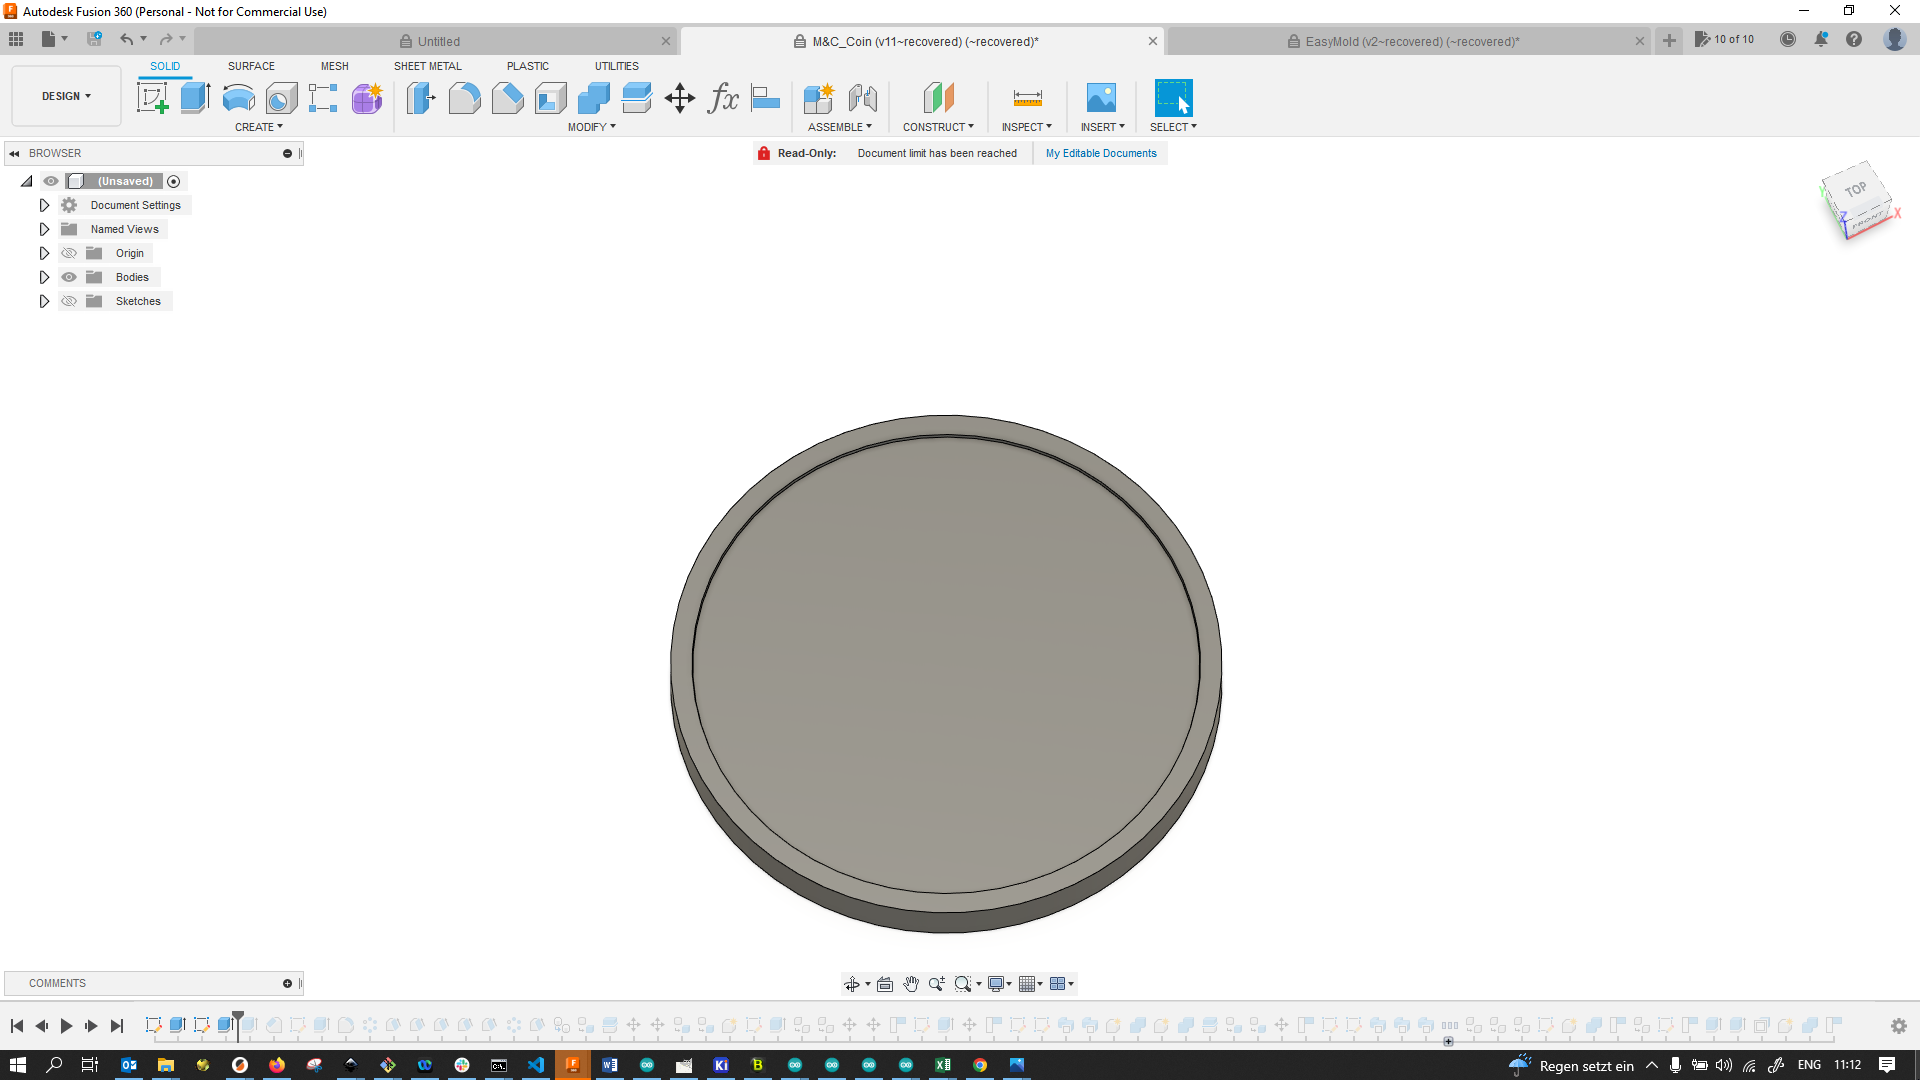
…then adding a raised rim,…
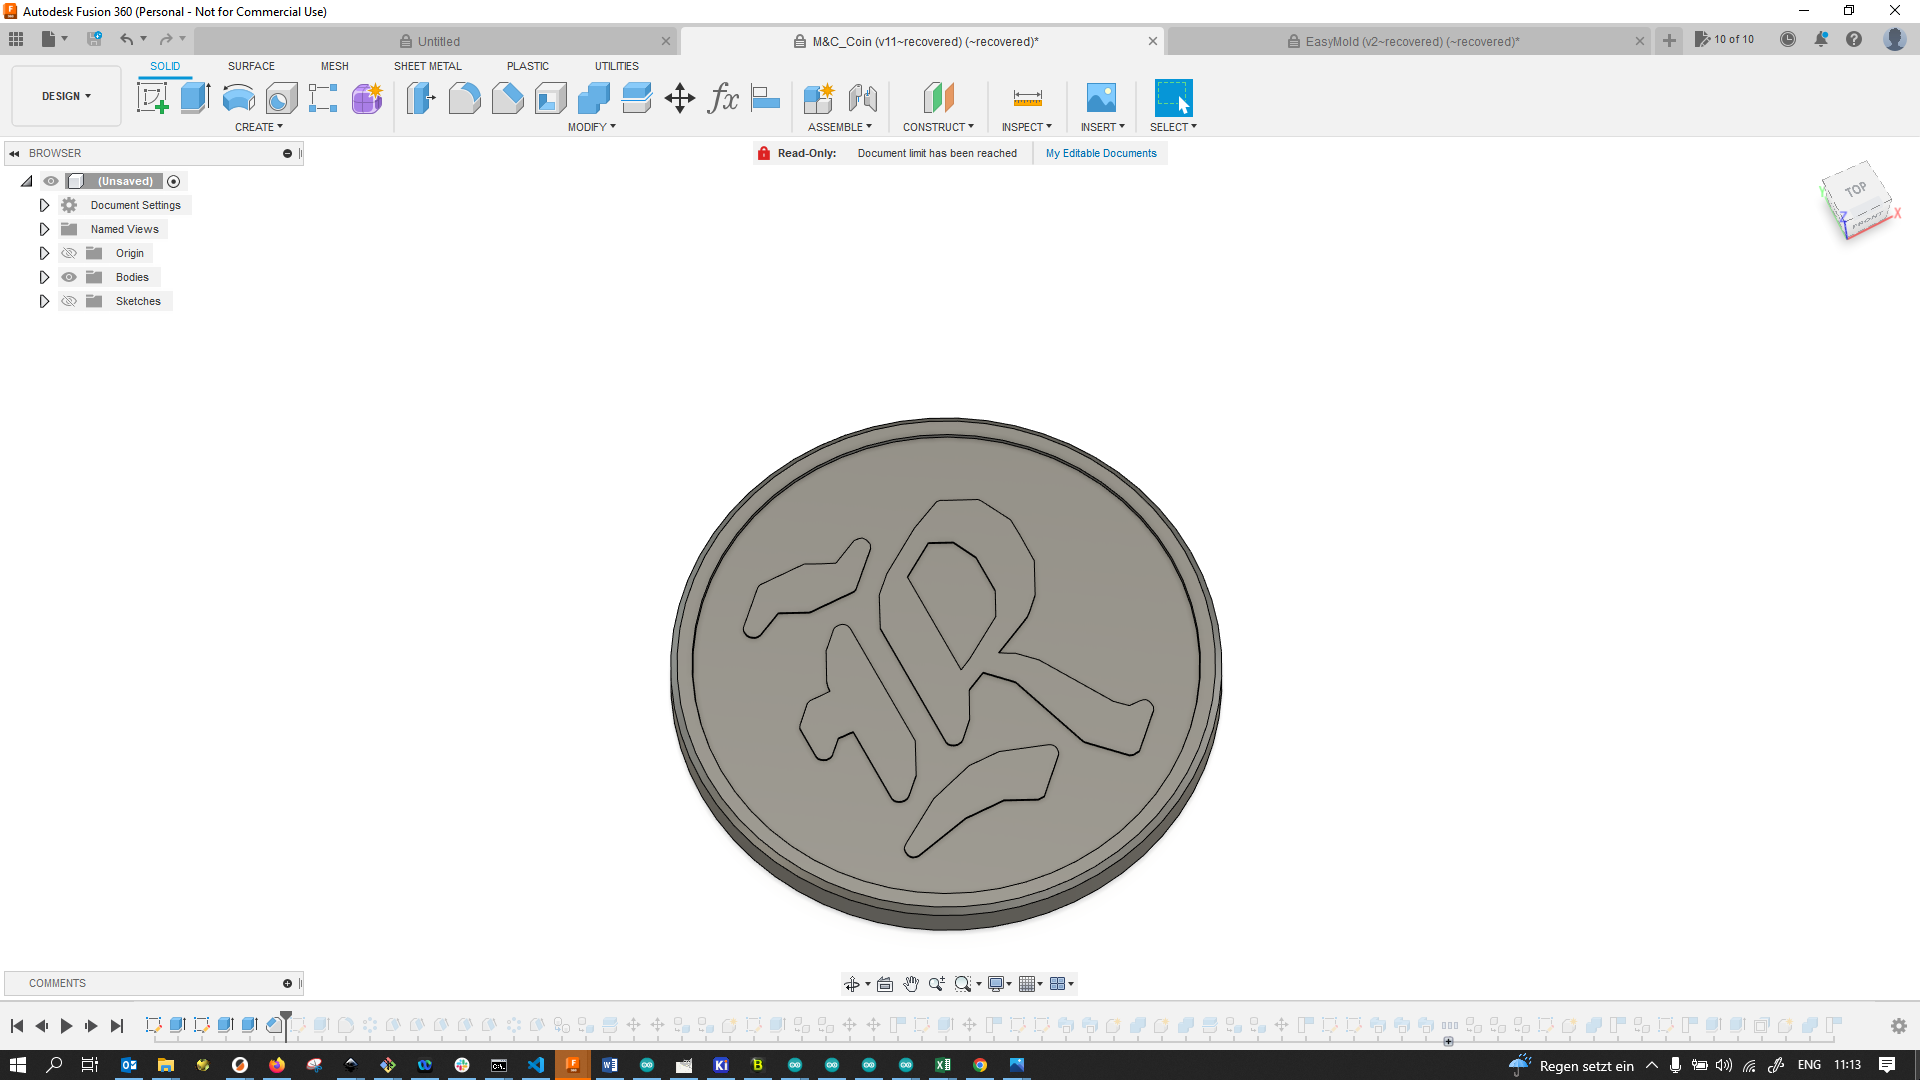
…extruding my initial R from the surface,…

…adding a slight chamfer…
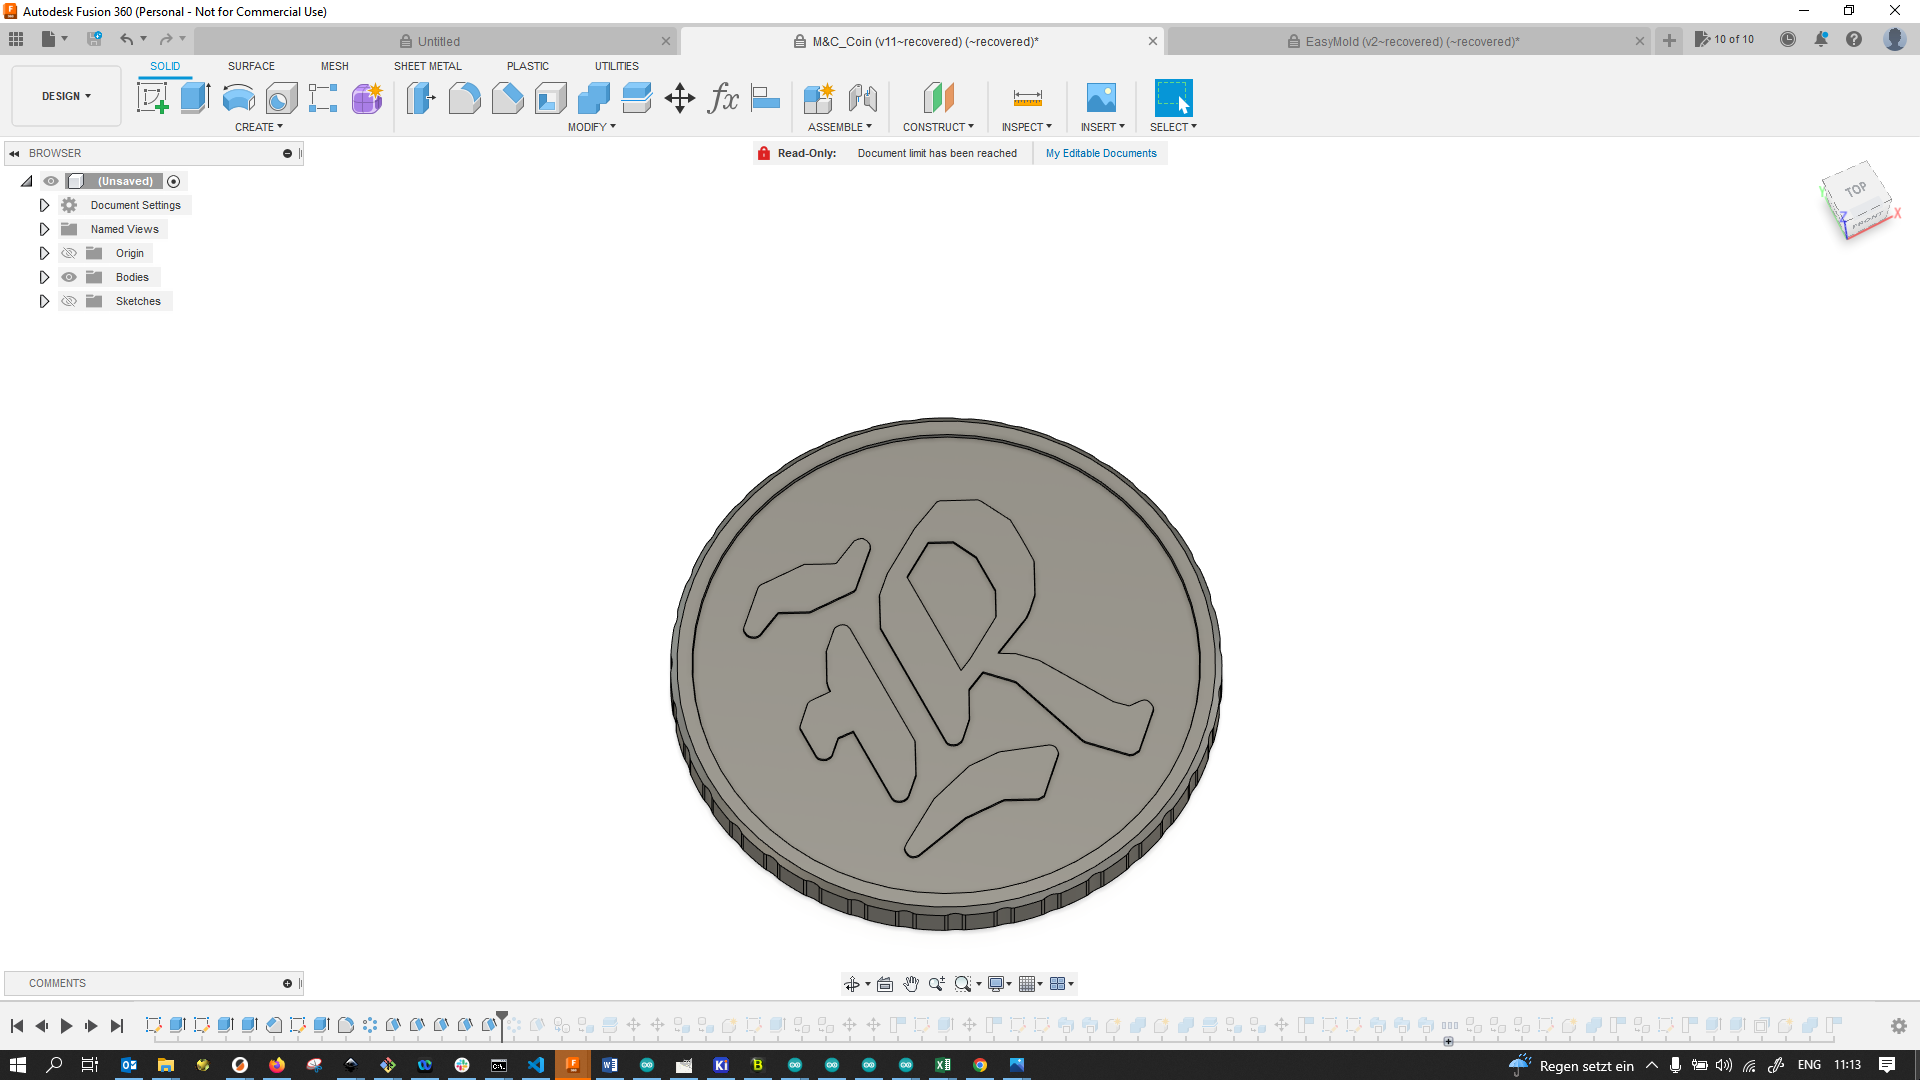
…and some detents along the coin’s rim.
Since I wanted to be able to make two halves of the coin later (to stick them together in the middle), I added runners for a two part mold:
I then set the halves of the positive into my virtual wax stock:
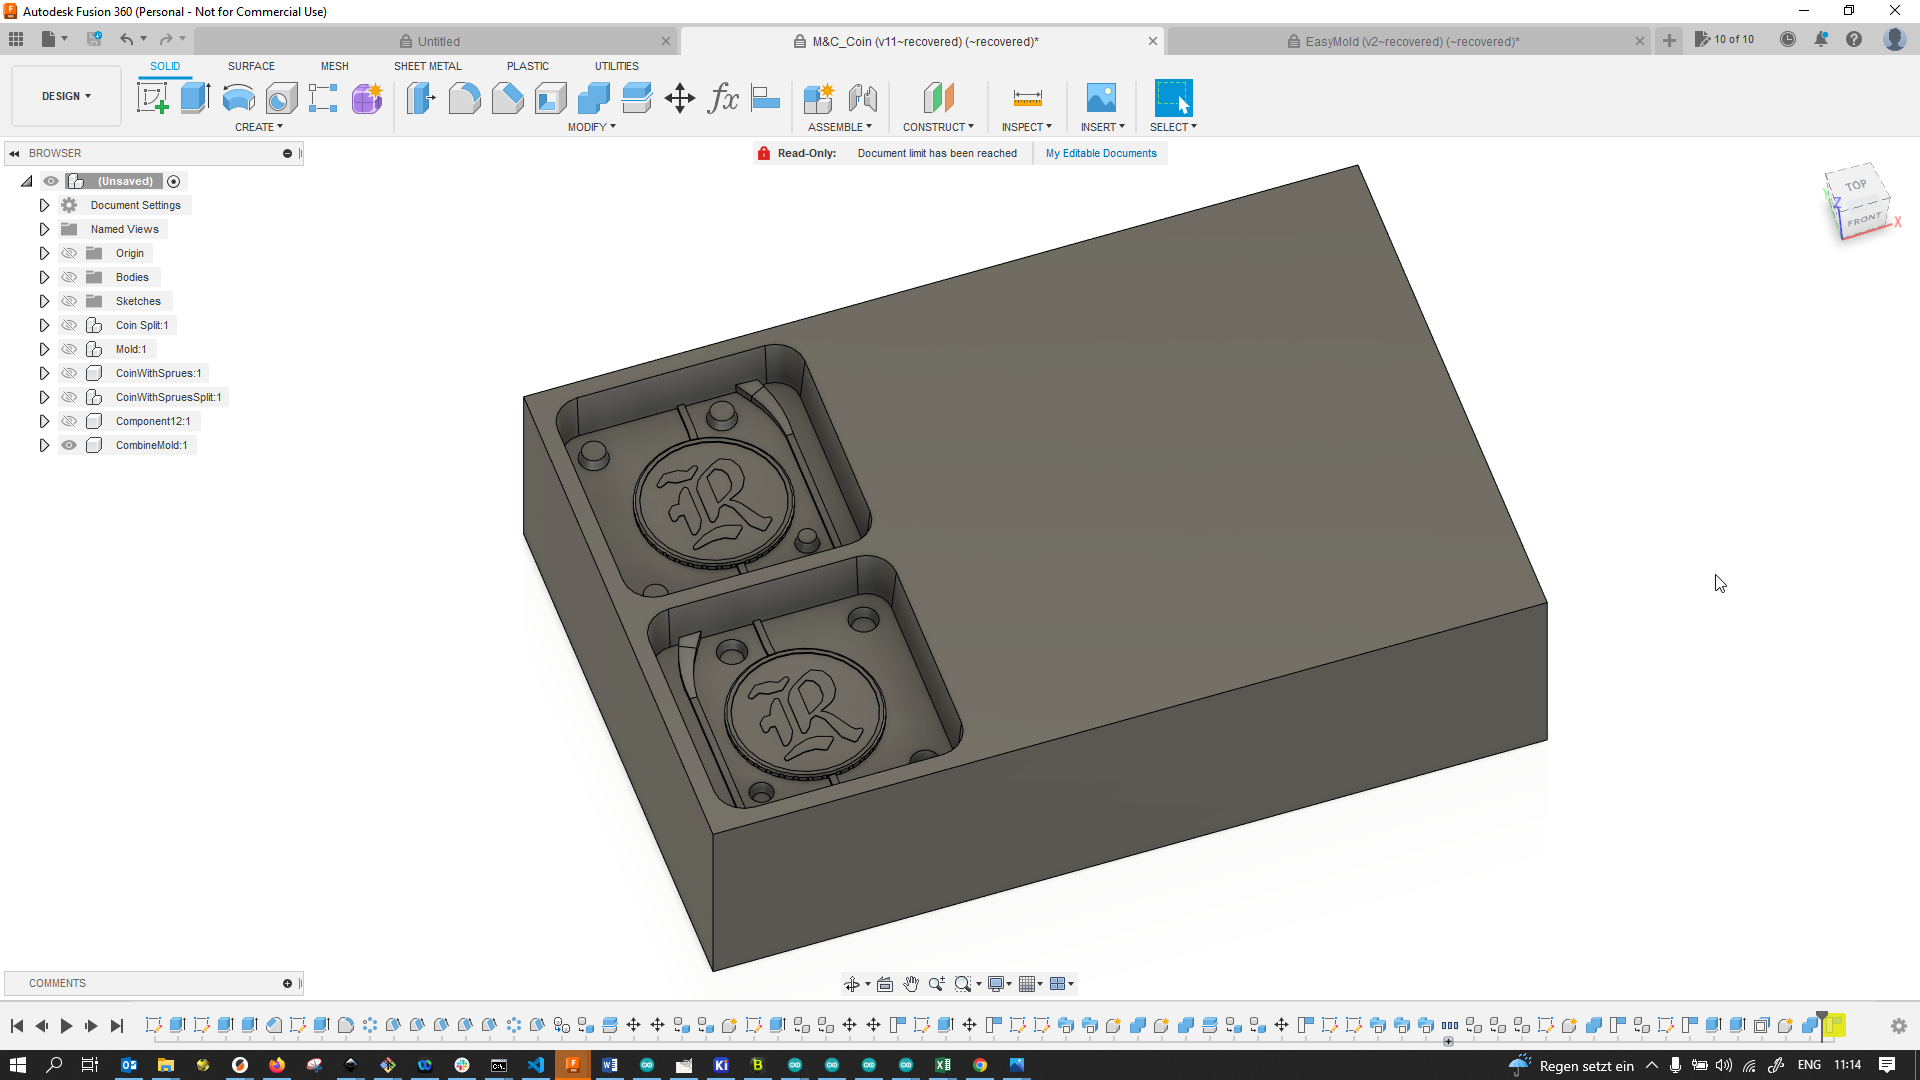
Upon starting the CAM process, I quickly realized that with the tools I had at my disposal, I would have a really hard time making a detailed model such as that:
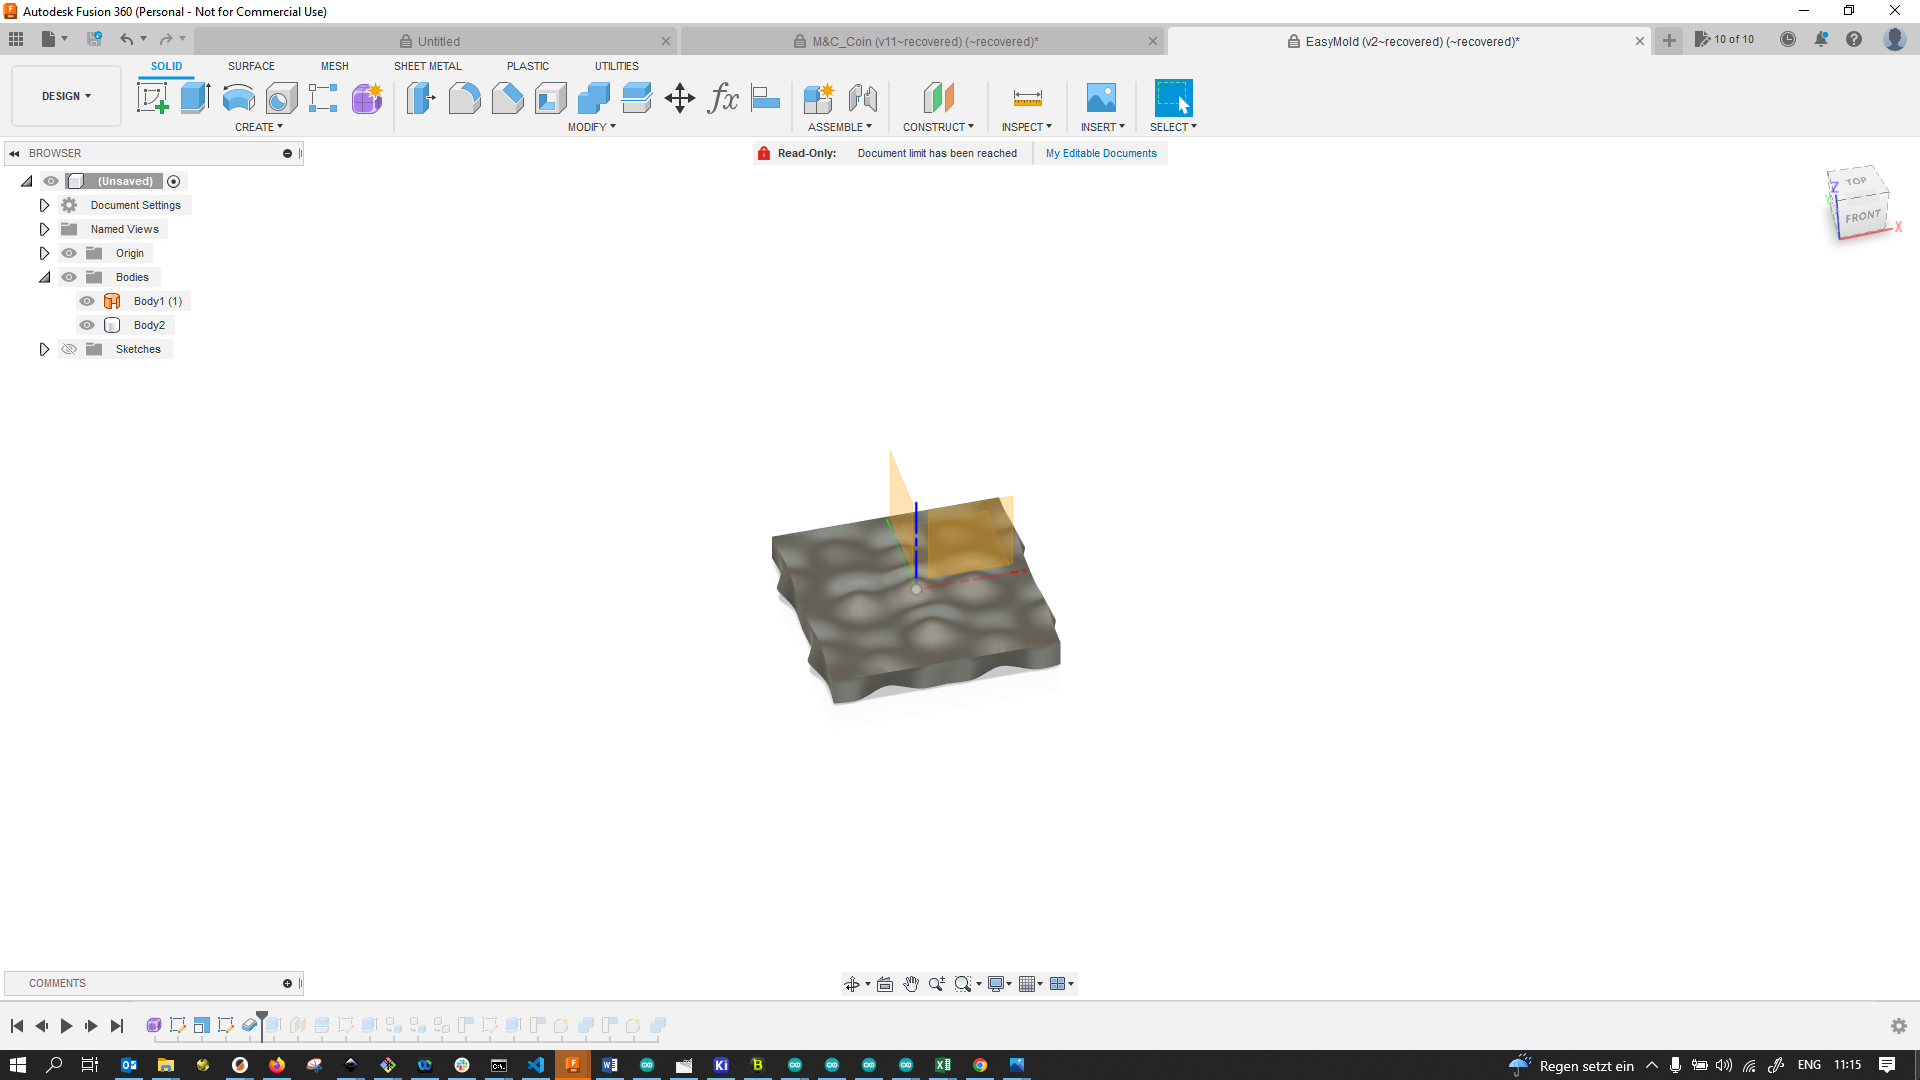
Since this was also one of the weeks where I was impeded by a Covid infection of myself and my family (and thus I could also not access the lab for milling and casting over all the week), I decided to make a much more simple mold to fulfill this assignment at this point. I started out by creating a wave function like form:
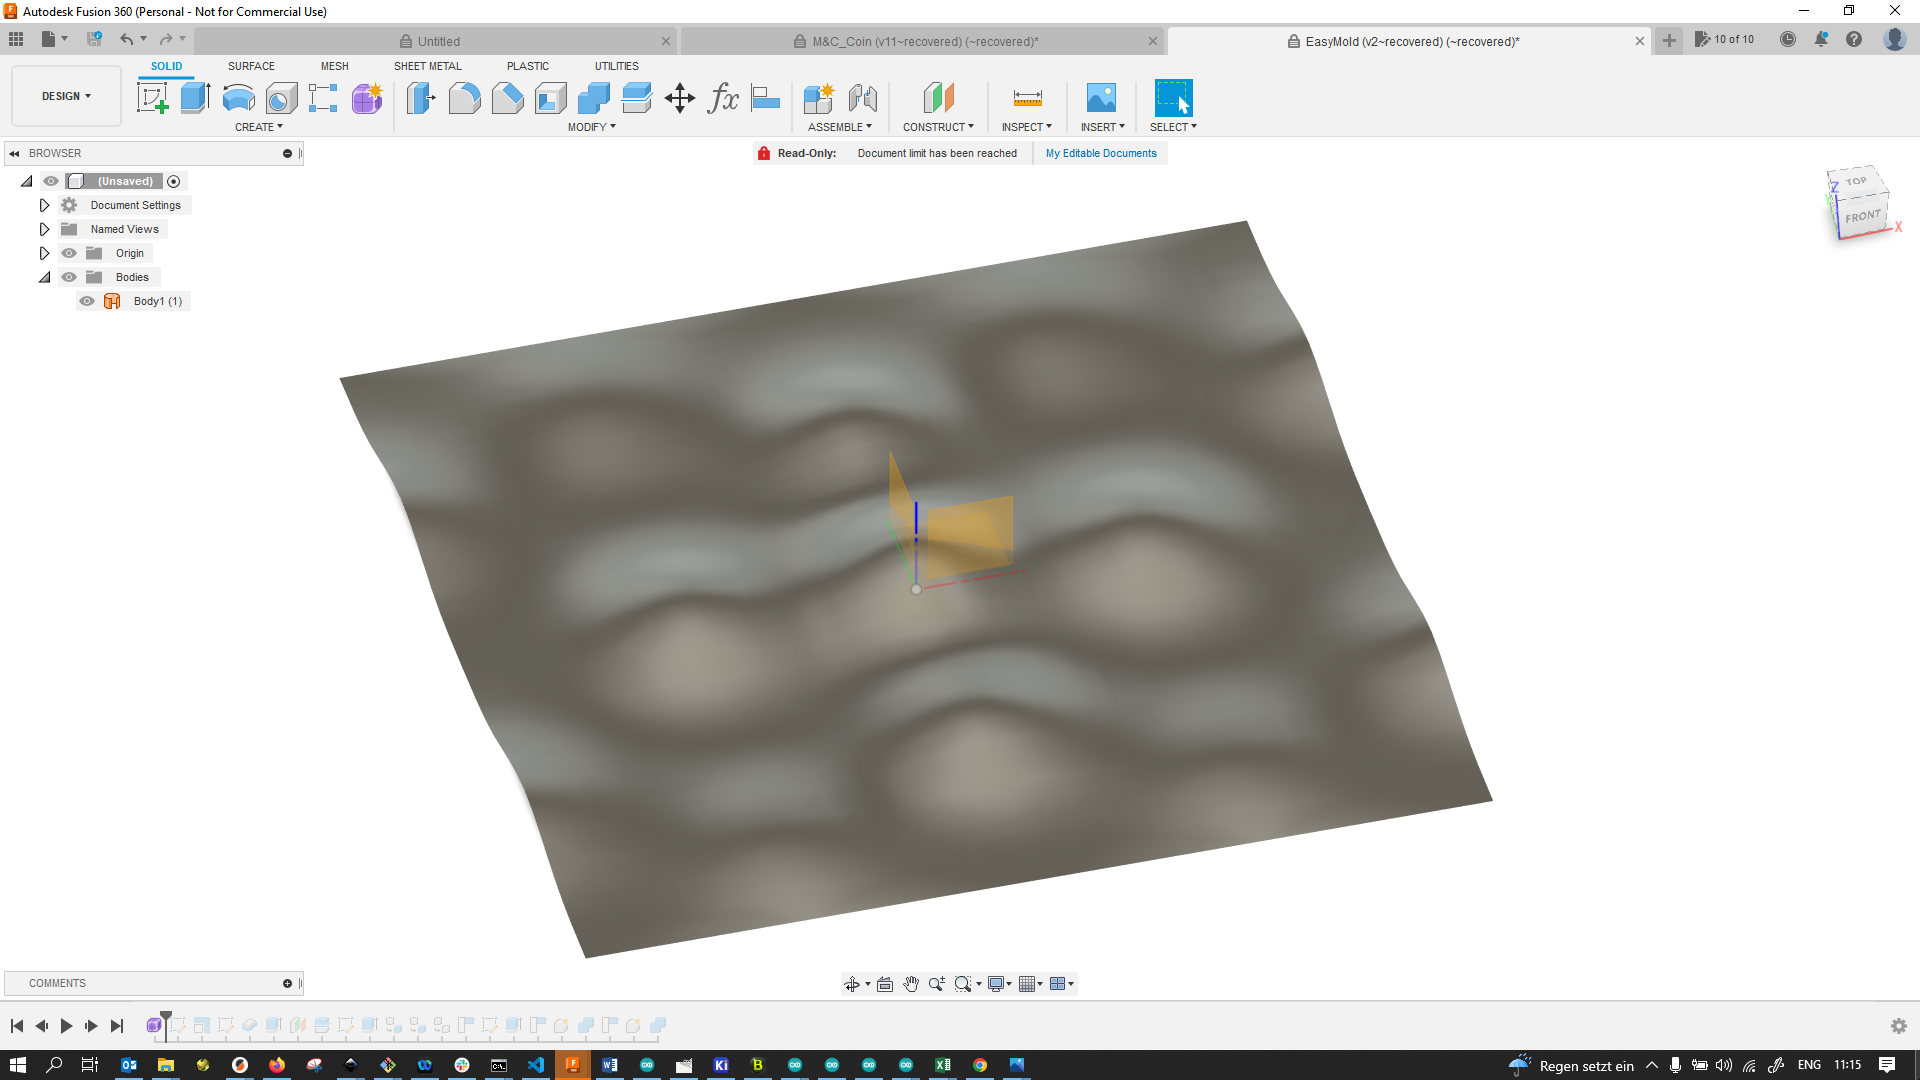
Then I scaled it down…

…and used the Thicken command to actually give the surface some volume:
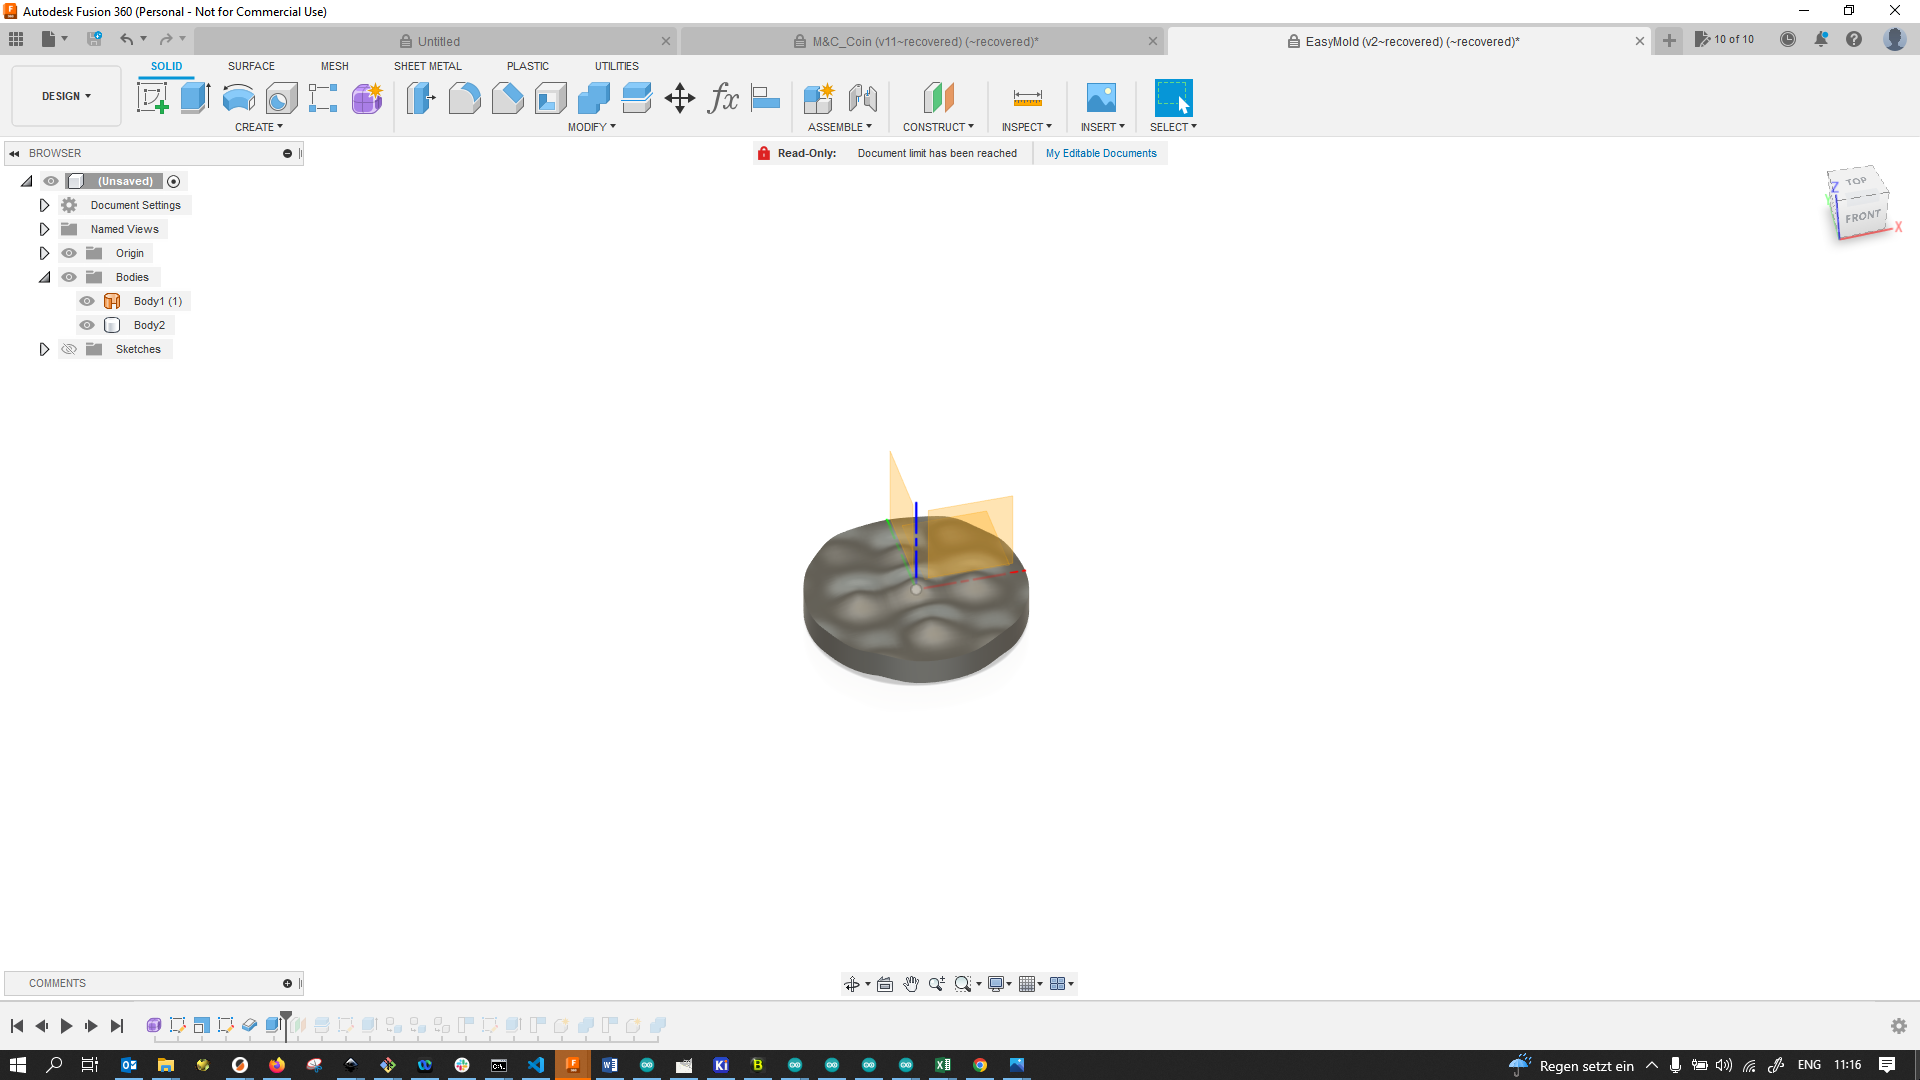
Since this messes up the edges slightly (and I still wanted to stick something in coin format), I punched out the function body to be a round shape:
I then added my virtual wax stock again…
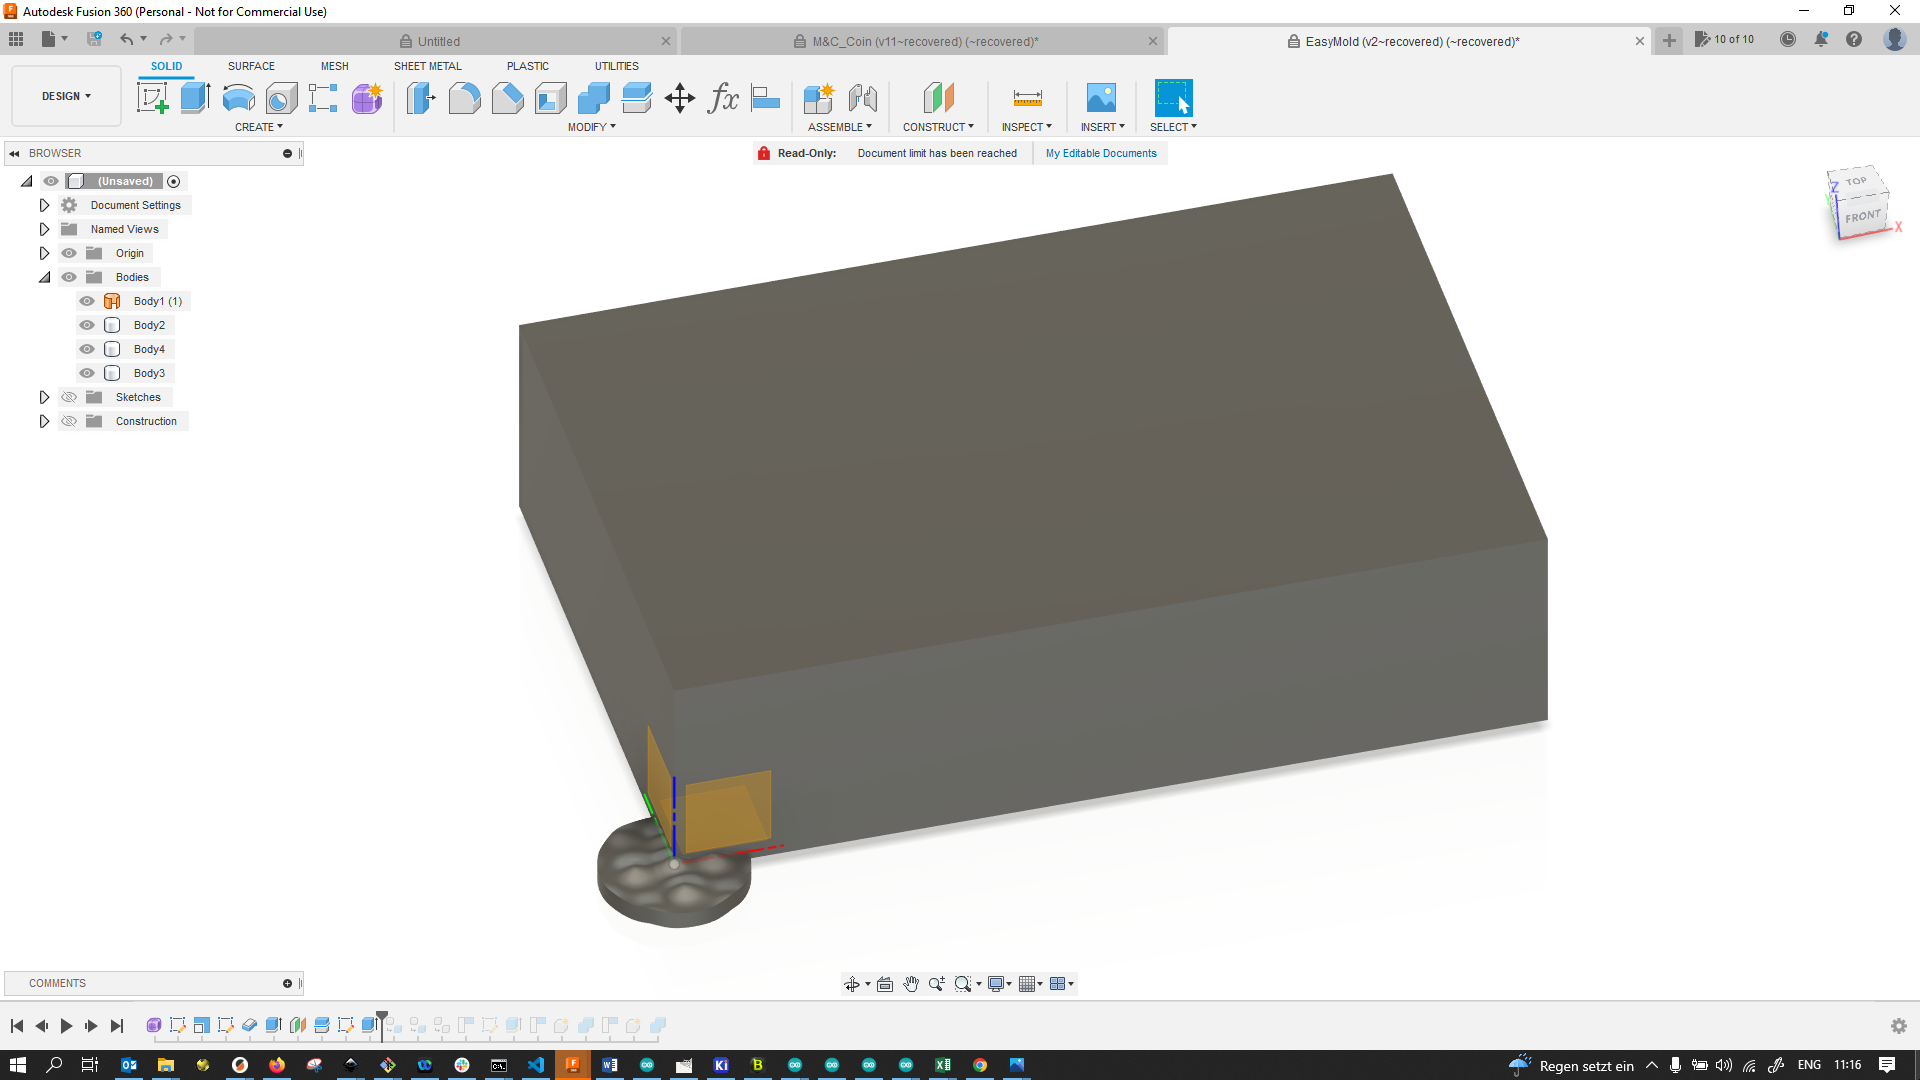
…and placed my object roughly where I wanted it:

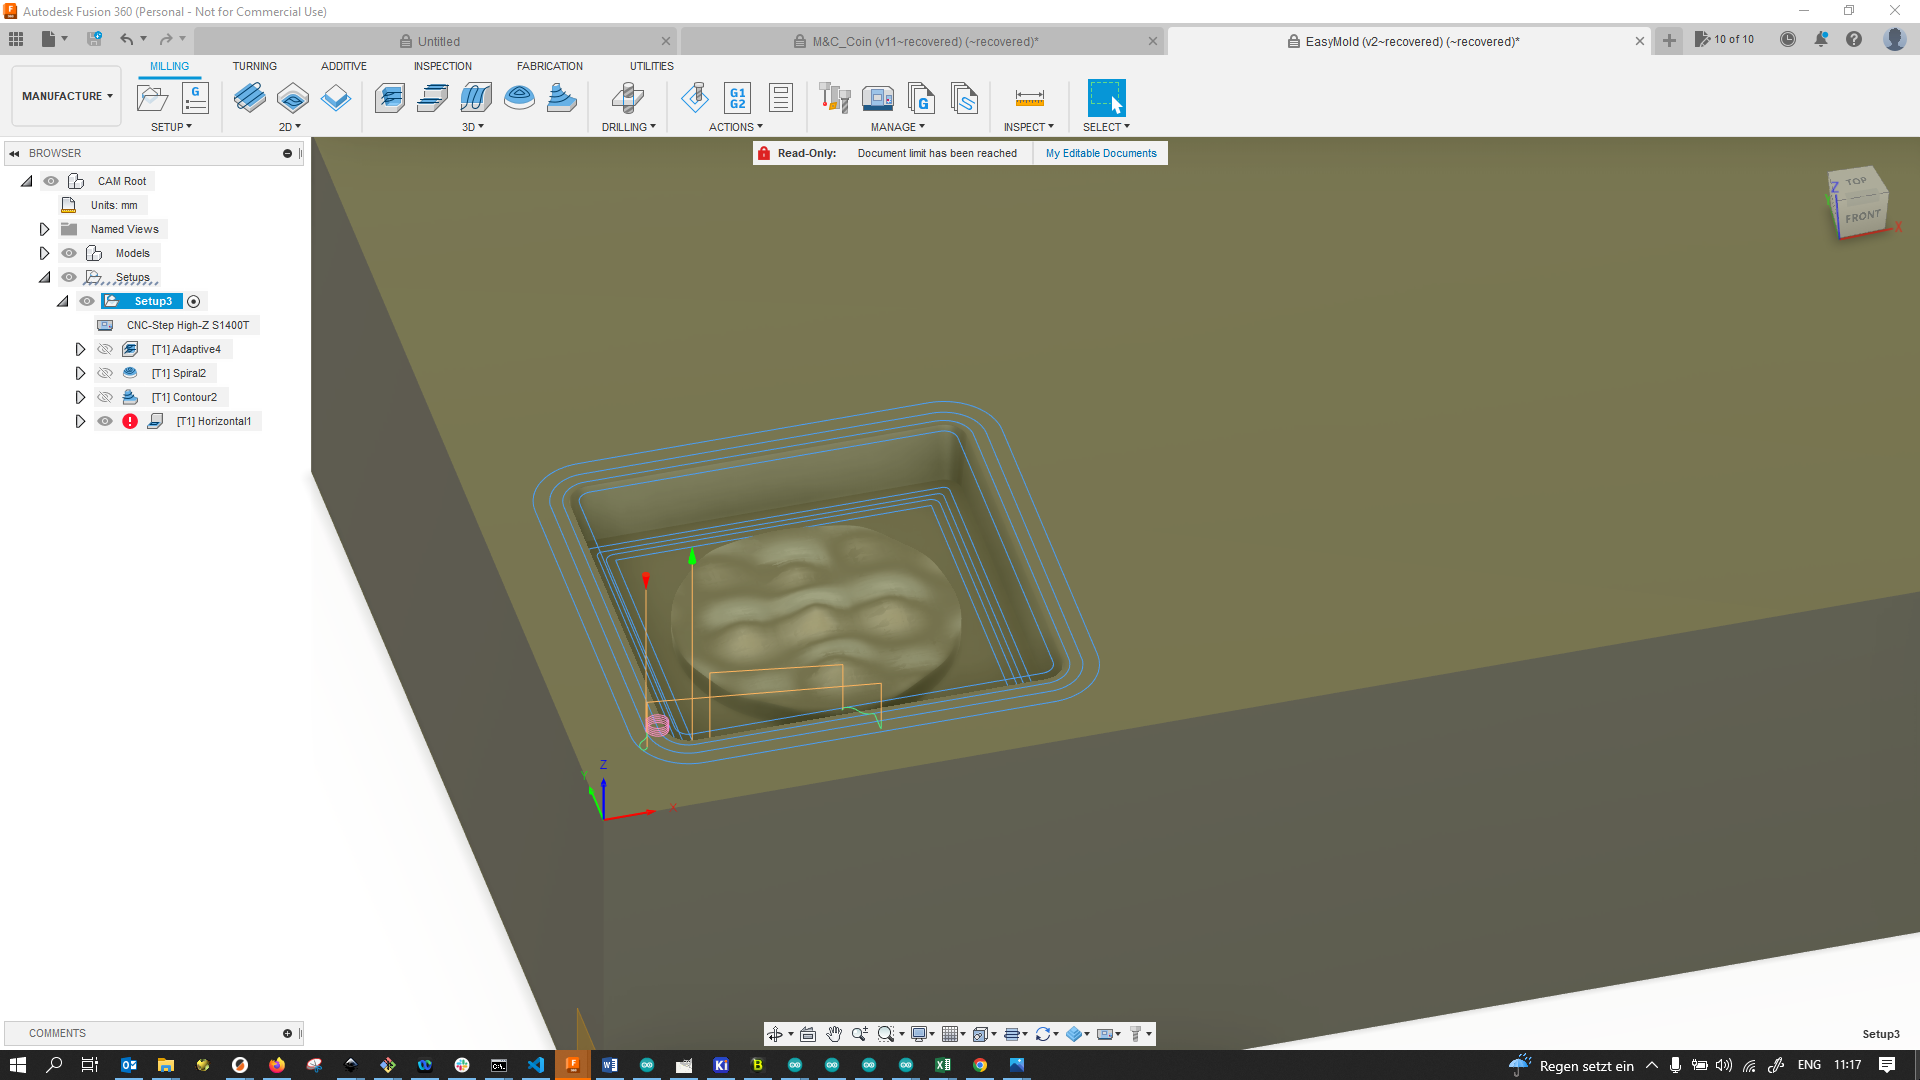
I extruded a mold cavity into the wax stock that would be big enough to leave clearance for a mill bit on the outside…
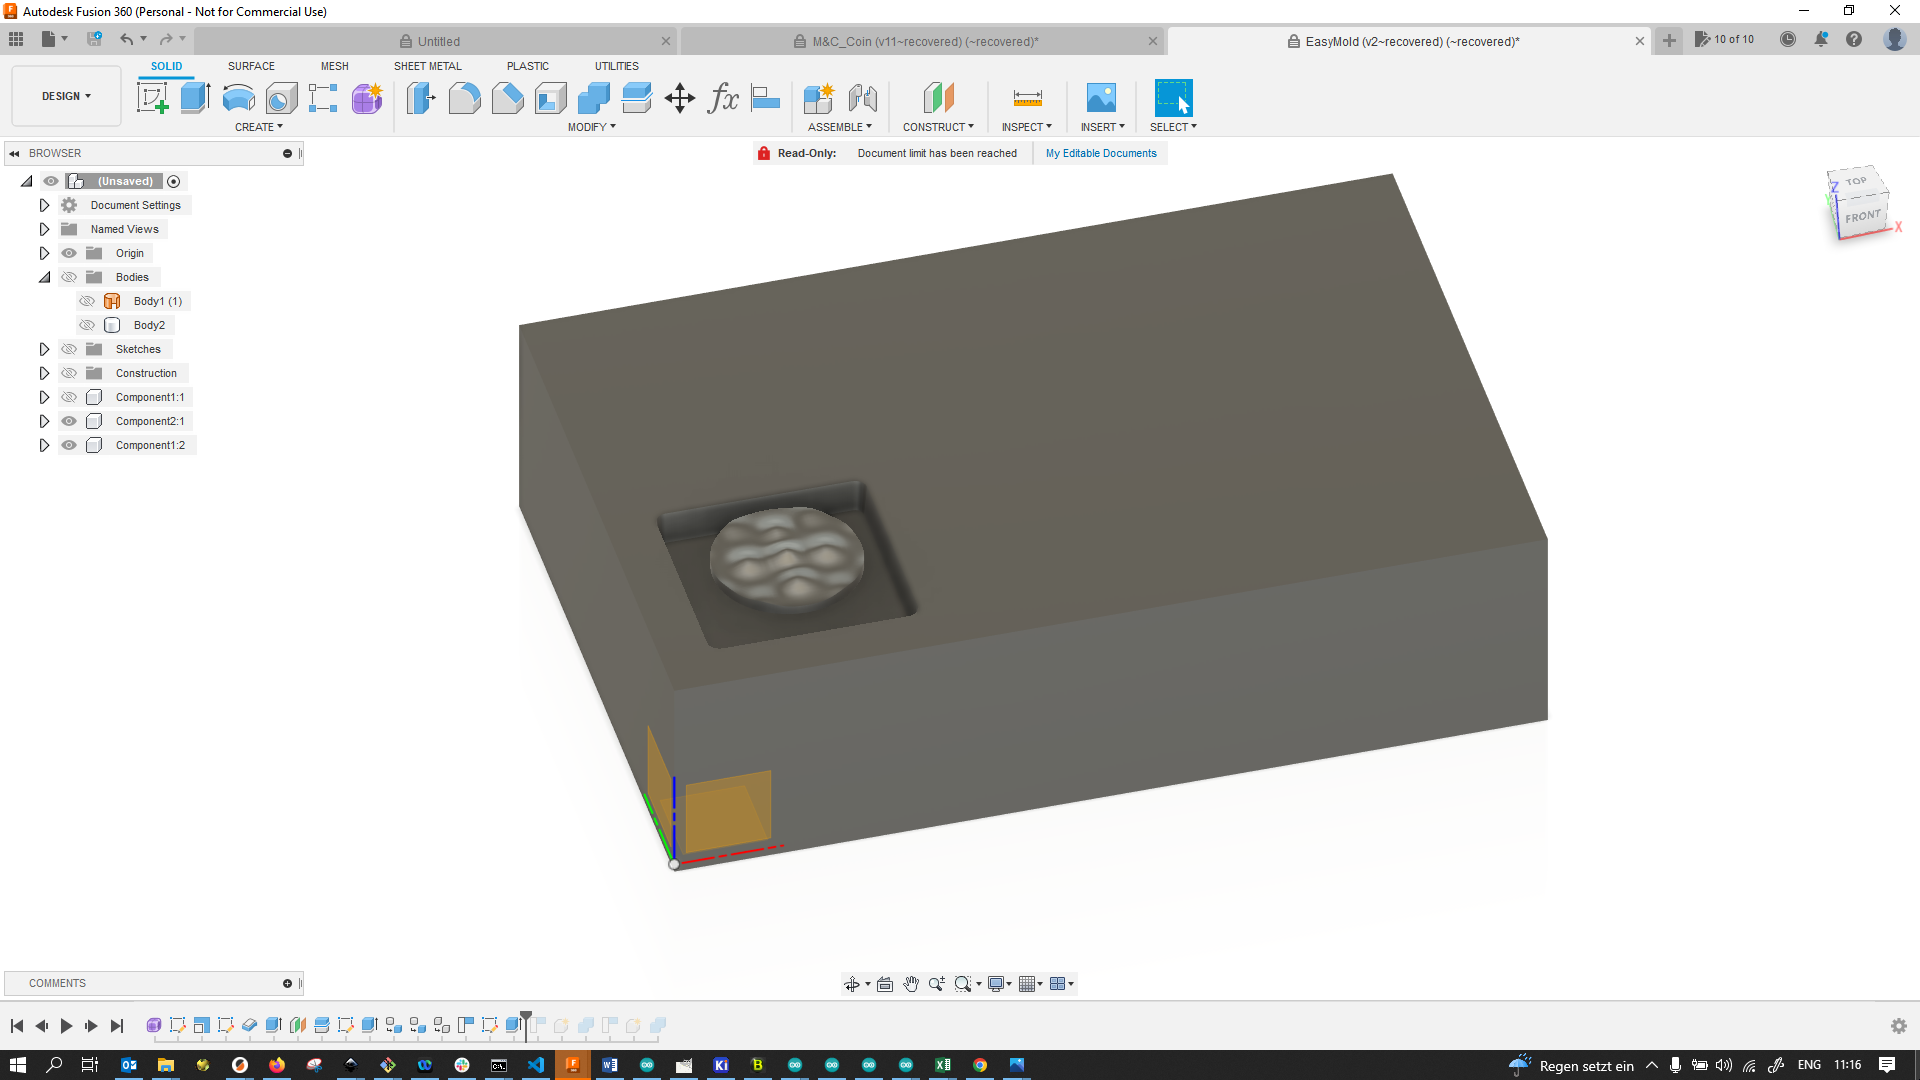
…and set the coin shaped object down into the cavity:

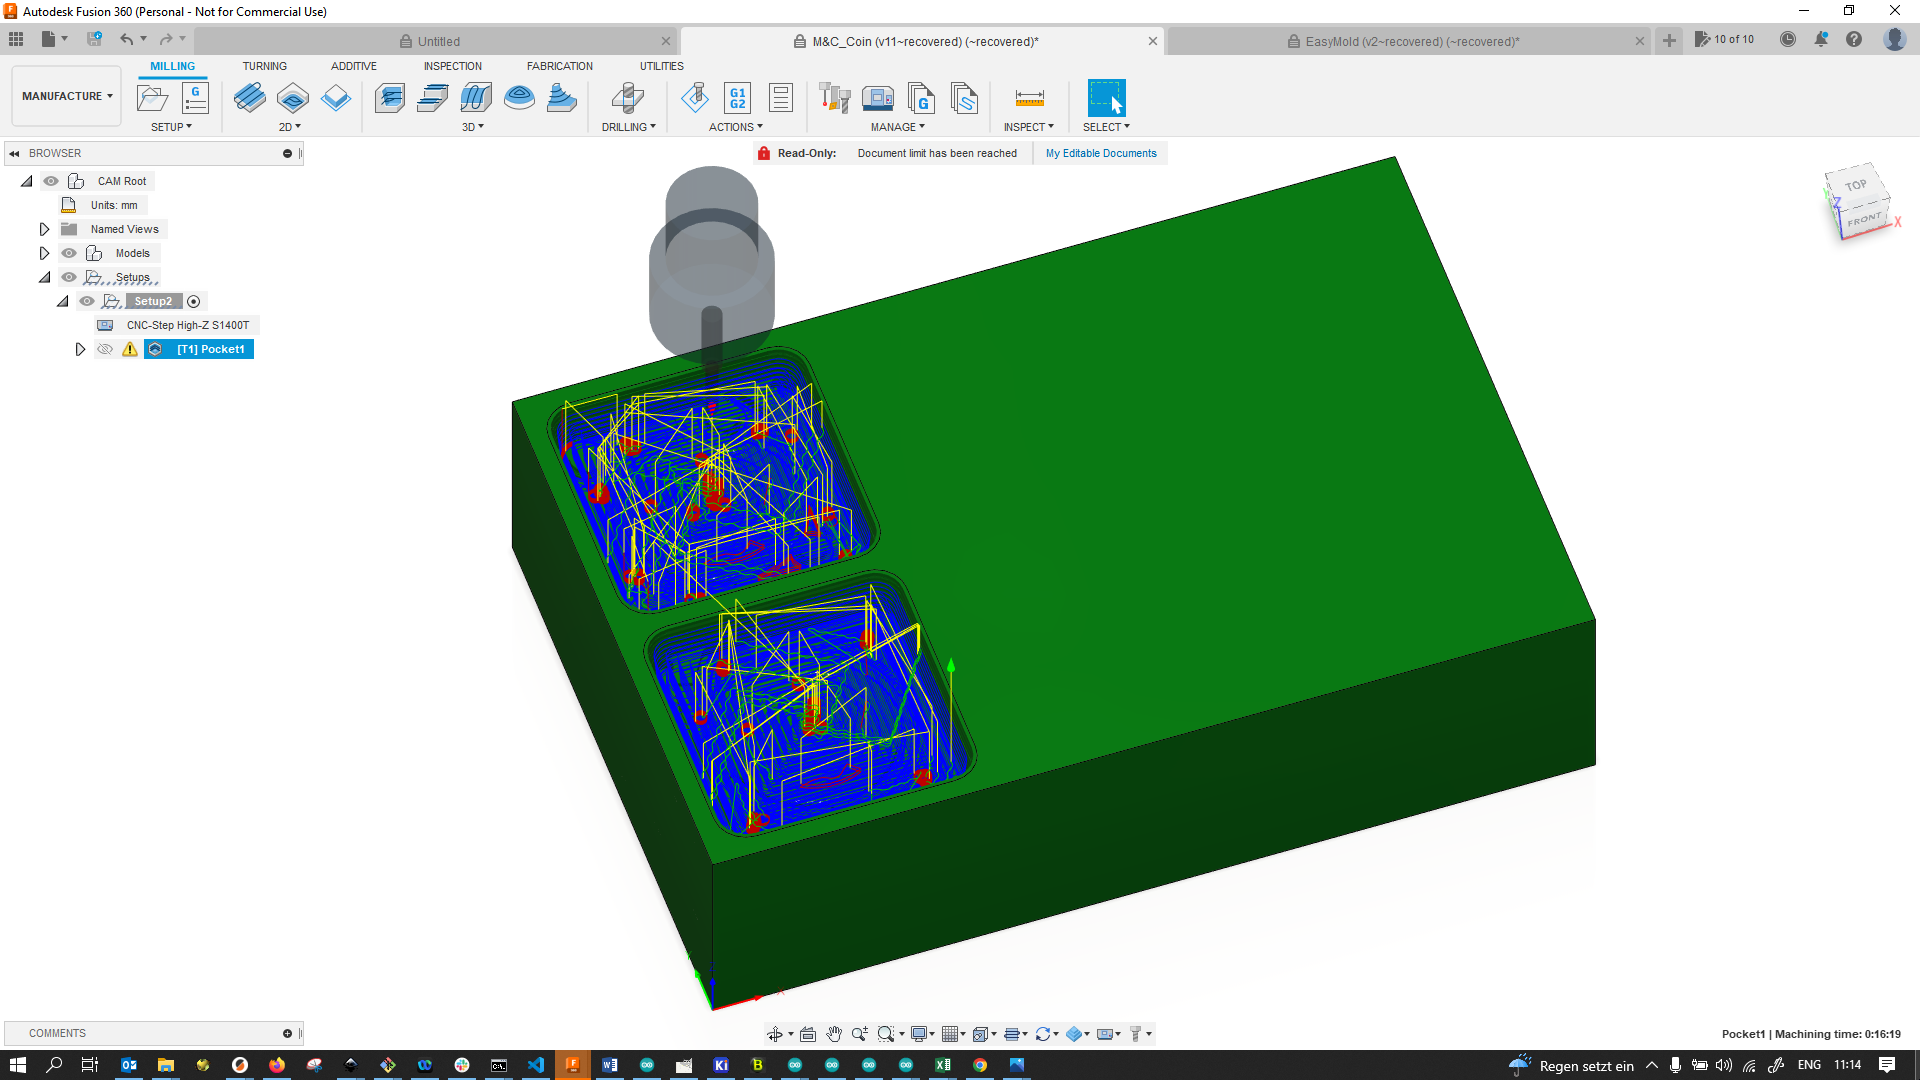
In the Manufacture workspace I then set up my machine with the stock at hand and used Adaptive Clearing,…
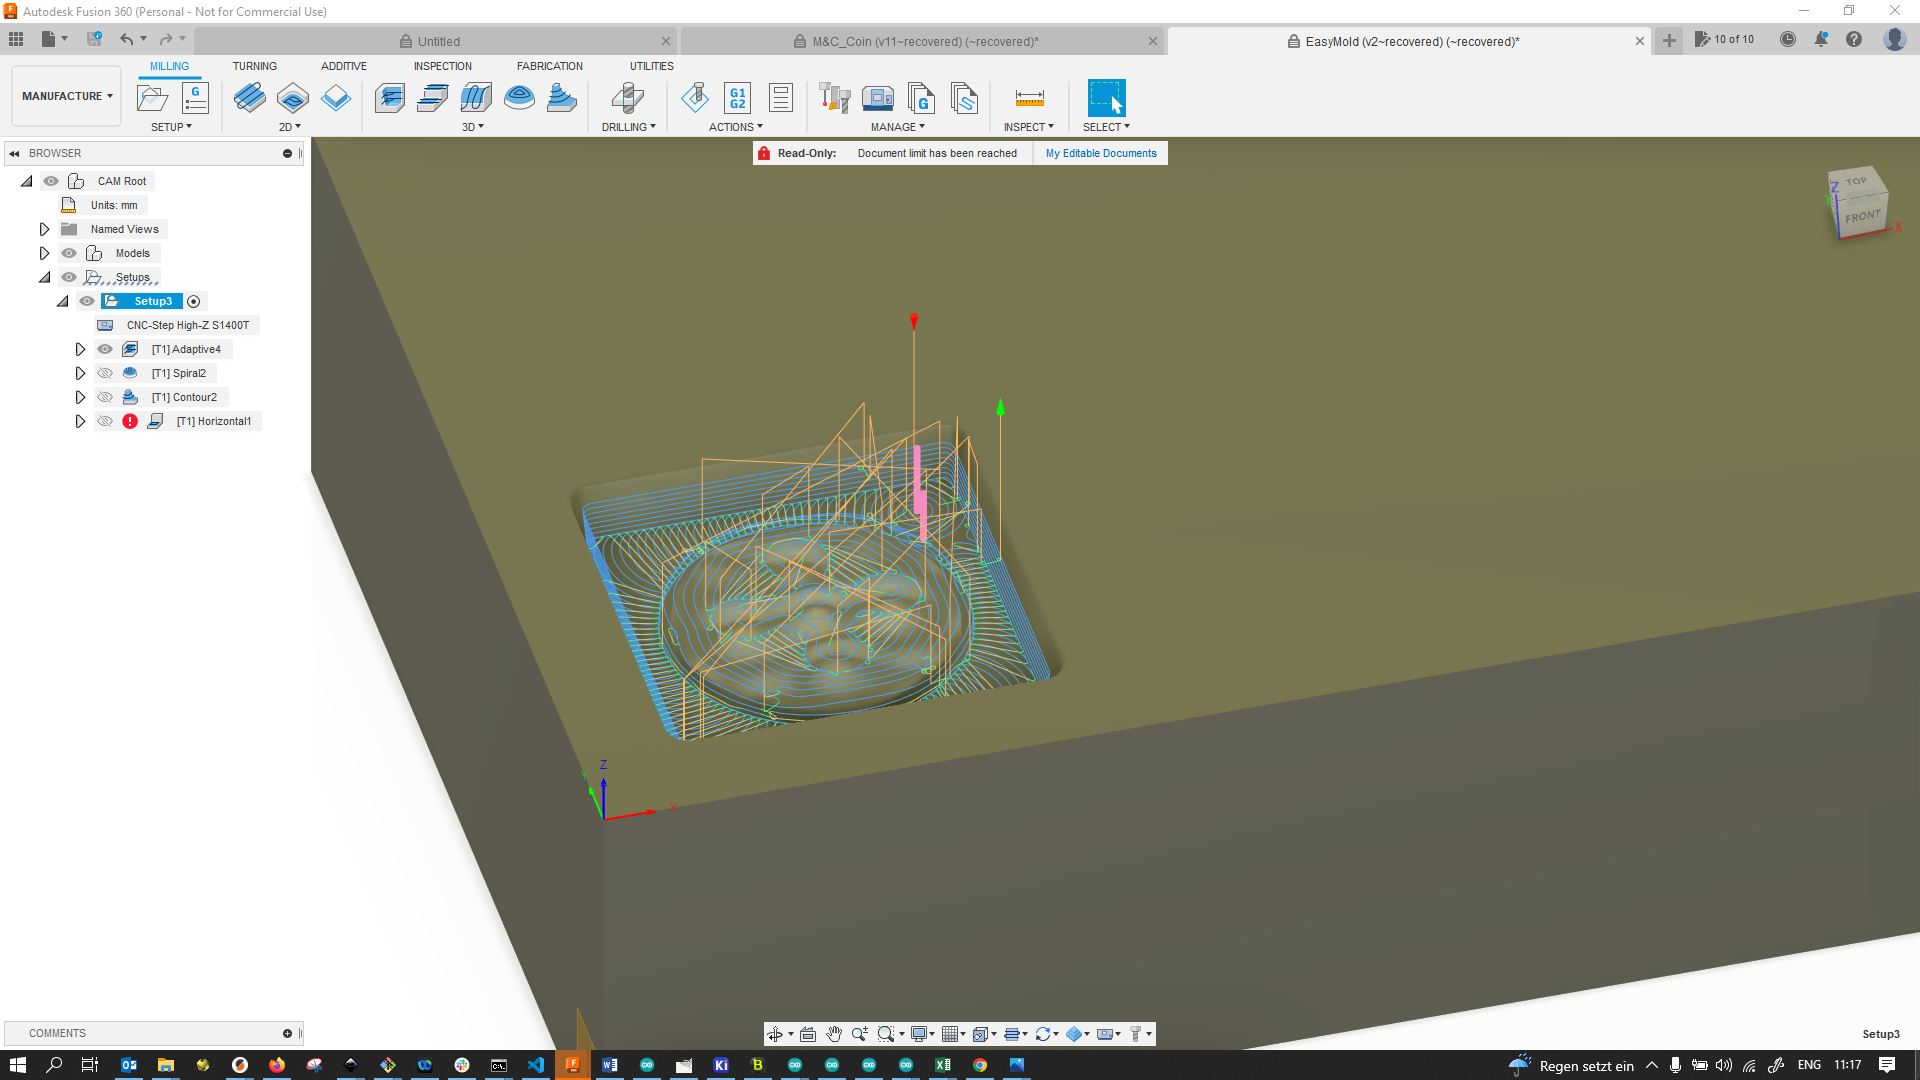
…Spiral…
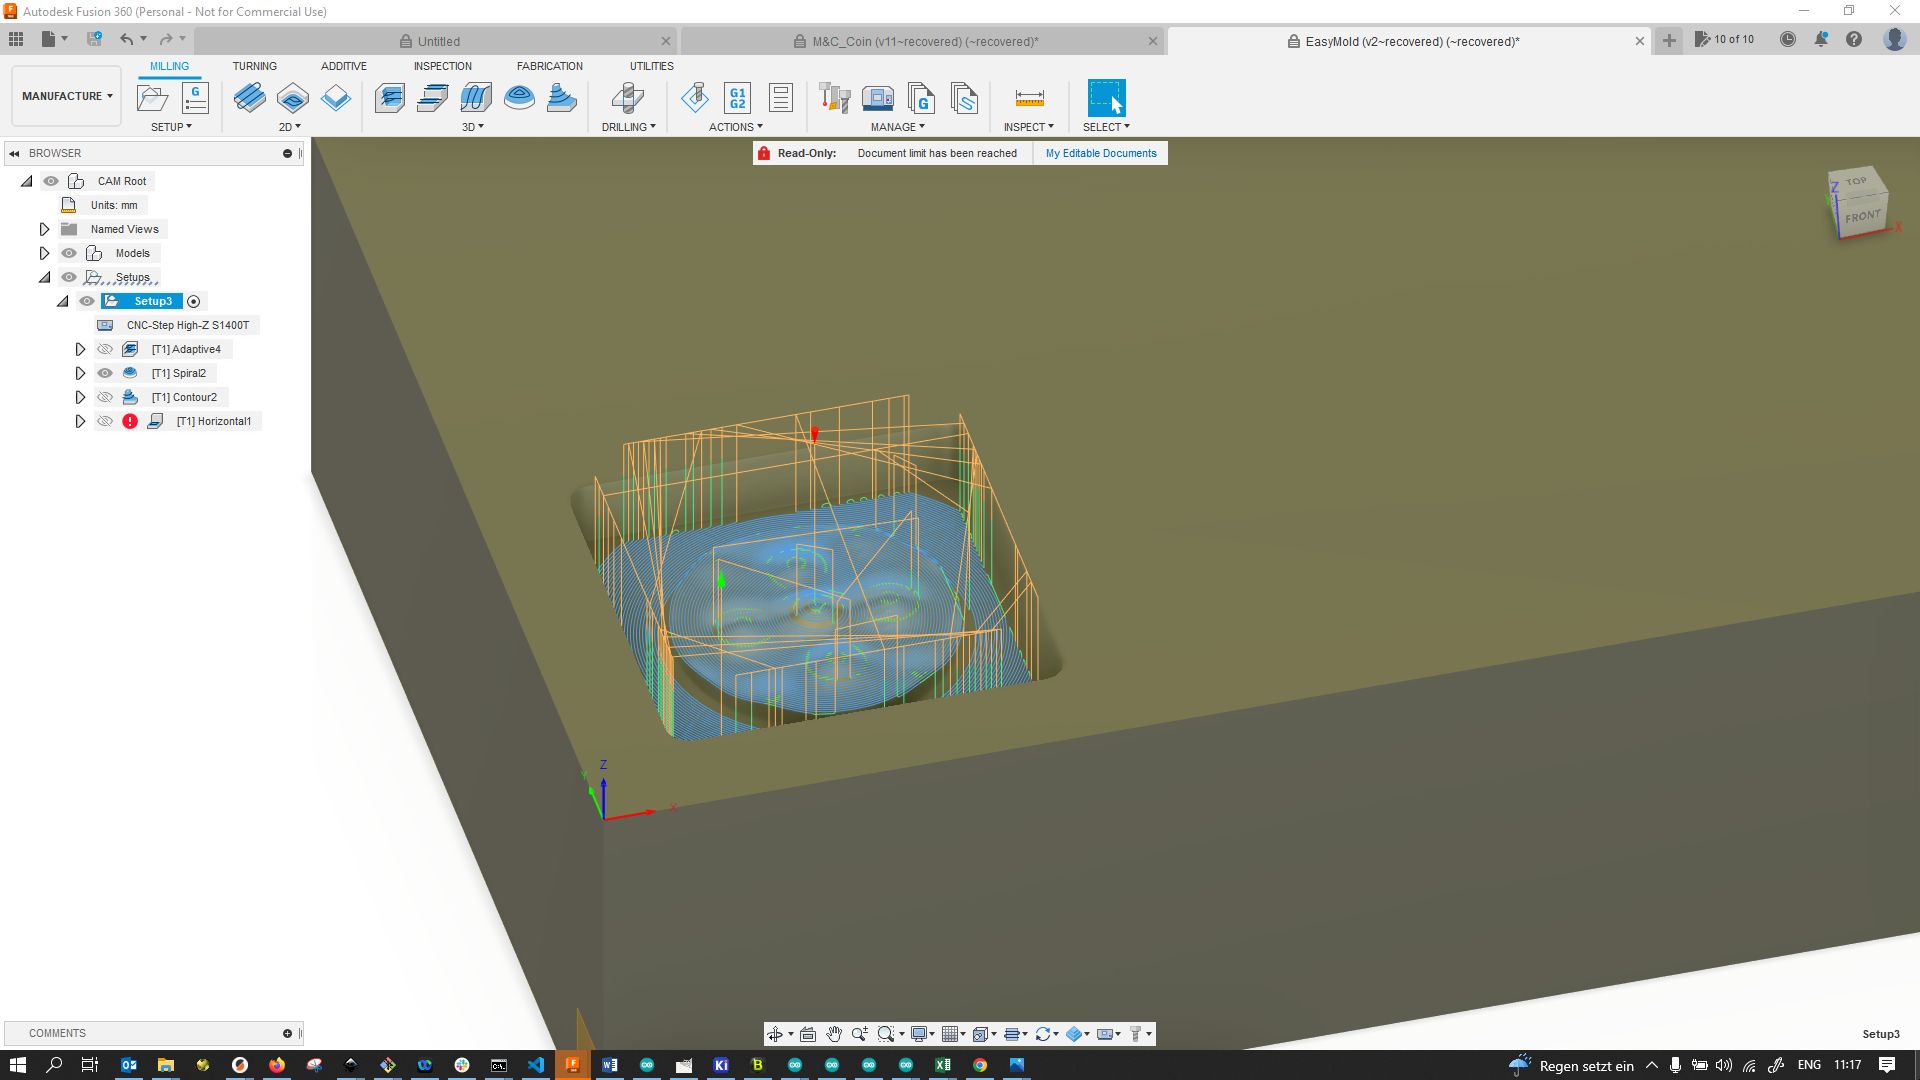
… and Contour 3D-Processes to remove the bulk material:

Since these are 3D, the mill bit actually moves in Z-direction the same time it moves in X and Y. Adaptive Clearing and Spiral were performed using a 2 mm ball nose mill. The Contour process was performed using a 2 mm flat end mill. In the end, I also added a 2D profiling operation using the 2 mm flat mill:
Milling the Mold Cavity
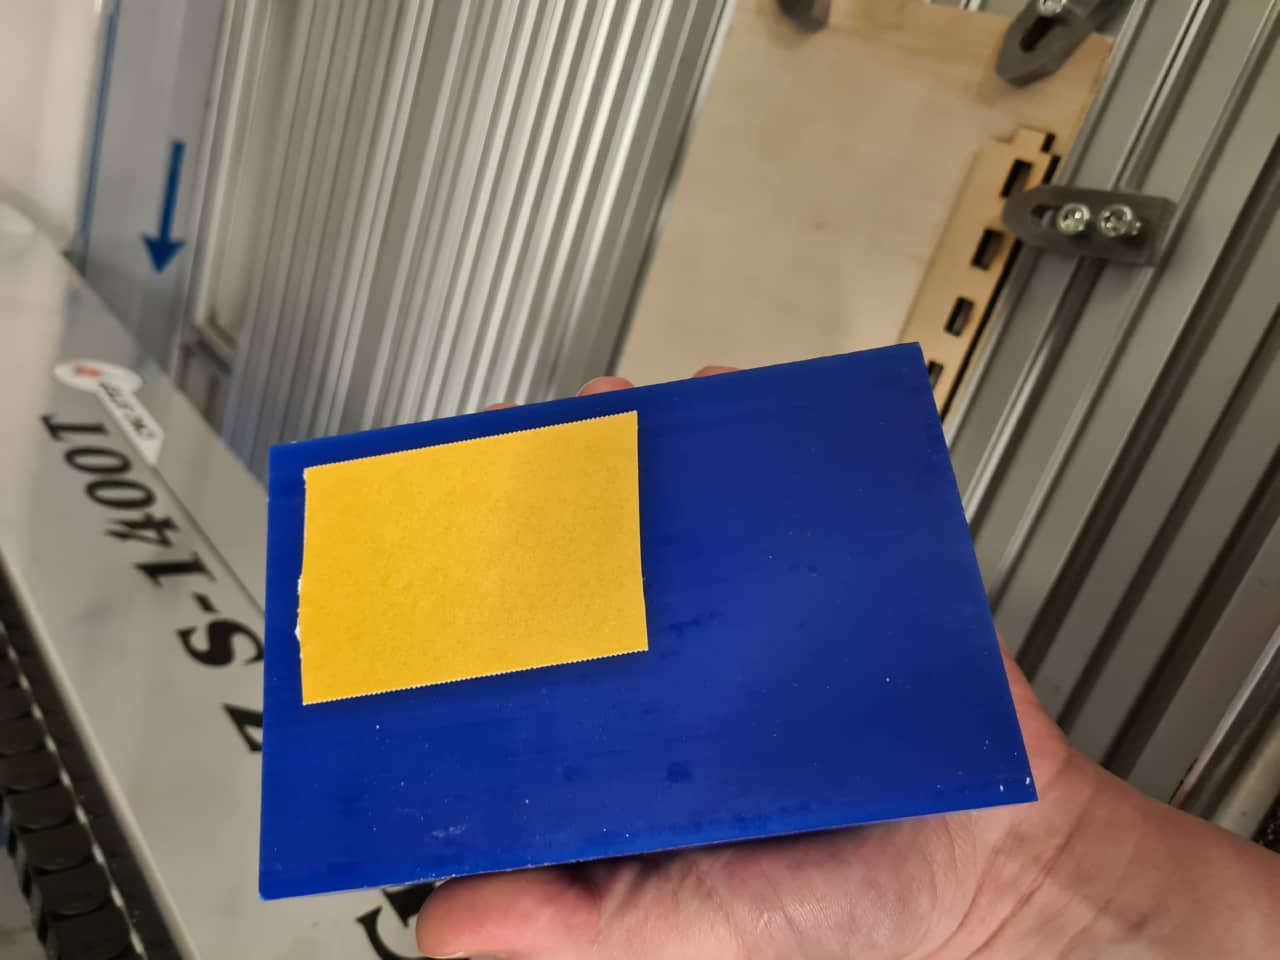
I stuck down the milling wax using double sided sticky tape:
After securing the wax to the sacrificial underlay of the machine, I opened the Gcode in the CNCStep’s Gcode streamer and started milling:
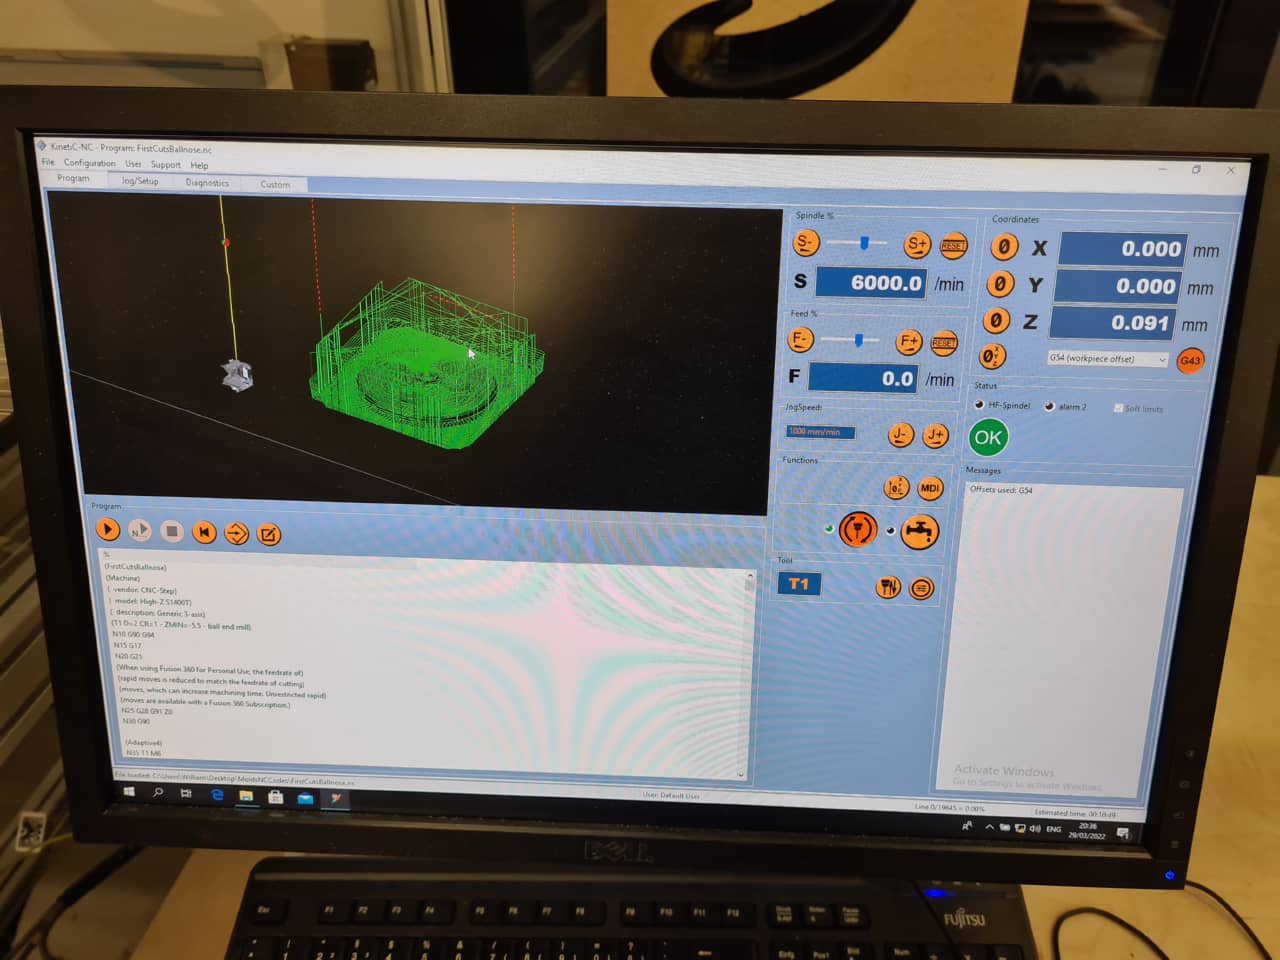
Here we can see it (or can we?) milling the wax. The wax is registered on a notch on the underlay to allow for easy swapping of other team members’ wax blocks without a lot of rezeroing of the machine:
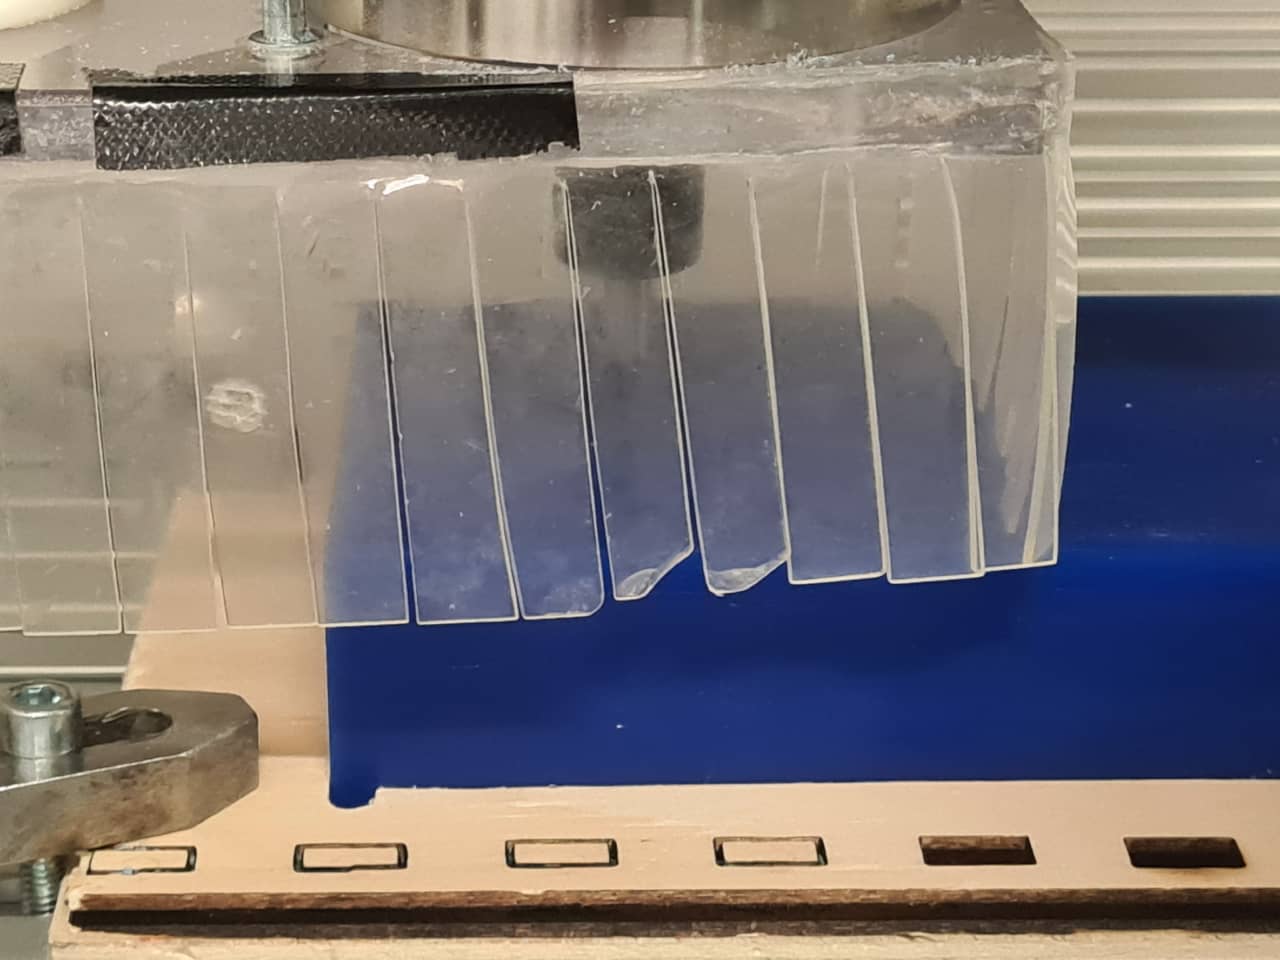
Action shot! Again, not very exciting, because everything happens behing the vacuum curtain at this small scale:

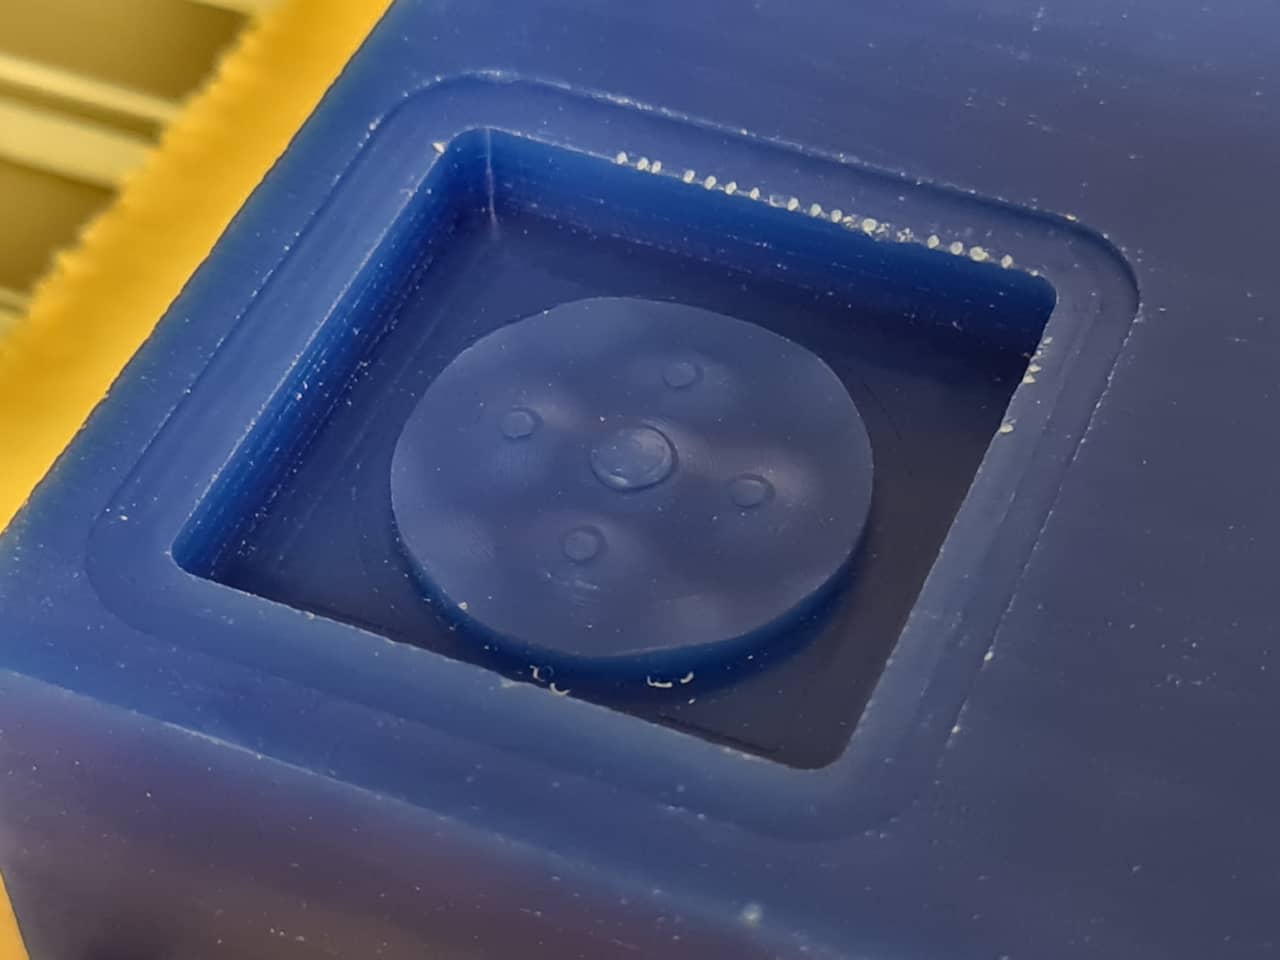
After the first two CAM jobs, the 2 mm ball nose mill was done and the bulk of the cavity created:
Here we can see the 3D features (smoothly curving hills) of the design:
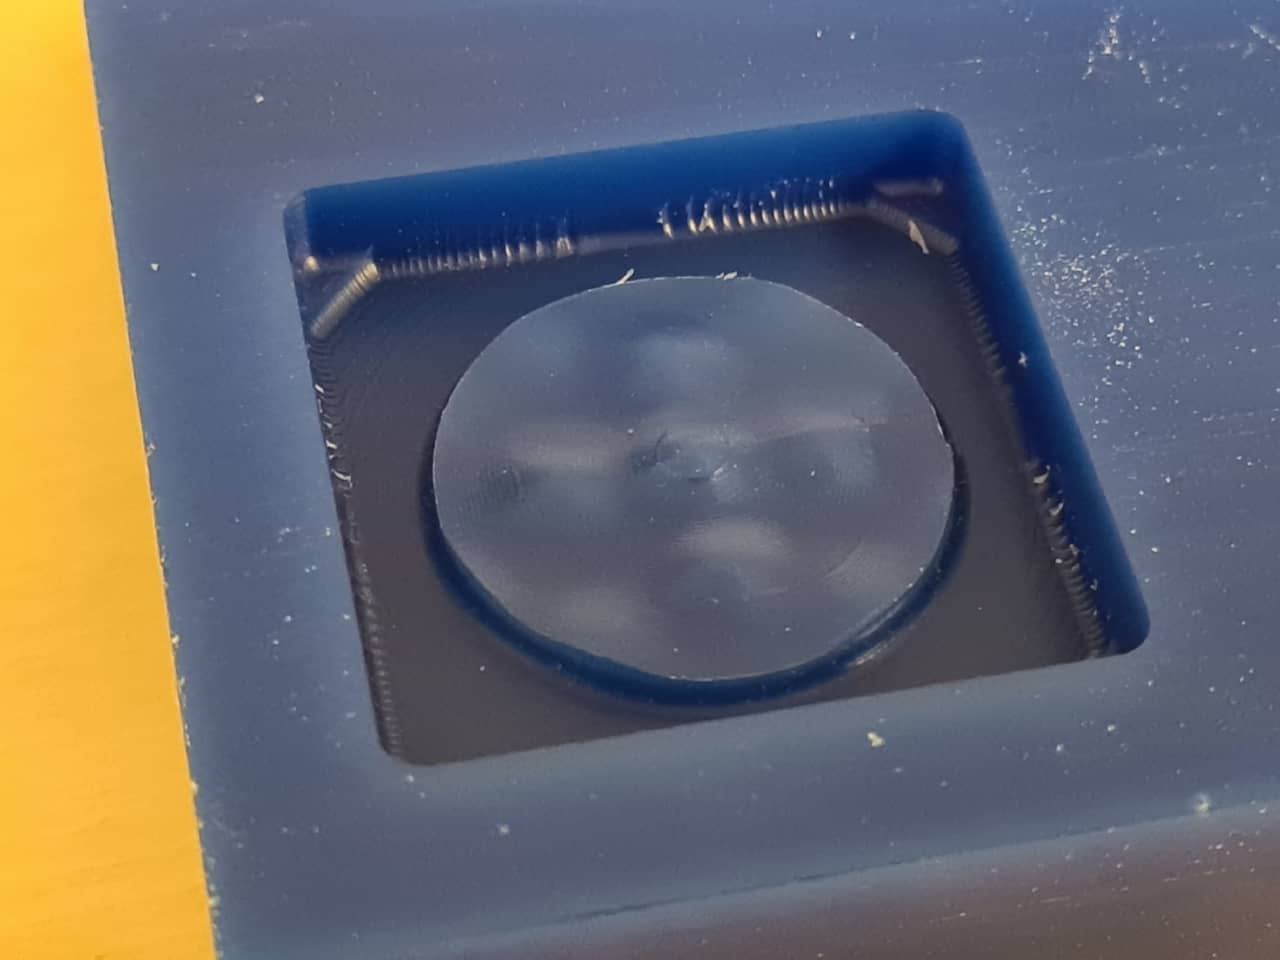
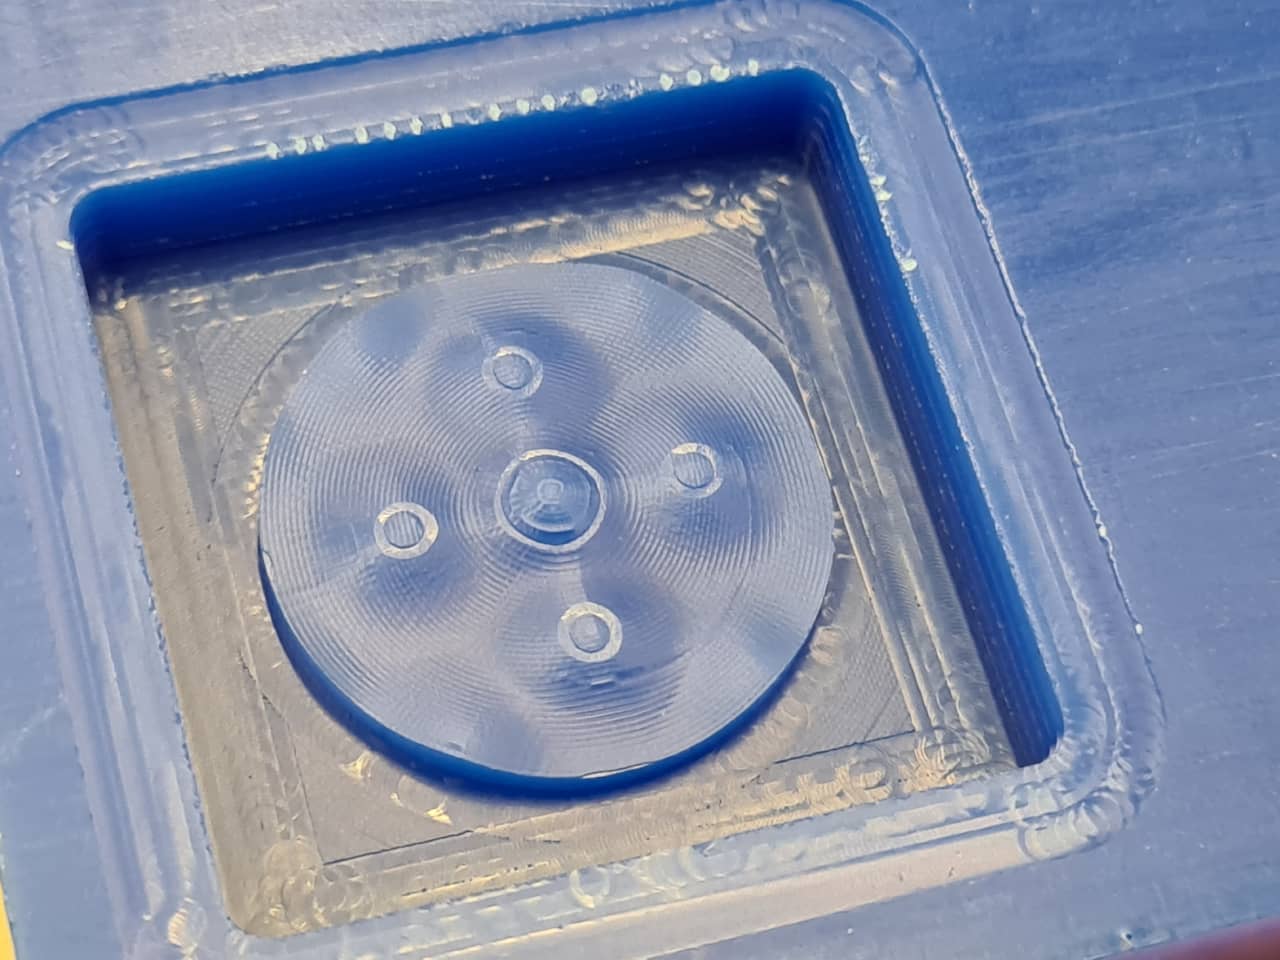
After finishing the next two jobs with the 2 mm flat end mill, I noticed I might have not registered the mill bit properly when swapping them (slightly botched the Z0-setup)…
…or maybe I was just stupid and shouldn’t have added this toolpath to begin with, given that the hills were actually pretty smooth ater only the 2 mm ball nose mill. Live and learn:
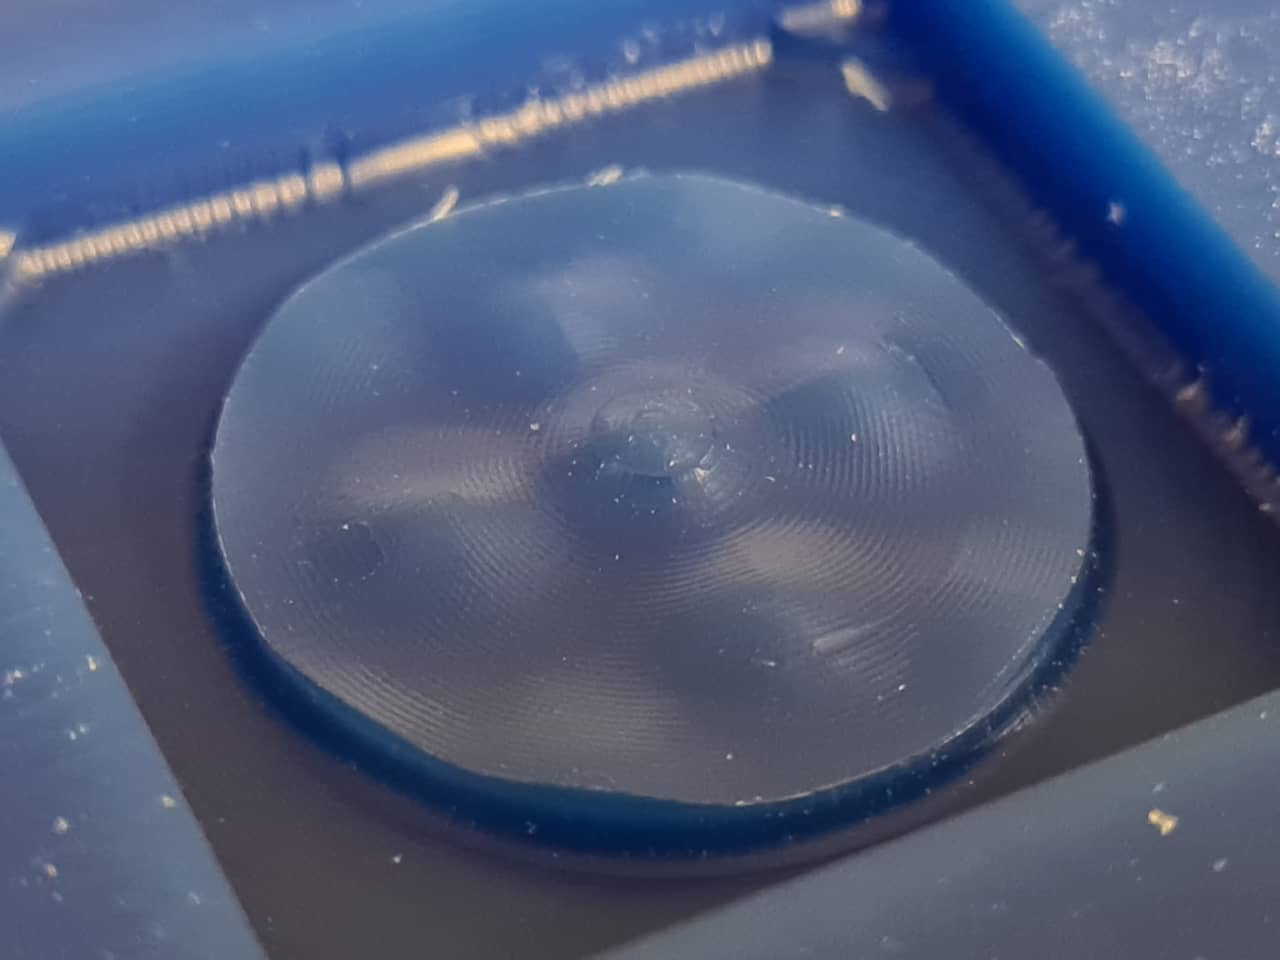
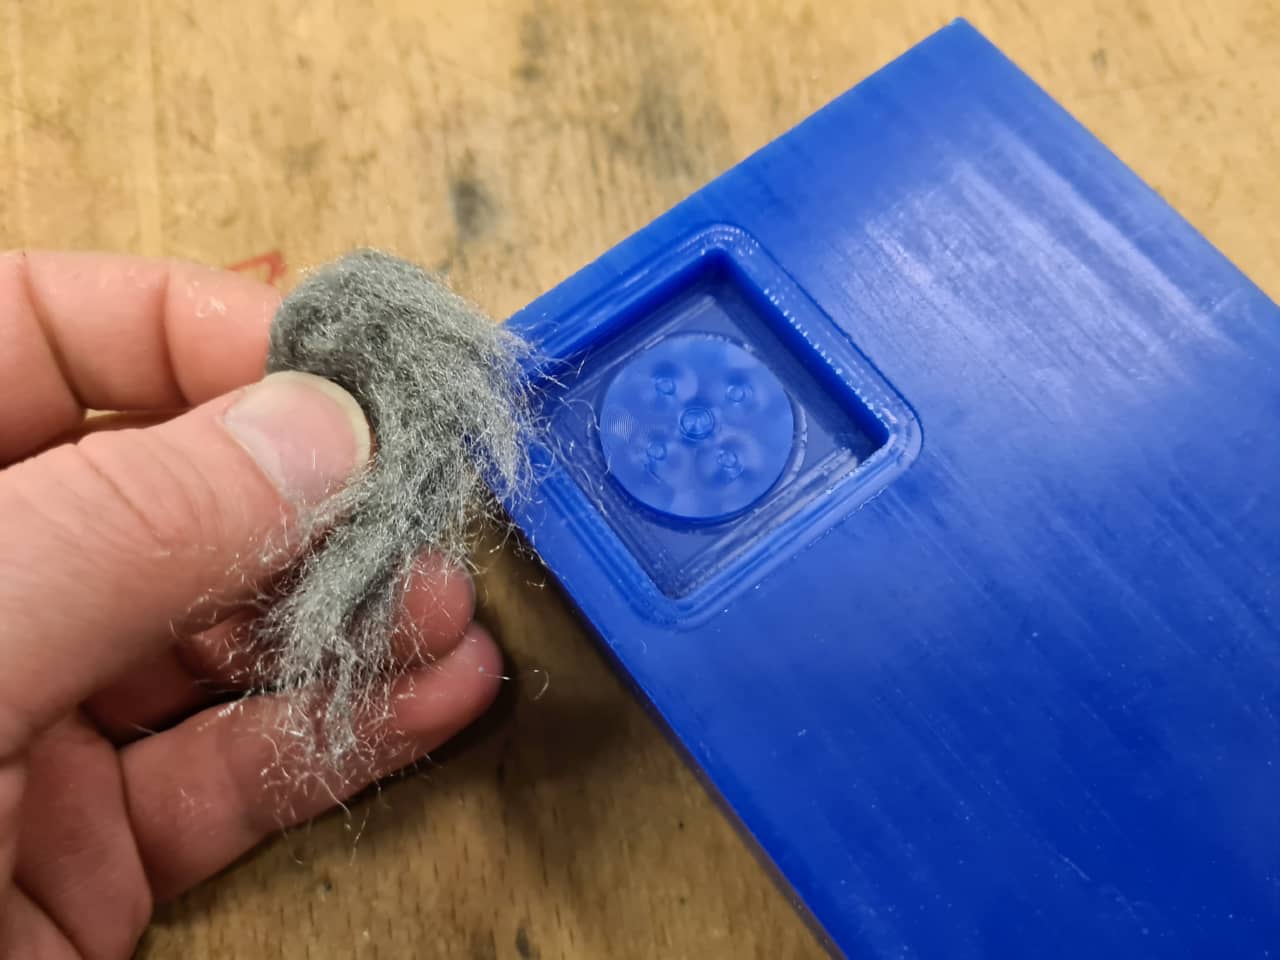
To get rid of the flat spots, I took some steel wool to the wax mold (which was okay, given that I didn’t need dimensional accuracy in my case:
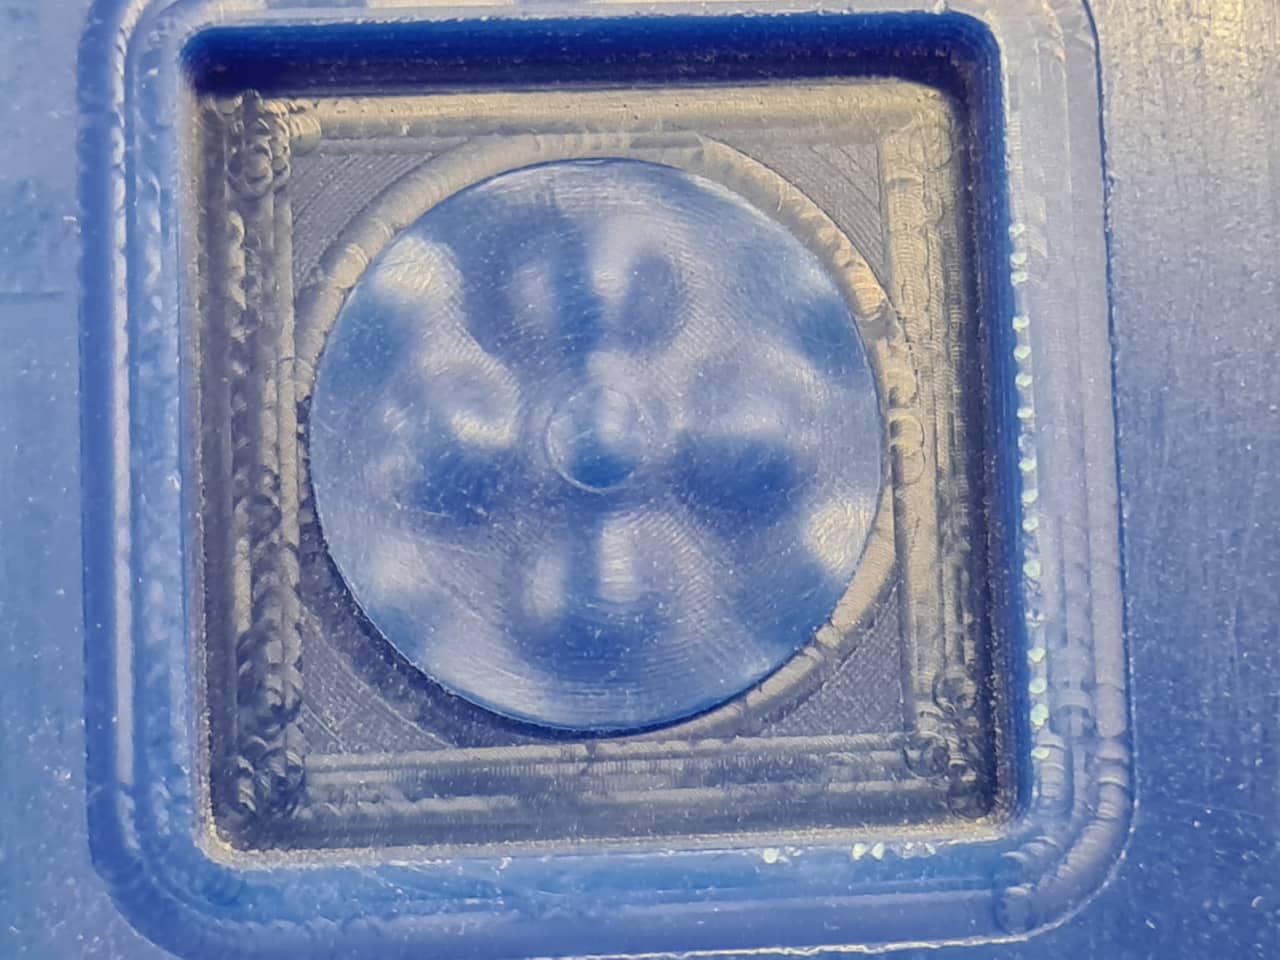
After polishing with the steel wool, here’s the outcome. Ever so slightly scratched, but the flat spots are mostly gone:
Casting the Mold and Making a Cast
Now here came the (not so big…) surprise: I was COVID positive and couldn’t get to the lab for a good while (10 days at least)…
…but my awesome colleagues had my back and both cast my little silicon mold in the wax as well as make a cast in said mold using black resin:
Since I was not there, I cannot exactly document what happened when casting my specific mold. Since I have cast silicone molds in the past though, I do have a relatively good understanding of the general workflow, also for open face molds such as this one. It all begins by preparing a clear workspace. The biggest enemy of any casting workflow is clutter. Once components are mixed and the clock starts ticking (many materials only have an open pot life of several minutes), one does not want to deal with spilled cups, debris or looking for tools on a cluttered table. When we did our first tests with our silicone together (and did cast the molds of my local team mates), we thus started by fully clearing a big workbench. To avoid contamination of the workplace, it is always a good idea to put down some kind of disposable workbench topper - we used blue lab towels from the roll.
When setting up the workbench, it pays off to think about the layout. Going back and forth along the workbench is tricky when the clock is running, so a left-to right (or vice versa) layout of stations on the table in order of the workflow steps is usually a good thing. Generally speaking, the silicone must be weighed out, then mixed, degassed and cast. For weighing, there’s scales or measuring containers, cups and tissues. For mixing, you need a station with spatulas, cups and tissues. The degassing station consists of a vacuum chamber (in our case a vacuum bell jar with a vacuum pump attached). Lastly, the casting station should have the mold boxes with the objects to mold prepared - and tissues, as always.
For our set up, we needed to deviate slightly: Since our vacuum pump is spitting a little oil (usual for the used type of vacuum pump), we decided to go a little out of order and set up the degassing/vacuum station at the edge of the table, so we wouldn’t have oil vapor fallout all over the workbench. From left to right we set up:
- Degassing station (vacuum pump/bell jar)
- Weighing station
- Mixing station
- Casting station
We prepared towels in abundance and stashed them at the back of each station. Always make sure to have more towels nearby just in case. The degassing station was prepped with the bell jar and the vacuum pump. We checked the oil level of the vacuum pump (needs to be in proper range and refuilled if needed - oil gets lost during pulling vacuum). We oriented the oil valve of the pump such as not to blow oily vapors all over the place here.
At the weighing station, we used a fine scale (0.1 g steps) to weigh out the single components. When dealing with materials with very short shelf life, it makes sense to weigh the components into separate cups at first and then quickly mix them once weighed out. In our case, we weighed both parts into the same cup simply taring between components - you only have to be careful not to weigh in more of the second component than needed or you might have to add more of the first one afterwards for achieving proper ratio. Some materials use vastly differing amounts of components (e.g. 100:1 A:B when using resins with concentrated hardeners) and need totally different measuring scales for both components. In the case of the Smooth-On Ecoflex™ silicone we used, it is very forgiving and easy to use - both parts are simply mixed in a 1:1 ratio - no matter whether by weight or volume (parts A and B have the same density). So all we really prepared here was a weighing cup for each batch of silicone. For stirring up the silicone components before decanting, we also prepped two mixing sticks and labeled them (!) so there wouldn’t be accidental cross contamination of the silicone components.
At the mixing station, we prepared a bunch of mixing sticks (they can be reused to a certain amount, but are ultimately disposables) from wood. We also prepared large (1 l volume) mixing cups, although we did not intend to mix large batches like that. We wanted to mix somewhere in the range of 300 g batches, but when degassing, the silicone bubbles up a lot before dramatically deflating again. To allow ample head room for expansion, we decided to use the 1 l mixing cups for this. For optimal results, there should be two cups always: The first mixing cup is the one the two components are mixed in. When mixing, care needs to be taken to scrape all the bottom and side walls of the container to mix in all of the separate components. In reality though, miniscule amounts of unmixed components A and B will always remain somewhere though, so it is advised to move the premixed silicone over to a second mixing jar for degassing - the fresh cup will not have any unmixed single components A or B clinging to its sidewalls so the bulk mixture should be well mixed. So ultimately we prepared two mixing cups per batch of silicone we planned and labeled them as pre- and final mix cups.
The casting station then had the prepared mold boxes - in the case of the milled wax molds, this can be nearly without preparation (when everything is cast into the wax) or need some mold box prep. For other molds, complex containments have to be built to cast off objects. In our case, e.g., we decided to cast off a blue mussel with some barnacles on it. To do so. we prepared a ring of coated cardboard by cutting the bottom of a cardboard drinking cup. The ring was placed on a flat piece of laminated hard fiber board and sealed at the bottom using molding clay. the bottom of the cardboard ring was then filled with molding clay, too. Once about halfway filled, the blue mussel was lightly pressed into the molding clay to embed it. A sharp, flat tool (in our case a molding spatula) was then used to pull all molding clay outwards from the edge of the mussel, leaving it neatly embedded with a clean edge, sitting on the modeling clay.
When it was time to do your casts, we started by preparing the silicones. We followed the general instructions for the Ecoflex™ silicones - We did stir the components way longer than 3 minutes, as we still had some thicker blobs remaining after mixing for 3 minutes:
Smooth-On Ecoflex™ Preparation Instructions
MEASURING & MIXING - Before you begin, pre-mix Part B thoroughly. After dispensing required amounts of Parts A and B into mixing container (1A:1B by volume or weight), mix thoroughly for 3 minutes making sure that you scrape the sides and bottom of the mixing container several times. After mixing parts A and B, vacuum degassing is recommended to eliminate any entrapped air in liquid rubber. Your vacuum pump must pull a minimum of 29 inches of mercury (or 1 Bar / 100 KPa). Leave enough room in container for material expansion. Vacuum material until it rises, breaks and falls. Vacuum for 1 minute after material falls.
As already written, we then weighed out the components into the same cup and mixed them thoroughly, scraping all the walls of the mixing container, but taking care not to beat too much air into the mix. After mixing, we transferred the premix into the final mixing container, which was then placed into the vacuum bell jar. A vacuum was pulled as stated above until the mixture had risen and deflated again - and then one minute more. The degassed silicone was removed from the vacuum chamber and cast carefully into the prepared mold boxes in a single, continuous, thin stream. When casting the silicone, you want to generally cast somewhere into a corner of the mold box at the deepest part of the mold - the silicone should freely rise and distribute over the object to be molded. When directly pouring silicone onto the object to mold off, chances are air will be trapped under the stream of silicone, ultimately producing bubbles in the mold. When silicone is allowed to freely creep over the features of the object, risk of this is greatly diminished. Keeping a continuous, thin stream of material going has a similar sense: When starting a new stream and casting onto a previously started level of silicone, chances are that air is trapped underneath. Same goes for when the stream is too thick and folding over itself when dropping down. We do not want air bubbles in our mold - although when casting at ambient pressure, bubbles that are not in contact with our object to mold are not too critical, either. Bubbles can become a problem, when later making casts in the mold under pressure (bubbles get smaller) or under vacuum (bubbles get larger), where enlarging or shrinking of the mold can deform the mold during the casting process.
After casting the silicone, we waited for the suggested cure time of 4 hours before checking the molds again (in fact we waited overnight, since it was close to afternoon already when we started casting). The next day, the silicone had cured perfectly and the molds could be removed from the mold boxes without issue. Only on the one mold box with modeling clay, the silicone in direct contact with the clay had not cured perfectly and was still tacky. There is a well known problem with 2-part silicones, whose curing can be inhibited by clays containing sulphur. The clay I used for embedding the blue mussel did state on the box that it was silicone-safe and sulphur-free, but something still seems to have inhibited curing at least a little bit.
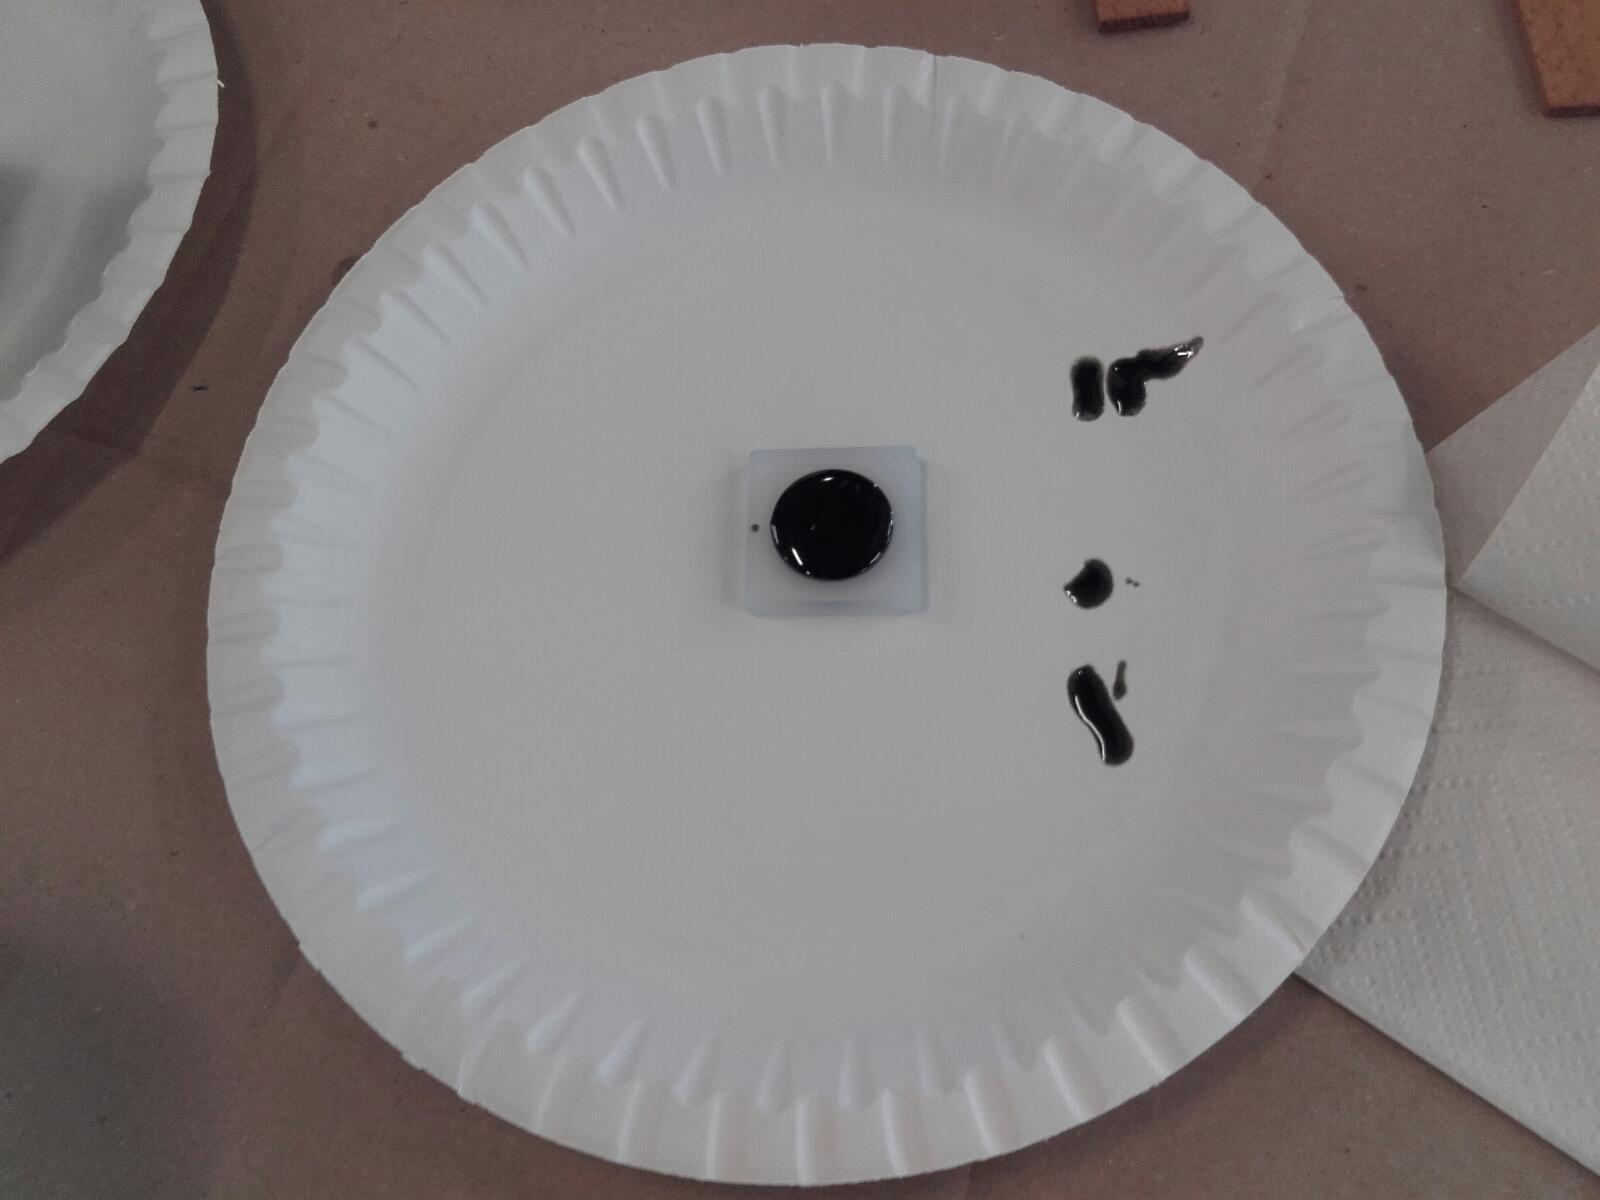
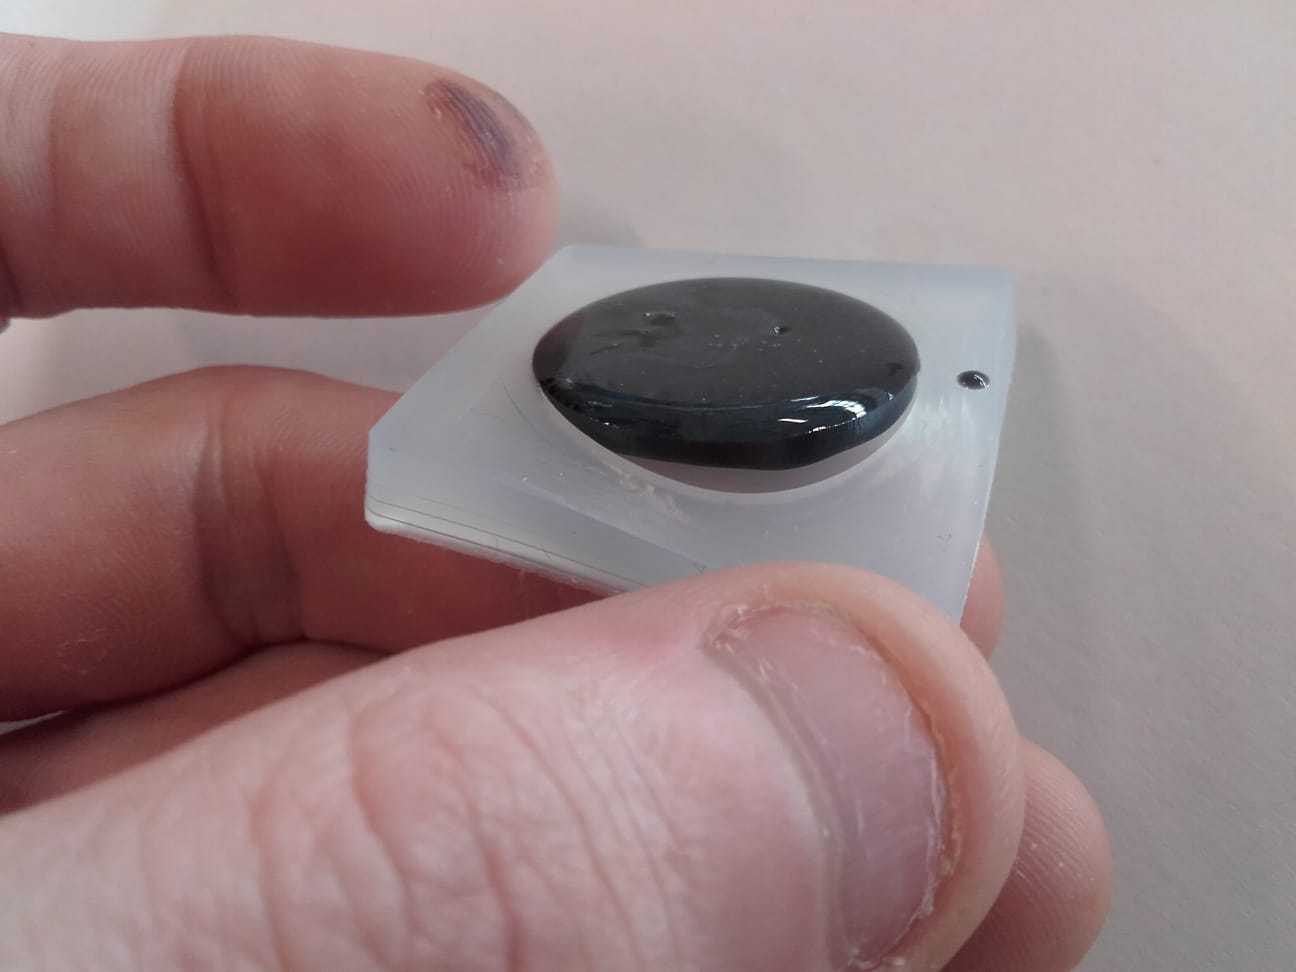
Since I was out of lab because of COVID infection, my colleagues were so king to cast my molds ion resin. Here’s colleague Aaron Hinkle demolding a black polyurethane resin piece from my mold…
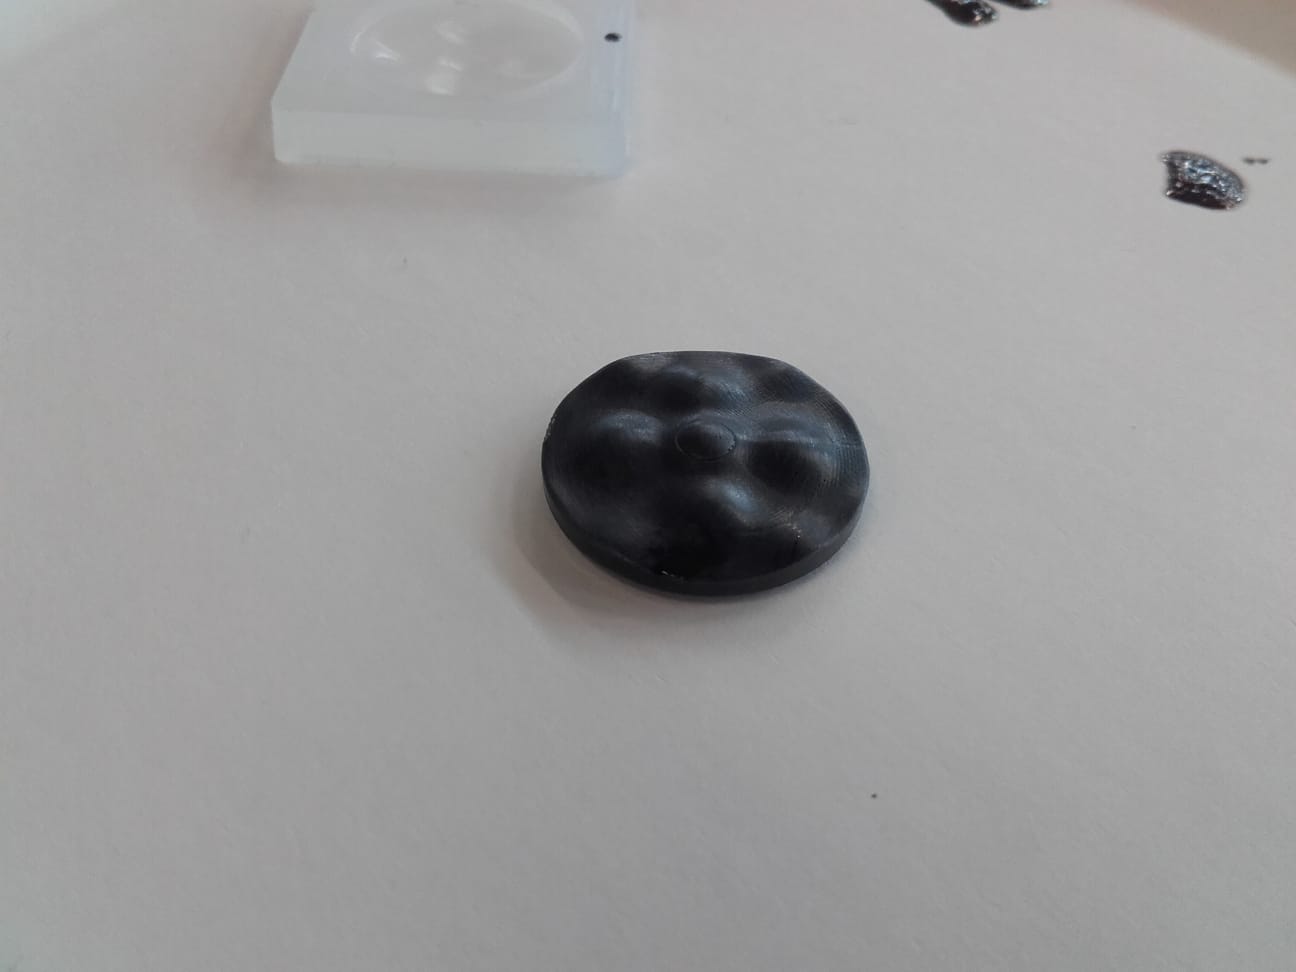
…and here is the part itself, with the finished SmoothOn EcoFlex mold in the background:
Design Files
- Initial Coin Design with beginnings of CAM (F3D, Fusion360)
- Initial Coin Design, coin only (STEP, Generic)
- Initial Coin Design, coin halves set into digital wax stock for CAM (STEP, Generic)
- Final Organic Coin Design, open mold (F3D, Fusion360):
- Final Organic Coin Design, coin only (STEP, Generic):
- Final Organic Coin Design, coin halves set into digital wax stock for CAM (STEP, Generic)
Conclusion
Wow, 3D CAM is hard. I hadn’t really played around with that topic yet at all, albeit having cut a lot of 2D shapes on the CNC router. But adding that third dimension to think of, to think of how the mill bit would fit into the mold and what features can be milled at all given a certain selection of tools was an interesting (and in parts, unfun) exercise. COVID didn’t really help making something nice this week, but I hope this will still be okay in terms of the assignment - the learning was definitely there :)