11. Output devices
Assignment
individual assignment:
add an output device to a microcontroller board you've designed,and program it to do something
group assignment:
measure the power consumption of an output device
Group assignments
Individual assignment
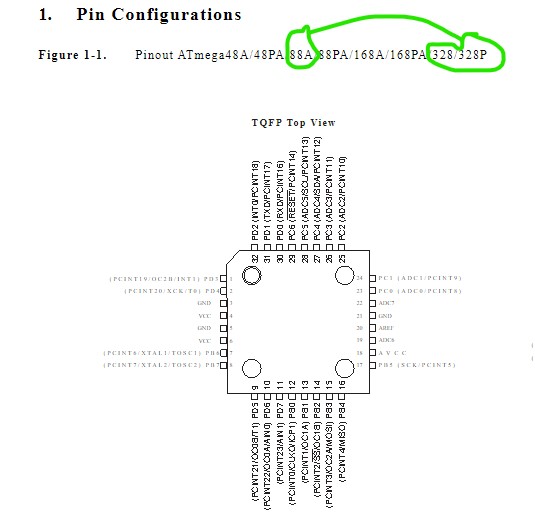
Microcontroller
I noticed that another microcontroller was listed in the schematic. I searched the internet and learned that there are pin compatibility between certain controllers. Example: atmega 88 has the same pins as the atmega 328
I make a list of components
resistors
4 resistor 0 ohm 1 resistor 1 kohm 1 resistor 10 kohm
Capacitor
C1 1 uf (son mas oscuros) C2 0.1 uF (son mas claros que los de 1) C3 dos de 10 pF (son mas planos y blanquitos) C5 0.1 uF (son mas claros que los de 1)
Microcontroller
atMega 328
Oscilador
Crystal 20000 Mhz de dos pines
Conectors
JP1 6 pines for SERVO I JP2 6 pines for SERVO II JP3 6 pines for Programer ISP JP4 6 pines for Digital pot JP of 4 pines Analog FTDI 6 pines for
Butom
Butom 4 pines
USB
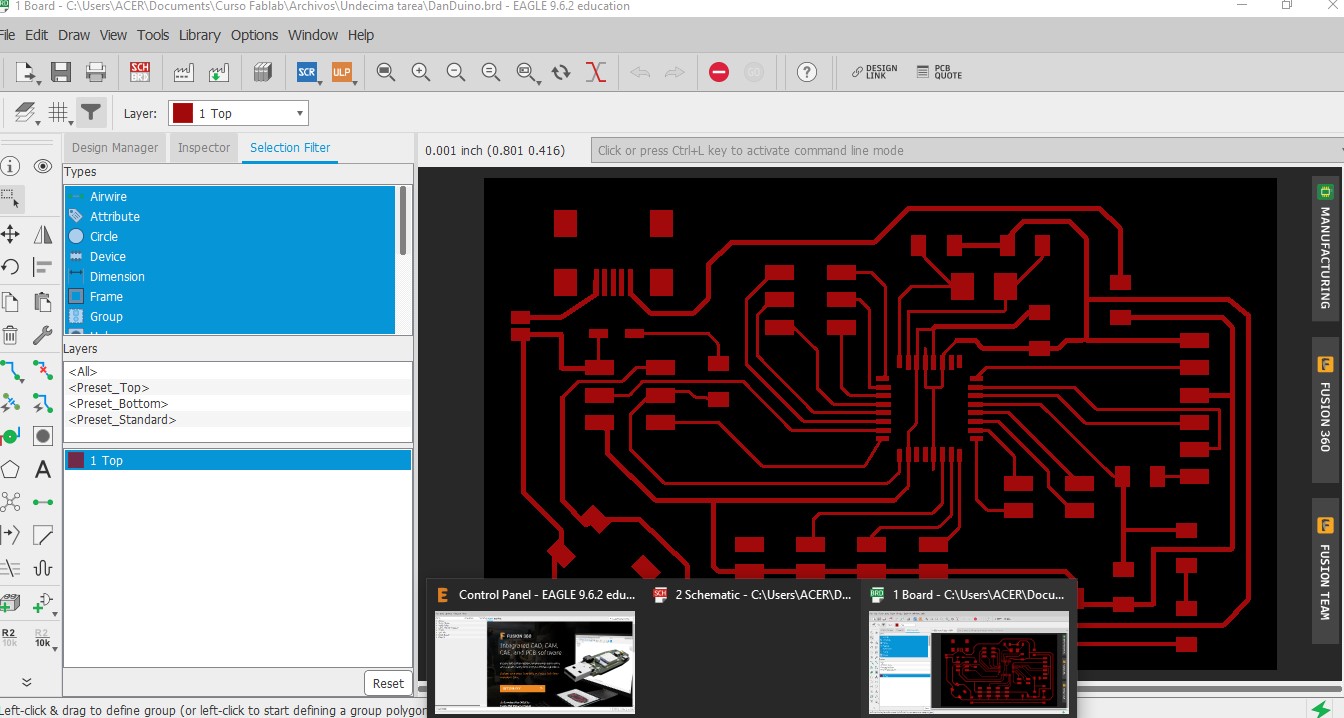
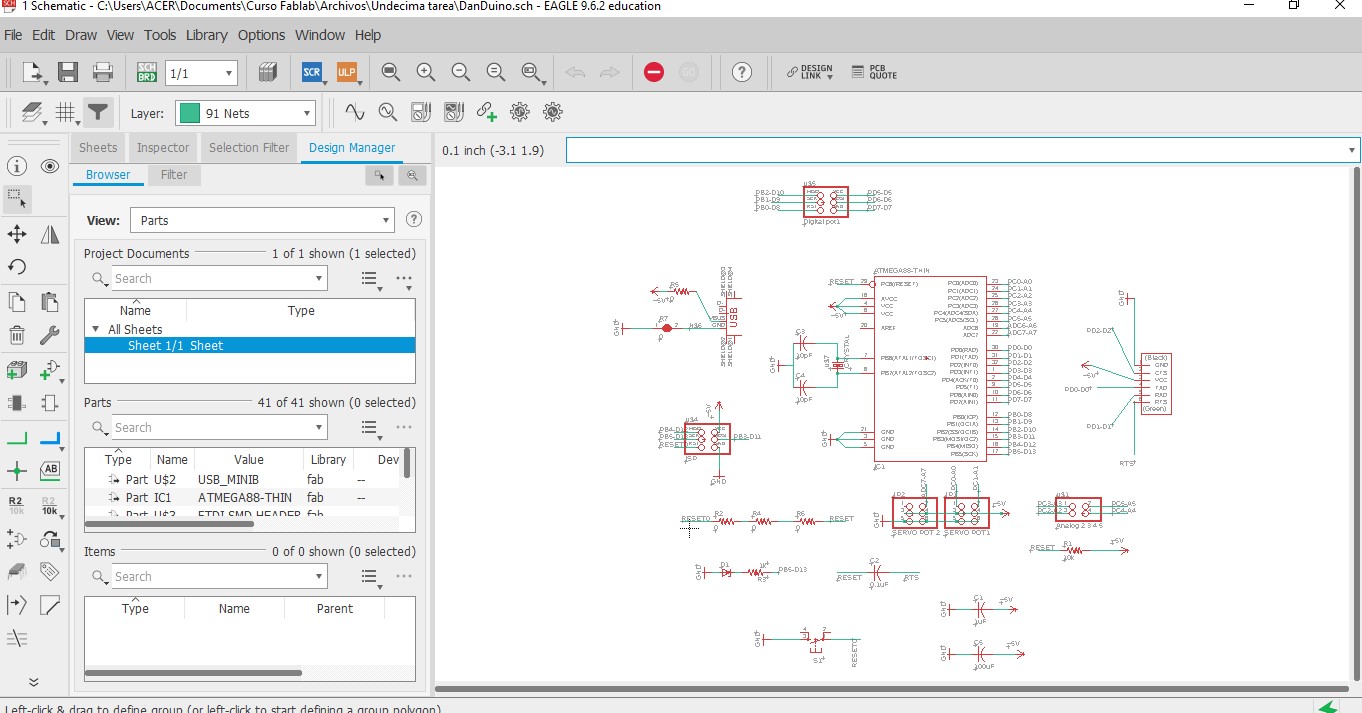
Micricontroler scheming
Microcontroler finished scheming
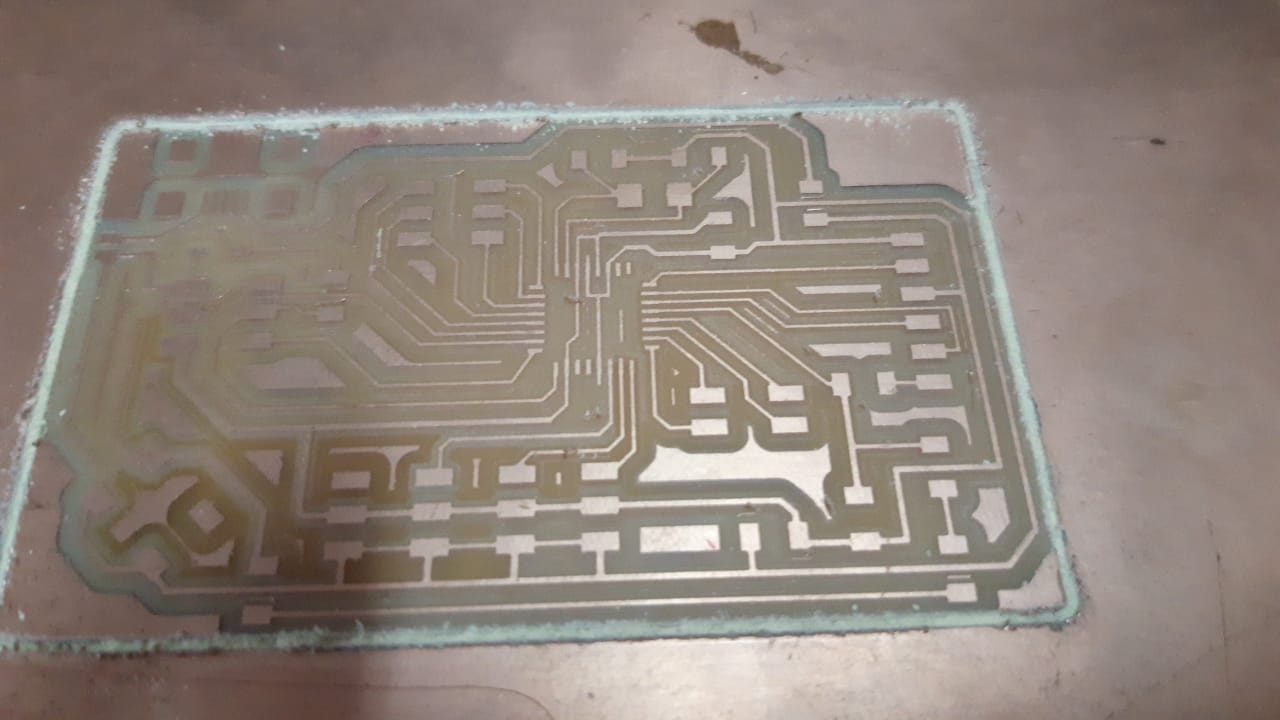
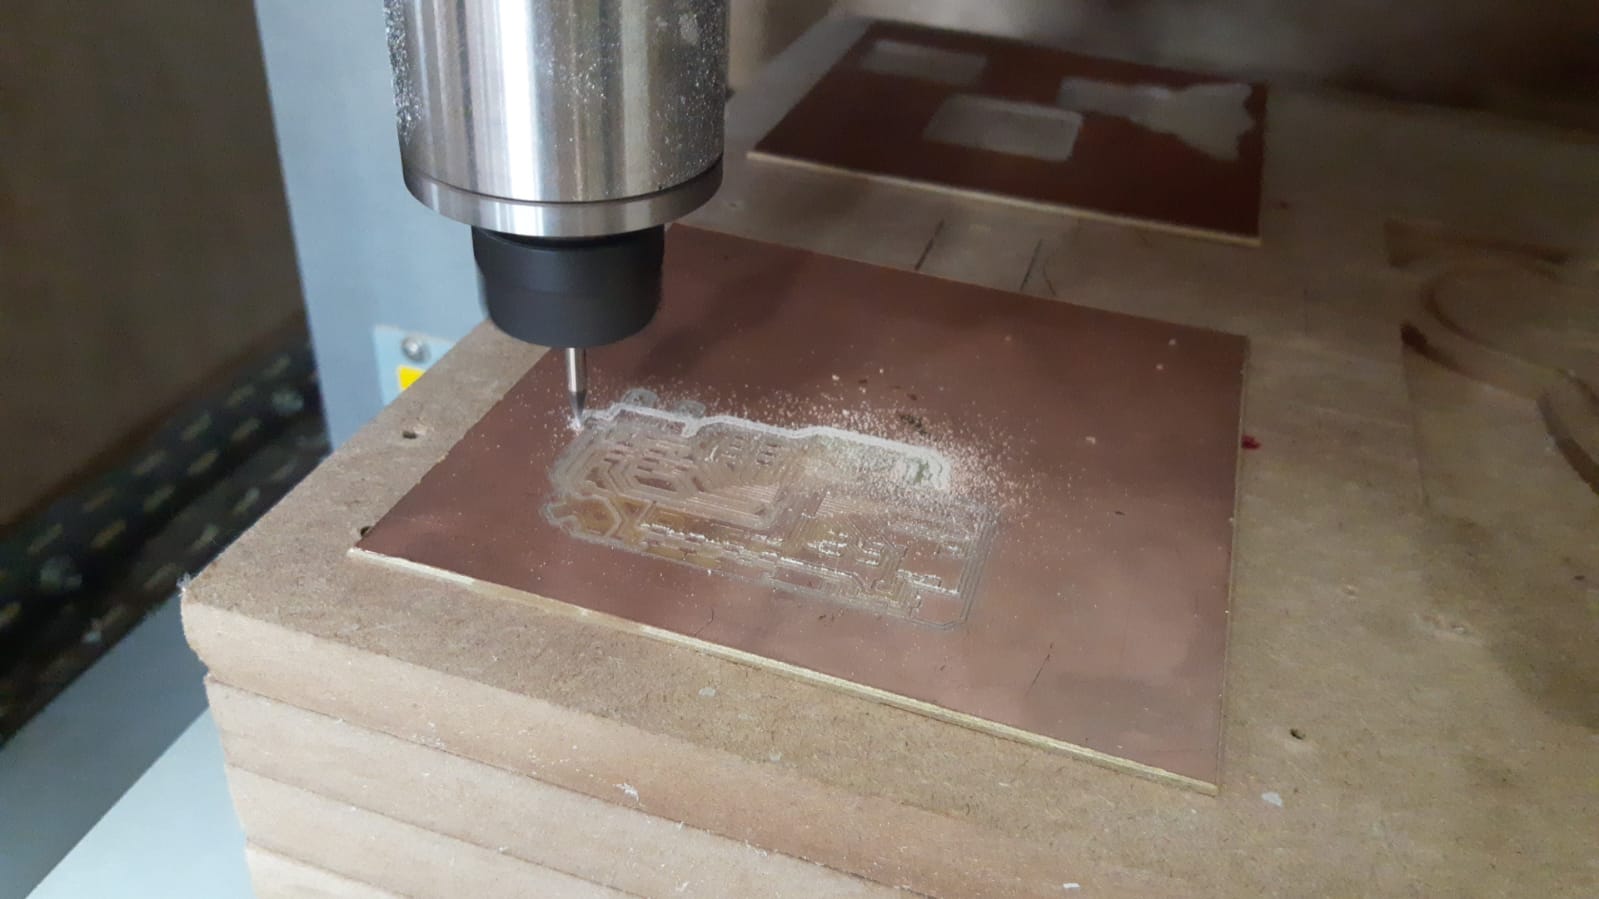
Microcontroler finished

Learning something about servo motors
Recomiendo este turorial HERE
A servo is a type of actuator widely used in electronics. Unlike other types of motors in which we control the speed of rotation, in a servo we directly indicate the desired angle a range of motion between 0 to 180º
Provide high torque and a high degree of accuracy
On the other hand, the turning speeds are small compared to DC motors.
The most suitable value is 6V
They perform position control themselves
How does a servo work?
Internally, a servo is made up of a DC motor, coupled to a reducer to reduce the speed of rotation, together with the necessary electronics to control its position.
The communication of the desired position is carried out by transmitting a pulsed signal with a period of 20ms. The width of the pulse determines the position of the servo.
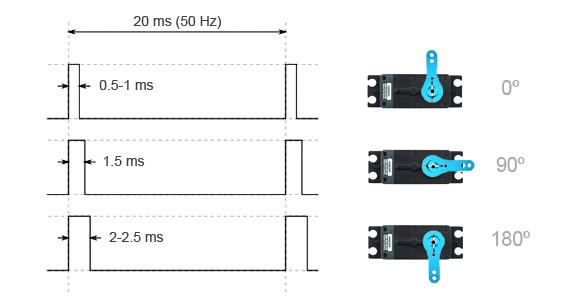
In general, in all models:
• A pulse between 500-1000 us corresponds to 0º
• A pulse of 1500 ms corresponds to 90º (neutral point)
• A pulse between 2000-2500us corresponds to 180º
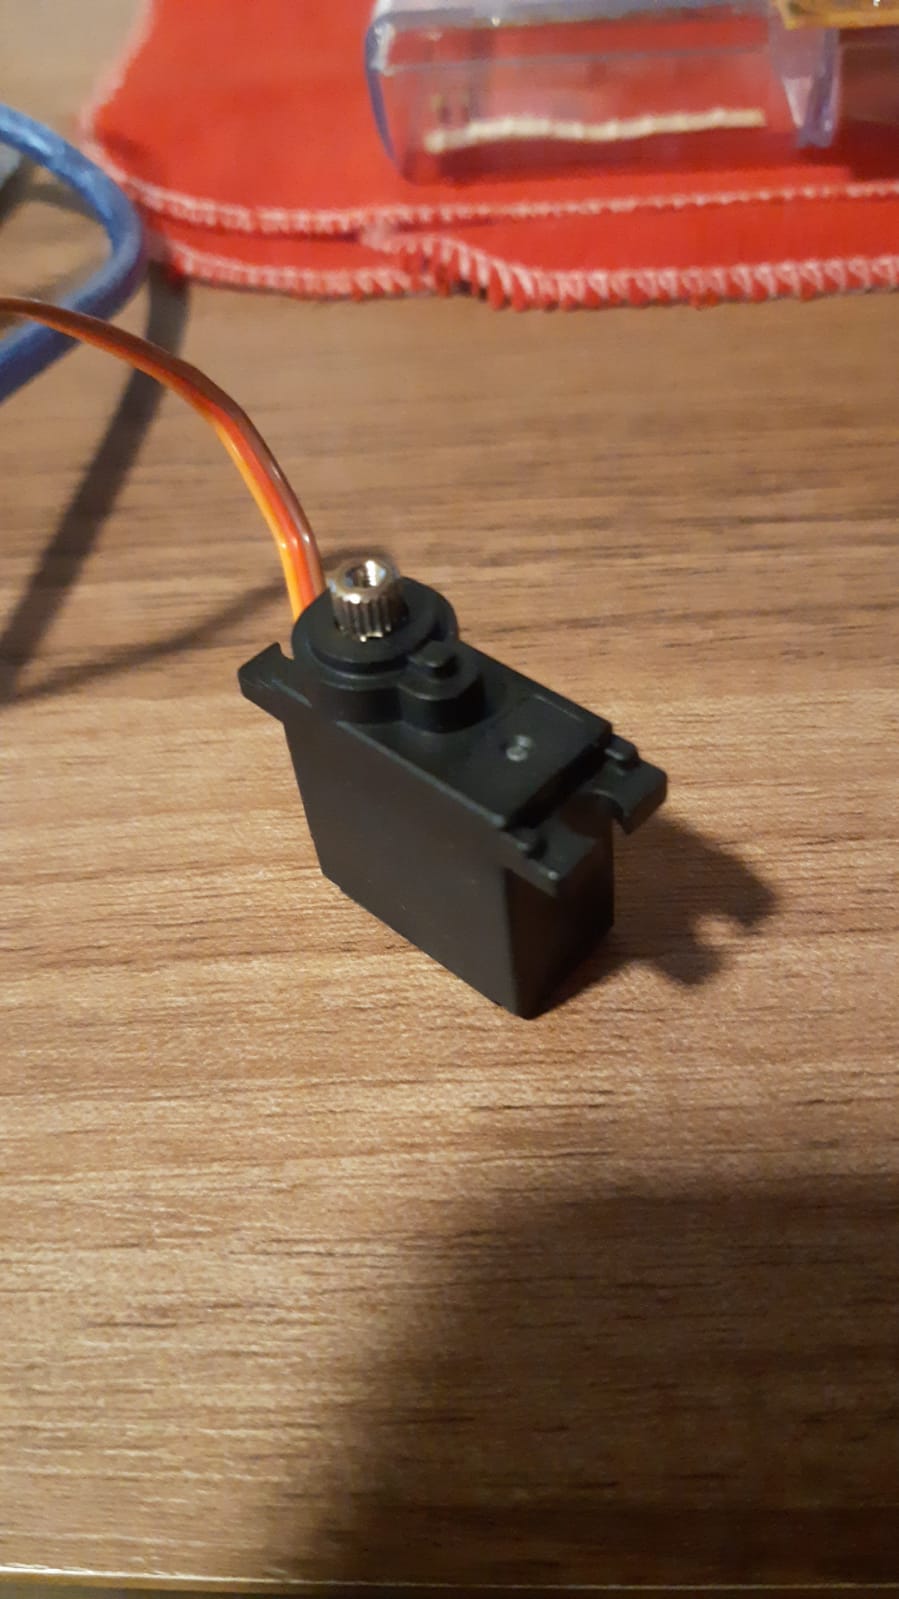
Types of servos we have in the lab component list

I used for the first test the analog HK 15178
CODE to control a servo motor
#include <Servo.h>

Servo myservo;  // crea el objeto servo

int pos = 0;    // posicion del servo

void setup() {
   myservo.attach(9);  // vincula el servo al pin digital 9
}

void loop() {
   //varia la posicion de 0 a 180, con esperas de 15ms
   for (pos = 0; pos <= 180; pos += 1)
   {
      myservo.write(pos);
      delay(15);
   }

   //varia la posicion de 180 a 0, con esperas de 15ms
   for (pos = 180; pos >= 0; pos -= 1)
   {
      myservo.write(pos);
      delay(15);
   }
}
Photo showing the connections of the servo with the arduino uno
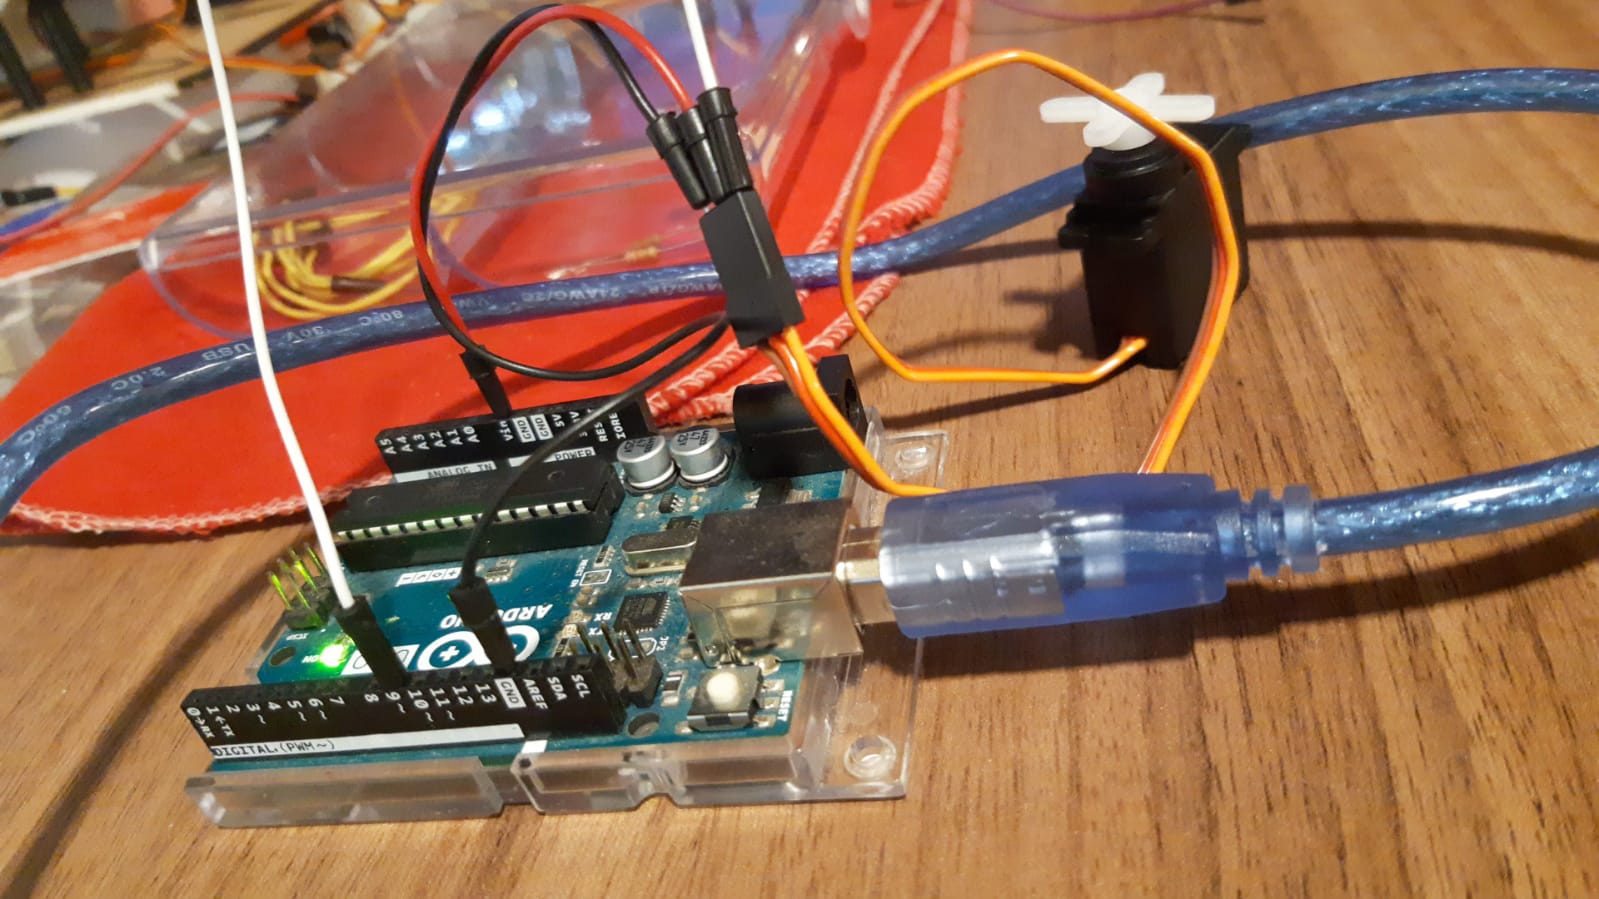
Video showing the operation of the servo with the arduino uno
Photo showing the connections of the servo with the Microcontroler Danduino
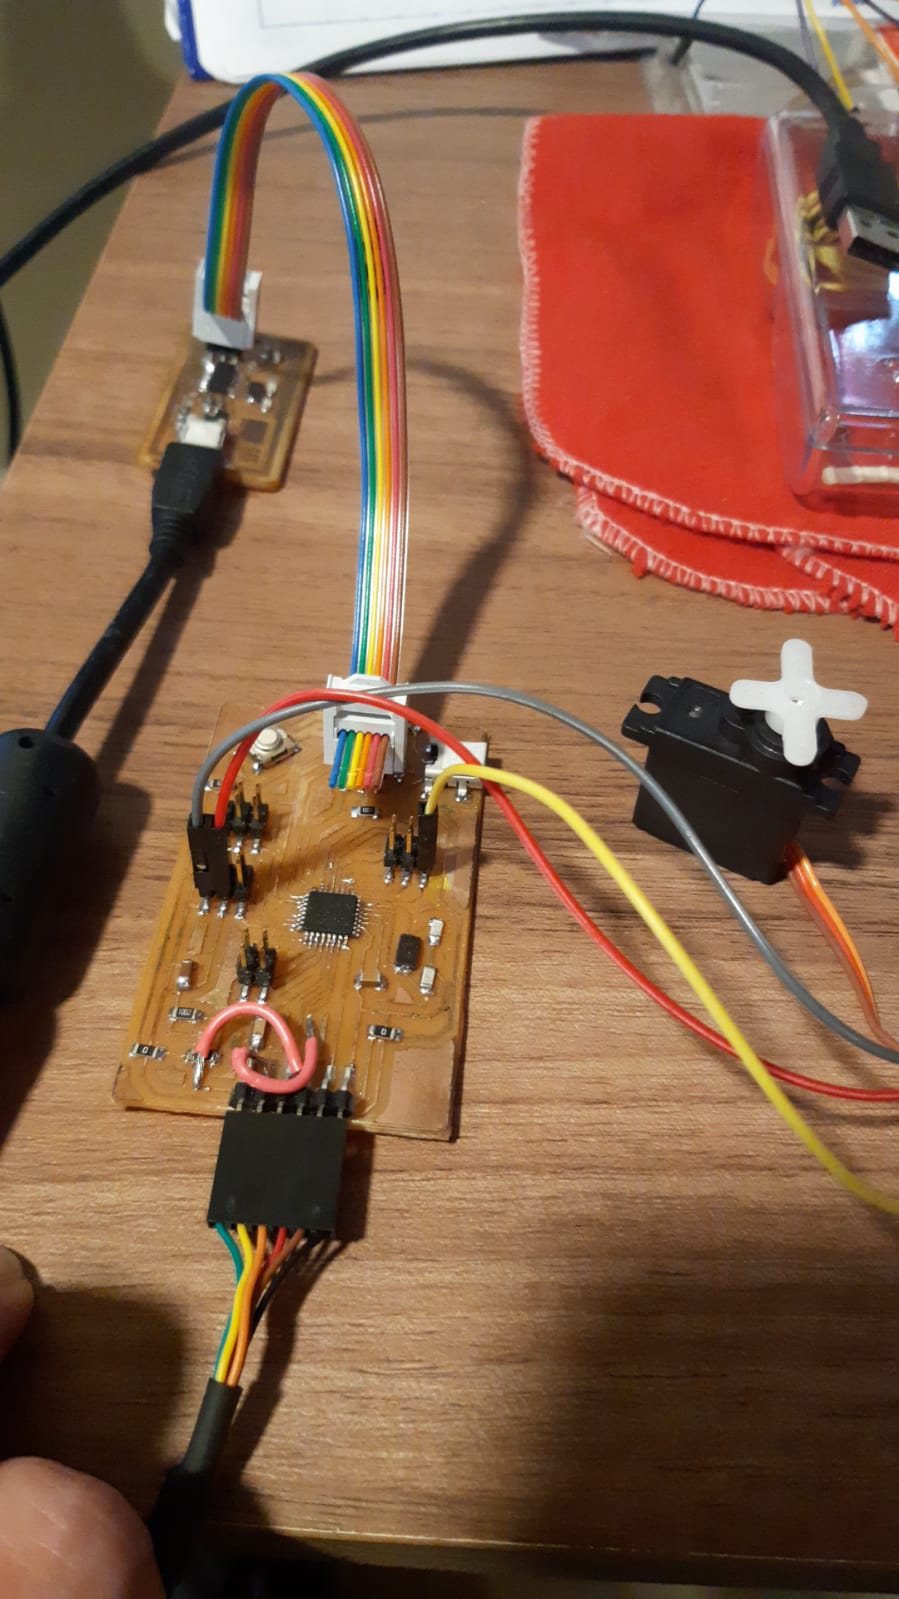
Video showing the operation of the servo with the Micocontrolador Danduino
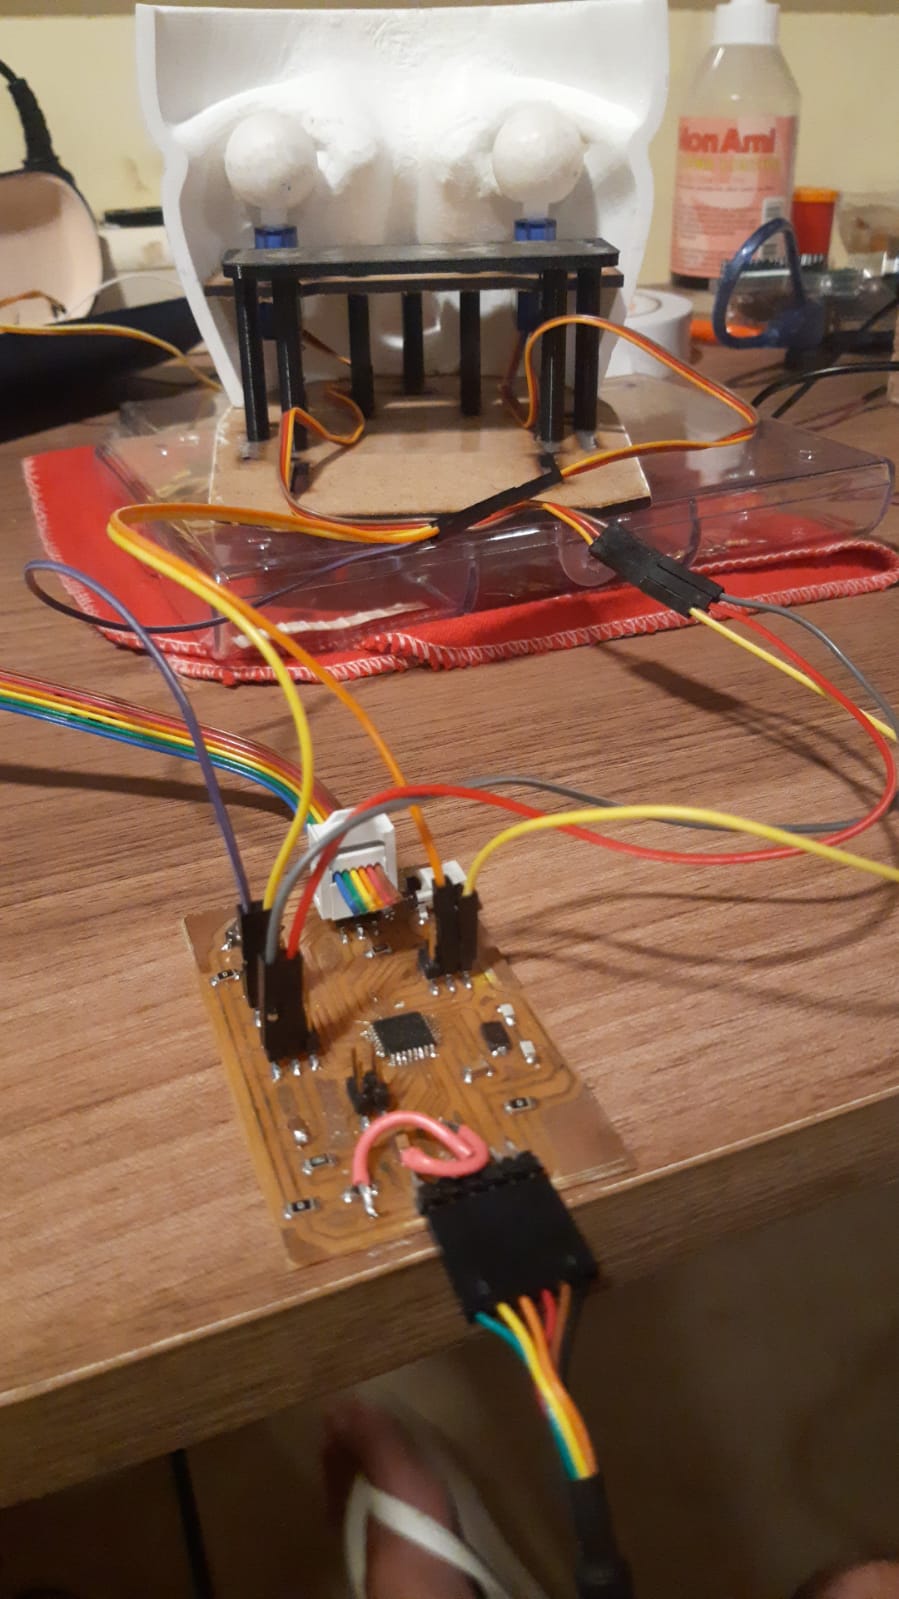
Danduino connection to two servomotors
Source code
/* Sweep
 by BARRAGAN <http://barraganstudio.com>
 This example code is in the public domain.

 modified 8 Nov 2013
 by Scott Fitzgerald
 https://www.arduino.cc/en/Tutorial/LibraryExamples/Sweep
*/

#include <Servo.h>

Servo myservo1;
Servo myservo2;
// create servo object to control a servo
// twelve servo objects can be created on most boards

int pos = 0;    // variable to store the servo position

void setup() {
  myservo1.attach(6);
  myservo2.attach(5);// attaches the servo on pin 9 to the servo object
}

void loop() {
  for (pos = 40; pos <= 140; pos += 1) { // goes from 0 degrees to 180 degrees
    // in steps of 1 degree
    myservo1.write(pos);
    myservo2.write(pos);// tell servo to go to position in variable 'pos'
    delay(15);                       // waits 15 ms for the servo to reach the position
  }
  for (pos = 140; pos >= 40; pos -= 1) { // goes from 180 degrees to 0 degrees
    myservo1.write(pos);
    myservo2.write(pos);// tell servo to go to position in variable 'pos'
    delay(15);                       // waits 15 ms for the servo to reach the position
  }
}
Video showing the operation of the servomotors
Files of Individual assignment