2. Project management
Apart from the introduction and the formation of the fab community we were also introduced to gitlab. Therefore in this assignment I will be able to learn on git, Git is a free and open source distributed version control system designed to handle everything from small to very large projects with speed and efficiency. Learning about this platform will also help me work more efficient in the future projects.
Installation of Git.
Since I am using a macOS, There for I followed the Homebrew Link to install home brew. Homebrew is required to install git in macOS.
/bin/bash -c "$(curl -fsSL https://raw.githubusercontent.com/Homebrew/install/HEAD/install.sh)"
- The ouput after running the above command is.

Now since the homebrew installation is completed. Now as per in Tutorial, the command below will be install git in my machine.
brew install git
And the installed git version in my machine is:
git version 2.35.0
The week assignment is to work through the Git Tutorial from the Fabacademy website and went through the video tutorial to learn and understand more on using git.
My Git Repository.
As I checked my repository in gitlab, markdown was used as the markup language to present my website. Now I have to generate ssh key to link my machine to my git lab repository.
ssh-keygen -t rsa -C "anithghalley17@gmail.com" -b 4096
- The command above is used to generate ssh-keys.
 - The id_rsa are the keys for fab academy.
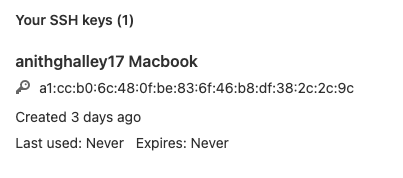
And then the generated public ssh key is added to the gilab account so that the machine is linked to the account.
And then I clone my ropository and made the necessary changes such as the index page, project idea and about me file. Then when i tried to push my work to git the access was denied and the kind of error was:
remote: HTTP Basics: Access denied
fatel: Authentication failed
After going through several search I tried to generate an access token. Then I added the access token in place of my password while pushing the files to git. It was later shared by one my mate that its because when I was cloning the repository, i had cloned with the link “clone with ssh” instead of “clone with HTTPS”.
Website.
For the documentation purpose, fabacademy gave access to a git repository to update my assignment and final project assignment.

The git repo will update my website. The website is written using markdown, which is a lightweight markup language. During PreFab, I used HTML and CSS to update my documentation. When now during fabacademy, when I saw the pre-designed website and it can be directly updated using markdown. Therefore I decided to continue documenting using markdown.
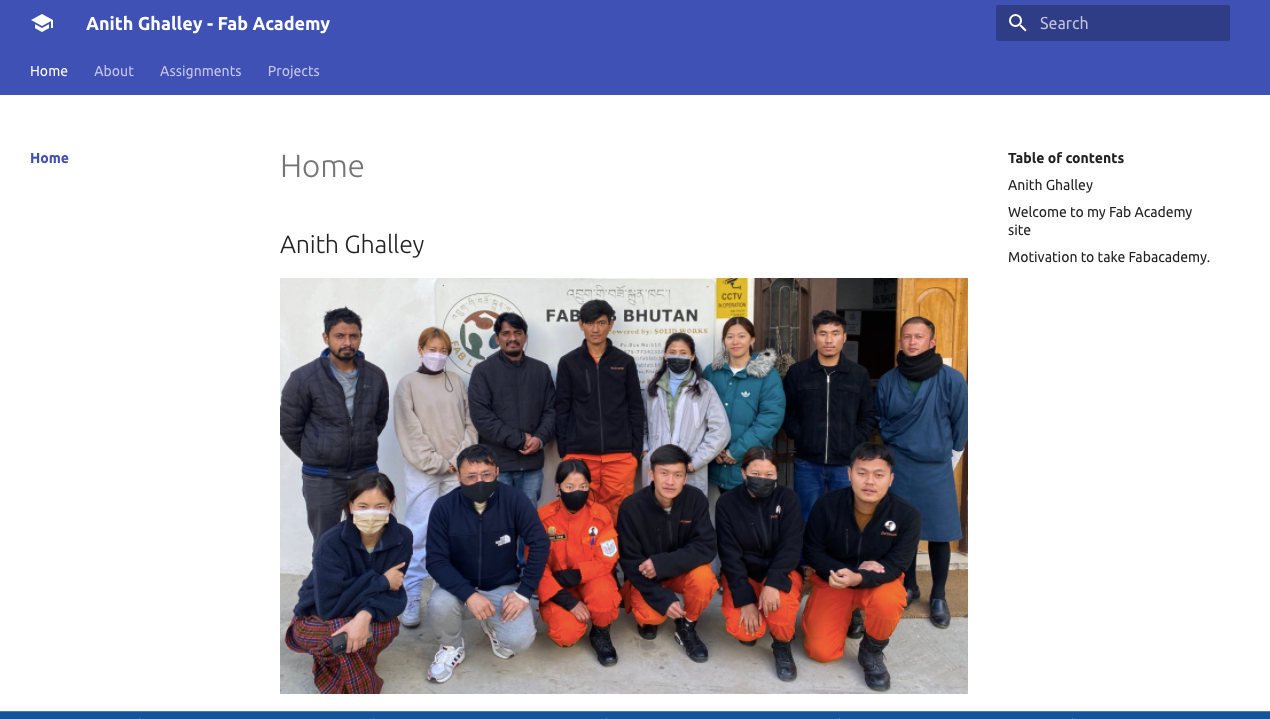
- The image below shows my fabacademy 2022 website homepage.
Tutorial Time.
So to explore on markdown, I learned basics and syntax for markdown from the tutorial given below.
- Take aways from the tutorial are:
- History and Setup : Basic background of markdown.
- Headings : Creating Headings and subheadings.
- Emphasis : Adding features to fonts and text.
- Blockquotes : Giving a different background to the text or paragraphs.
- Links : Inserting links in the documentation.
- Lists : Creating unordered and ordered lists.
- Inline Code Block : Writing a HTML code in between the markdown file.
- Images : Inserting images in the documentation.
- Github Code Blocks : Adding code and special highlights for different programming language codes.
- Github Tables : Generating tables using markdown.
- Github Task Lists : Creating task lists.
- Push to Github : Pushing files to github.
- HTML Version : Converting markdown to html with all the html tags.
Documentation.
So, after learning the syntax, and going over the repository. It became clear, since the files were already created for the assignments, final project, about me and a home page file.
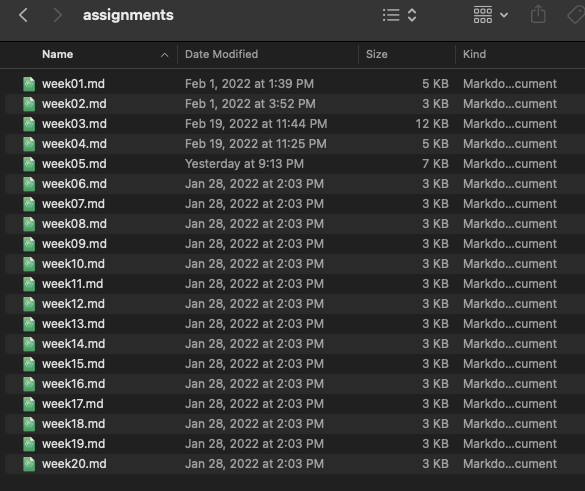
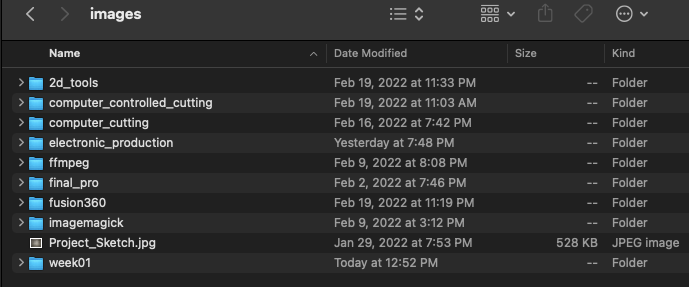
And inside docs folder, an image folder is created to store all the documentation related images.
And Finally I was good to go and start documentation using markdown.
Pushing to git.
- Most used command while working with git.
git pull
git add --all
(check size)
git commit -m "message"
git push
The first command I always execute is.
git status
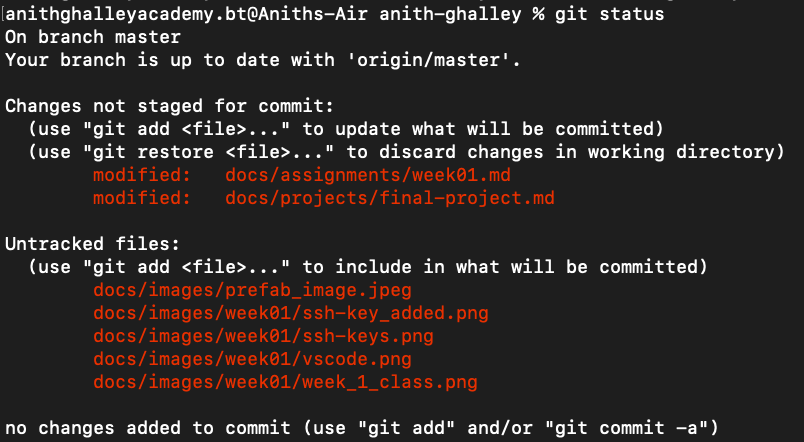
- The git status command displays the state of the working directory and the staging area.
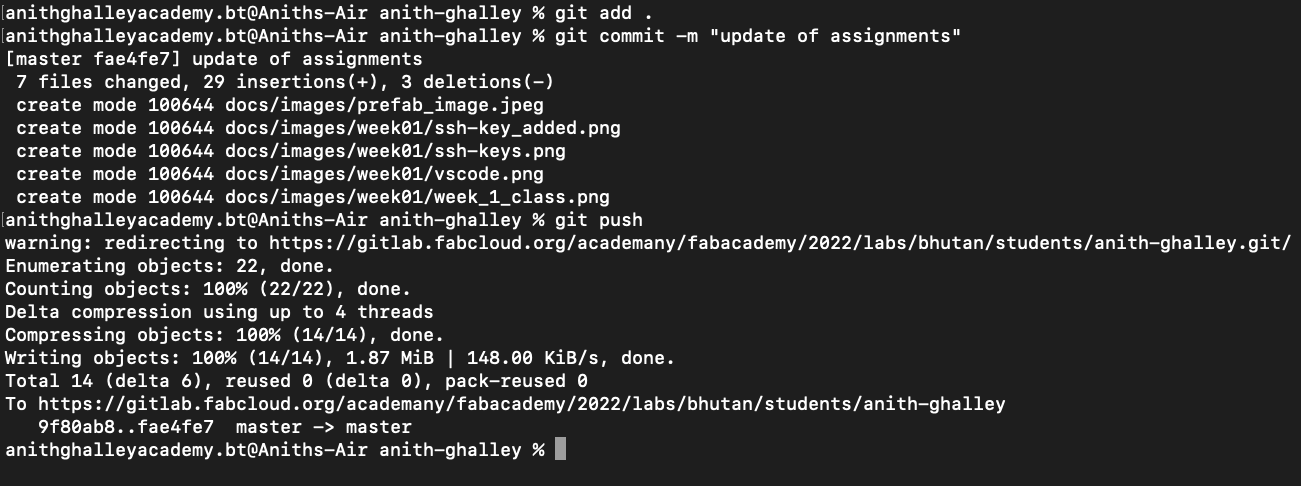
After working out and editing my files, I pushed all the files to the gitlab account. The screenshot below indicate the process while pushing the files.
git add .
git commit -m "message"
git push
Markdown in VScode.
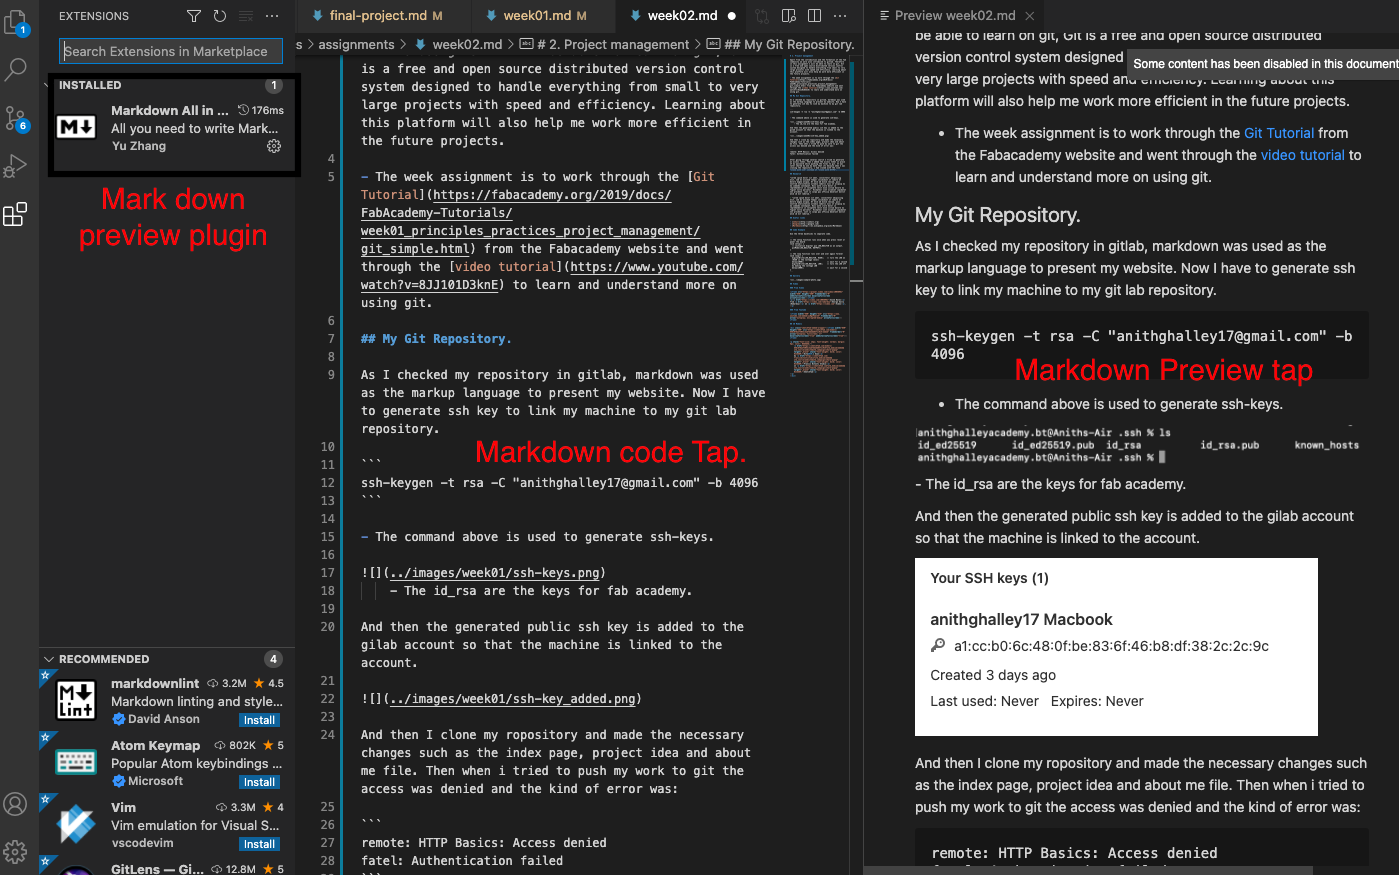
- By installing “Markdown All In One”, I was able to edit the files with live preview of my documentation. This feature was of great use and very simple to work on to edit our files.