Final Project
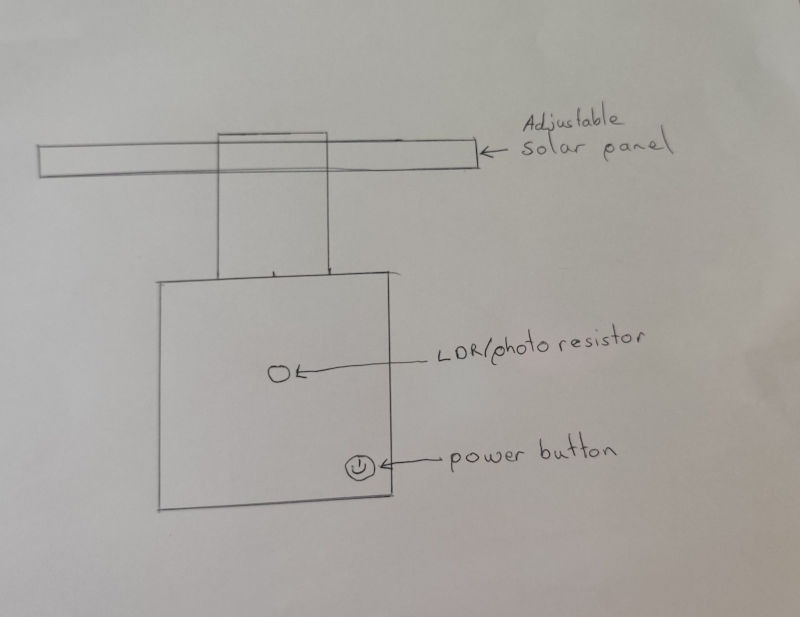
Proto Trac ( a solar tracking project)
A renewable energy project which would not only have a real world application but can be used in my work for educating visitors of the technology.
Final Project Slide

Final Project Video
2D and 3D Modeling
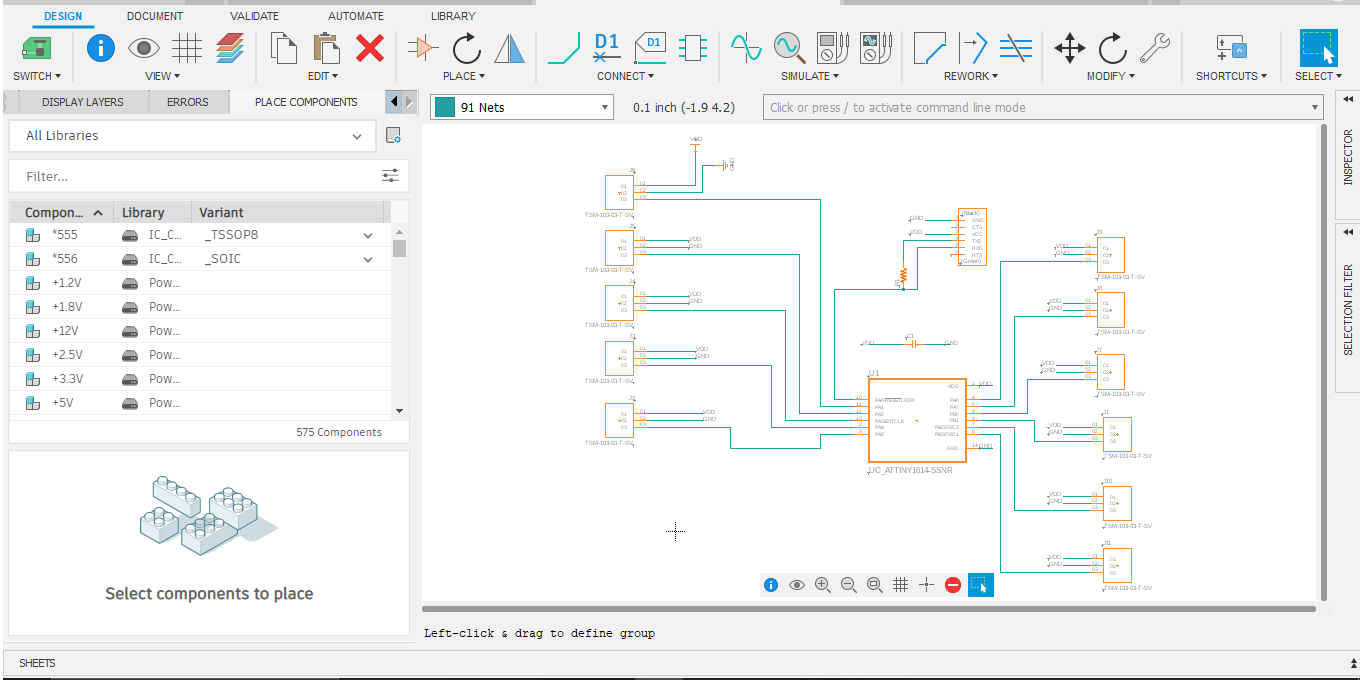
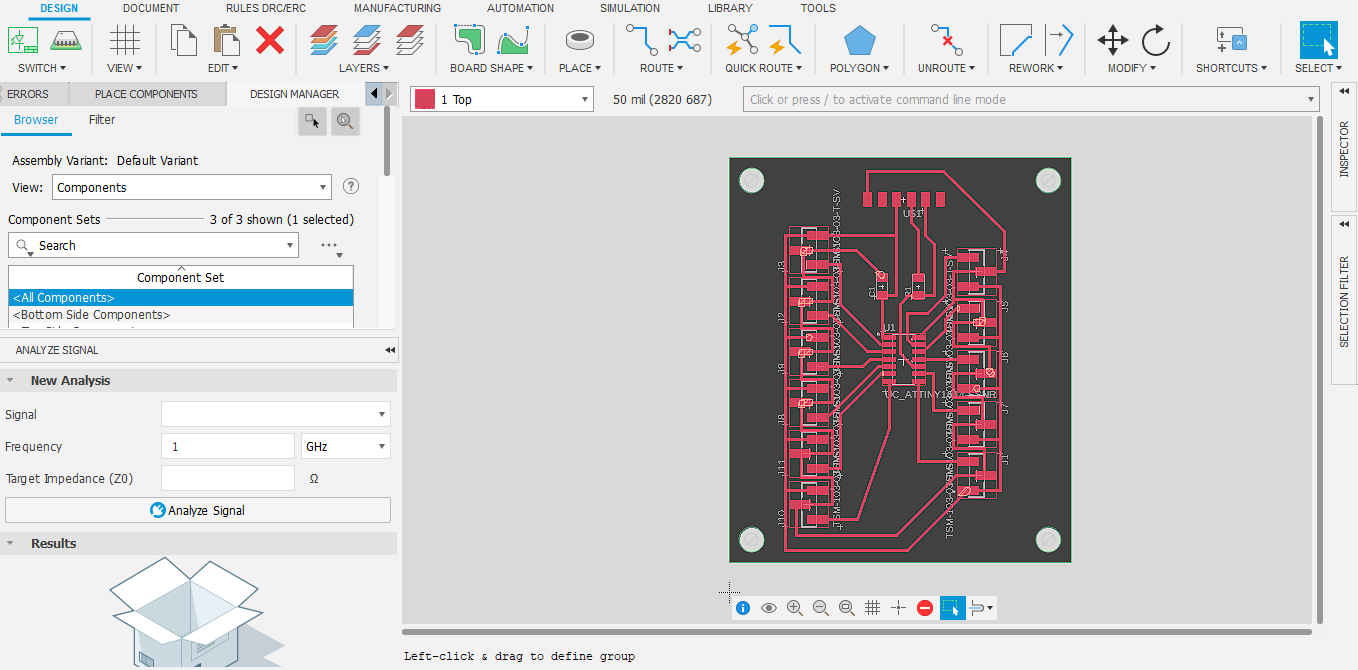
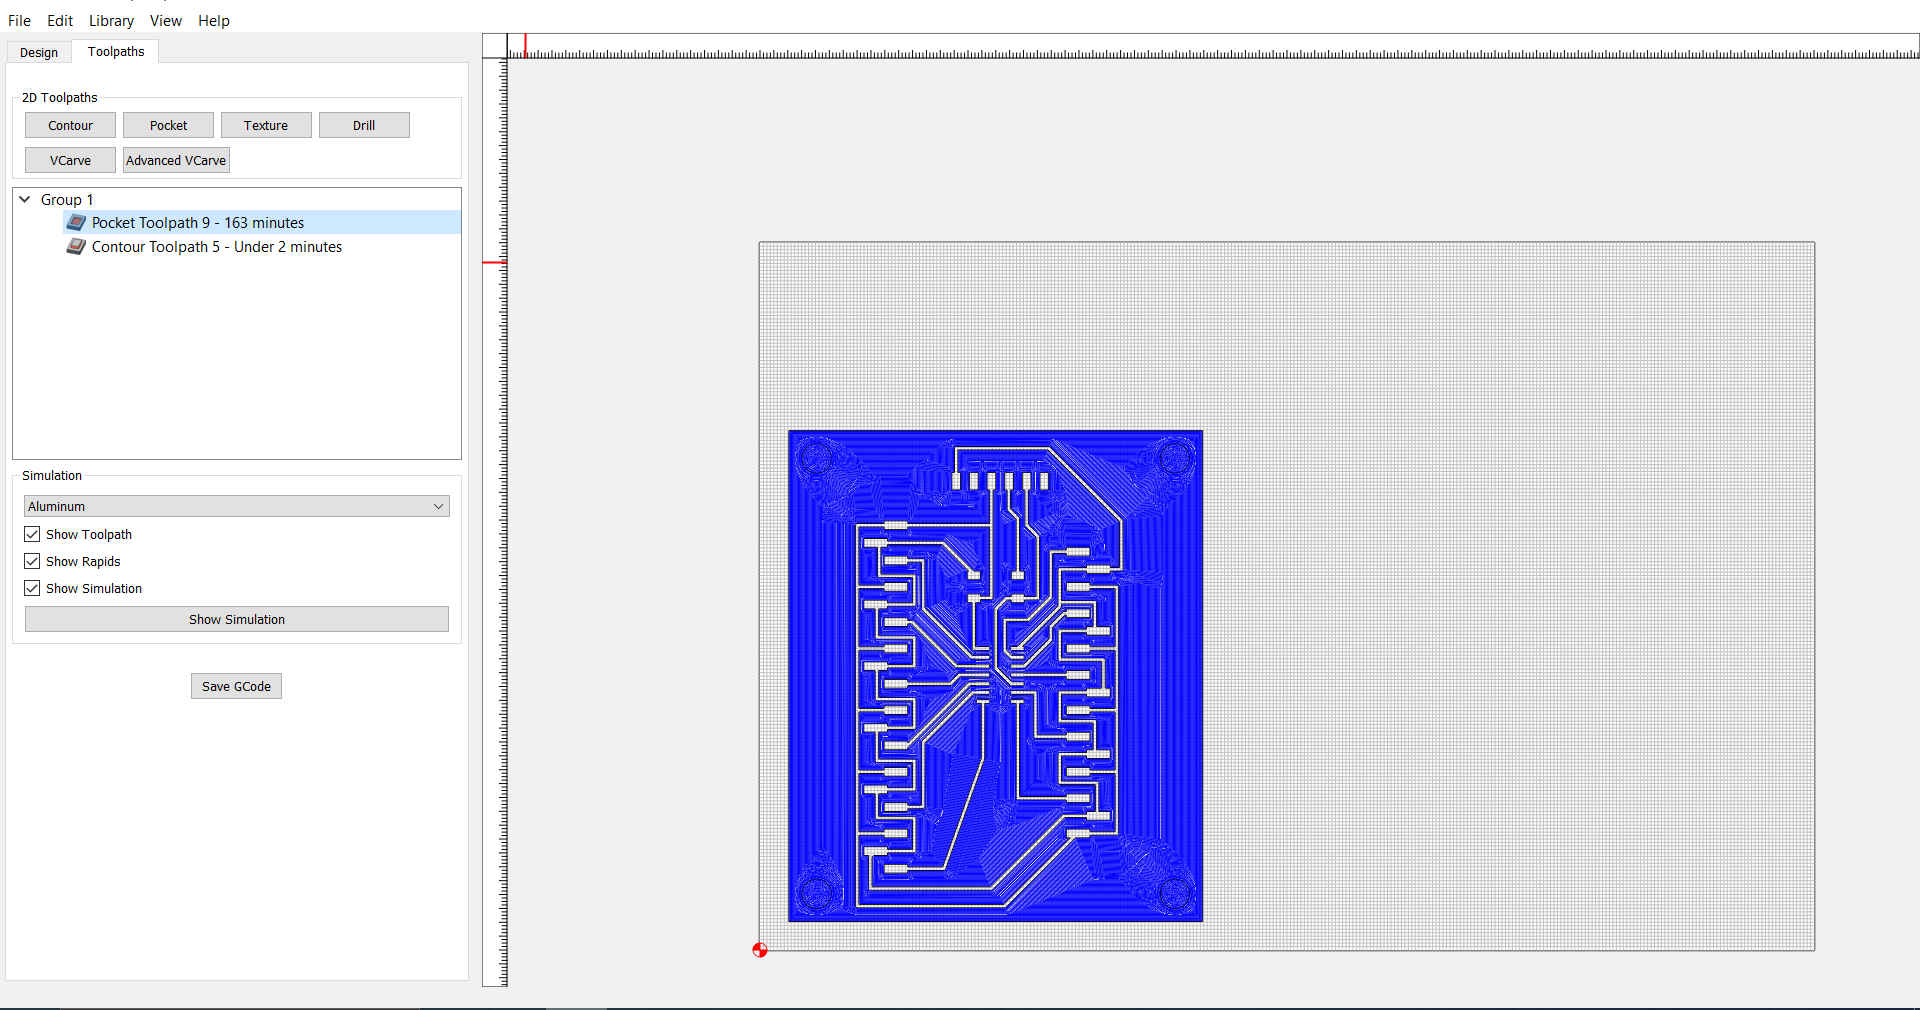
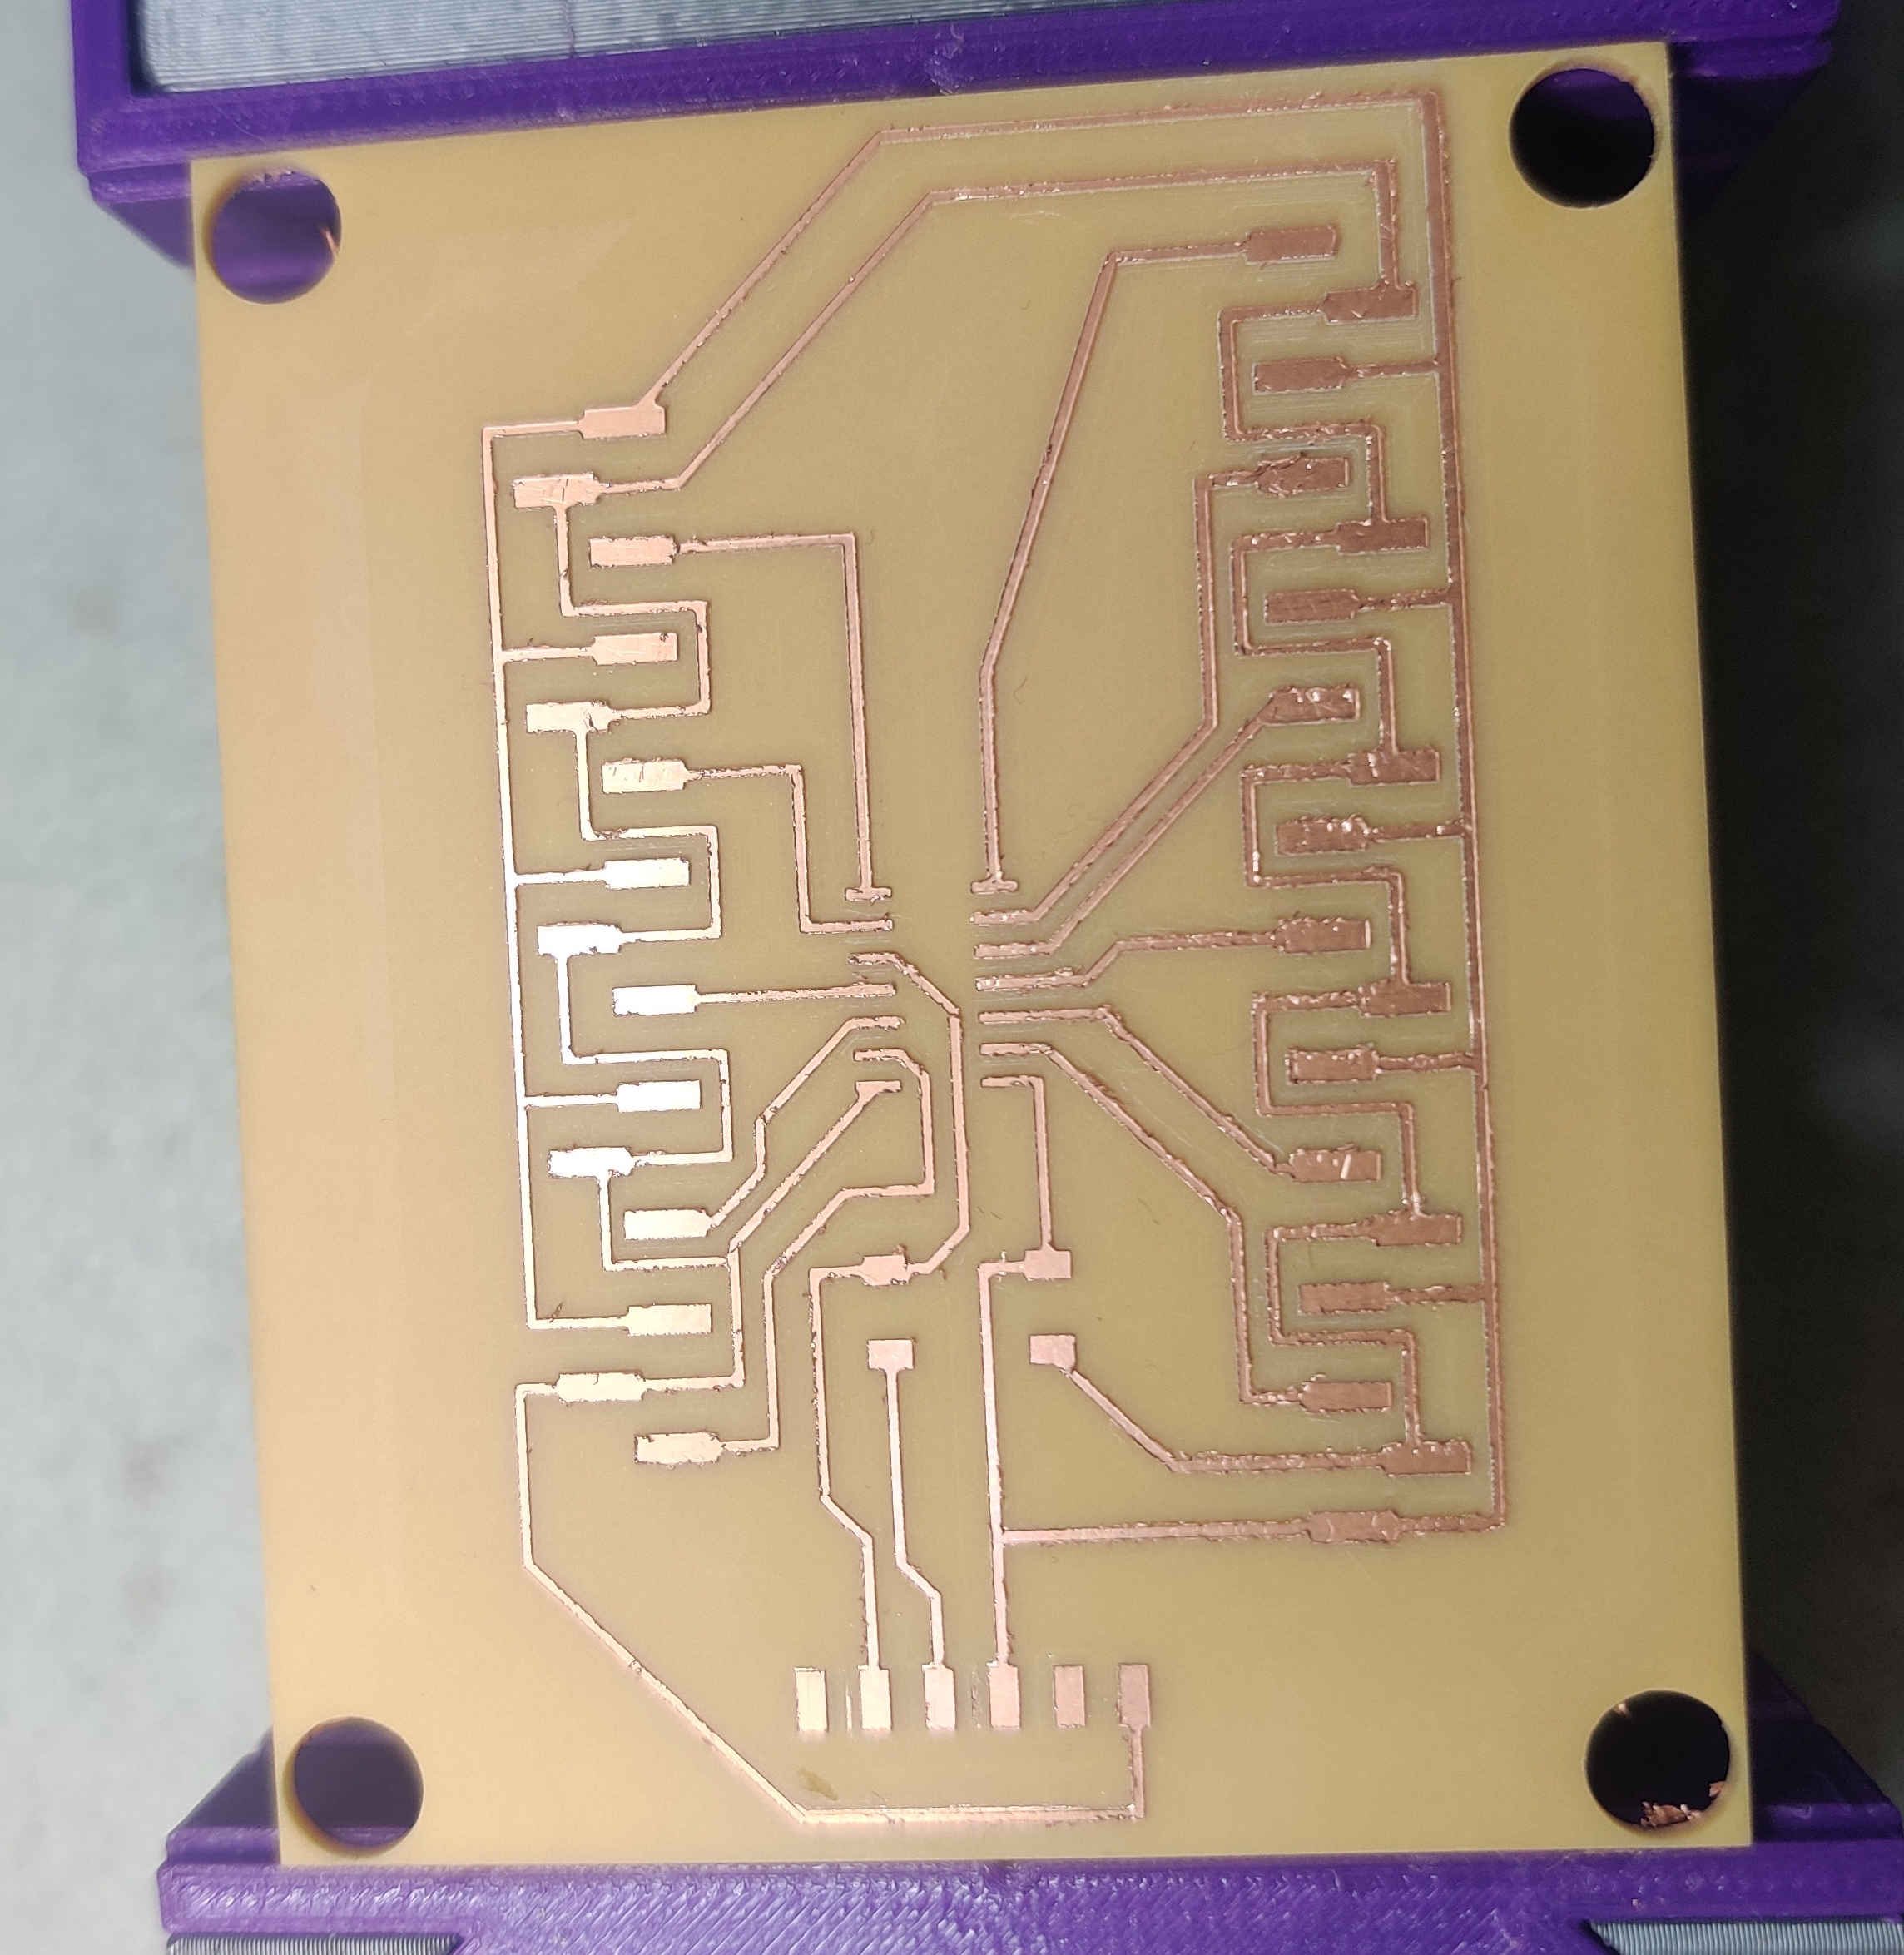
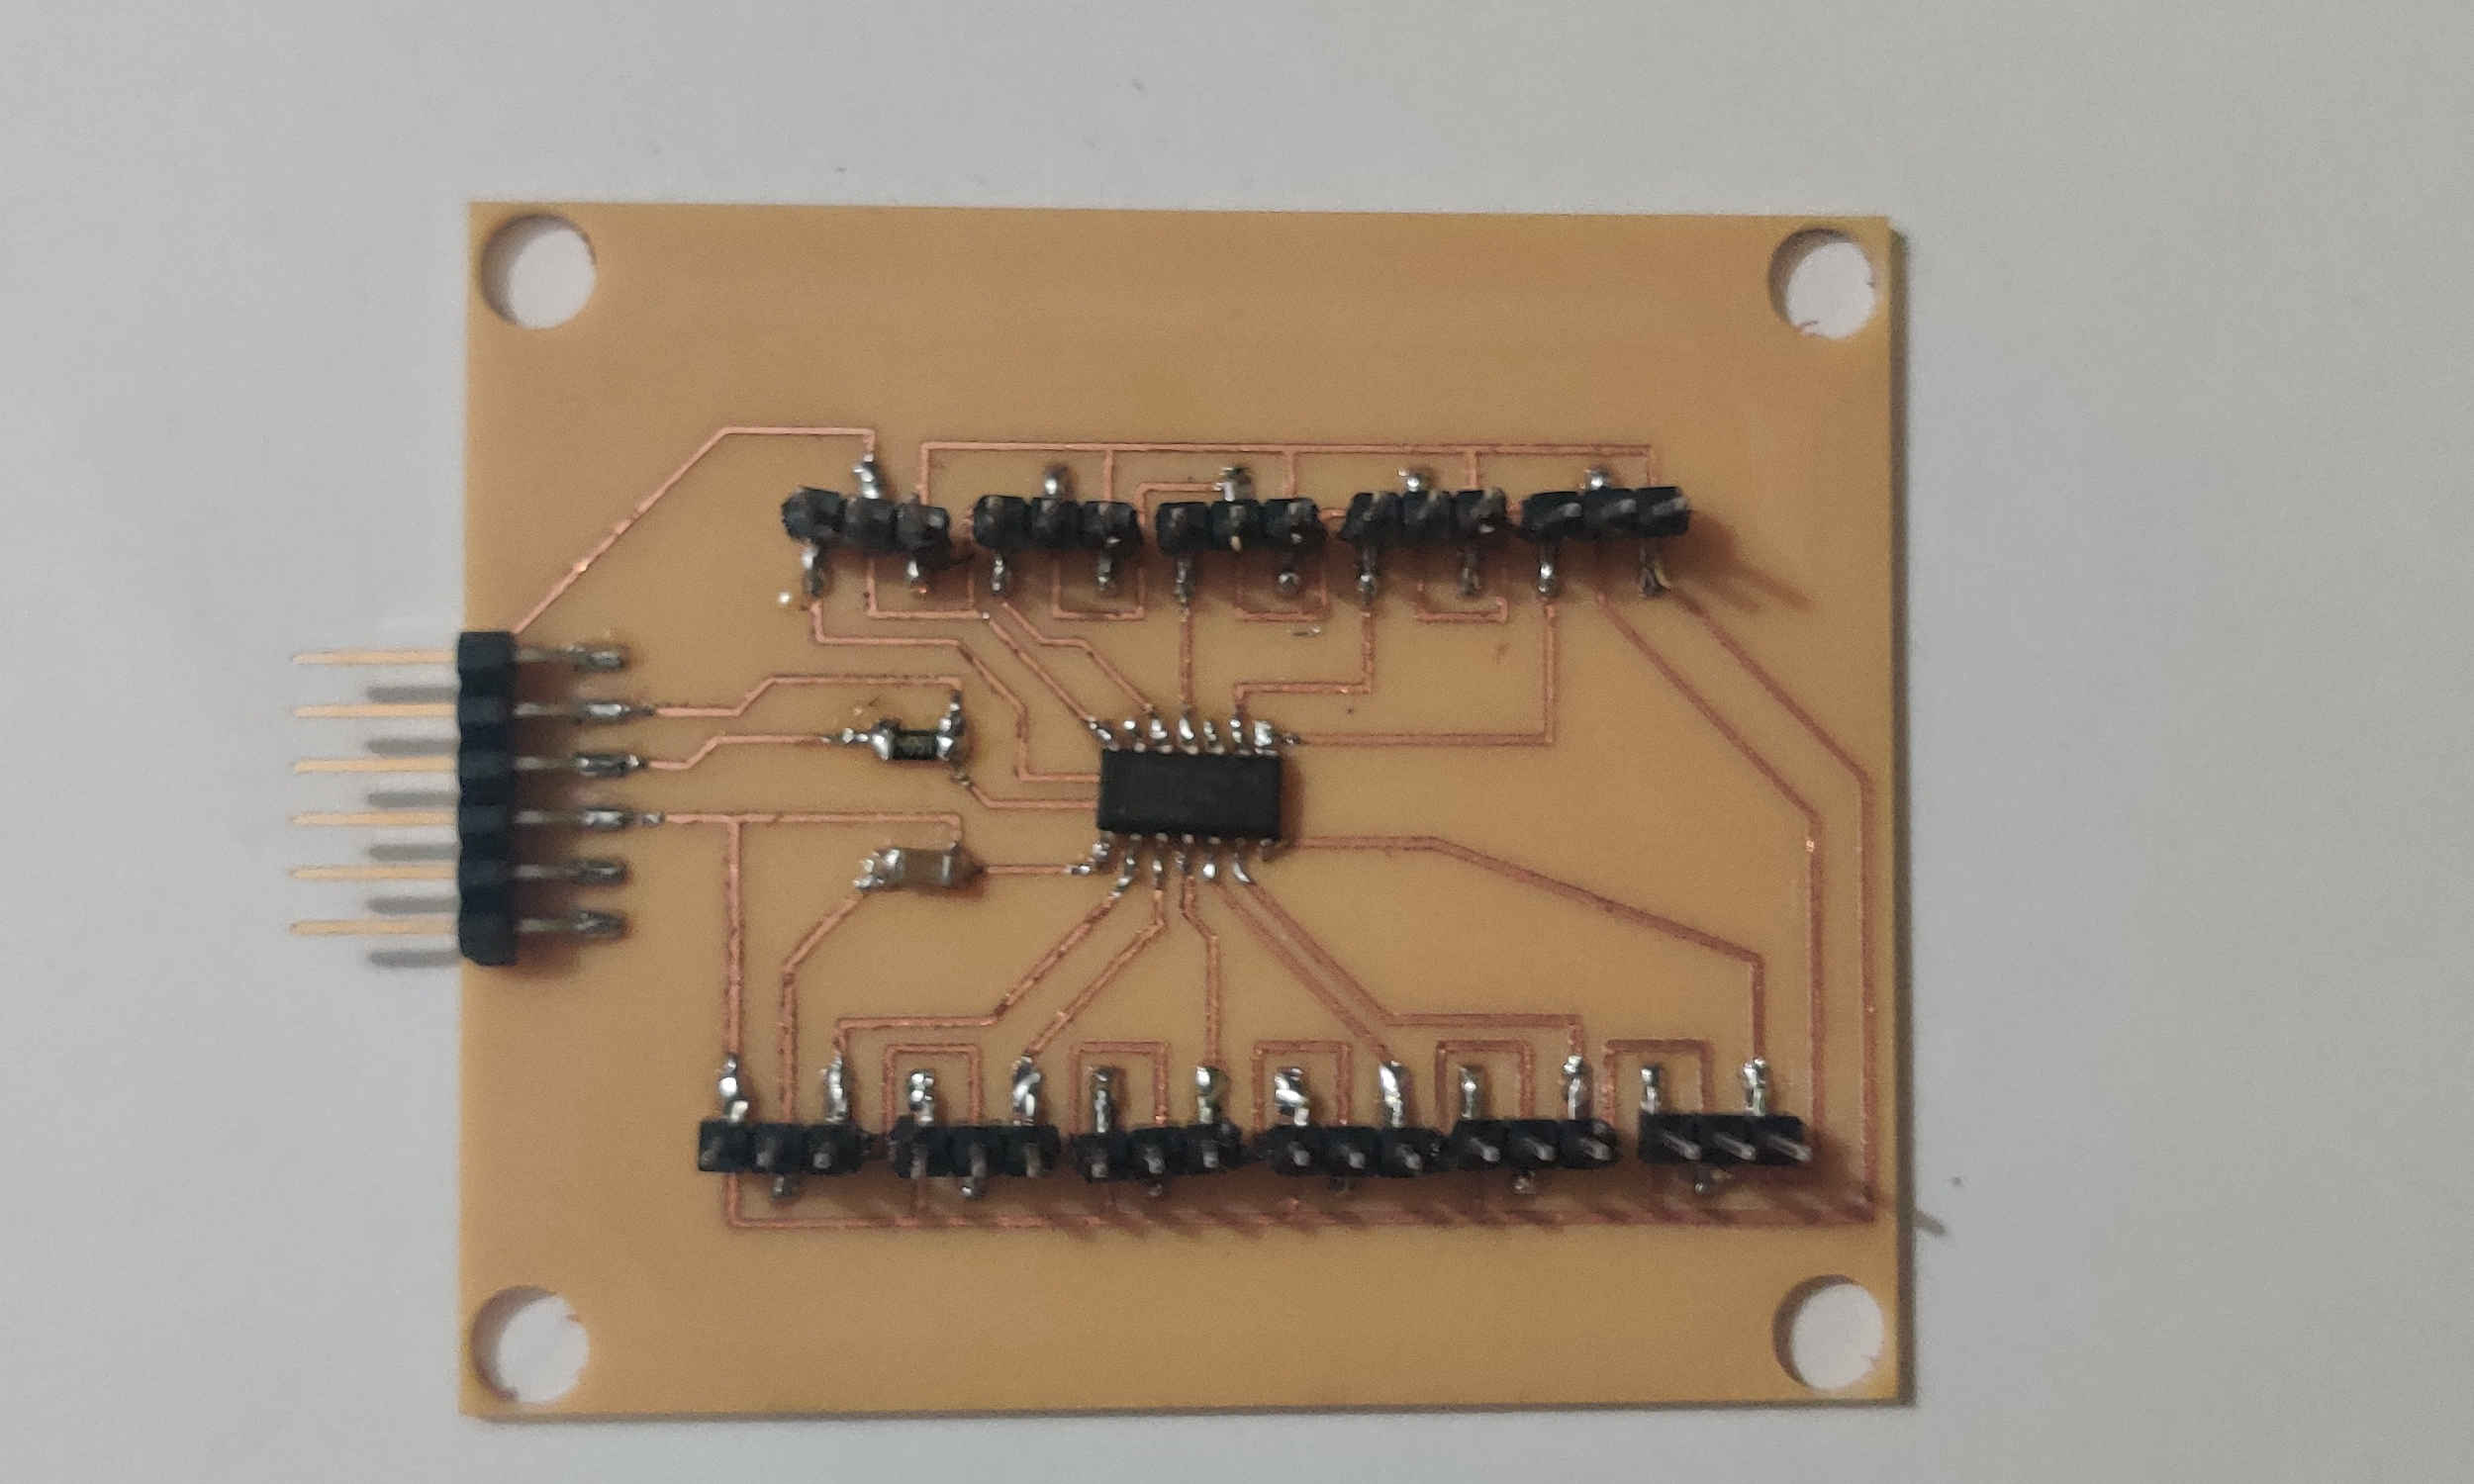
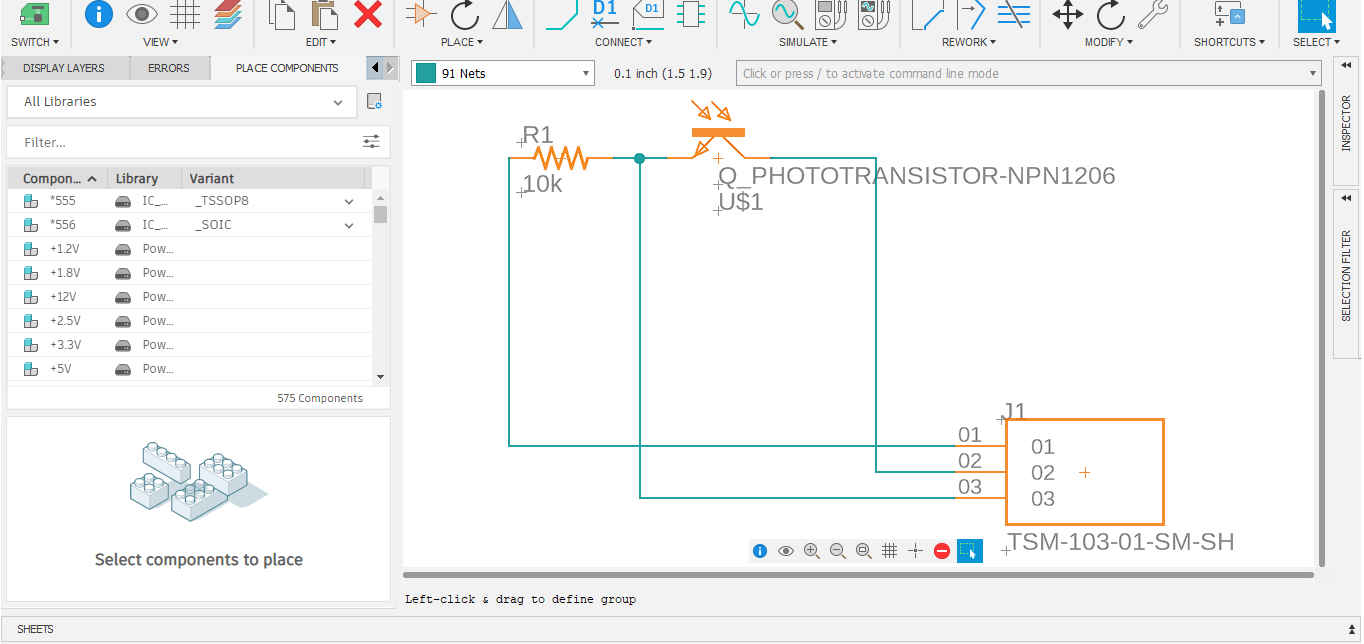
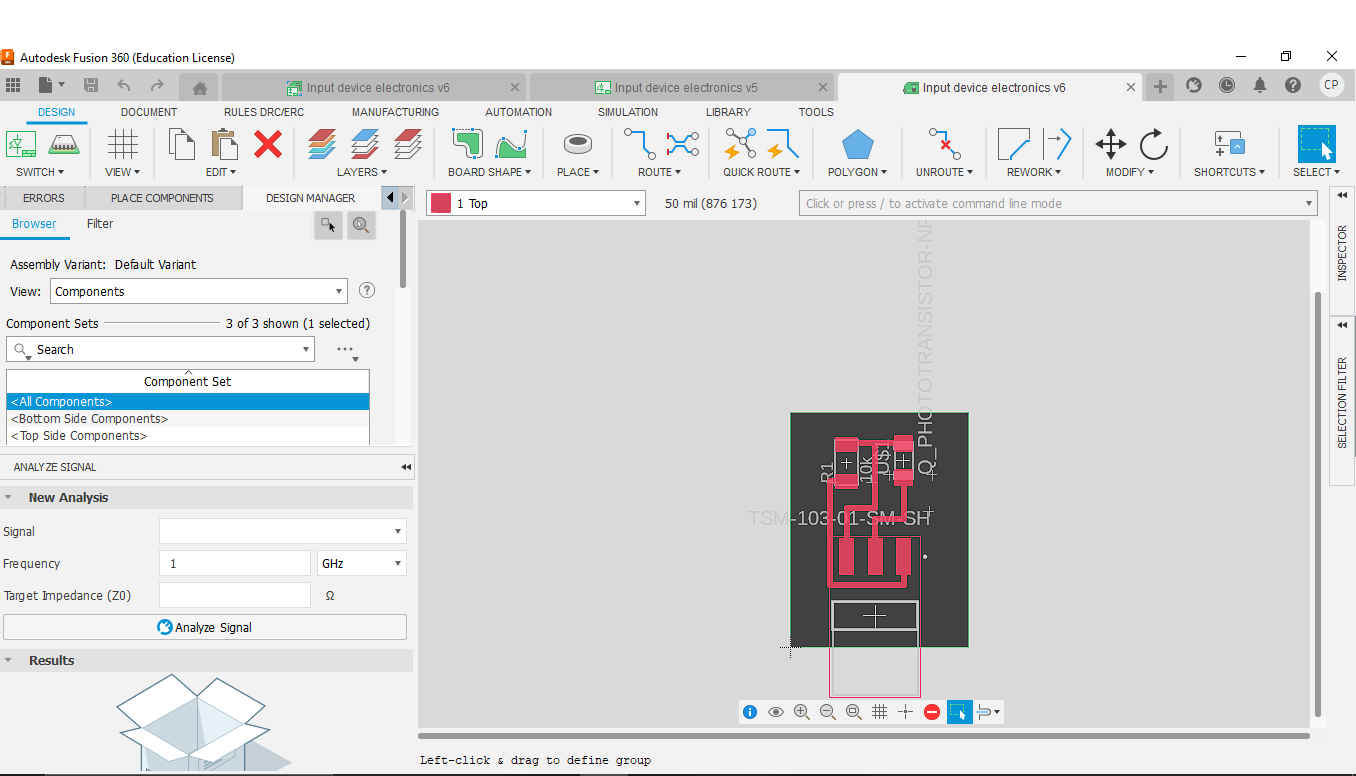
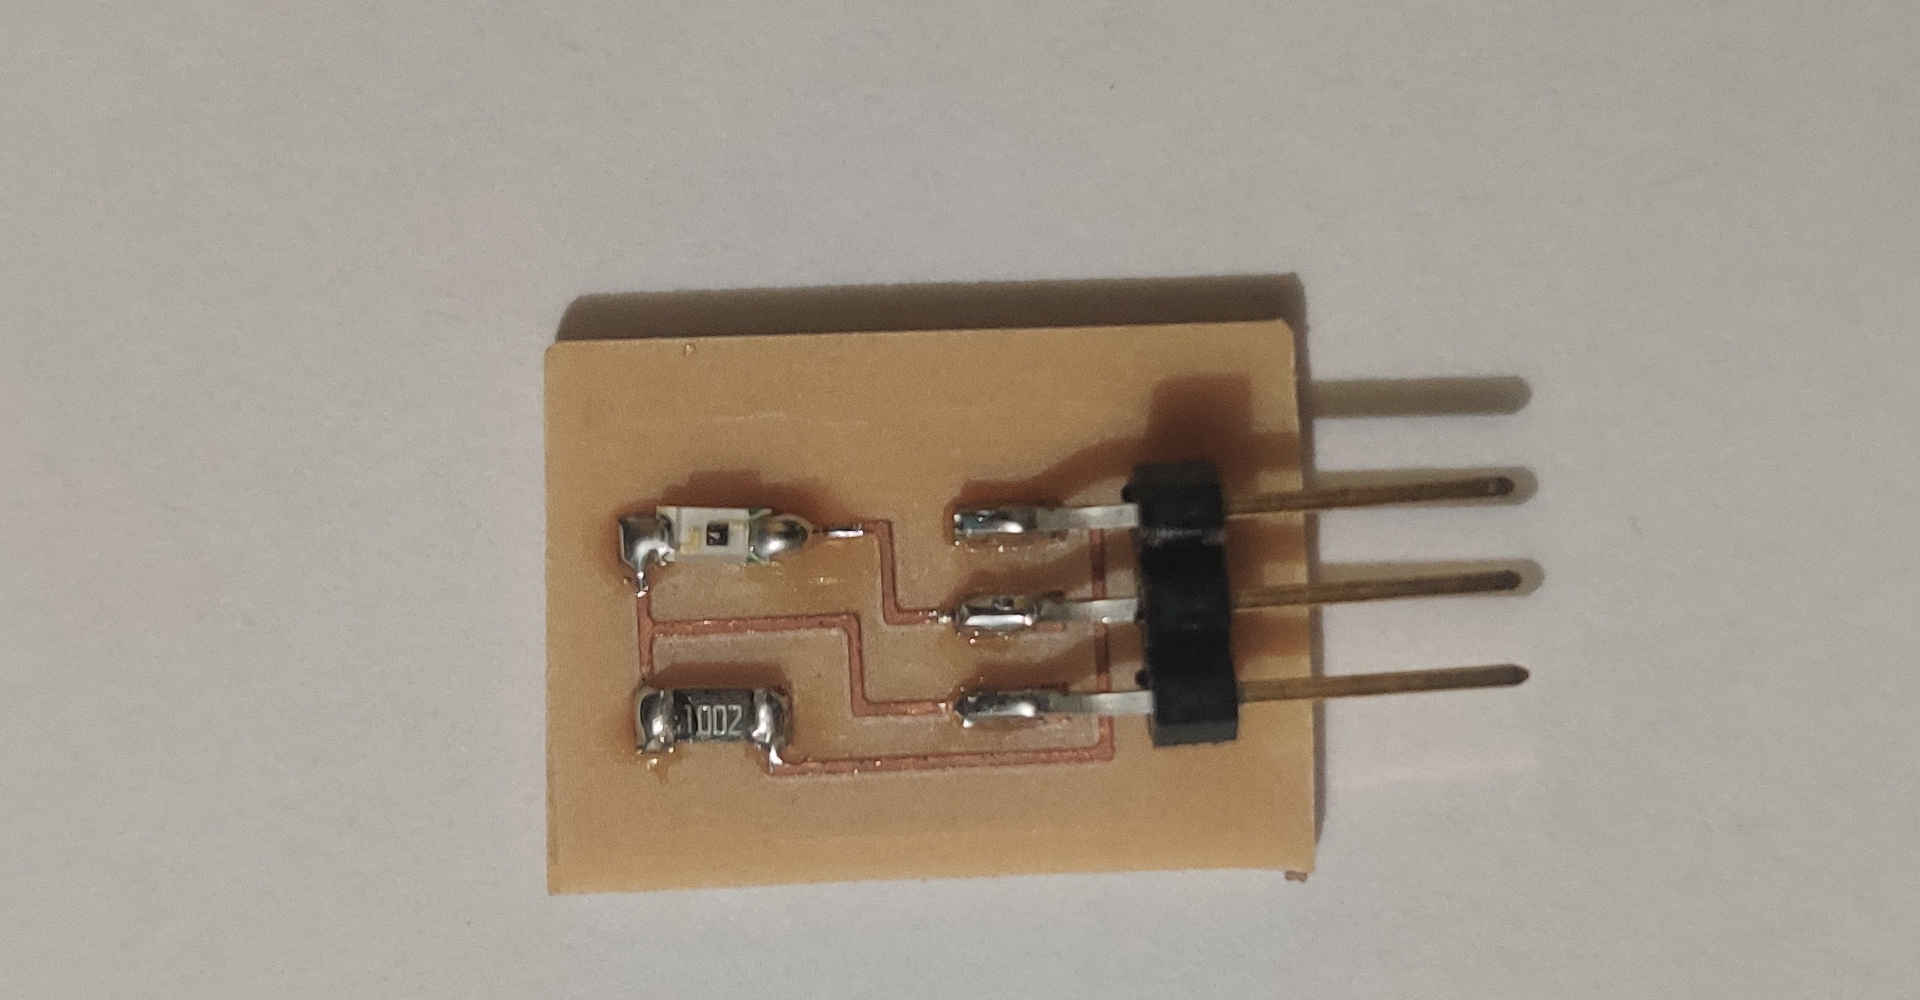
Electronics Design
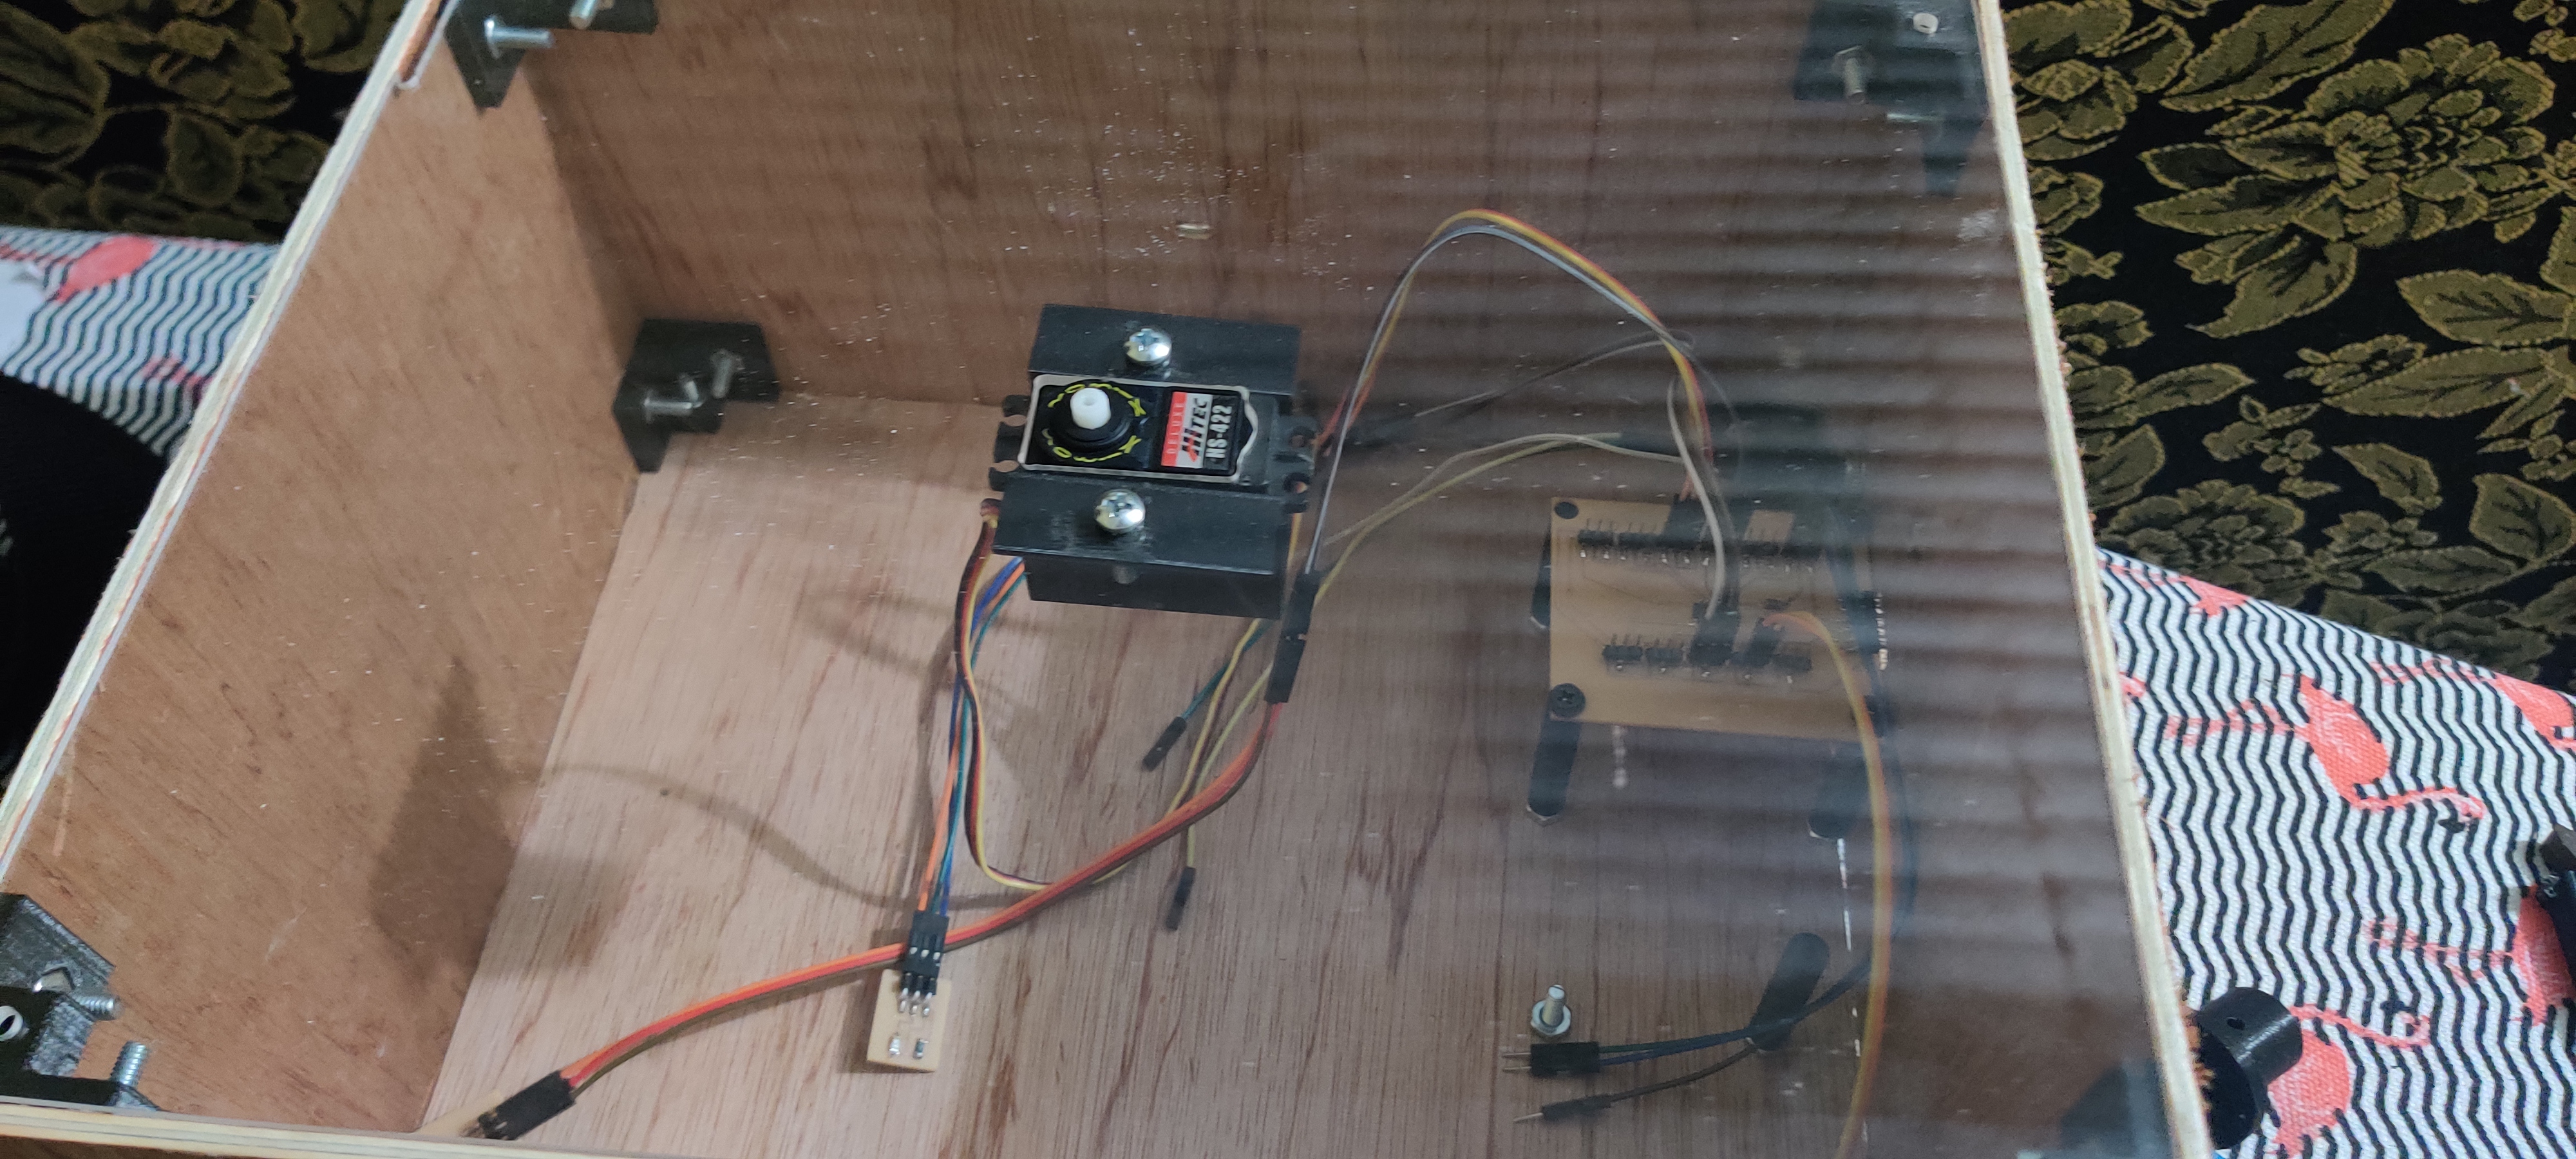
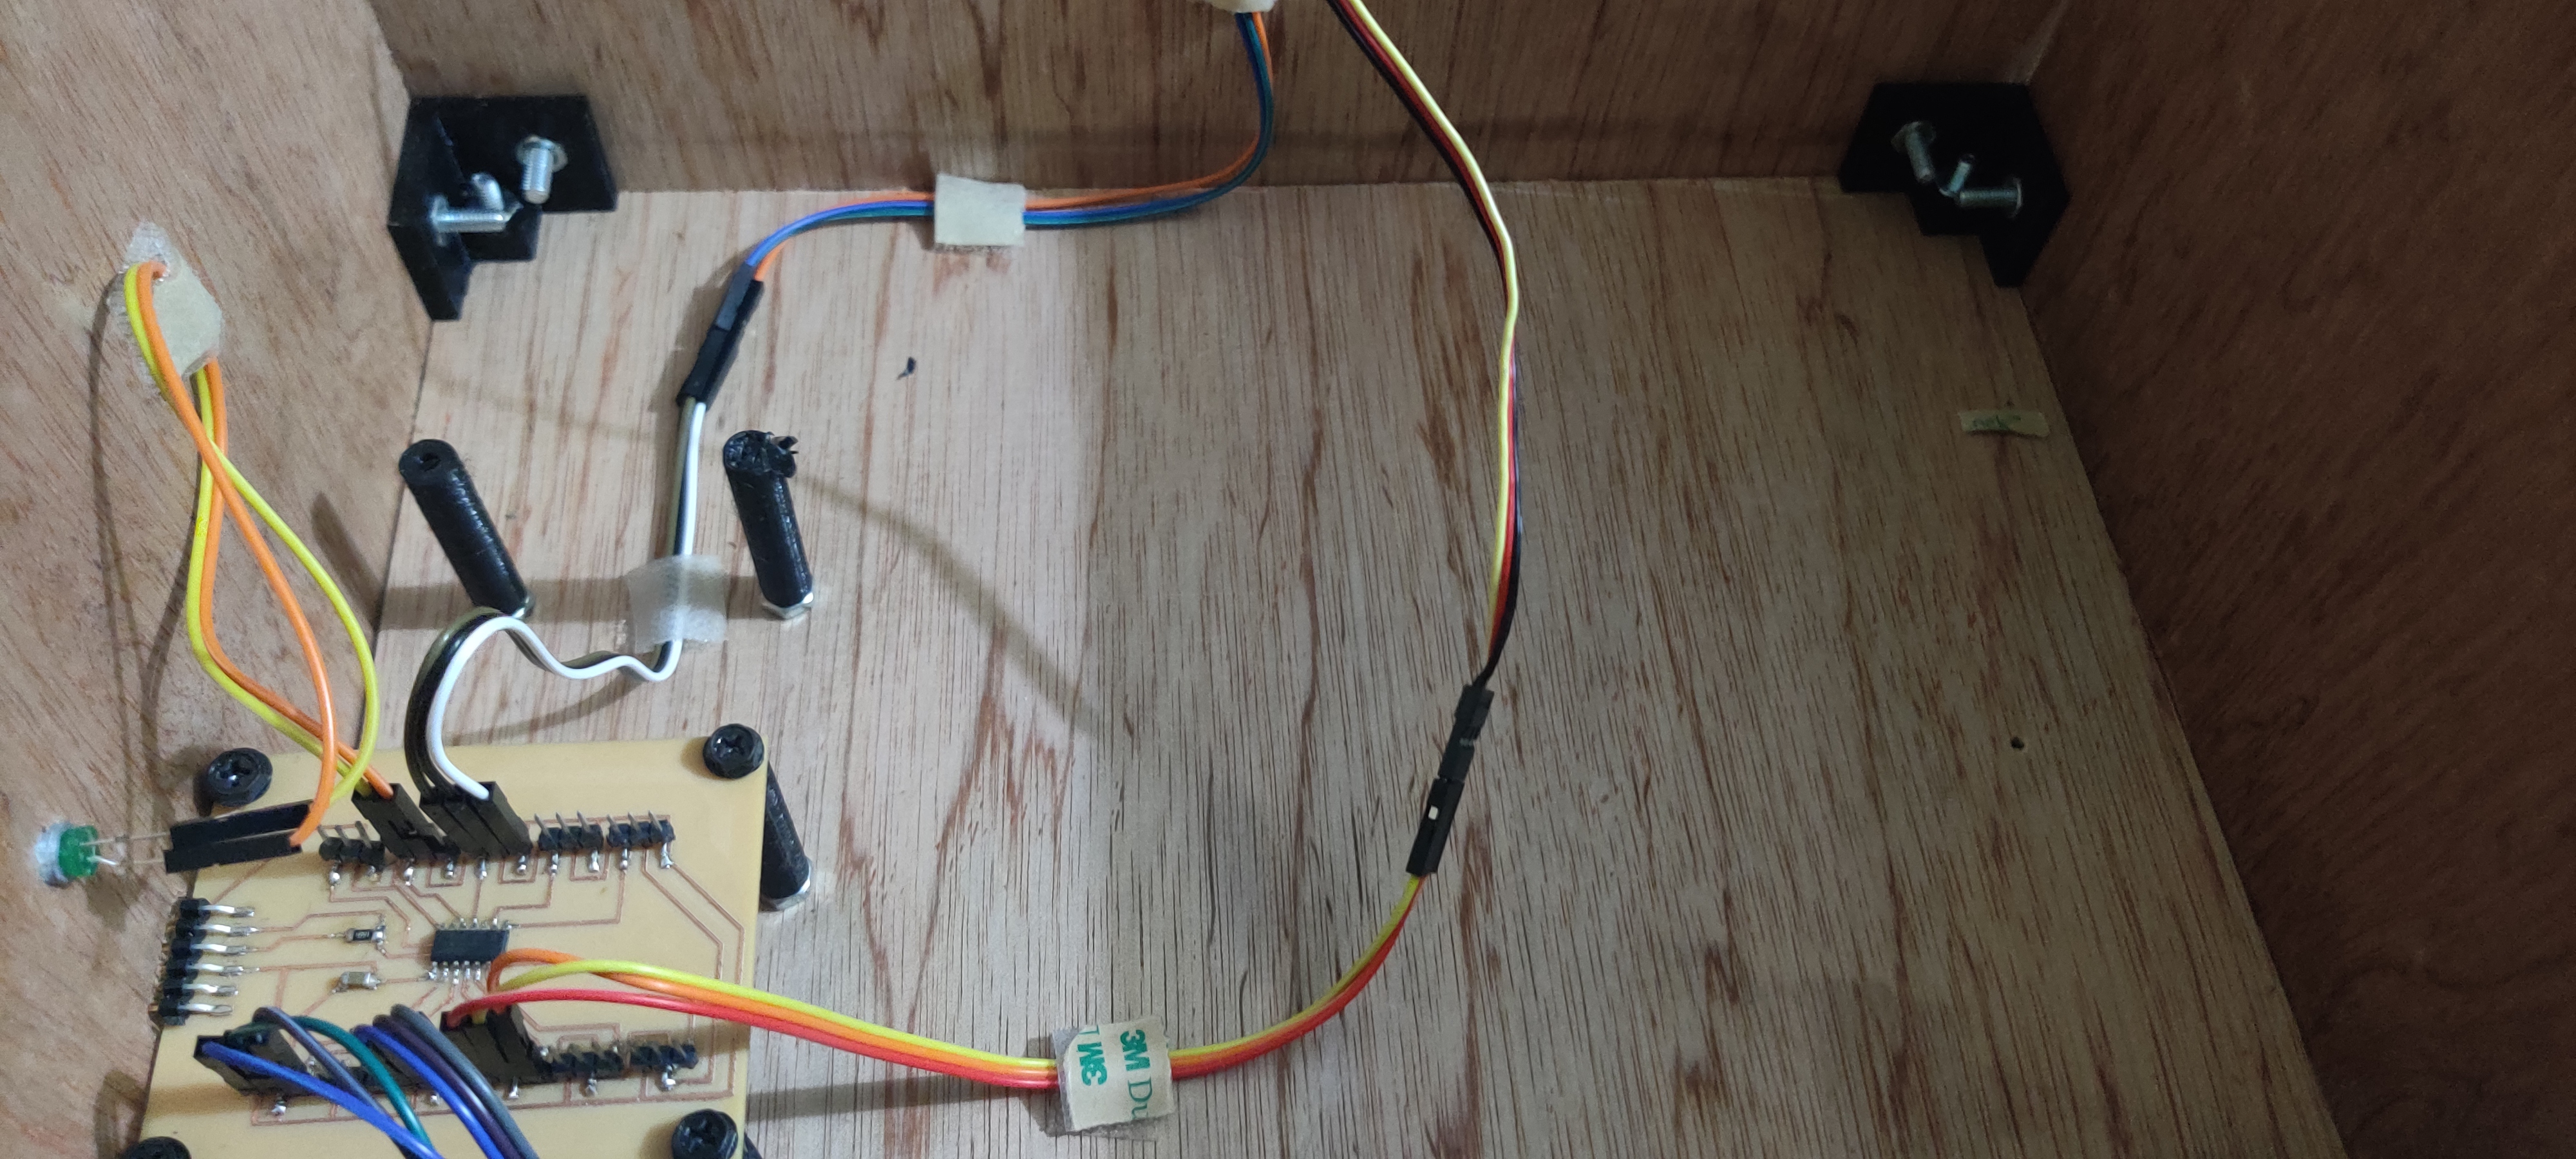
For my final project I uitilised the PCB board I created during my output week to control the stepper motor and input week to control the sensors.
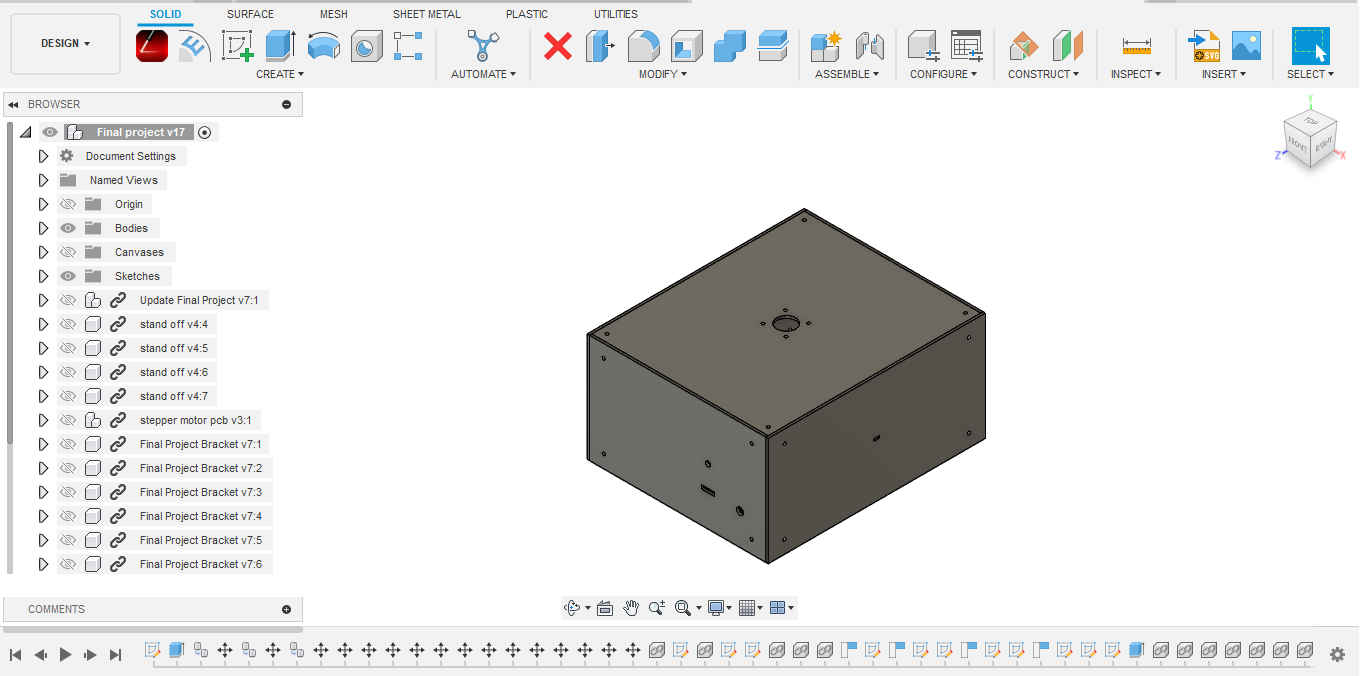
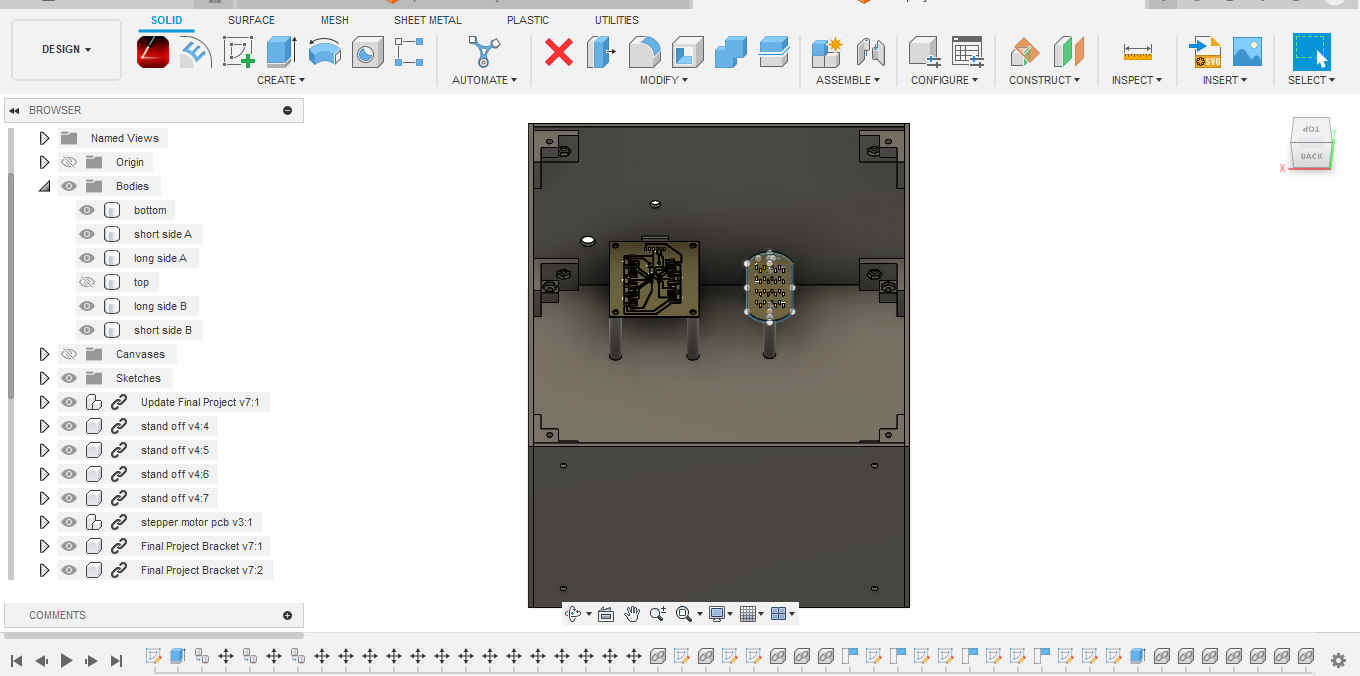
Computer Aided Design with Fusion
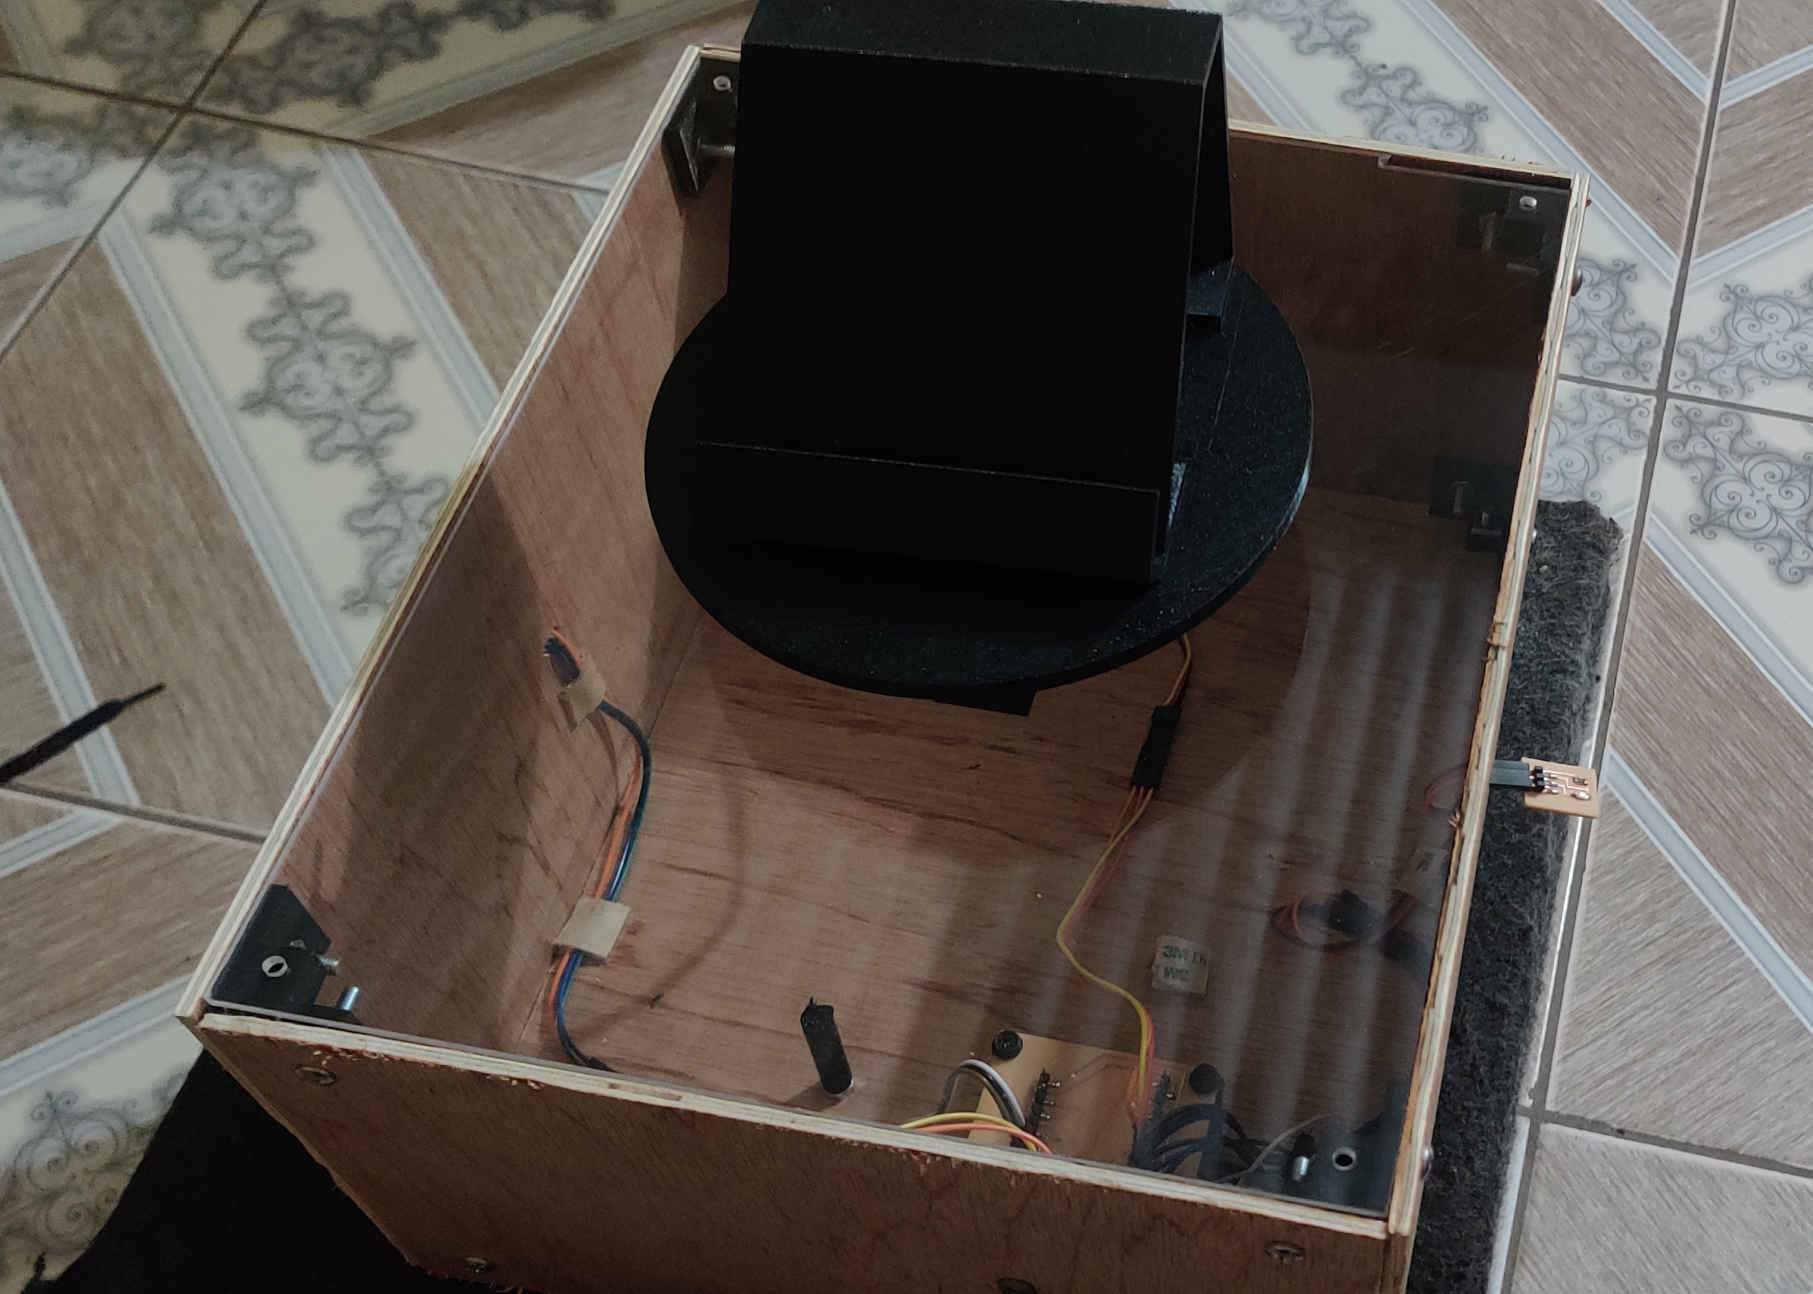
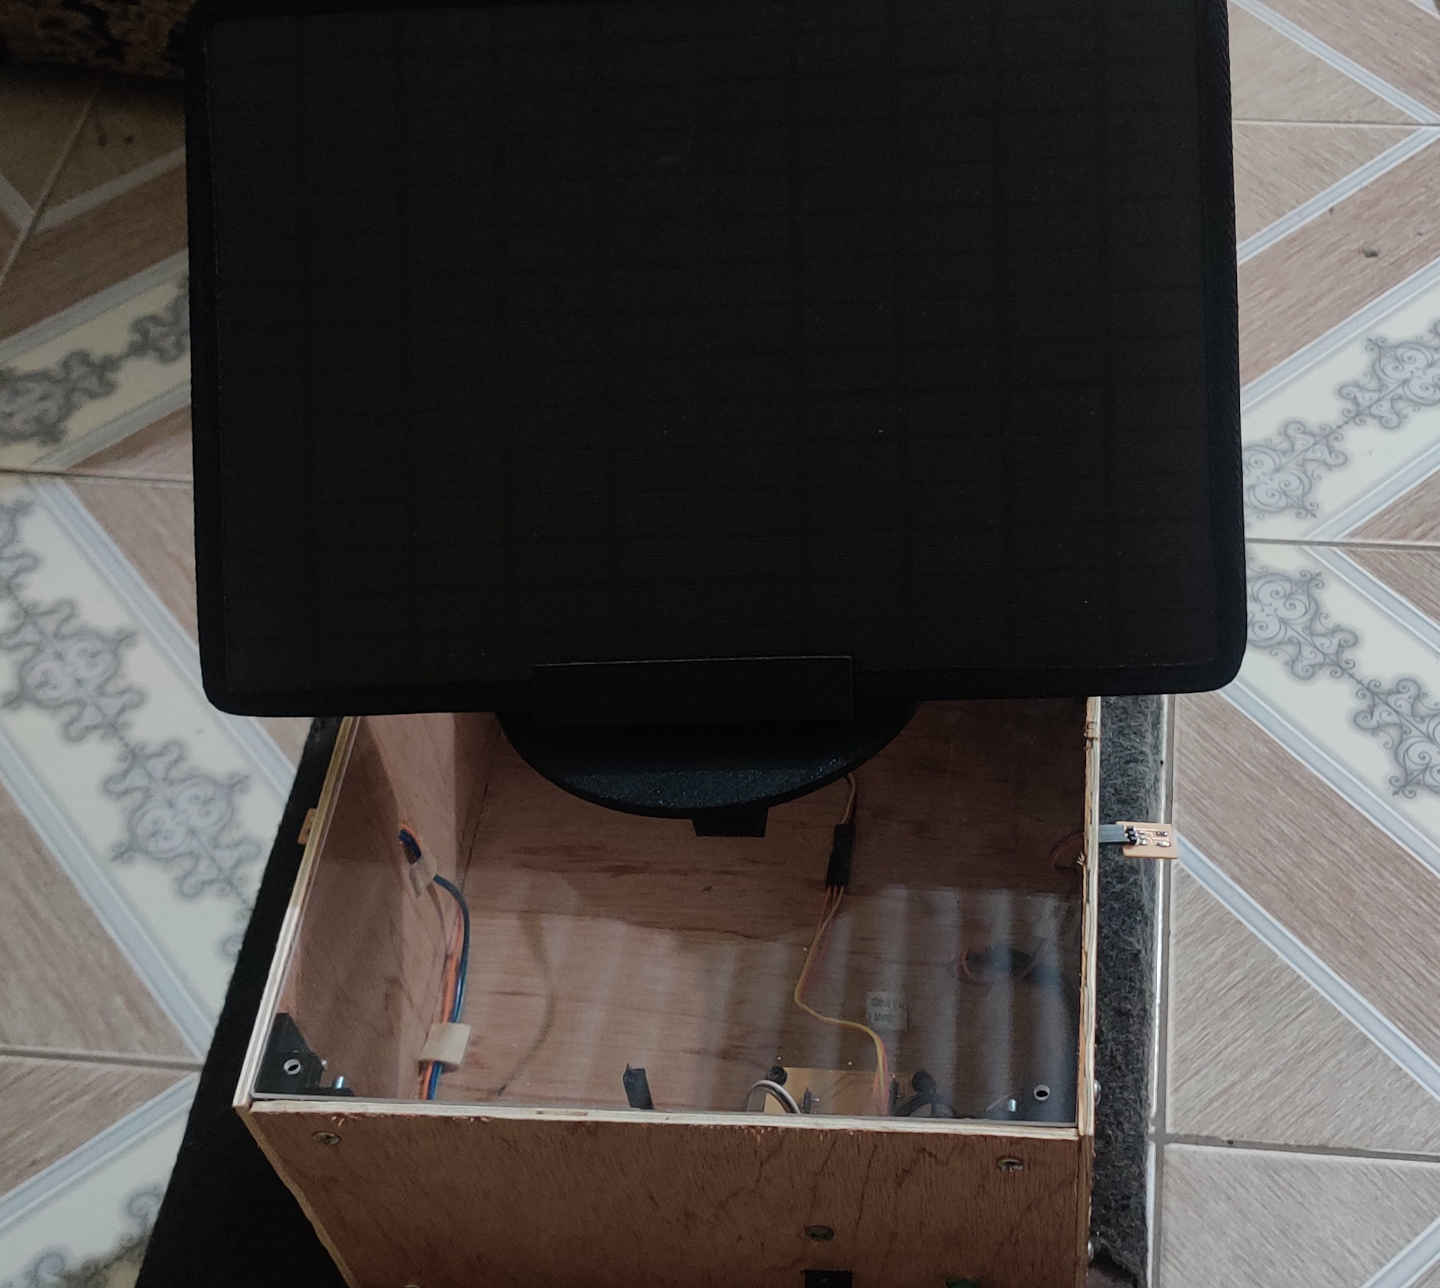
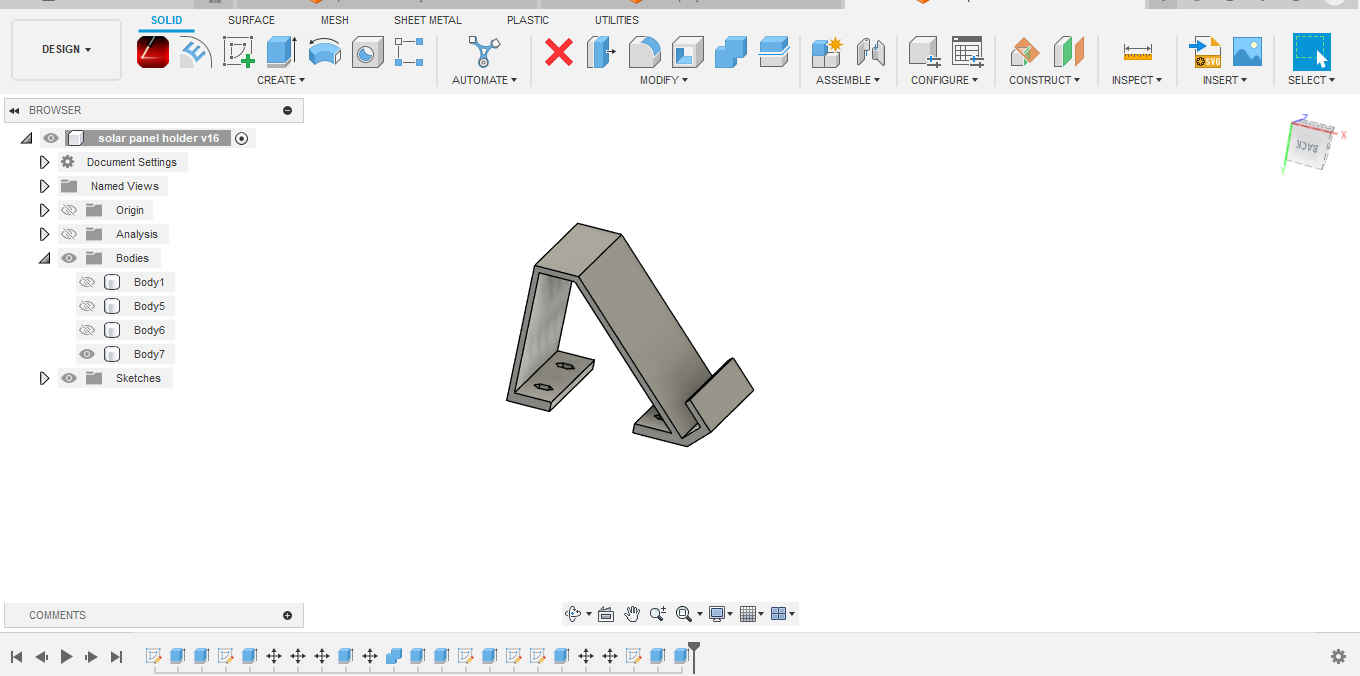
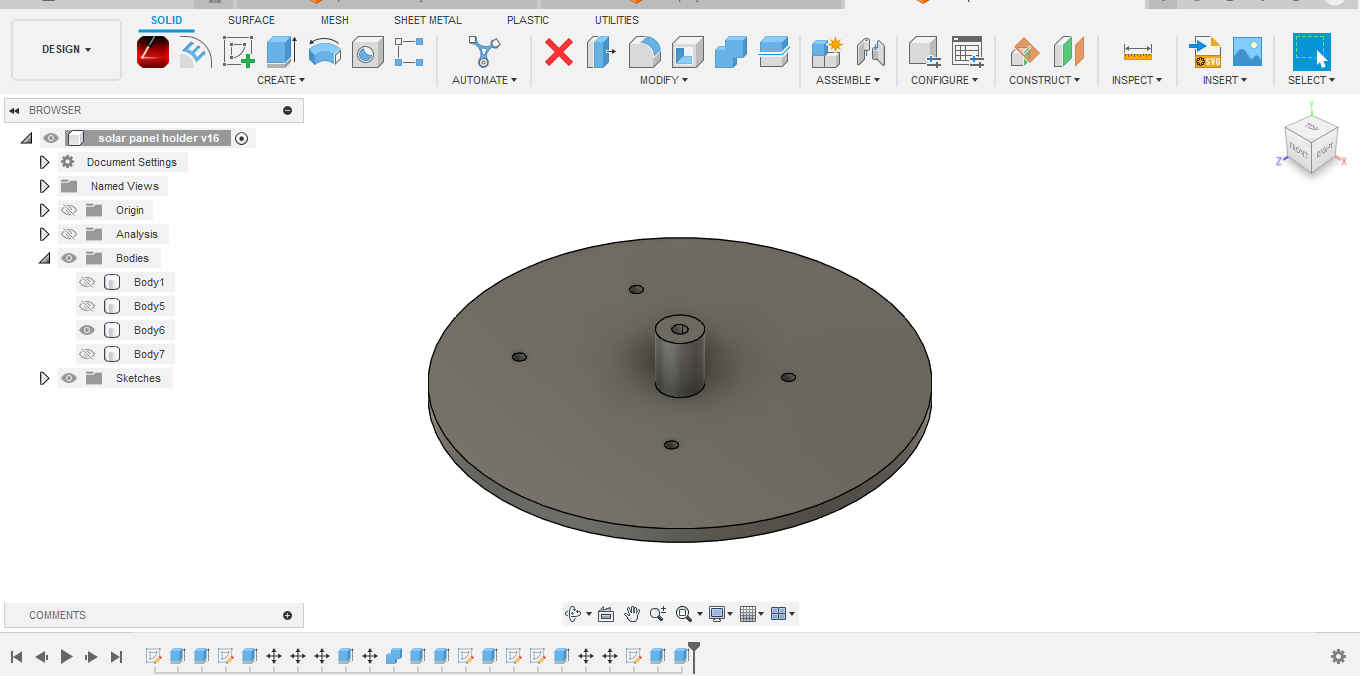
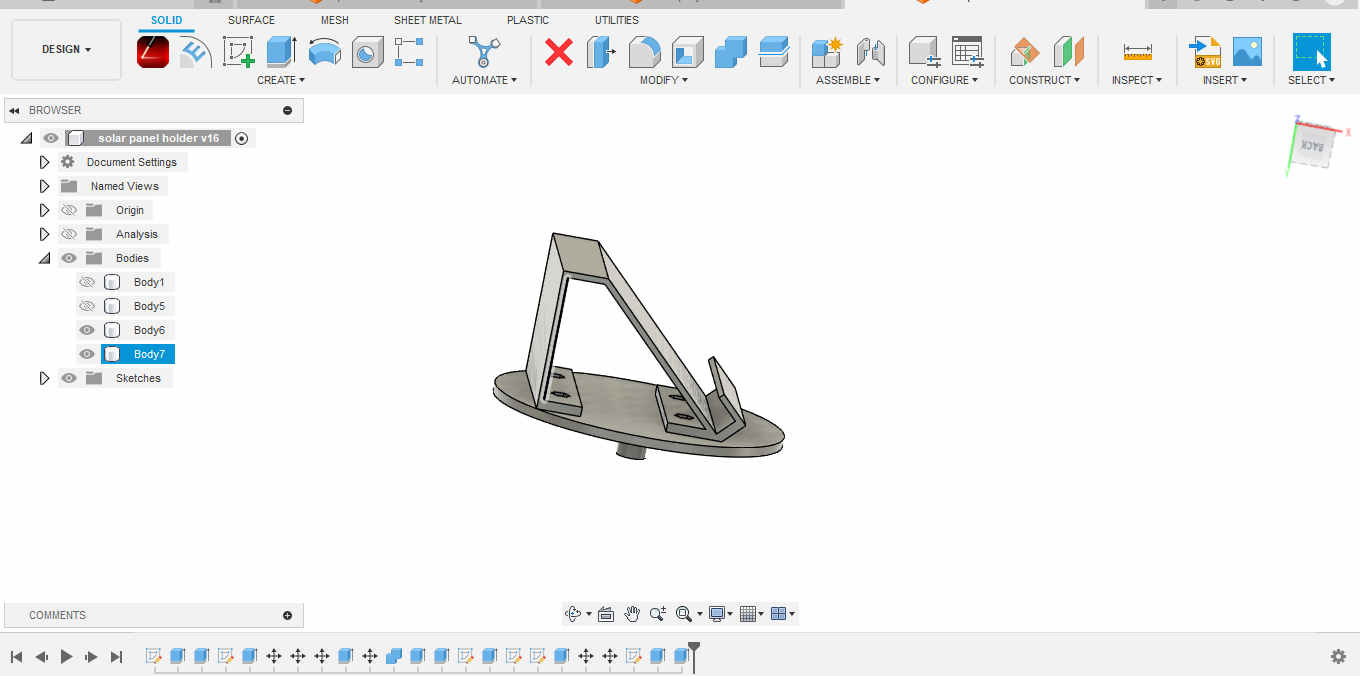
For my final project I designed the enclosure in Fusion 360 . This allowed me to visualise the project before it was created.
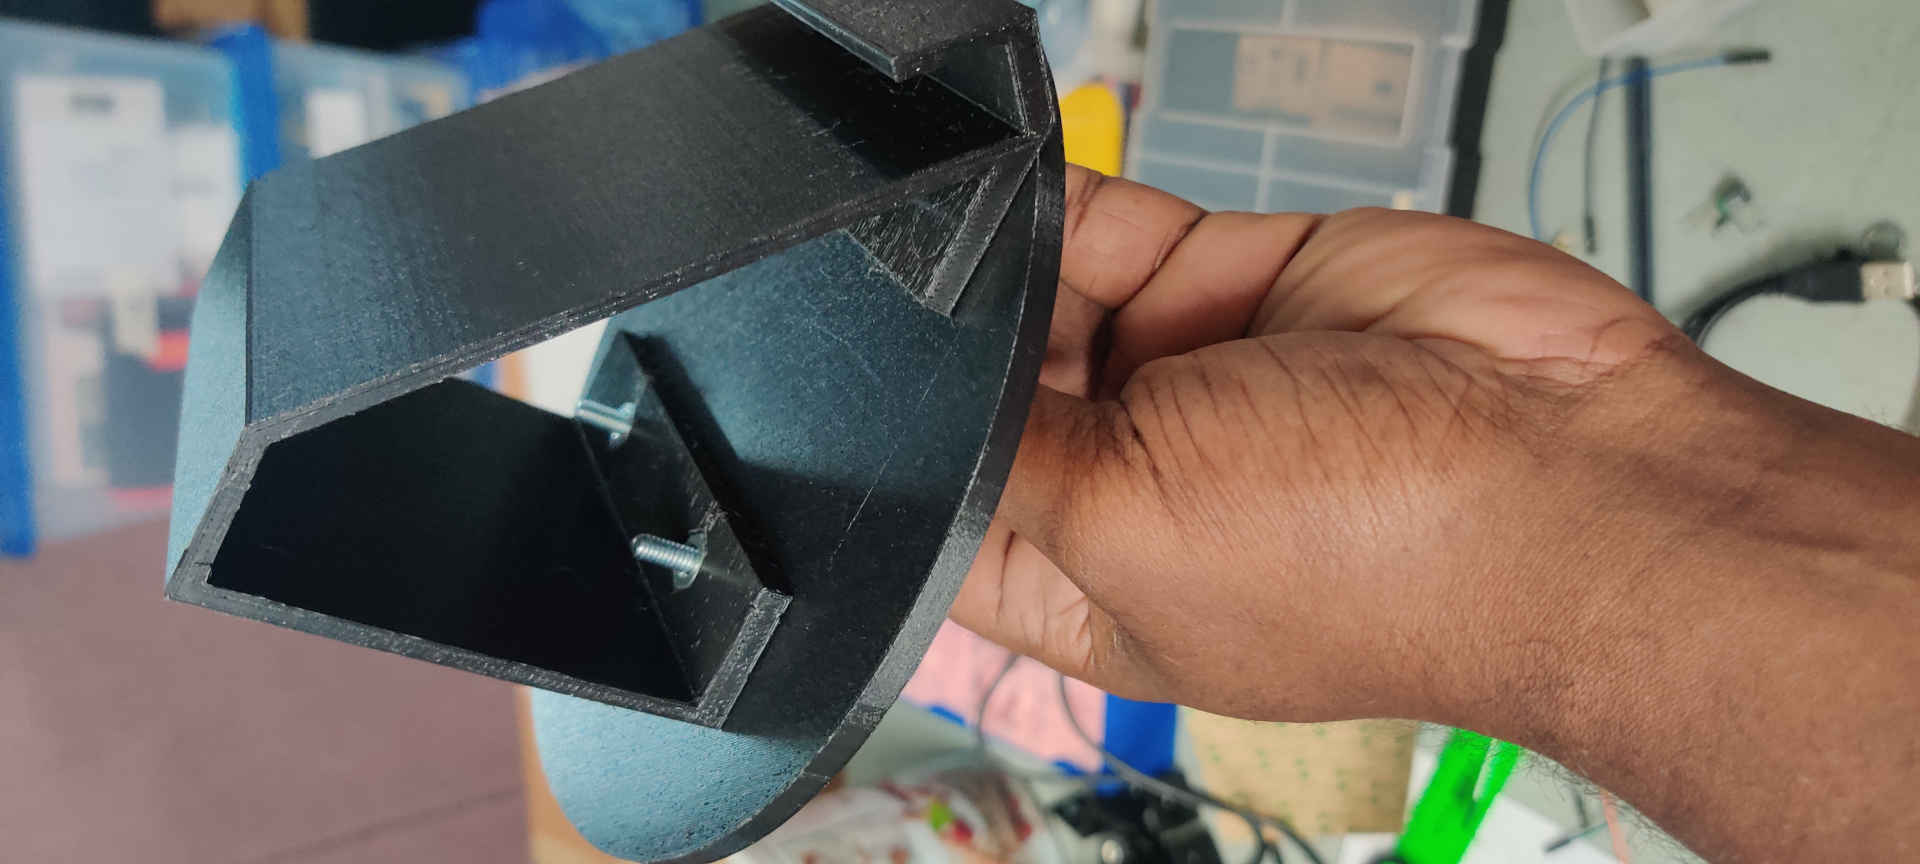
## Enclosure
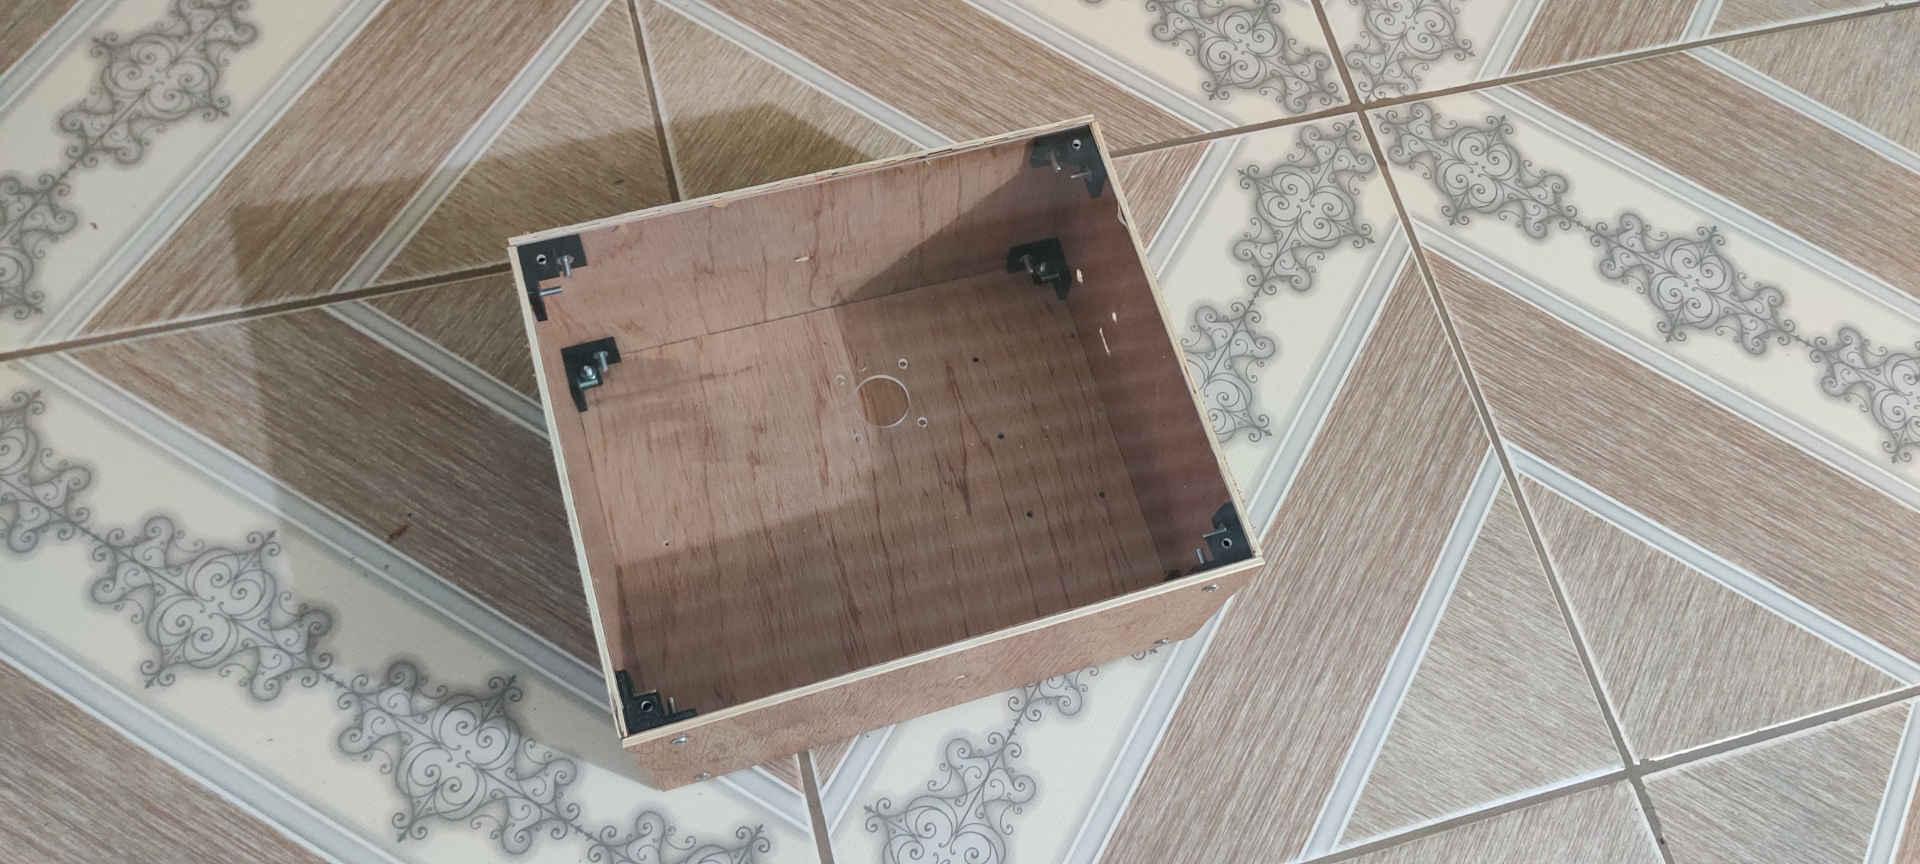
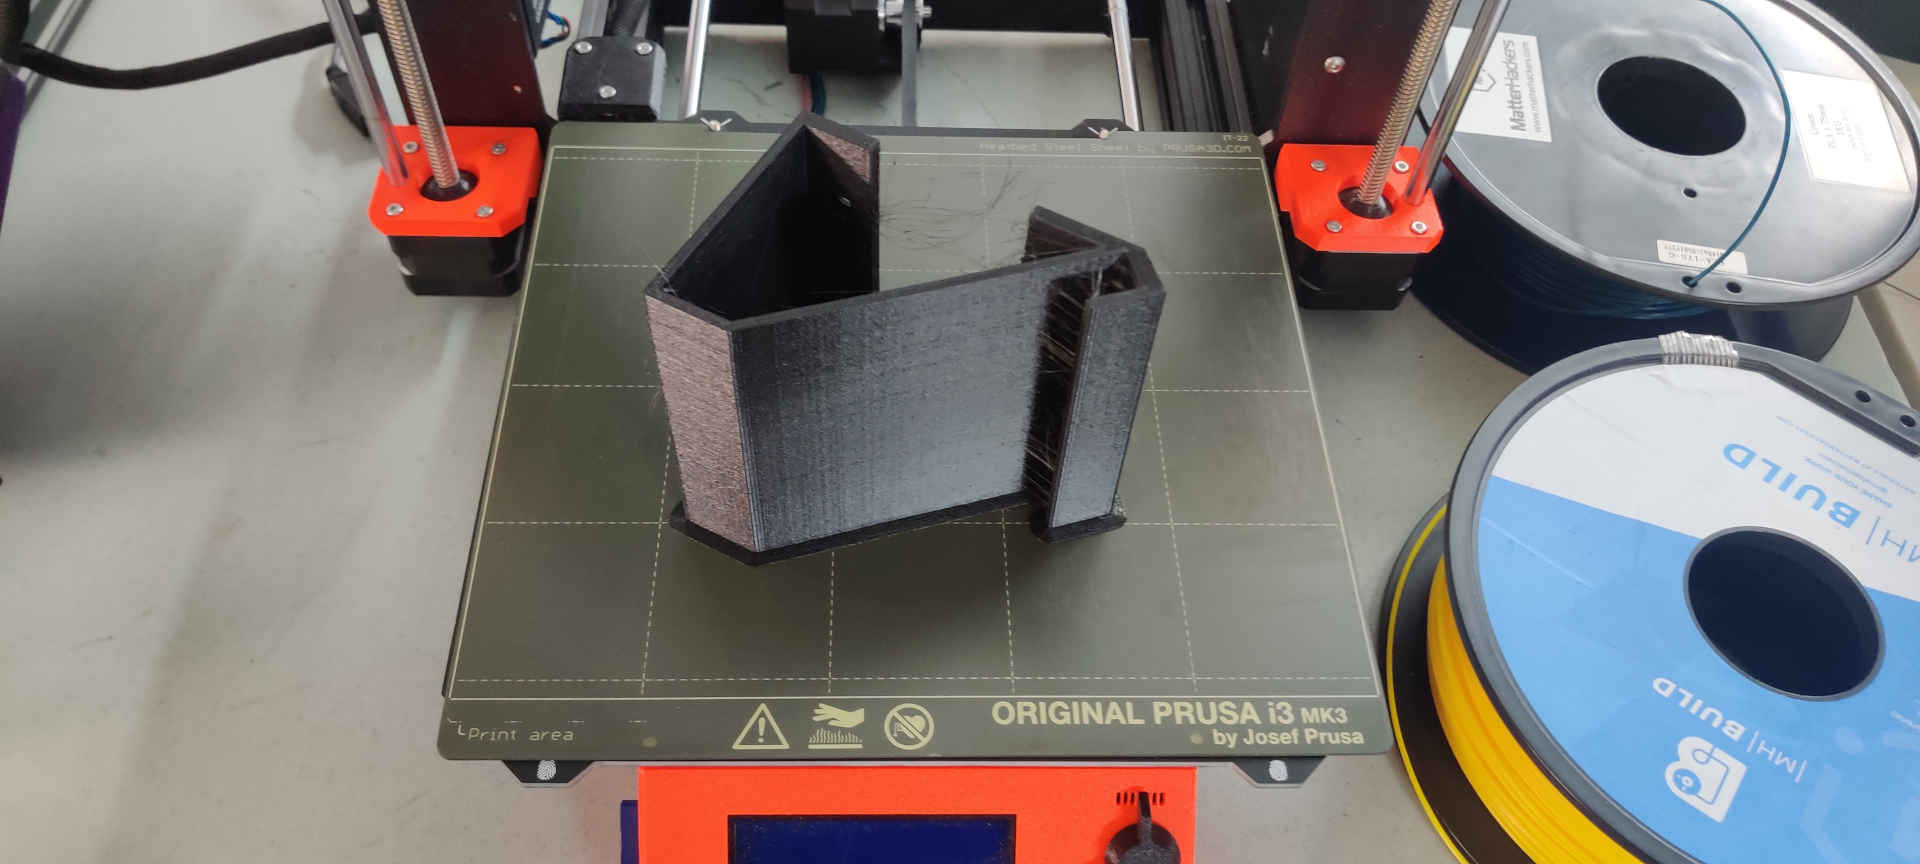
Solar Panel Holder & Servo Plate
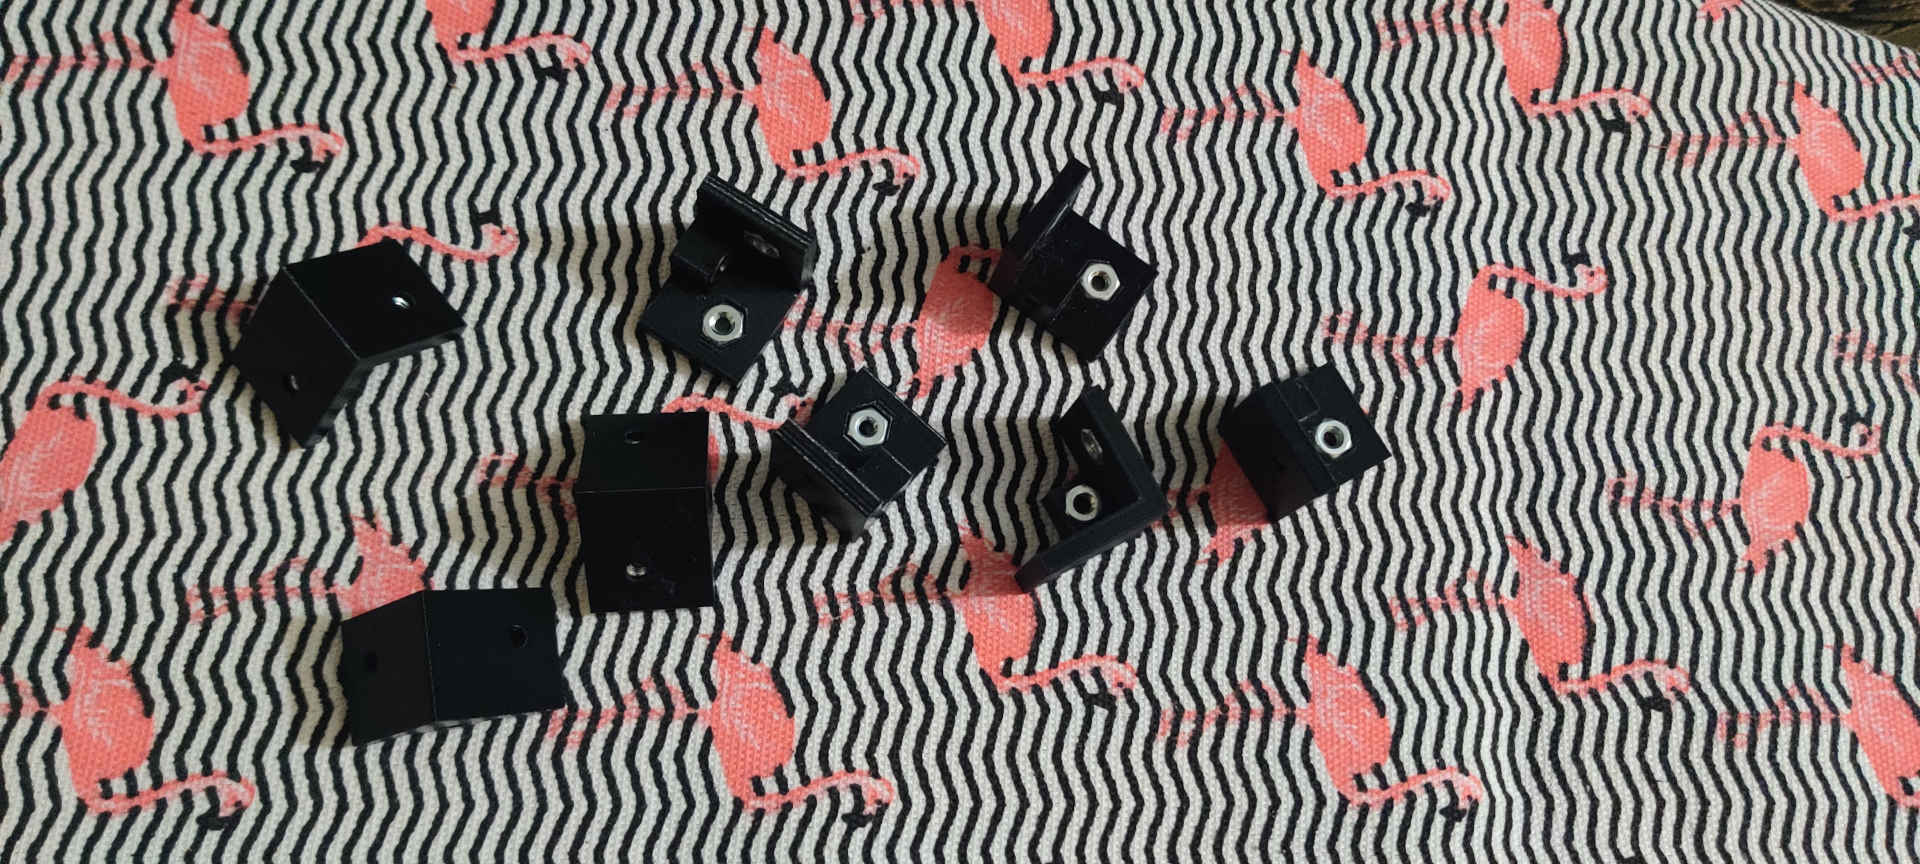
Spacers and Brackets


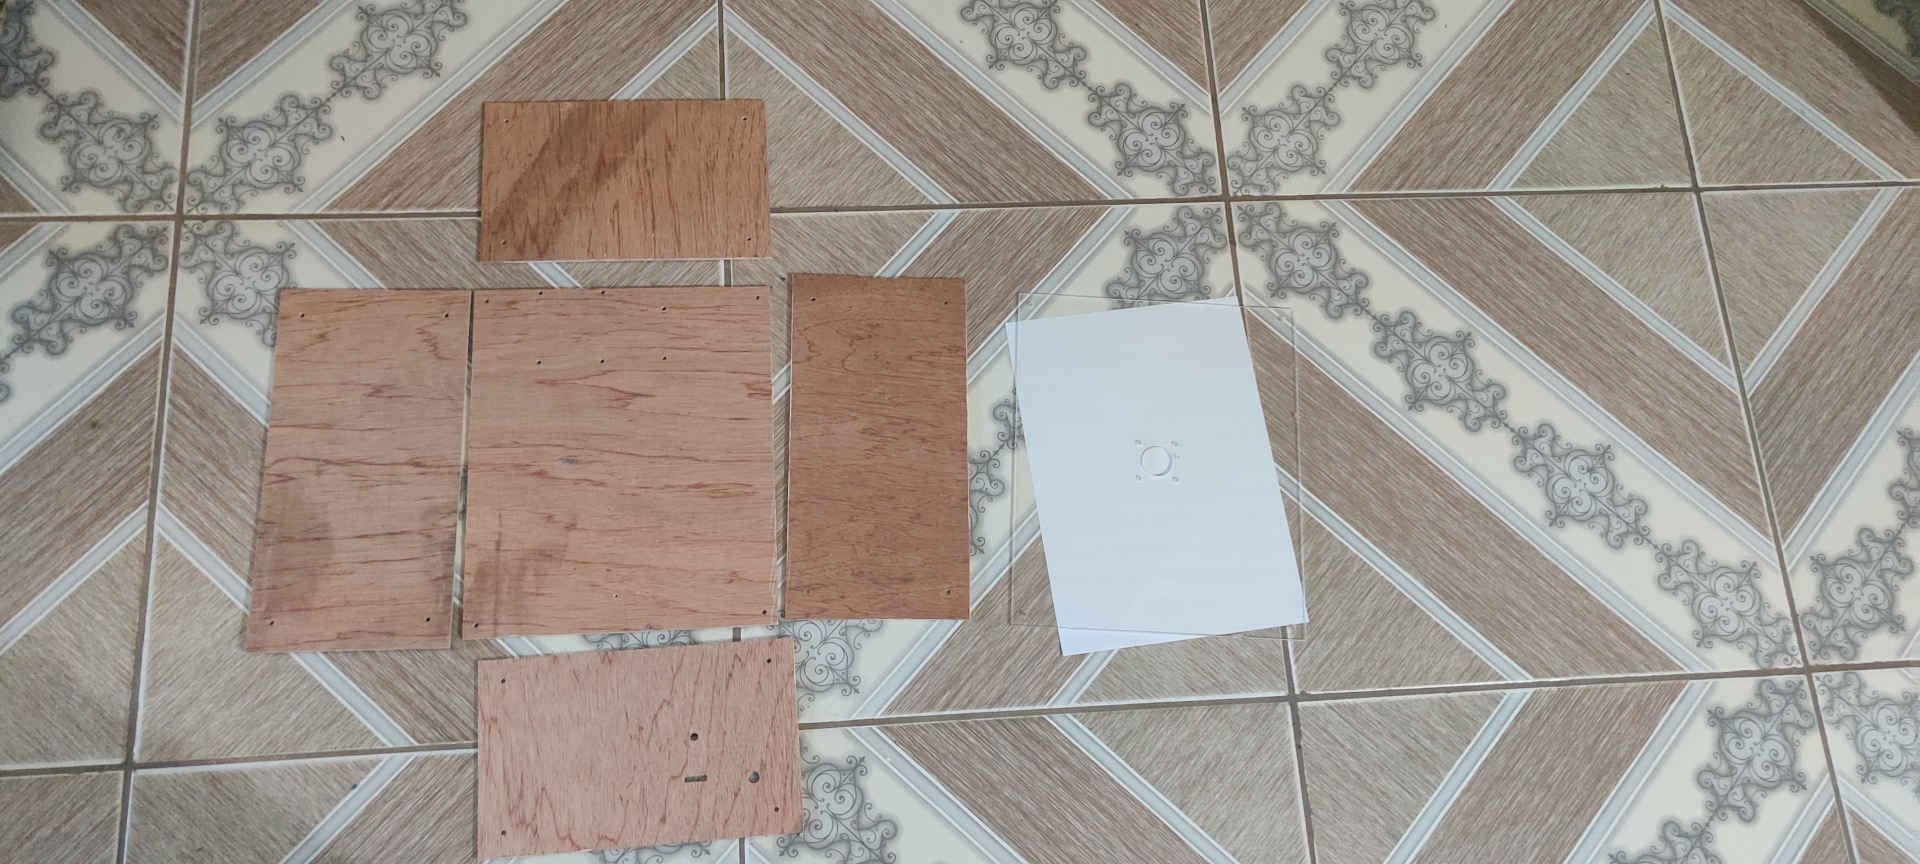
Materials
| Qty | Description | Price | Link | Notes |
|---|---|---|---|---|
| 4 | 1’x2’x1/8” Plywood | $20.00TT | ||
| 1 | 1’x2’x1/8” Acrylic Clear | $48.00TT | ||
| 1 | Duouble sided copper laminate PCB | $0.87US | Amazon link | |
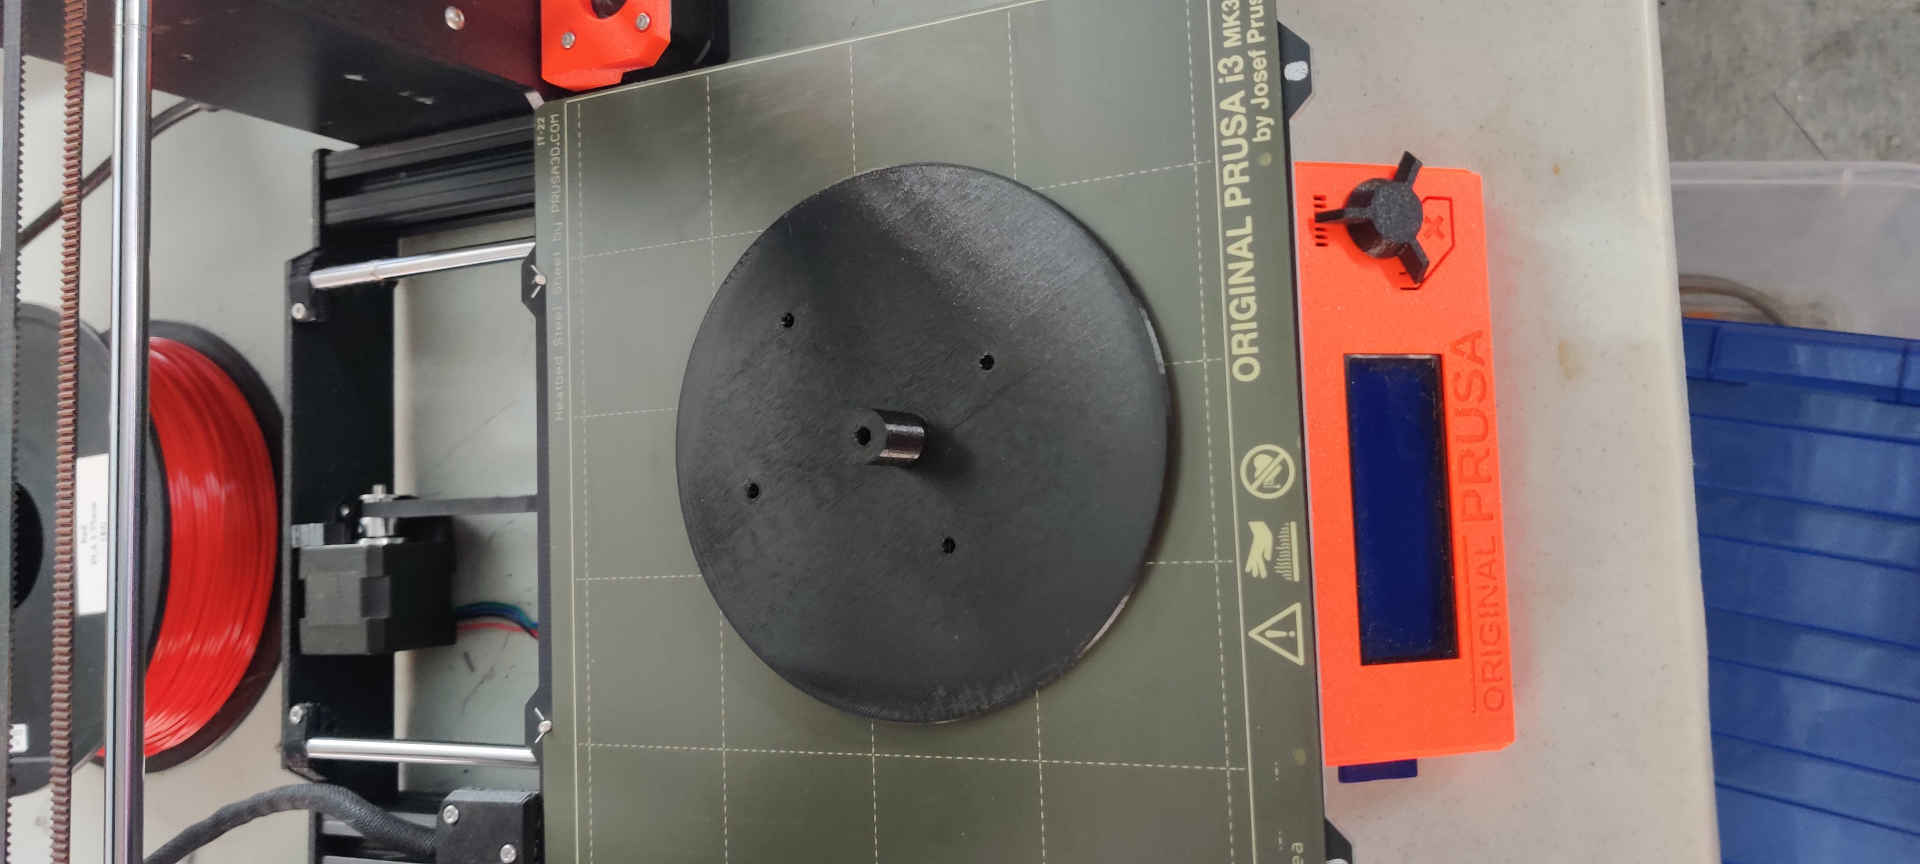
| 1 | PLA Fliament (black) | $11.50US | Matterhackeers | Roll |
| 1 | ATtiny 1614 | $0.90US | DigiKey | |
| 1 | 1uf capacitor | $0.50US | DigiKey | |
| 1 | Conn 6 FTDI smd header | $0.54US | DigiKey | |
| 1 | 4.99K ohn resistor | $0.03US | DigiKey | |
| 1 | servo | $0.00 | aquired from old resources | |
| 1 | solar panel | $20.00US | ||
| 1 | screws | $20.00TT | ||
| 1 | nuts | $0.00 | acquired from old resources | |
| 11 | 1x3 vertical header | $3.30US | DigiKey |
Programming
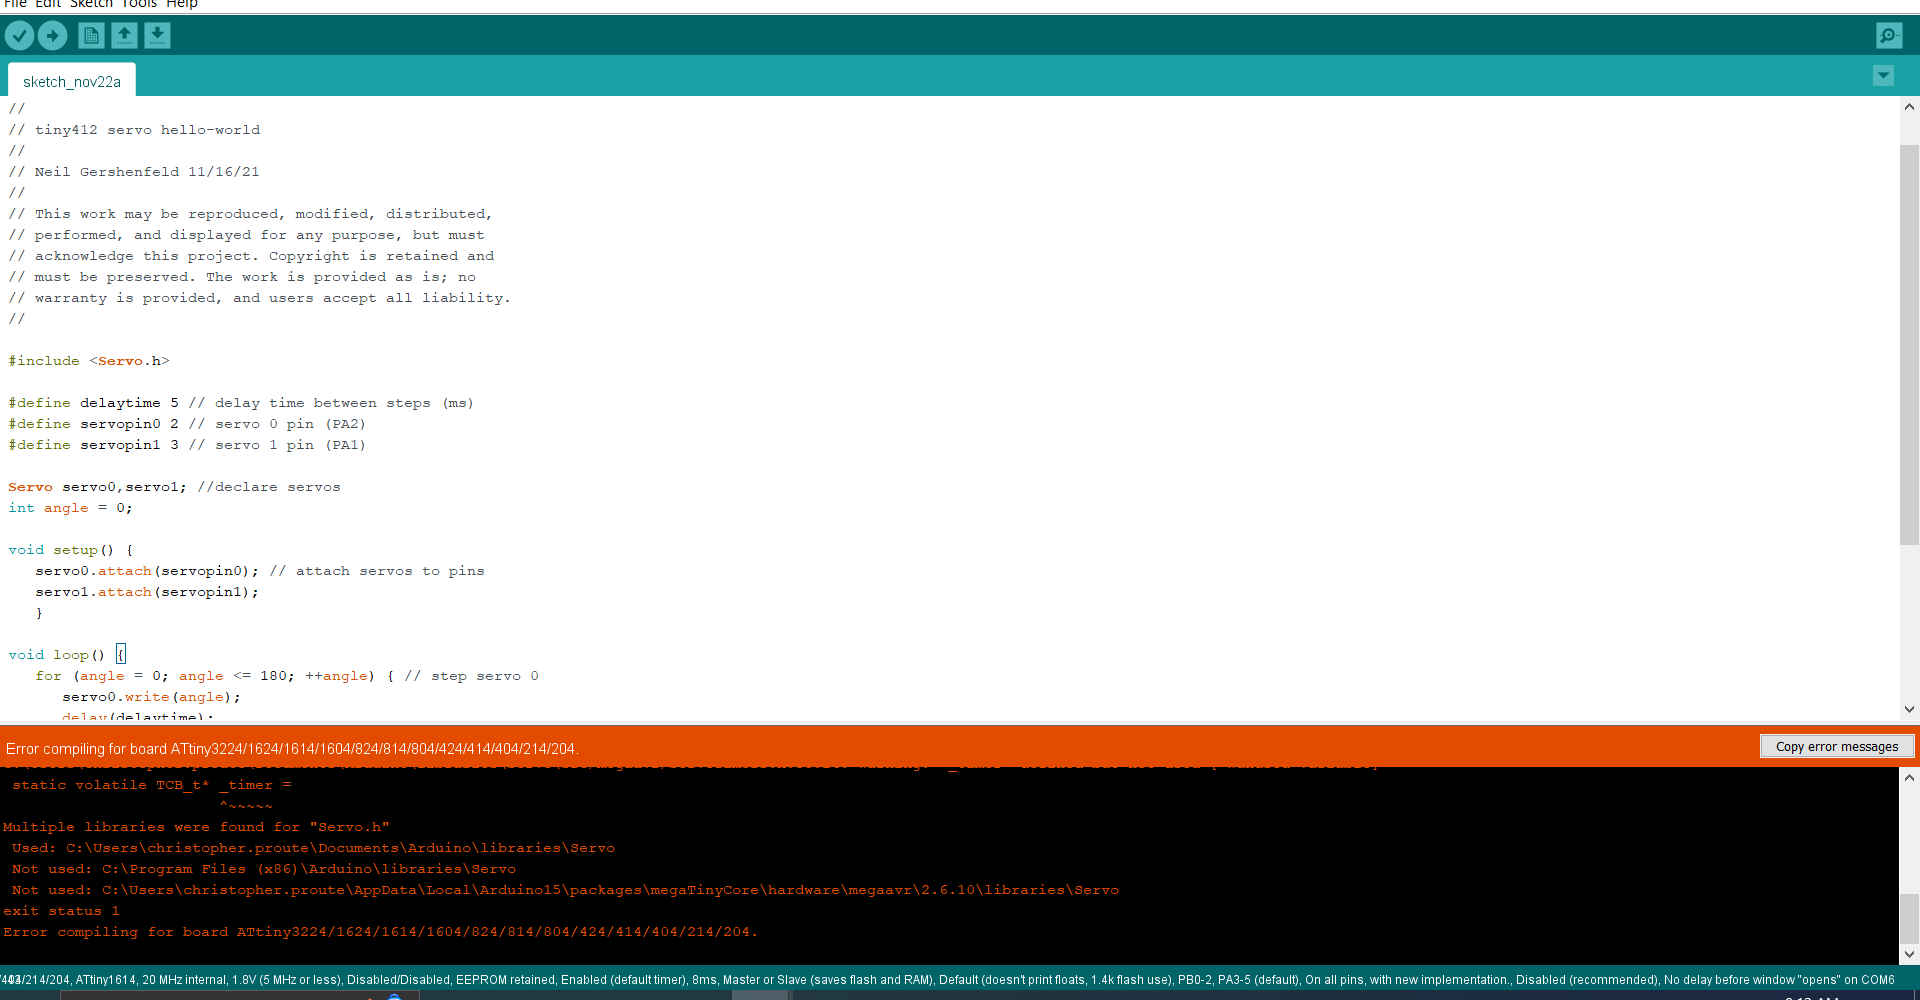
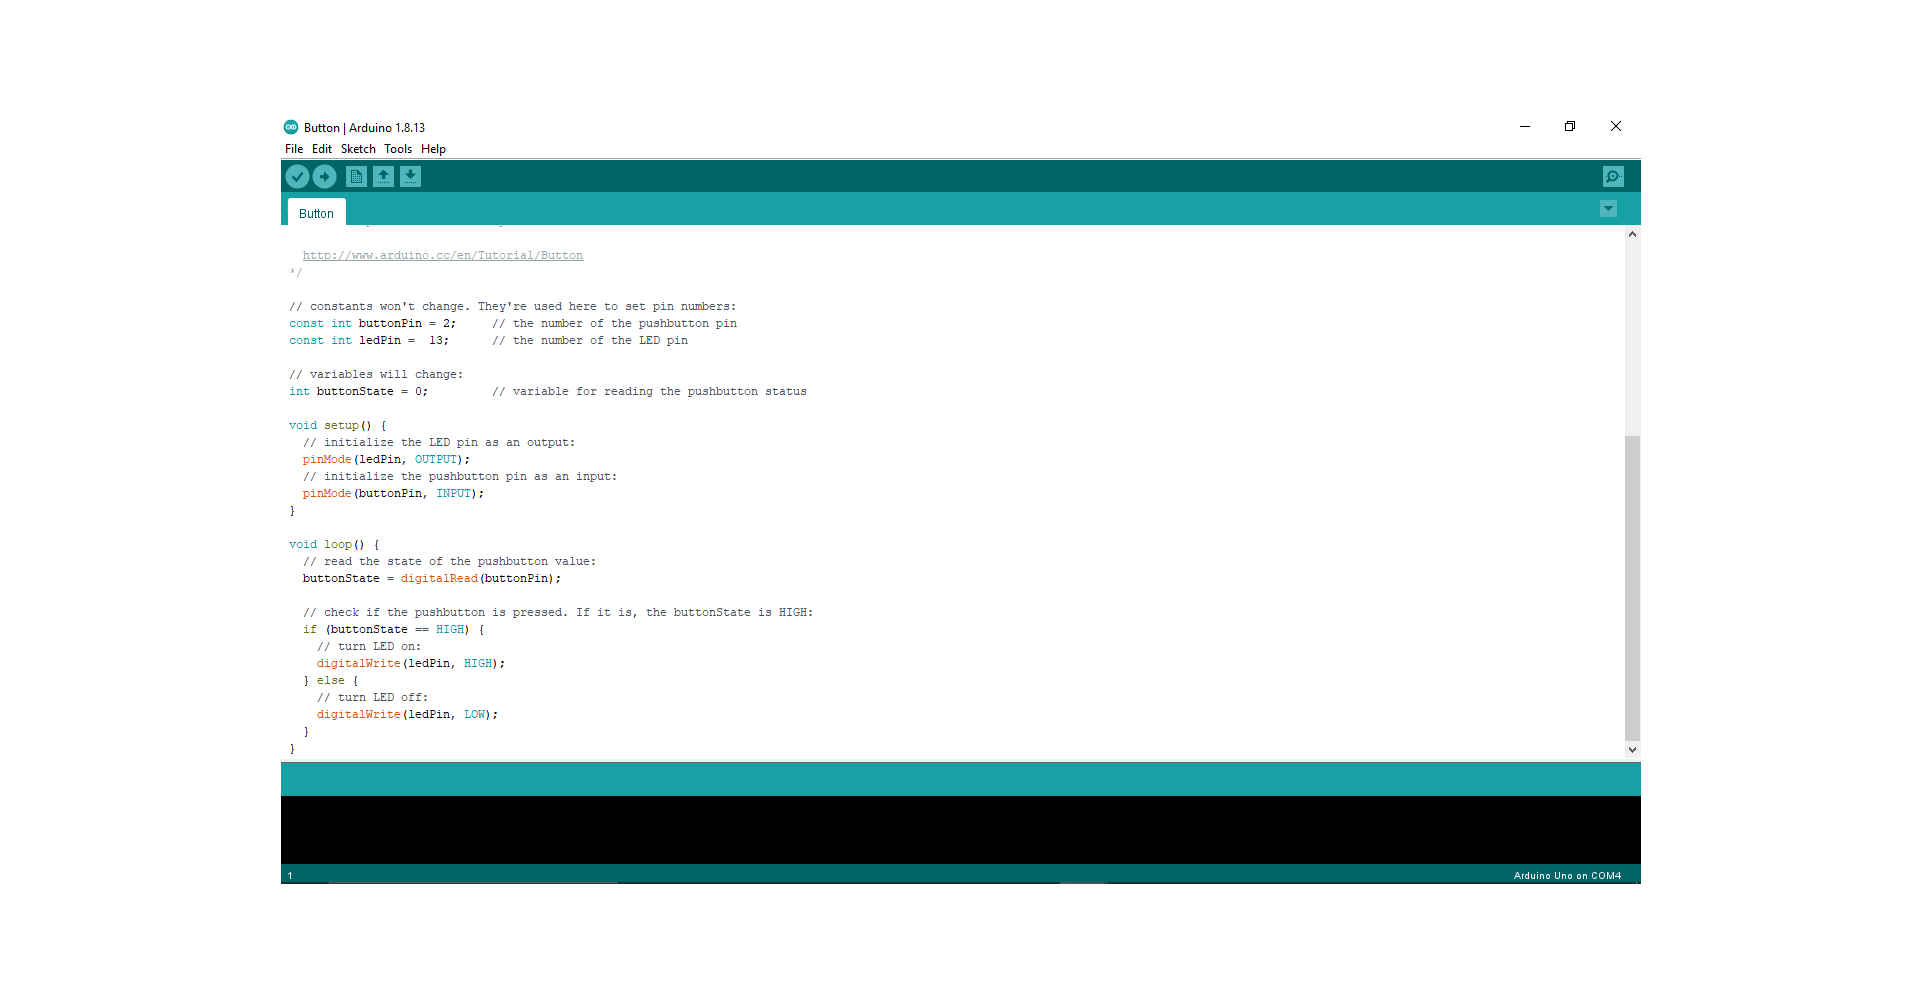
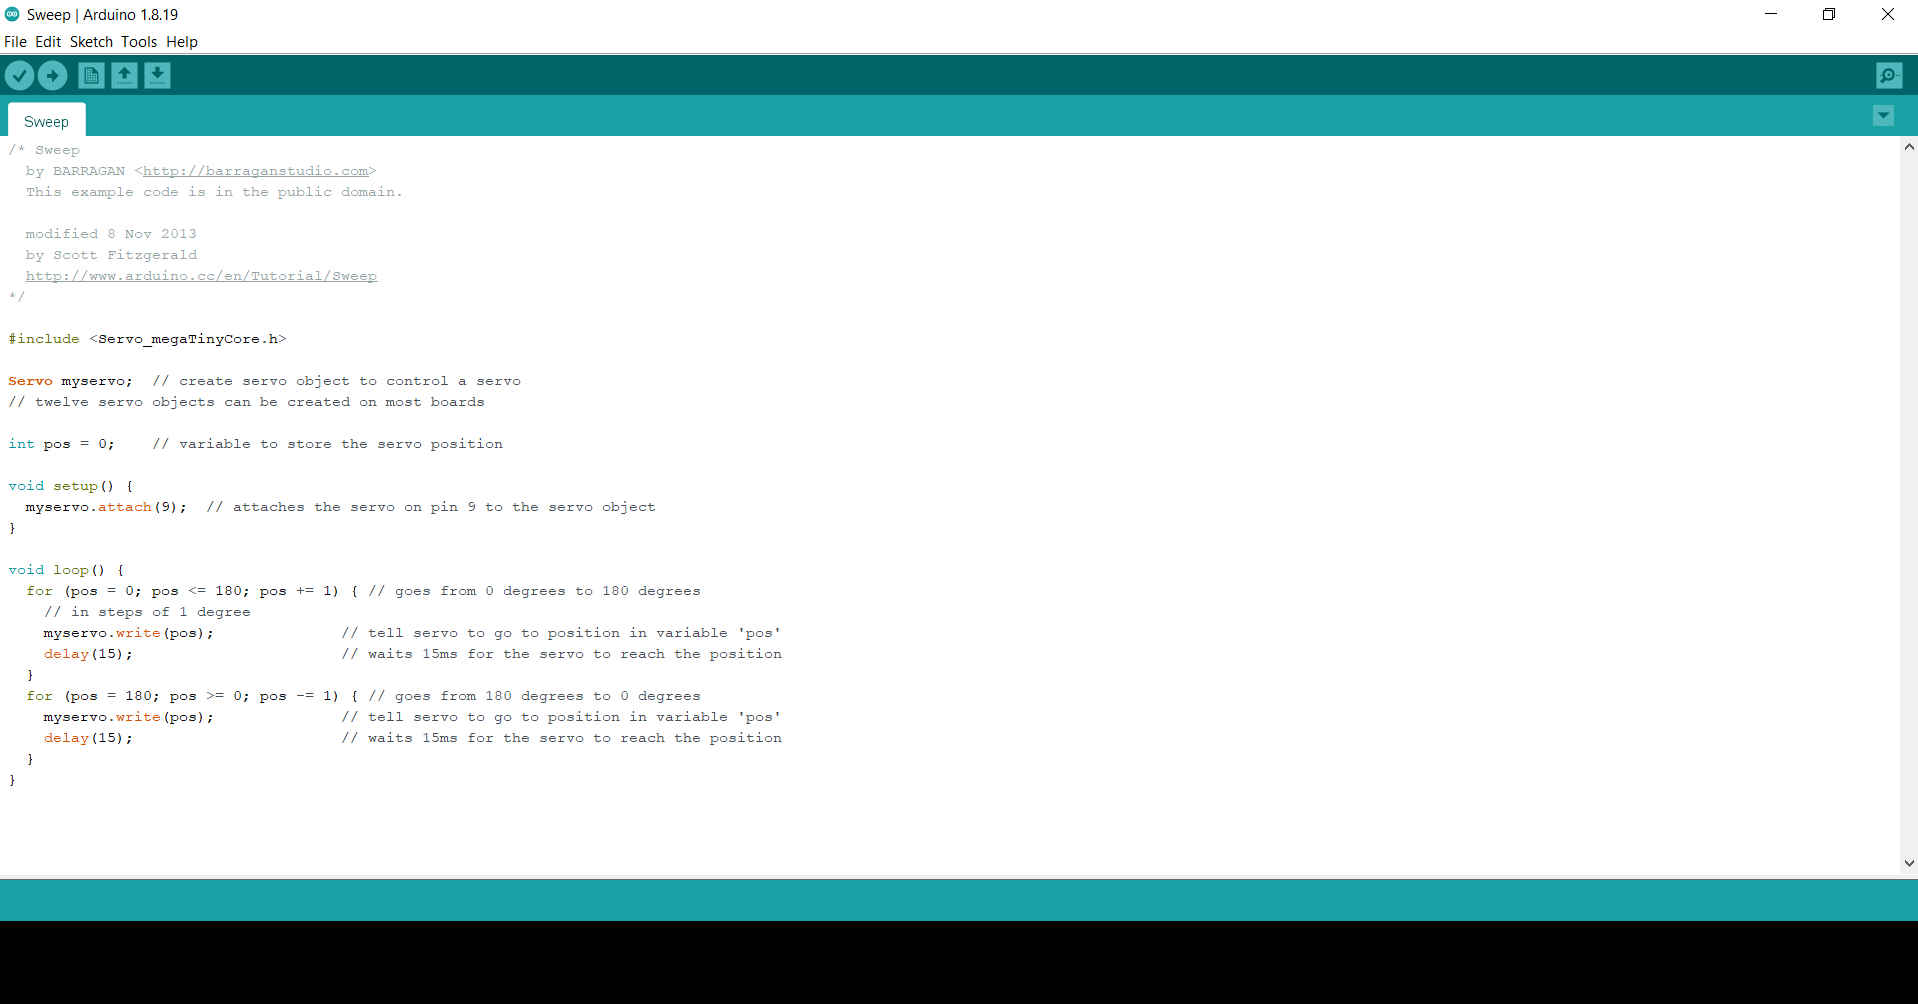
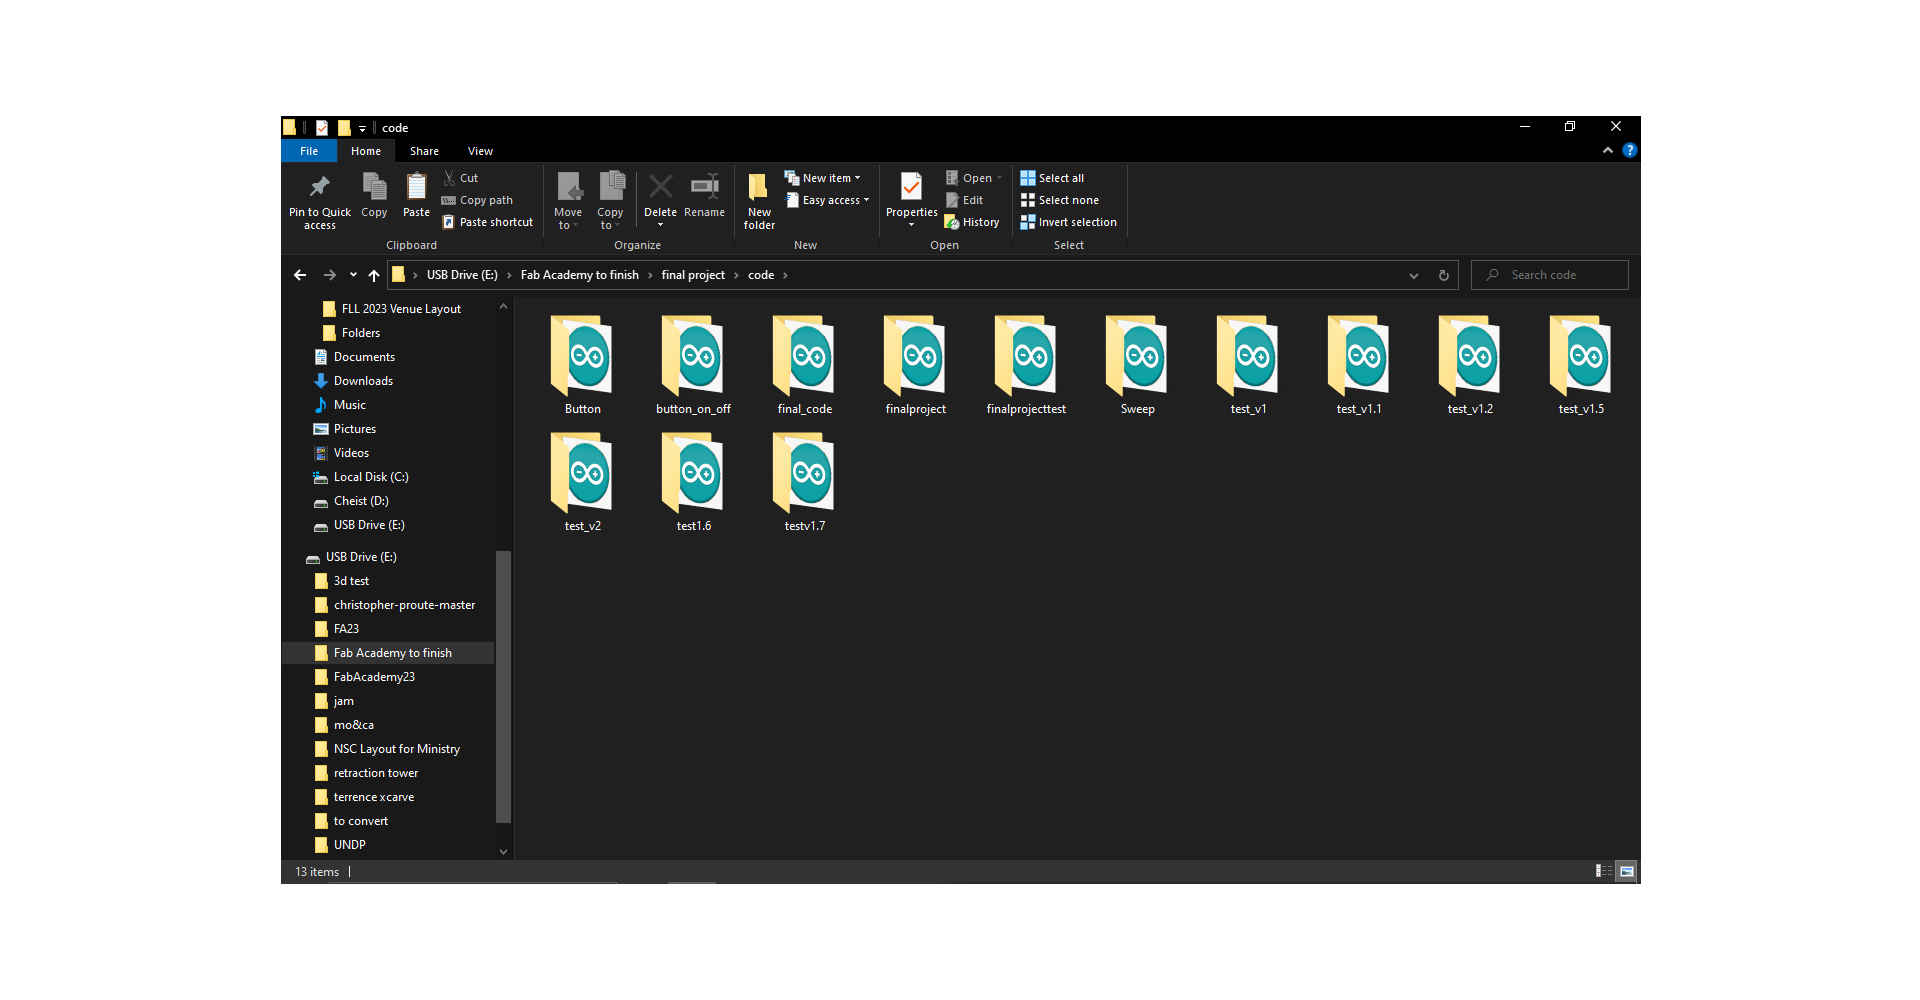
For the programming of my final project I utilised aspects of two example codes from the arduino IDE, button and Servo sweep . I also reviewed a tutorial for creating an on -off state with a button. There were several iterations of the code before I found the one that worked for me.
1.Button Code
2.Servo Sweep Code
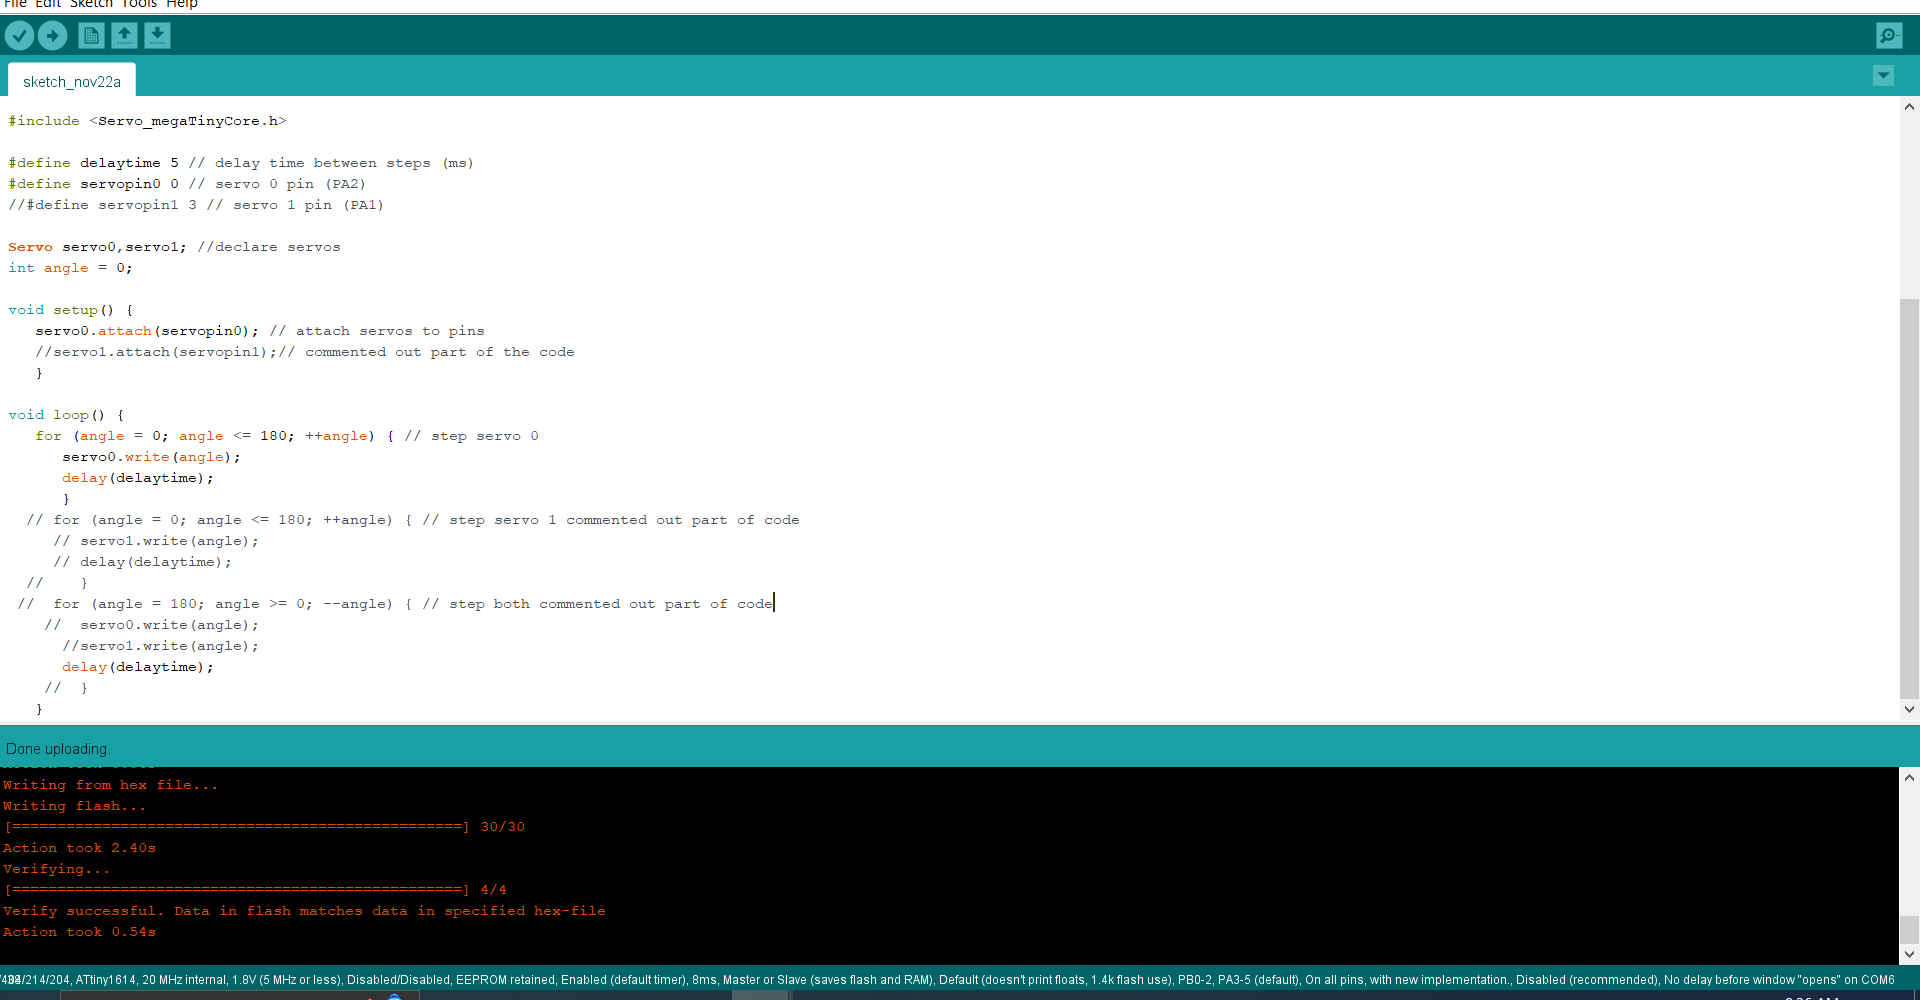
3.Code iterations
4.Code that worked for me.
#include <avr/io.h>
#include <Servo_megaTinyCore.h>

const int photoA = 2;  // Connect the phototransistor to the analog input pin
const int photoB = 8;  // Connect the phototransistor to the analog input pin
const int ledPin = 9; // Connect the LED to digital pin 9
const int buttonPin = 0; // connect to button
int buttonState= LOW; // create buttonState variable
int lastButtonState = LOW; // create a lastButtonState variable
int pos= 0; // Create a servo variable and set to zero

Servo myservo;  // create servo object to control a servo


void setup() {
  pinMode(ledPin, OUTPUT);  // Set the LED pin as an output
  pinMode(buttonPin, INPUT); // Set button pin as input


 myservo.attach(3);  // attaches the servo on pin 9 to the servo object
}

void loop() {
  int lightLevel1 = analogRead(photoA);  // Read the analog value from the phototransistor
  int lightLevel2 = analogRead(photoB);  // Read the analog value from the phototransistor
  int buttonRead= digitalRead(buttonPin);   // Read the state of the button

  if (buttonRead != lastButtonState){ // Compare button position
    delay(50); // Debounce
    buttonRead = digitalRead(buttonPin);
  }
  if (buttonRead != lastButtonState) { // check button position
    buttonState = buttonRead;

  }

  if (lightLevel1 < lightLevel2) {  // Compare light level

    myservo.write(pos=180);

  } else if (lightLevel2 < lightLevel1 ){ Compare light level
    myservo.write(pos=0);
  }
  if (buttonState == HIGH) { // Compare button position
    digitalWrite(ledPin,! digitalRead(ledPin));
  }
  lastButtonState = buttonRead;


  delay(150); // Debounce
}
Assembly