2. Project management
This week looked at managing the work that will be completed for Fab Academy.This will involve documentation through the use of website created by the students.
Setting-up Git Repository
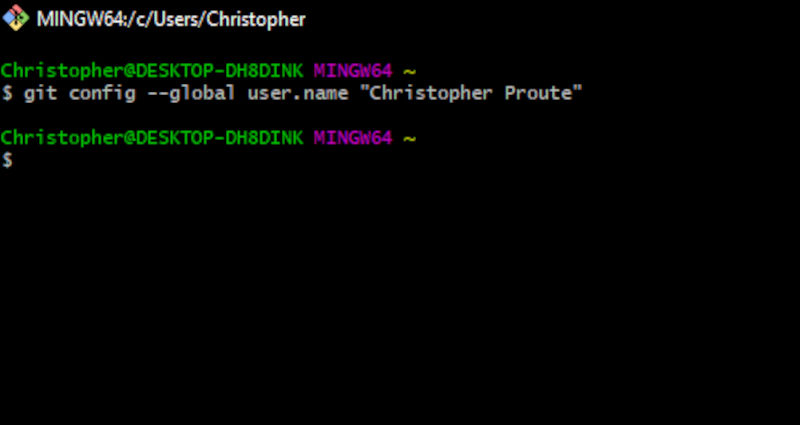
1.After “Git” is installed, you will then add your information. Open Git bash and enter: git config –-global user.name “your name” .This will configure the git settings and change the username to the name entered.
2.Then change the email by entering: git config –global user.email “your email”. This will change the email to the email address entered.
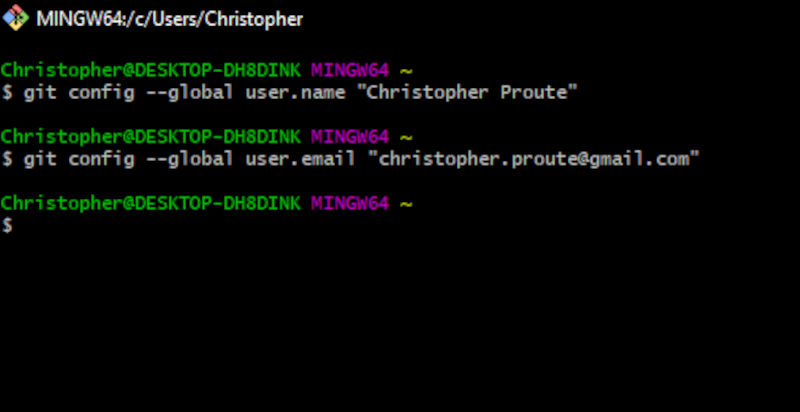
Note.Use the email address accociated with your git repository .
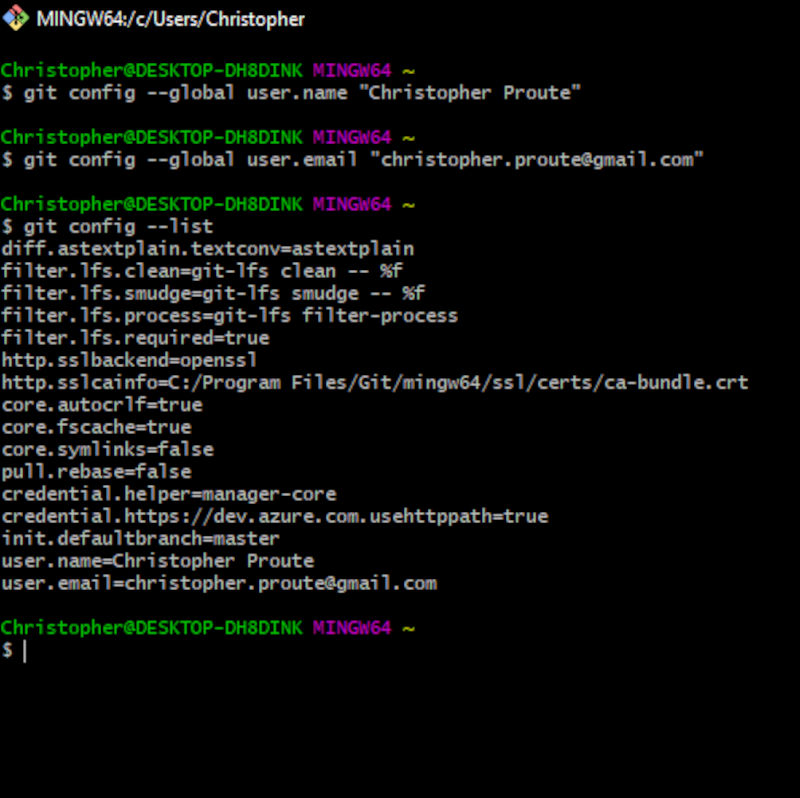
3.Then verify that the settings are saved enter: git config – list. This will list all settings and show the information that has changed.
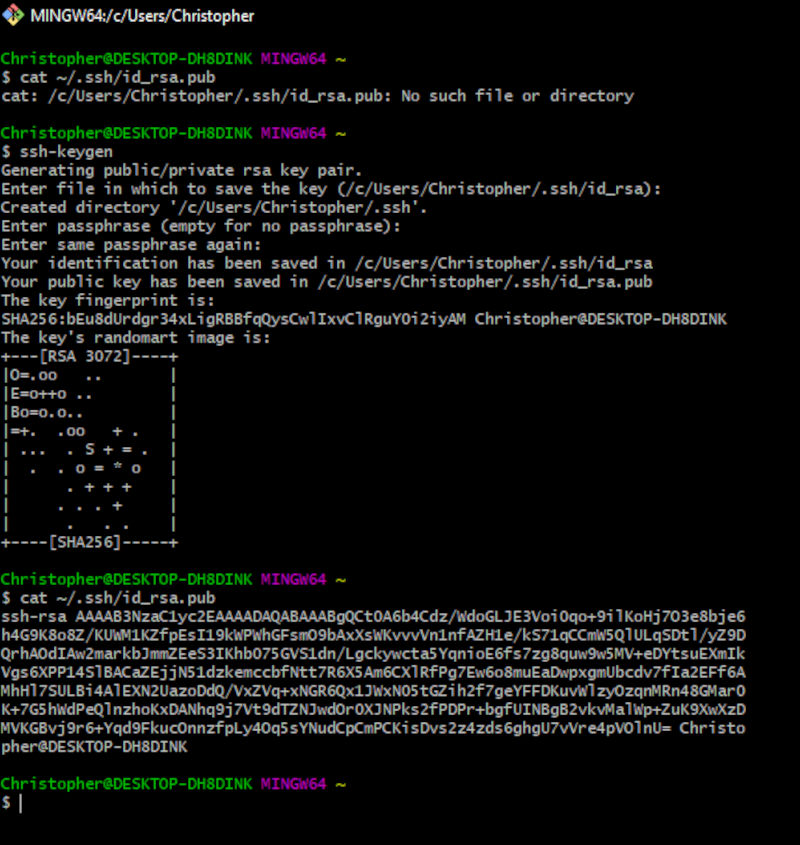
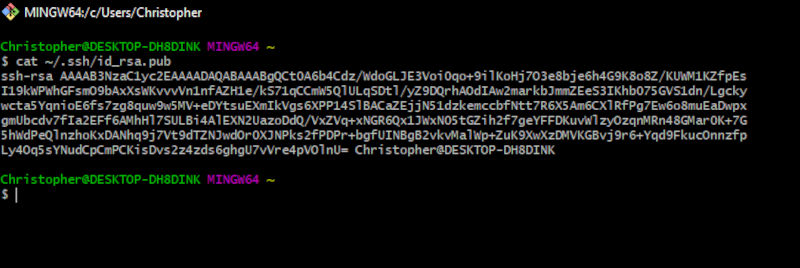
4.The next step was to check if I had an SSH-Key enter:cat ~/.ssh/id_rsa.pub If no key is present, create a key by entering: ssh-keygen -t rsa -C “your email” Then press enter until the randomart image appears.
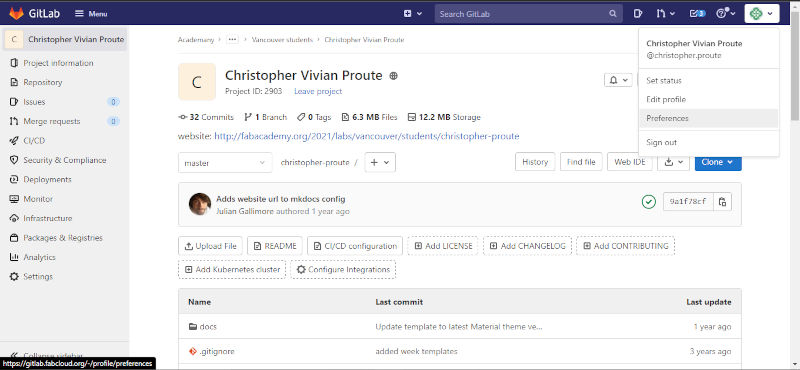
5.a)Then add the ssh key to your git account.Login into fablabs.io and in the top right hand corner left click on the icon. Then select preferences.
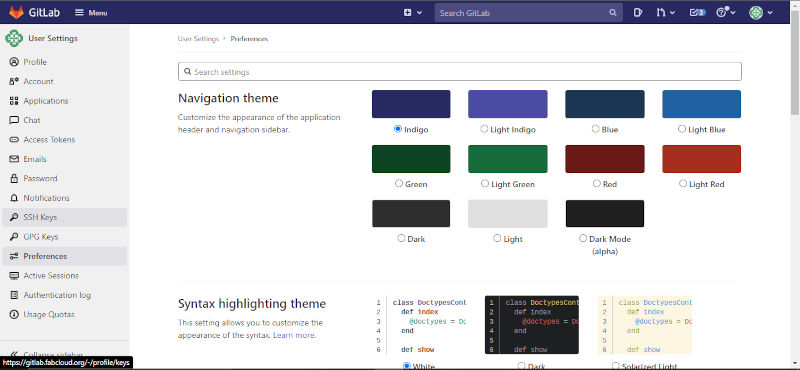
.b)Then select ssh keys.
.c)Login into git bash and enter:cat ~/.ssh/id_rsa.pub .Copy the key.
Note. ensure that you are in the proper directory.
.d) Paste the key in the key portion of where the key will be added.Enter an expiry date and select add key.
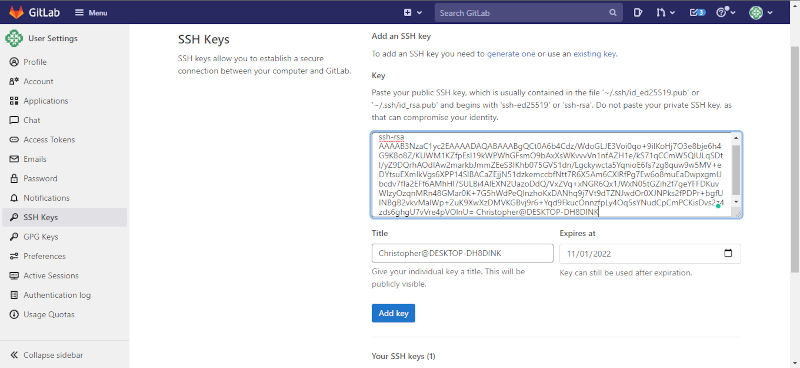
Note. Key can be used after expiry date.
6.Create a folder in ideal location to store repository.

7.Navigate to that folder on git bash and clone repository. Enter: git clone (place clone with ssh key information from github)
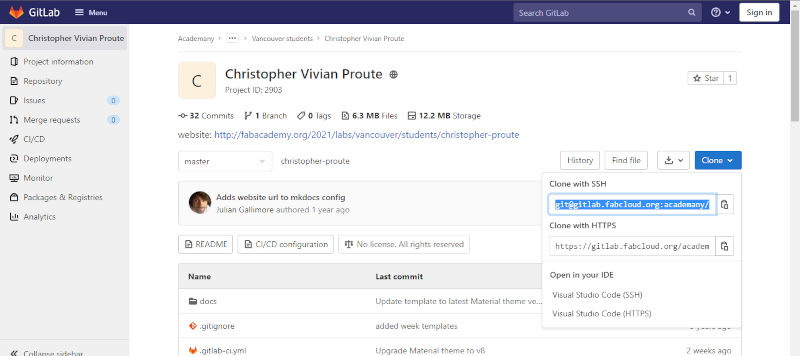
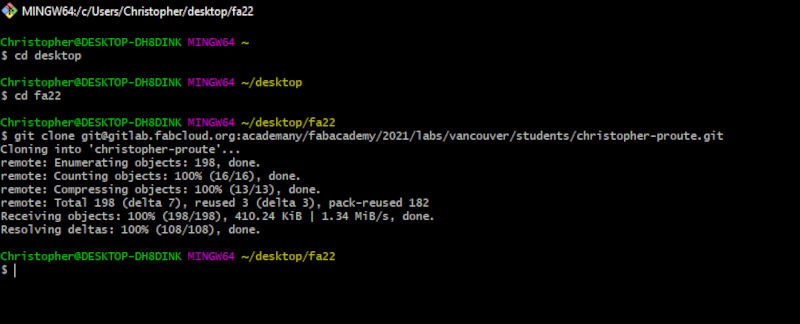
Note. git help is a useful command that will display a help menu with useful in formation.
Markdown
Markdown is a text to HTML conversion tool. It is easy to read, easy to write, plain text format, and then converts structurally to valid HTML. Markdown is 2 things, a plain text formatting syntax and two a software tool that was written in Perl that converts plain text formatting to HTML.The overall design goal for Markdown’s formatting syntax is to make it as readable as possible. Unlike Microsoft Word which is particularly useful in providing various tools to format and edit text, but a lot of times this maybe overkill. If it is just to bold some text or make a simple list, Markdown is one of the simplest ways of achieving this outcome.
HTML is used everywhere on the Internet. It is also more expressive and can achieve some specific effects that may be difficult or impossible in markdown. However, there is a learning curve to HTML, and similarly to Microsoft Word. Its benefits really depend on what has to be achieved. Markdown syntax is comprised entirely of punctuation characters which has been chosen carefully to look like what they mean. Markdown is not a replacement for HTML or even close to it. Its syntax is small and it only corresponds to a small subset of HTML tags. While Markdown does not have all the bells and whistles of word processors like Microsoft Word, it is especially useful for creating documents and notes. But the idea is not to create a syntax that makes it easier to insert HTML tags. The idea for Markdown is to make it easy to read, write and edit prose.
Markdown Code
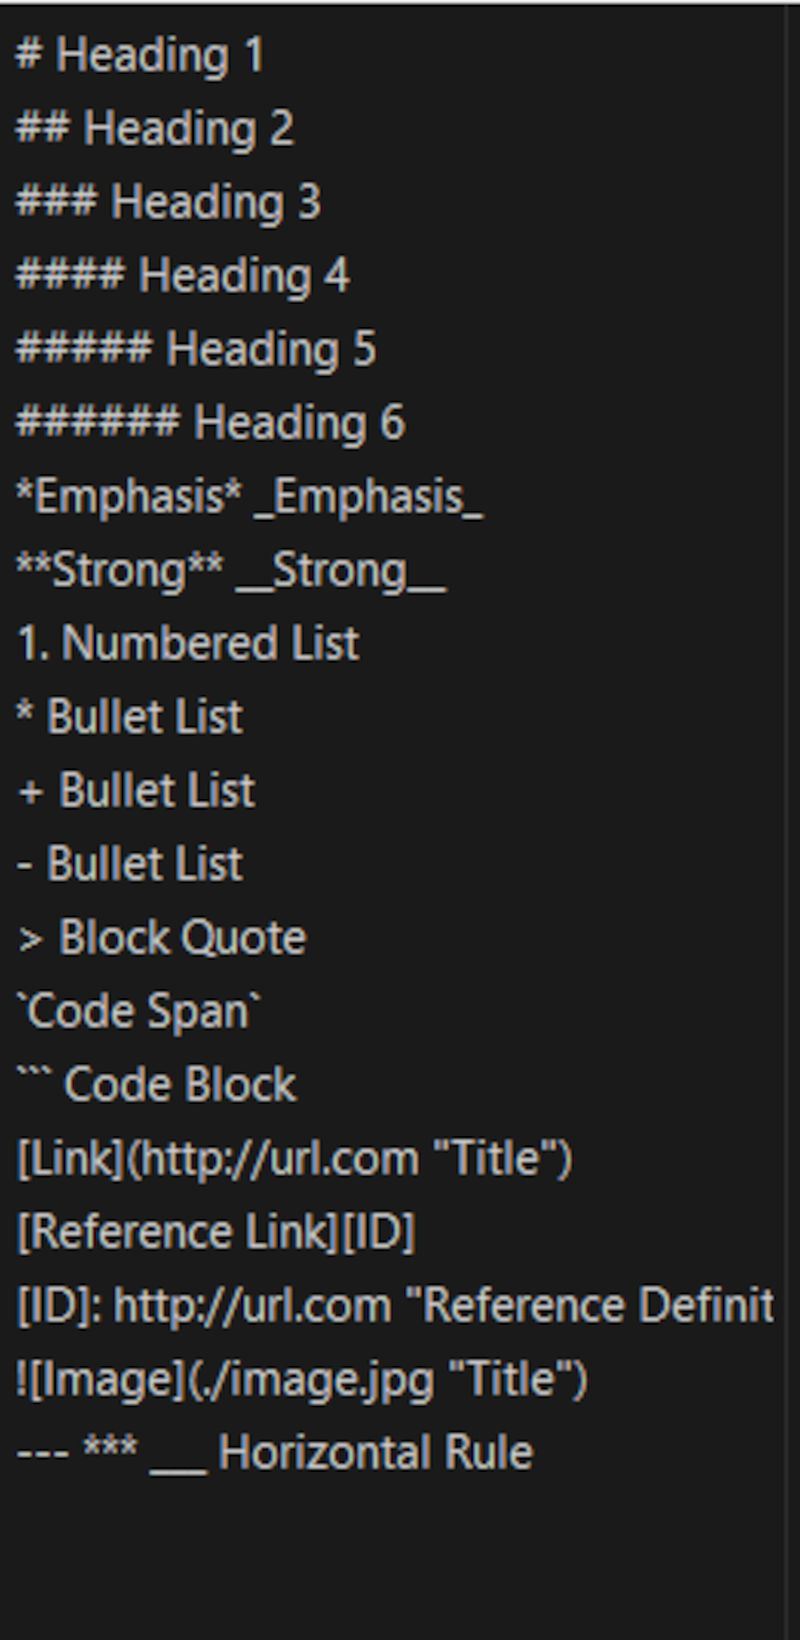
There are several editors which can be used with markdown and it’s dependent on preference for the one that is selected. Below are a list of some markdown editors that can be used:
Uploading to Repository
Now that the repository has been cloned and the language to send information selected, it is time to send an upload
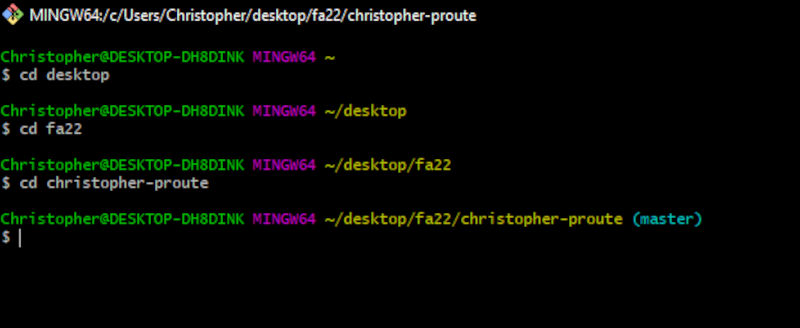
1.Open git bash and navigate to the repository that was cloned.
 2.Check git repository for any changes, enter: git status
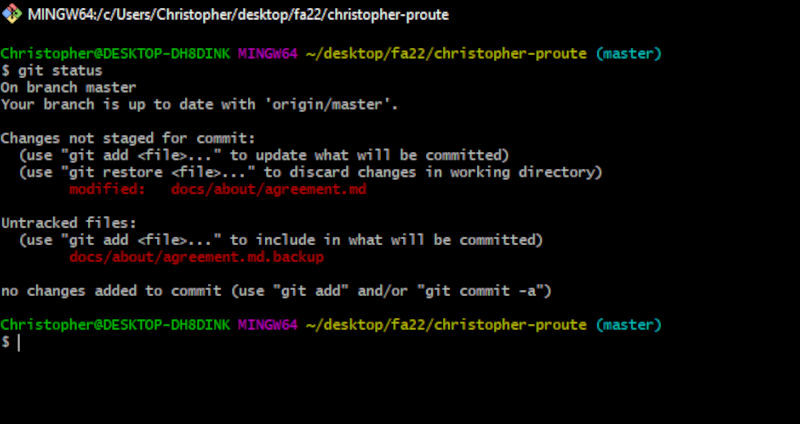
Note. One file has changed indicated in red student agreement.
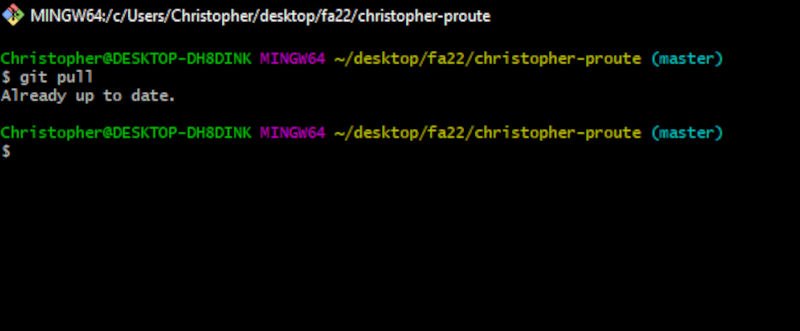
3.Ensure that the local and online repository are the same, enter: git pull
4.Add the document to be uploaded, enter: git add (enter name of file that has to be added/file in red)
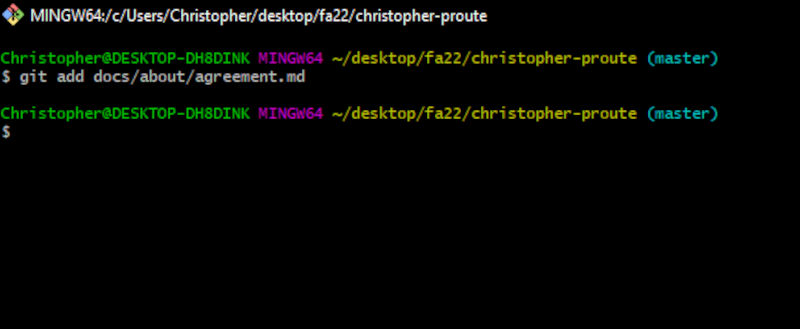
Note.If multiple files are being added enter : git add .
5.Check to see if document is ready to be added, enter: git status
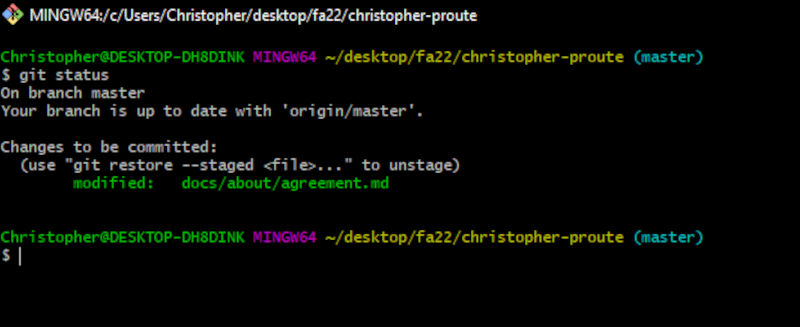
Note. File in red previously changed to green.
6.Confirm changes to be made, enter: git commit -m “message” (file name to be committed)
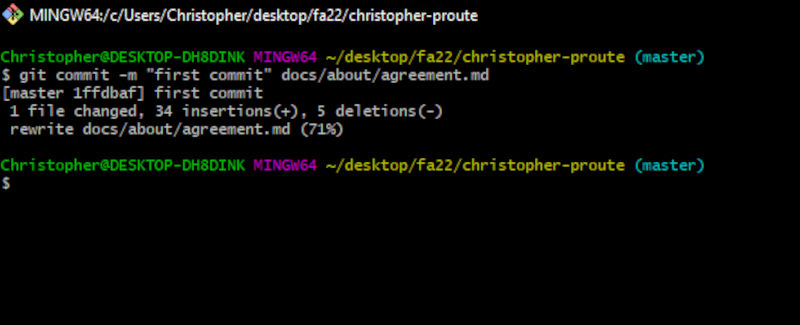
7.Finalise changes, enter: git push -u
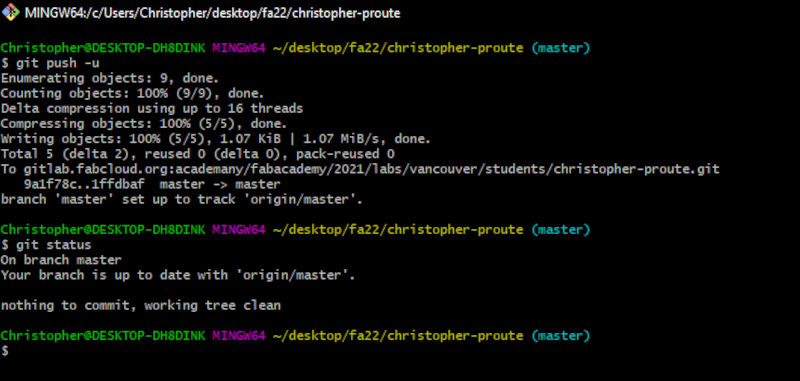
Note. Run git status after push to ensure it was successful.