
Project developement
Here we are, the group project we've been talking about for two months is finally here. We wanted to work together with the 5 Fabacademy students of our lab. Then, the challenge was to found a project that had enough features and sub-system so that there was 5 differents parts for each of us. Then we choose to make a cocktail machine !
At this state we know what machine we want to make but no specific idea of the solution that we want to use for each part of the machine. And we don't know who will make what part of the machine. Then we have discussed about what were the best for each of us. I suggested to make he global design of the machine. This part interested me because there is a group management dimension. This is the recap of our first brain storming after the choice of the machine:
For me the big challenge is not specially to create a design, this is more than that because I need to create the desgin that will allow to all of the differents features to work together. And to complicate things a little bit I need to create the design at the same time of the creation of the other parts. That means that some bigs changes in the design of the other part will force me to make changes in my design.
Also we knew that for this kind of machine we need a strong chassis that will allow to support vibration and movements in it. Then we choose to make the chassis with the CNC.
Then I choose to create a design the more "open" and change friendly. In order to start the design of the differents parts on good fundation I have just created a 2D models of the profile that correspond to the max dimensions for the X and Z axes and for the pumps.
In a first time I made a very simple extrusion of in order to vizualise as well as possible the kind of design.
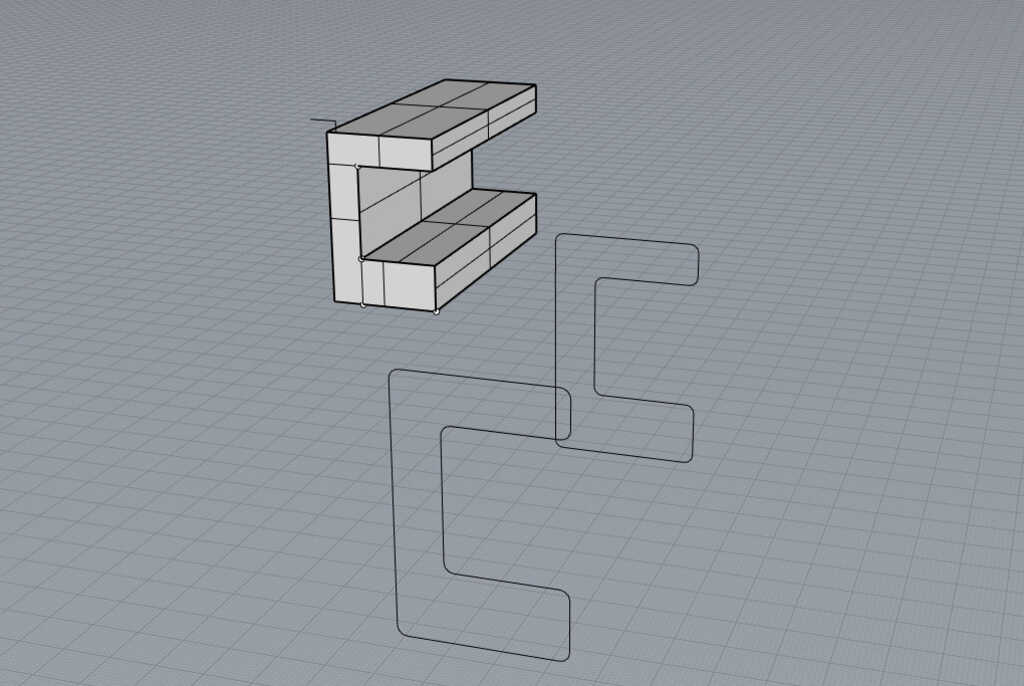
And finally, I added some notches for the assembly of the differents parts and I have communicate this dimensions with the rest of the group.
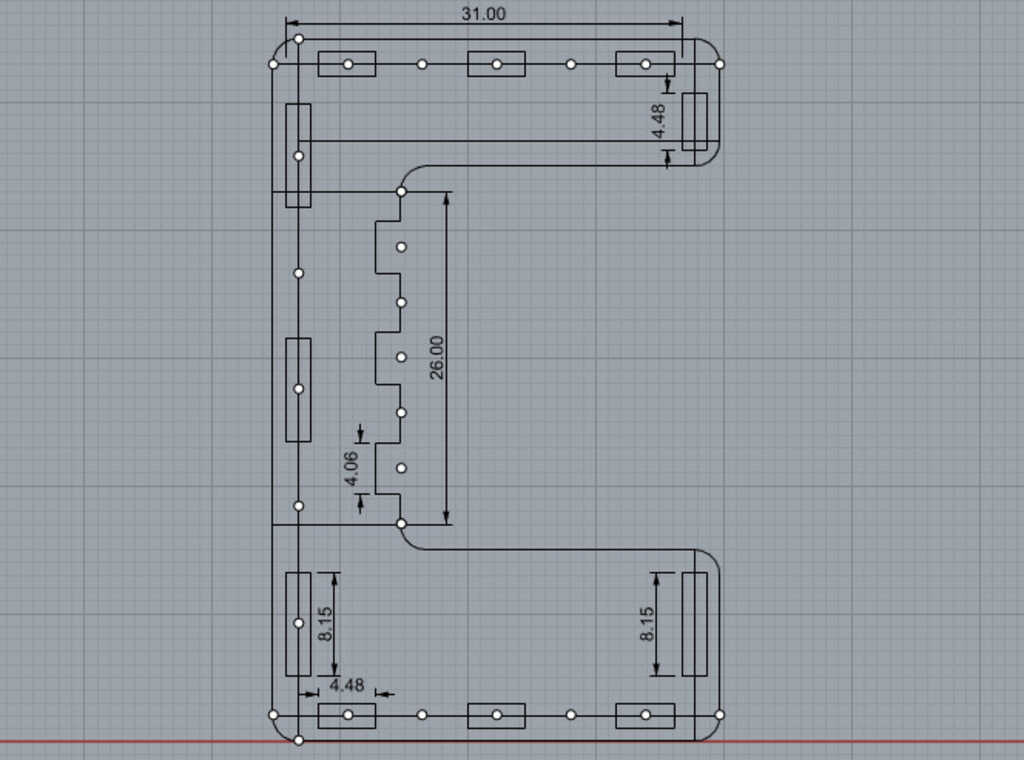
Okayy, now I have a base and the rest of the group had time to move on to their respective parts. I need now to create the 3D linear model of the machine.
The X axe will support the glasse. That will be a square of PPMA 5mm put on a 3D printed support. This part will be able to move on the axe with two rails and a screw controlled with a stepper motor. The electronic and the stepper motor will be screwed to a plexiglass plate from the first side and the other side the "module" will be screwed to the chassis through another plexiglass plate.
For the Z axe it will be place at the end of the chassis and it will be pratically the same system as the X axe. The big difference is that the Z axe will carry a mixer puted on a DC motor. This bring some problems. The first is the vibrations, the DC motor when it is activated will rotate a 3D printed piece, and this piece is cantilevered by from the two rails. Then there is a multiplication of the efforts du to the distance. The big vibration risk to cause some movements into the chassis and move or brock other elements of the machine.
The progress of the researches about the peristatic pump have been slowed du to Madjid Personnal problems then at this state we don't know what will be the pump, if it will be some 3D printed pieces using a stepper motor or a DC motor. For now I choose to let a big space on the top of the chassis in order to place the pump at this place.
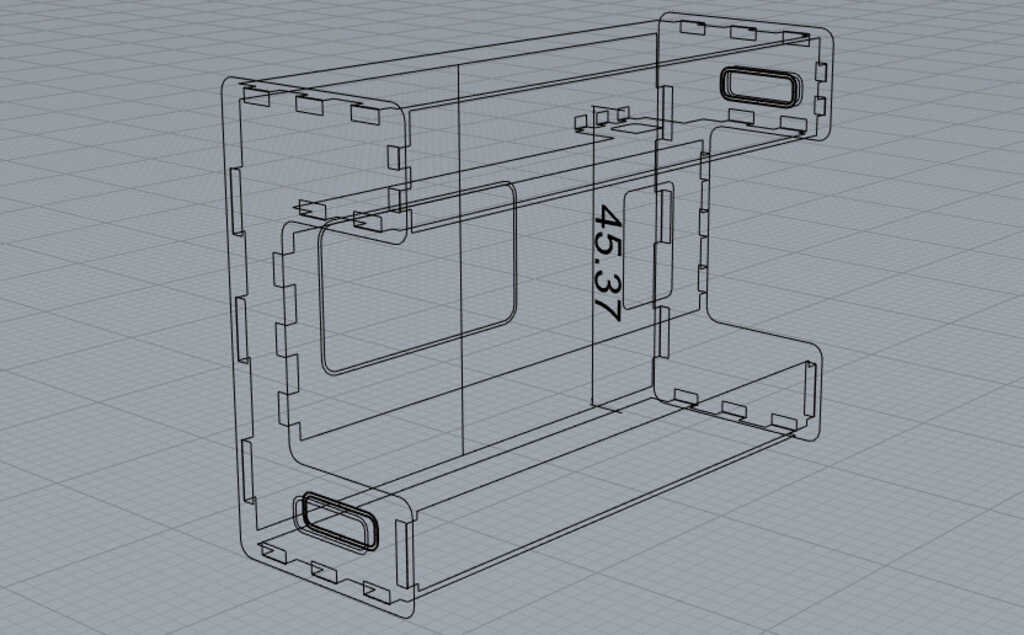
And this is what its look for now. I have juste created a linear version of the machine in order to make easier the possible changements. The chassis will be milled into MDF, then I have added an offset of 0.7mm beetwen the differents moving parts. (Spoiler alert, this offset is too big for MDF, 0.2mm give better results) The X axe will be placed on the empty space at the bottom of the chassis and will be screwed to it. The Z axe will be place at the end of the X axe, it will be screwed on the top and the bottom of the chassis. In order to have a module the more rigid as possible.
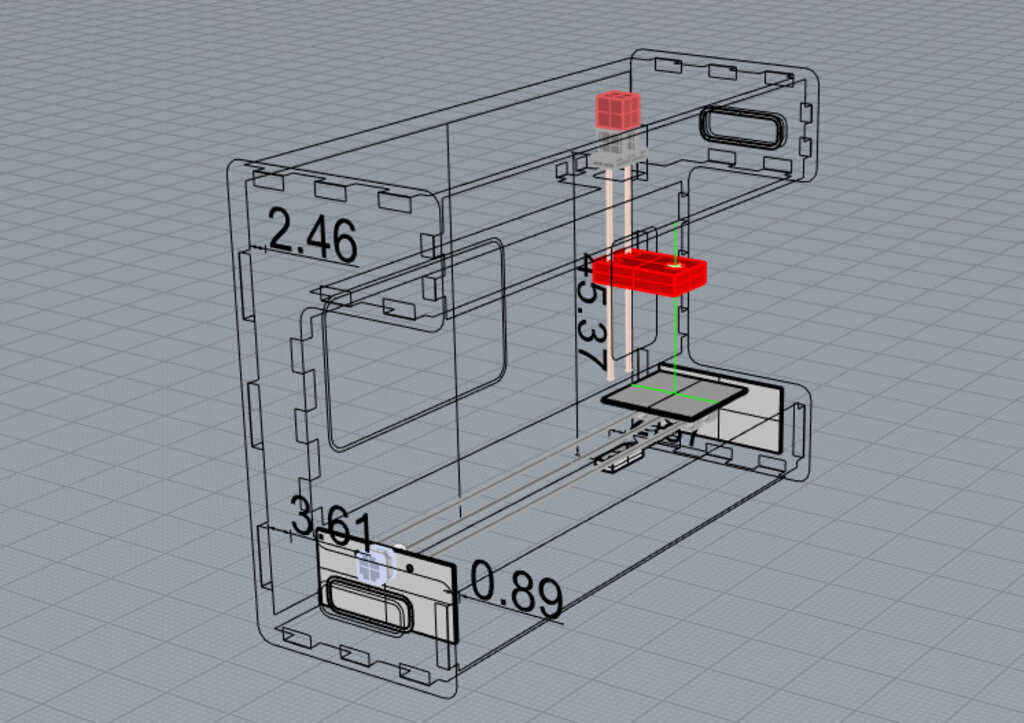
And finally, I added the thickness of the wood (16mm). At this state the challenge is to check if every module have enough space to pu every parts of their system including electronics boards and cable. In order to facilitate the acces to them I have added some holes in machine near of the place of the differents modules.
As you can see, I have choose to have a detachable plank on the front of the machine. This is for the testing stage, with it we will be able to move and clearly see all of the parts of the machine and then it will be possible to move them in case of problem.
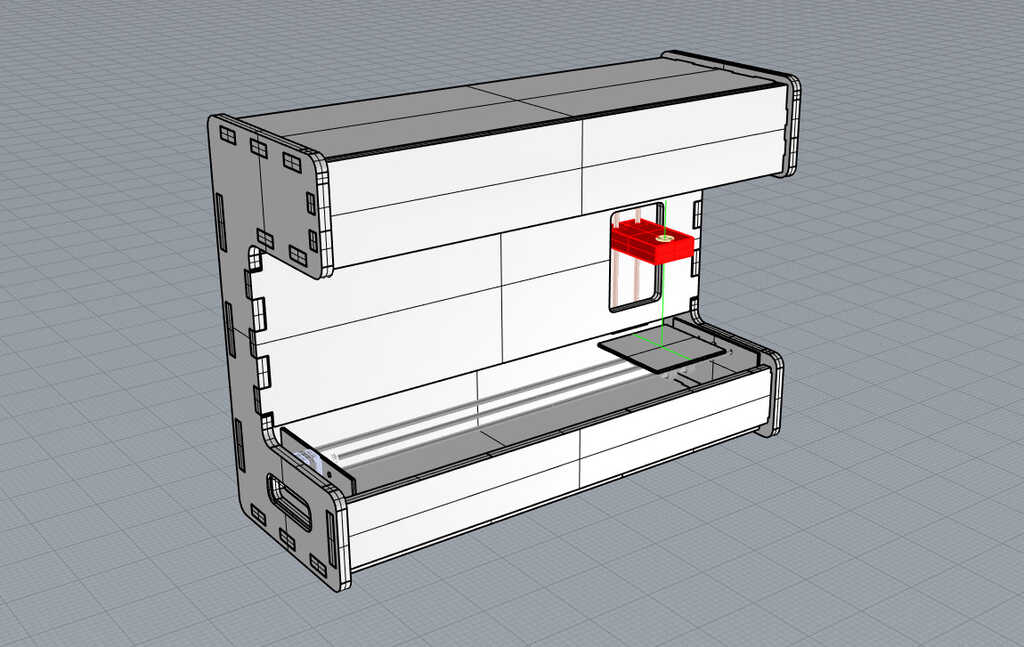
But for now, let's make a little render of how the machine should looks without the decoration.
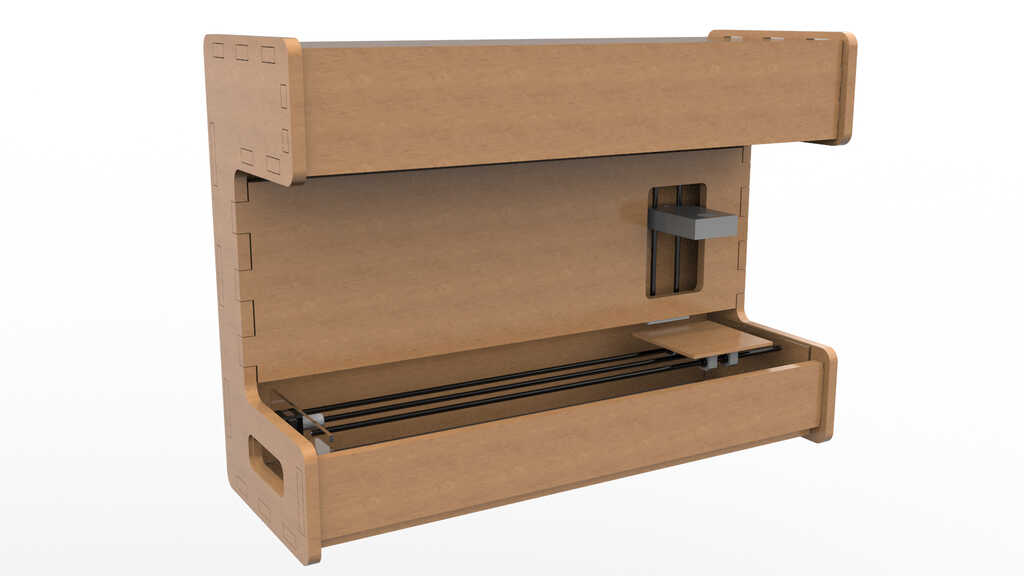
And tadaaaa, this the result. Concerning the machining of the wood parts, I have used the CNC shopbot and VCarve pro in order to create the CFAO files. I used the 2D toolpath of VCarve by importing DXF files in it. If you want more details about this machine go to my Something big week.
And here the differents parameters that use in order to mill MDF :
| Diameter | Depth | Step-over | Spindle speed | Feedrate | Plunge speed |
|---|---|---|---|---|---|
| 6,35mm | 3,17mm | 40% | 6000tr/min | 40mm/s | 30mm/s |
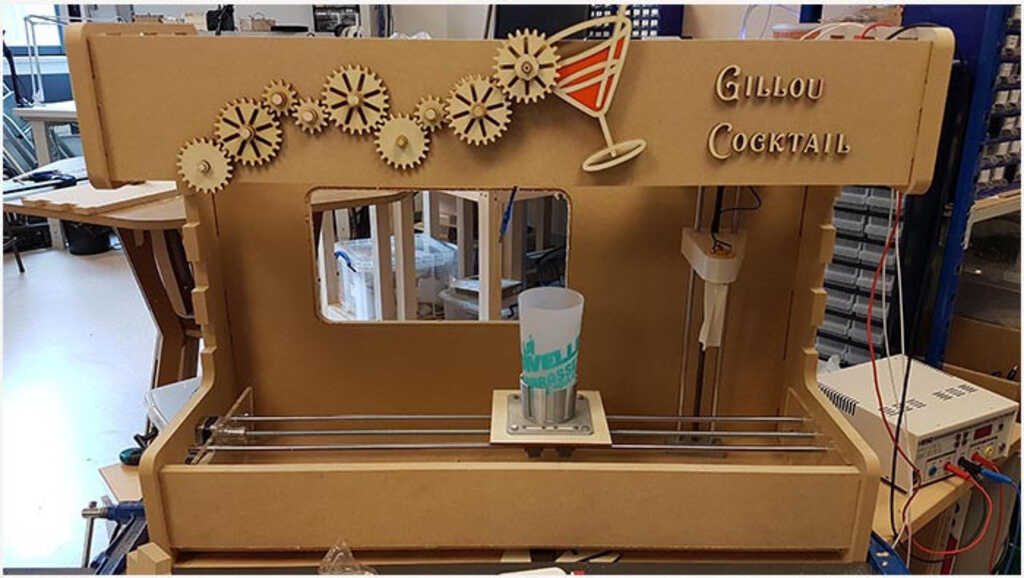
Concerning the functionement of the differents parts of the machine, you can see some videos of them working using little arduino. Mechanically everything seems to work but now the big challenge will be the electronic parts. Because we are 5 in our group, we want to create our own electronic board for each parts of the machine, Here the continuation of the story.