
Project developement
I was looking forward to this week with great anticipation, this week let a big place to imagination, inspiration, and basicaly to plastic art !
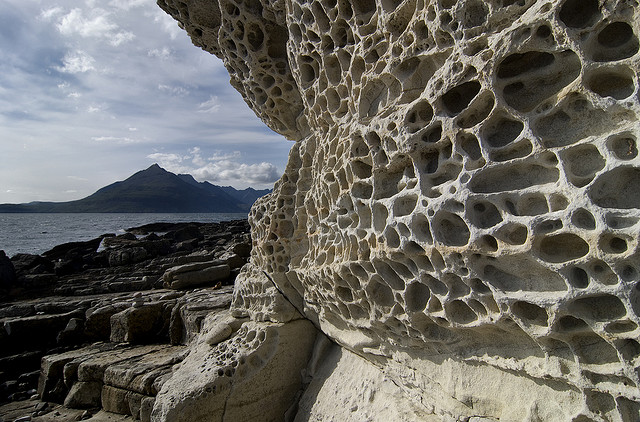
I don't know why but, my mind stopped on this picture of weather rock called taffoni. I found these curves and shapes really facinating and mesmerizing... At first I wanted to try to reproduce this for the 3D printing week... But at this time I was totally incapable to modelise it. But after some weeks, and some time for my brain to understand how I can break down the differents elements of this type of shape.
Then in a first time I have made a little sketch of my artistic representation of these taffoni.
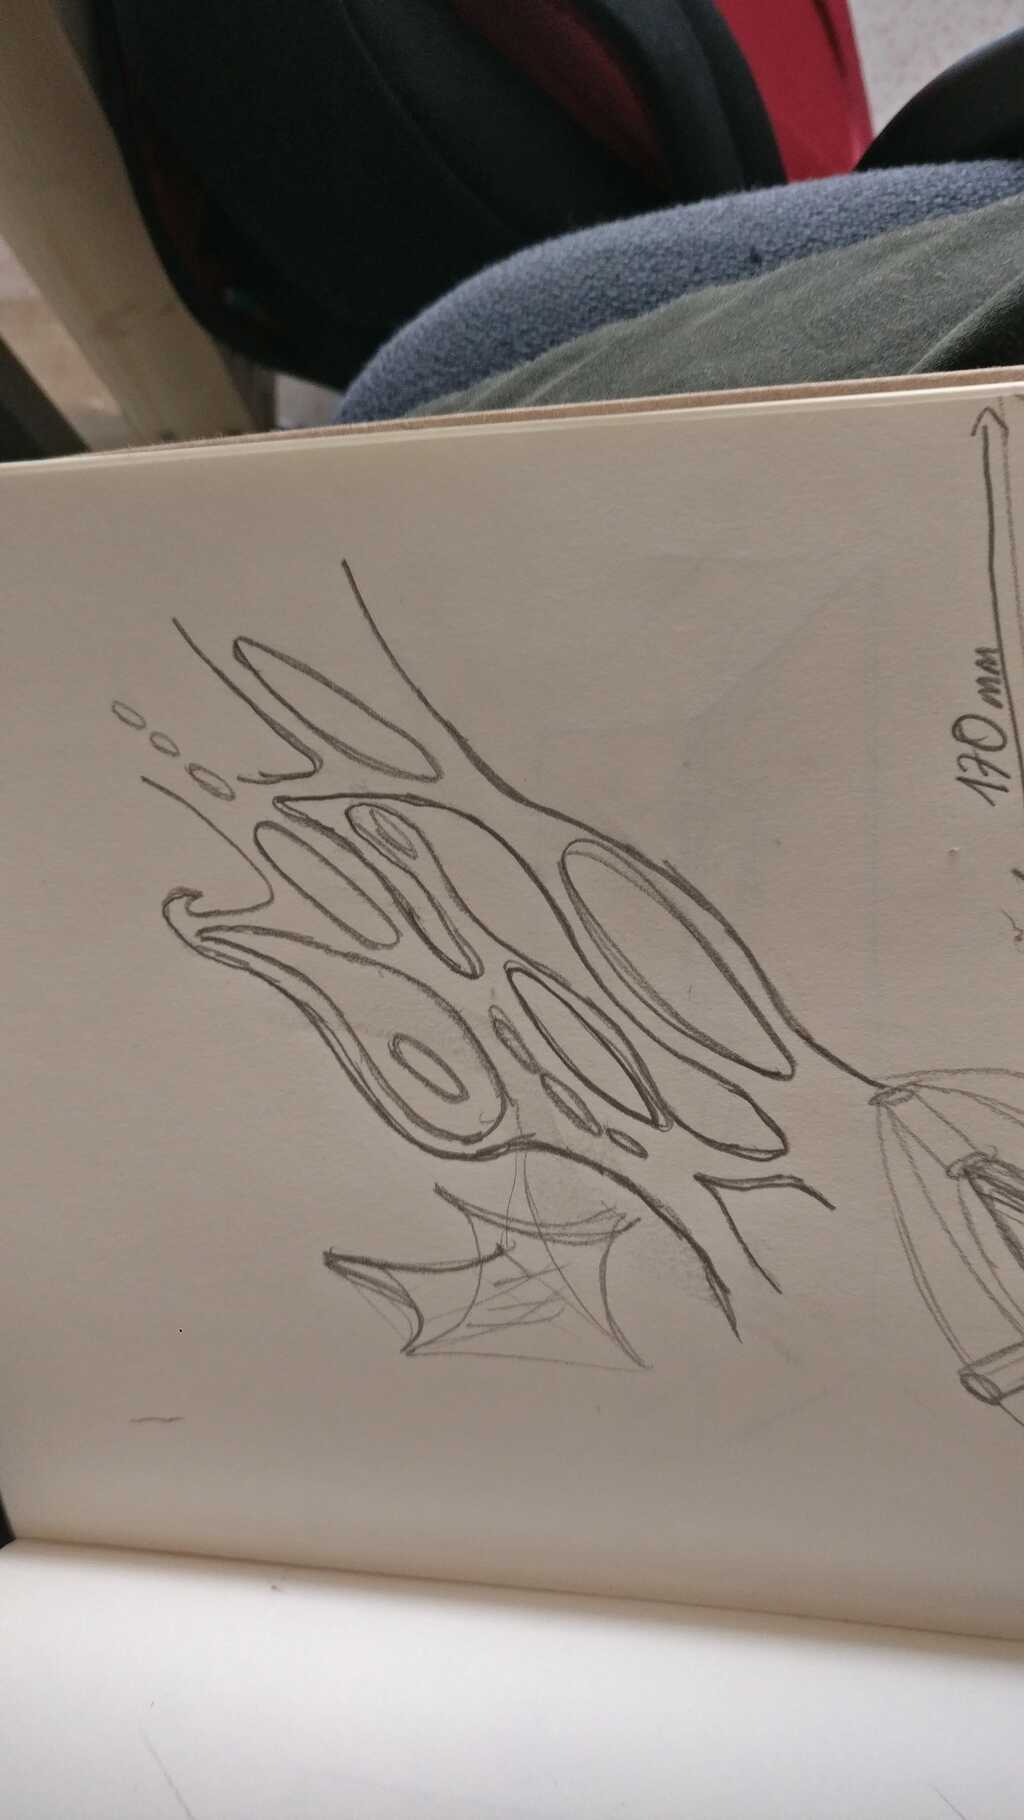
Then I have vectorized this picture using Inkscape, and imported it into rhino 6.
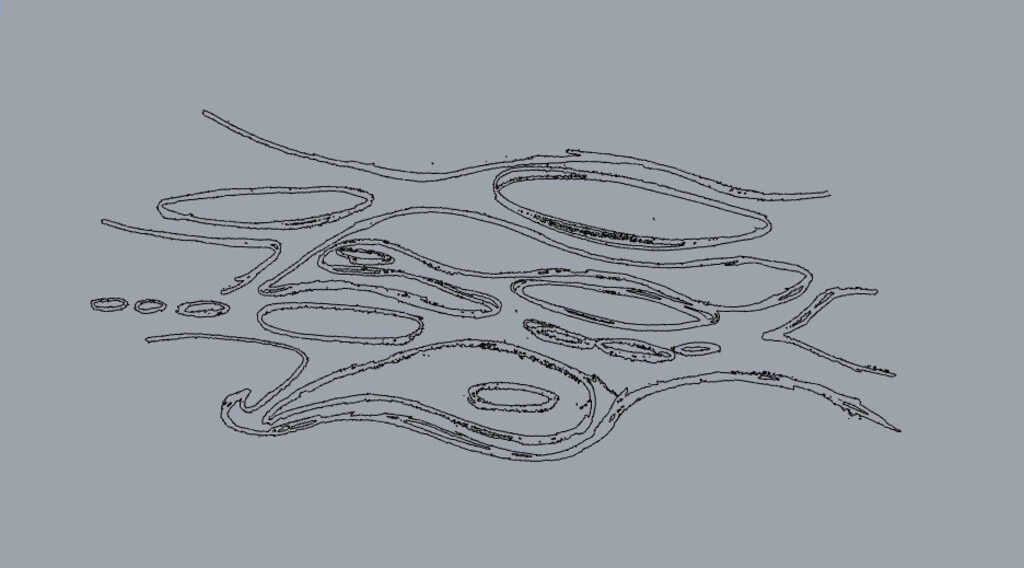
Then using the curves passing by points function of rhino I have recreated the sketch with more accuracy ! At this state one my constraint is to be sure that the bit of the CNC will be able to mill in every place of the model.
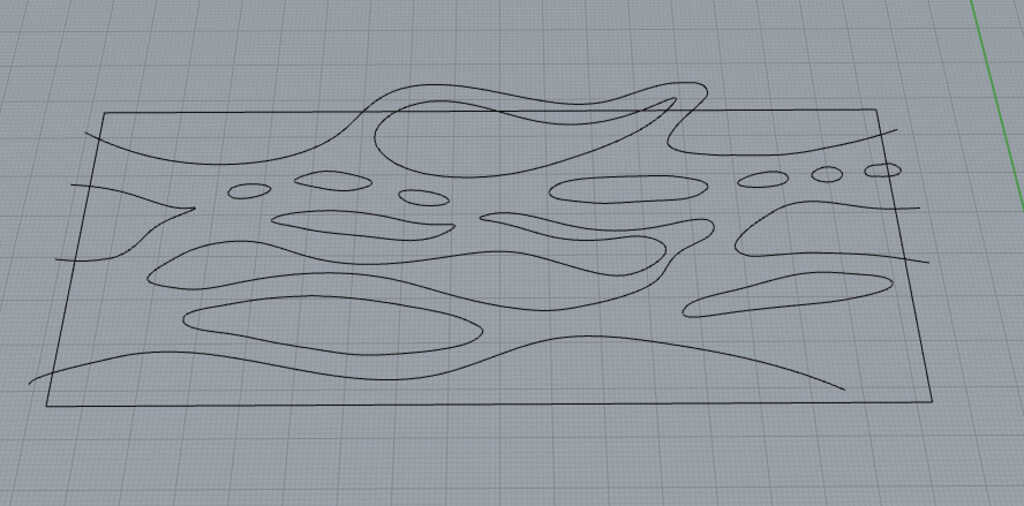
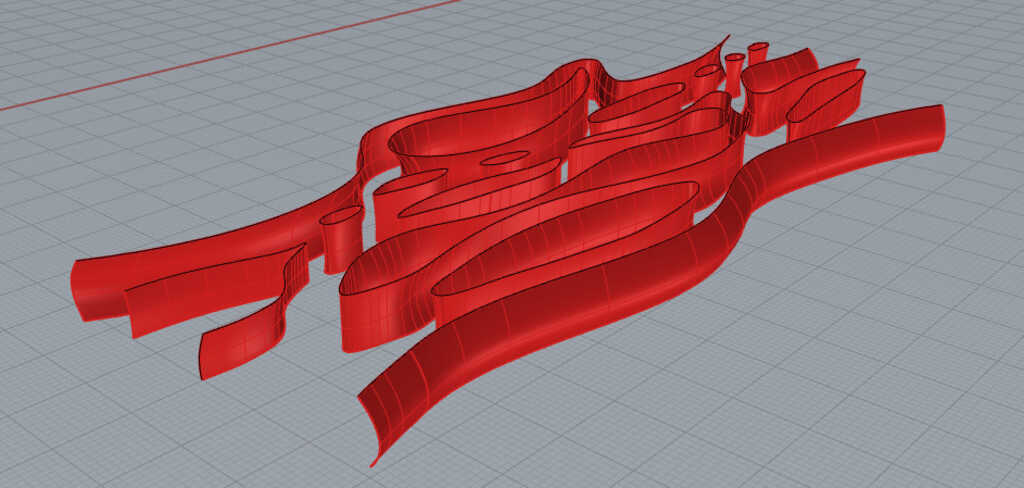
Now, all of the 2D sketch is made. The next step is to create an extusion of these curves. Basically, I could make a straight extrusion but I wanted to have a final render more "organic" To do this, I will use the the sweep on one rail function. Then I have created some transverse curves.
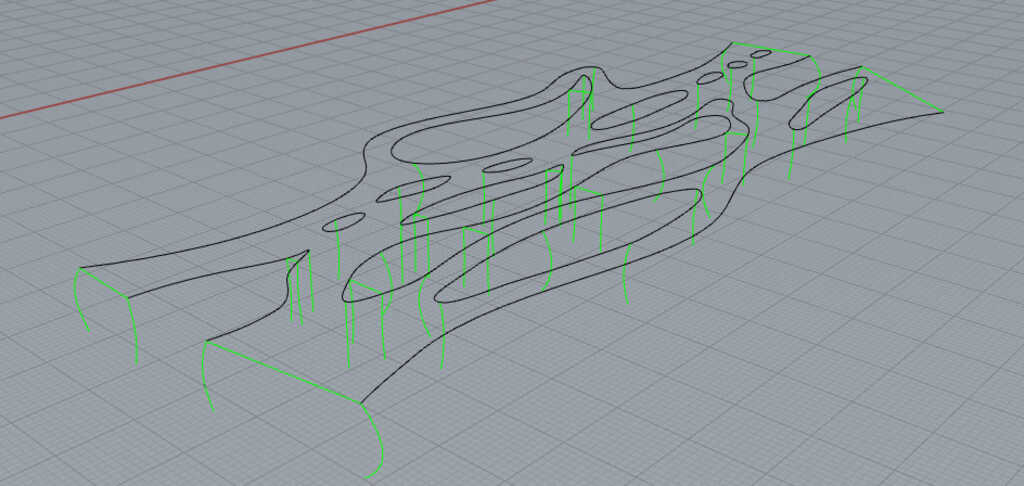
And now we can apply the function.
Using the 2D sketch I have generate surface plane on the thop and the bottom of the model. Afterwards, I have added some fillets beetwen them !
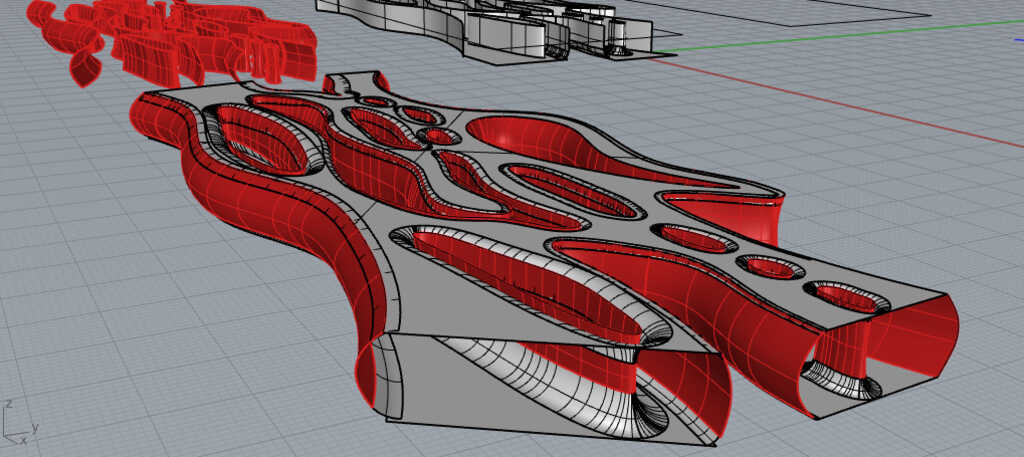
After some clean, this is the resulting model of what I want to cast !
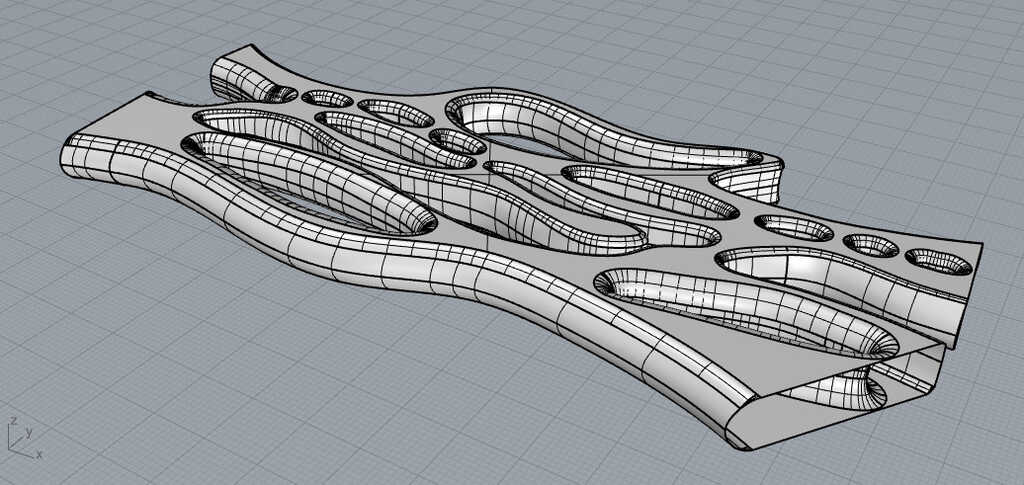
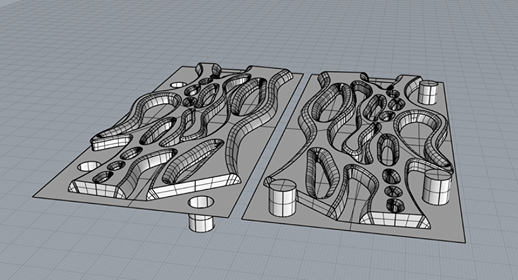
Now I have to use it in order to create a CNC machinable model of the casting mould. To do this I have basicaly divided the model in two part and then turned over them.
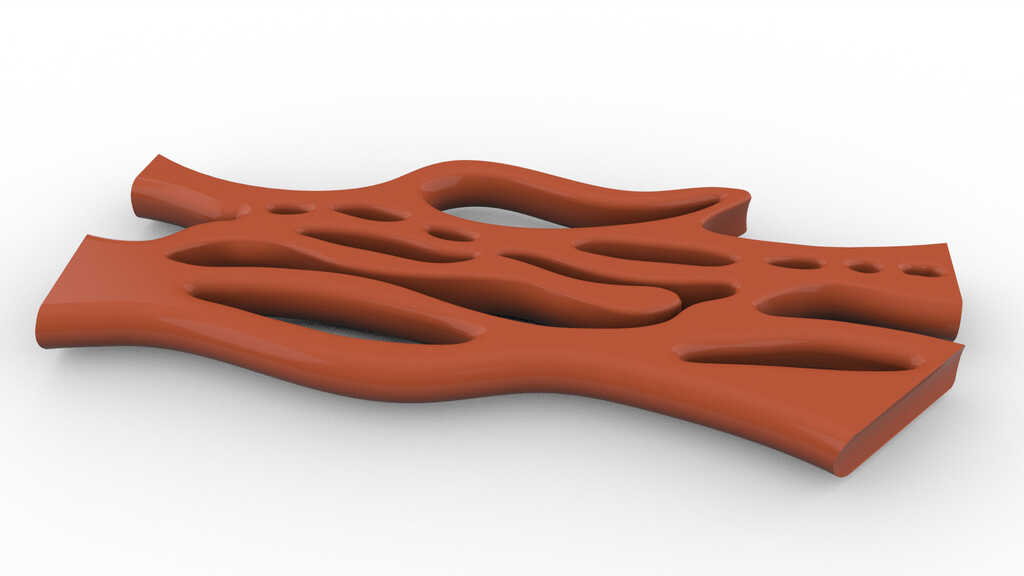
And a little render chocolate of my piece !
Now let's machine the mold. In order to use the CNC we need to generate some G-code from Vcarve pro. The method is very similar as the something big week. But this week I will use a different type of toolpath.
In the something big week, the different toolpath was only based on 2D models It was only curves and lines. This week this different because I have created a 3D models and exported it in .stl .
In a first time I have to import the 3D model. Click on file > Import > 3D component .
Now on the left of the screen there is some importation parameters that allow you to rotate, scaling up/down, place and define the zero position in the model. In my case I juste have to make 90 ° rotation and to scale up the models of 1000 % because there was a little problem with the units. Also I have to choose where is the zero in the models. This part is for me the most "tricky", as I understood it the zero will be the lowest point of machining.
Then we can start create the first toolpath. In a first time the purpose is to remove as much material as possible. On the right panel select the roughing toolpath.
At this time a new window should appear at the right of your screen end ask to you where you want to put the model in the block of material.
As you have maybe see in the 3D models of my mold, there is no border. Here I will explain you how to make it manualy in Vcarve pro.
Then into the panel I was talking about, I choose to put the models 5mm under the top of the material. That mean that the CNC will mill 5 milimeter of metarial before start the machining. But I want to create a border then I need to tell at the CNC that it need to be machined into a rectangle.
To do this, I switch into the 2D view and I draw a rectangle around the curved parts of the models. Then there is a little marge beetwen the machining zone and the limit of the material. Finaly, the last thing is to select the machining into selected traces option in the toolpath configuration.
Now the finished mold should be perfectly usable.
I have choose to use a flat 2mm double helix. And there is the parameters that I have used for the roughing toolpath :
| Diameter | depht | step-over | tool speed | Speed |
|---|---|---|---|---|
| 2 mm | 1 mm | 75% | 1000 tr/min | 50 mm/s |
Basically, here I just want to remove as much materials as possible then I have selected a 75 % step-over. And because the material is very tender I don't need to turn the bit very quicly. Also, I can move forward quicly.
For the finising toolpath I have just create a new 3D toolpath by selecting the finishing toolpath at the right of the roughing toolpath.
Be careful to choose the selected traces as limit of machining.
For the bit I use exactly the same bit as the last step, I just need to change the step-over to 15 % because I want for this step a very clean and fine result.
| Diameter | depht | step-over | tool speed | Speed |
|---|---|---|---|---|
| 2 mm | 1 mm | 15% | 1000 tr/min | 50 mm/s |
Also, for the strategy of machining I have selected the square spiral from center strategy.
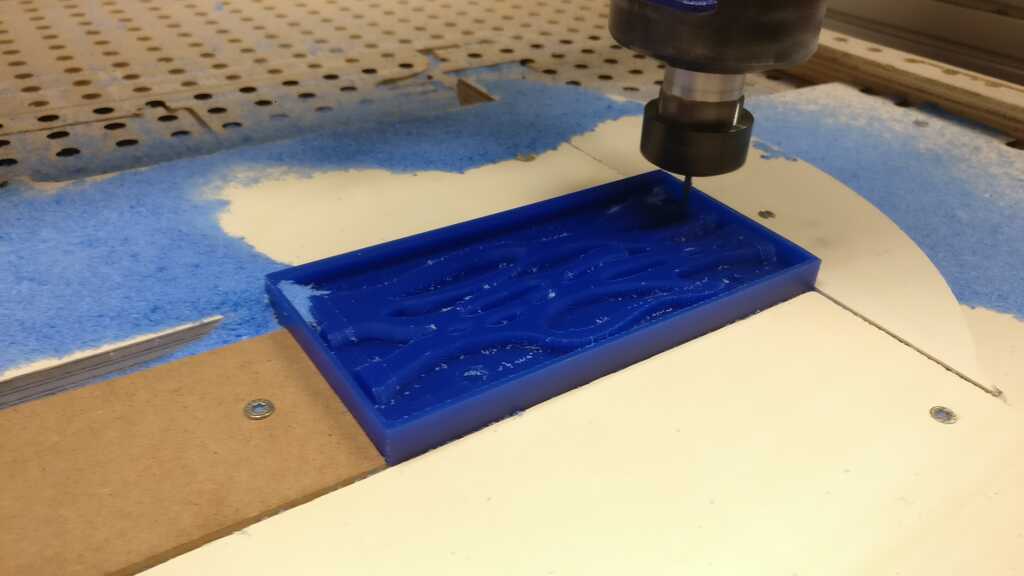
The preparation of the CNC is exactly the same as the something big week, the only thiing that change is the way of how I maintain the material on the tray.
In a first time we have tried the machining with double face tape but it didn't work. Then as you can see we have screwed on some piece of woold the the tray and then I have put the block of wax In it.
As you have maybe see, I modelised 2 side of the mold in order to have a piece with curves on the two sides ! But because of tht timing I didn't had the time to machine to second part of the mold. Basically, we are 5 in our lab to follow the fabacademy. This week we have to cast and mold something but that mean that the material thar we use have to dry during 48h... Then the machining timing is very short.... After, the formation I will try to machine the second part of the mold and test it !
The first thing to do when you start using a new material (particularly chemistry materials) is to review the safety datasheet.
The silicon that I will use is an alimentary silicon, then it should be not very dangerous for the human. And that means that this silicon is food safe ! The technical name of the specific product is BLUESIL RTV 3428 A or as synonim RHODORSIL RTV 3428 A. This may be useful when you need more informations on the products.
Basically, here the spec of the material :
Now let's see what is the informations about the safety.
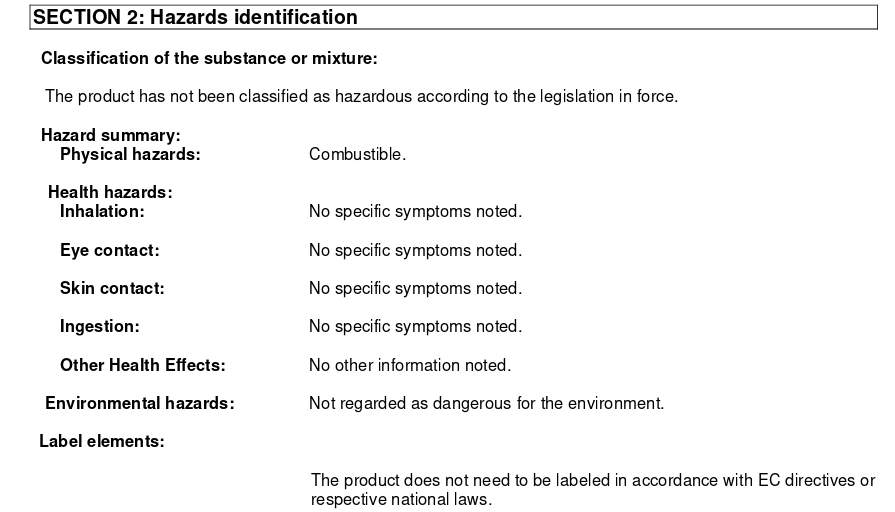
Basically, we can see that there is no particulary warnings and hazards about the product. The only thing is that material is combustible. It means that we have to be careful with heat source. If the product catch fire the suitable extinguishing media are foam, powder and carbon dioxide (CO2). Especially don't use water jet as an extinguisher, as this will spread the fire, do not use alkaline powder.
In the datasheet we also learn what kind of chemical components compose this silicon : Mixture of Polyorganosiloxanes, fillers.. The Polyorganosiloxanes is differents kind of chemical funcional group composed by Silicon (Si) and linked to other atom of Carbon and Oxygen. This kind of link beetwen atoms create big molecules called polymere.
We also learn what are the first aid measures in case of problem. Basically, in order to provide any danger you need to have glasses, glove and an overall. But in case of eye contact they say to rinse thoroughly with clean water. And continue to rinse for at least 15 minutes.
In case of a skin contact, they advise to clean with soap and water. Even if the contact with the silicon does not cause skin irritation. The polymerization of the silicon can be problem for the skin.
Now, we are ready to use them serenely...
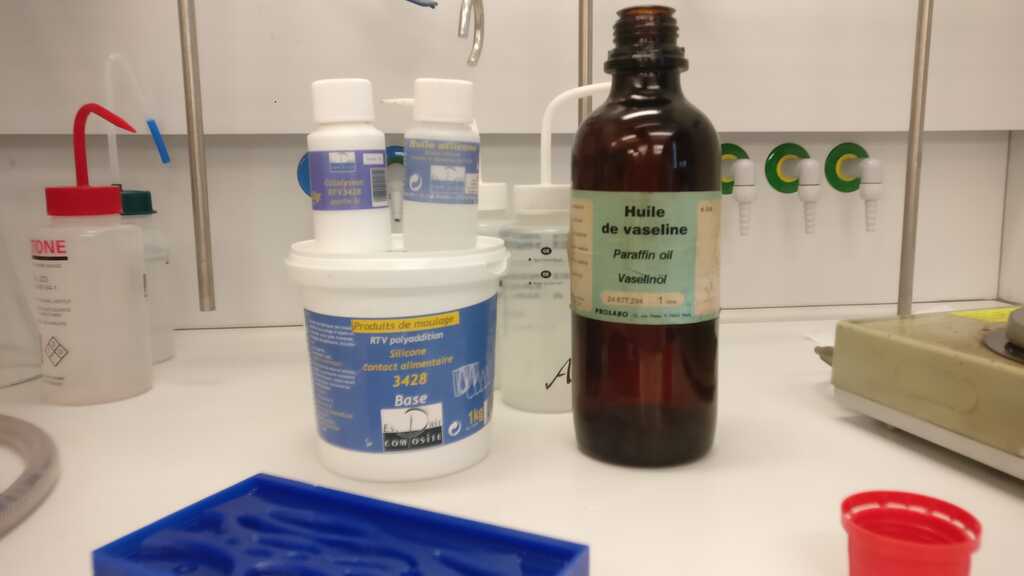
The silicon that I use (like most of the type of silicon) are composed by two differents parts. The first is the Silicon itself (part A), that contains a lot of little molecules that will react with an other products (part B). This other products is a catalyser, it will accelerate the reaction of polymerization. Then a lot of big molecule (the little molecules will "fusioned" beetwen them) will be created and the state of the silicon will go from liquid to solid. Also the eat can accelerate the reaction.
Then we have to mix the two components. The proportion are ratio of 100 for 10 in mass. That means that you absolutely can't add them with them volume, the two parts have different density (the two messes for a particulary volume are not the same). In order to know the right volume that you need we fill a glass of water to see volume needed for the mold. Then in order to mix them, we put the glass on a balance that we set to zero (tare button). Now we can add the volume that we need of the part A, check the mass and add the right quantity of part B. For exemple, in my case I have use 110 g of part A and I have to add 11 g of part B (110*10)/100 = 11.
The you have to mix them the more slowly that you can, in order to provide the apparition of air bubble in the mix. You don't want air bubble because when the silicon will be solid the bubbles will create hole in you mold and the pieces that will be casted will have marks...
And finnally, because there is always some bubbles in the mix I have puted it under a vaccum pump for 10 minutes.
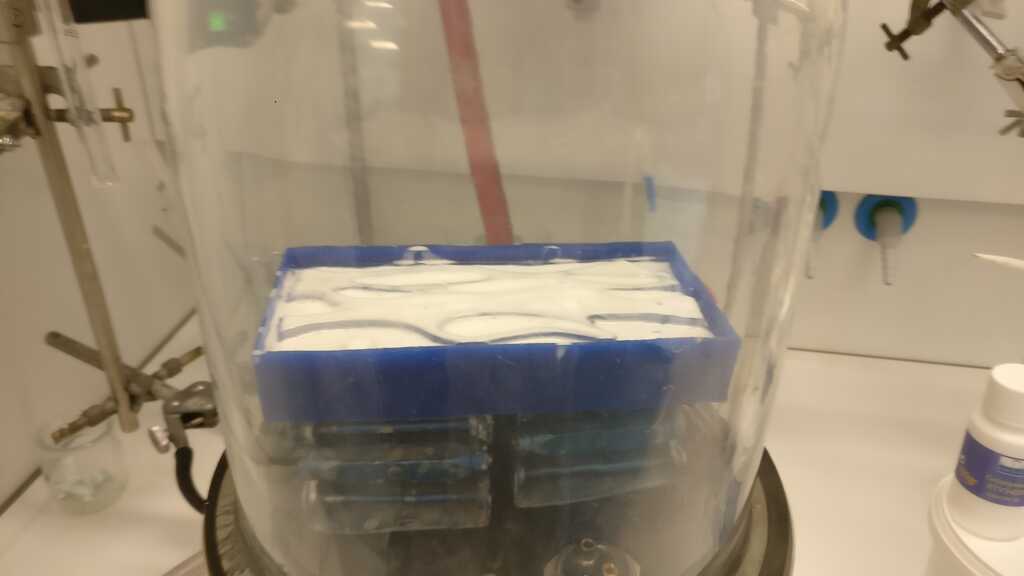
Now I have added a first layer of silicon on the mold and I puted it under the vaccum pump. With this method I hope that the final result should be great.
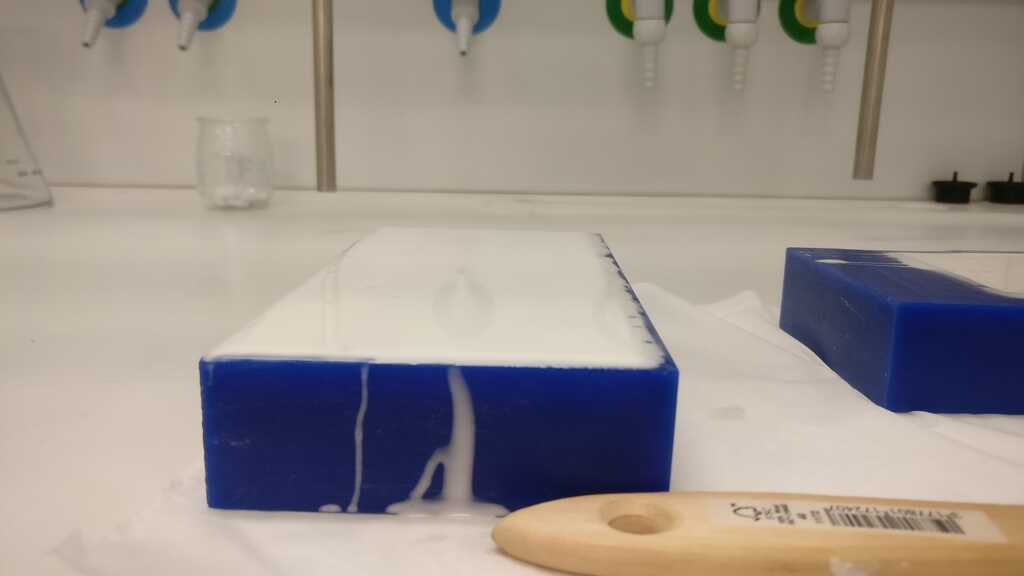
And fill slowely the last parts of the mold with the silicon. Now let's wait 24h...
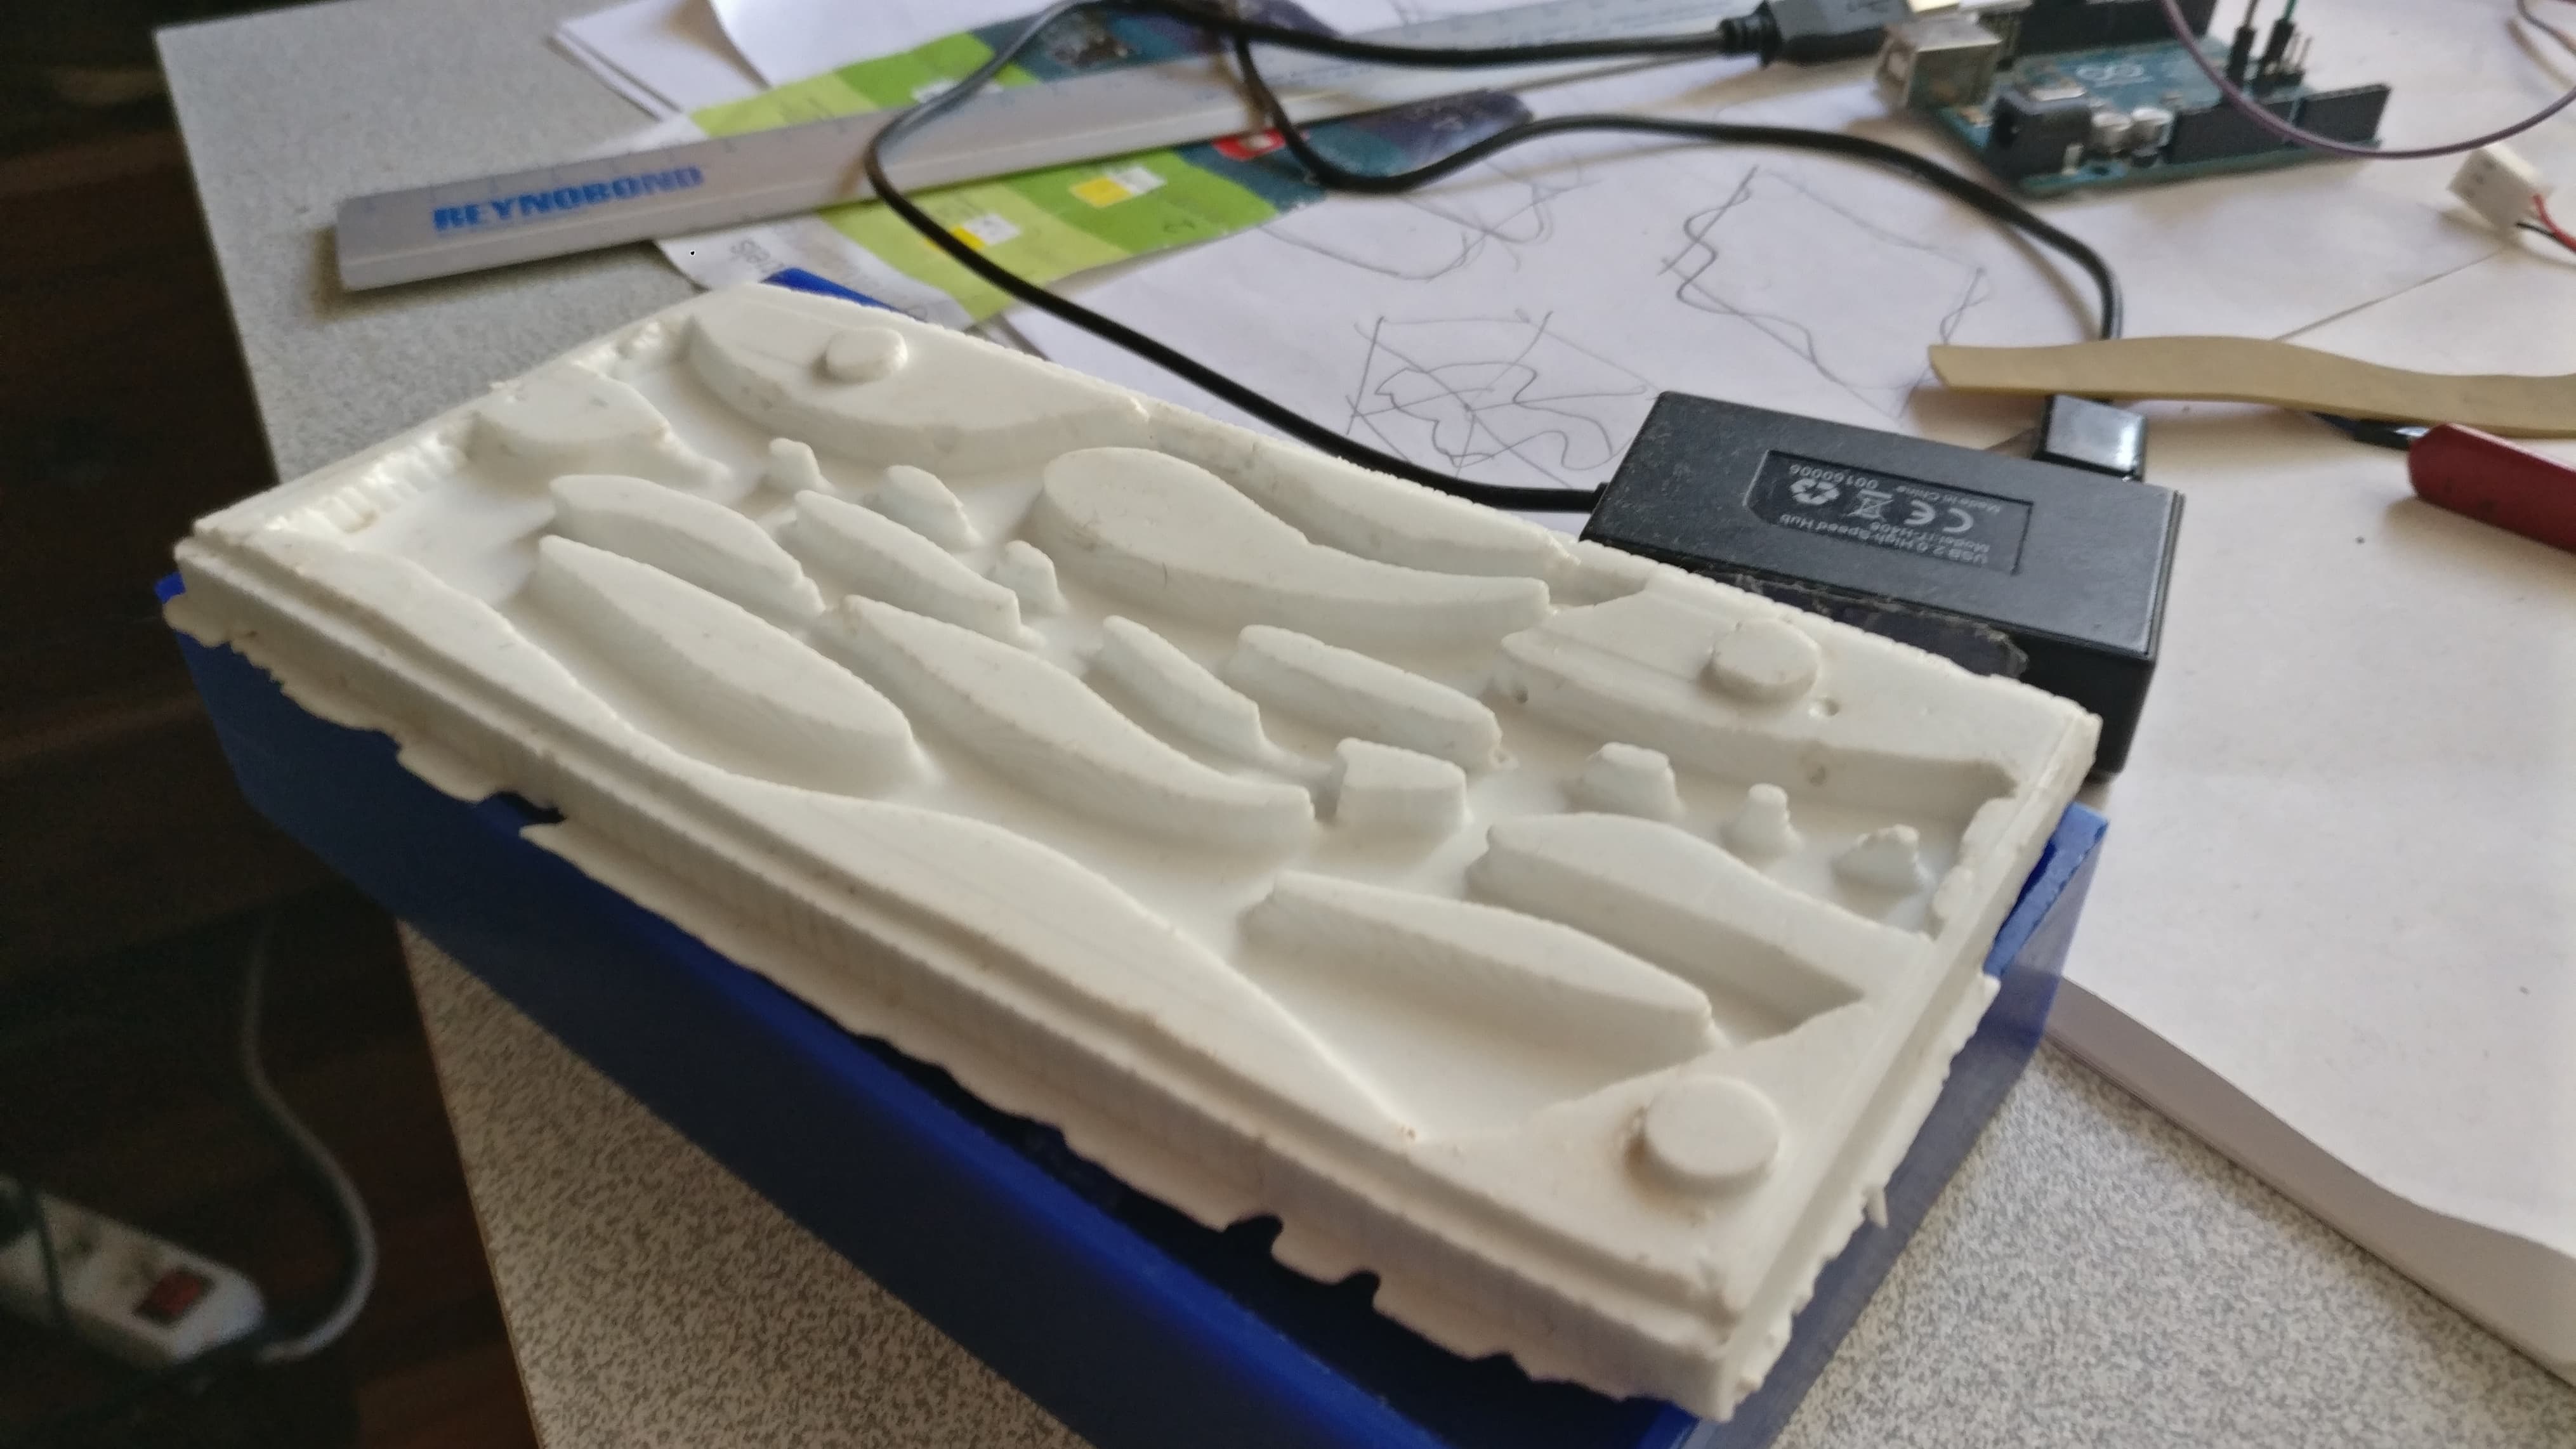
The result is great but even with my method there is always some bubbles in the mold but that is not a very big deal...
Okay the part of moldind the mold with the silicon was not too hard !
For this part I want to test some unusual materials in the world of prototyping. Here I will use chocolate and salted butter caramel. The idea is to create a mix with caramel and chocolate.
First let's see hox to make the caramel : In order to make salted butter caramel I use sugar, butter, salt and "crème fraiche". Also I use a probe in order to check constently the temperature.
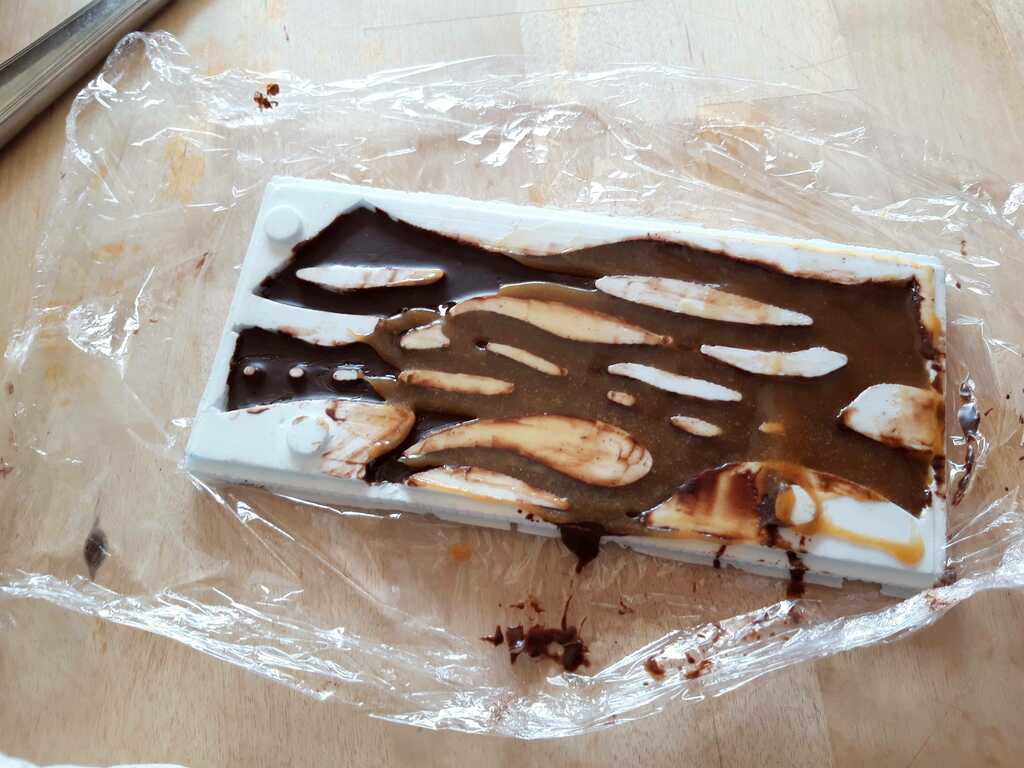
You can also see the chocolate ! In order to prepare it I have put it into a saucepan and I melted it down over a low heat. As I explain below, here I have made a big mistake because the chocolae as the caramel as to pass through different temperature in order to be brittle and shiny. Also I have made an error because In order to cristalyse the caramel I have put the mix in the freezer (-20°) but the chocolate need to cool down at a different temperature.
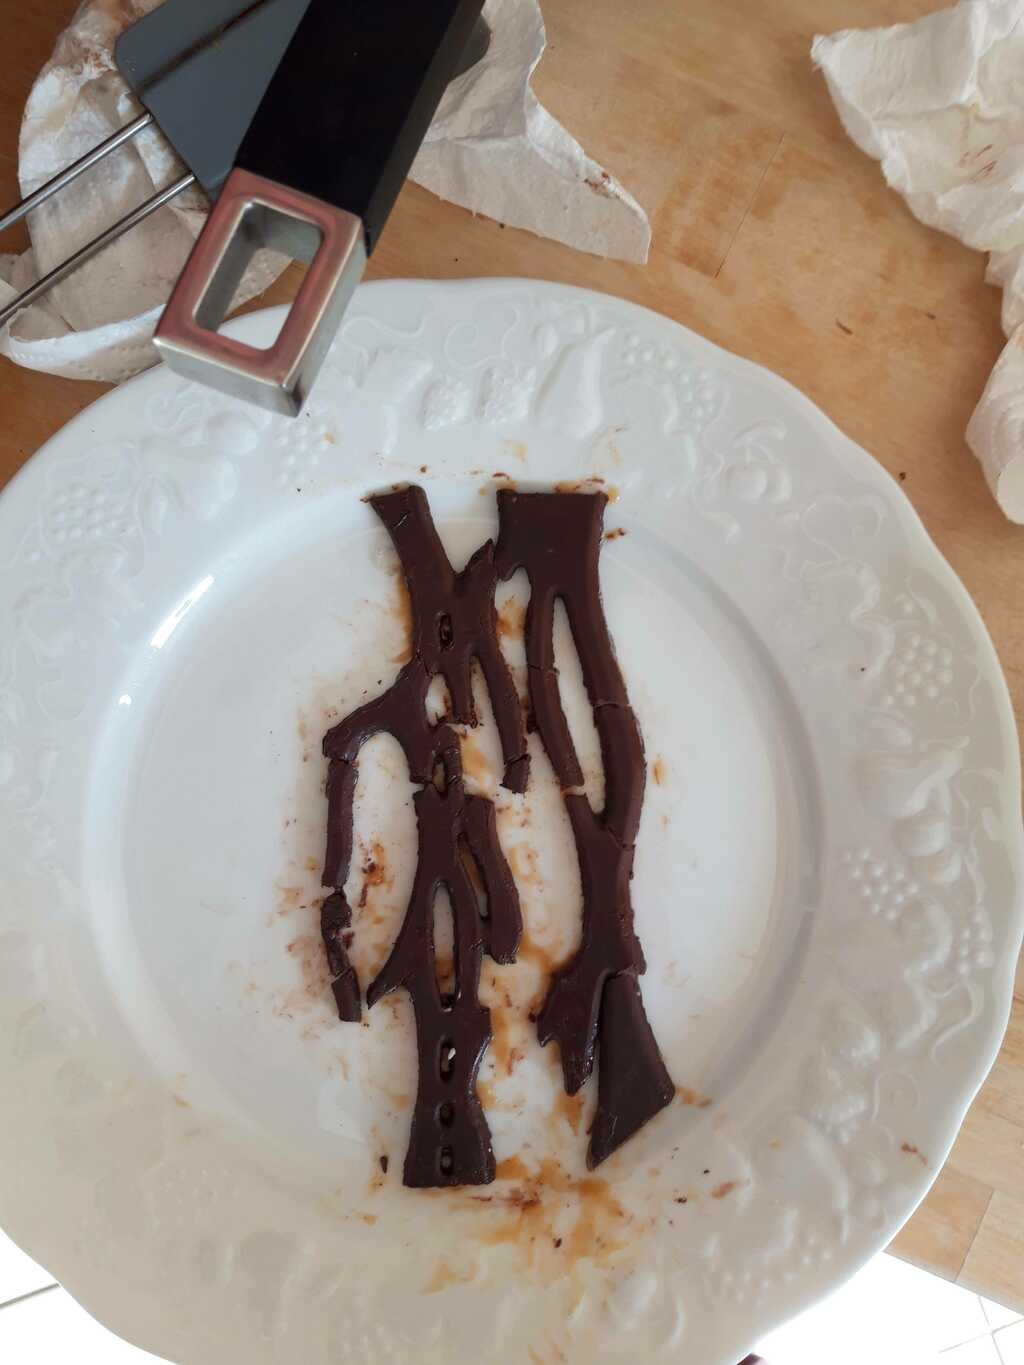
Here this is the result after I turn the mix out of the mold. That was really hard because the chocolate was to fine and then really fragile.
I think the problem is comming from how I cooled down the chocolate and because the mold was not enough deep for this type of materials.
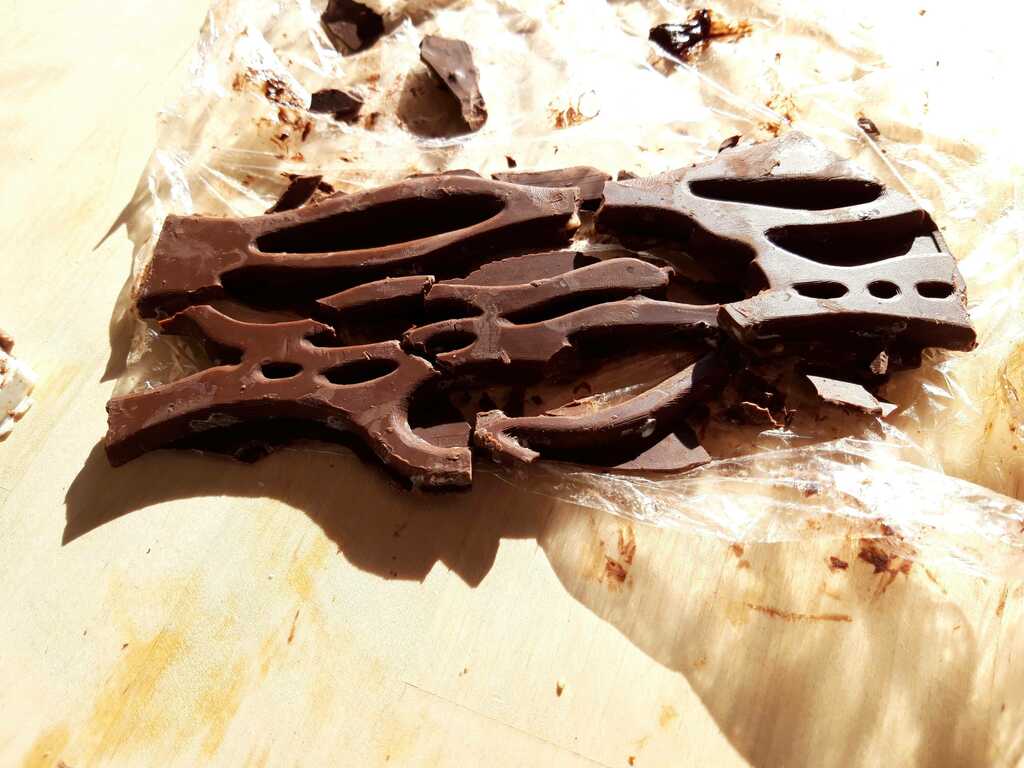
Then I have made another try while adding more chocolat in the mold. Basically up to the top of the mold. Then the quantity that I have put create a layer on the bottom of the finish piece.
The result is a little bit better but this is clearly not perfect. Because I have cooled down the chocolate in the freezer (again...).
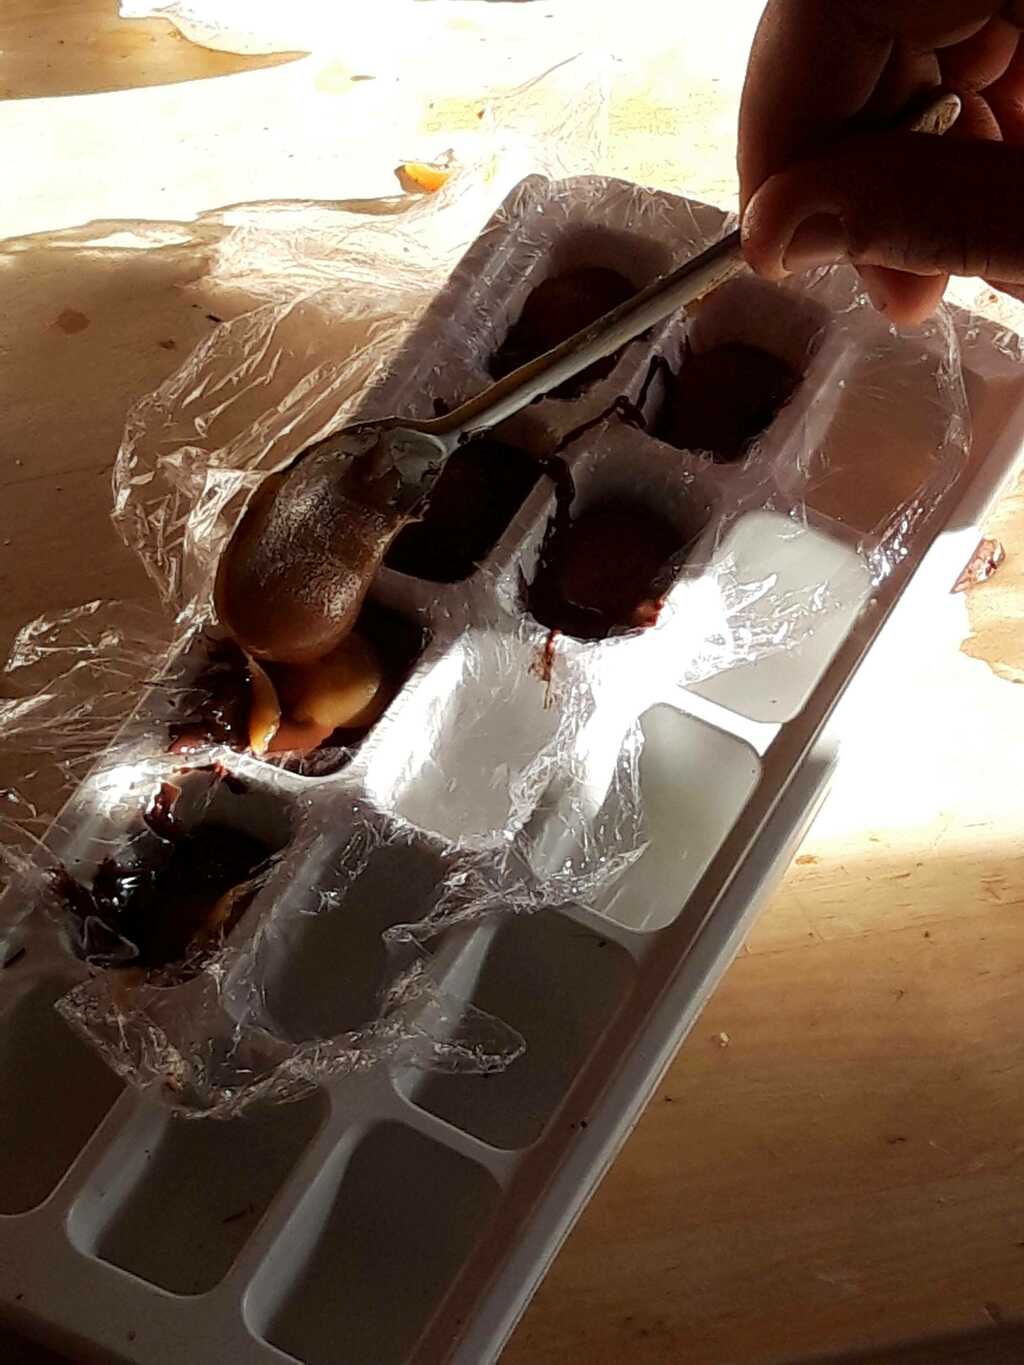
Then I wanted to try another type of mould much more basic. Basically I used a ice cube tank and a layer of cellophane. I want to try this in order to catch the caramel into the chocolate. I have added a first layer of chocolate then added the caramel and then a last layer of chocolate. Finaly, I have added a little some almonds.
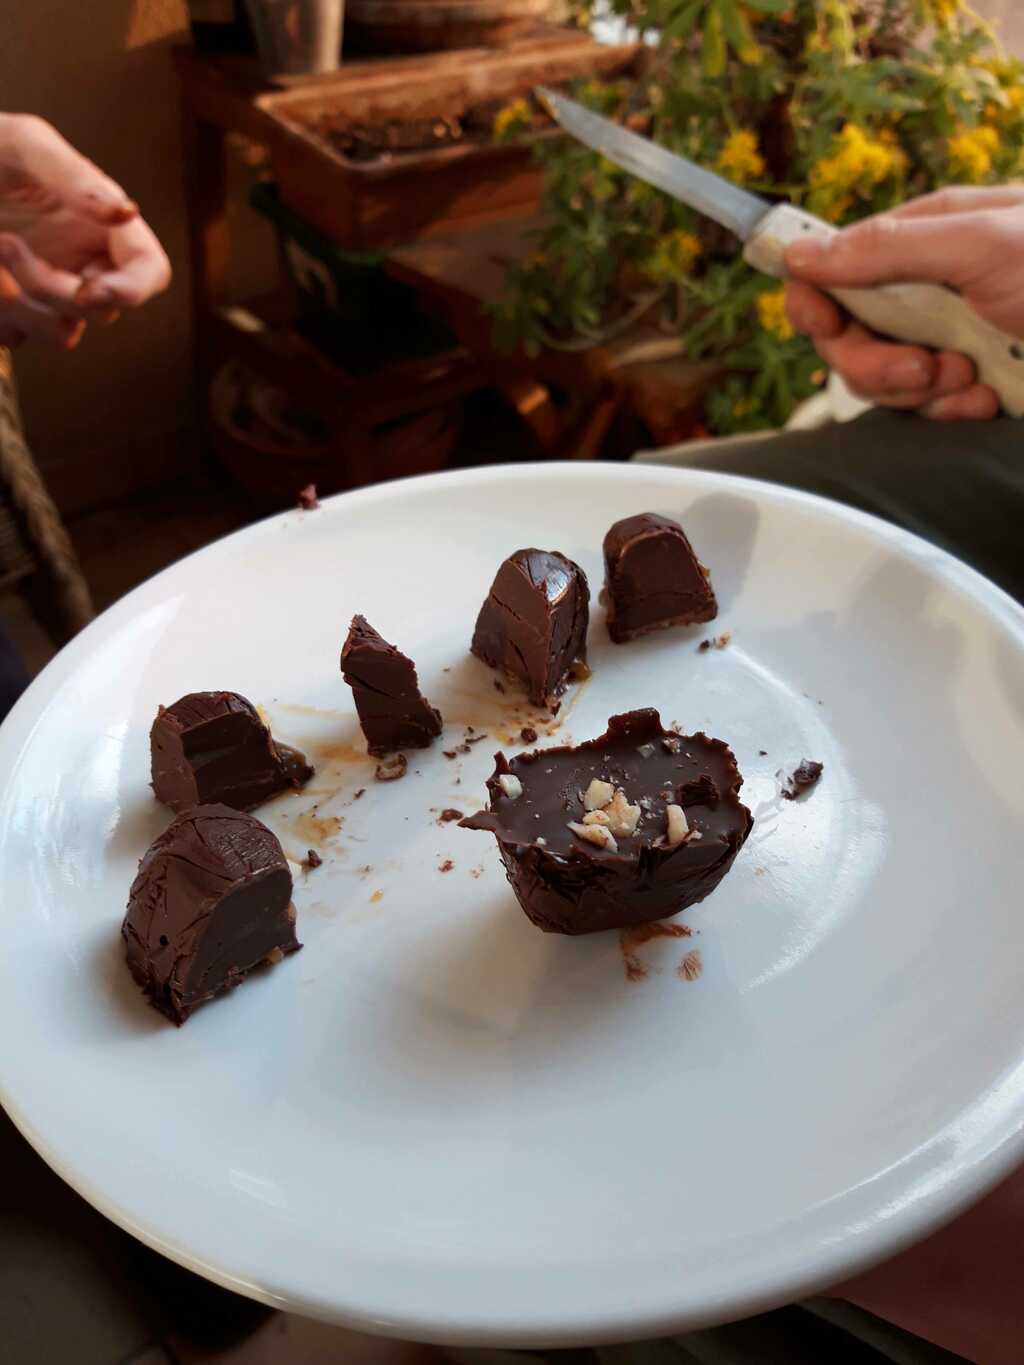
This part was a lot more tricky... I have started it by thinking that in order to mold a piece in chocolate I just needed to melt the chocolate and put it into the model. With this technique the result was not really good... The chocolate was not really curt and melted beetwen the fingers.
Then I have made some researches about how the make and cast chocolate... (I know it would have been smarter to read before, but... chocolate :) ) The chocolate have precise curves of states function of is temperature. Basically, the chocolate must go through different temperatures.
I will make a new try with this method as soon as possible !
All the files are downloadable through sketchfab