
Project developement
--> Link to the group assignement page <--
This week's theme is unfamiliar to me, but I am nevertheless very interested. Indeed, I have had very few opportunities to use the laser cutter and I have never used the vinyl cutter... But, the parametric press-fit construction kit give me a lot of ideas. As I said on my about me page after the fabacademy I want to join an architecture school and the press-fit construction kit is for me a very good exercice.

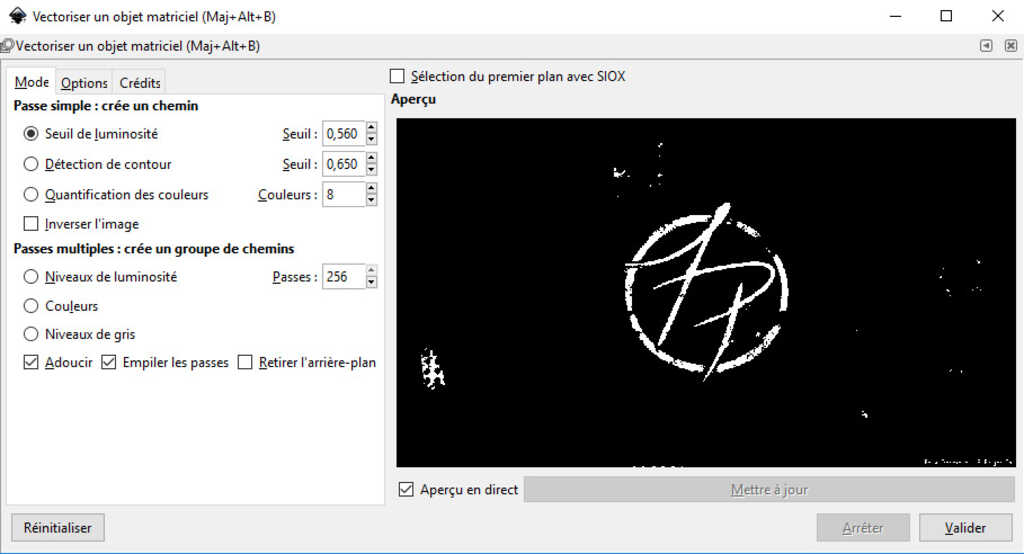
To do this I start using Inkscape in order to vectorise the logo. I import my image and
I use Maj + Alt + B to vectorise a matricial object. Then I use the brightness threshold wich is in
my case the most appropriate.
I click on validate and I export the file as .dxf
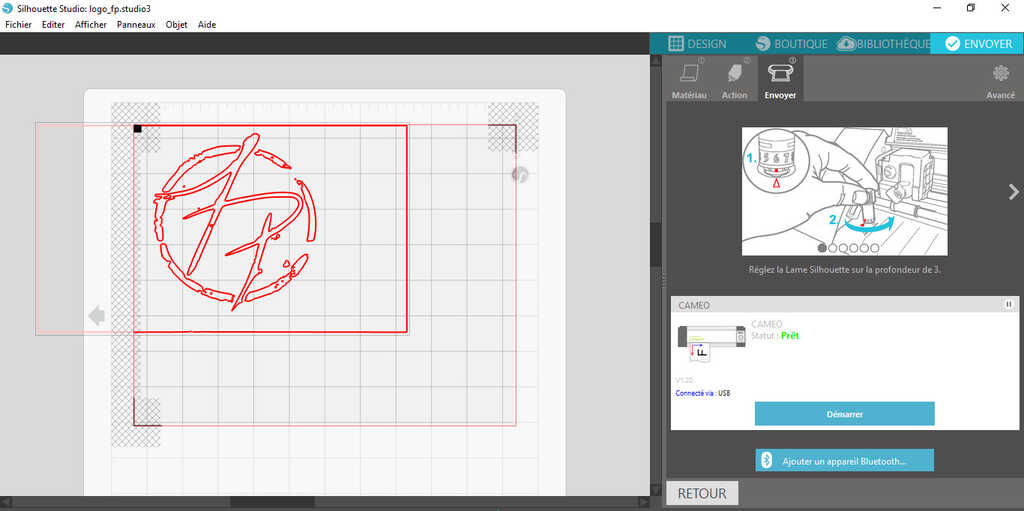
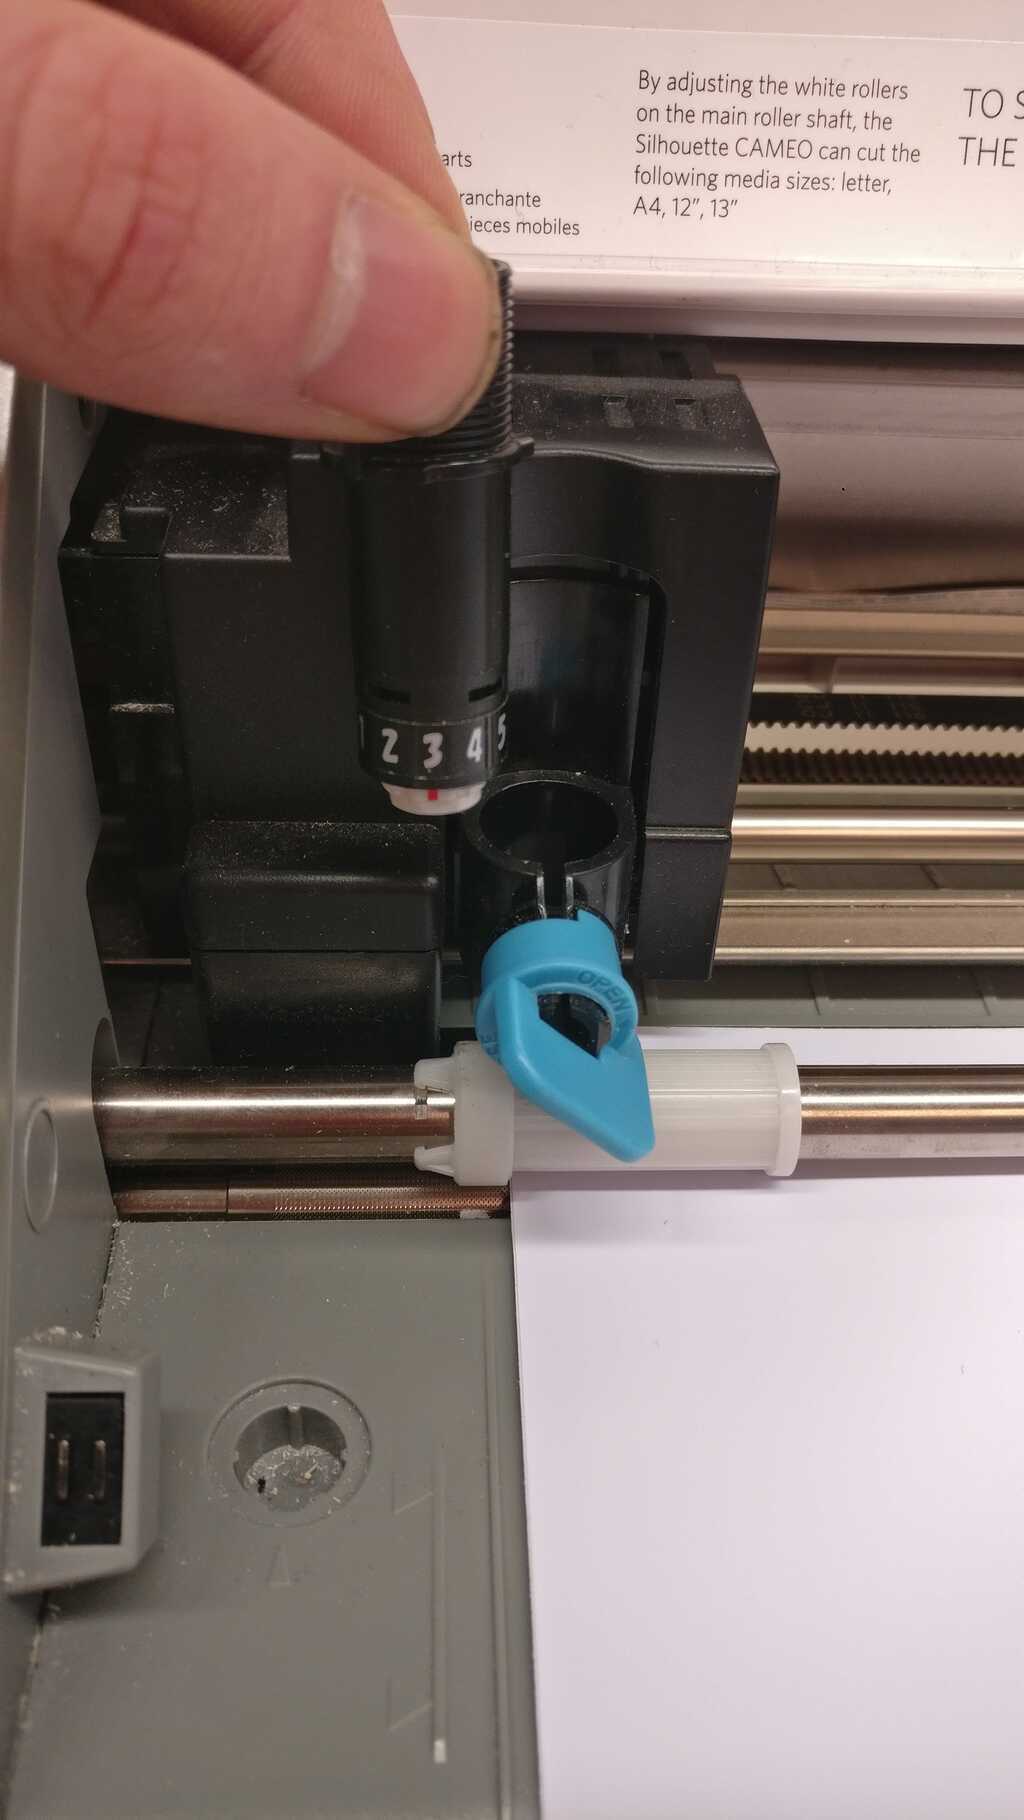
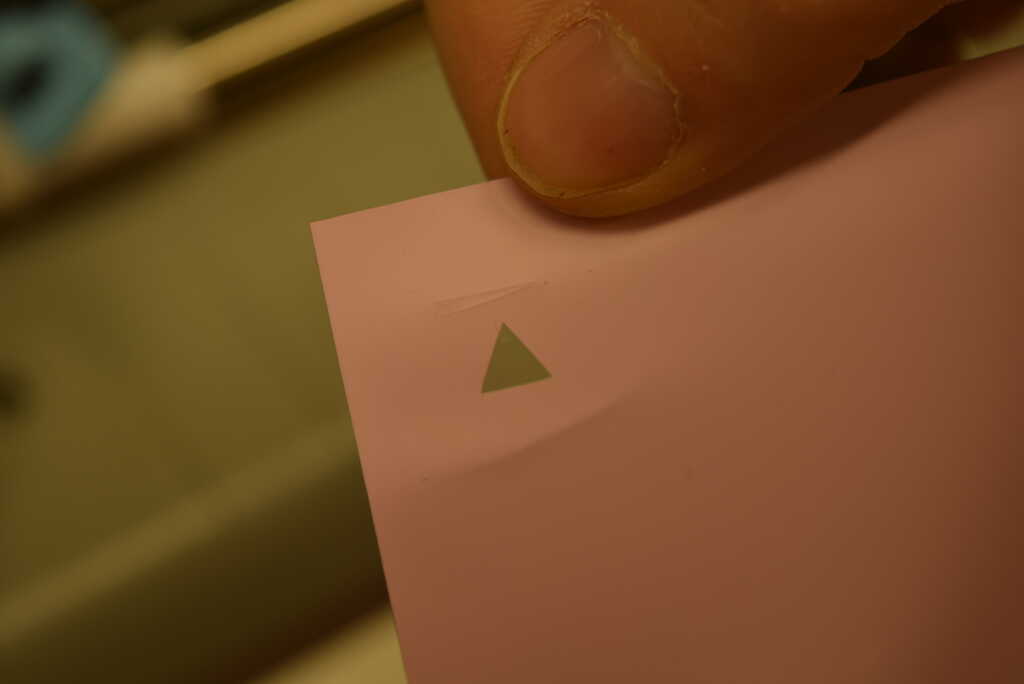
Then I just have to launch "silhouette studio" and in there I import my file. It look pretty good and click on send a test in order to make a little test on my adhesive vinyle. The "force" of the blade is set to 3 and the test looks good. I place my vinyl sheet and let's see what is the result. Indeed, I really don't know if it will work because of the details of my file.
When the software is up, you just have to go in the file menu and to click on open [select your document]
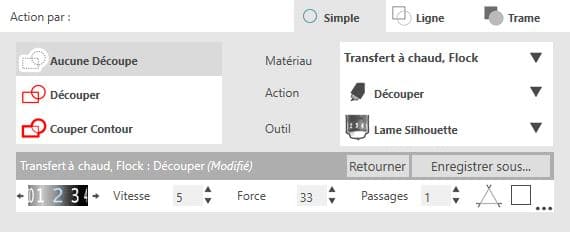
Here this is the parameters that I use :
To start the machine you just have to turn it on and to connect it to your computer with the USB cable
And in order to check if the parameters are fine you can make a little test by clicking on Test on the bottom of the page !
This part is I guess the most tricky... If the material is not well placed It could move during the cutting and then failed the operation. The material must be put beetwen the two rails and fixed by putting down the two white pieces on the rod.
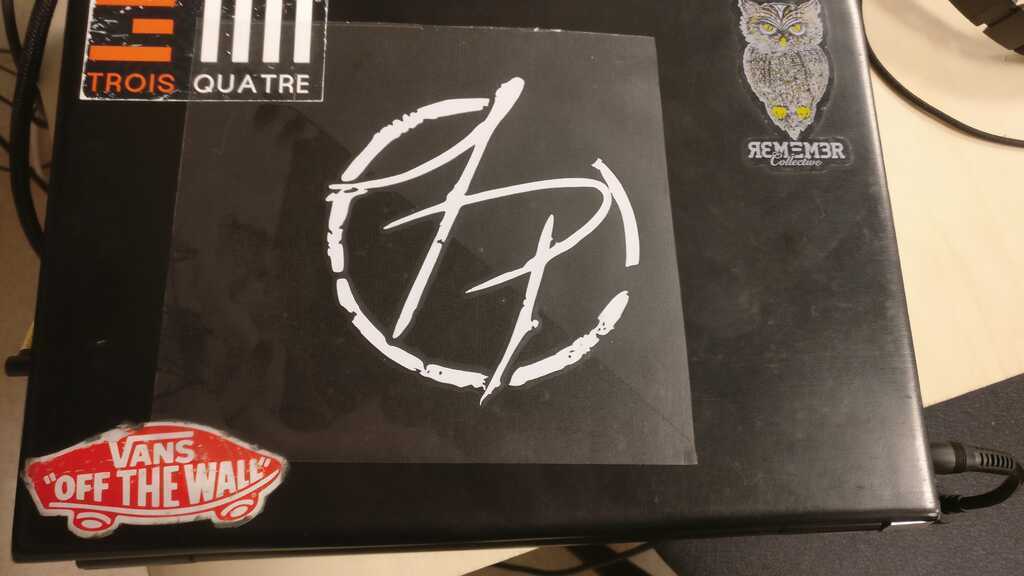
The result is really good and even the little hole are here and well cutted ! I used an adhesive transfer paper to transfer it on my laptop !
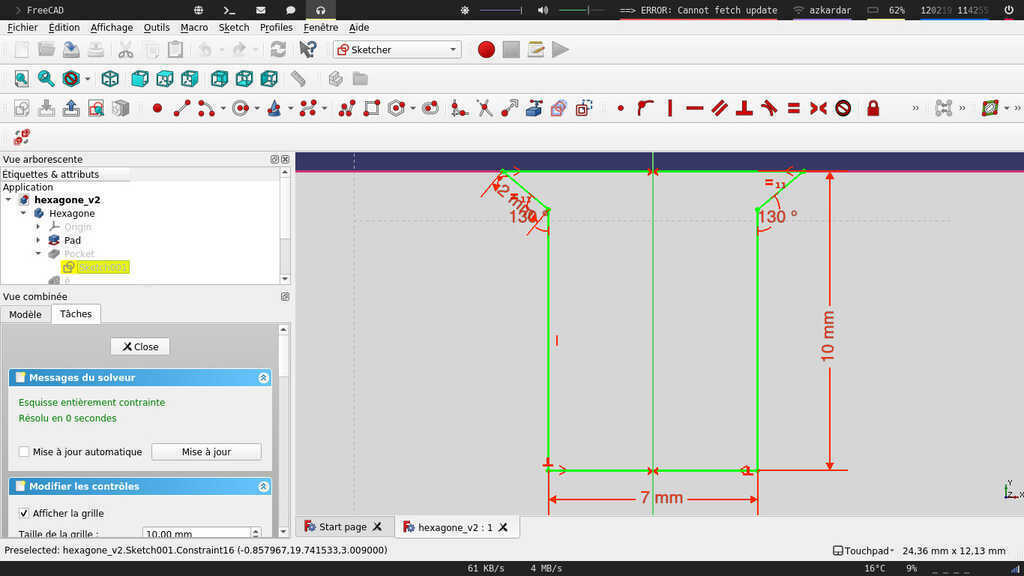
One of the problems I encountered was that when I drew the part I didn't know the thickness of the cardboard I was going to use. Then the power of parametric design appear (again ^^). In a first time I had put a thickness of 3mm but the reality was more something like 6.8mm. Then taking into account the kerf we had measured I have chosen a width of 7mm.
Based on the same logic of the hexagonal part I have made squares, pentagones, and boards pieces. I want to have the possibility to jungled beetwen different angles in order to make floor or roof. In order to gather my different parts from different files I have used the Assemby2 wokbench. You can really easly install it through the add-on manager. Because of time I haven't took the time use it more deeper.
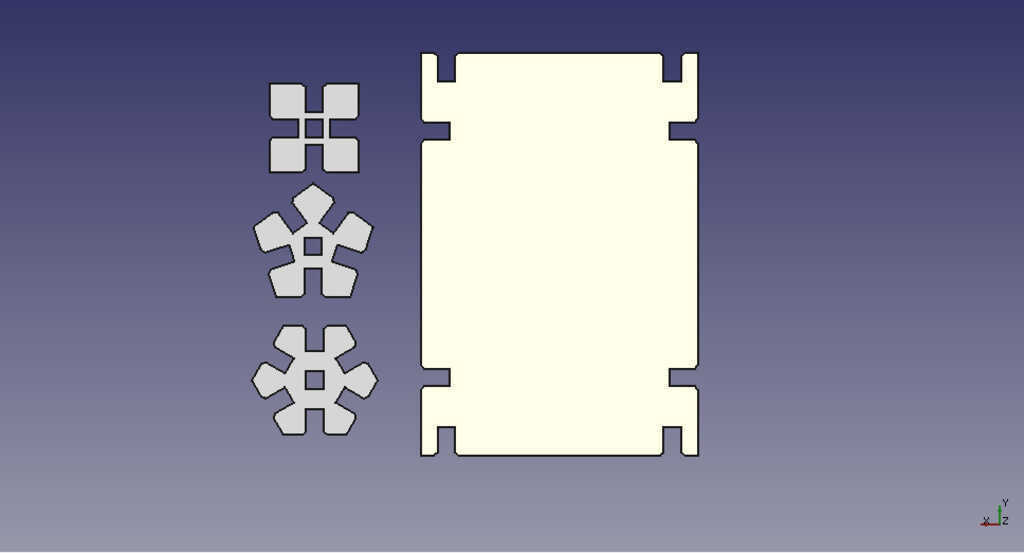
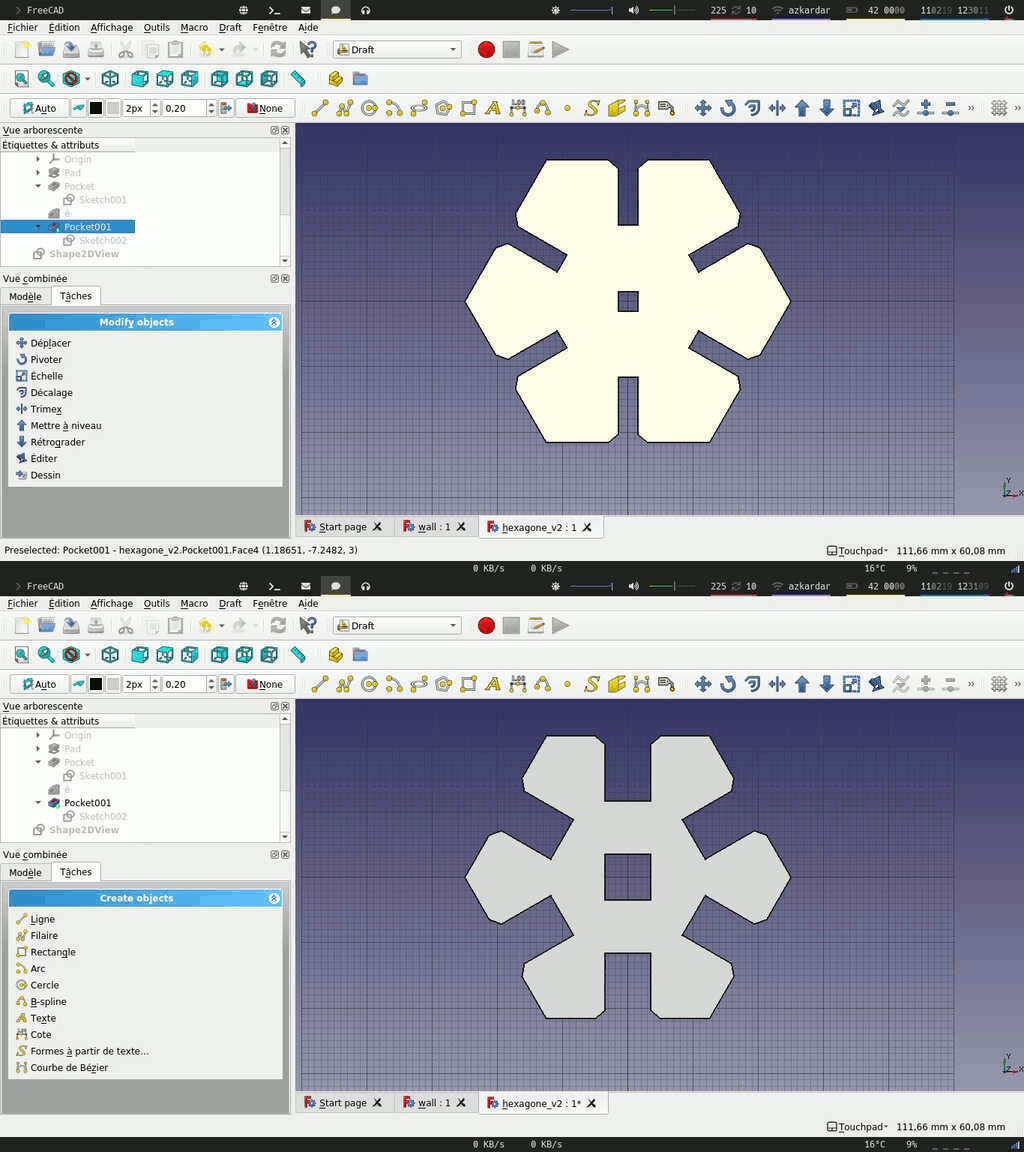
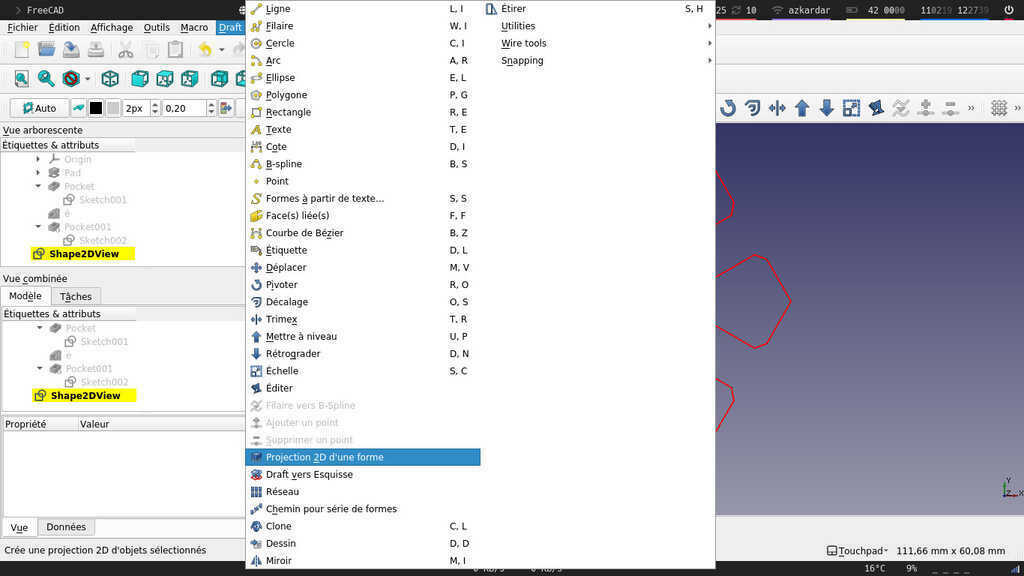
Now I have my 3D models. The next step is to have an export file for the laser cutter. This type of machines use vectorised file to work like .dxf or .svg. But before exporting my file I need to create a 2D projection of my 3D object. To do that I place my camera on the top view, and I switch into the draft workbench . In the draft menu I select 2D projection of a shape. Be careful, you have to place your camera with the right angle, your projection depends on it
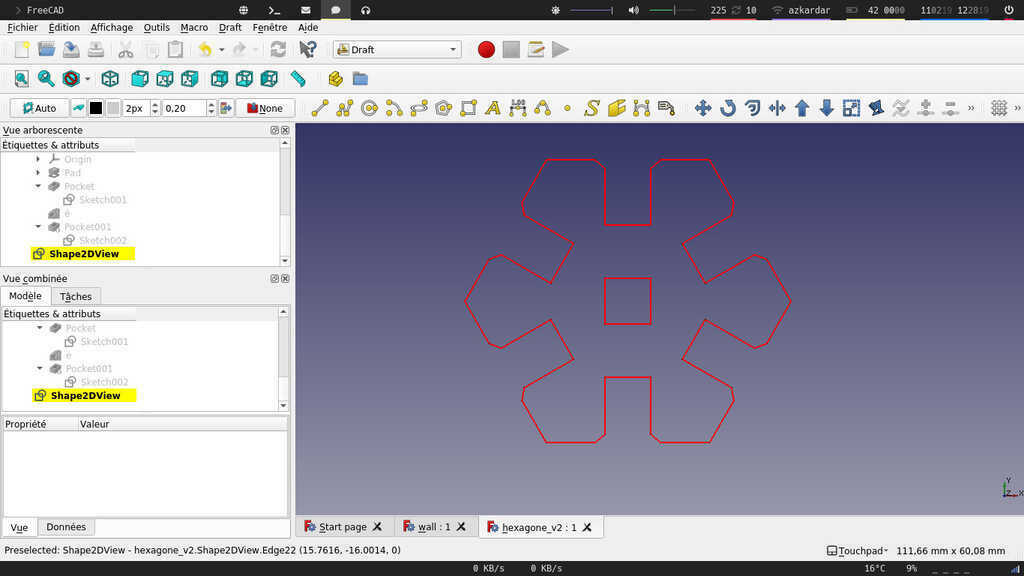
And this is the result ! Now we can export-it in .dxf !
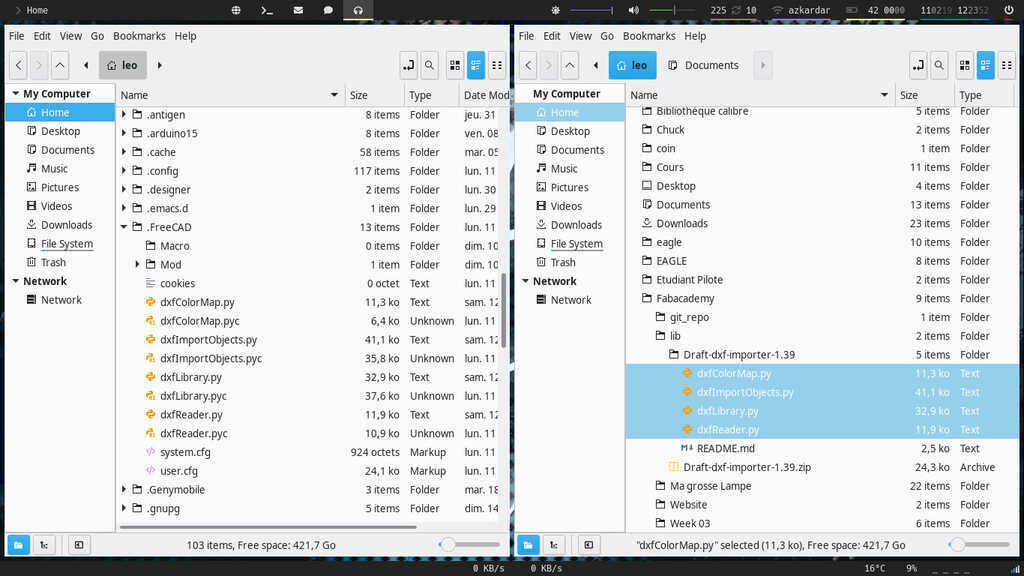
Oh wait... Natively you can't export dxf file from freeCAD... Then you have to install a libraries to enable dxf support. Go on this page : https://github.com/yorikvanhavre/Draft-dxf-importer You just have to download this files.
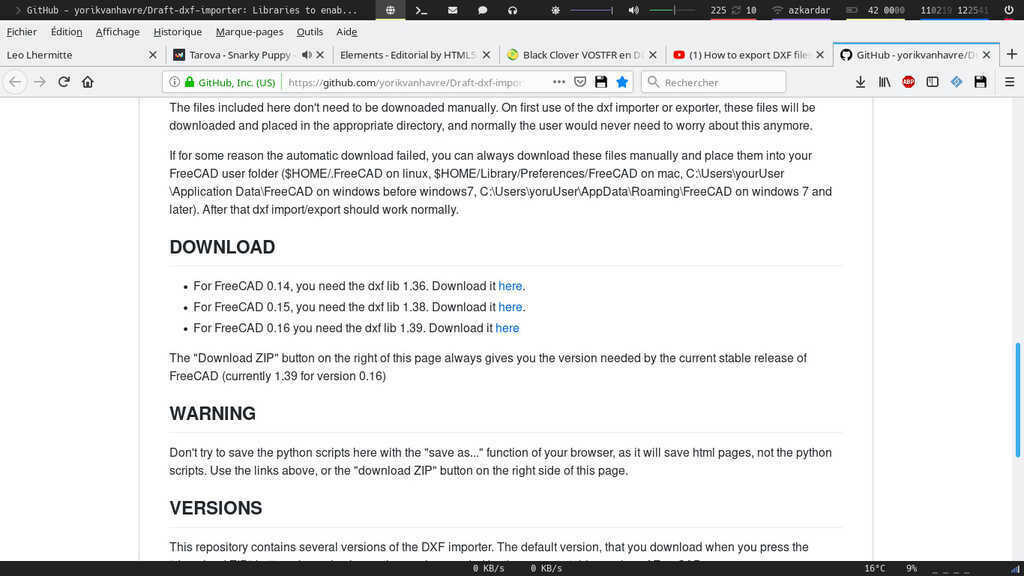
And copy past them into the .freeCAD folder. Then restart freeCAD and now you are able to import and export dxf files.
On linux don't forget to show your hidden folders and files. ls -a on a terminal or in the option of yout files explorer
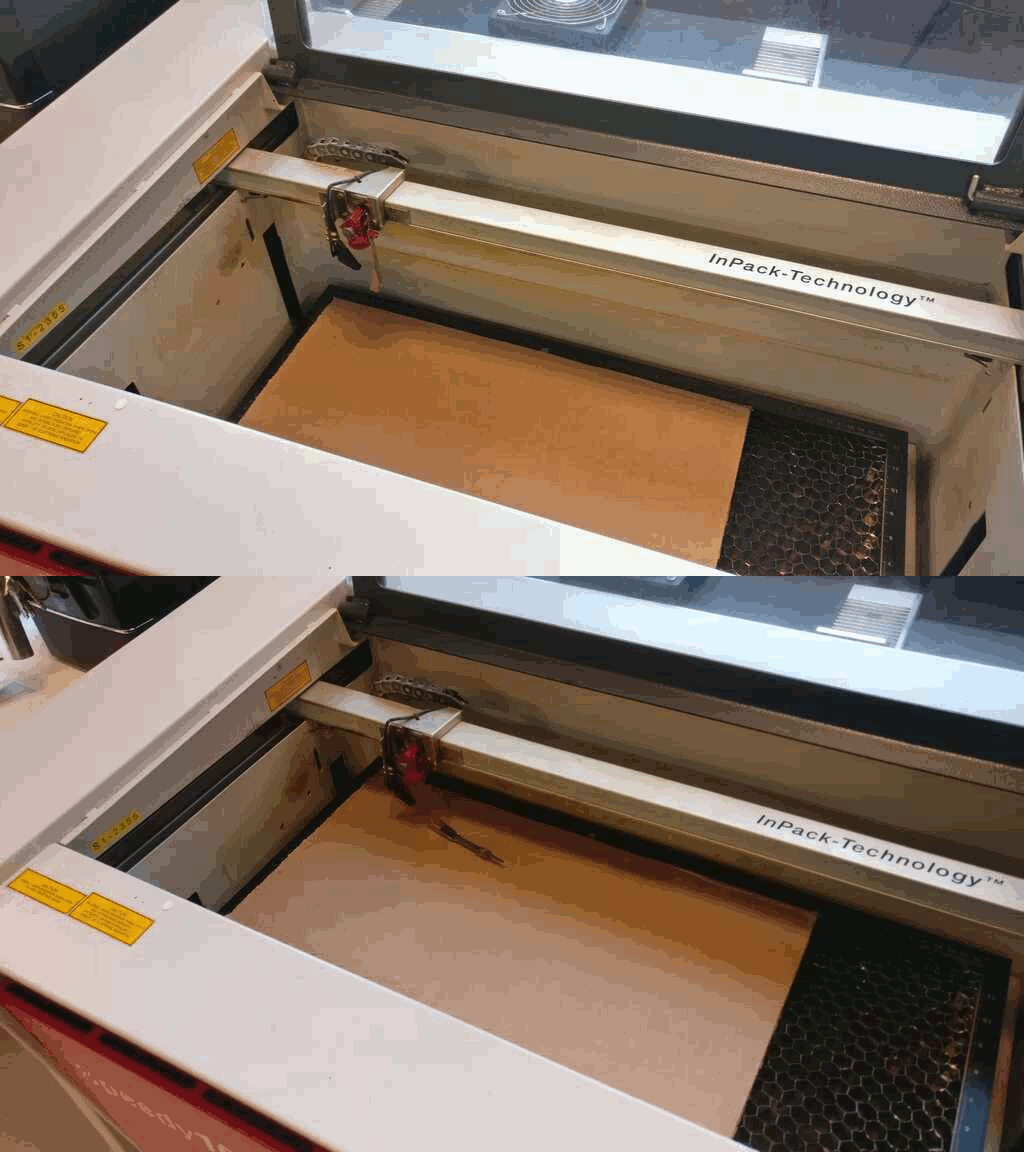
When its the done the first thing to do is to make the focal of the laser. Wich mean that, the pan have to be at the good height of the material in order to concentrate in single point the power of the laser. To do this you have to use the little rod given with lens.
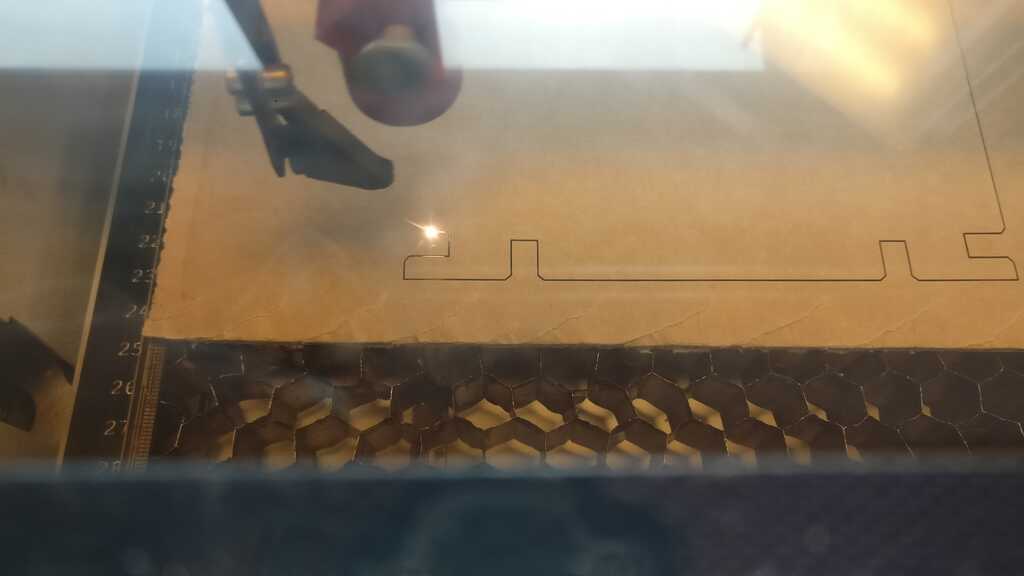
Then in order to cut you need the right parameters. When you start using a new material often you have to test what is the best parameters. I have started with the basics parameters for cardboard but they cut noting ^^.
In a firts time I used this : (cardboard 7mm)
| Power | Speed | Frequency |
|---|---|---|
| 100 % | 2,20 mm/s | 1000 Hz |
The result was good but at the back the cardboard was not cut everywhere... Then I slowed the deplacment of the laser :
| Power | Speed | Frequency |
|---|---|---|
| 100 % | 1,20 mm/s | 1000 Hz |
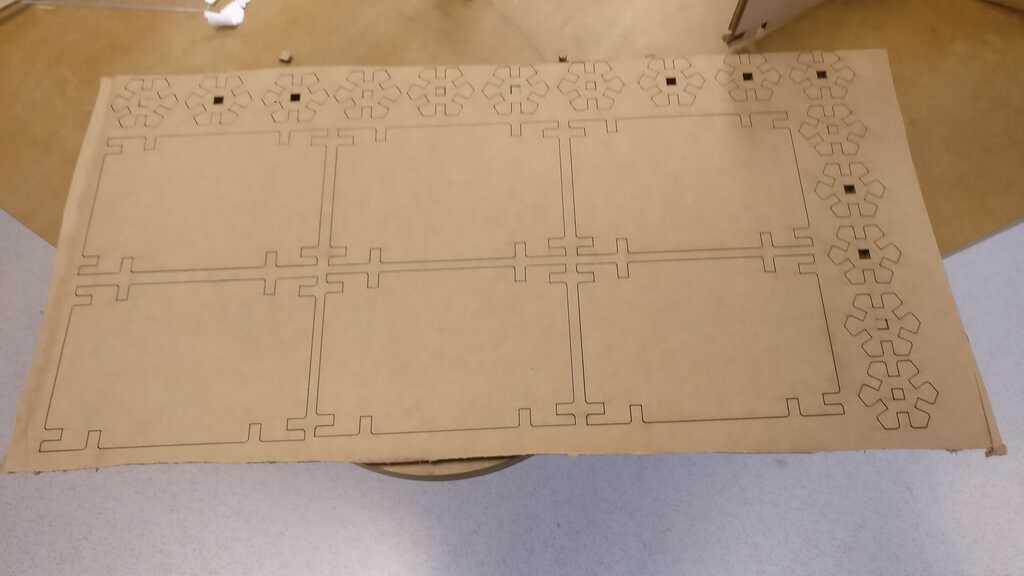
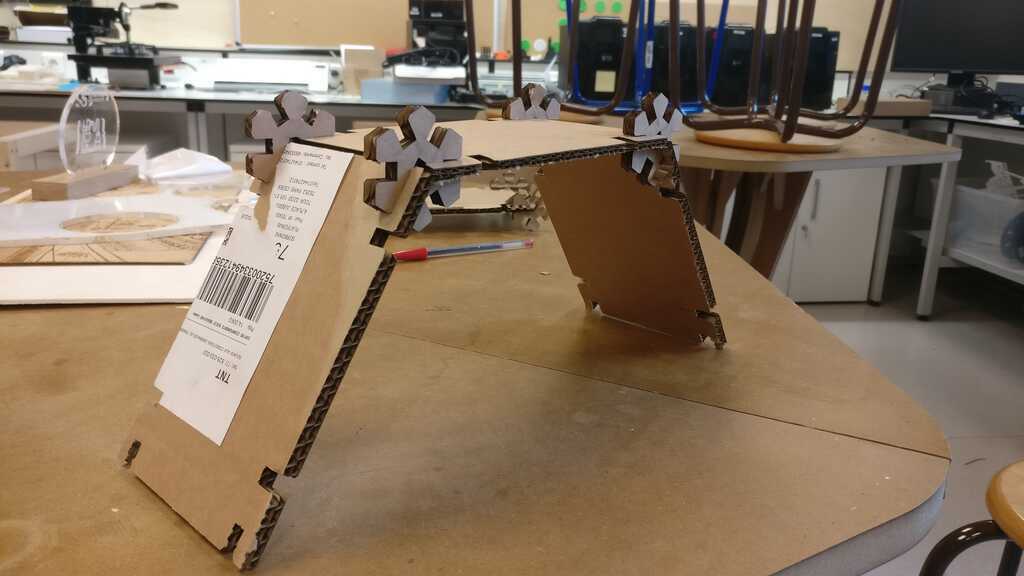
Basically, the connectors work and seems to be pretty strong. But let's try to get higher ;)
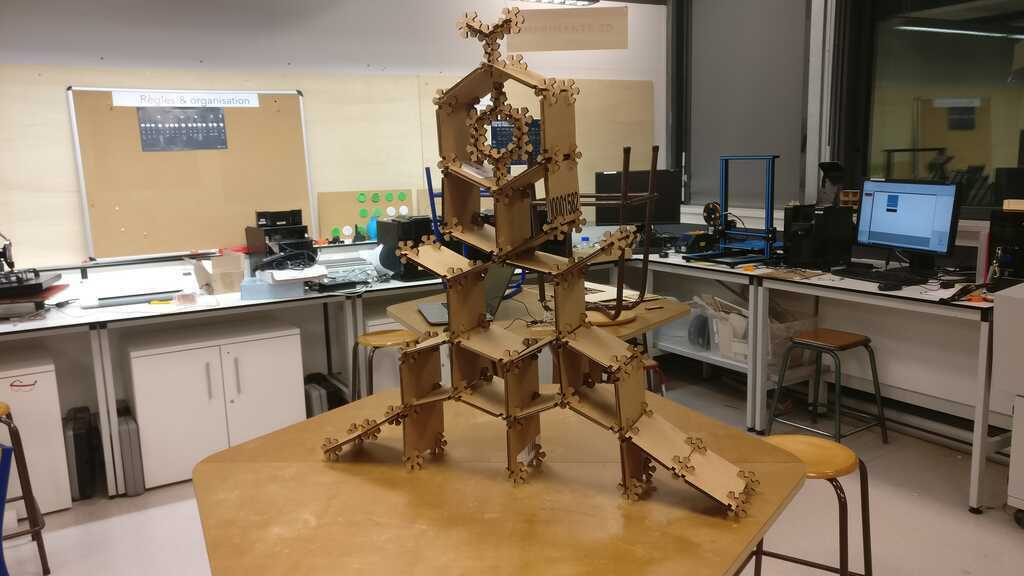
Okaayyy, here we clearly see the limit of the connectors. I have put in two of them 5 boards and I can see that the panels can no longer sink at all to the maximum because of their thickness. But the forces are pretty well distributed and I'm able to pile up 5 floor !
About the vynil cutter, the setup was pretty easy, I'm really impressed by the details of the the cutting. By searching more about the application and implication of the vynil cutter I have learned tht we can use it in order to make flexible circuit by cutting the copper with it !
About the laser cutter, I think the setup is even easier than the vinyl... But the only thing pretty annoying is the process to send the file from the Computer to the laser cutter. When I have imported my files into Inkscape the number of bug (color, size, scale) was huge. The only way to fix it was to re-try a new importation and to shut-down the computer... But the laser cutter is still a very useful machine that allow you to create prorotype really easly !