fernando meneses


9_molding and casting
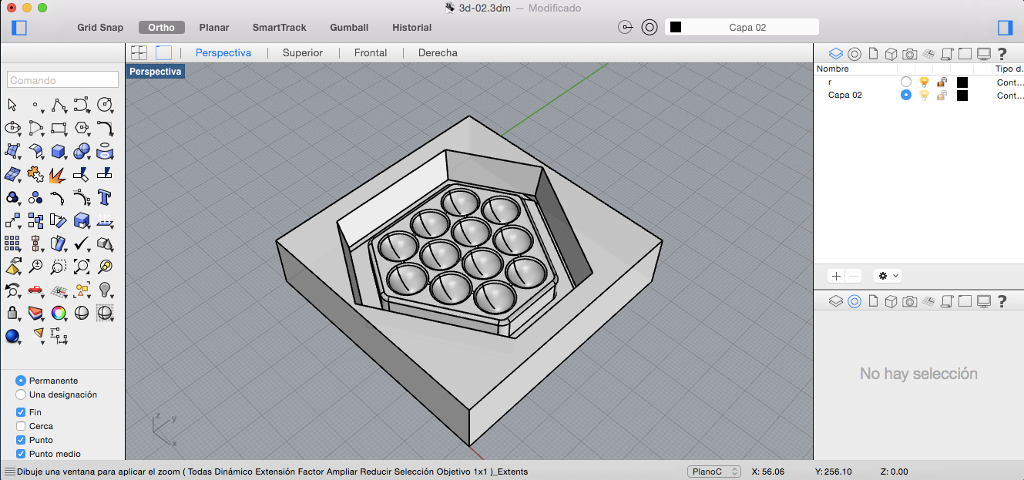
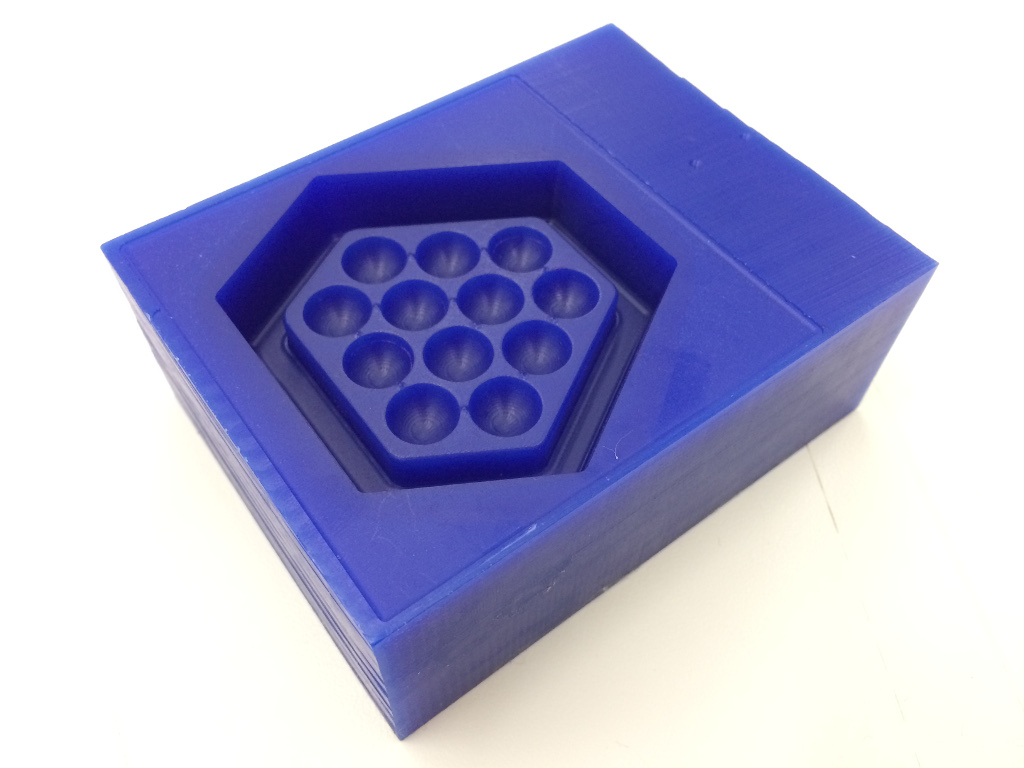
For this activity I’ll try to find another manufacturing option for the Petri Dish that I drew for the final project. Here an image of the original 3D.

In the beginning a 3D print was not a good technique, because the resolution was not adequate for bacteria, so in this activity, I tried to do so with a cast, hoping to improve the resolution of the piece.
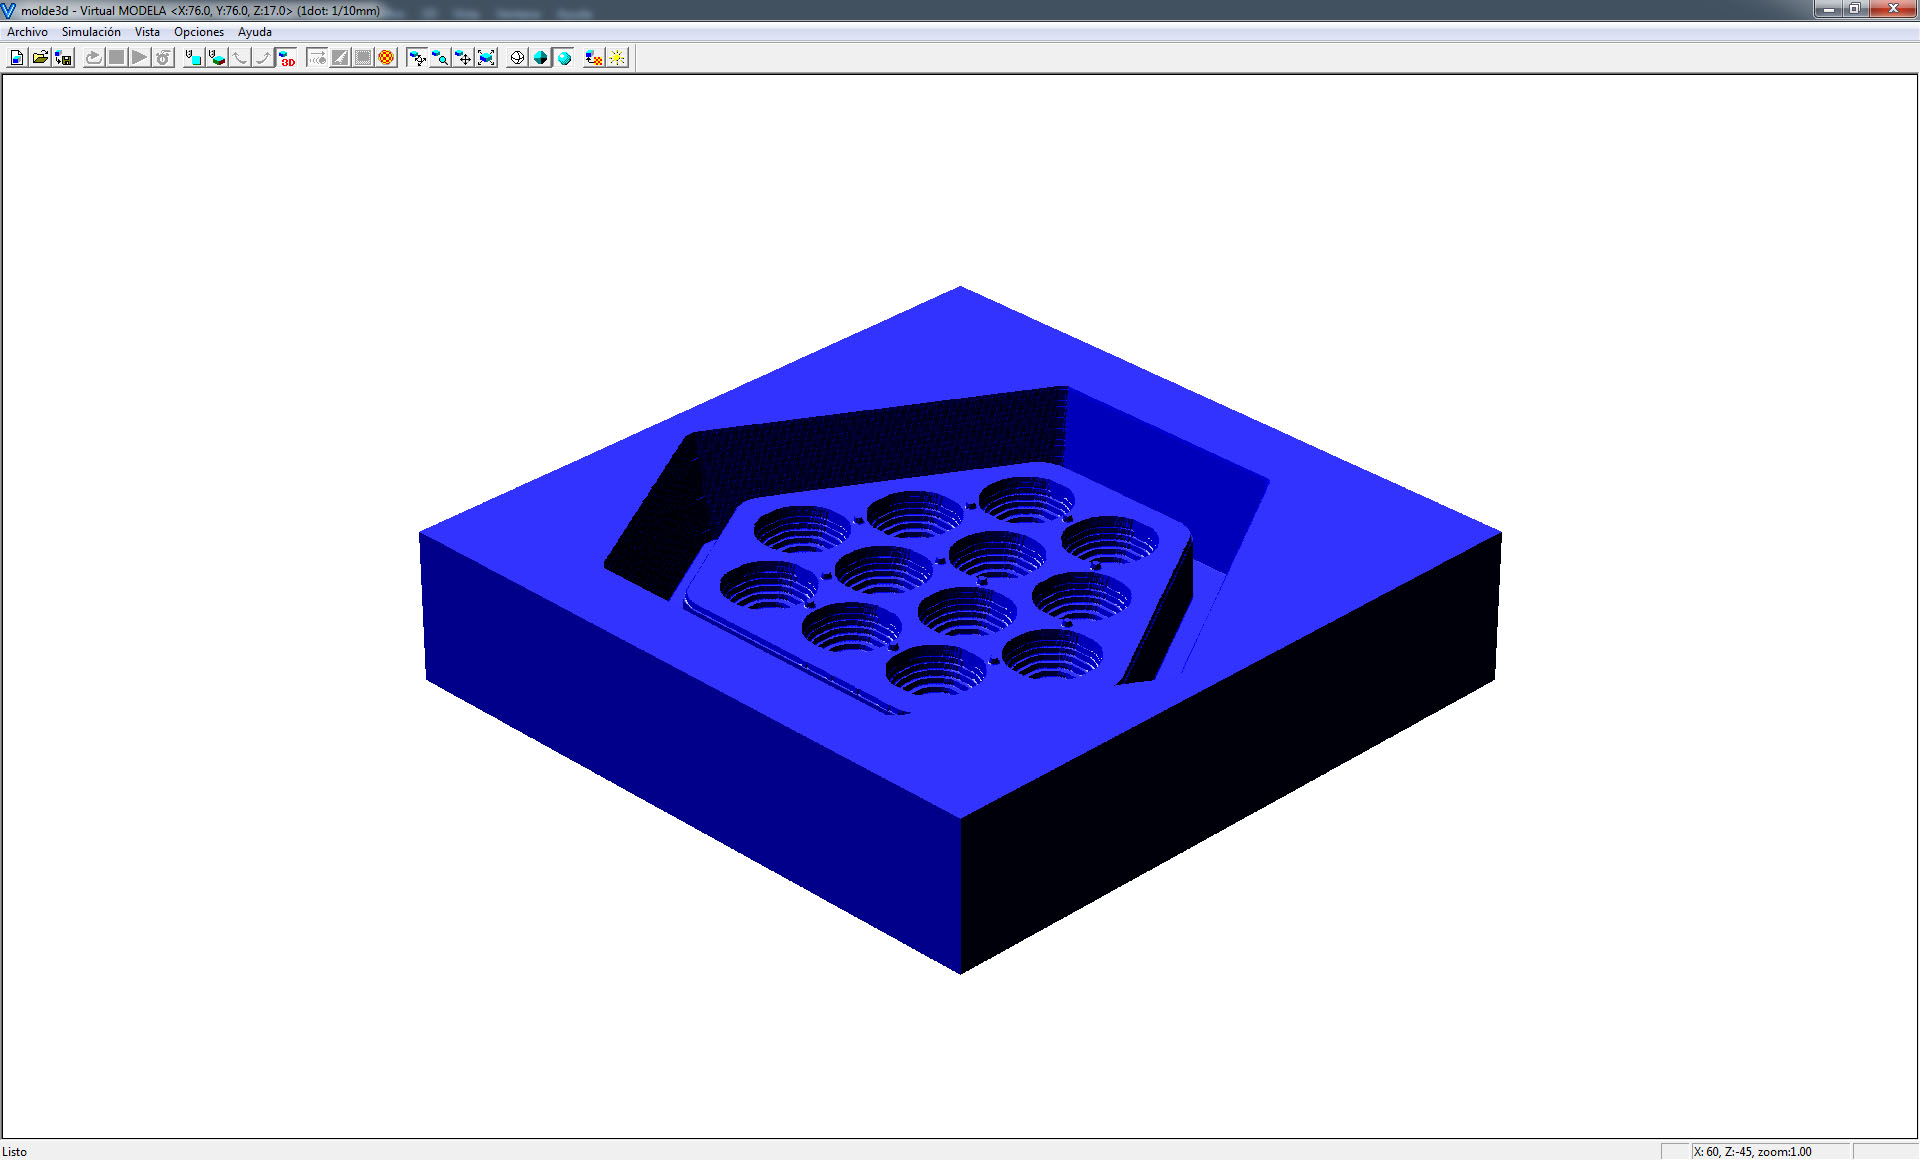
1. The first step was to model the file for the mold.
I drew the mold in Rhino: the idea is to make a mold of the mold, in this case, is the positive geometry of the part.
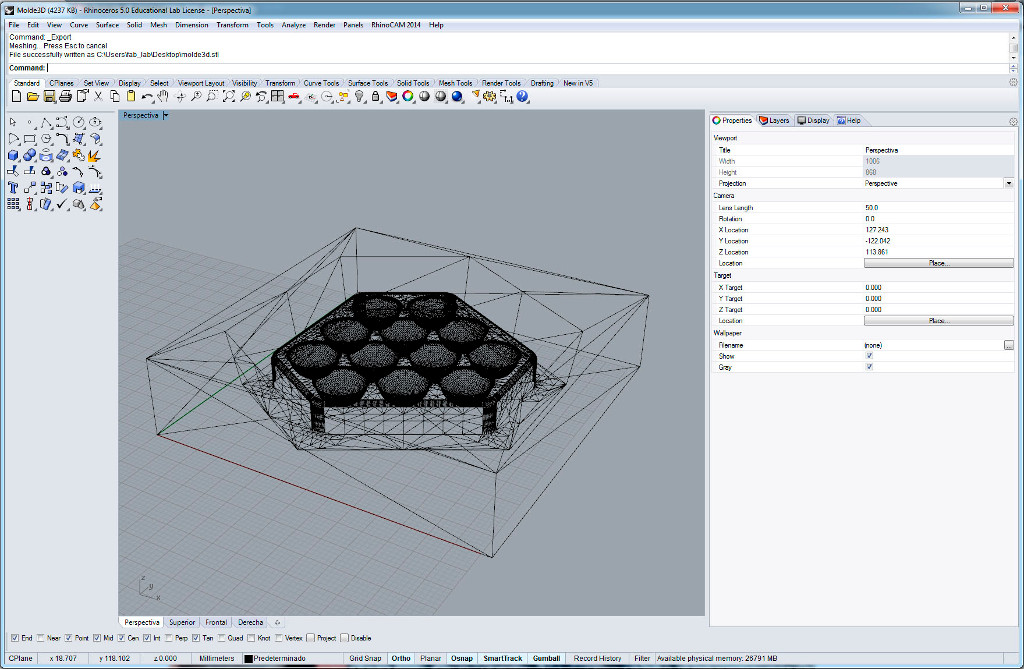
2. The second step was to prepare files for machining.
For the manufacturing, I will use an RSM-20, with blue wax; to mechanized it I used a endmill 1/8″ flat, for finishing and one eighth round; here a screenshot to send the file to plot.
Export the stl file.
To prepare the cut, use modelan3d, MODELA Player 4.
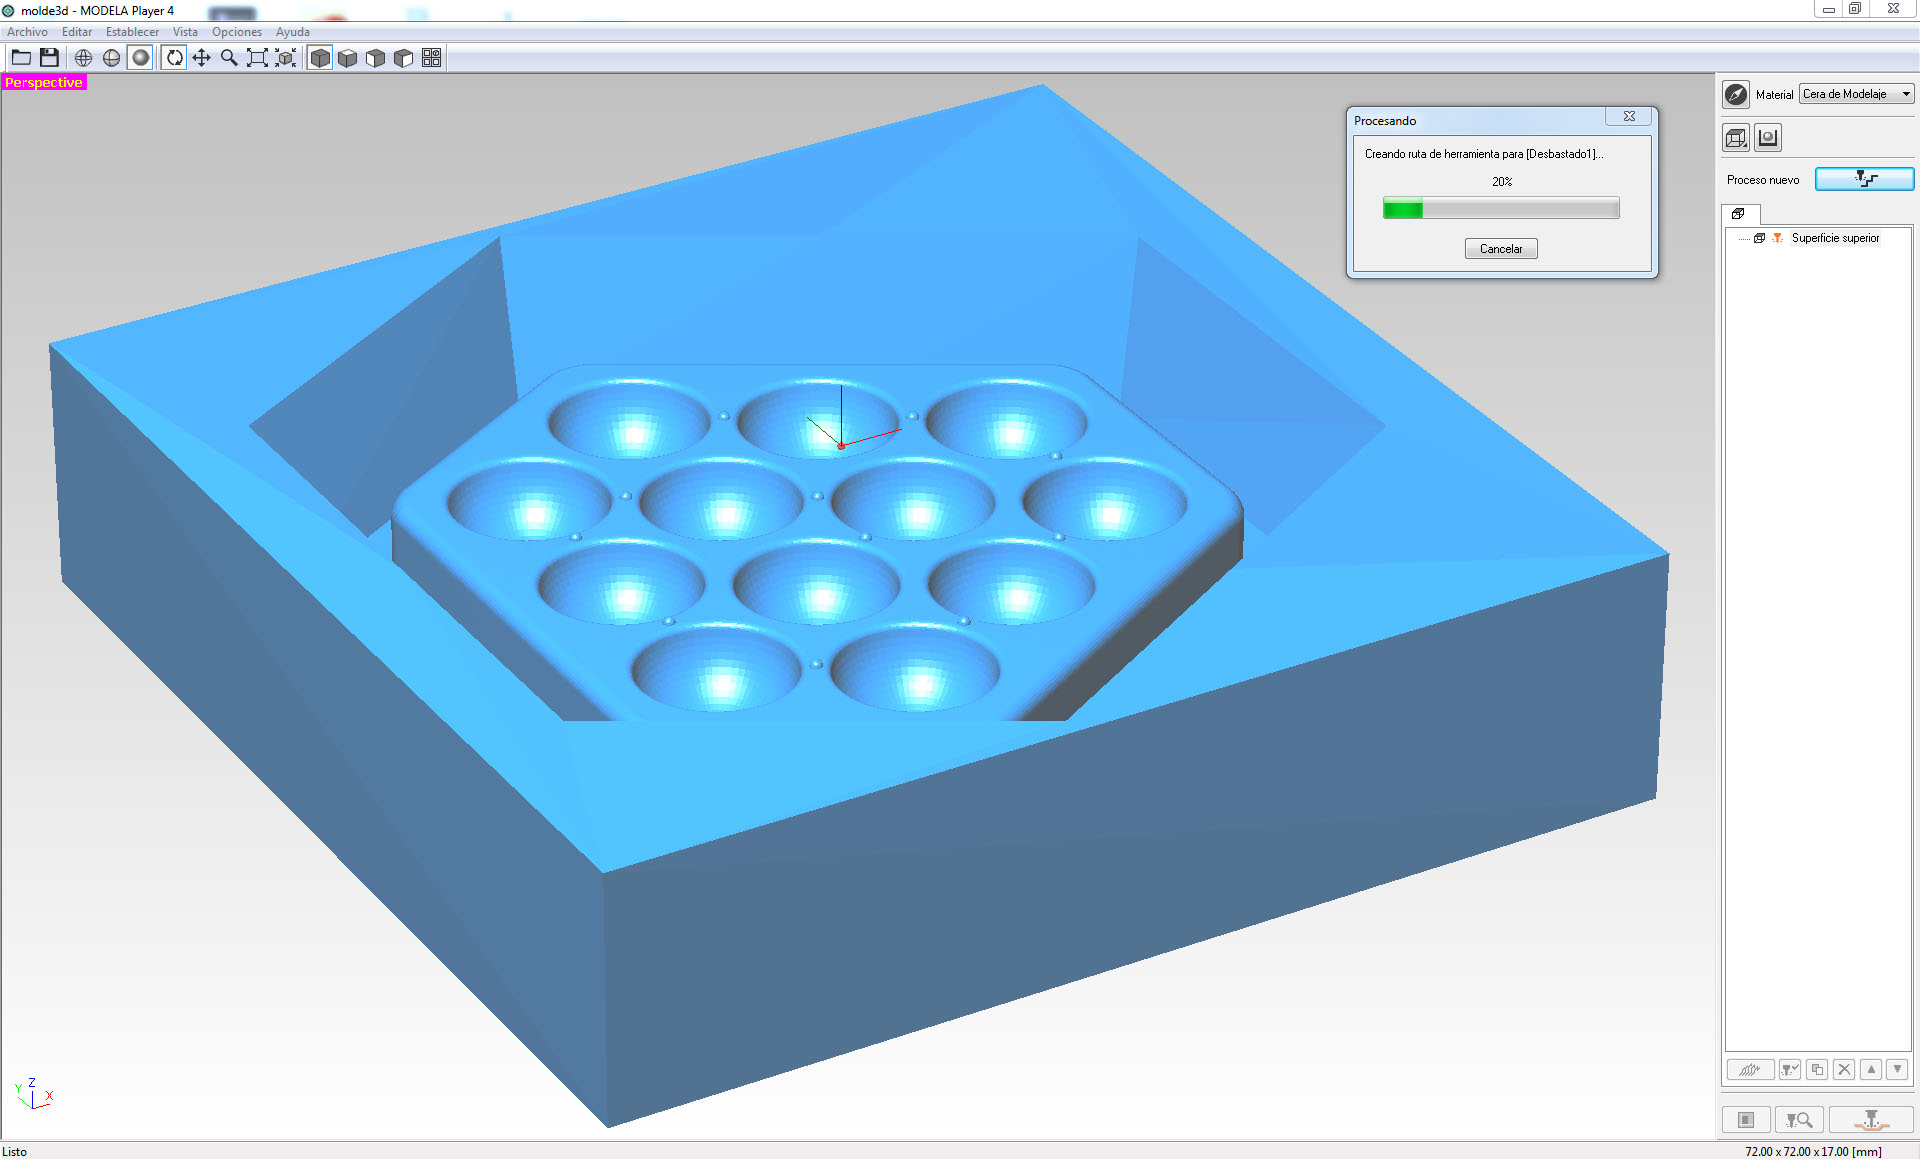
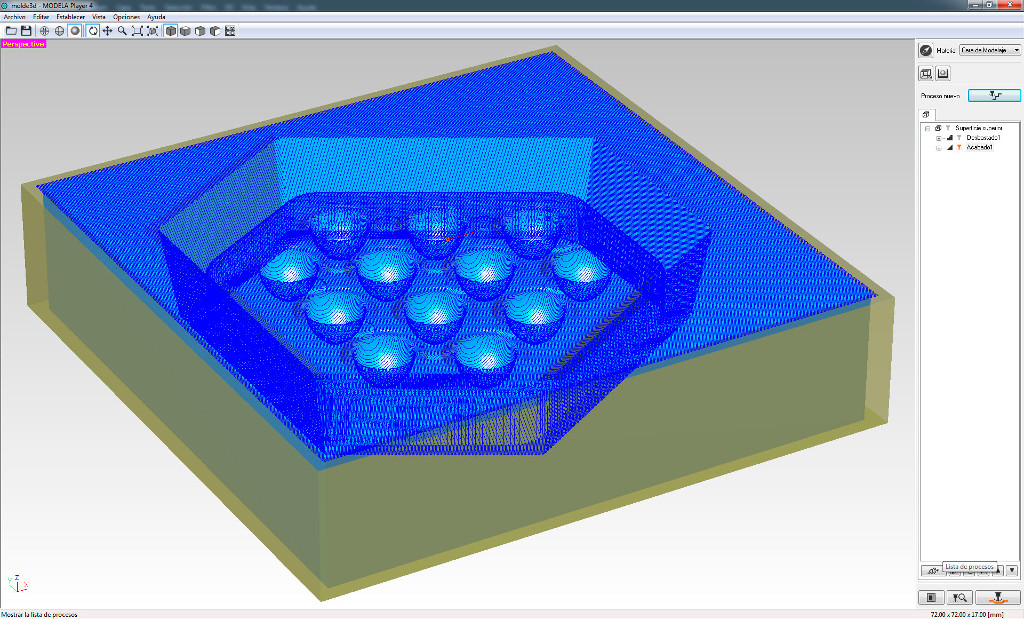
First we make the process for roughing.
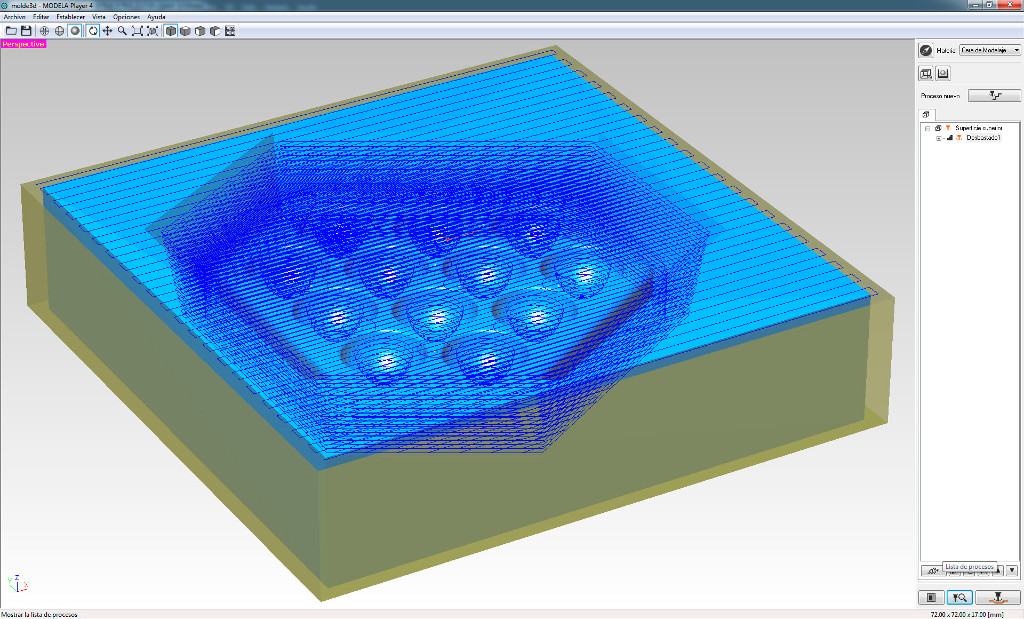
here a preview of the court.
After we finish the process.
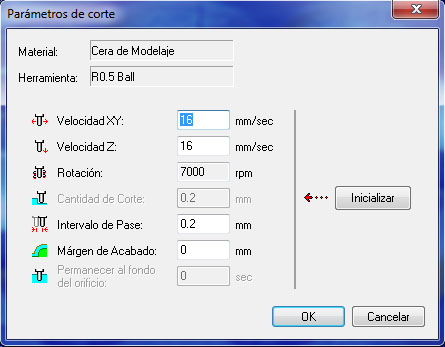
here cutting parameters.
3. The third step was the machining of the mold, here a picture of the machining process.
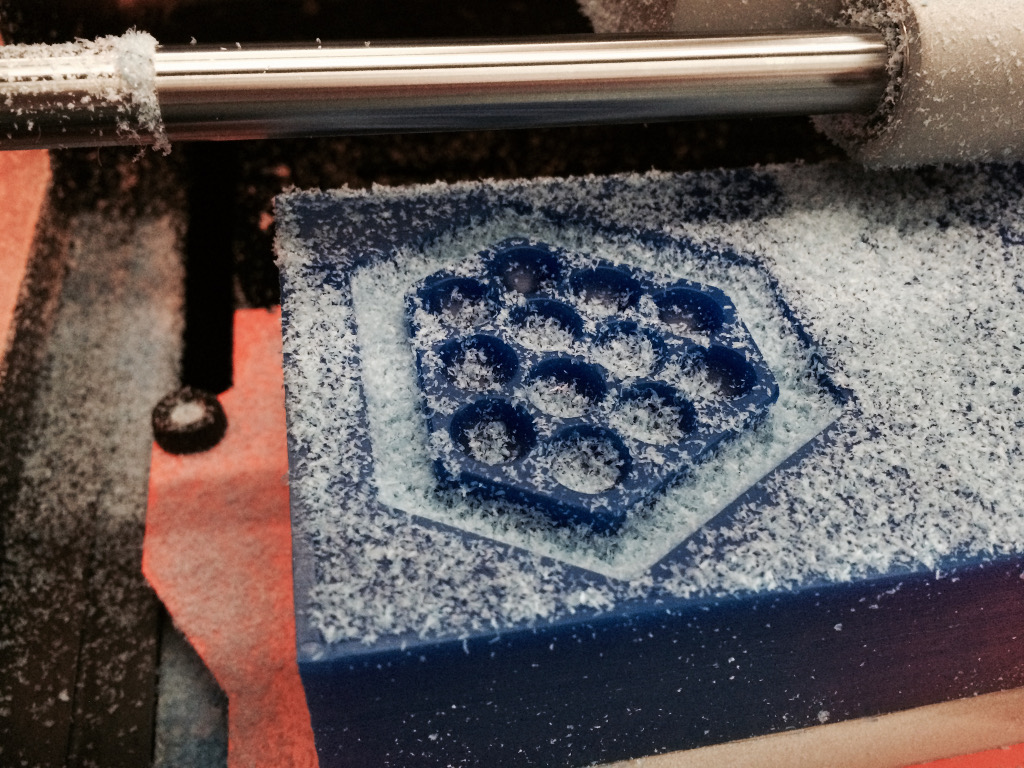
The result here.
4. The fourth step was the manufacture of the mold; the mold is a single sided, so the procedure was to empty the silicone rubber into the mold.
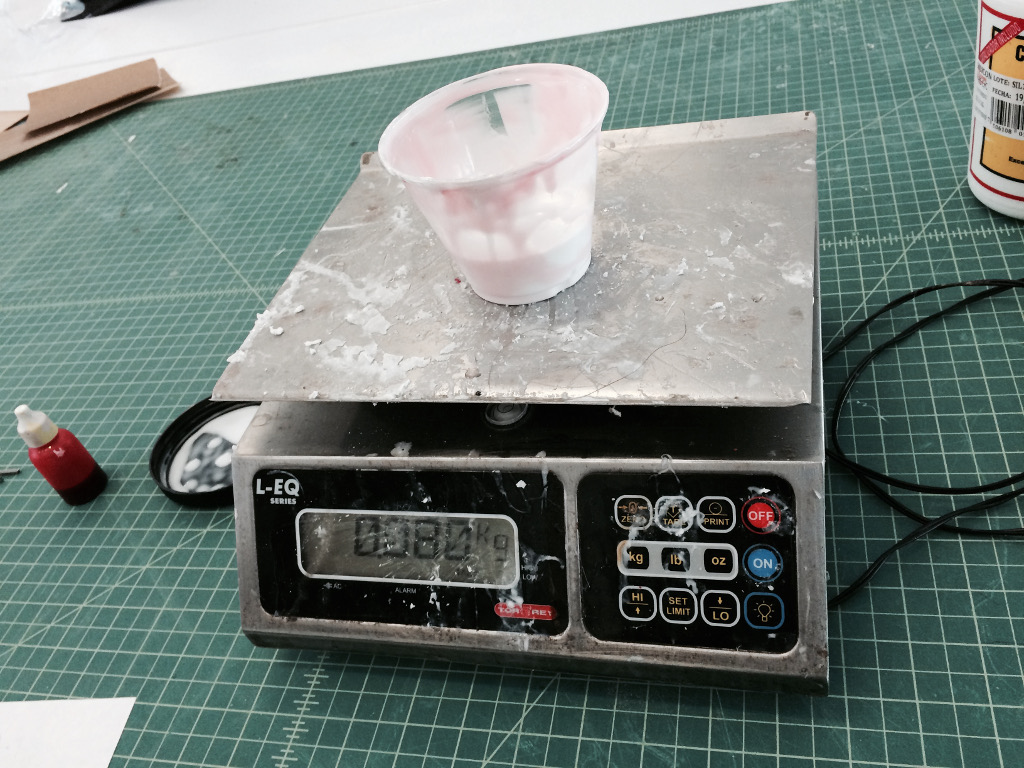
For this we need to mix the silicone rubber and the additive, in our case we use:
silicone rubber 98%
2% additive
In this picture you can see the the calculation of the proportions.
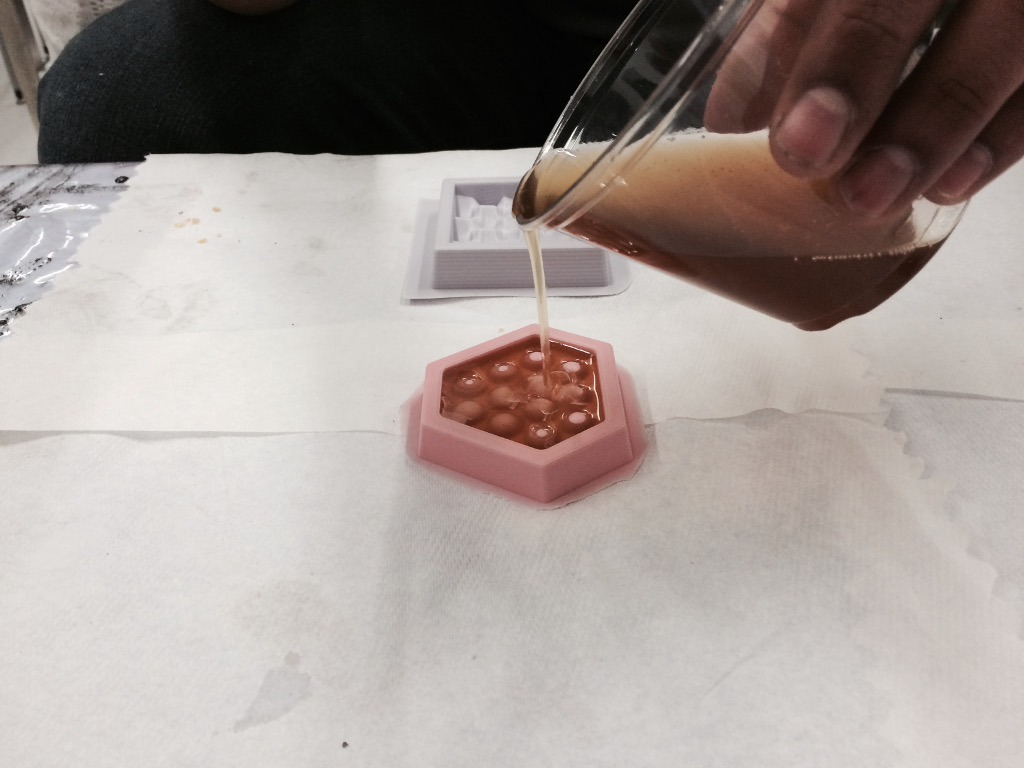
Now it’s time to mix, is very important to make fast this step, because the rubber silicone has a fast reaction and becomes solid in a few minutes.
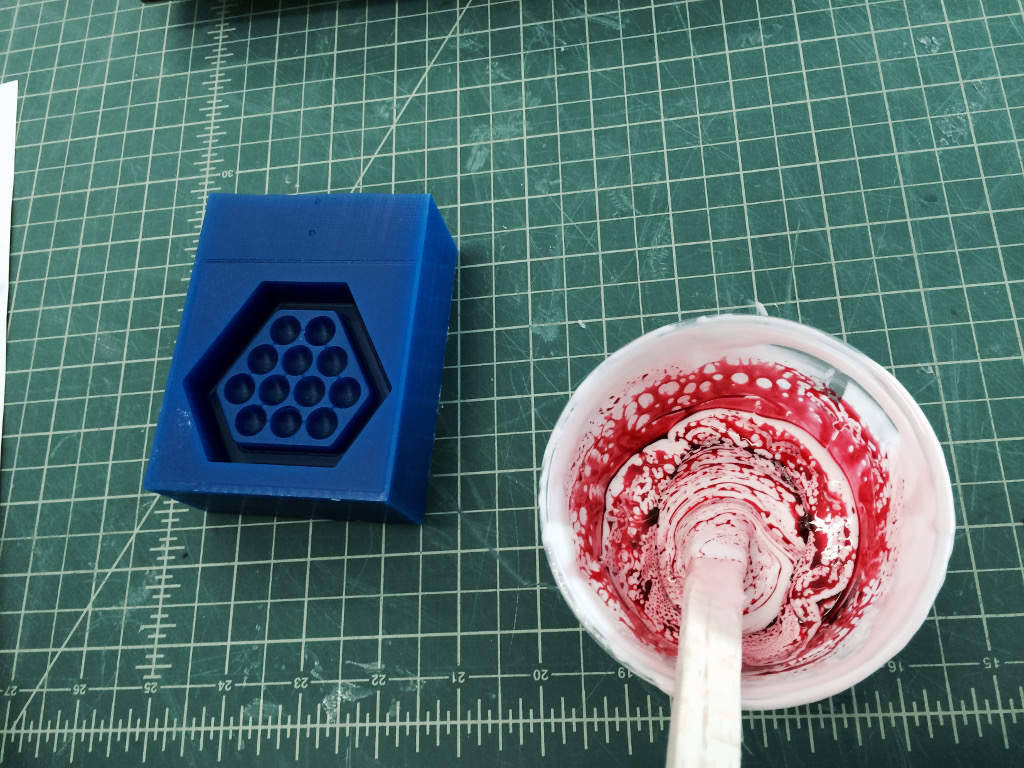
putting the silicone into de mold.
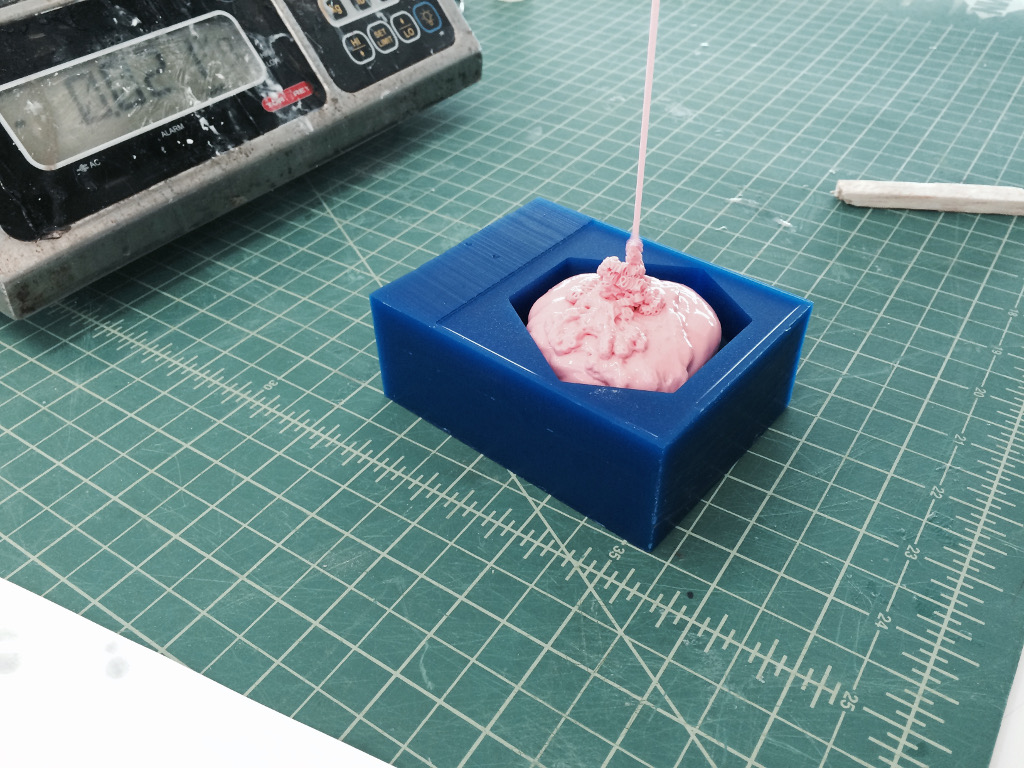
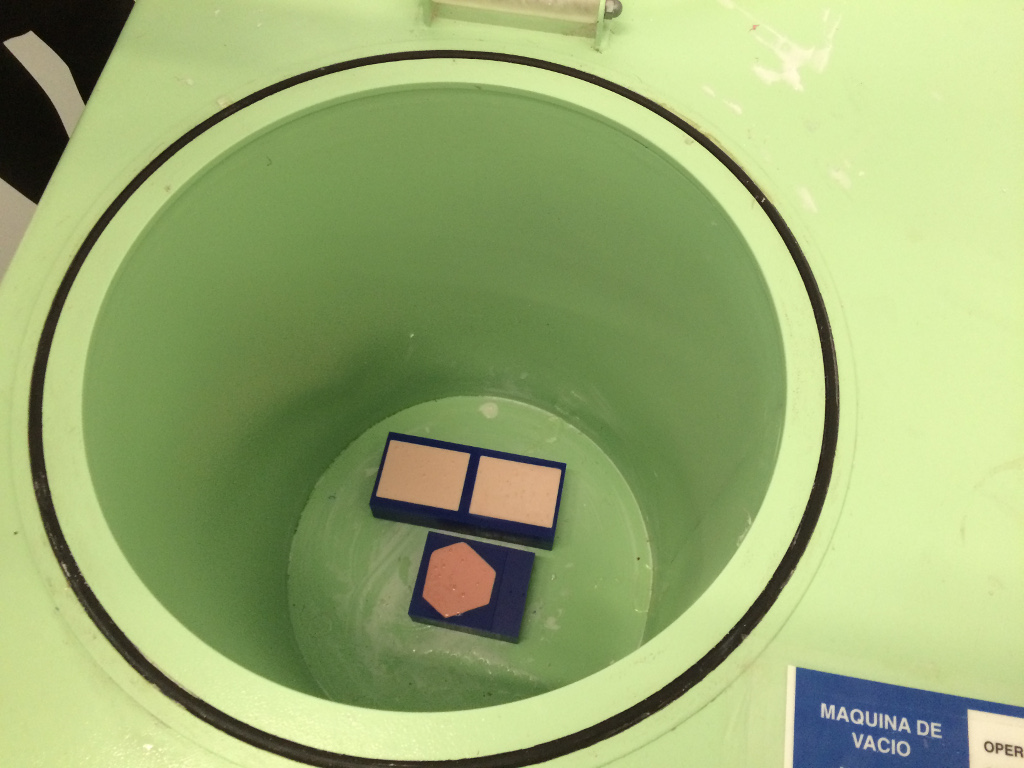
Now we have the silicon in the mold, but if we look in detail, we see that air bubbles.
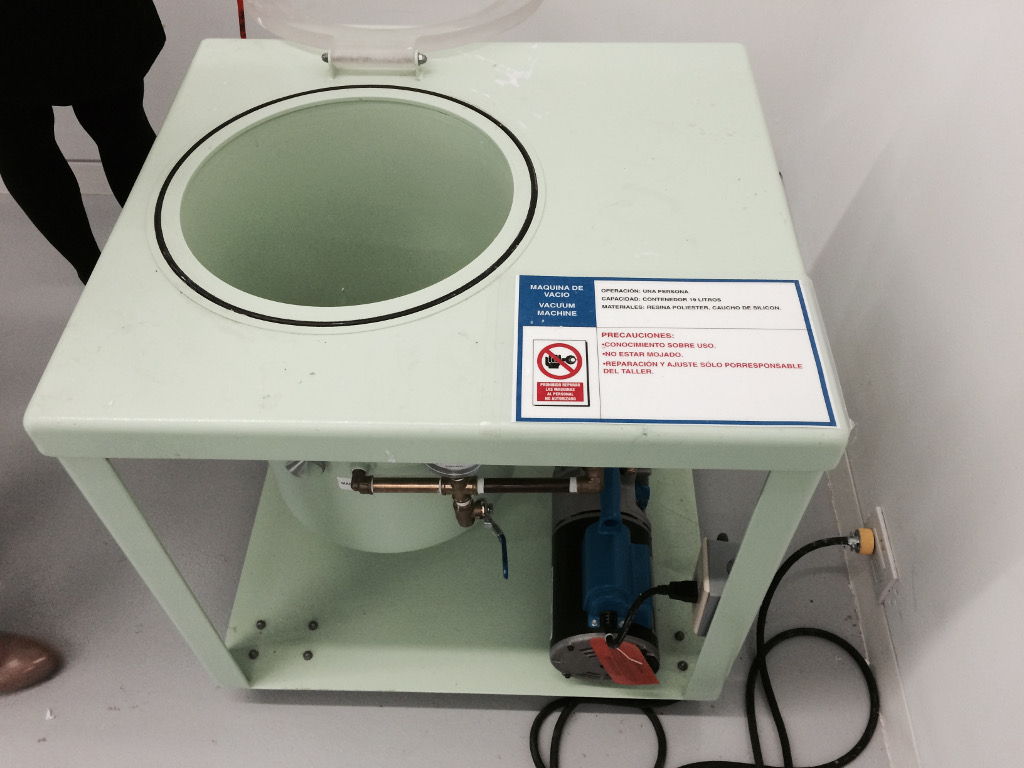
In our university we have a machine to generate vacuum, it helps to remove the bubbles from the mold.
The machine is a Vacs Gas II, the technical data are:
body:
Overall Dimensions: 28 “Wide x 25″
Deep x 31 “High
Vacuum Chamber: 14 ”
Diameter x 17 “Deep
Pump:
Free Air Displacement: 6 CFM
Number of Stages: Two
Drive: Direct
Engine Size: ½ HP
Voltage: 115V 60H
Micron Factory Rating: 20 Microns
Shipping Weight: 185 Lbs.
source: http://www.scpattern.com/gas.html
Here is a picture:
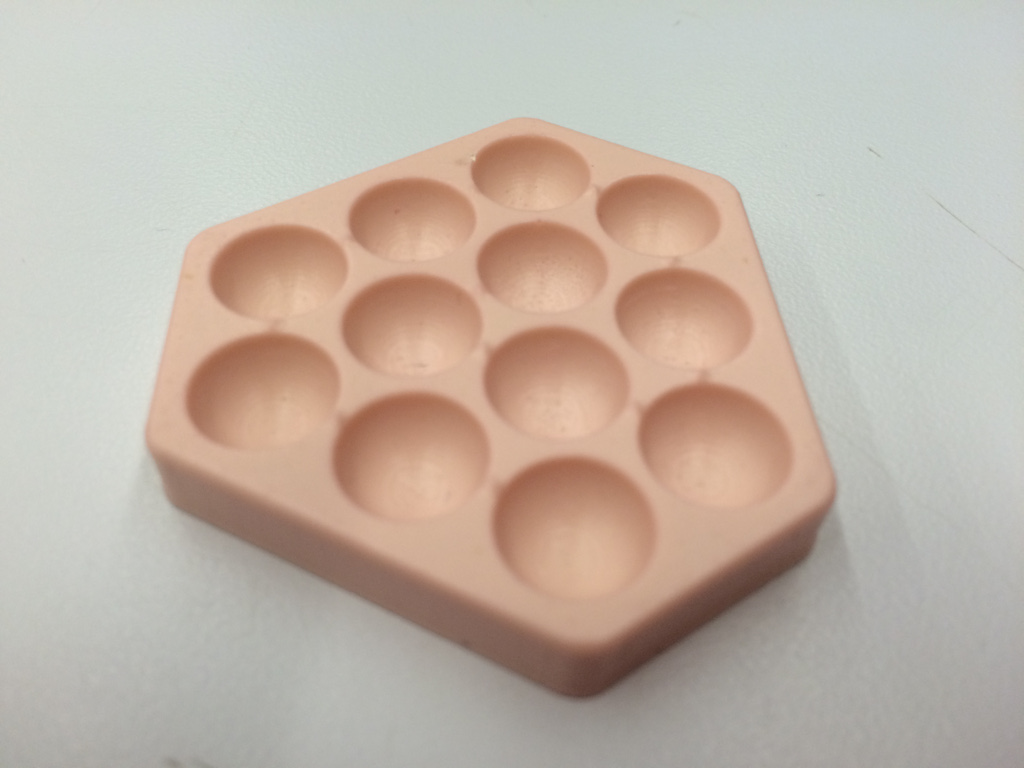
After a few minutes, here it is the result, my first mold.

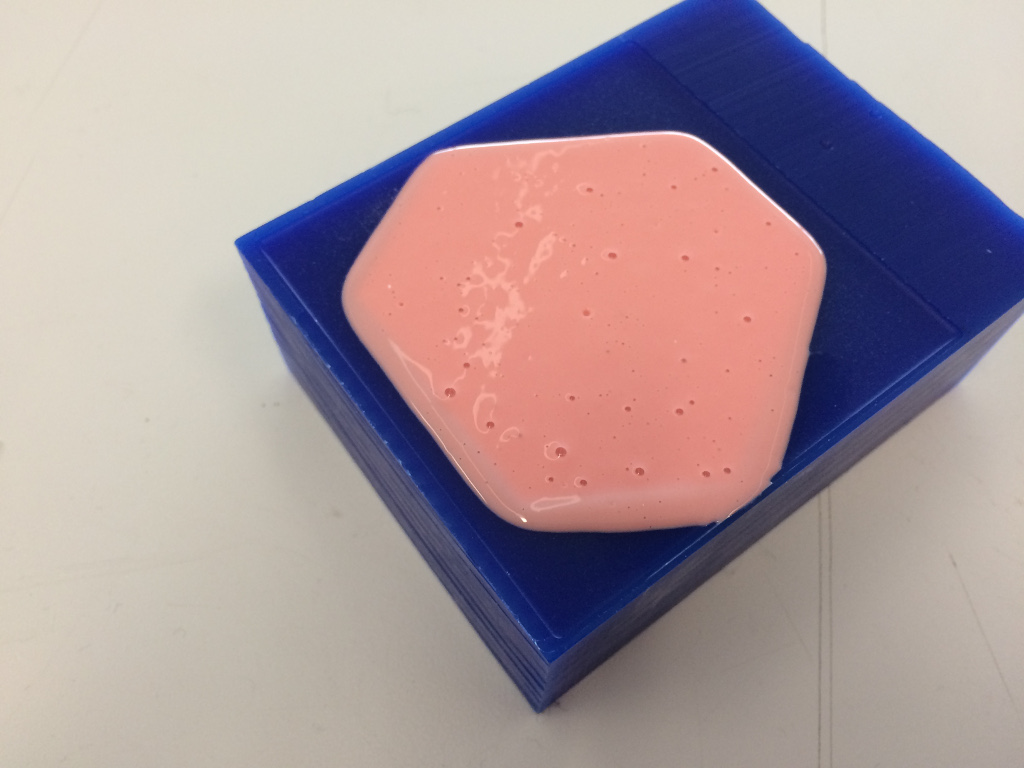
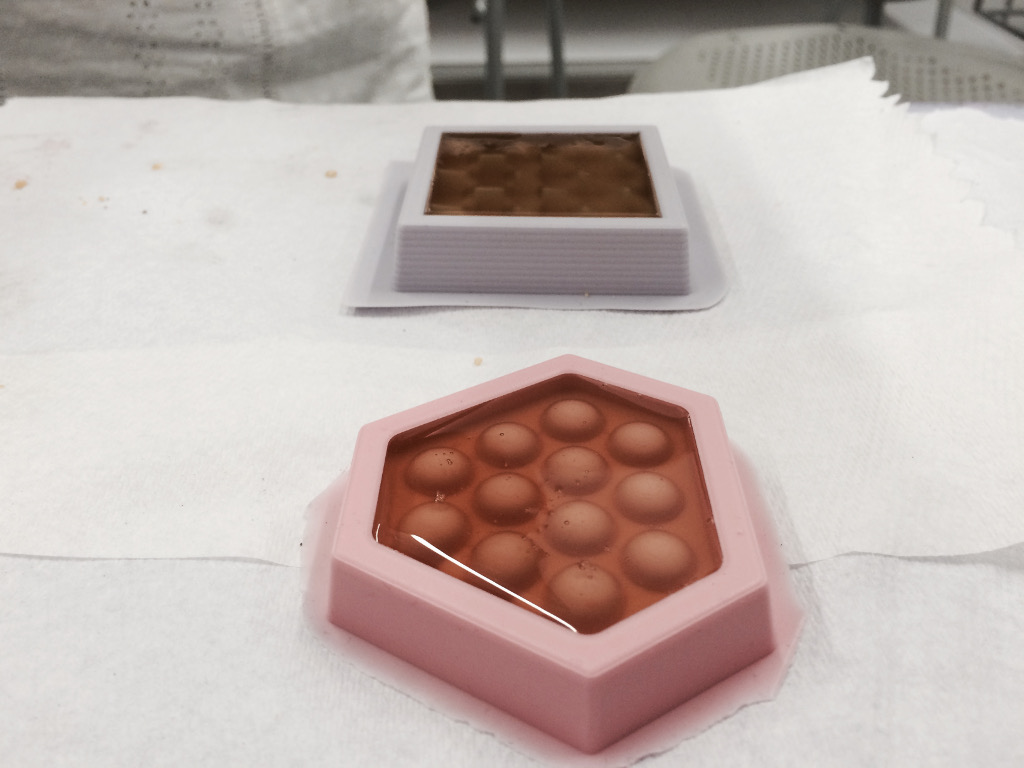
5. Step Five, now with the silicon mold can produce the final piece.
The process involves mixing the resin and the additive, and empty it into the silicon mold.
We waited about two hours.
For playback of the parties it used two resins.
A: Polyurethane 50/50:
B: Polyester 98/2:
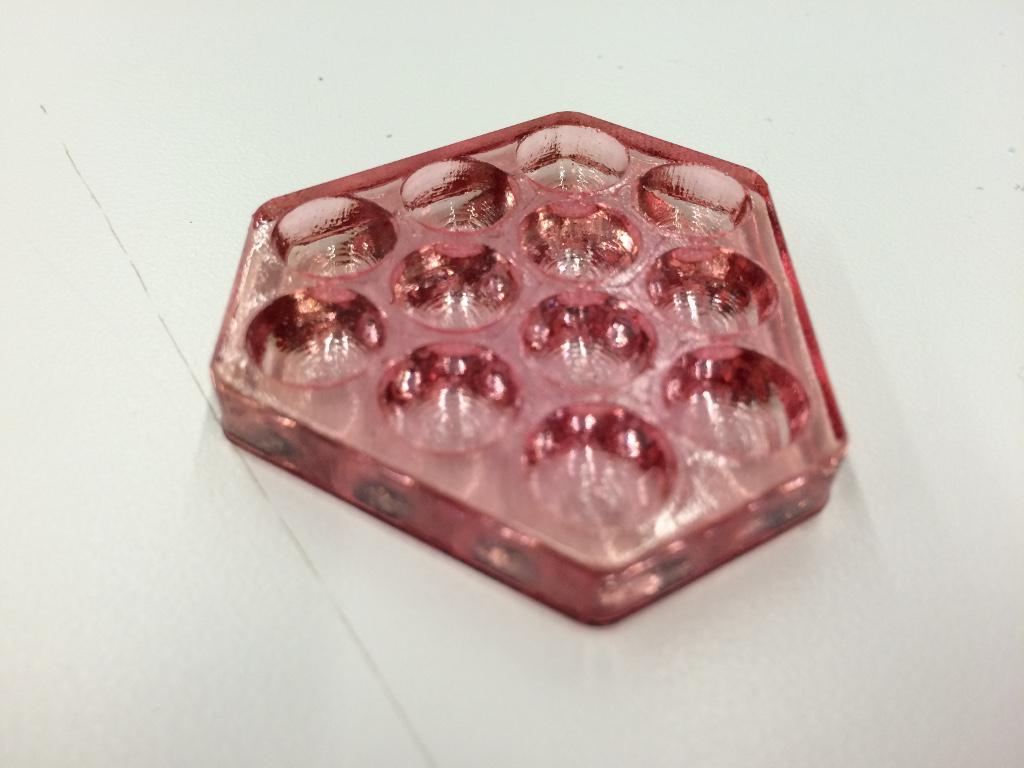
It’s amazing how easy it is to create pieces with molds, the truth is a fun activity if finally leave some of the tests.
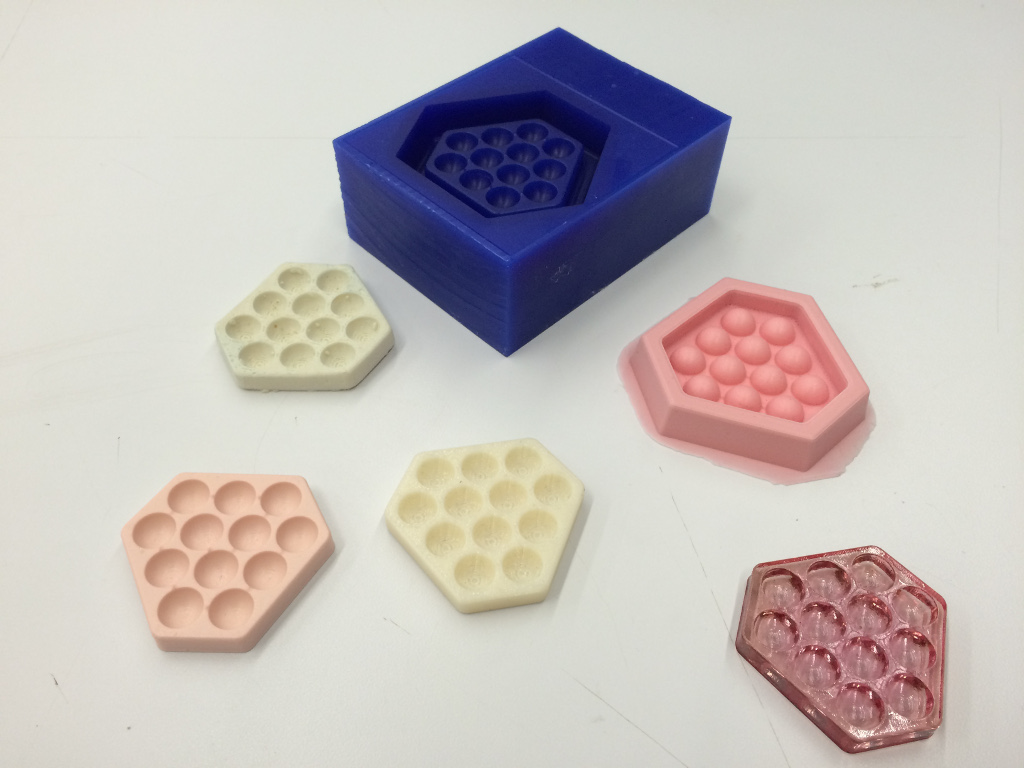
As you can see here, for the bacteria is better to mold the parts is better than 3D printing!
_conclusion
In this activity was explored the design and construction of molds, is a very powerful technique, in particular the silicon molds are ideal for being flexible, can be stretched a bit to get the piece out, the design of a mold is very important think we need a space for the material inlet and outlet air.
Further, the mold must allow the workpiece to be removed, so it is likely that the mold is designed in several parts, allowing entry and exit material. Specifically, in our Petri object, the mold is better than 3D printing, it is important to know the specific features of each type of mold.
Data for the mixture to remember the mold manufacturing:
98% silicone rubber P-85
2% Catalyst
_files
petri3D.3dm
molde3D.3dm
_
Original source: http://academy.cba.mit.edu/classes/molding_casting/index.html
Contact: fernando.meneses@udem.edu / fernandomeneses@nodolab.com / f / in / g+ / b / v / mx / w