fernando meneses


7_embedded programming
For the activity of this week, I’ll try to set the FabHello that we designed in the previous activity.
Initial references:
http://arduino.cc/en/Tutorial/ArduinoISP
http://highlowtech.org/?p=1695
_programming
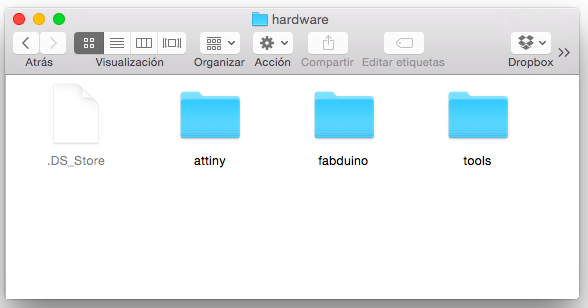
This time try to prove another programming technique, when programmed by the terminal (see more in electronics production activity 4) in this case I will use the Arduino bootloader. For this we need to add parameters to Arduino microcontrollers, download ATtiny folder and keep it in the “hardware” Arduino.
After adjusting the ATtiny in Arduino, then we are ready, here the step by step process:
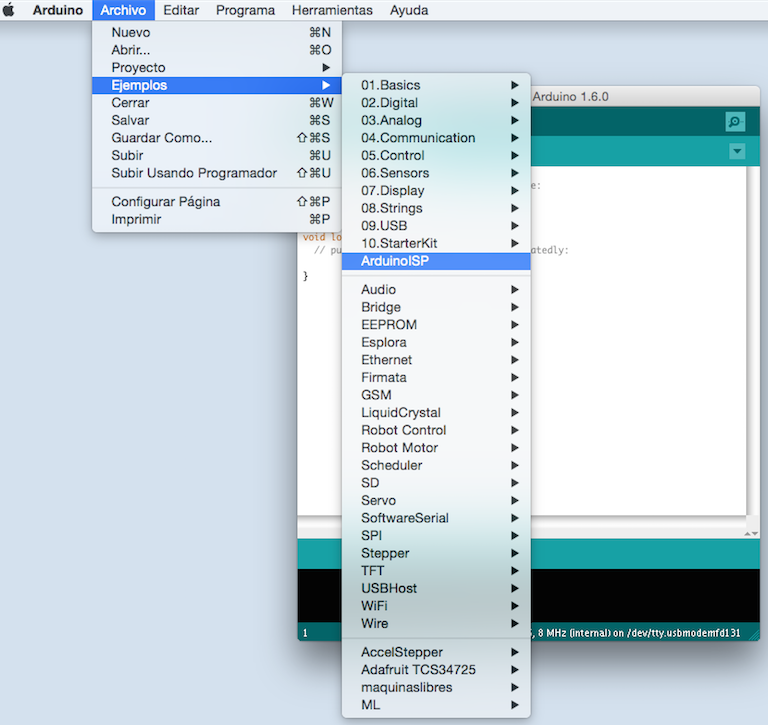
1. The first thing is to open the “ArduinoISP” file is located in the examples folder.
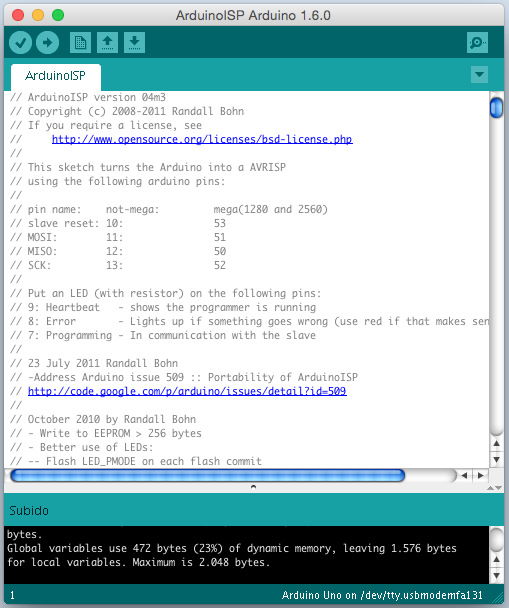
2. We load our code to Arduino or FabKit.
3. For connections in the FabKit, we have to put a 10 uF capacitor in the “Reset” long and “GND” to short leg, then we continue with the connections:
//pin name not-mega mega(1280 and 2560)
//slave reset 10 53
//MOSI 11 51
//MISO 12 50
//SCK 13 52
For connections in the FabHello, we have the power supply by FDTI and data by the ISP.

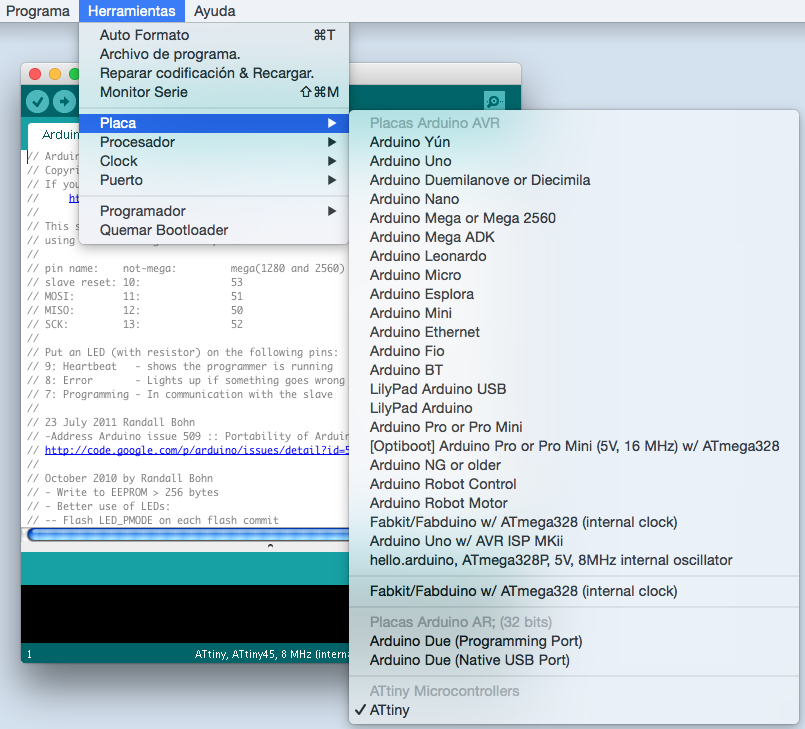
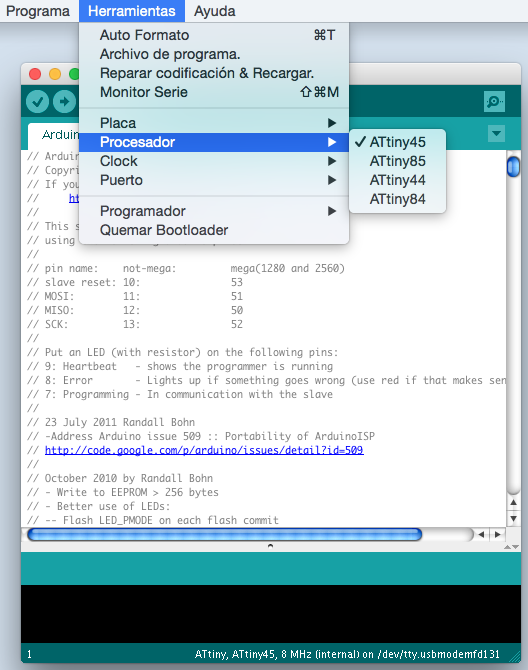
4. Now we select our microprocessor, in this case the ATtiny family.
5. Select the version of Attiny.
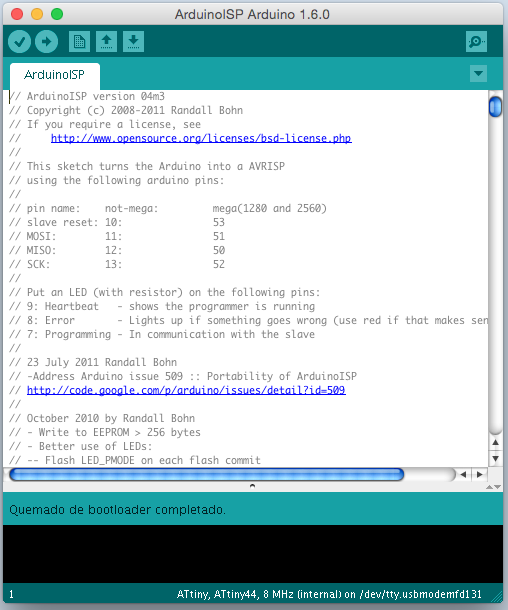
6. And we also choose watch, in my case is an external Crystal 20Mhz, design my board I have a mistake, forget to put the capacitors, but to my luck the microprocessor has an inner glass, so now what Crystal will schedule with internal 8 MHz.

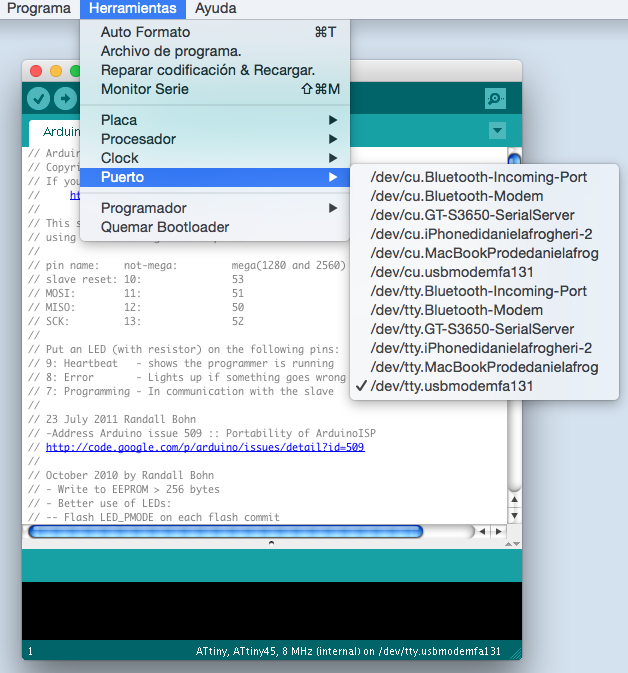
7. At the port, we chose the USB is FabKit plate, which is currently used as a programmer connected.
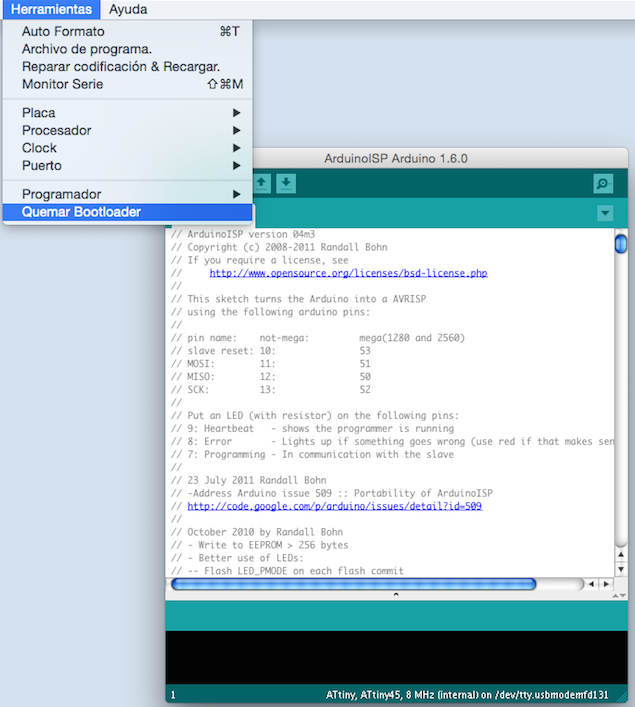
8. And now, the long-awaited launch bootloader burned.
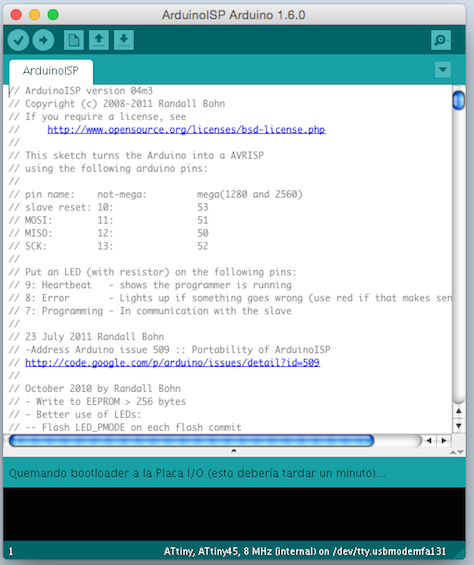
9. This takes a while.
10. I had a mistake here, the microcontroller ATtiny is my PCB is 44 and I had placed the ATtiny 45, so he gave me a erro, modified to correct only the ATtiny version 44 and here is the result … “Burning I bootloader completed “…;)
11. Now we have our PCB programmed and ready to load codes from the Arduino, to prove we will use “blink” basic examples.
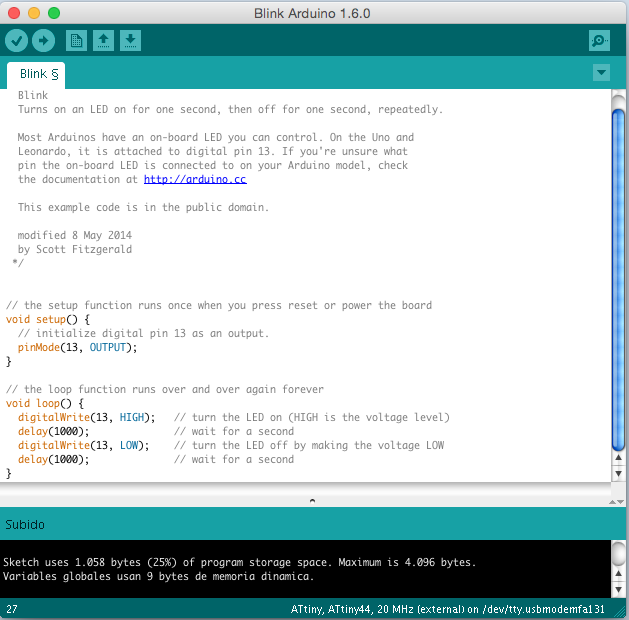
12. If all goes well, then we will have our first glimmer of light ..;)

_conclusions
In fabISP activity, program the PCB through the terminal, this generated the hex, fuse and program. Another way to program the Arduino, it is somewhat similar but is made by burning bootloader, this process also generates the hex and fuses, depending on the configuration of the boot loader.
I think the most important technique is to read the table of microcontrollers, to understand its architecture, type of glass have identified the pin GND, VCC, MISO, MOSI, SRC and RESET.
Also you can program it using:
Terminal, see more>> 4-electronics-production
AtmelStudio, see more>> 13-networking-and-communications
_files
Attiny
bootloader
_
Original source: http://academy.cba.mit.edu/classes/electronics_design/index.html
Contact: fernando.meneses@udem.edu / fernandomeneses@nodolab.com / f / in / g+ / b / v / mx / w