fernando meneses


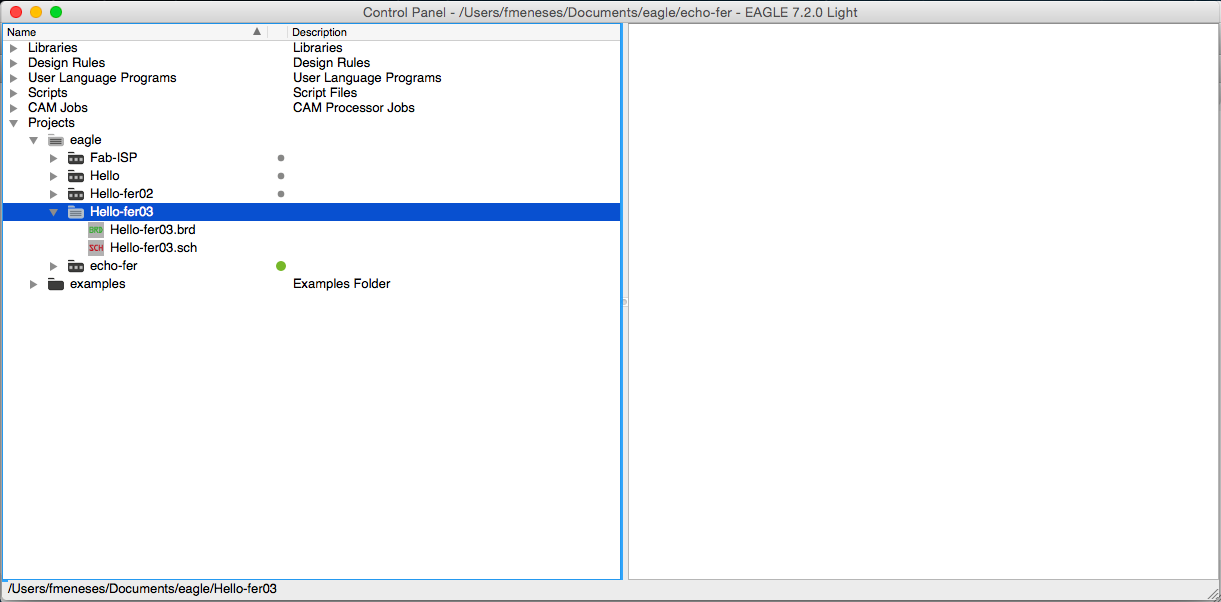
6_electronics design
_redraw the echo hello-world board + button + LED
For this activity we will use Eagle (http://www.cadsoftusa.com/). The goal is to design our first PCB, in this case design a PCB with an LED and a button, how to make a FabHello in eight steps, after many, many attempts ..; )
1. The first step was the installation of libraries.
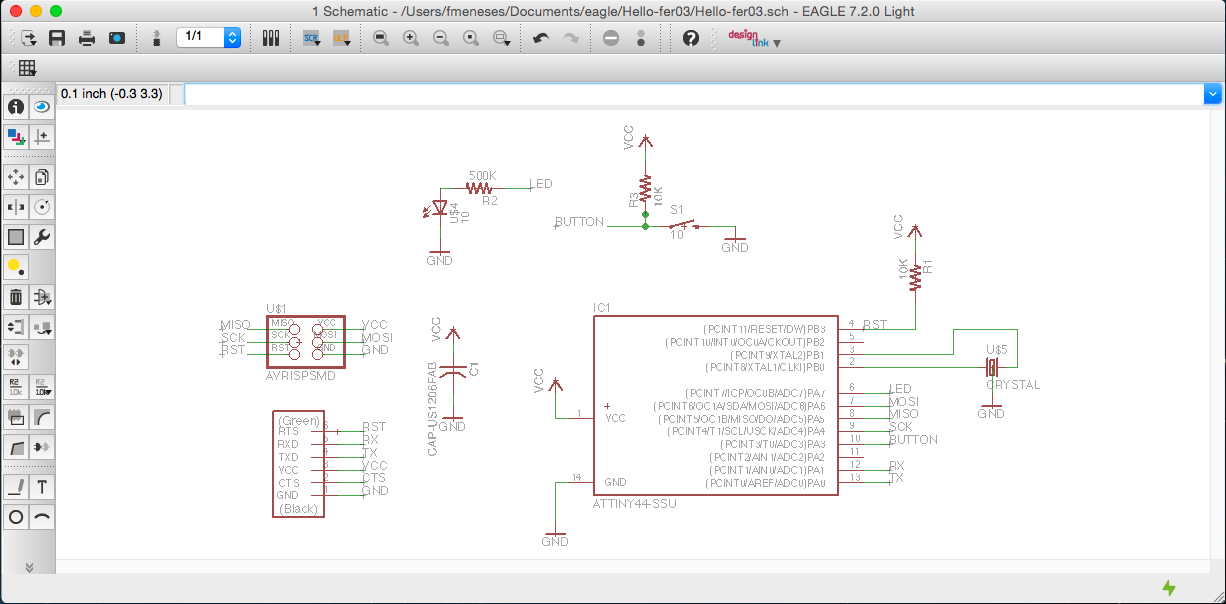
2. Here you can see the diagram; here we only redraw the FabHello design.
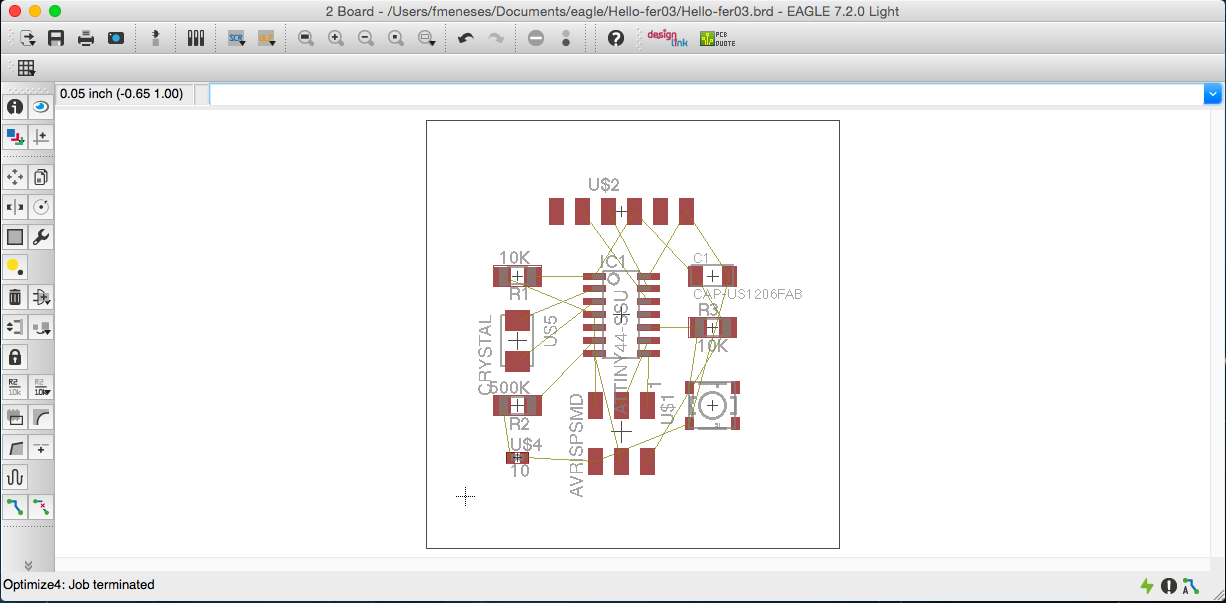
3. After the scheme, Eagle generates the PCB:
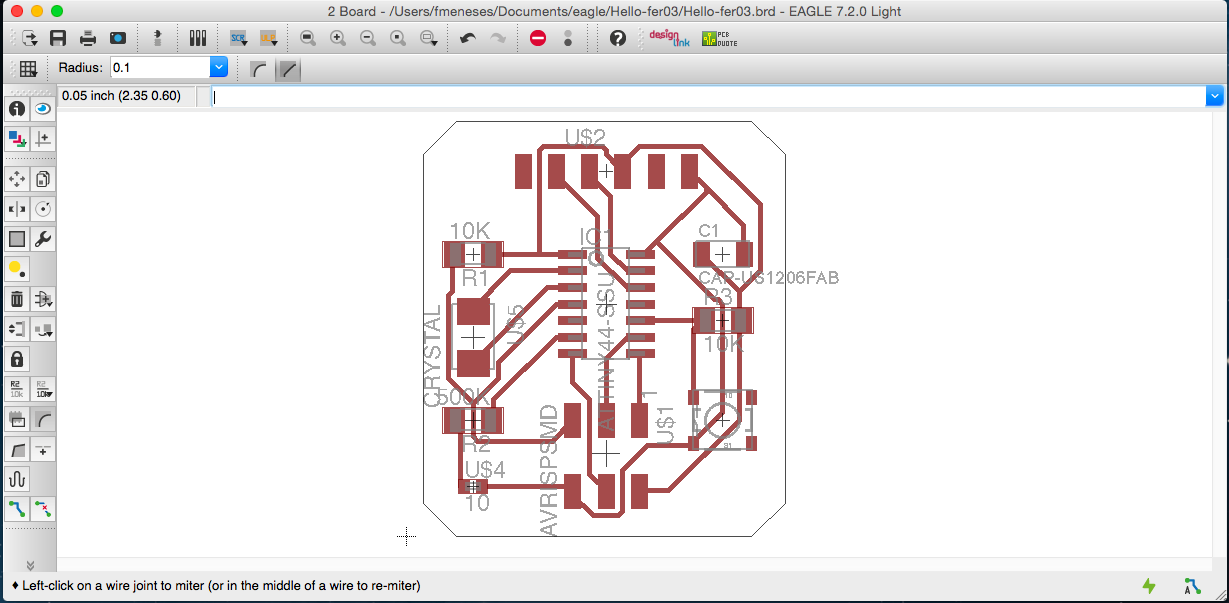
4. This step is necessary to arrange the components on the board and generate the Autorouter:
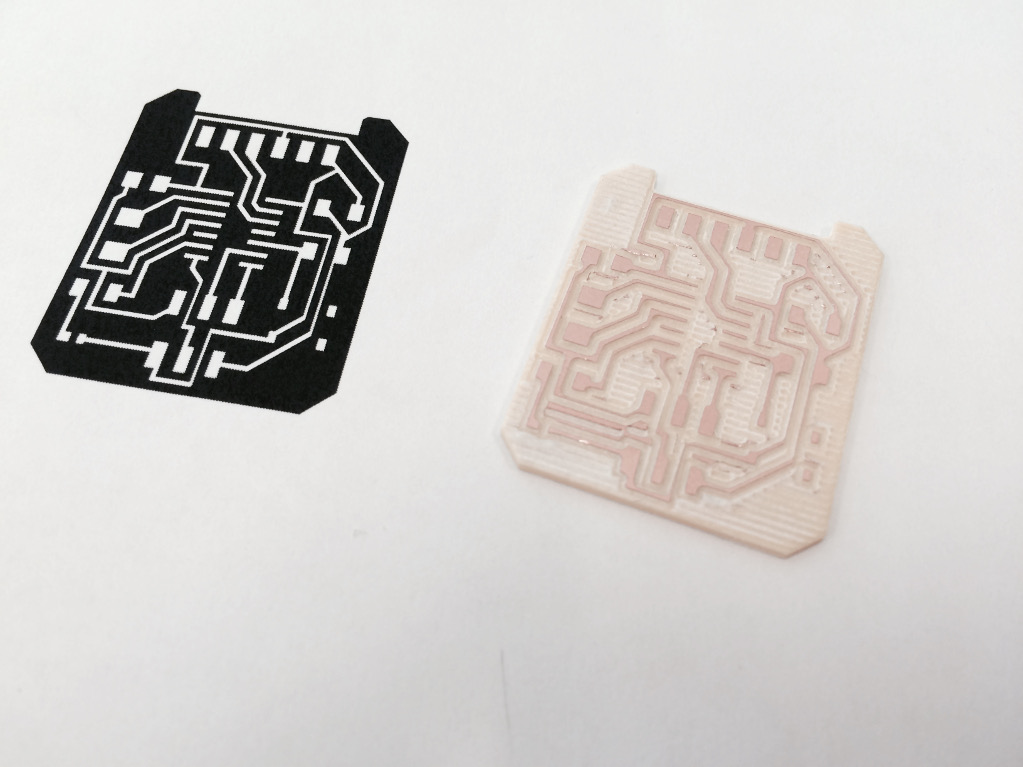
5. The last step is to export a PNG (it is important to care for the resolution, in my case let 1200px)
6. In PNG we can manufacture our PCB:
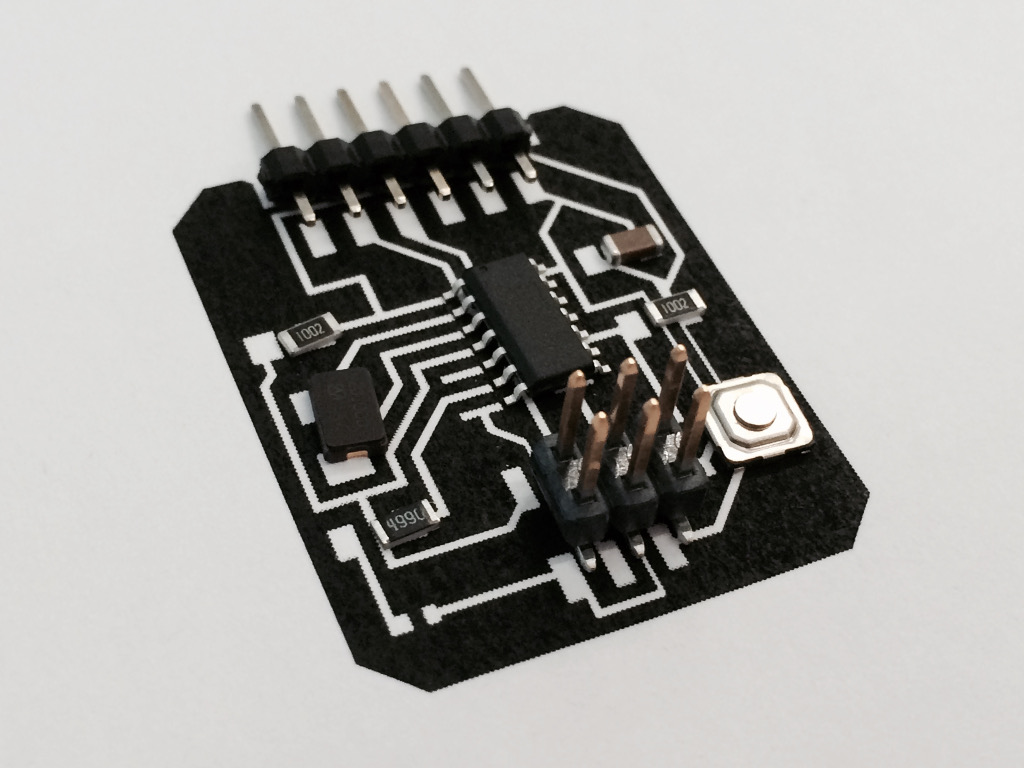
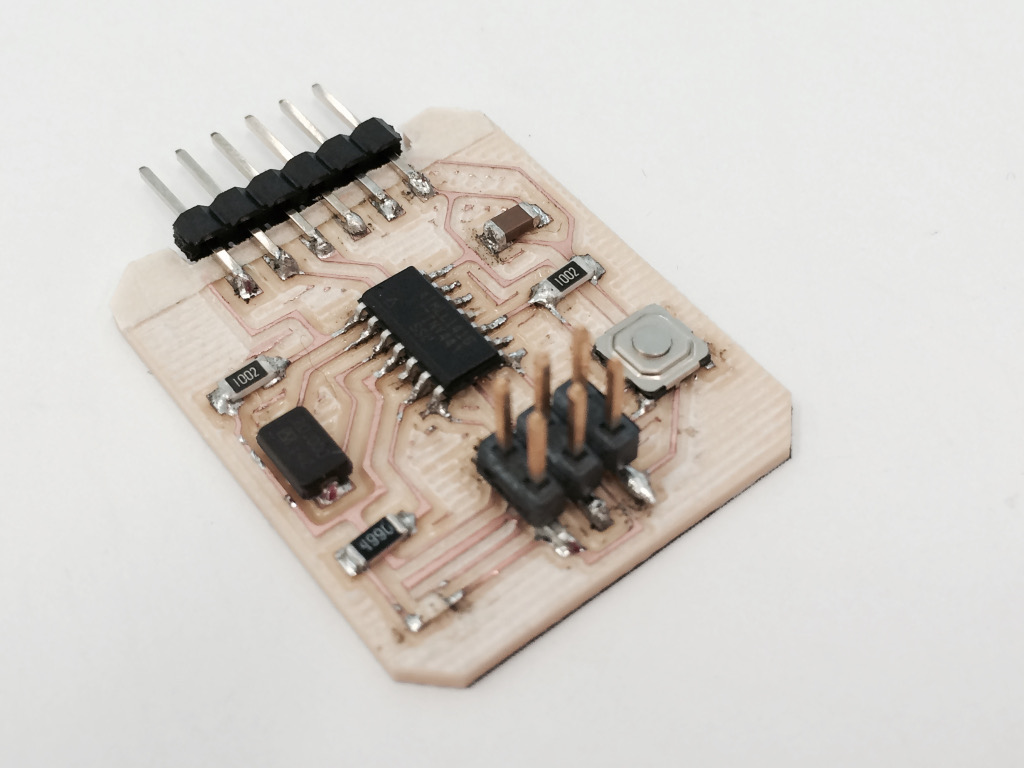
7. Now we can weld all the component.

8. Finally our first FabHello:
_conclusions
In this activity, I learned two new songs, starting with the universe of technologies for PCB design in Eagle explore my case, I think it is an extraordinary tool is intuitive and the graphics are excellent for non-experts like me.
Specifically I learned that if we use a resonator we do not need capacitors, but if we use a crystal, then you need to add two capacitors, and is also very important to remember that the chips have an internal crystal. crystal or resonator is a very important element is marking processing times. I also learned that connecting a Bottos and an LED need a resistor.
_files
hello-fer.brd
hello-fer.sch
hello-fer.png
_
Original source: http://academy.cba.mit.edu/classes/electronics_design/index.html
Contact: fernando.meneses@udem.edu / fernandomeneses@nodolab.com / f / in / g+ / b / v / mx / w