Computer-Controlled Cutting
Week 3
Laser
Press-fit Construction Kit
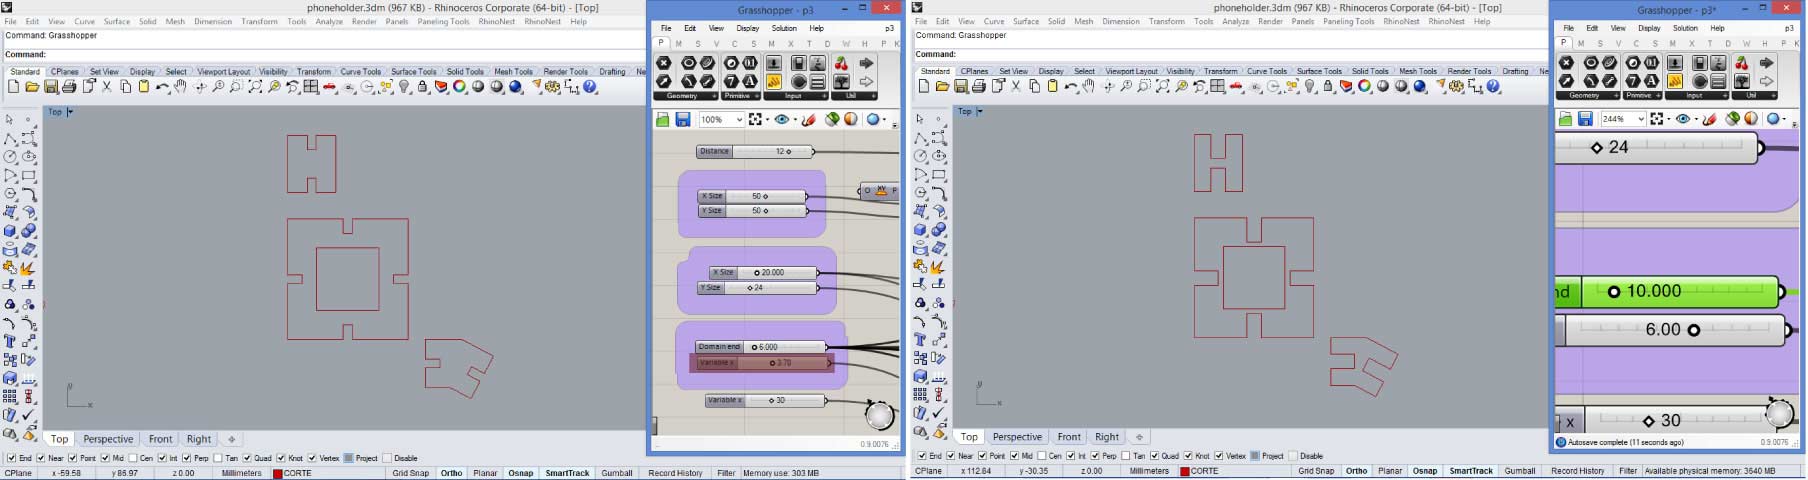
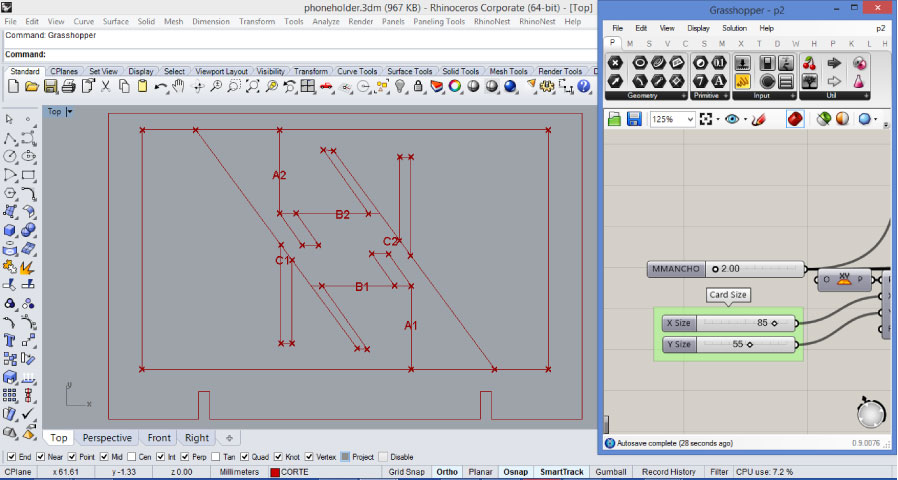
This week assignment left me a lot of things to learn. I had worked before with laser cutter machine making models for my career, but seldom thought about a press construction fit, in most of times I used glue to join parts. I began thinking in 3 basic parts, which would allow me to make multiple forms. One basic part with an opening taking advantages of the material properties and two joints. The first joint with straight lines and the second one with a curved line. The software that I used was the Rhino plugin Grasshopper. Powerful tool, although I´m learning I know that many steps could be avoid and get the same final result. In the image bellow you can see a parameter to control easily the material thickness.
There are 2 principal parameters in the image bellow, the first one control the material thickness and the second one controls the cut depth. Parameters in design let you easily change the properties of the design keeping the associations between elements.
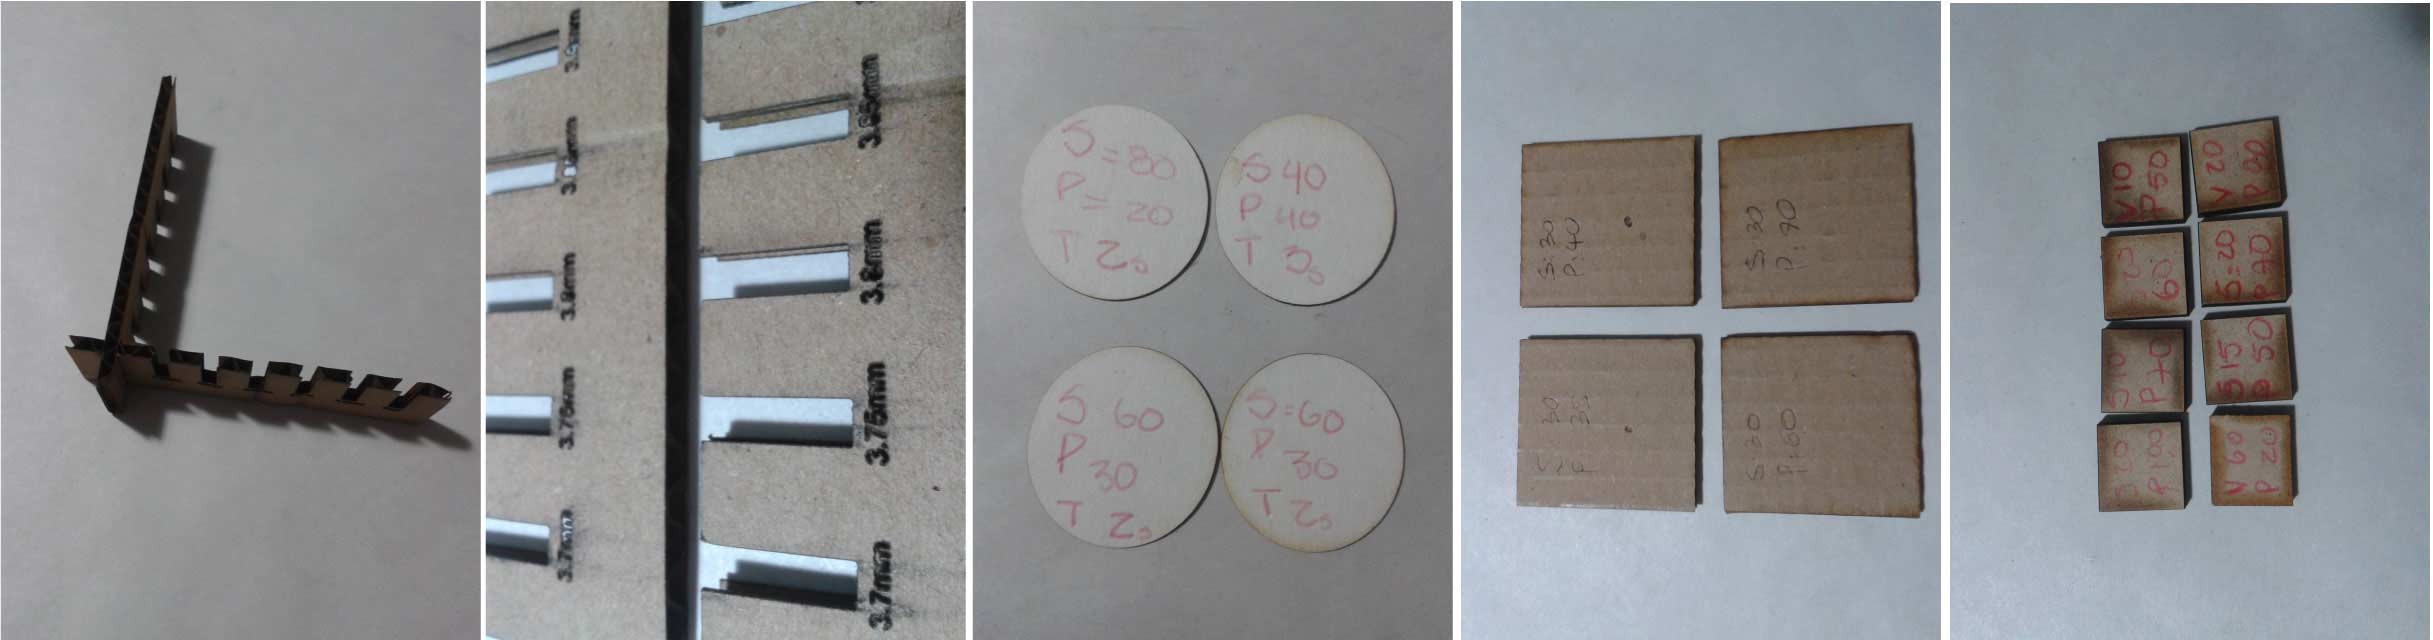
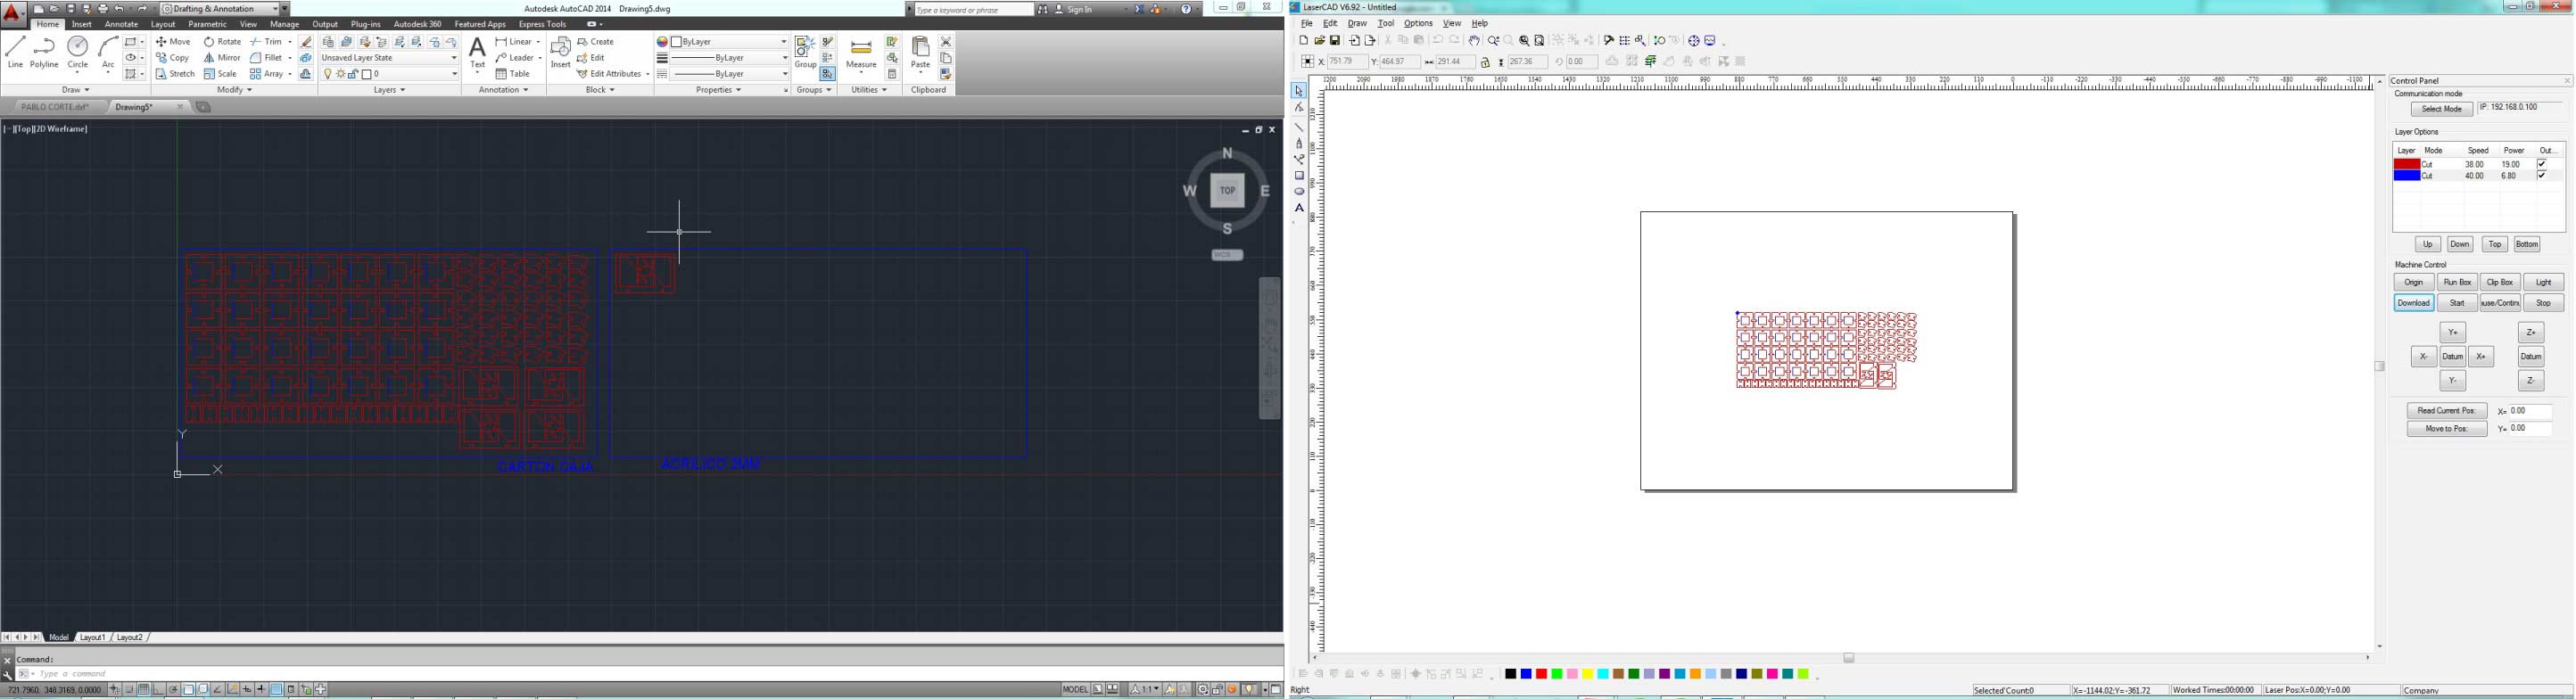
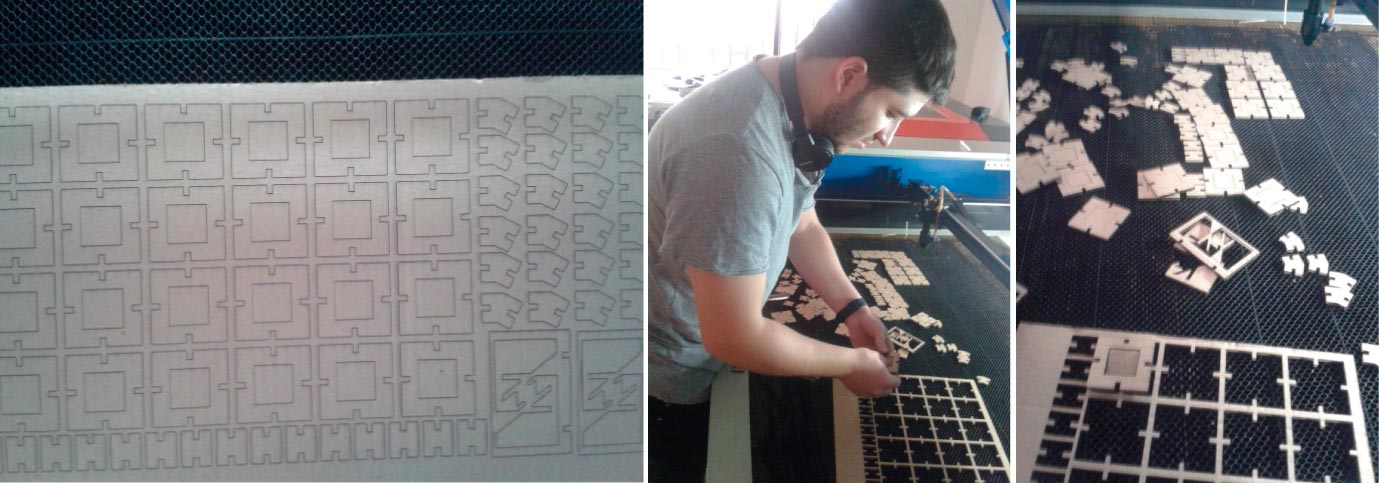
Next step was find the proper material thickness for cardboard. Following Neil’s advices I use cardboard because of its mechanical properties... a good and cheap material. With my classmates made thickness test with different parameters and found that 3.7 mm was the most appropriated. Also we make different material tests. For the cutting files, the optimal extension file in our machine is .dxf. You can draw in any vector software but export it like .dxf. The format used was 30 cm x 60 cm. because there was a few leftovers of sheets of this dimension and i wanted to recycle and aproach the materials available in our lab. Even if the laser cutter is 80cm x 70cm.
For cutting Cardboard the necessary speed was 38.00% and power 19.00%.
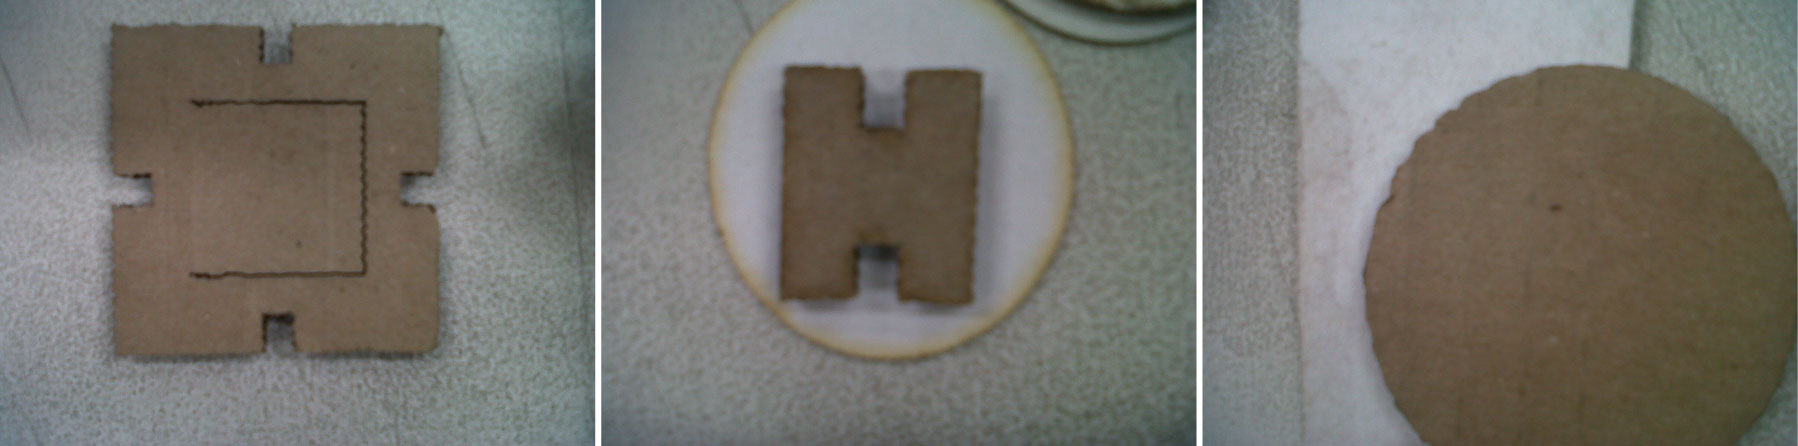
Our local laser problems.
Our local laser can’t work with high speed because it decomposes and begins to cut badly, with curly lines as you can see in the image bellow. When we cut something at high speed, the laser head collides trying to follow the cutting lines. That’s the reason we use low speed and high power. Obviously that affects the finished of the element.
Fabrication Process
With all the cutting pieces the fun started, I went from straight surfaces to double curved surfaces and even a cylinder that looks like a bedside lamp.


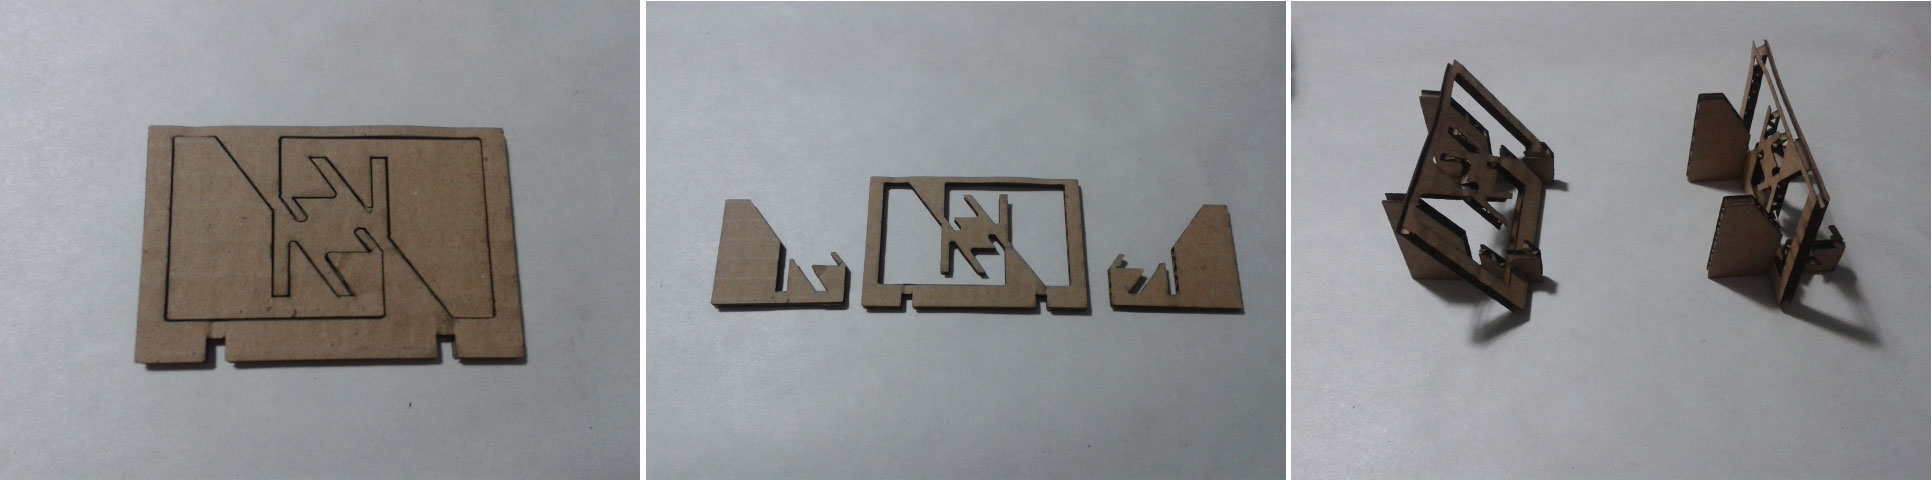
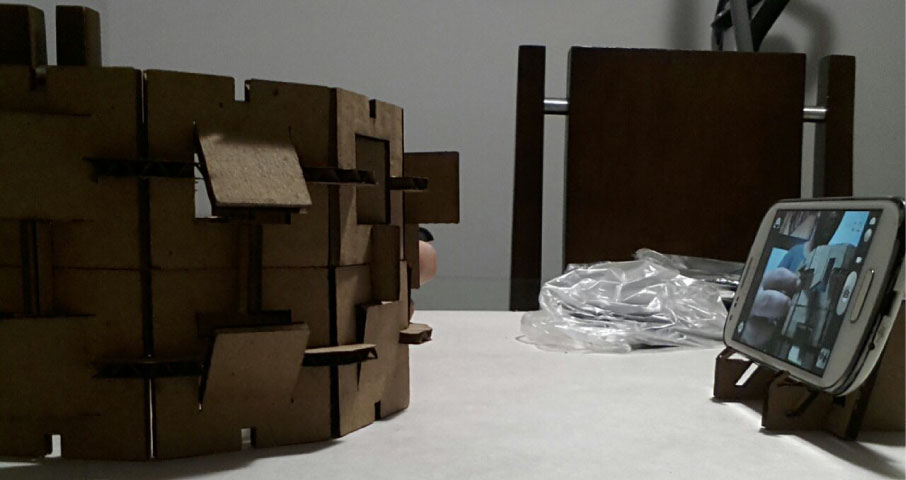
"Phone Holder"
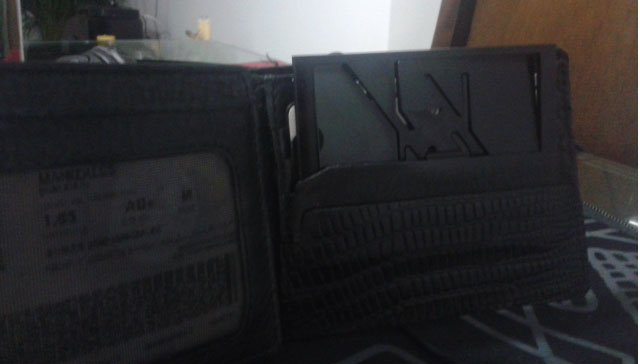
In the last month I had something in mind, the cellphone has become indisputably in a daily accessory. We search information, we make video calls, we record videos, etc. But, sometimes you need to use our hands for anything else instead holding the cellphone. That’s why I think in a “Phone Holder” with the size of a credit card that fits in a wallet and could be assembly and disassembly easily. The software used was grasshopper to easy control the material thickness and the card size. The definition don’t go perfectly but I’m in the process to make it better and easier.
Two positions one for “video calling” and the other for “video recording”. All the videos in this assignment were recorded with the “phone holder”. Cardboard was great, but I decided to make it in acrylic thinking is more durable, but it easily breaks.

Vinyl Cutter
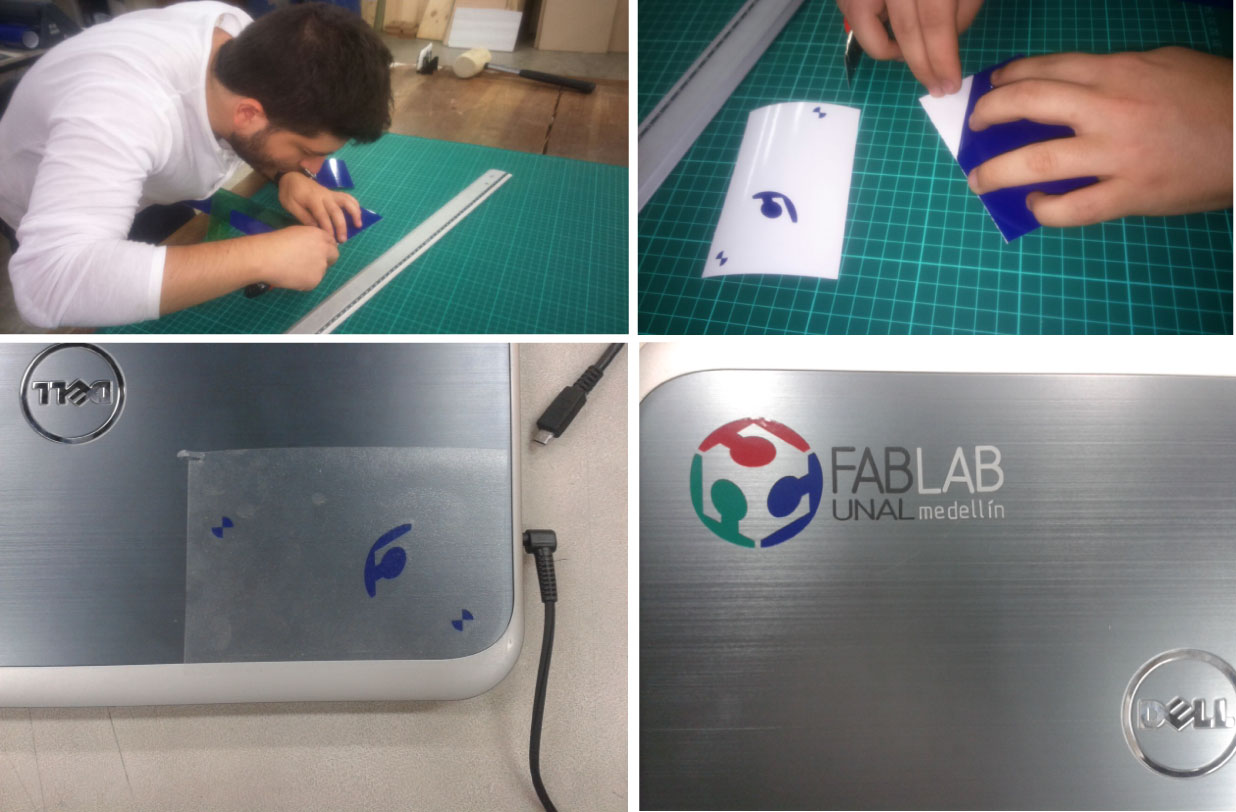
I had no experience before using the vinyl cutter and I found there’s a bunch of possibilities, multiple colors and multiple textures. The Roland vinyl cutter, it’s easy to set up. Basically you need to feed the machine with the vinyl according with the guides. The machine measures the dimension of the vinyl to cut it properly. We had in mind with my classmates to make the Fab Lab Unal Medellin Logo for the entrance of the lab, but time didn’t play in our favor and we couldn’t make it. But it’ll be done in the next days. Then we decided to make little logos for our pc. There was a little difficulty with the small letters of our logo, but at the end I think it looks fine.
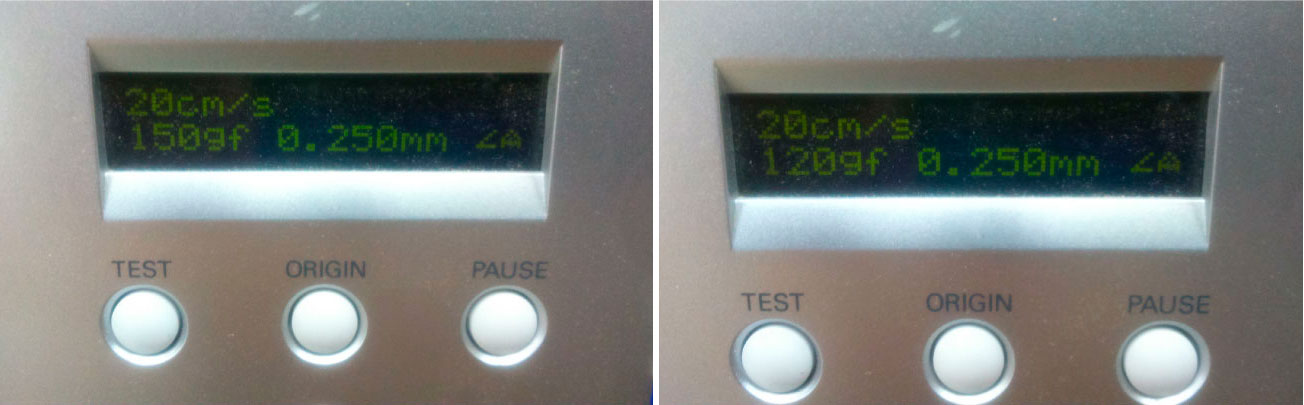
The software used was the Roland Cut Studio with the next parameters for cutting the element. In one initial test the parameters were: Speed = 20cm/s Force= 120gf. The final test with Speed = 20cm/s Force= 150gf let us better results.
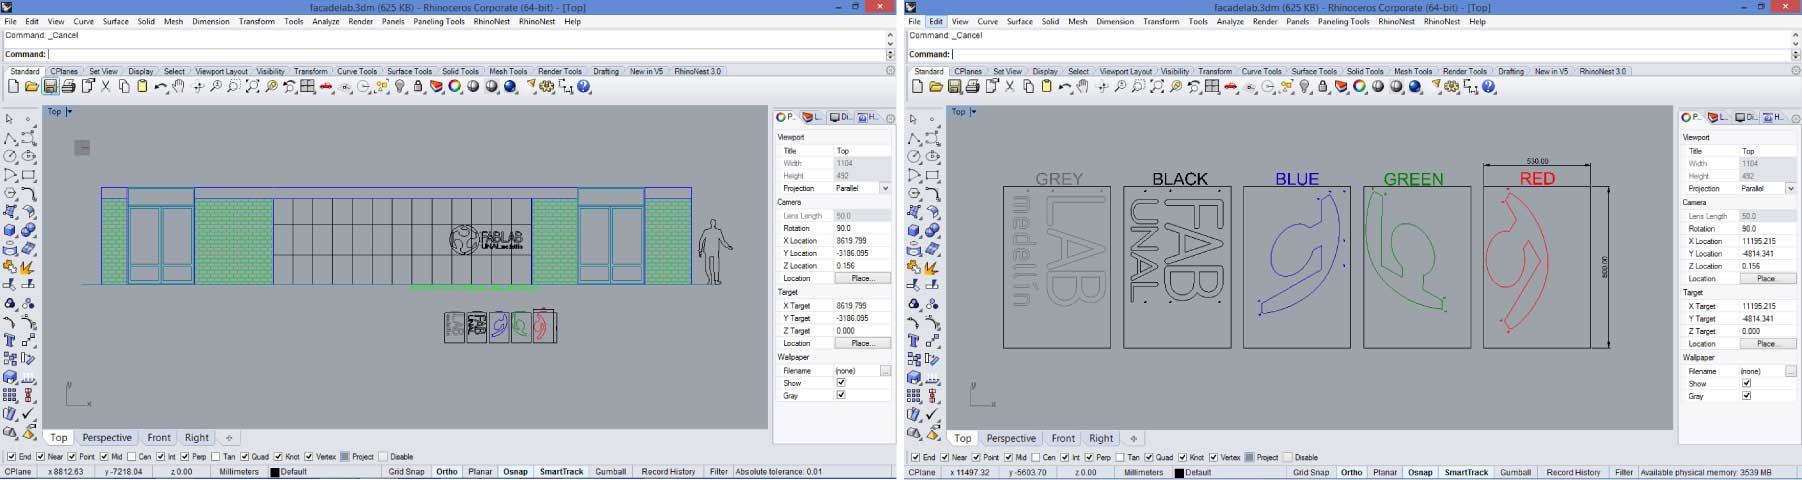
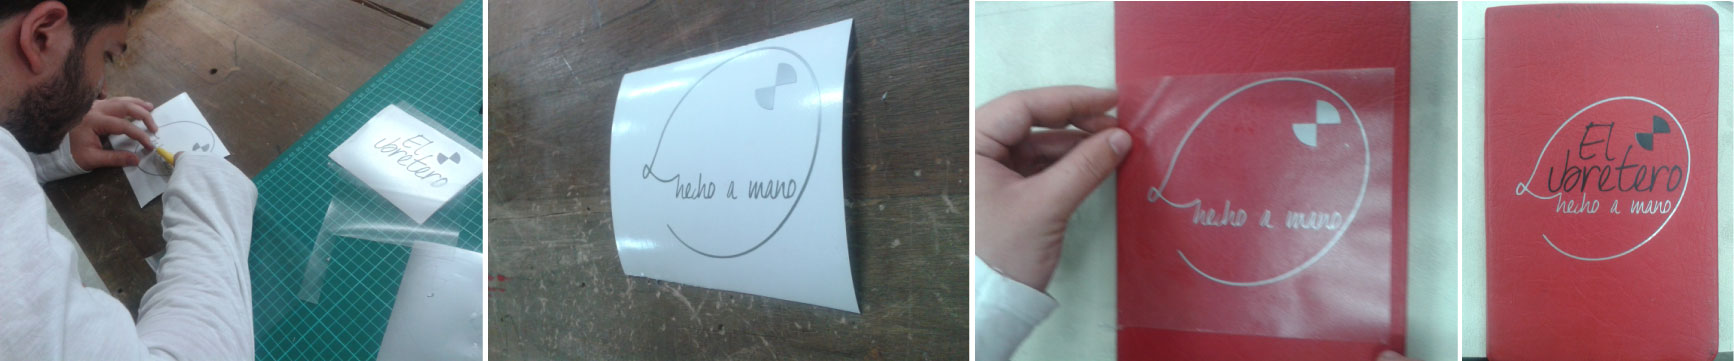
Also I decided to make the logo for “El Libretero” my small company. The logo was designed in illustrator and then exported to Rhino for easy manipulation. The settings were equal from the Fab Lab logo.

As a final conclusion, In both (the laser cutter and the vinyl cutter), one of the most important learnings was to always keep in mind the minimum distance between the elements in the design process, because the laser power or the blade can cause injuries in our element, and let it weak, and it maybe wouldn’t work as well as we expect.