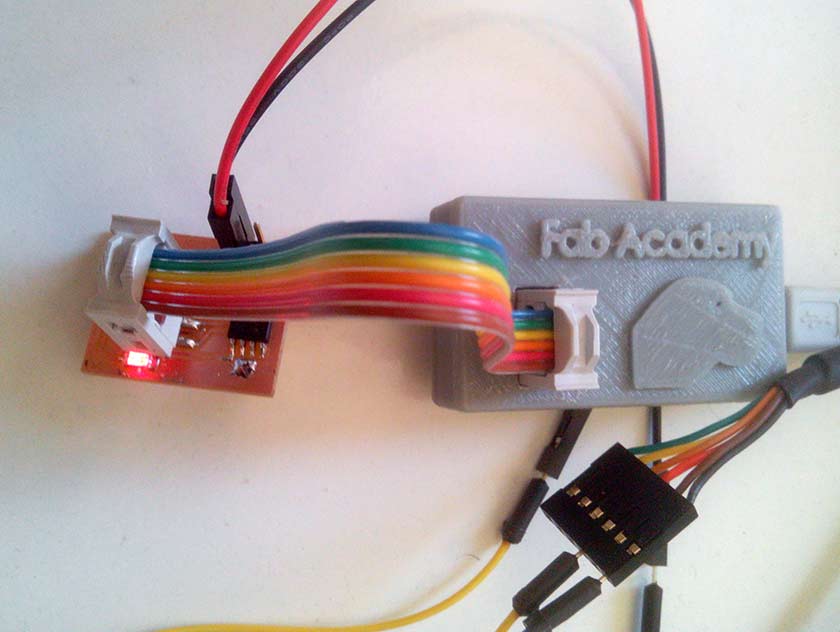
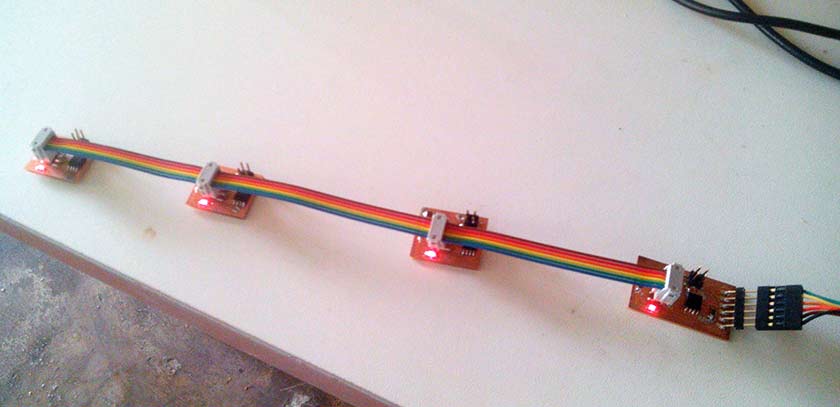
The slow pathway .... Eagle is now very friendly, and everytime I use it, I learn new things and the work is getting faster, so I thought to redesign my Arduino Board, the Fab ISP (this time in the USB style) and obviously the hello bus boards and the hello I2C boards. The hello bus boards were easy to produce, a few components to solder, the 5 boards I milled were all working except one.
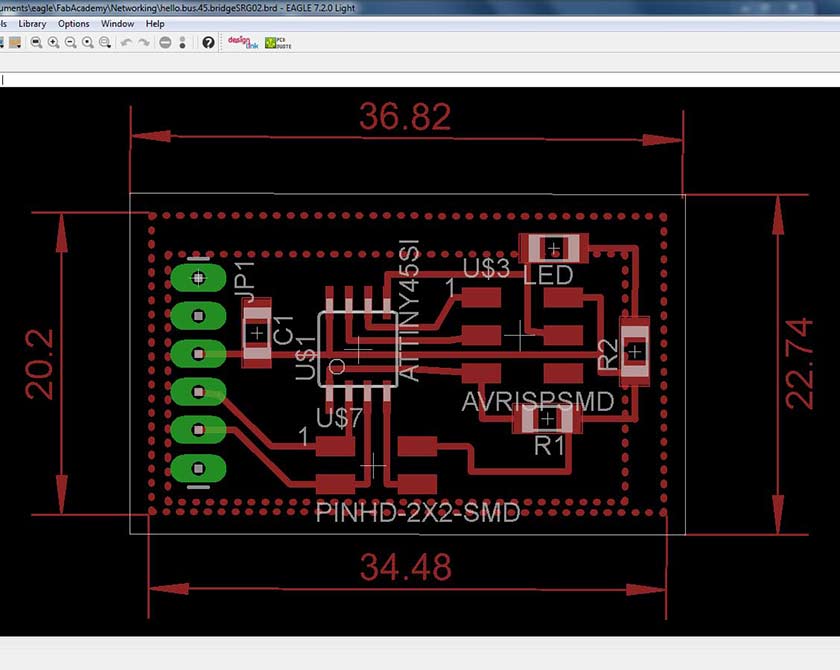
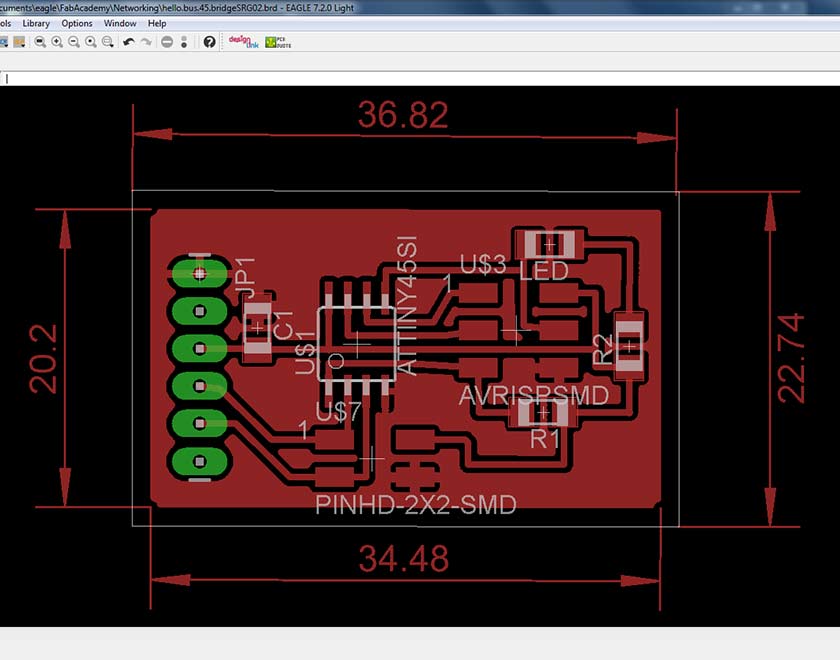
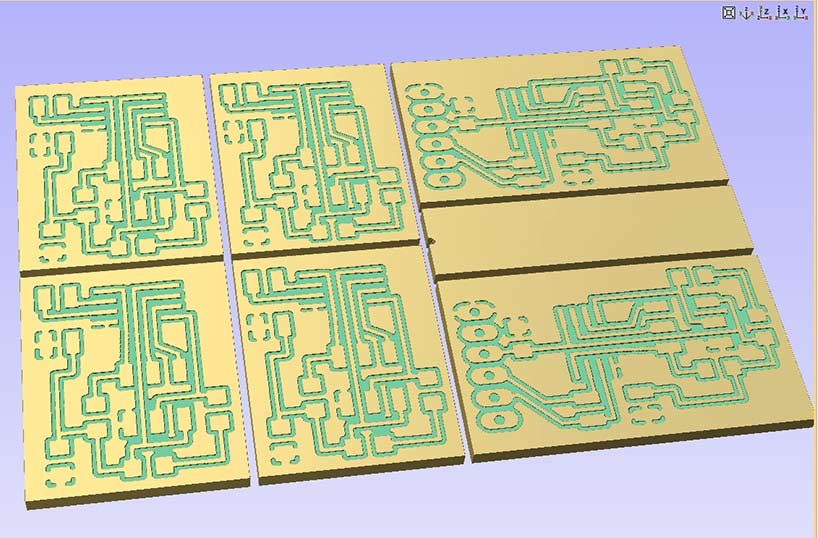
One of the things I use extensively are the poligons, the first picture show polygons I made, one for the ground plane, and the ather to fill some part where the ground Plane don't reach. In the second Picture you see the Bridge Board with Ground Plane and Copper filling results using "RATNEST" command. The result of the ratnest command is tight, but you can change the parameters if you are worried about yours soldering skills. The great advantage you have is the milling time is reduced by far or if you have a much faster fiber laser, you produce less copper residuals.
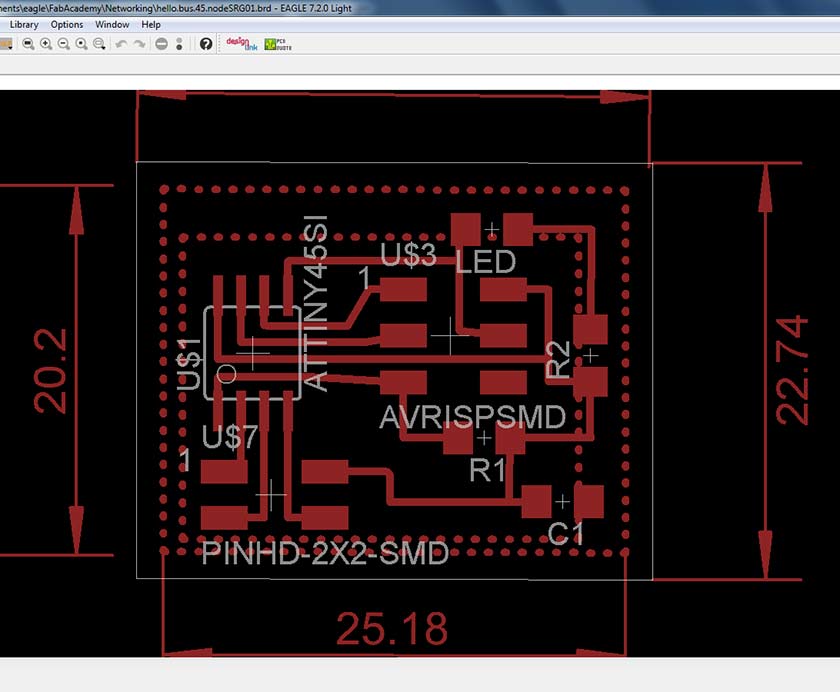
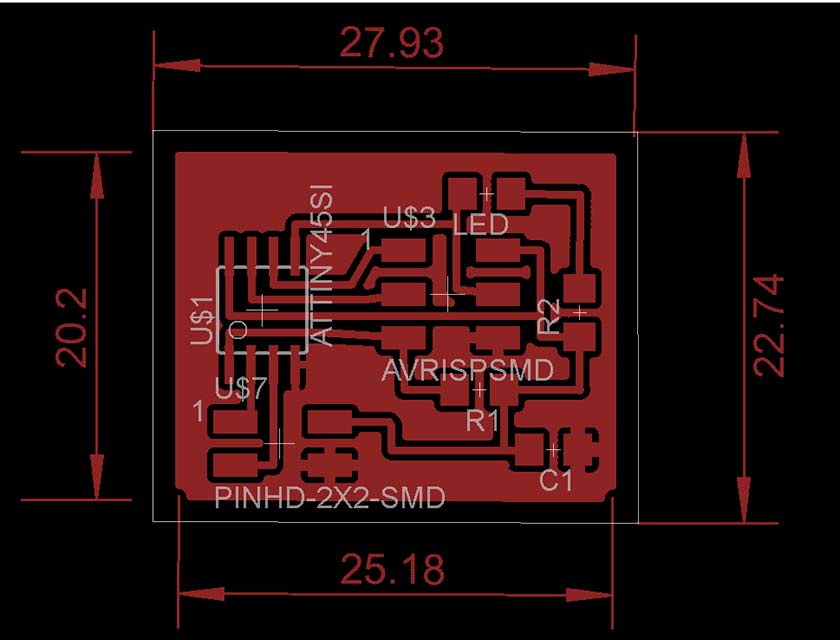
The node board with visible polygons and the node board with ground plane and copper filling
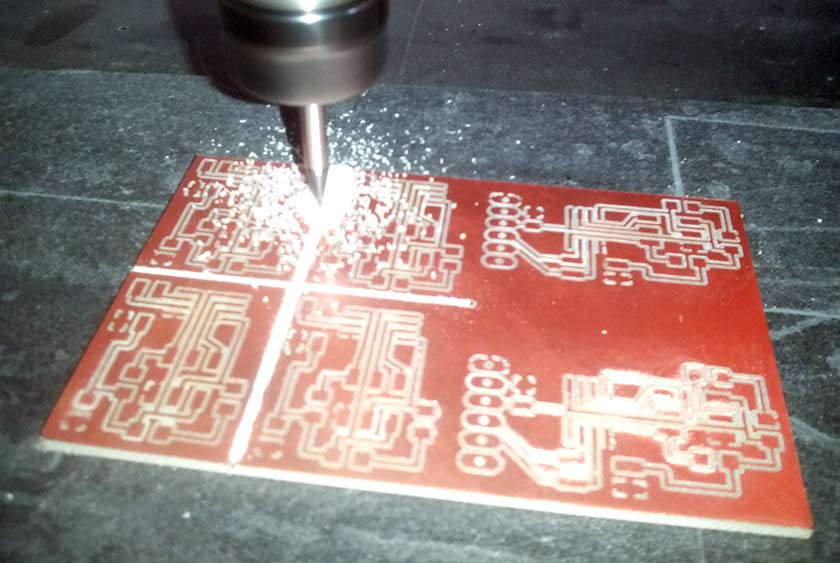
The Last step before milling the circuits is to simulate the cut with the CAM program, if you carefully check the results you can find all the errors like shorted traces and missing traces. The last picture show a fistfull of boards in one hour milling :-)

The milling results .... almost perfect circuits and then soldering the Board. Volume Production !! :-)
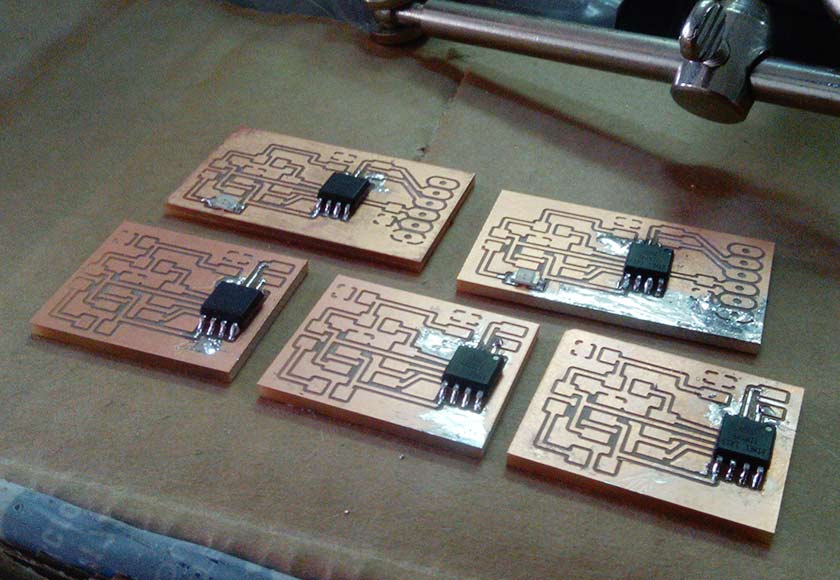
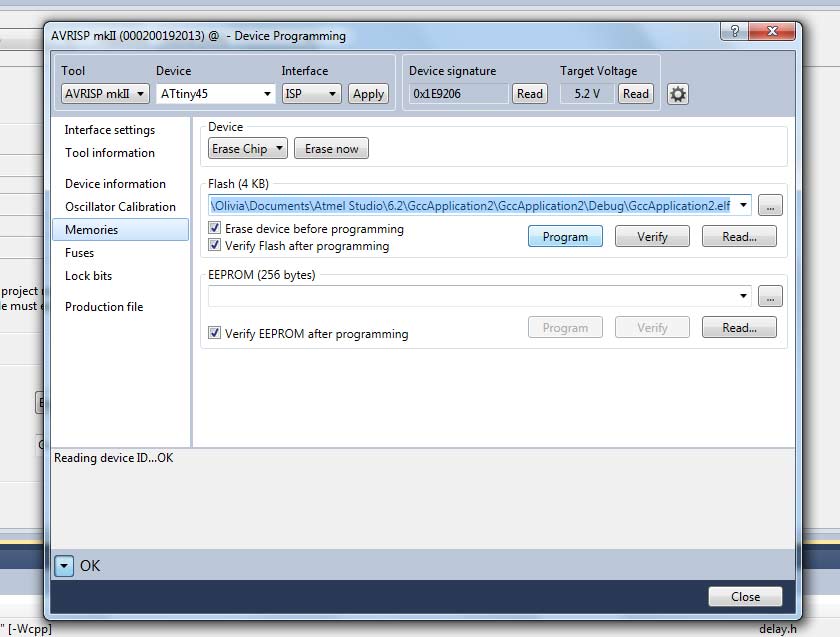
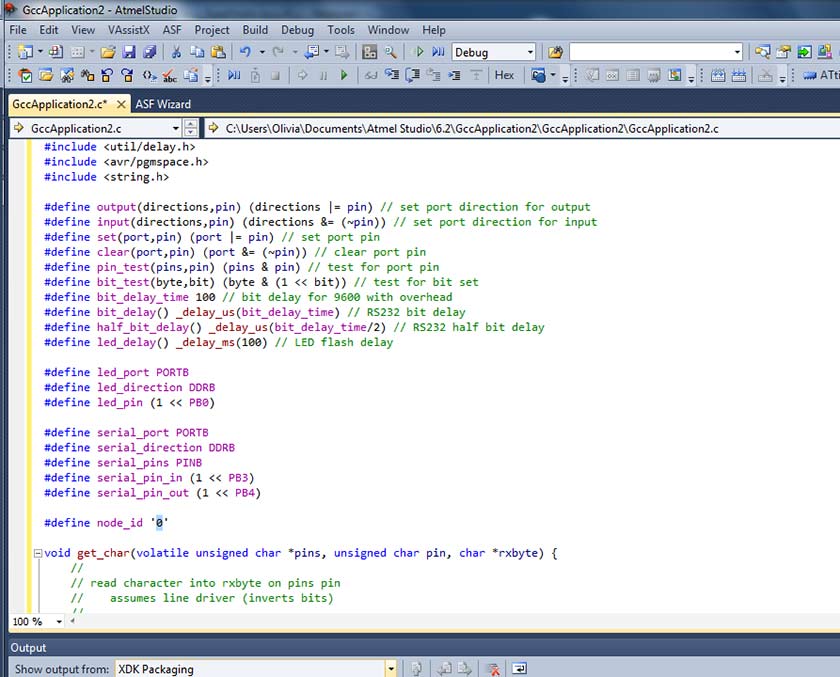
Initialising the boards instead was very difficult and I had to read many documents and tutorials, the sucessfull way was with Atmel Studio and the Atmel Programmer, finding the right procedure took a lot of efforts and the help of Lorenzo was necessary.
My next test will be with the Hello.I2C board, I want to learn how to connect an LCD Display with serial comunication so I just need 2 wires instead of six.