
Building the site is the primary goal. Thank to Lorenzo, I made an online course with CodeCademy and in a few days I knew the html/css principles which I found very easy and amusing.The structure is composed by Three pages: the first one is the home page where you get the basic informations and the link to the other two pages.
The second page is about me, what I did and what I do now. The third (this one) will have all the work, the documentations and the exercises.
Divide the page the way I want was a bit tricky ... Margins, Borders, Paddings, Contents and their relative properties when they interact with other elements, is at the very beginning difficult,until you remember all the command. The code was written in a text-editor program called "Sublime Text", It has some usefull things like line index, color code highlights. And "firebug" is an helpful extension to my browser. I like a "minimalistic style" site ... well mine is not the case :-), I choosed to test and play with various commands and tricks as part of the exercise.
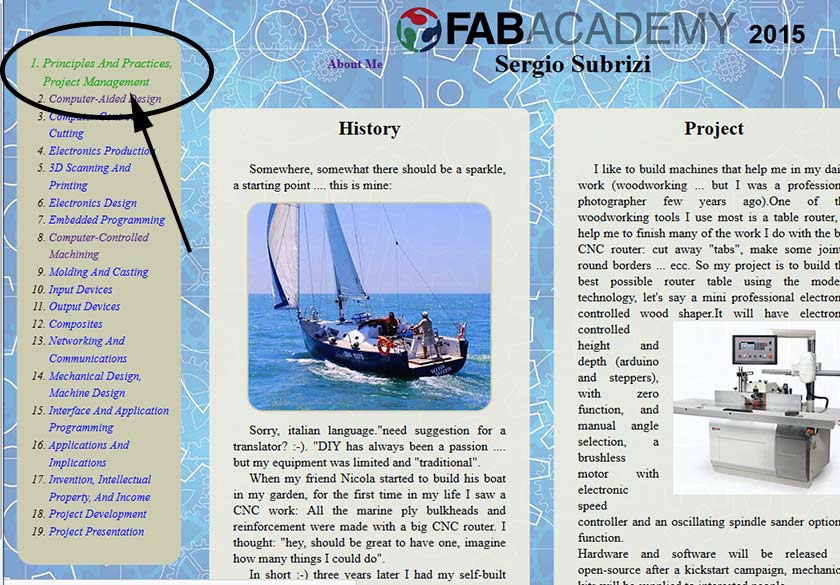
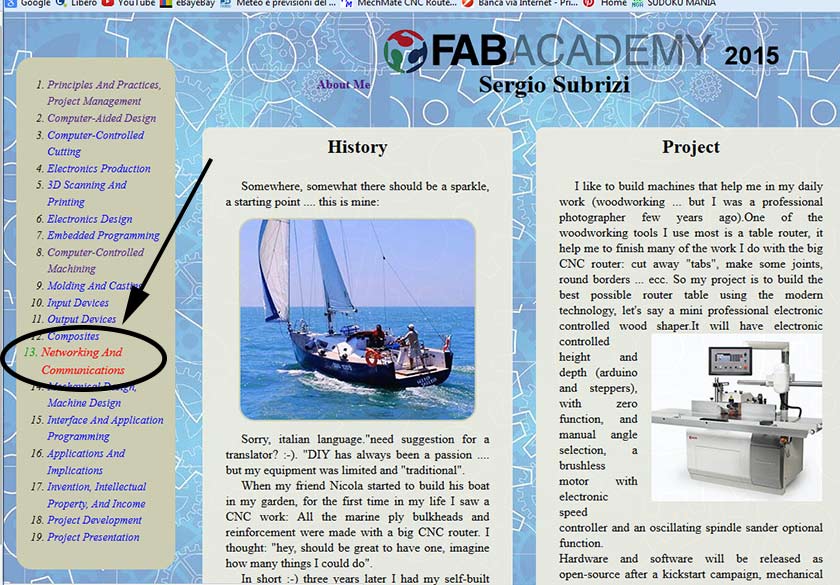
In the Home Page, The list of the Assignements change color when mouse is pointed on ... Green for the Assignement done, and Red for the Assignement to do.
        .text:hover {
            color:red;
            transition:0.5s;
            transform: scale(1.1,1.1);
            -webkit-transform: scale(1.1,1.1);
            -o-transform: scale(1.1,1.1);
            -moz-transform: scale(1.1,1.1);
           -moz-transition:0.5s;
        }
       .text2:hover {
           color:#19A319;
           transition:0.5s;
           transform: scale(1.1,1.1);
           -webkit-transform: scale(1.1,1.1);
           -o-transform: scale(1.1,1.1);
           -moz-transform: scale(1.1,1.1);
           -moz-transition:0.5s;
        }
The Picture of the Boat change the size as mouse in pointed on ...
                    .hcenter:hover {
                    margin: center;
                    opacity:1;
                    text-align: center;
                    transition:1s;
                    transform: scale(1.1,1.1);
                    -webkit-transform: scale(1.1,1.1);
                    -o-transform: scale(1.1,1.1);
                    -moz-transform: scale(1.1,1.1);
                    -moz-transition:1s;
                    }
Another interessing thing is the possibility to have link not just to a page but directly to a choosed point of the page: the first line is the link to the page named "theassignement" and "#cad" point directly where the id="cad" is positioned
//in the page: "index.html"
<a class="text2" href="theassignements.html#cad"> computer-Aided design </a>

//in the page "theassignement"
<h2 id="cad">Computer-Aided Design</h2>
//This Part is located in the Header (omitted the code out of topic)

<head>
omitted

<style>
#galleriaprojman{height:640px; width: 100%; display: block; margin: 2em 0;}
</style>

</!-- load jQuery -->
</script src="http://ajax.googleapis.com/ajax/libs/jquery/1/jquery.js">/script>
</!-- load Galleria -->
</script src="galleria-1.4.2.min.js">/script>
</!-- load picasa plugin -->
</script src="galleria.picasa.min.js">/script>

</head>


//This is the part where the pictures are inserteded in the page

<div id="galleriaprojman">
    <img src="photos9/milling01.jpg" data-title="Test Test Test" data-description="Picture Description">
    <img src="photos9/milling01.jpg" data-title="Test2 Test2" data-description="Picture2 Description">
</div>


// Load the classic theme (this part is inserted at the bottom of the page)
Galleria.loadTheme('themes/classic/galleria.classic.js');

Galleria.run('#galleriaprojman',
    // The user & album on Picasa.(omitted in my case because we wanted the image on the MIT server)
    //picasa:'useralbum:104195930708789857863/ProjectManagement',

});
19-May Updates
A new page for the final project was created, I wanted to have a dinamic menu but I'm still in working progress on the programming side ... so instead of using .js, I found a way the the knowledge I already have ... few line of CSS:
    .sposta02 {

    position: absolute;

    left: -340px;

    top: 104px;

    height: 430px;

    width: 370px;

    background-color: #101010;

    opacity: 1;

    border-radius: 2px;

    margin: 0px;

    color: red;

    line-height: 1.2em;

    z-index: 999;

    text-decoration: none;

    }


    .sposta02:hover {

    transition: 1s;

    transform: translate(340px,0px);

    text-decoration: none;

    }
A special thanks to the "Web Master Guru" Alessandro Papaleo who always helped with hints and most of all ... his debugging help when my page was doing some crazy things or didn't obey to my coding :-) ... I also discovered with his help a very helpful feature of my text editor (Sublime Text): you can copy cut and parts of the code just by dragging it to the desired place.