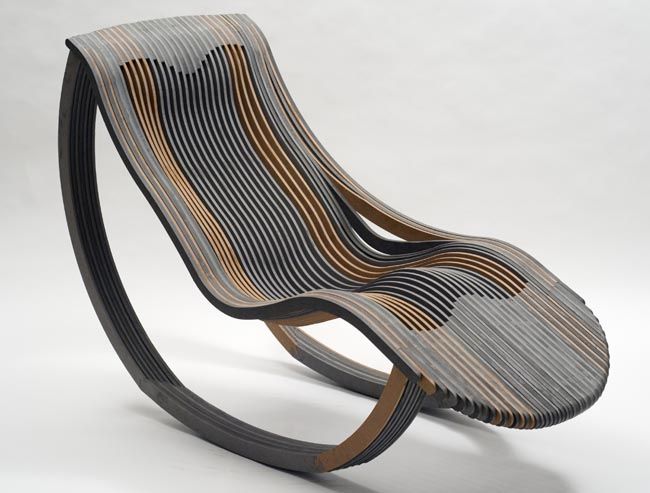
For this Assignment my goal is to design (well ... copy my friend's Marco Tonci design, and make a mold to "produce" copies of a comfortable seat for personal chairs.
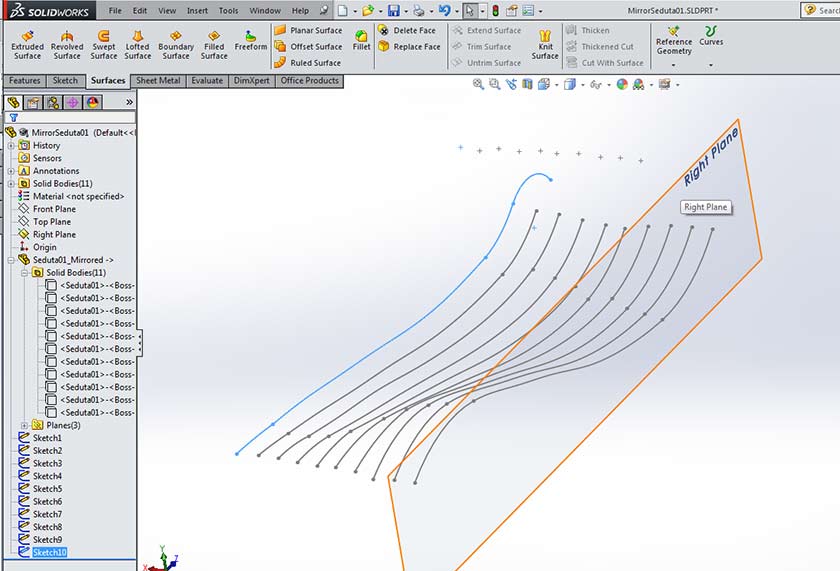
Designing the seat was a difficult task, it was my first time on surface creating. I made some trial and errors before I asked the help of Lorenzo. With Lorenzo's hints I redesigned the seat the proper way, making a unique Solidworks "Part" (not an "assembly") with all of the different profiles each on an equidistant reference plane.
I Started Using Slats from Marco's Design importing them one by one from the 3D model previously made and removing the unecessary lines.
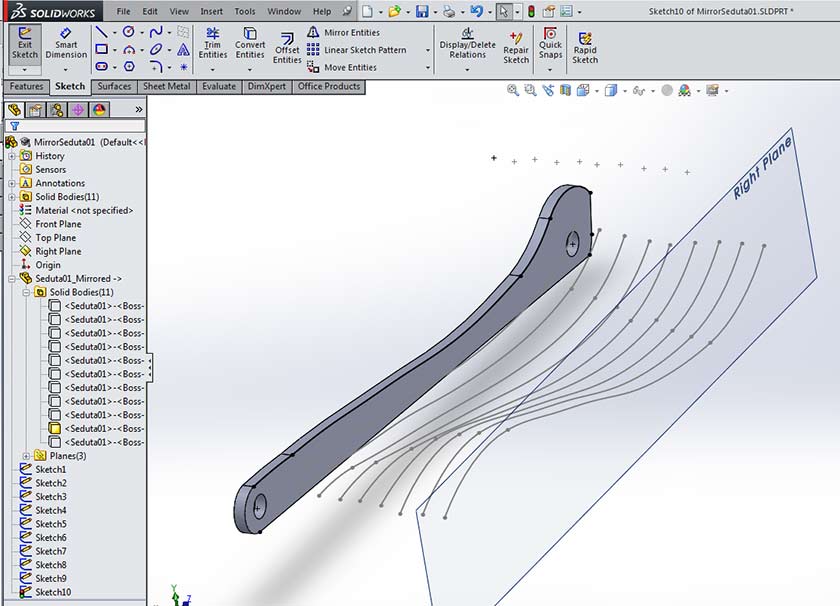
Preparing Profiles: each slat was inserted in a reference plane distant 12mm from each other.
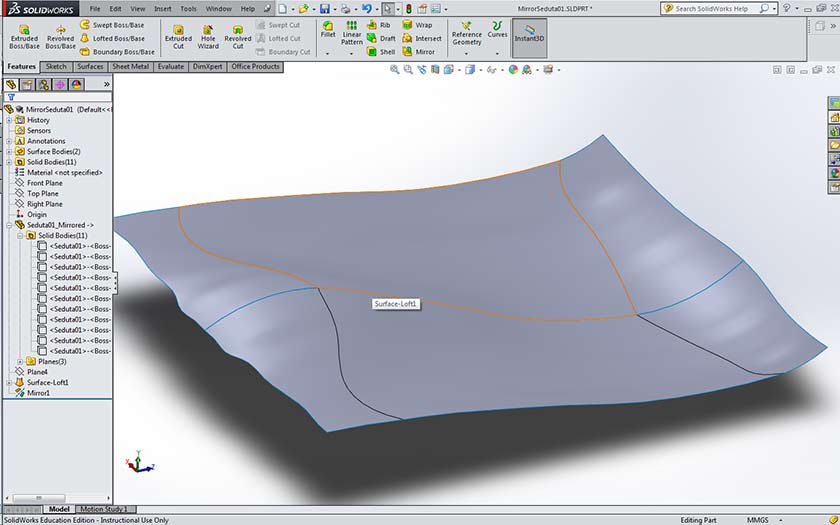
SolidWorks Surfaces Loft is the command used to create a continuos surface.

The result of the lofted surface
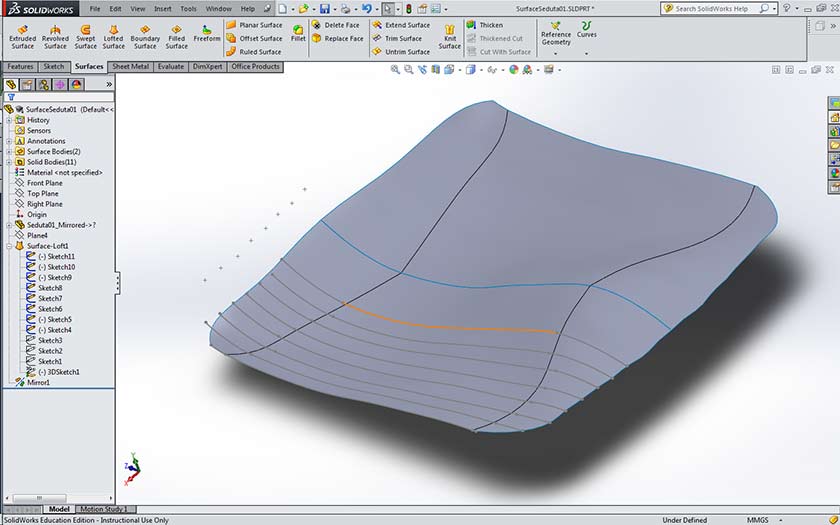
And the final result after son trimming and adjustments to the vectors of the slats.
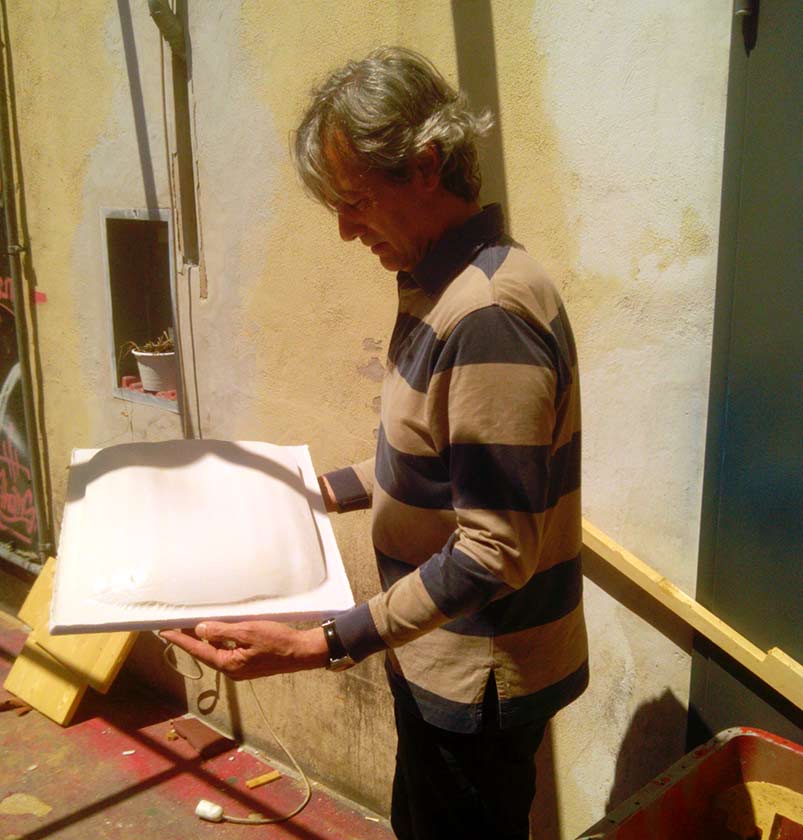
I milled the seat on extruded polystyrene with a 14mm ball-mill at 6000mm/min directly using the finishing pass ... the extruded polystyrene is like cutting air for a big CNC router, but managing the chippings is a nightmare they stick everywhere.
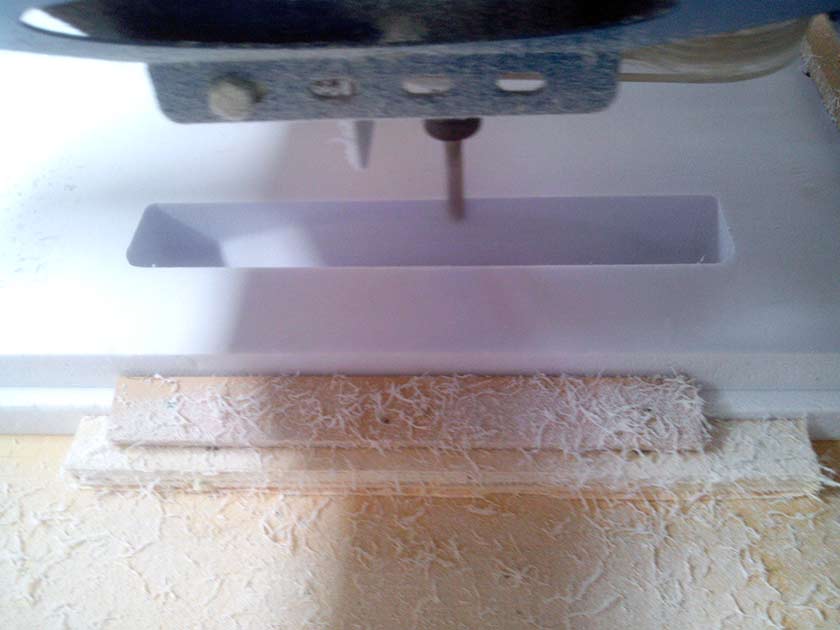
The result was very smooth ( I used a 1mm stepover) but unfortunately I missed three slats in designing the seat so it was narrowed in one dimention, anyway a good seat, but I will redesign the part soon.
The polystyrene was then isoleted with a mix of vinavil and water based paint.
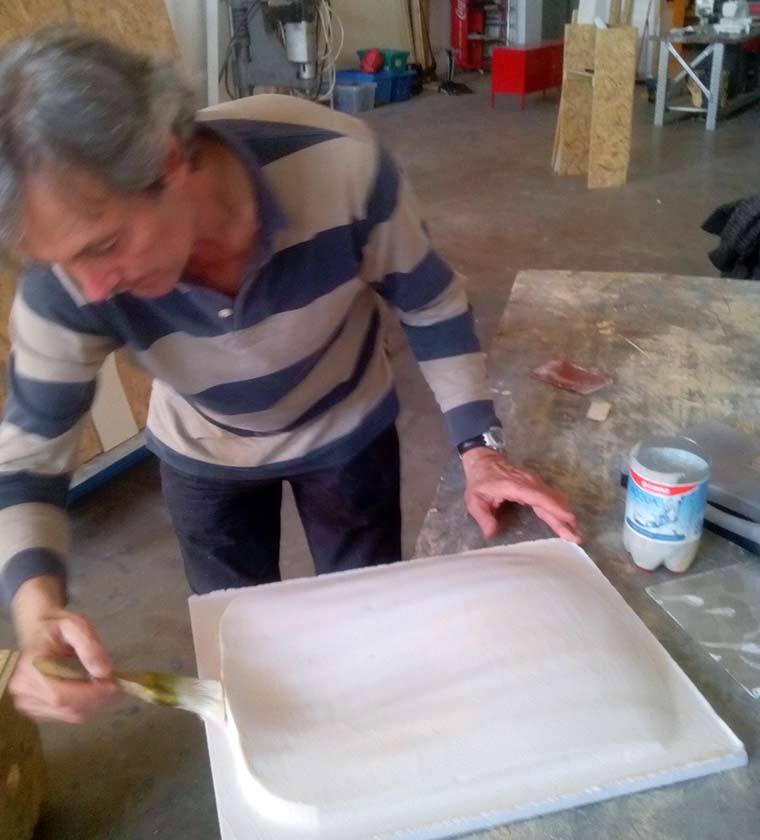
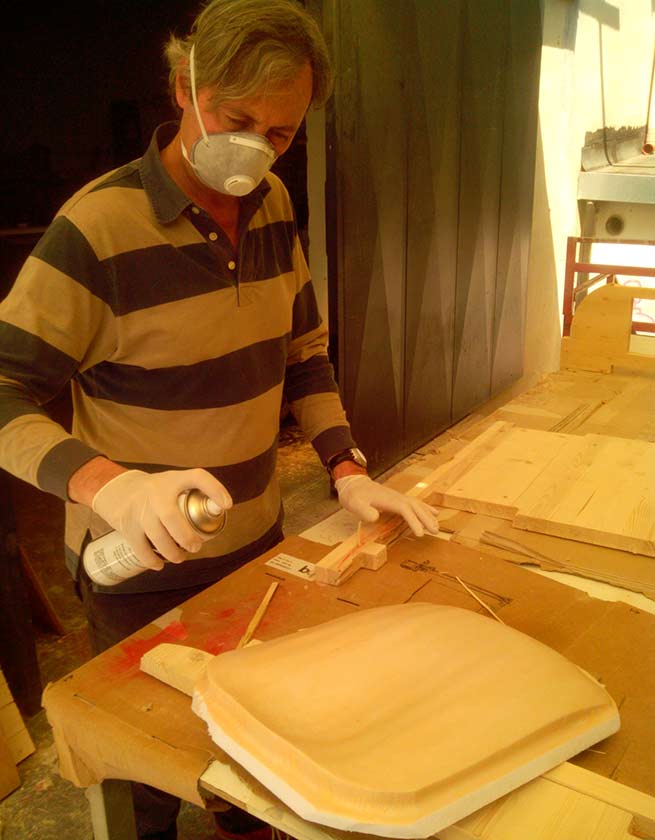
Once dried I applied a spray release wax.
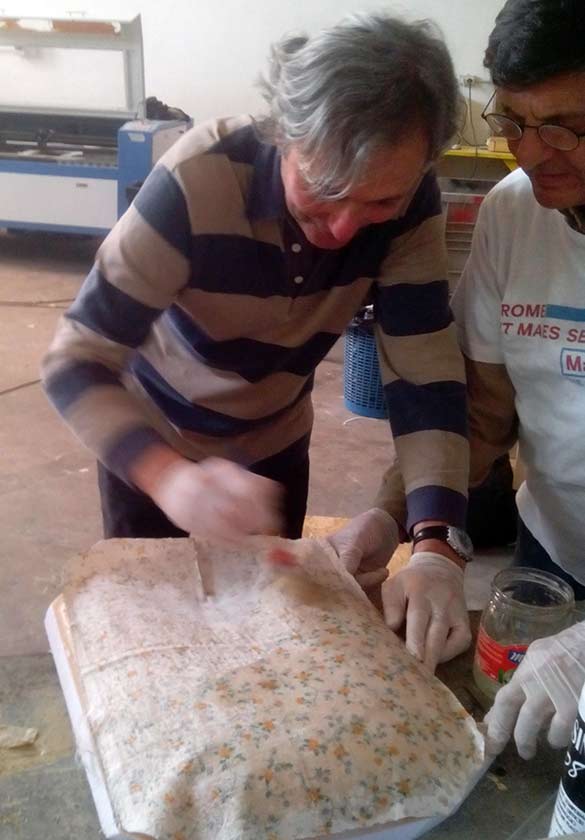
Some scissor refinements before applying epoxy is a good practice, the more you are tight the less you will work harder later on
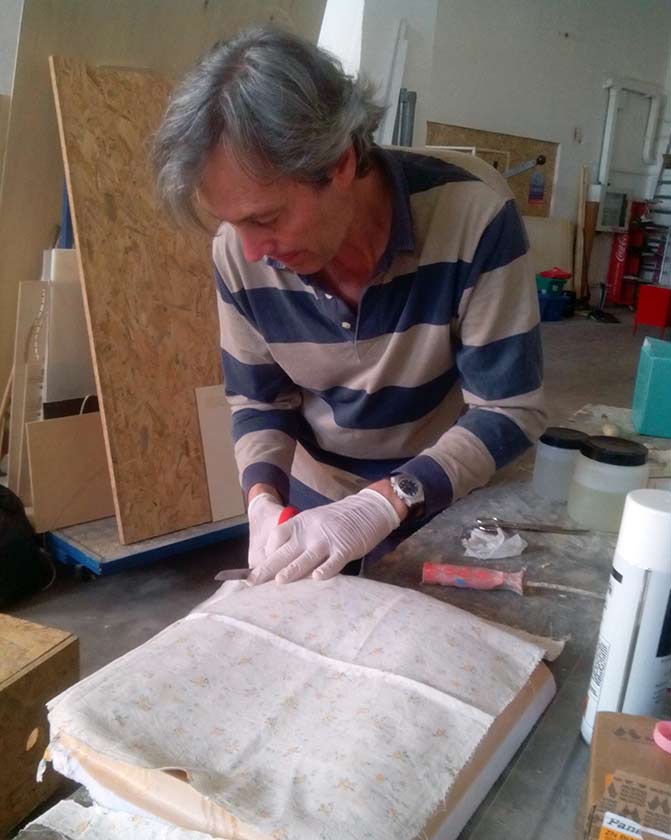

The composite was made of cotton plus fiberglass (we have had a lot of it for free). The epoxy was then mixed in 100:60 parts and applied at first on the mold then on each subsequent layer..
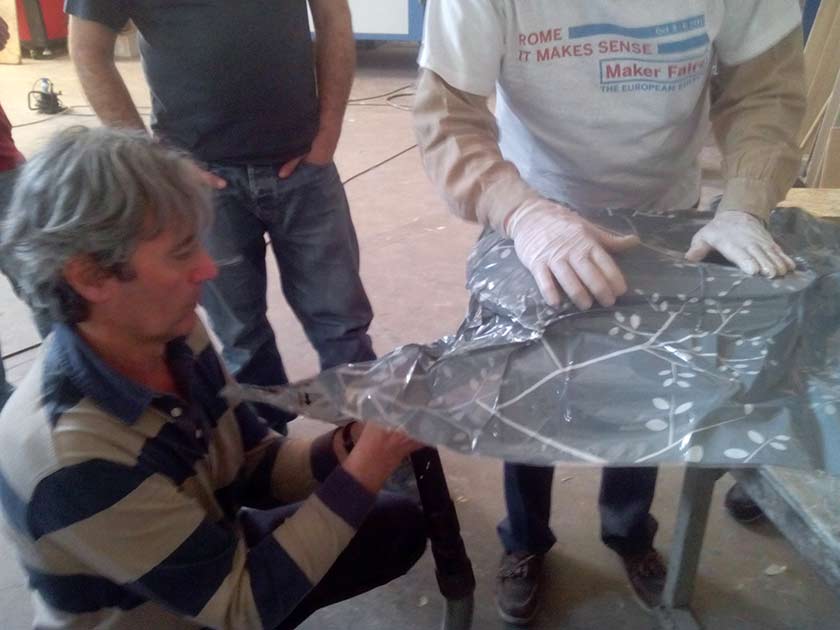
Cabinet storage vacuum bags were used and in addition a garbage bag filled with water was added... just to be Shure :-). After 24 hours the part was rigid and dry, but still extra time was needed to unmold it.
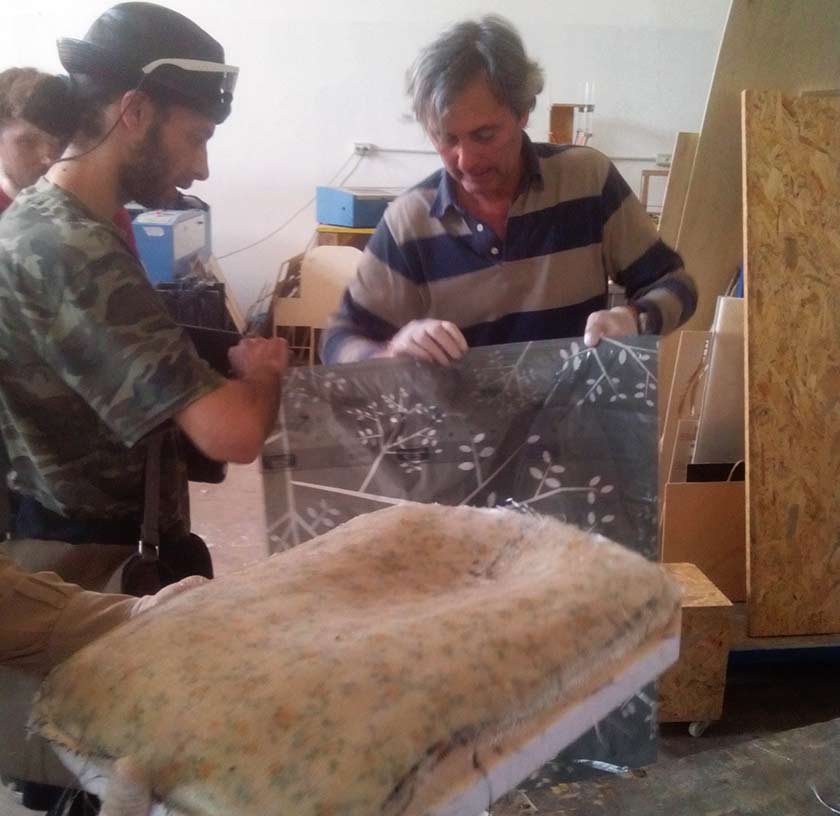
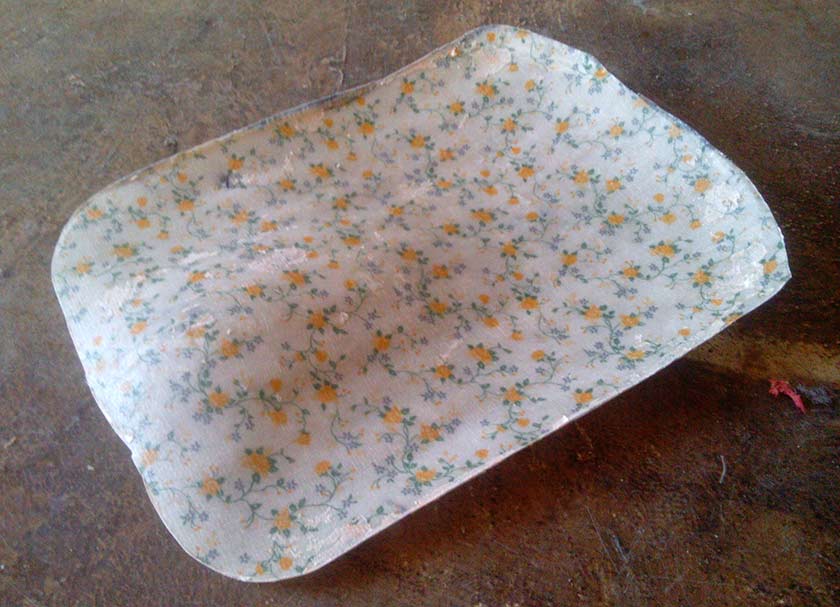
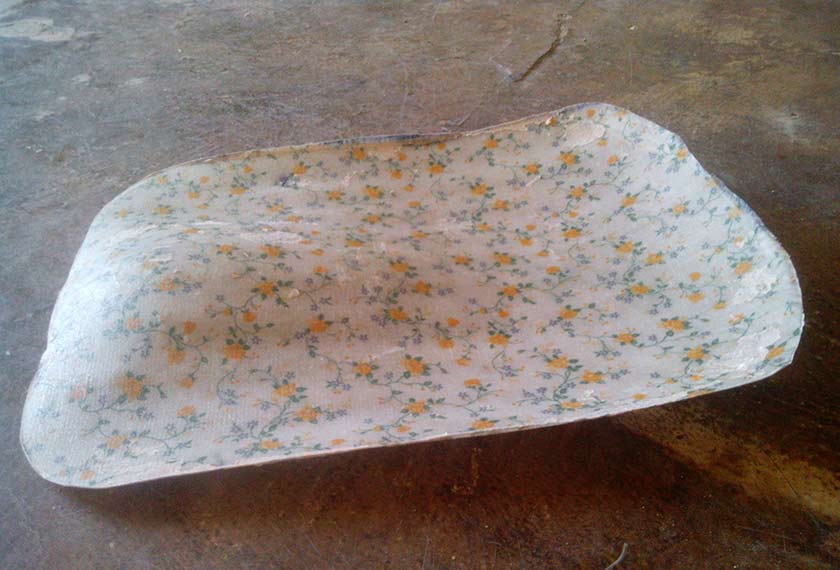
The result before demold, some small wrinkles on the surface due to the lack of realease film are visible, but these are on the back of the part. I had a practical demostration on the use of the release film and absorbing tissue from a professionist and I well understood the benefit on the use of release film and absorbing tissue

The unmold process did not work very well, the spray mold release wax was not effective, leaving the part in a water container helped, but the mold was destroyed. Anyway, the result suffers some design errors (it's a bit too thin I missed some slats in the Cad process), but it satisfy me as a first test. Soon I will make a second test correcting all the errors and ... I will use a much nicer fabric ! :-)