Skulina Hlif Kjartansdottir
How to make [almost] anything
Week 5: 3D Scanning and Printing
This week we will learn about additive versus subtractive processes – and how to do 3D scanning and printing. This is the agenda - we will be learning about printing constraints, printing processes and machines for printing. We will also be learning about the relevant software and different file formats and techniques for printing and scanning.
Week 5: Assignment
The assignment for this week is in two parts. We will design and 3D print a small object that could not be made subtractively and we will also 3D scan an object (and optionally print it).
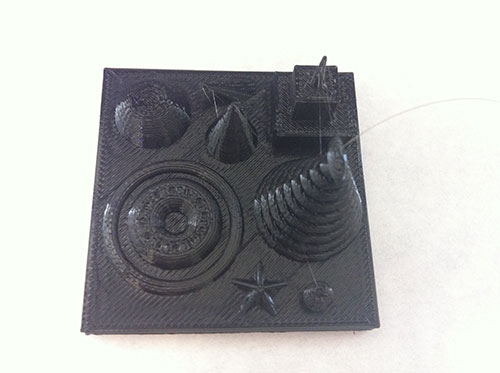
I started off on two modelling projects. The first was a sort of a test, modelling different shapes onto a platform that would hold them together. While modelling I was concerned about different shapes, angles and details, in order to explore the potential of the 3D printing process we have available.
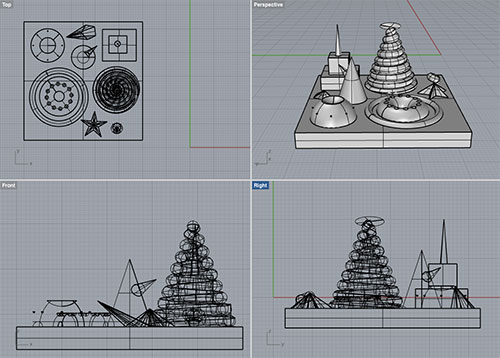
I decided to print this test without "supports" in order to be able to see if this would affect the strength and shape of the model. The result was good, as far as structures were concerned, but some small details were not easily visible on the dark surface, or did not print well. As this was quite a small example of modelling I found the printing to be reasonably successful. I thought of printing this test in the color white as well, to see if that made a difference.
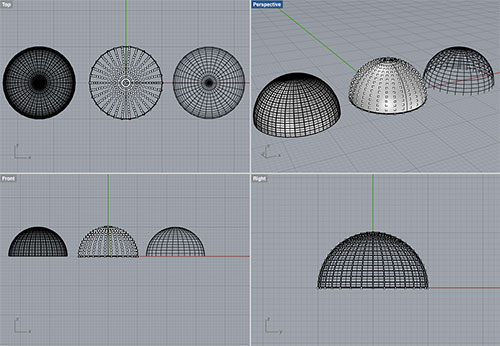
I experimented a bit with Rhino panelling tools, while modelling a half sphere, but could not complete the excercise - will need to continue that later.
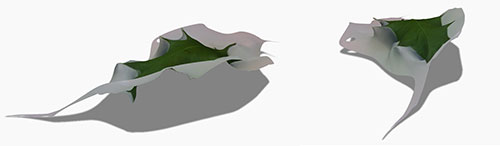
I managed to do two types of scanning procedures on a holly leaf:
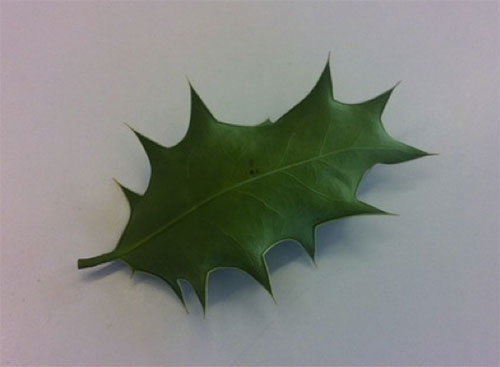
One was done by taking several photograps with the 123Dcatch app and the other was carried out on the Roland Modela machine. The scanning with the 123Dcatch was done with a readable background and the other with a plain white background. The scan with the more detailed, readable background resulted in a "fussy" unclear model, that would not lend itself easily to printing:

On the other hand, photographing the holly leaf on a white background did deliver a reasonably solid mesh that I could tidy up and work with:
I also attempted this other way of scanning with the Roland Modela machine, which is capable of a much more acurate scanning, delivering a lot of detail.
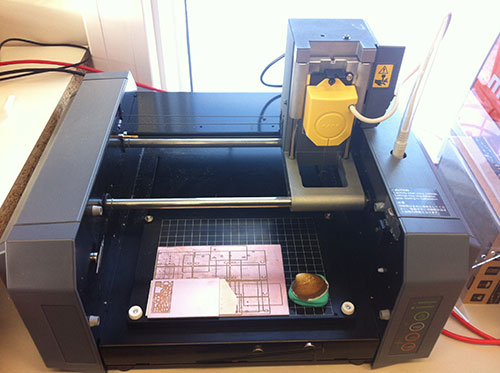
First, I had to change the chuck on the machine and to set the needle for detection of the object's surface to the right height and distance on the machine bed.
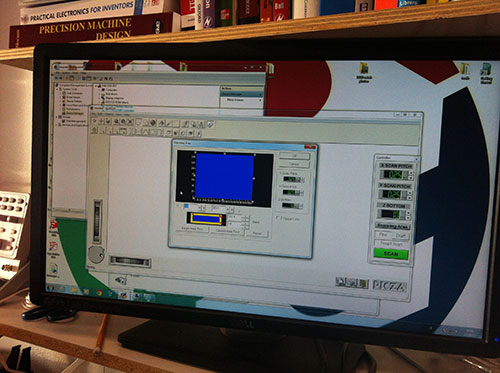
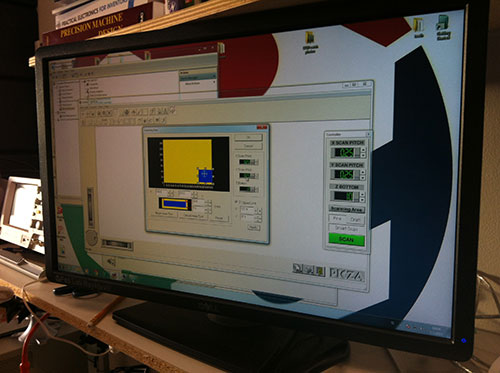
Then the area of scanning had to be decided and values entered in the program controlling the scanning.
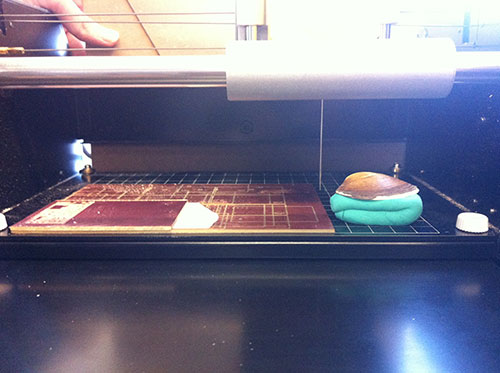
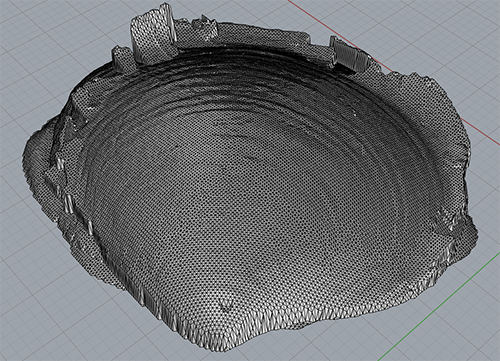
The scanning was left overnight as the operation takes some time and does manage to represent the object in considerable detail.
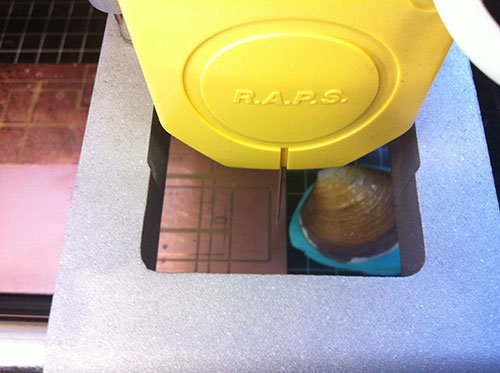
The scanning happens as the needle hovers over the object, runs up and down, in order to register the different height points of the surface of the shell.
The result of the scanning can be saved from the Dr. Picza program, as an .stl file and worked upon later ín a 3D CAD programme.
Plans for next Week
Get some more exercise with modelling and these techniques.
Notes
My Notes from this week.