Skulina Hlif Kjartansdottir
How to make [almost] anything
Week 3: Computer-Controlled Cutting
This week we will learn about the mechanical application of computer aided design. this is the list of tools and task we are being introduced to this week. We have a fablab wiki, that is useful for looking up techniques and methods. The Icelandic one has has an instruction page on making of press-fit designs.
Week 3: Assignment
The assignment for this week is to design, make, and document a press-fit construction kit. It might be about small units that can be put together in different ways.
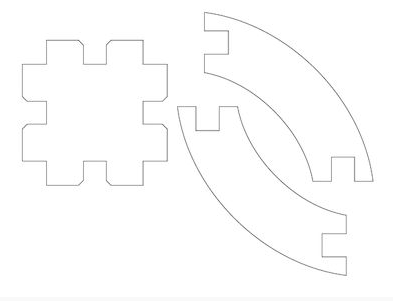
I started off by making a drawing in Inkscape of a piece that could slot together, just to check out the design process and do my first laser cutting:
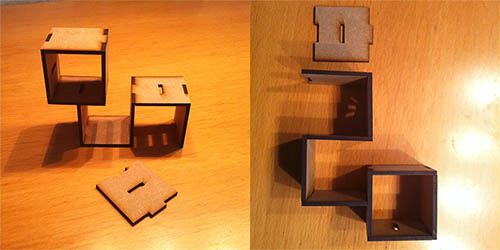
This was not a success, as the fit was not tight, so I did the exercise again. The reason was that I had not calculated correctly the effect of loss of material that the laser burns away. For the press-fit to work, an offset on 0.1 mm is recommended, so in Inkscape a stroke of 0.2 mm needs to be made, to allow for the cut. My second attempt resulted in pieces that could make the trailing boxes from MDF, that I wanted to create, and they press-fitted tightly. The settings used for the lasercutting were: speed 16, power 100, frequency 500. Through this process I learned to measure more accurately and to design a good fit in Inkscape. The trailing boxes look like this:
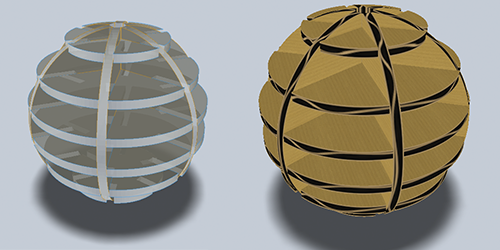
I was also looking at various tools, methods and projects, that are made with this way of working. I decided to experiment with a form of a sphere and a press-fit construction kit that I found on the internet, just to see if it would get me into the process and what I could learn from it:
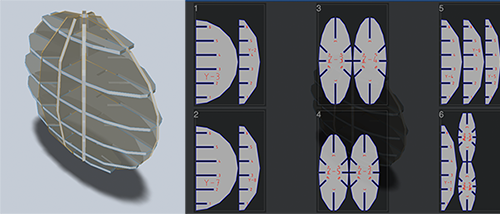
I created a sphere in Rhino and used the tool 123D Make to transform the shape into a slotted press-fit construction:
I then created an elipsoid in Rhino and used 123D Make to transform the shape into another slotted press-fit construction:
I downloaded other interesting programs, suchs as Stipplegen2 and Flatlab, that I would like to experiment with later. Stipplegen is a program that can generate stipple diagrams and “TSP path” art from images, using Adrian Secord’s algorithm of weighted Voronoi stippling. It’s a free tool for turning a photo into CNC-ready artwork. Flatlab is a software that helps you design and fabricate 3D objects. It works in such a way that you draw in 2D, but can also view the objects in 3D. These designs can be cut on a laser cutter and object are being created, using connected planar parts.
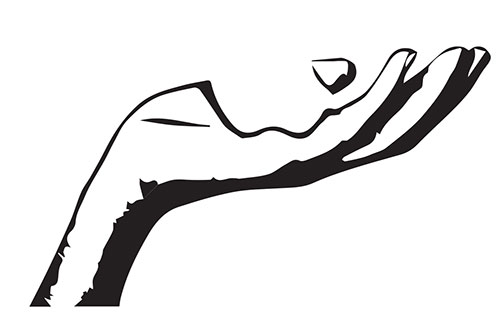
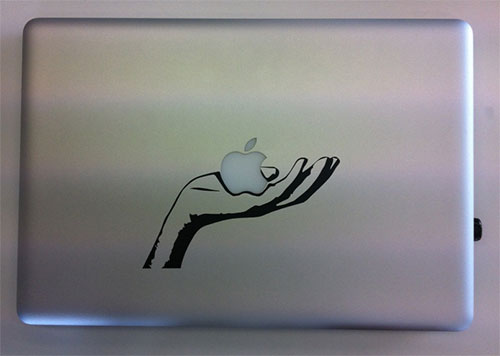
I also made a sticker, made from vynil. It was designed for my Mac from a photograph, in a form of a hand that could hold the apple on its lid:

The preparation of the drawing to print can be done in Photoshop and Illustrator, as well as in Inkscape. I worked on the image in Photoshop where it was resized and adjusted (Adjustment – Threshold) to create a black and white image. The image was tweaked a little further and saved as a .png. It was then imported into Illustrator, where I did a conversion on it, to change it into a vector drawing. Object – Image Trace – Make. Then the image was saved as a .pdf.
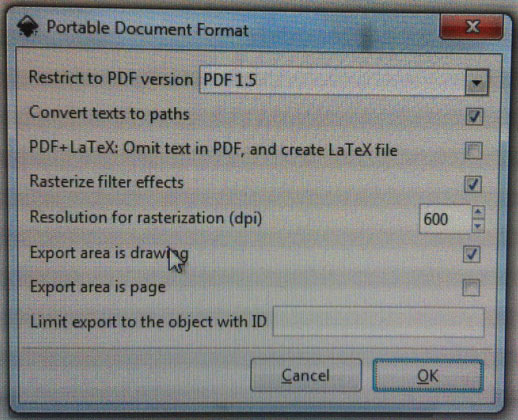
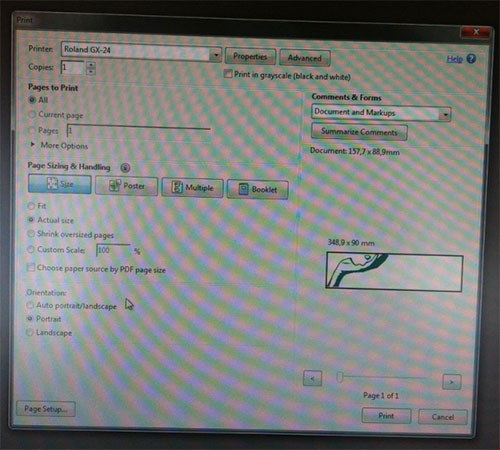
Before saving the .pdf it is wise to check that the vektor image does not have any outlines (Stroke) and just a fill for the areas that are to be cut out from the vynil sheet. The print settings were:
The cutting was done on the Roland CAMM-1 Servo machine (GX 24):
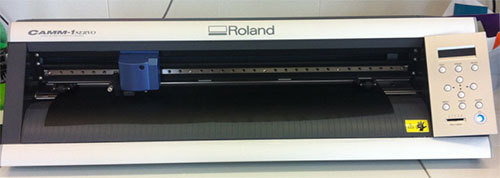
The vynil sheet had to be positioned under small weels, btween markers and over a lens that helped confirming the size of the vynil to cut and the cutting area. The weels can be moved with a lever at the back of the machine. On the control board the setting "edge" was chosen as I was printing on a piece of vynil, not a roll.

A printing command is given on the computer: File - Print - Roland GX24. In preferences - Get data from Machine. In properties the following settings were chosen:
The handling of the sticker and is described in the following images. The vynil which is not being used is peeled off and a sheet sandwiched on the reverse side in order to be able to transfer the sticer intact on the the surface it was intended.

The result looks like this:
Plans for next Week
More drawing and trying out Antimony.
Notes
My Notes from this week.