
Week 5 - 3D scanning and printing (Feb 25)
The brief for this weeks task was to design and 3D print a small object that could not be made subtractively and secondly to 3D scan an object and print it.
Subtractive manufactuing is the process of removing material to reveal the object, whereas additive manufacturing builds an object without removal of material. One of the advantages of additive manufacturing is objects can be made with internal features such as recesses or internal cavitites. Another advantage is less material can be used in manufacturing an object.
3D printing
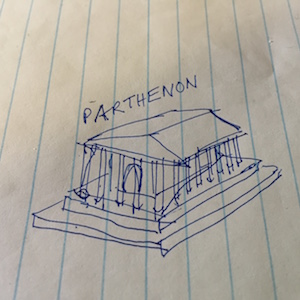
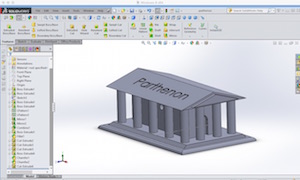
The 3D printing task gave another opportunity to use 3D design tools. I'm still getting used to using 3D design tools and have struggled to master basic concepts. My idea was to design a small object which could not be made subtractively by having internal features which could still be seen. I decided to make a simple model of the Parthenon temple in Athens using Solidworks. In the previous weeks I've found it difficult to convert an idea or sketch into the step by step process of designing a 3D part. I've learnt to start the process by drawing a 2D sketch and then manipulating it with a 3D feature to turn it into a 3D object.
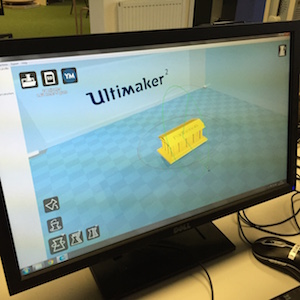
I started by sketching the model Parthenon and then replicated the desing using Solidworks. When I was happy with the design I saves as a STL file for 3D printing.

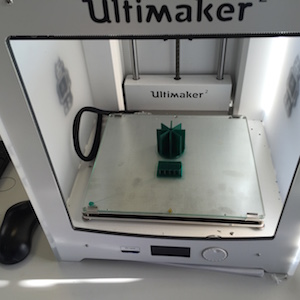
The 3D printer used to print my object was an Ultimaker 2. The printer uses Fused Deposition Modeling (FDM) to deposit a heated plastic filament on a heated glass plate. The material chosed to print was PLA polylactic acid as opposed to ABS plastic (Acrylonitrile Butadiene Styrene). PLA is a greener material than ABS being plant based rather than oil based. Also PLA prints at a lower melting point and higher speed than ABS, but isn't as robust and deforms with heat.
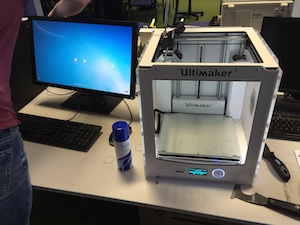
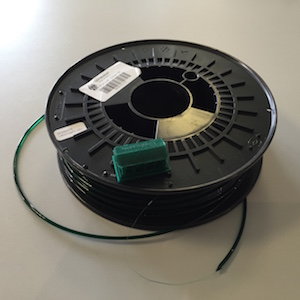
When loading new material into the 3D printer it is important to ensure the nozel is clean of previous material otherwise this can result in a lumpy filament and poor quality printing.
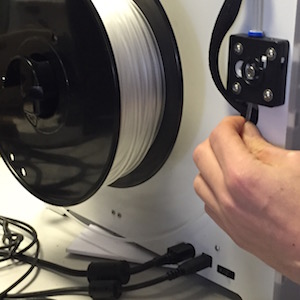
On starting the print job care is taken with the first filament depositions to ensure the material is flowing smoothly. Manual settings can be used to increase the speed of print if the print is going well.
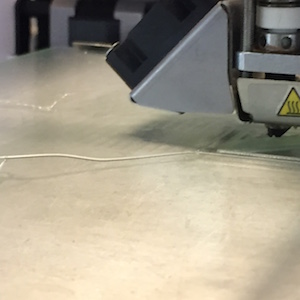
The first attempt to print the object was aborted as the initial depositions of the filament hadn't adheared too well to the bed. Spraying the glass bed with hairspray increases the adhesion of the bed, double sided tape or contact spray can also be used.
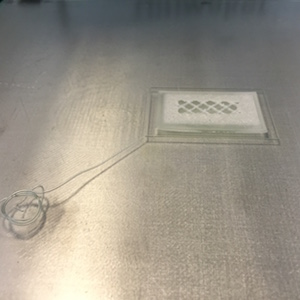
The object was reprinted with another object and left to print overnight. Both objects had printed succesfully.
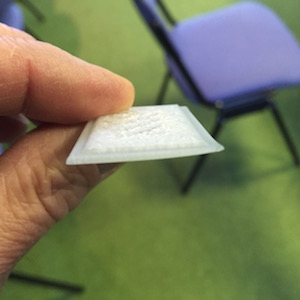
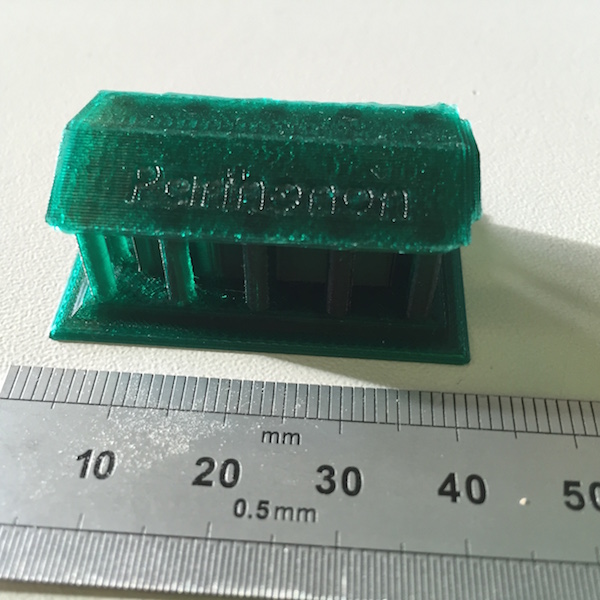
On closer inspection the edge of the Parthenon roof appeared jagged. This is perhaps not surprising as there was no support material underneath when printing a single layer. Apart from that other features printed well, including cuts, bosses, fillets, chamfers, lettering and holes. -
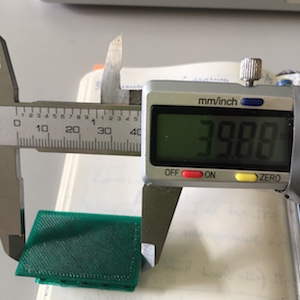
The base dimensions were measured to check for accuracy. In the design the base measured 40mm x 25mm. The object base measured 39.88mm x 24.90mm, 0.10 - 0.12 shrinkage. The difference could be due to a number of factors including accuracy of the belts or thermal shrinkage of the material
3D printing files for download
Solidworks file parthenon.SLDPRT
STL file parthenon.STL
3D scanning
The second part of the assignment was to look at 3D scanning an object. I decided to look at two scanning tools. 123D Catch and Kinect 3D Scanner. 123D catch is an iPhone app and comes as part of Autodesk 123D free 3D modelling software. The Kinect 3D Scanner uses the Xbox 360 Kinect sensor to scan objects and uses the Skanect software to convert them into digital format.
123D Catch
123D Catch is easy to use point and click app which uses the phone camera to capture images and then processes them in the cloud to produce a 3D model of the scanned object.
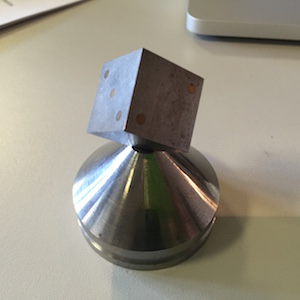
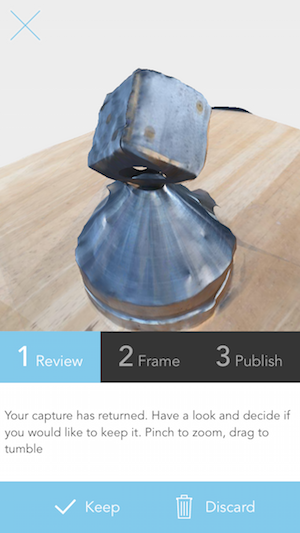
My first attempt at scanning a 3D object was a metal dice on base which I made 35 years ago in a machine shop during my engingeering practical experience. The scan and model from 123D Catch were disappointing as the surface of the model hand a number of holes and imperfections.
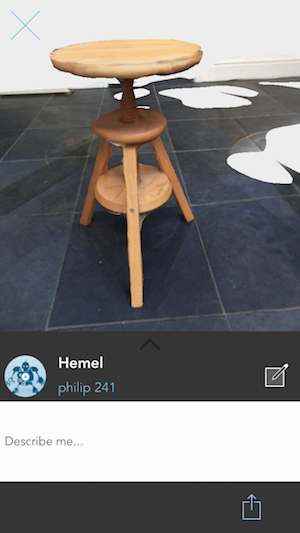
I then tried to scan a larger object - an adjustable stool with a less reflective surface. The scan produced a better result but still had gaps in the underside of the object, perhaps down to my technique rather than the software which combines the images.
123D Catch model Dice on base
123D Catch model Adjustable stool
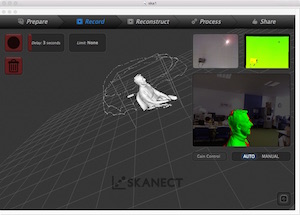
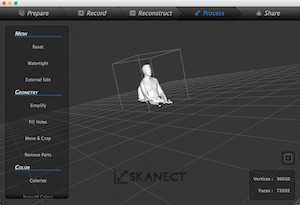
Kinect 3D Scanner/Skanect
The Kinect 3D Scanner allows larger object to be scanned, so among the students we took turns in scanning ourselves. By rotating slowly (one revolution a minute) in the office chair while noving the scanner up and down in the vertical plane for 2 or 3 revolutions the scanner made a successful render.

After rendering, the next step is to make the mesh watertight and filling any gaps in the model. The model was exported to an STL file format for 3D printing using differnt resolutions and resulted in different size meshes. I thought it would be interesting to print my head and shoulders model twice with different mesh sizes - 50,000 triangles and 99,000 triangles.
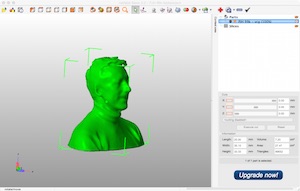
As the scan was lifesize I used netfabb Basic to scale the model down for the 3D printer.
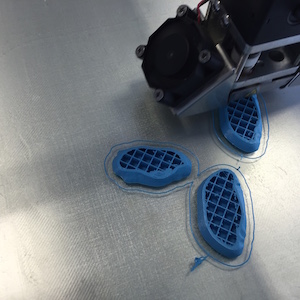
When printing the scans the internal structure is not solid, using cross hatchng for support.
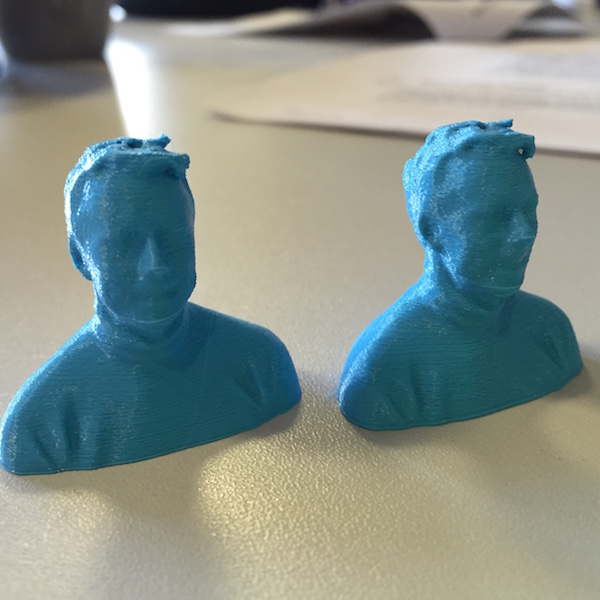
The 3D prints of the different resolution scans are shown below and look identical. This demonstrates that the printer settings have a bigger effect on the overall quality of the object than the size of the STL file. If more time was available it would have worthwhile to investigate further the relationship between file size and printer settings.
Files for download
The STL files from the 3D scanning experiments are 65Mb in total. Rather than overloading the archive they can be downloaded from from a Dropbox folder by clicking on the following link to download. The 3D printing design files are in the archive and can be downloaded below.
Design files for download
Solidworks parthenon.SLDPRT
parthenon.STL