
Week 13 - composites (Apr 22)
Assignment
This week's assignment is to design and make a 3D mould (~ft2) and produce a fibre composite part in it.
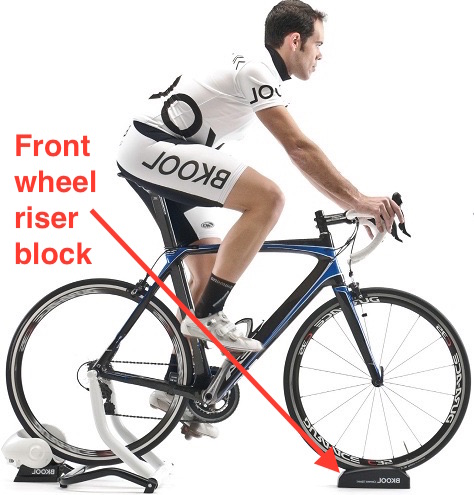
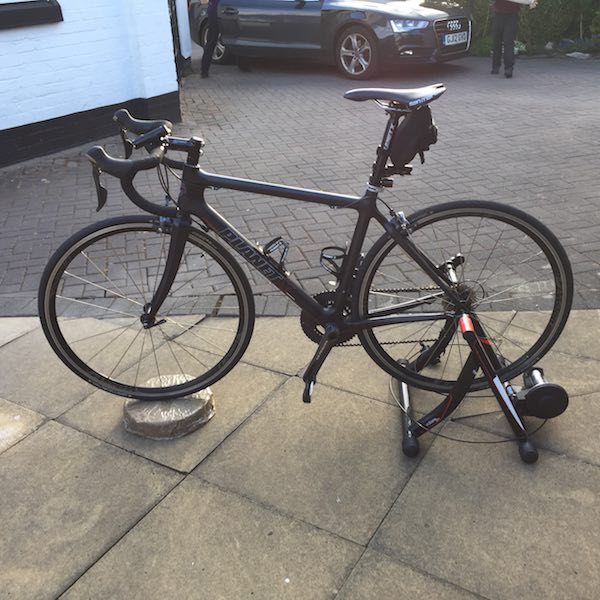
I was keen to make a composite part I could use after Fab Academy, so chose to make a front wheel riser block to use with my bike turbo trainer.
Test pieces
Before making individual composite parts we decided as a group to make some test pieces called coupons to work through the steps of the process.
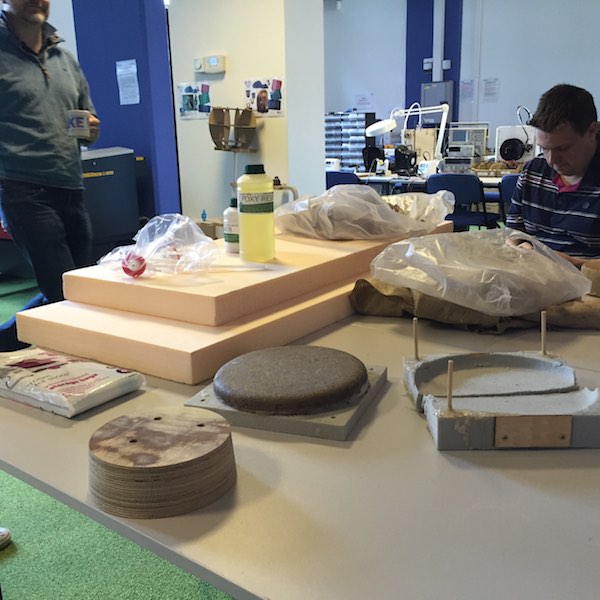
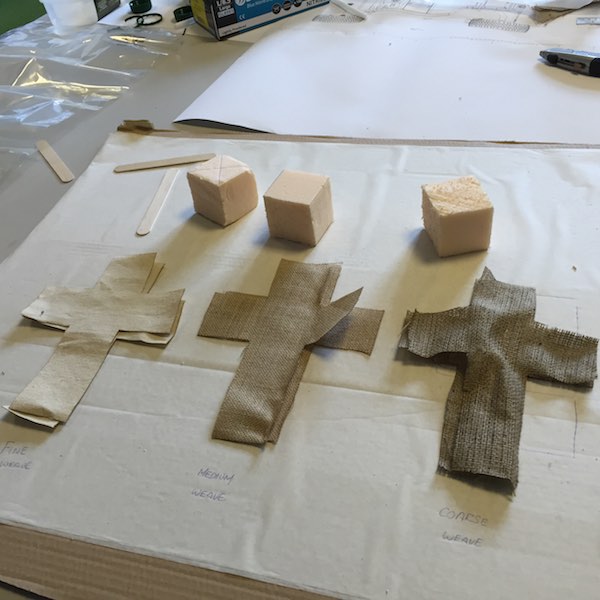
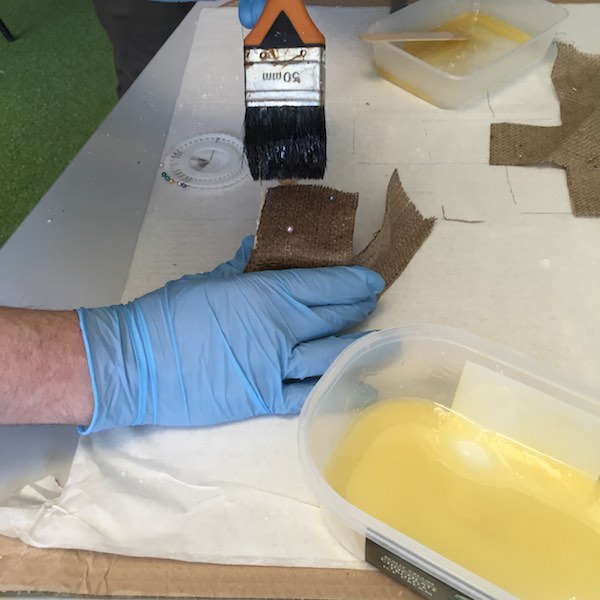
We made 60mm3 composite cubes as coupons, using the building insulation foam as a core and different fibre weaves (linen, fine jute and coarse jute). Jute is a vegetable fibre and when made into fabric is called burlap in the US and hessian in Europe. We tried different methods of applying the epoxy matrix (brushing, pre-pregnating) and applying compression (mechanical, vacuum bagging) to the fibre.
We followed the data sheet for Super Sap 100/1000 epoxy resin as the matrix for applying to the fibres.
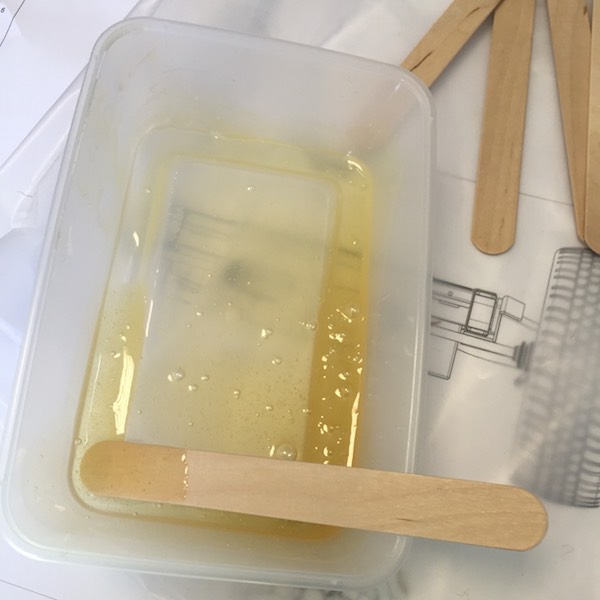
Brushing on the epoxy was straightforward as the mixed epoxy flowed well and had a comfortable working time of 20 or so minutes.
For the linen coupon, we used a vacuum bag to compress the fibre and resin. The vacuum bag worked well even with the small square part.
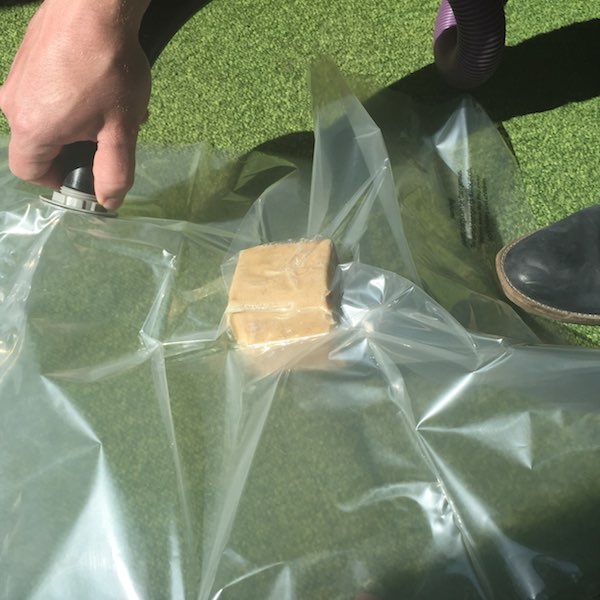
Making the coupons was a useful exercise to experience how messy the process was. The vacuum bagging worked well in compressing the fibre and matrix together, tacking the fibre to the core with pins didn't provide any compression. Out of the three materials, the coarse weave jute filled with the epoxy matrix the easiest.
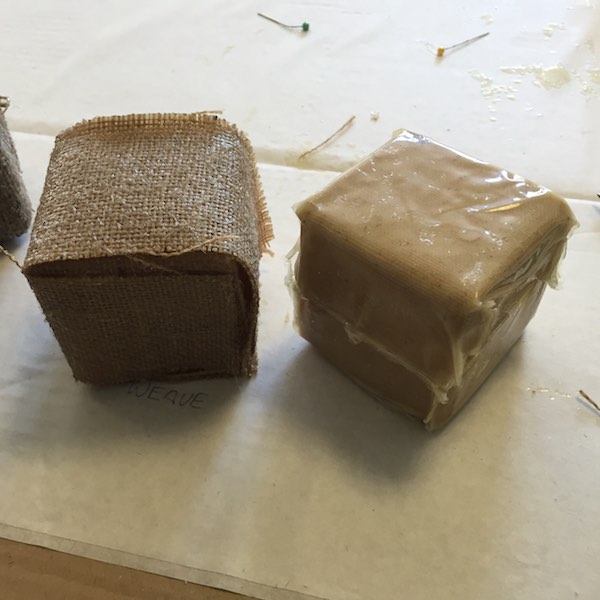
The coupons were strong, able to support an 80kg student, with the vacuum bagged one feeling the most rigid.
Design
After making a sketch and taking dimensions from my front wheel riser block I made a design in SolidWorks and saved a STL copy of the file for importing into Partworks 3D.
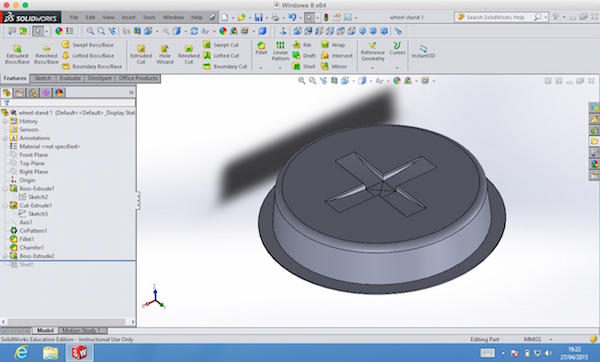
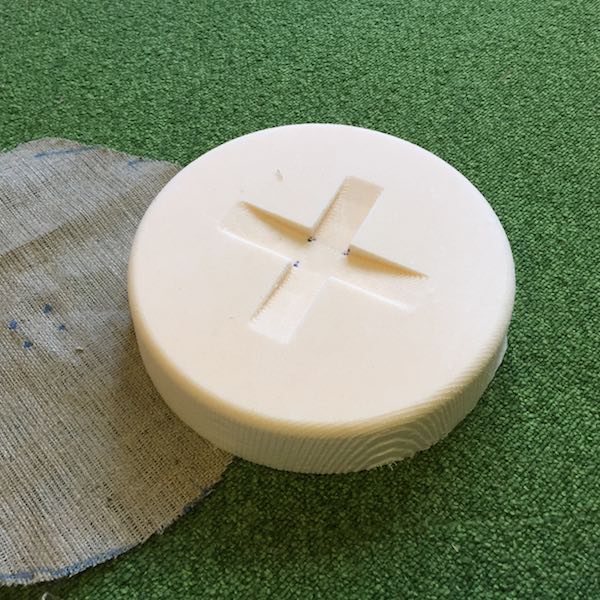
I decided on an open mould and to leave the building insulation foam encapsulated in the mould for additional strength.
Milling
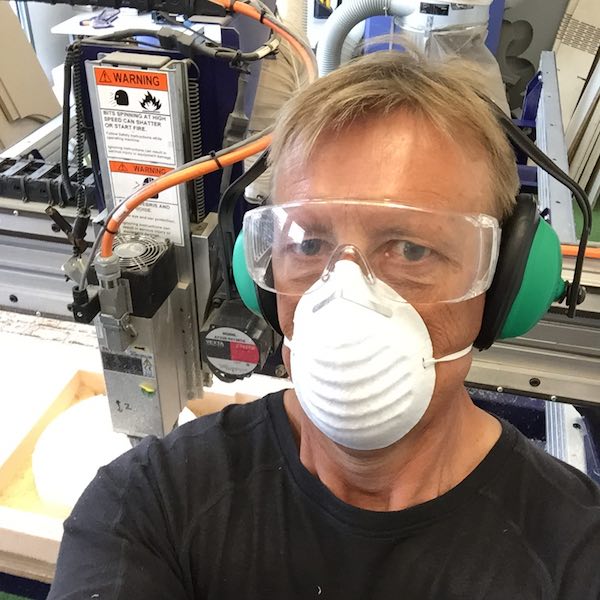
The one piece mould was milled out of building insulation foam on the Shopbot. The rigid building insulation milled quickly but produced large and small flakes of swarf when milled so appropriate safety was taken.
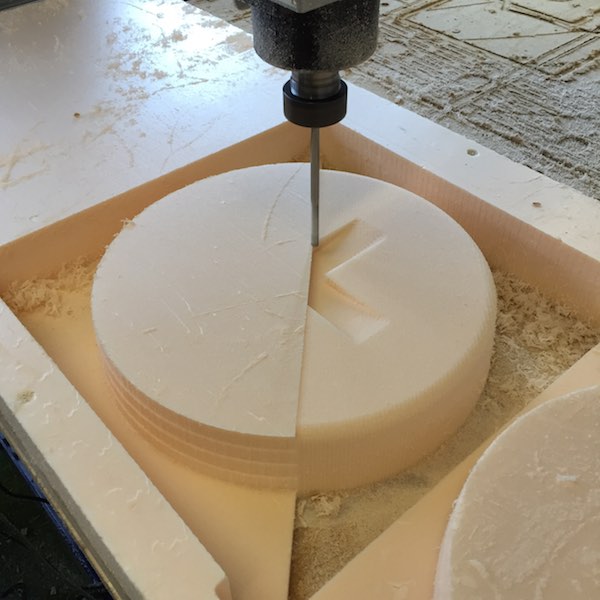
I used the same mill for both the roughing and finishing cut. Using a 1/4" up-cut end-mill with the following cutting parameters, feeds and speeds:
- Pass depth 0.5 inches
- Stepover 01.25 inches 50% roughing, 20% finishing
- Spindle speed 15000 rpm
- Feed rate 1.4 inches/sec
- Plunge rate 0.8 inches/sec
Laying composite
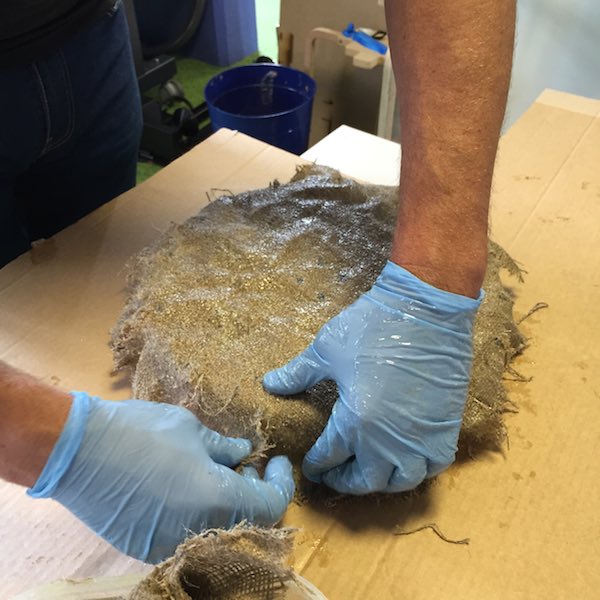
I made the composite using two layers of coarse jute cut out by hand as the blank was larger than the laser cutter bed and cut a number of darts into the material to help fit the mould. The two layers weighed 75g as a guide I made up 150g of Super Sap epoxy resin. Gloves were used when mixing and working with the epoxy resin to avoid skin irritation and also the room was well ventilated.
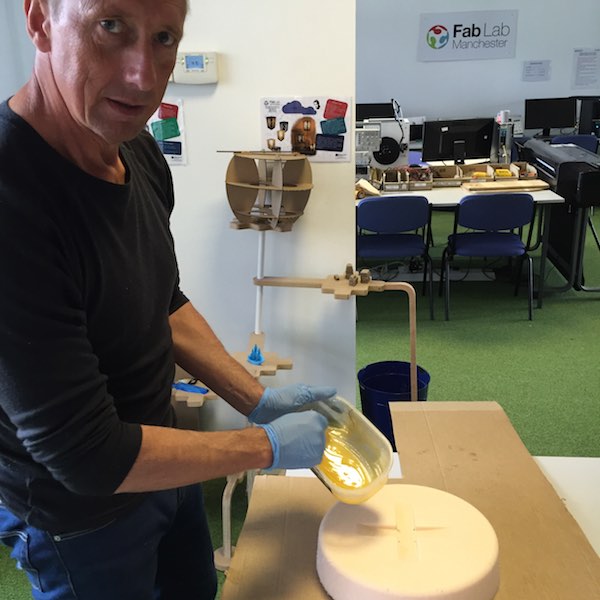
I made sure the fibres were fully impregnated with epoxy matrix before placing on the mould. As the foam was staying in situ I didn't put any mould release such as cling film or Vaseline.

On putting the impregnated fibre onto the mould, I realised I should have made the fiber oversize as to overlap the underside of the mould. This would have given a better edge finish on the underside.
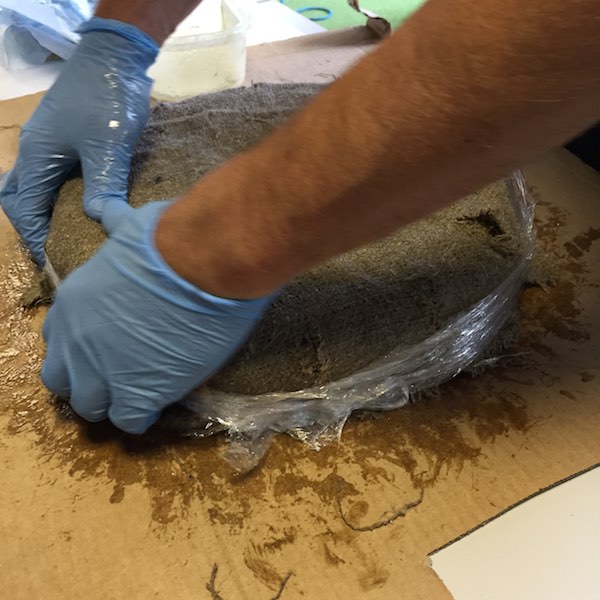
After laying the second fibre layer I wasn't happy with the side of the mould and decided to wrap cling film around the side of the mould. Also the cutouts in the top of the mould were indistinct.
The vacuum bagging process was straightforward and worked surprisingly well even without a bleeder and breather layer.
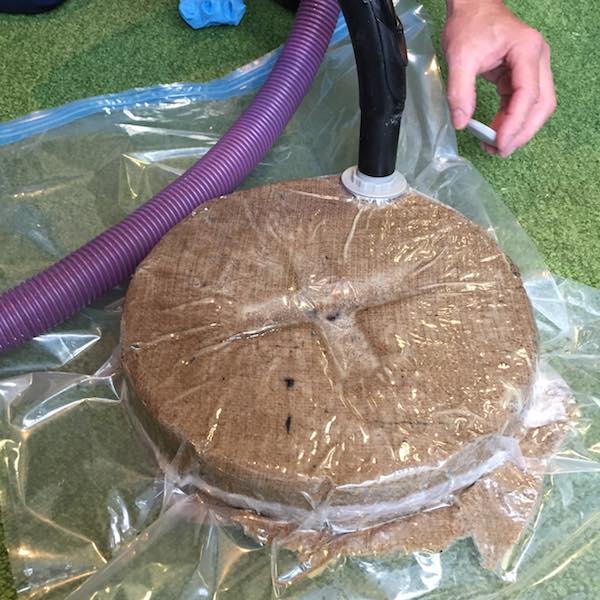
I left the composite to cure overnight in the vacuum bag.
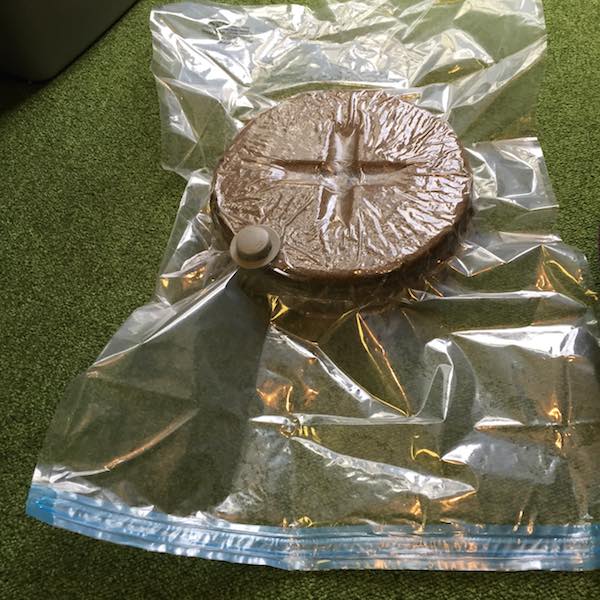
The cured part came out of the vacuum bag easily and was strong enough to stand and jump upon.
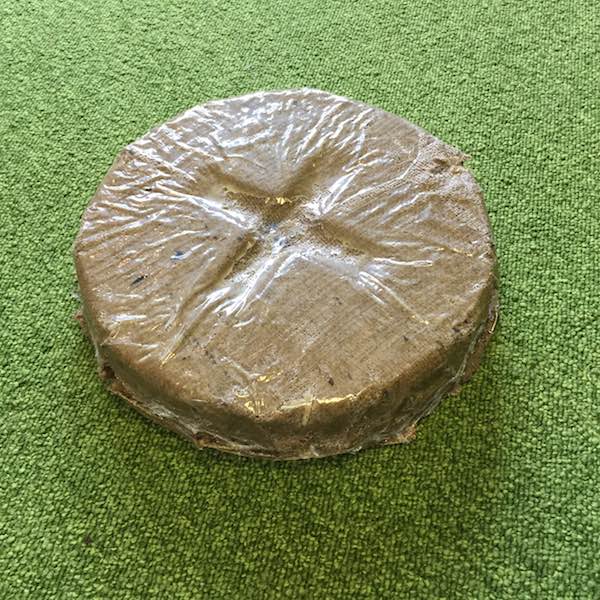
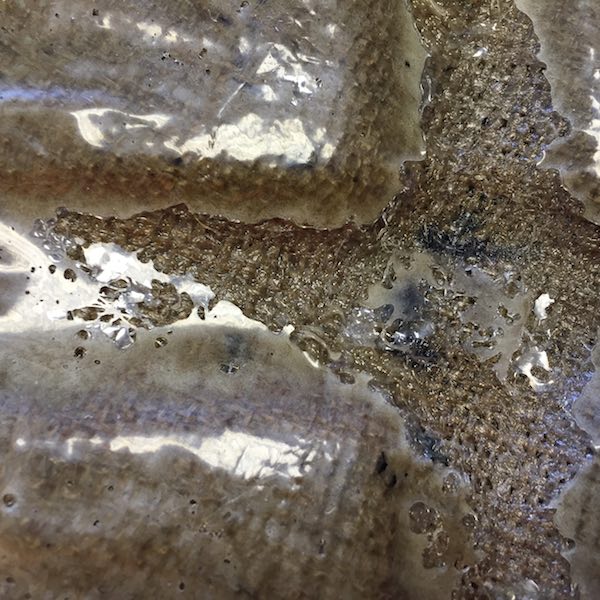
On closer examination the matrix hadn't flowed into the cutout parts on the top of the mould although the vacuum had pulled the fibre into the cutout. I'm not sure if this showed excess epoxy matrix on the flat surfaces and an adequate amount on the cutouts or insufficient matrix in the cutouts?
Here's the front wheel riser block with bike and turbo trainer.
Lessons learnt
Learning about composites was a messy experience, but showed how larger strong structures could be made which would be difficult to achieve by milling or 3D printing.
- If using an encapsulated open mould make the fibre material larger to overlap the mould.
- Take into account composite thickness when making cutouts and bend radius
- Cutting darts in the jute material can acuse the material to loose shape as the warp or weft and cut
- Vacuum bagging works well without using a bleeder or breather layer.
Downloadable design and program files
Solidworks wheel block.SLDPRT
wheel block.STL
Shopbot Roughing Toolpath.sbp
Shopbot Finishing Toolpath.sbp