


W5 ¦ 3D Scanning and Printing
Assignment for week 5
- design and 3D print an object (small, few cm) that could not be made subtractively
- 3D scan an object (and optionally print it)
- Link to this week’s home work page
3D printing
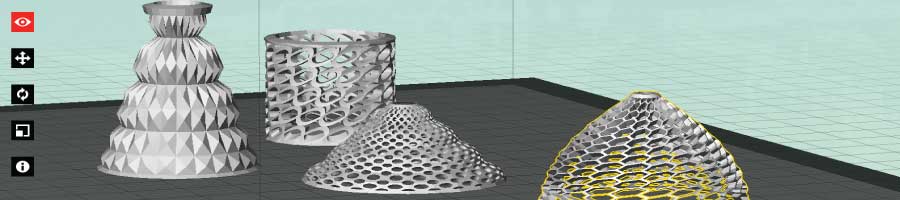
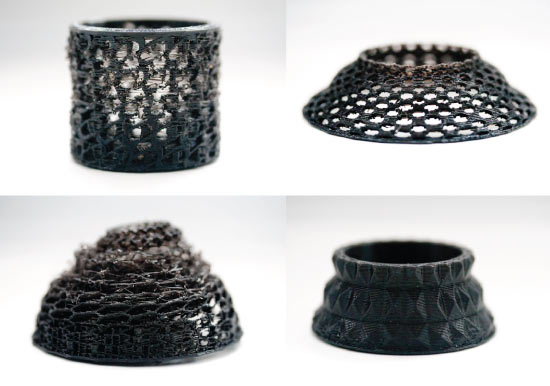
I started with a quick and dirty test for the printer one late night when everyone had gone home. I used the shapeshifter tool from autodesk. I made few shapes with the aim to test the limits of the 3D printers we have in the Lab. We have two printers. MakerBot replicator 2 and 2x.
For this test I used the Replicator 2 and PLA plastic. I was curious to see how thin the design could be and how much detail could be expected. Of course the models came out in all sorts of condition but I learned lot from them. E.g. when making test do not put all your eggs in the same basket. One af the pieces failed and took the rest down with it, so the experement failed. The finer holy textures where a bit difficult as the printer would fill up the patttern, but if the angle was right it would work fine.
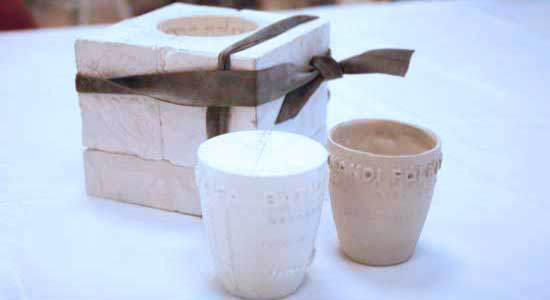
For me the possibility of a rapid prototyping in a 3D printer is extremely exciting possibility. I teach mold making at the Arts Academy and I can see the benefits that a 3D printer can bring to my work. I work a lot both with ceramics and silver. When making the models for for ceramics it can take many days if the design is intricate. Certain shapes are impossible or impractical to carve into plaster or make by hand in other materials. Even though the printer can take hours to print it is still a very rapid process compared e.g. weeks carving a geometrical design.
So with this in mind I really wanted to see the limits of the printer and work on a design that I could not make by hand.
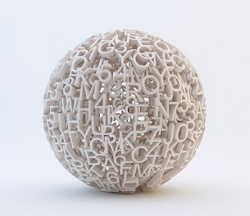
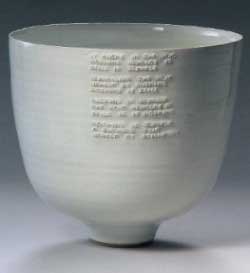
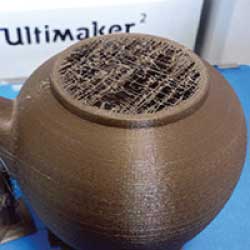
I choose to work with small lettering since that is very difficult to carve by hand on a plaster model. As a test piece I made a cup shaped object in Rhino and then projected all kinds of text on or into the surface, testing different things. I tried different fonts, different sizes and both embossed and engraved, tapered and untapered.
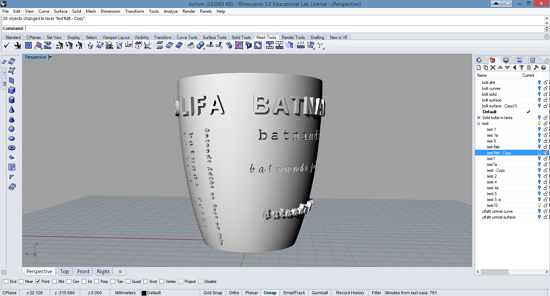
Since mold making and then casting is the desired end result I was also interested in making a test piece I could later take a test mold from. I wanted to see how detailed I could print the lettering and how different depth of engraving would affect the complexity of the mold itself. For further info on that process see week 9.
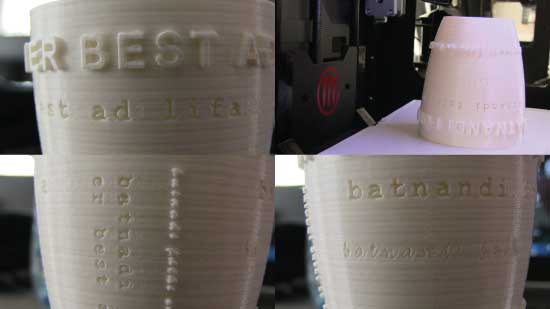
It took few attempts to get the print going. The Replicator 2x kept playing up, the ABS plastic would not stick to the base. So when there was an overnight opening for the Replicator 2, I used that opportunity and printed in PLA plastic again. I found out that the engraved text was not optimal since the printer would make “supports” on the inside of the form and almost fill the inner surface up even no supports were selected. That was hard to clean up. The bigger lettering had no problem and came out well.
3D scanning
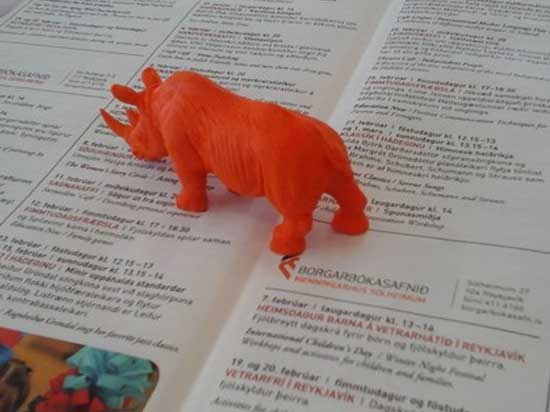
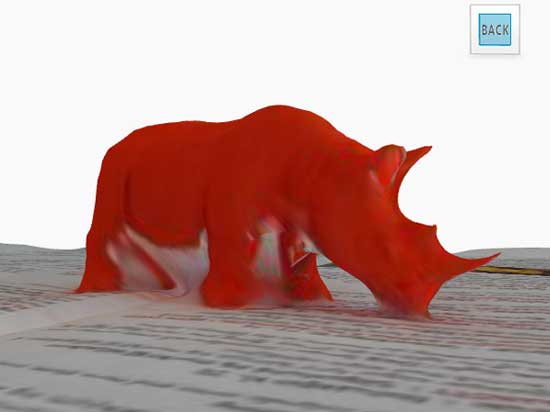
I began the scanning trial by checking out the 123D catch. I laid the object to be scanned on a piece of newspaper. The object I had chosen was an orange hippo. I knew from the start that it was not an optimal object since it was single color. The scanning worked reasonably well but it was extremely slow to process.
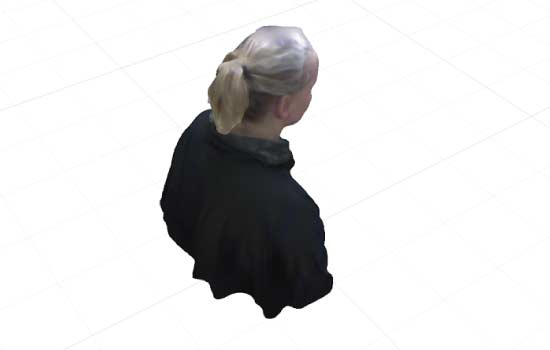
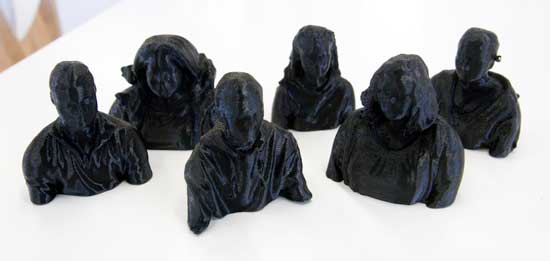
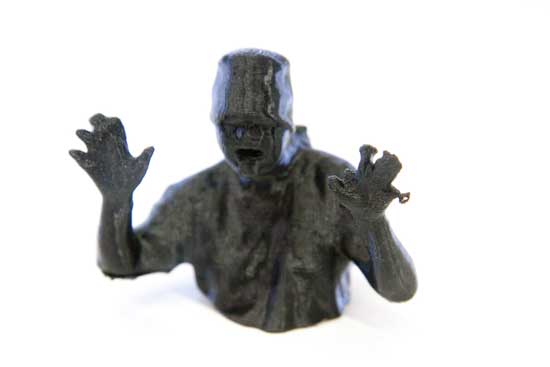
For the second 3D scanning tial I tried the Reconstruct me software and a XBox camera to take a selfy. Then I scaned few of my stutents and printed them out.