


W16 -17 ¦ Mechanical design, Machine design
Assignment for weeks 16 -17
- Group assignment:
- Make a machine
- Including the end effector
- Build the passive parts and operate it manually
- Automate your machine
- Document the group project and your individual contribution
- Link to this week’s homeworkpages: Mechanical Design and Machine Design
Getting started
One of the reasons for me to join Fab Academy was the lure of making my own machines. I simply carry within so many machines waiting to see this world. Not that I have the necessary mechanical background needed to make them materialize. Some, I know, are not that complicated and others are… let's say more lofty…. I dream of making my own throwing bench, plaster lathe, printer press, a silkscreen light bench that folds flat when in storages, a ceramic printer and I have been researching how to revert my jeep into electric car….
So It was finally Machine week! It is a group project and it should span two weeks. The project lands smack in the middle of the final project preparations. We have in the last few weeks been encouraged to work towards our final project and lasts week's project was all about the preparation necessary for the final project. Of course this has set us all the right frame of mind for the final project, all hyped up to go ahead. So it was real hard to step back and trap down back to an unrelated group project regardless of how exciting it was. And I am talking exiting like the whole reason why I am here! 21 days to go, and we have now 14 days to make a machine...and 7 to make a final project. The moral was not exactly high, even more so since our instructor and guru left us for India. Well, Iceland versus India…. not a tough call if your arse has been freezing here the hole winter.
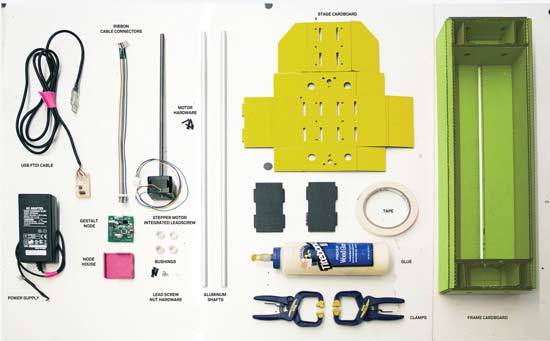 All the groups got assigned a prefabricated packages with motors, paper cut recipies, motor controlling boards and the Gestalt software package. Now it was time to make a machine. We had a good lecture and introduction into what lay ahead. But afterwards I found myself terribly lost, more than usual. It may have something to do with the fact that when people get so emerged with their project they often have difficulties describing it in layman's terms, finding it impossible to start at the beginning and stripping it down to the bare basics, or it may be the simple fact that I simply did not get any of it.
So I googled Gestalt and actually found an article that explained well what it was all about. If interested you can read it here.
This site: How to make almost anything also helped the understanding. Note that on that page there are links to the documentation pages these groups did.
Programming
The Icelandic Fab Academy student group consists of 5 people, none with programming background. So moving into yet another programming languages, this time Python, was a bit daunting. Learn how to program in the last 16 weeks has been non trivial, and then have two weeks to learn Python, barely knowing the ups and downs in general of programming… well chin up and boots on, let's wade through this....
Programming somehow landed in my lap. Two of us, me and Madda tried to work our way through this. I started by whatching a 2 ½ hour course in Lynda.com : Up and Running with Python, that helped me getting some understanding of the Python structure.
- We installed the Gestalt software package. Step one was to to download it from GitHub
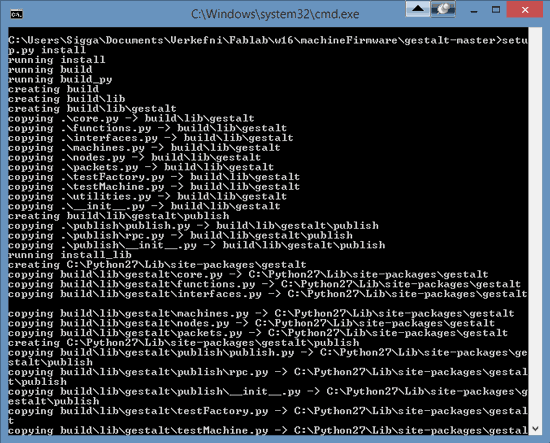
- Me and Madda both work on Windows, me on 8.1 and Madda on 7. After unzipping I dragged the packaged into its own folder. From there I right/Shift mouse-clicked on the folder name and opted for “open a command window here”. In the command window I typed:
That installed the package. (I already had Python 2.7 and serial.py installed. See week 10 for further info on that)setup.py install - So in the Gestalt folder there are codes for example machines. Go to :
\gestalt-master\examples\machines\htmaa
and locate a file called:single_node.py
Make sure you change the serial port identy in the file, it’ll be something like COM3 instead of the /dev/ttyUSB0 that is used for Linux.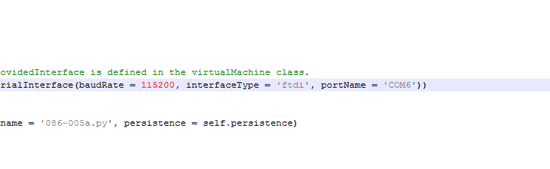
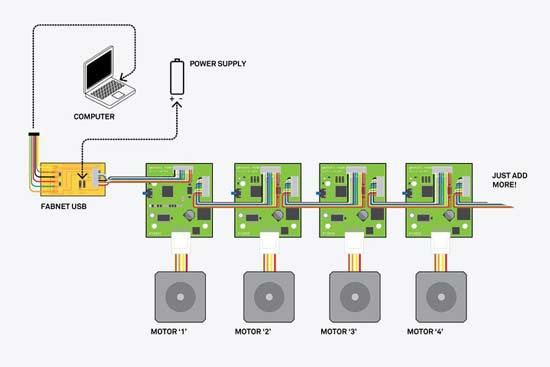
- Next step is to connect everything together.
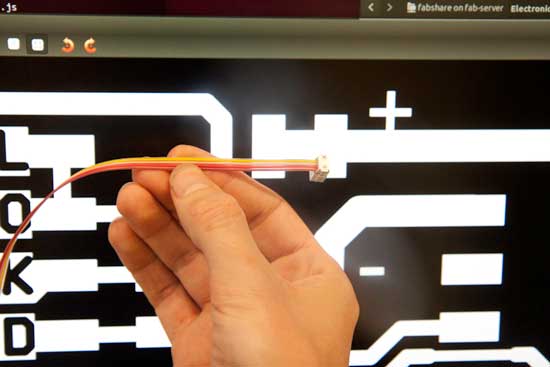
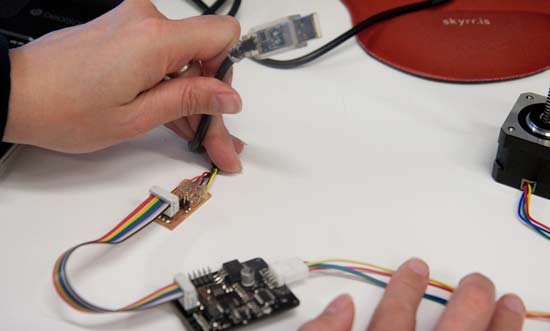
- We made the new board that Bas designed to connect from the computer to the boards. We looked at the board to find out how to wire the cable.
- After wiring the motor controlling board up as instructed we managed to make one motor run. Make sure you connected the power last. To run the file open up a command window where the file is. Then simply type the file name.
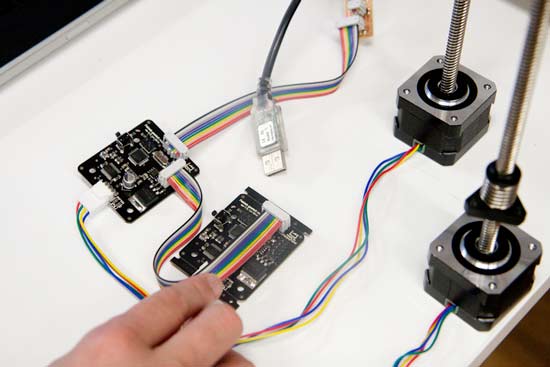
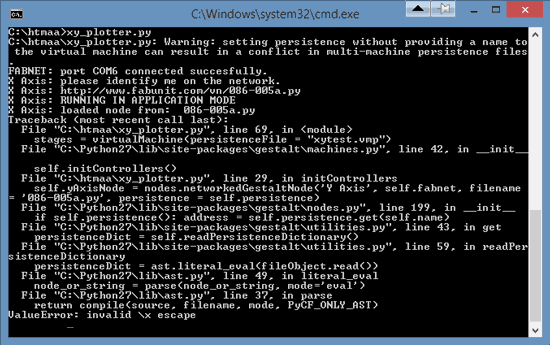
- But when we tried to hook up two boards with two motors and running the file called:
xy_plotter.py
We got nowhere, and I mean nowhere….. The program writes a temp file where it keeps the identity of the motors: "test.vmp", make sure to rename it in the code or delete it when making new attempts. We tried on both the Windows machines without any luck.
Our instructor cracked this problem later on in week 19. The problem lies with the name of the program. It is called xy_plotter.py and windows makes backwards slash in front of the file name and apparently \x means something completely diffrent to the windows system. By changing the file name it was possible to have it running on Windows. - Next step was to move to the Ubuntu computer in the lab. There we got everything to work, both single_node.py and xy_plotter.py without any troubles. Since neither of us are used to working in Ubuntu it was a bit like time travel to back the eighties. Word-Perfect and Dos seem in again. So sudo this or that and cd me and dirmk and usr that…. is a whole nother chapter. I recommend this article if you are new to ubuntu.
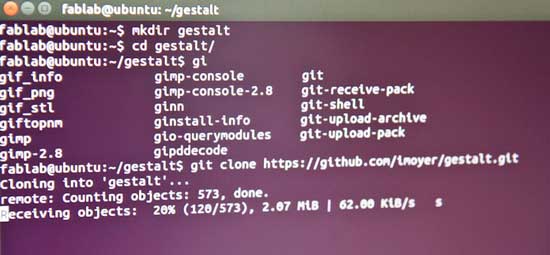
- To make a new directory called gestalt type:
mkdir gestalt
Next to go into that folder type:cd gestalt
When in there we use the git clone command to clone the Gestalt software package straight from GitHub.git clone https://github.com/imoyer/gestalt
We need to change the serialPort ID in the test file. To open the file in an editor type:~/gestalt/exaples/machines/htmaa$ gedit xy_plotter.py
Change the serial port in the file if neseccary:
- Since the example files we so deep we moved them up few levels. To run the example file type:
- We had difficulties making our 3 axes version to work but we managed in the end. Here is our file: xyz_plotter.py

python xy_plotter.py

Putting the machine together
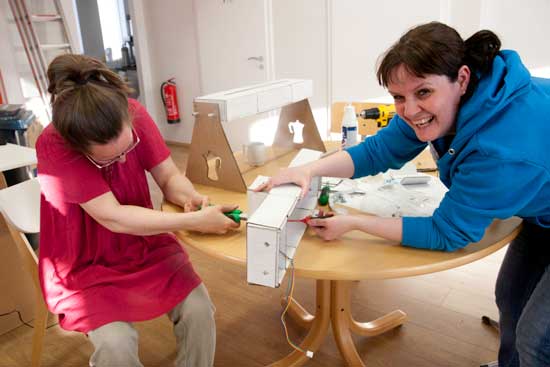
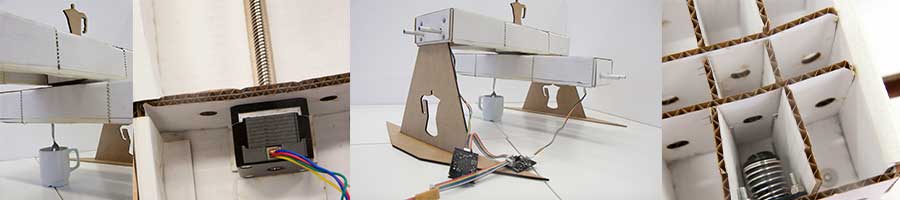
- The first step for the group was to decide on what kind of machine we wanted to make. What started as a joke became our goal for the machine weeks: to make a coffee stirring machine.
- Two people in our group prepared and laser cut the paper boxes. Then four of us put it together. It became my job to figure out how to construct the two axes together and I drew up the legs for the Coffee Stirrer in inkscape.
- To make the machine stir the spoon we simply drew up a circle and found out the coordinates. We then replaced the coordinates in the example file with our new ones and Voila - The machine stirs.
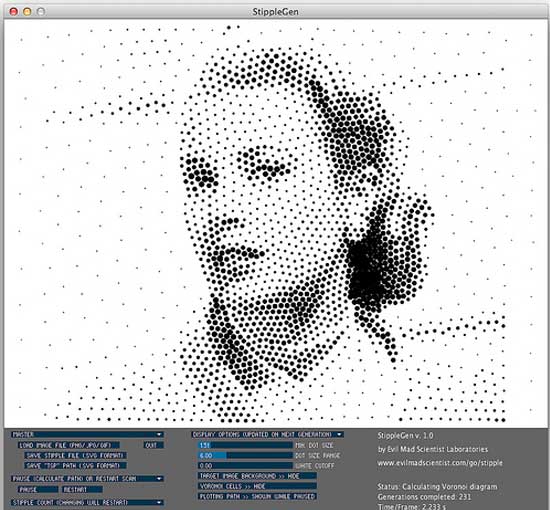
- As extras we made an honest attempt to make the machine draw a cup of coffee. We downloaded this really interesting software called StippleGen that makes coordinates from images. from Evil Mad Scientist.
- The machine boxes were now going a bit bonkers. The motors are real heavy and they pull on the boxes so to have the pen write was really difficult. Either the pen was to high or too squashed and got stuck.
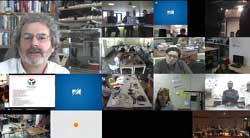
- Here is a video showing the group at work. And here is a link to the group's documentation page.