
Molding and casting
Designing for molding and casting
I am a chocolate lover so this week I will make a chocolate mold, so first step is to know very well how is the logic of molds.
I am going to work with the MDX - 20 Roland Modela which is a CNC Machine specialized for small scale objects.
I will use a 90mm x 90mm x 30mm molding wax and alimentary silicone.
There are two ways to do chocolate molds:

I want to make something flat with one face, so the CNC is going to mill the positive of the design, then you have to pour the alimentary silicon to make the negative and you have your mold ready. If you want to make a whole body chocolate your object has to be divided in two faces and leave connection joints to then be assembly and fill it with chocolate.
If your wax has 90mm x 90mm x 30mm your working area is less, first check the dimension with a caliber; so my new dimension is 88mm x 88mm x 29mm. Think that you are making a mold so you need a container that means you need walls, the wax I am using is strong enough to leave 3.5mm wall. Then think you need walls for the silicone so that is at least 5mm.
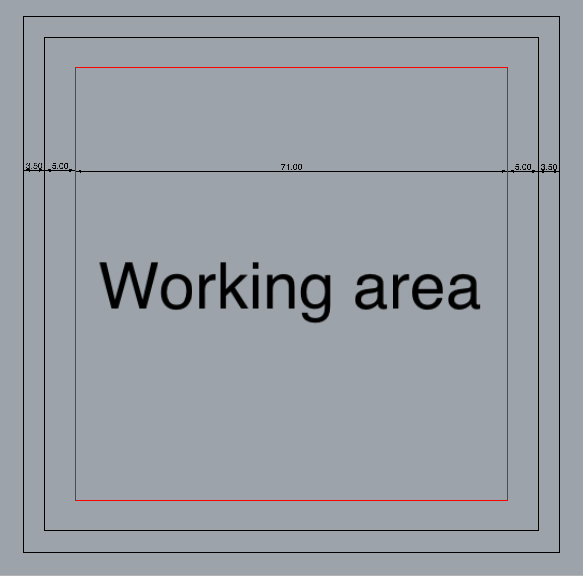
Finally I have 77.5mm x 77.5mm x 29mm of working area. The next thing to think about is that you have to mill and the bits to do it has thickness; so think on your shapes.
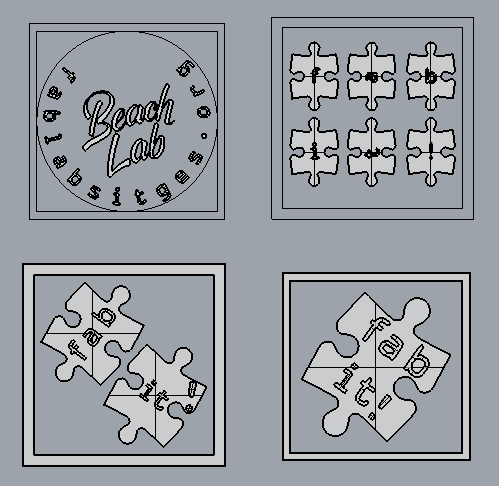
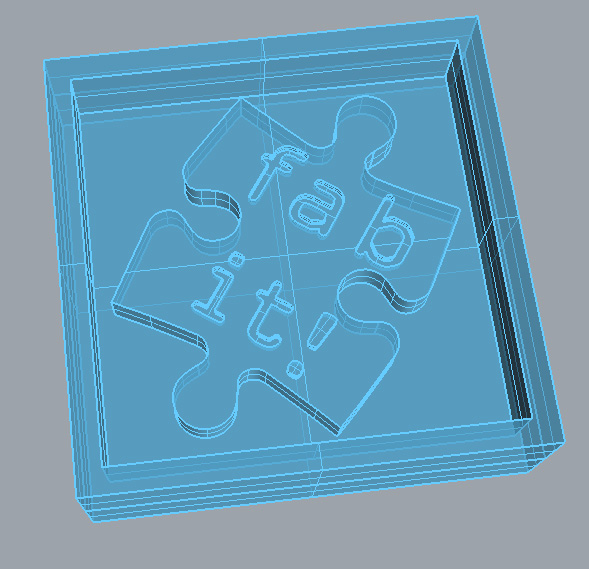
I did some designs using Rhino but I realized that some details were not going to be done by the machine, so I decided to make my idea simpler and see the results. I designed all the object to be milled with 1.6 diameter bit so like this I would milled everything faster in rough using only one bit.
Milling
I exported it as a .stl and I opened it with Netfabb Ultimaker to place it correctly in x:0, y:0, z:0 then I open Fab Modules using a .stl mesh to be processed with Roland Modela.
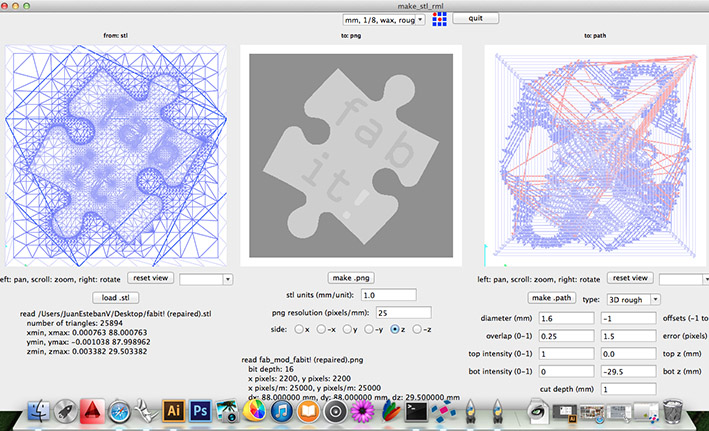
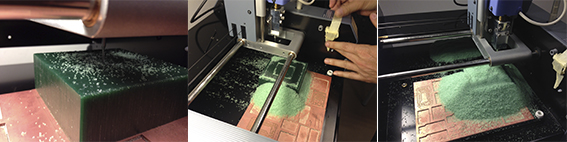
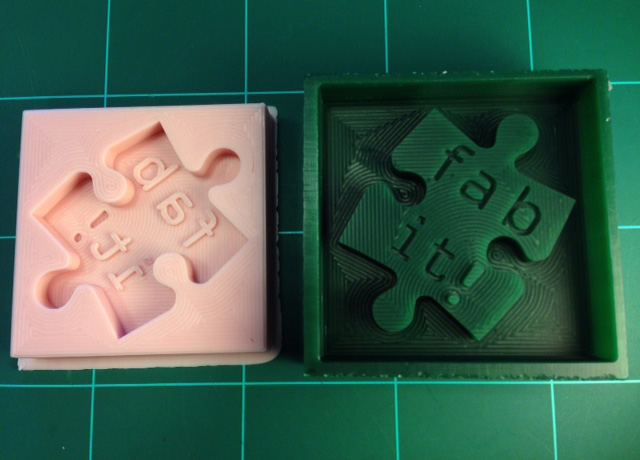
I load the .stl file and made the .png, then I chose 1/8 wax rough and change the bit diameter to 1.6 and finally made the path. Next step was to fix the wax on the machine with glued tape and look for the 0, 0 point on the wax which was 107mm x 65mm. I left the speed and jog by default 20 and 1. I sent it to the machine and this is the result.
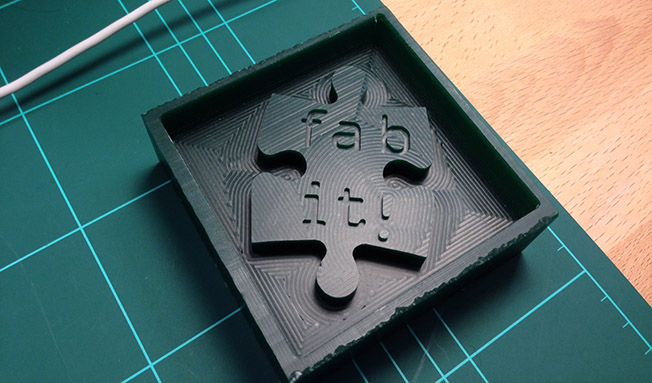
The work and resolution using only the 1.6 diameter bit is very good, I am so happy with the texture that left on the wax, I hope the silicon get it as well for my chocolates.
Food safe silicon mold
So now is the time to do the negative mold for my chocolates, we are going to use a food safe silicon.
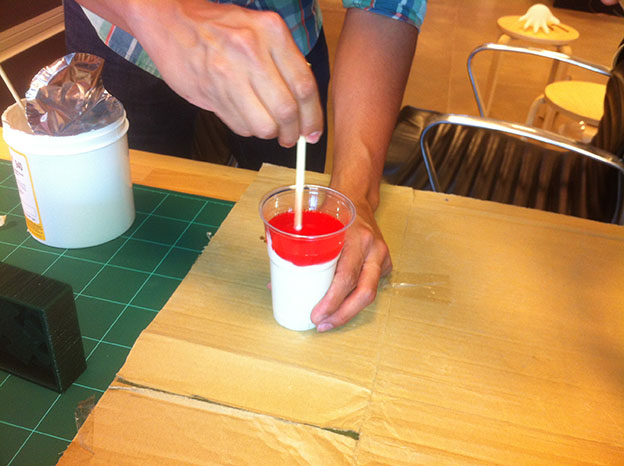
-First step is check the instructions and safety of the silicon, then calculate the volume of the mold and translate it into the proportions of the product A and B (base and catalyzer) which B is the eleventh part of the mold volume; A is ten parts.

-Then is mixing, do it slowly and try to do not vigorously at first because put so much air inside the mix and that means bubbles; Take your time and mix properly.
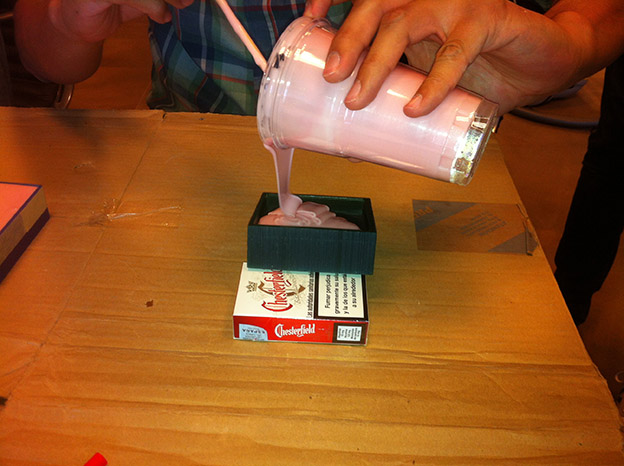
-Once is well mixed proceed to pour. I put something underneath the wax mold to give some inclination, that helps the silicon to spread better.
-Last step requires of vacuum, we did a improvised system with a house vacuum cleaner, an IKEA vacuum bag, plastic bowls, a cardboard piece and two pens. We put the molds inside the plastic bowls and underneath them the pens to left space for vacuum. Try taking the dust bag of your vacuum cleaner away, that helps the engine because it needs some time working so like this there is less pressure.
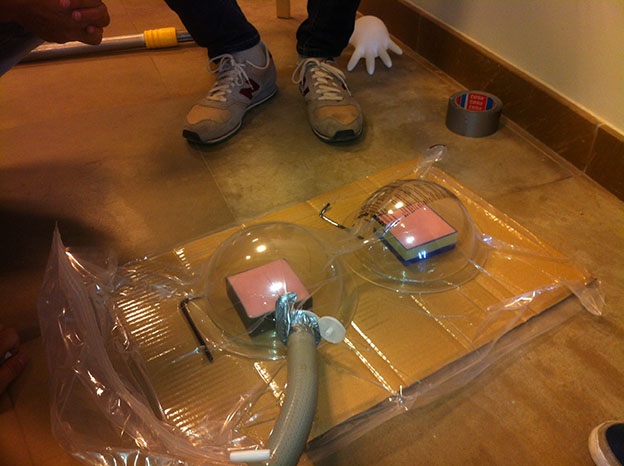
Leave it as much time you can, at least two hours. Then look for a secure place and let it rest for 24 hours.
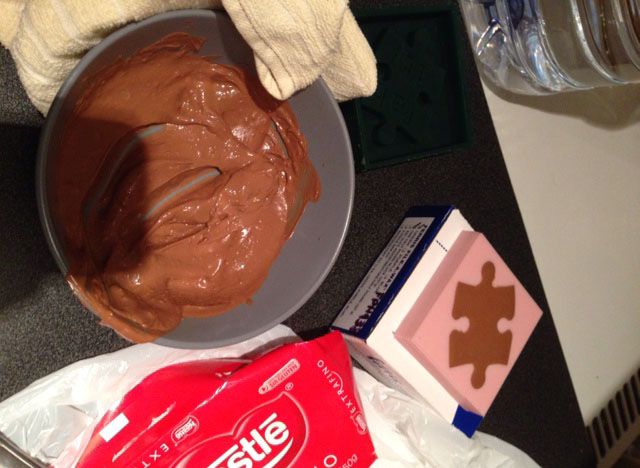
Chocolate
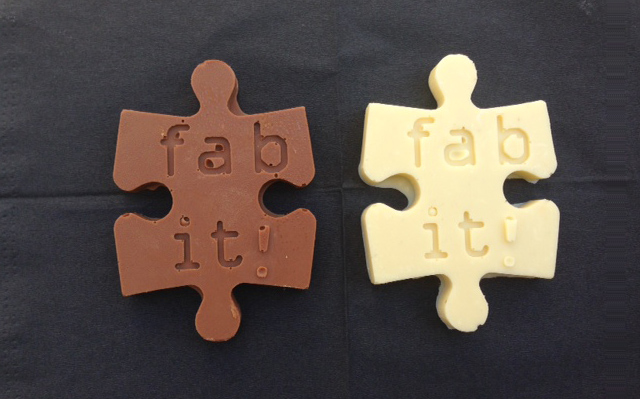
Now is the moment we have been waiting for, so get your favorite chocolate bar and melt it in the Bain Marie and then pour it on your silicon mold. To get the difficult places drop it vigorously against the table a couple of times. Then leave it rest and finally enjoy your Fab Chocolate.
Final Project Application
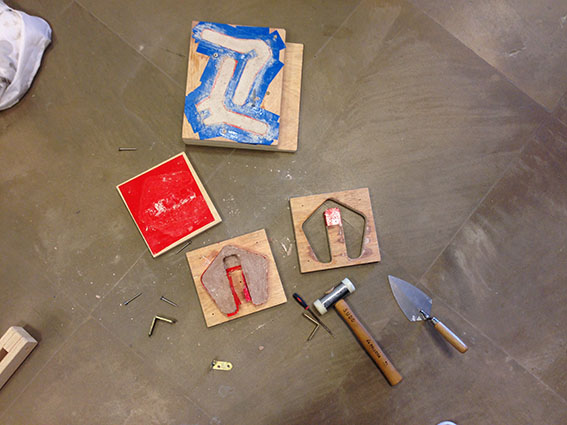
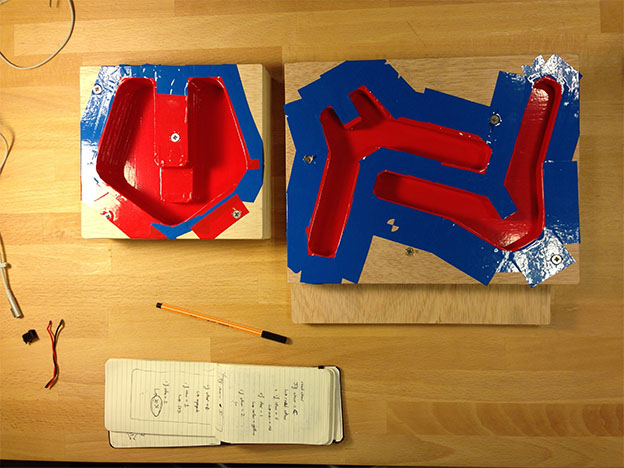
My final project is a concrete and wooden lamp, I design a reusable molding system for the concrete parts of the Lamp, my idea is to replicate it a couple of times to test it for in the future improve my design.
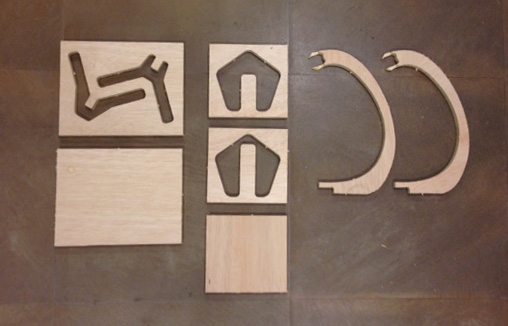
I cut the molds with a Shopbot CNC machine and I am using 20mm plywood, I chose this thickness to optimize the use of wood and the design of the lamp. So al the thicknesses of the lamp are multiples of 2 cm (20 mm, 40mm, 60mm).
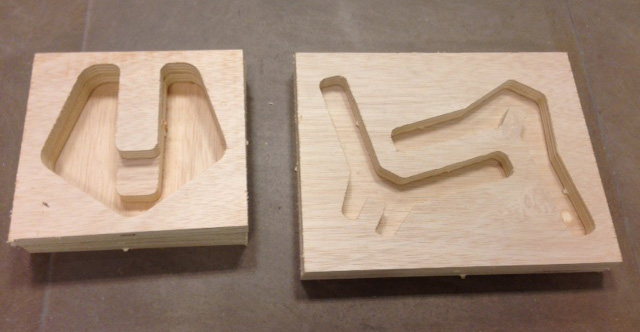
I experimented with vinyl wastes to cover al the surfaces in order to have a smooth finish in the concrete. But first I sanded all the concrete contact surfaces to get them uniform.
The Mix
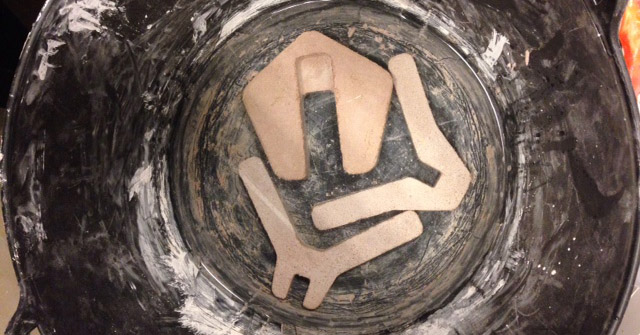
I want a nice concrete looking, I made a mix to get a salmon color which is basically white cement and brick powder, I also add plastic fibers to give it some resistance. Once the mix was done I put vaseline on the surface for easy unmold.
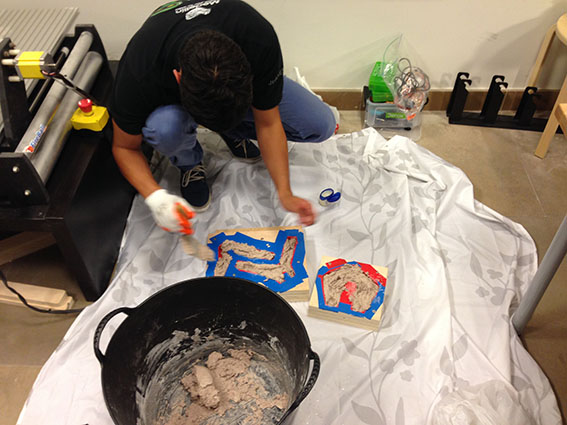
Then I poured the concrete and wait 24 hours to unmold to then put the pieces in water for some days to curate the concrete.