
Computer-Controlled cutting
Experience with the vinyl cutter and different softwares
Was my first time with Fab Modules, I had never used the Terminal and even less opening a software with. Installing it and getting use to was blowing my mind. The interface is actually friendly and easy to use, letting you do so many things and works without any problem… at the moment. I am going to use the Roland vinyl cutter, I installed the drivers from http://localhost:631
Which is the address of the CUPS administration panel. You will be presented with a screen with some tabs. Connect the Roland GX-24 with the USB cable to your computer and go to Administration tab and then click Add printer. Then setup a printer with the following settings:
- Name : vinyl
- Make: Raw
- Model: Raw Queue
and finally started to set the machine according the vinyl needs.
- First is to feed the machine with the vinyl, you have two options: With a Piece: just pull up the gear wheels and put the vinyl straight according with the guides, once you are happy with, pull down the gear and that’s it. For Roll: put it at the back straightly on the roll base.
- Second the blade has to be sufficiently out the plastic protector to cut properly and keep the backing paper save and for release easily the vinyl then.
- Third step was set the correct force to cut, consist in release easily a circle without a square inside it. This is a test cut set by default on the machine, consider that all vinyl colors and brands have a different thickness so the cutting force has to be set for each one.
- Black: 48gr
- Red: 45gr
- Blue: 45gr
- Last step check the wheels distance, this is your working area. Try to leave enough friction surface because otherwise the wheels cannot move the vinyl properly and your work could be damaged.
- The machine measures the dimensions of your vinyl, once you feed the machine select piece or roll to do it. Double check your work dimensions to be sure that the machine will cut it; if is not right you will miss parts because doesn't fit on the machine dimensions.
- Check the x:0, y:0 point, this is going to be the starting point on the work area, now you are ready to cut and have fun.
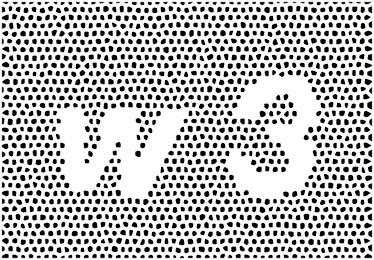
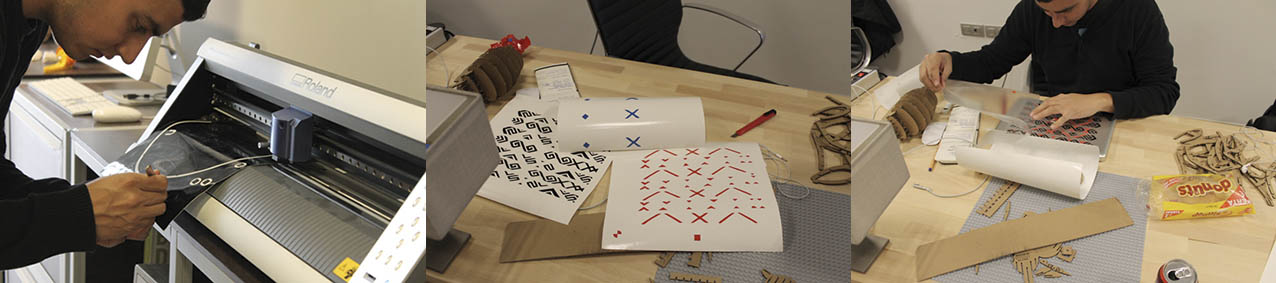
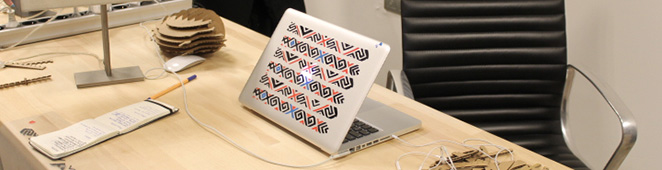
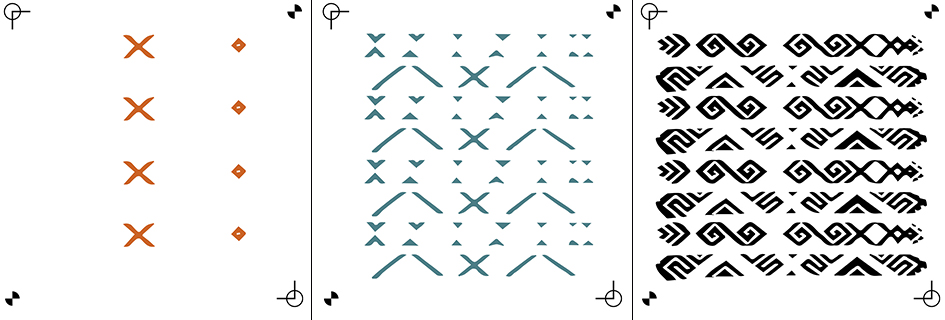
Finally I tried with three vinyl colors on my vectorial graphic design, One tip if you are using more than one color, normally you have to do it in layers of colors so add to your design a guide or margins on all the layers, I would suggest on the corners is going to be easier to match the guides.

I conclude that my graphic is looking good but I realize that there is so much waste of material, so next I will think the design better, some times is necessary but you can always improve. I reused the wastes for setting up the blade.
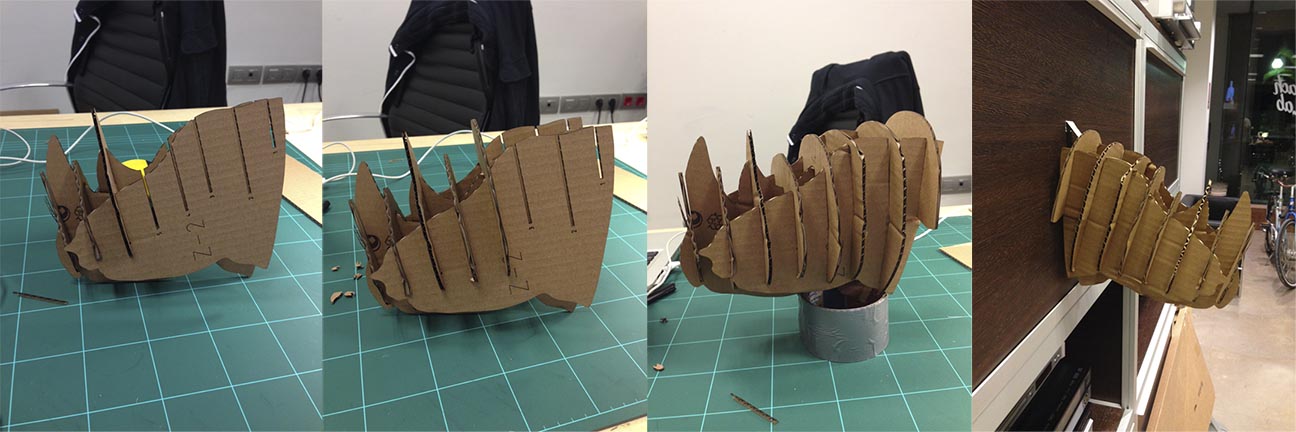
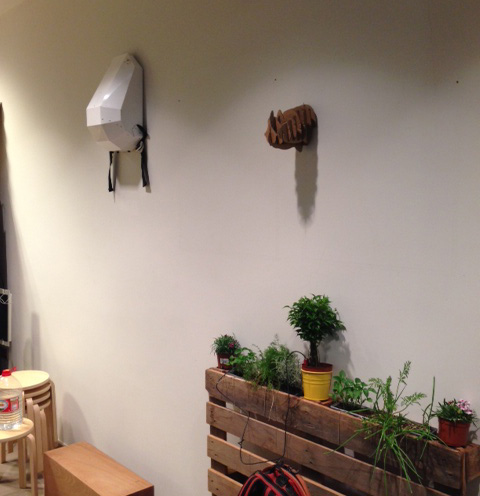
Experience with laser cutter and softwares
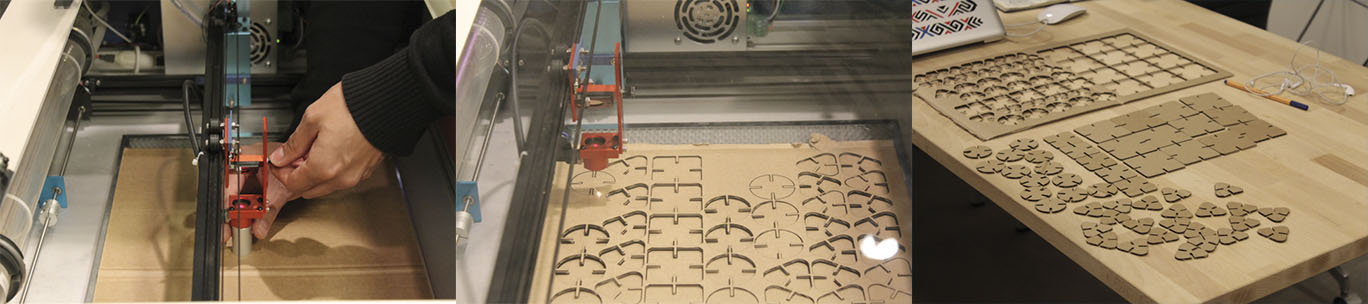
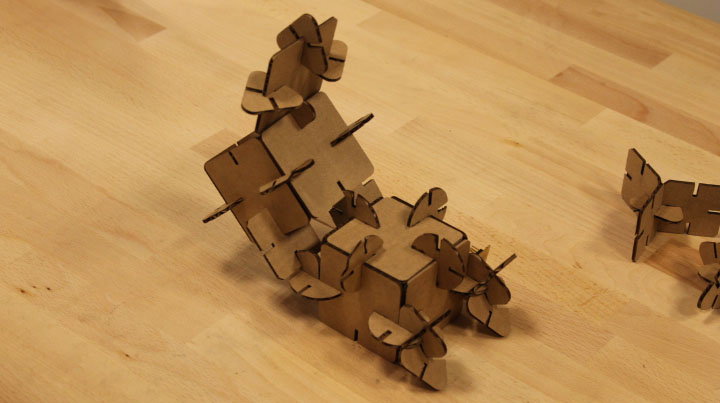
Once it is have the settings, it is proceed to cut. I tried two examples from different softwares, one with Rhino and Grasshopper and the other with 123D Make. Both have very good final results and they were easy to manipulate and parametrized. I found some problems with the joints on both cases because of the thickness of the cardboard. Apparently the connect each other but I have to forced, also happened that then they were loose. So finally I found a good average of thickness which worked out. I worked with recycled cardboard that made a bit difficult getting the average of thickness because of they are a bit smashed.
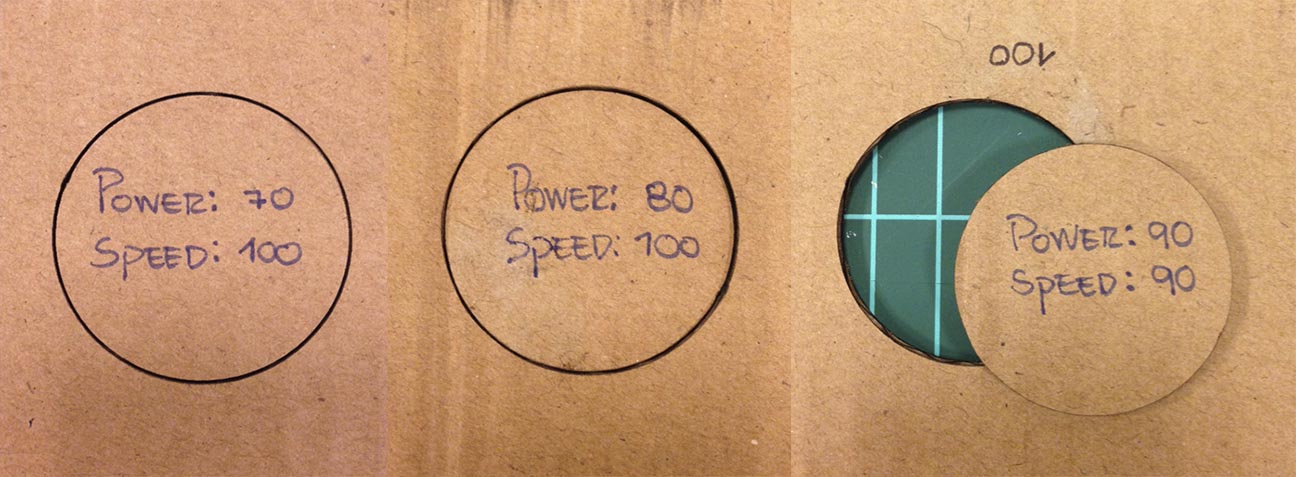
The Amazon’s shipping cardboard needs Power: 90% and Speed: 90% to be cut properly
Conclusions are when you are trying to fabricate something there are so many facts to check out and try to have a good settings. The experience doing this let you know better the materials and get in less time this required settings.