
Composites
Designing
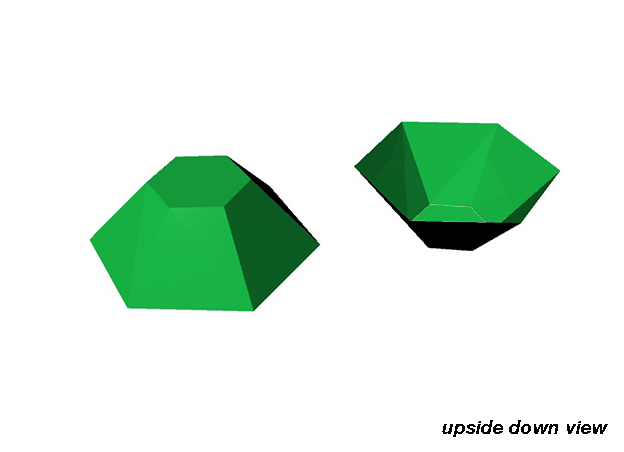
This week assignment we have to create a composite, and the first idea came up to me consist to create something for lighting like a lamp shade. So I turned into my computer to design something cool, thinking deeper this shade also could work as a bowl container for my stuff in the fab lab; I have so much mess everywhere hehe. So it is going to be a double purpose design lighting shade and bowl. I used Rhino to 3D model it.

The best way to do the mold is to mill it as a positive form, because it is easier for the material be pulled around the outside of the form instead of into it, which would happen if it was milled in as negative form with a cavity.
Milling
To mill the foam I am using a Shopbot CNC machine with a bit ball of 12mm, in the settings the machine is going to give three passes: the first for cut the forms, second for details and third 45 degrees turned to give more resolution.

Cutting the fabric
To prepare the fabric I went to the Rhino 3D model and used the SMASH tool to get the flat pieces of the design for easy cutting in the laser. If smash does not work try with SQUISH, have a look to this tutorial that explains both processes. I used the Full Spectrum Laser Machine with 30% of power and 100% of speed. Once is cut check if the pieces fit with your object and make the corrections in case you need it, I can say is very reliable process but just double check.

Resin
For the resin prepare everything before anything, that is the most important thing: 1. Look for a place where you can work comfortable and use a plastic bag as a protection, the resin can be so messy. 2. Prepare your foam design. 3. Put everything you will need close to the working area: -vacuum cleaner -plastic bags -cling film -bascule -cutter -brush -masking tape -resin -plastic gloves -plastic vacuum bags -chopsticks (to mix) -rubbish bin 4. Put cling film or plastic to the objects in order to get a smooth surface 5. Resin: check first the instructions and mix the components according the instructions. In my case is two by one, so with the bascule I measured 100 grams of A and 50 grams of B. Them I mixed. 6. Give a hand of resin to the surface, and then place the fabric. Once is done brush and spread the resin all over the object centre - out. 7. Repeat the process with all the layers you want to put, in my case only 2 is enough.

8. Cover the object with plastic or cling film and put it straight inside the plastic vacuum bag.
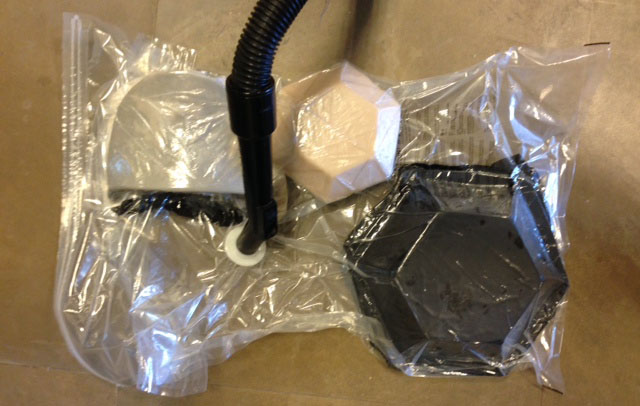
9. Vacuum your objects and the first 3 hours do it every hour. 10. Wait 24 hours and then proceed to release it.
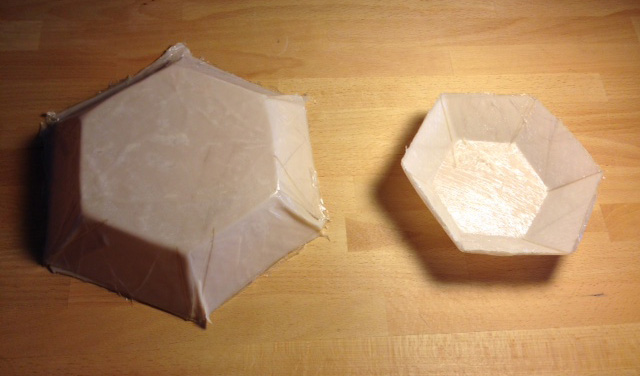
Finally the result was the expected, the composite came out very easy and the plastic and film was very easy to remove. Resin still getting hard but is strong enough to keep the form and details. I like so much this assignment and I see I can use it often to do my projects.
Get all the files here