|
Week 5: 3D printing and 3D scanning
This week assignment was to design a 3D form and print it with a 3D printer. Also we were supposed to scan an object with a 3D scanner and then print it with a 3D printer.
Designing the Model
For the 3D design I used 123D creature on the Ipad. In this software when the model is done, it can be exported as an .obj file. There is also the possibility to render the model there. In the following pictures you can see the model.
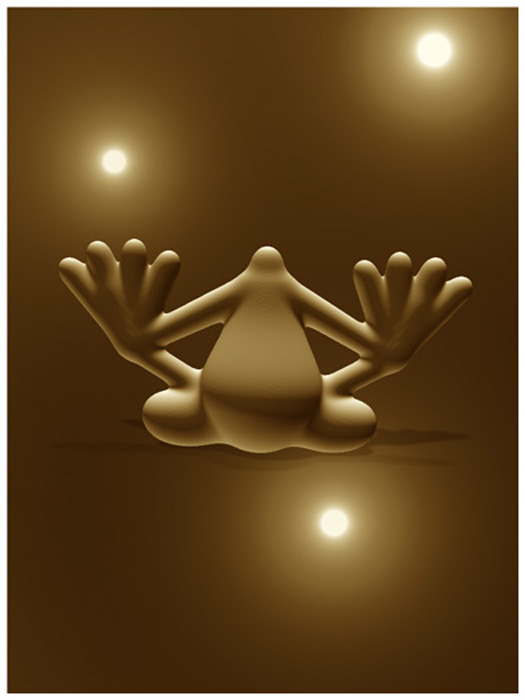
3D model after rendering
Printing the Model
I printed the model both with Makerbot Replicator 2X and Ultimaker. The software for Makerbot is called Makerware. Makerware is a free software but it is not open source. The use interface is easy. I checked marked both raft and support. Raft was needed that the model sticks well on the printer bed. Support was also needed for my model because it had some part on the air without foundation. What I realised (also visible in the picture below) was the support was made only to the left side not to the right side.
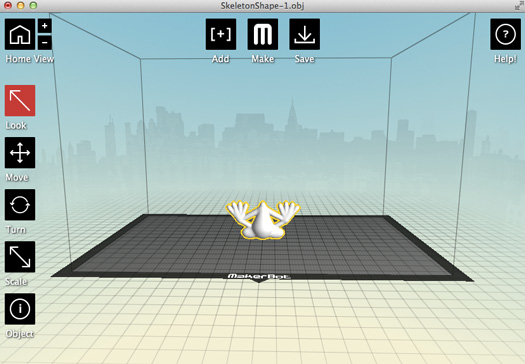
3D model in MakerWare
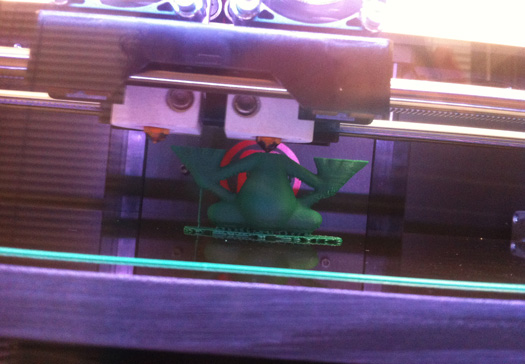
3D model in while printing with Makerbot Replicator 2X
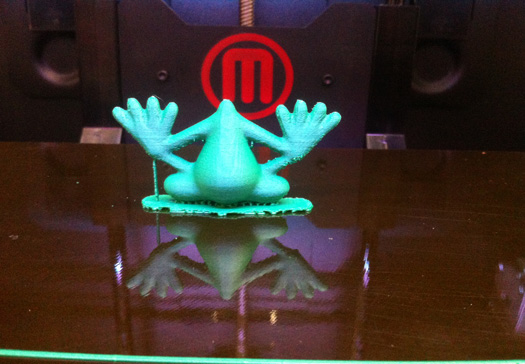
3D model after printing is done with Makerbot Replicator 2X
The software for Ultimaker is called Cura. It is free and it is open source. The user interface is very easy to understand. Cura gives a time estimate how long the print takes time which is a very good feature.
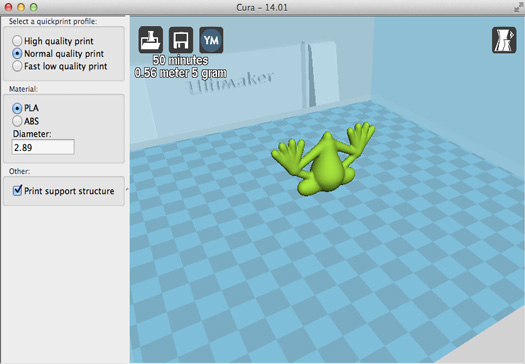
3D model in Cura
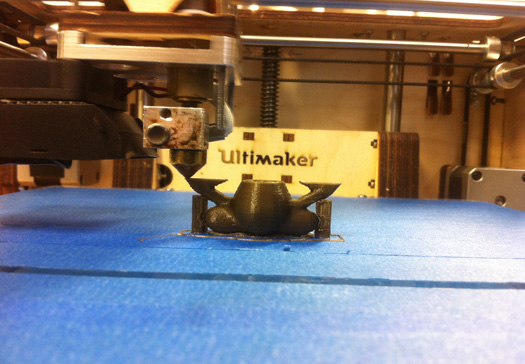
3D model in while printing with Ultimaker
In the first version of Ultimaker that we have, there is no heated bed. The blue tape that is visible in the picture is used to help the model stick on the bed. There is a bit of sliping to the left as it is visible around the fingures and the head. Calibration and lubricating the bars that are holding the nuzzle should help but still I have seen this problem several times.
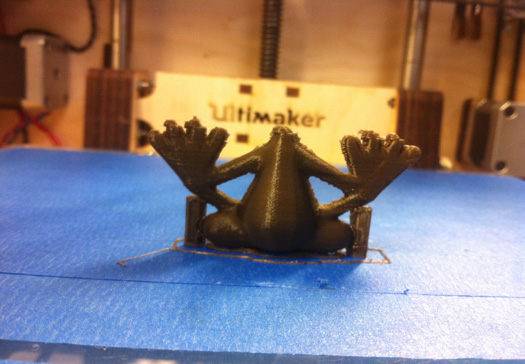
3D model after printing is done with Ultimaker
3D scanning
For the 3D scanning I used the Makerbot digitizer. I scanned more than 10 different objects with it. I scanned a banana a pear, 3 different cups with different colours, some dolls and some already printed objects.
The results were not very good but gave you a base to work on later. when I checked the models in the Meshlab there were usually no wholes to fill up.
As it was written in the Makerbot digitizer, this scanner can give its best result for a specific size range and colours. For example for very dark colours and shiny surfaces the result is not good.
Finally I decided to scan and print one of the apple connectors. The digitizer saves the model in .thing format, however it is possible to save it as an .stl file and import for example in meshlab and work on that.

Apple connector being scanned on the digitizer
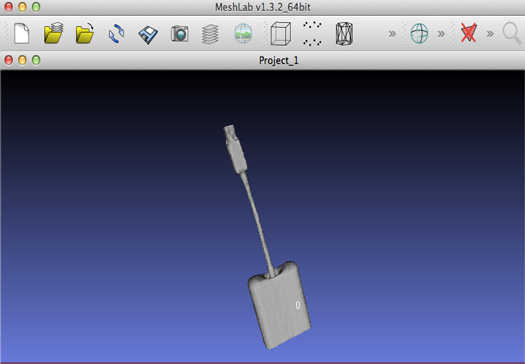
The scanned model in stl format which is imported in Meshlab
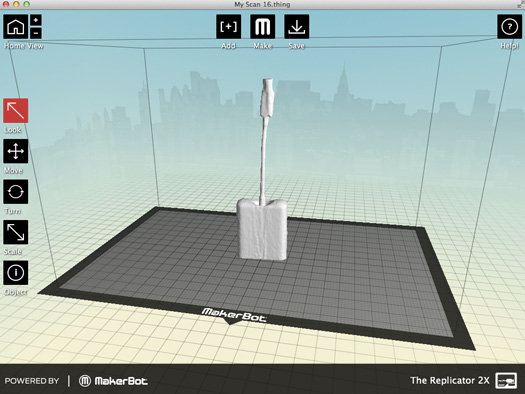
The scanned model in Makerware ready to be printed out
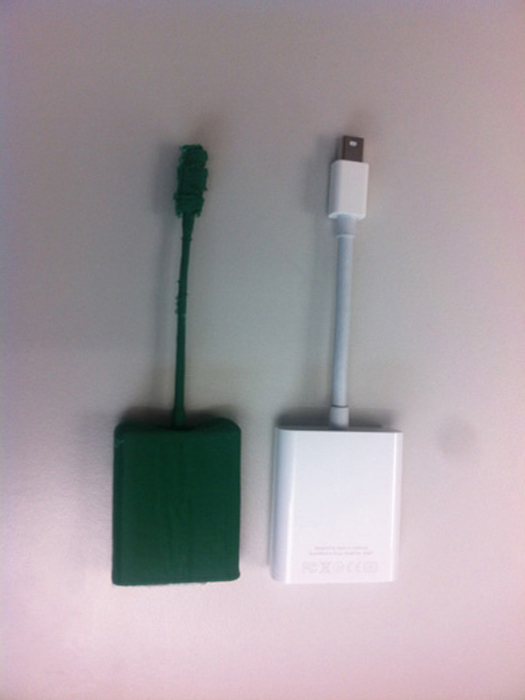
The printed model after scanning beside the original object.
Files:
Goal keeper from Marse
|
 Fab Academy Class 2014