|
Week 14: Mechanical design, machine design
In this week we learned about mechanical design and the machin design. For this week assignment we were supposed to do the mechanical design for our final project. The machine design task was assigned to Fablab gurus.
For my final project as it is documented in the final project page, I am planning to make a soldering Iron with soldering station.
In this week it is a very good chance to know all the required parts for the final project and design them. My project includes three parts, the soldering Iron, the soldering station and the stand for soldering iron.
Disassembling one soldering Iron and soldering station.
I started to do some research for the parts which are needed for this project. I also disassembled one of the soldering iron and soldering stations that we had in the lab to some extend to see what is inside. here are some pictures.
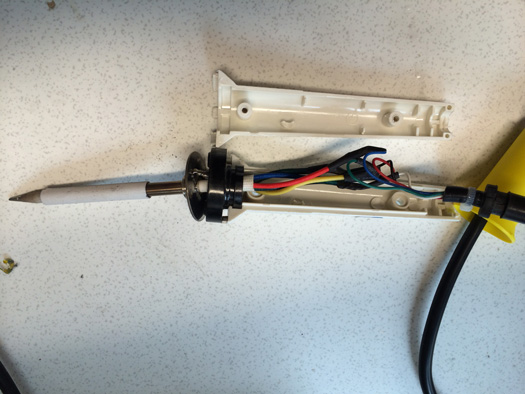
Soldering Iron
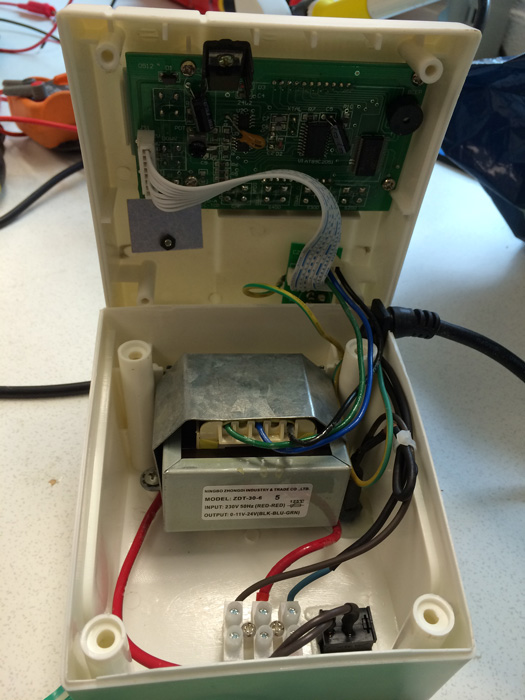
The view from inside soldering station
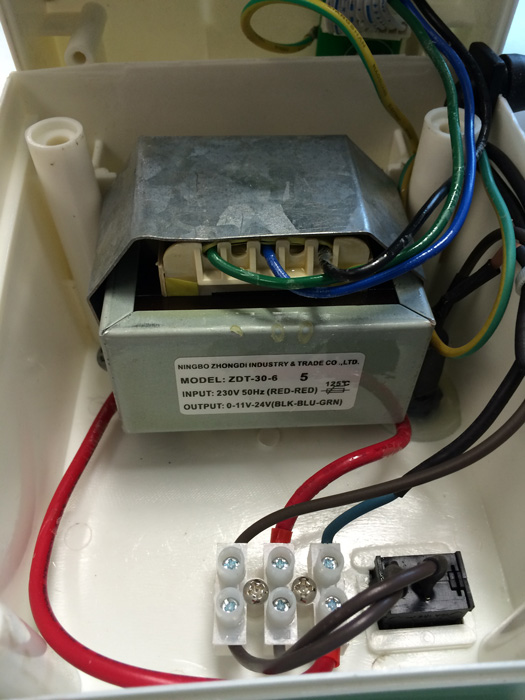
The view from the transformer inside the soldering station
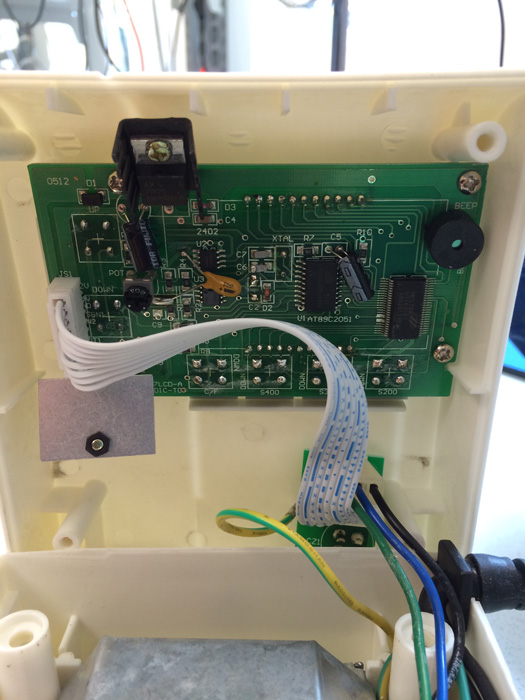
The view from the control board to which the lcd and the buttons are connected.
Designing the mechanical part for the soldering iron
In the soldering Iron section, the main part is heating element, which is connected to the tip. There is usually one metal case surrounding the heating element. On the upper part it comes the handle for the soldering iron. This handle covers all the cables that are coming from the hearing element and lead them to the top of the handle. On the top of the handle there is an exit for these cables to go to the soldering station.
The heating element and the tip should probably be bought. The heating element is made of ceramic and the thermocouple is inside that. The handle should be designed. I think it can be either 3D printed or be casted in a mold. Of course machining that would work too. Here I found a video talking about the heating element. There is a variety of heating elements on the market. I would like to use a 12 or 24 volts one.
Designing the mechanical part of the soldering iron stand
The stand can be done using various machines in the lab. Only the part which is holding the iron should be made something that does not burn. This should be the easy part.
Designing the mechanical part for the soldering station
In this, the parts are the transformer to reduce the voltage and the control board which is controlling the temperature, connecting to the LCD and to the buttons. The soldering station is connected to the power outlet with a cable and also to the soldering iron with another cable.
I am planning to make the casing for the soldering station using the plywood. In the file below is the diagram of the system
Files:
Diagram of the System
|
 Fab Academy Class 2014