|
Week 3: A snap fit construction kit.
This week focus was to build a snap fit construction using a laser cutter. Also experimenting with a vynil cutter was recommended.
Testing for a good fit
I used cardboard to make the snap fit kit. After measuring the cardboard thickness, I designed a comb shape object (picture below) to check what was the best snap fit. The range was from 3 mm to 3.6 mm. Checking the fit, 3.4 mm gave the best result. Smaller than that, there was tension and bigger than that, the fit was loose.

Snap-fit test
For designing the snap fit kit, I used Illustrator and as an object I chose a hexagon. Knowing the width of the fit from the above test, the female part of the fit was designed in each side. In the outer corners of the fit (the female part) it was better to make steeps not to have sharp edges. It made it easier to fit the two pieces together. In the inner corners of the fit (female part) some small circles was designed to reduce the tension in the fits.
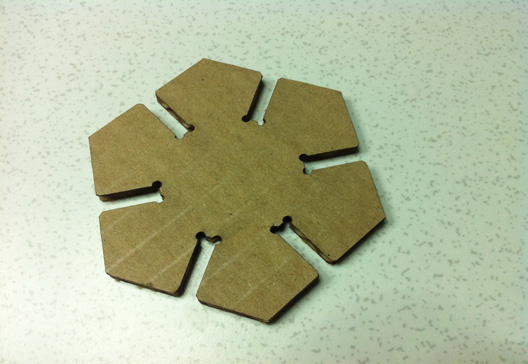
As you can see in the picture you can attach as many of them as you want together and create some shapes.
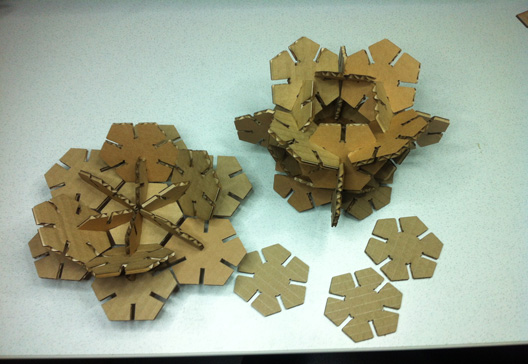
Snap-fit kit
The other thing I tried was a book cover. In this experiment I used plywood 4 mm and I wanted to try both the snap fit and bendable structure. Designing the fit, the width of the male part was considered 4 mm more, because the laser cut width for the plywood I used was 0.1 mm. Assume that the female side was set to 5 mm and the male side 5.4 mm. The laser will remove 0.1 mm from each side of the female side, therefore after the cut, the female side width would be 5.2 mm. Also removing 0.1 mm from each side of the male part by the laser cutter, the width of that would be 5.2 mm. And here is the snap fit.
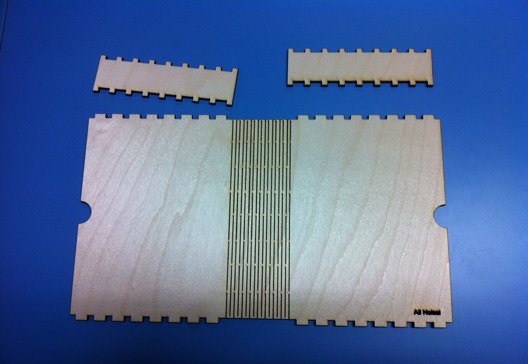
For the bendable part, the paralel lines were distanced from each other by 3 mm. With the smaller distance (1 mm) it would break easily. The other important point here was that two closest paralel lines had about 50% overlap. Otherwise the bendable part would be fragile.

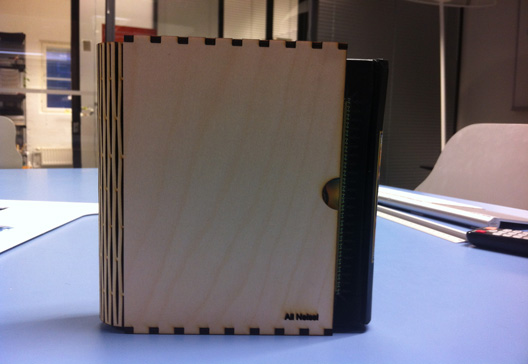
The book cover holding the book. The book was taken a bit out to be visible in the picture.
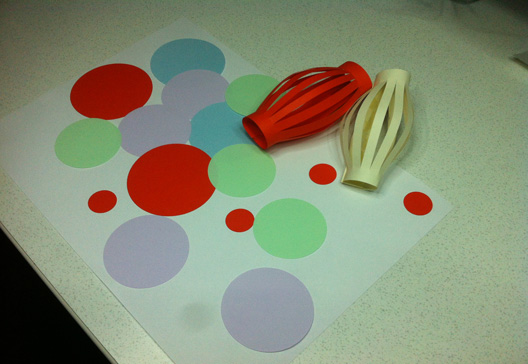
Vinyl cutting
I did some experiment with the vynil cutter too. Since I had some experience with the stickers before, I tried to cut some circles and some squares with some cut insides out of normal papers. For cutting the papers I backed them up with the non-sticky part of the sticker (from the scrap box of the stickers). For this experiment I used the force of 150.
Files:
Snap fit kit
Book cover
|
 Fab Academy Class 2014