
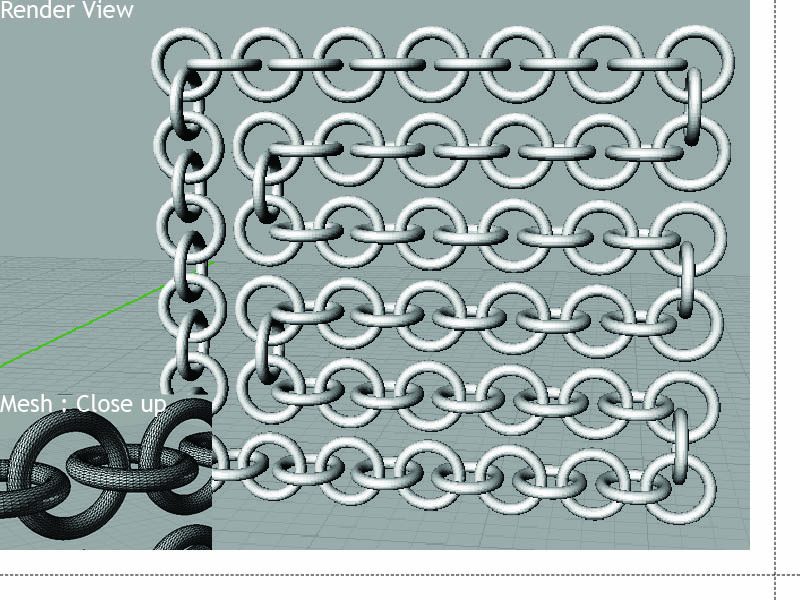
Step 1: Preparation a 3D file for printing plaster printer
First draw a three-dimensional form, keep a several things:
- The shape must be Solid (Water proof).
- Make sure the minimum thickness is 0.5 mm.
- If the shapes are connected or capture each other, leave a space of 0.5 mm between them.
- Save the file as STL.
שלב 1: הכנת הקובץ להדפסה תלת מימדית בגבס
:ראשית שרטט צורה בתלת מימד, הקפד על מספר דברים
. על הצורה להיות צורה מלא כלומר סוליד -
. רצוי להקפיד על עובי מינימלי של 0.5 מ”מ -
. במידה והצורות מחוברות או לוכדות זו את זו, יש להשאיר מרווח של 0.5 מ”מ ביניהם -
.STL- שמור את הקובץ כ -
Step 2: Send file to printer ZPrinter150
The only two actions that we need to do are import the file and place it in the frame and send it to 3D print.
You Should place the model as close as possible to the tray, to save time and material.
ZPrinter150 שלב 2: שליחת הקובץ להדפסה במדפסת
.השתי פעולות היחידות שיש לבצע זה יבוא הקובץ ומיקומו בתוך המסגרת ושליחה להדפסה תלת מימדית
.רצוי למקם את המודל כמה שיותר קרוב למגש, בשביל לחסוך בזמן וחומר

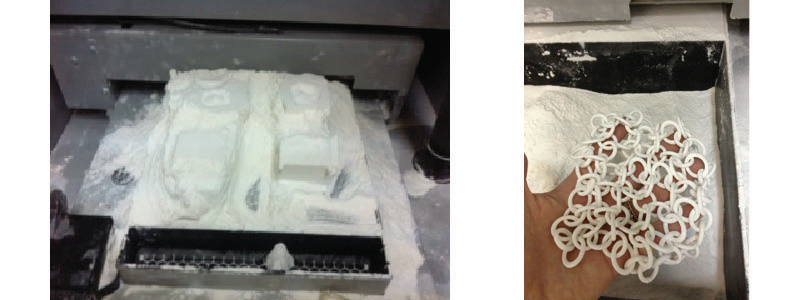
Step 3: Remove the model and cleaning by air pressure
Remove the model carefully, because he is very fragile!!!
שלב 3: הוצאת המודל וניקיון על ידי לחץ אוויר
!!!יש להוציא את המודל בזהירות, כי הוא מאוד שביר
Cleaning the model is done with air pressure, clean the model at a distance of at least 10 cm from the model frome all sides, be careful not to attach the air pressure gun model!!!
,ניקיון המודל בעזרת לחץ אוויר מתבצע, יש לנקות את המודל ממרחק של לפחות 10 ס”מ מכל הכיוונים
!!!להקפיד לא להצמיד את אקדח לחץ האוויר למודל

Step 4: Stiffening of the model
After we cleaned the model, we need to pour a stiffening solution like Parfix3408 or concentrated salt solution.
שלב 4: הקשחה של המודל
Parfix3408 לאחר שסיימנו לנקות טוב את המודל, נשפוך עליו מקשה
.או תמיסת מלח מרוכזת

And that’s it … we have a printed…
…וזהו זה…יש לנו מודל מודפס
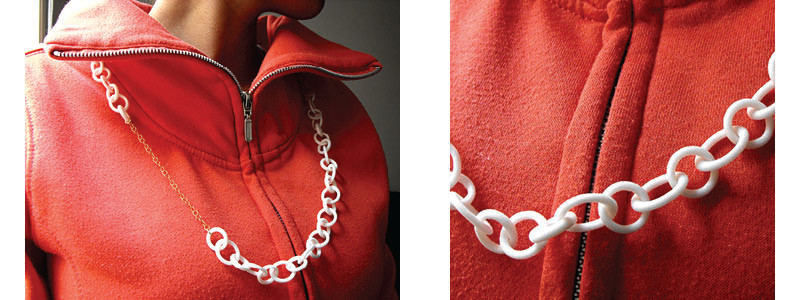
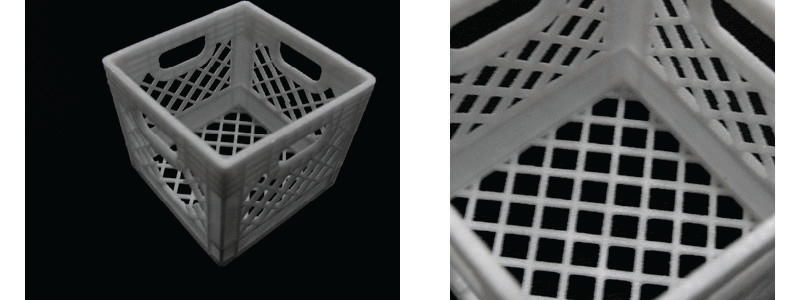
Final file:
:קובץ סופי